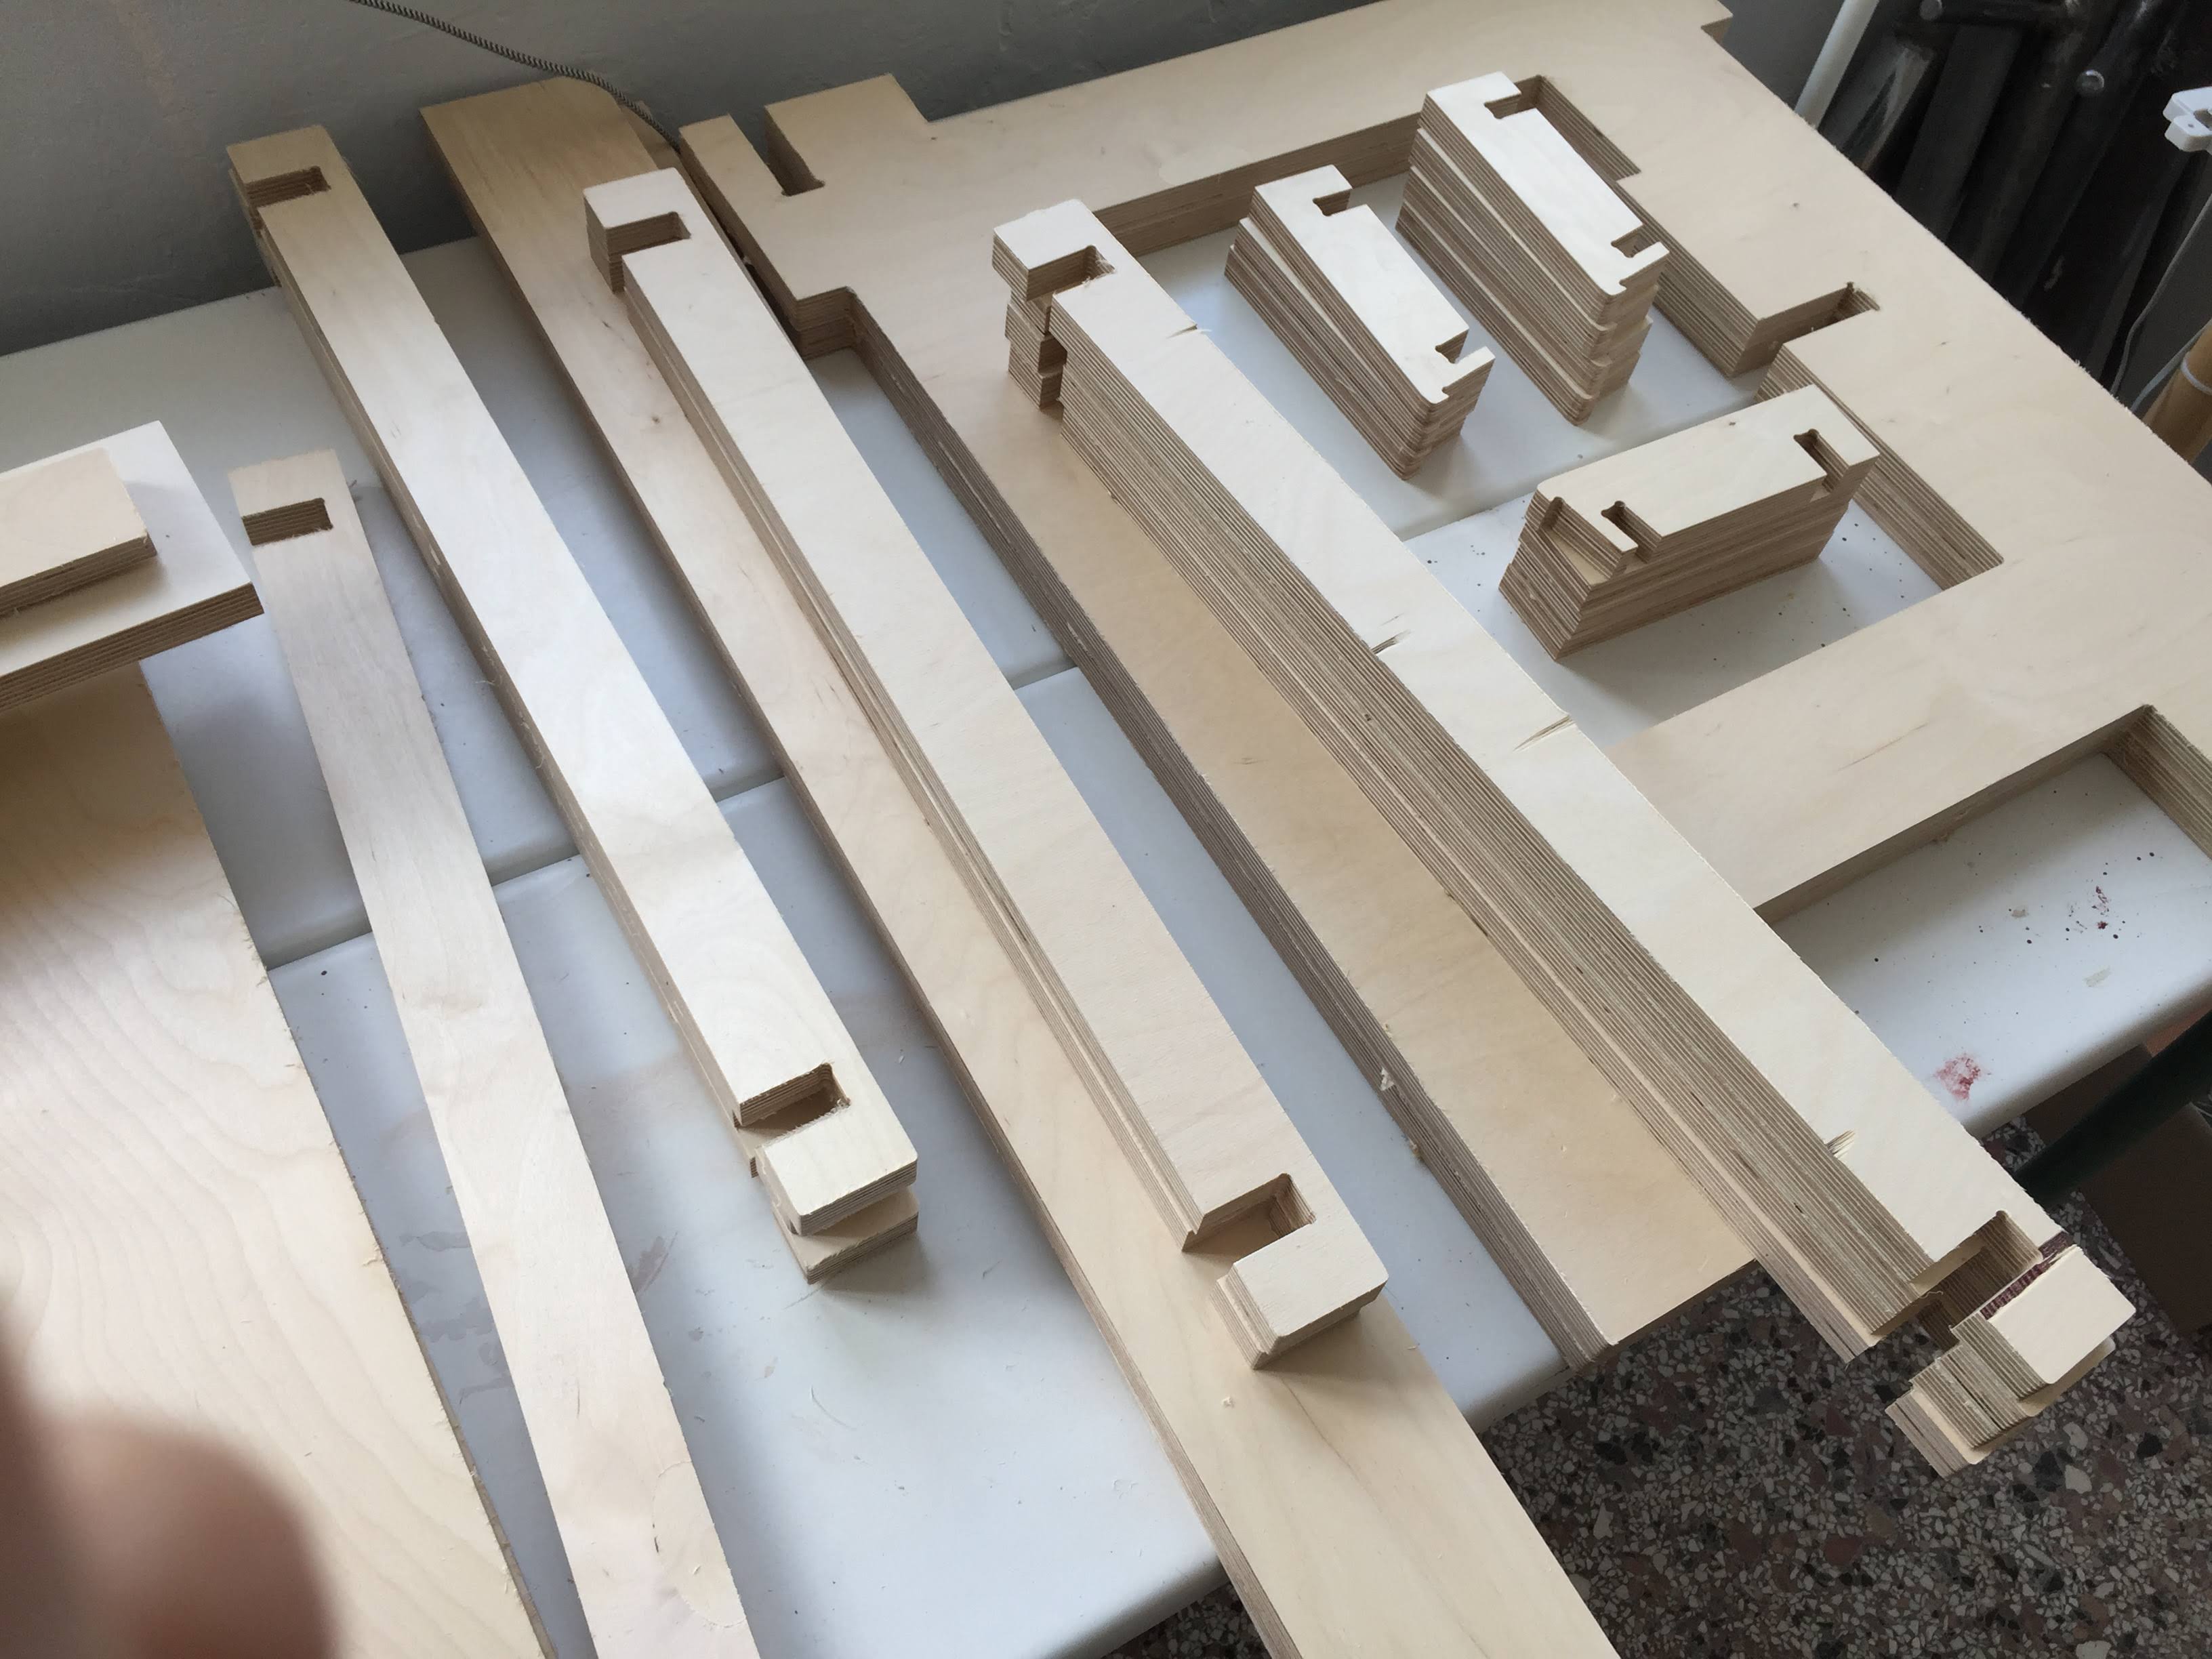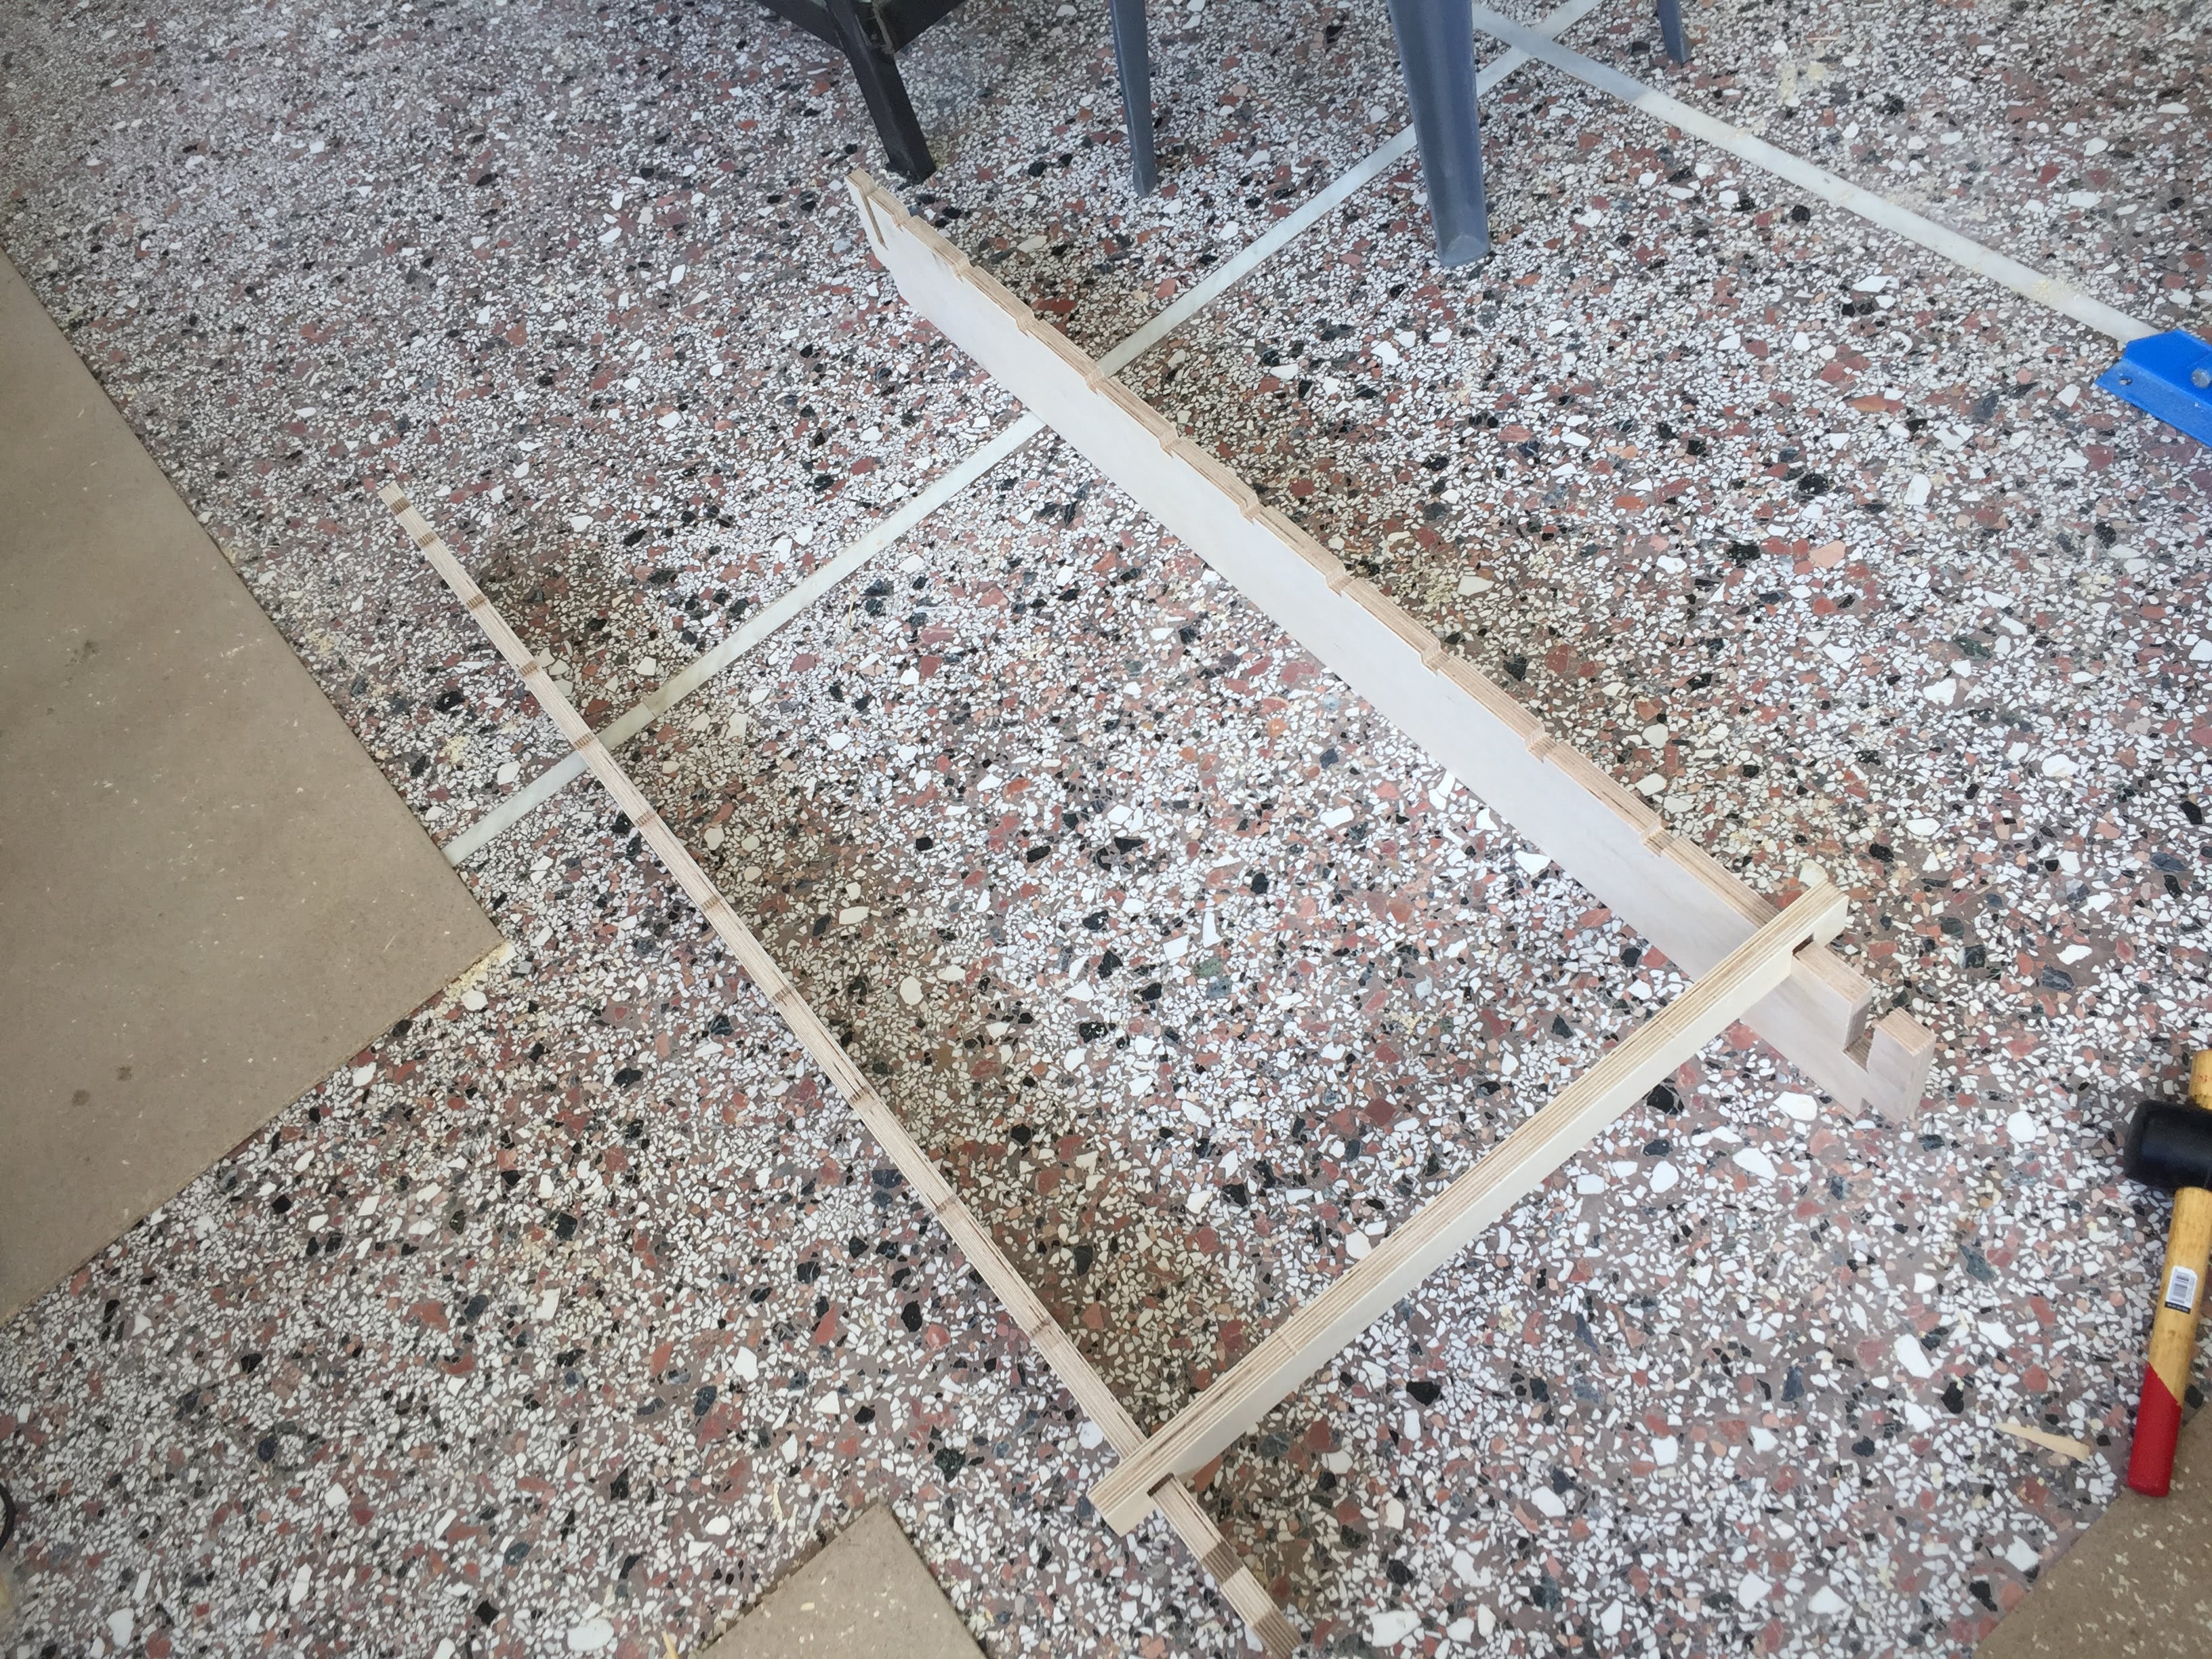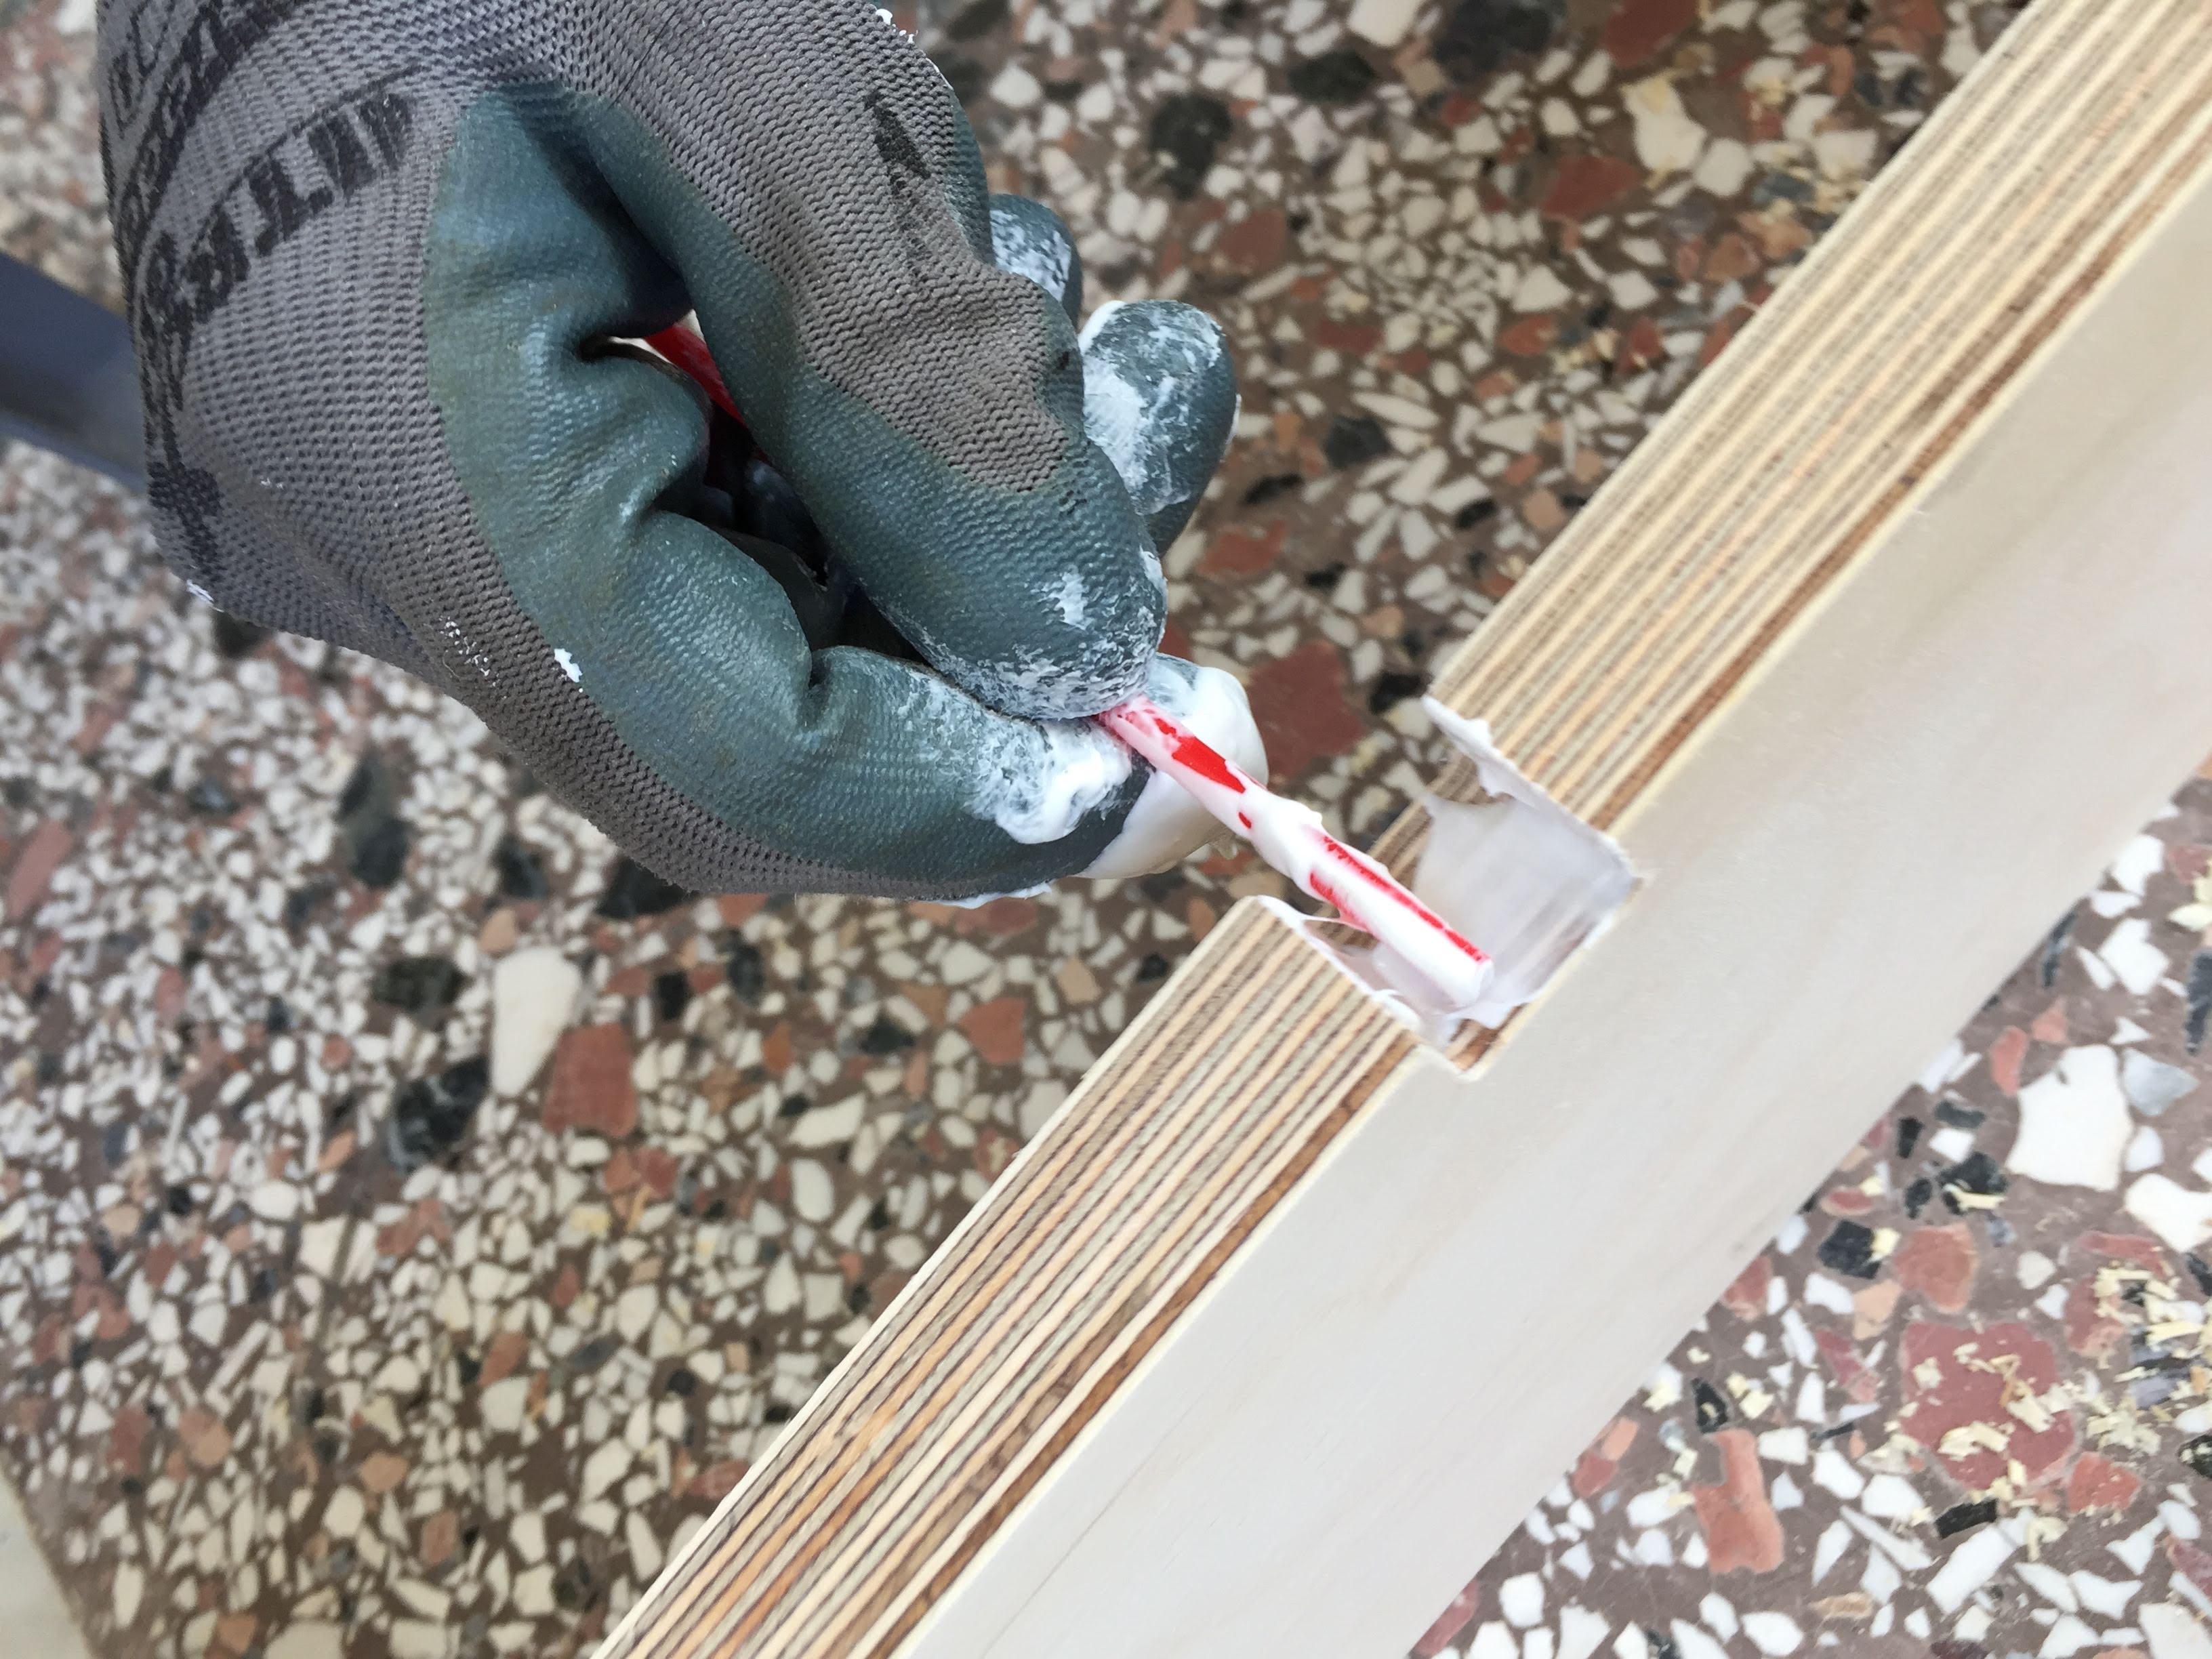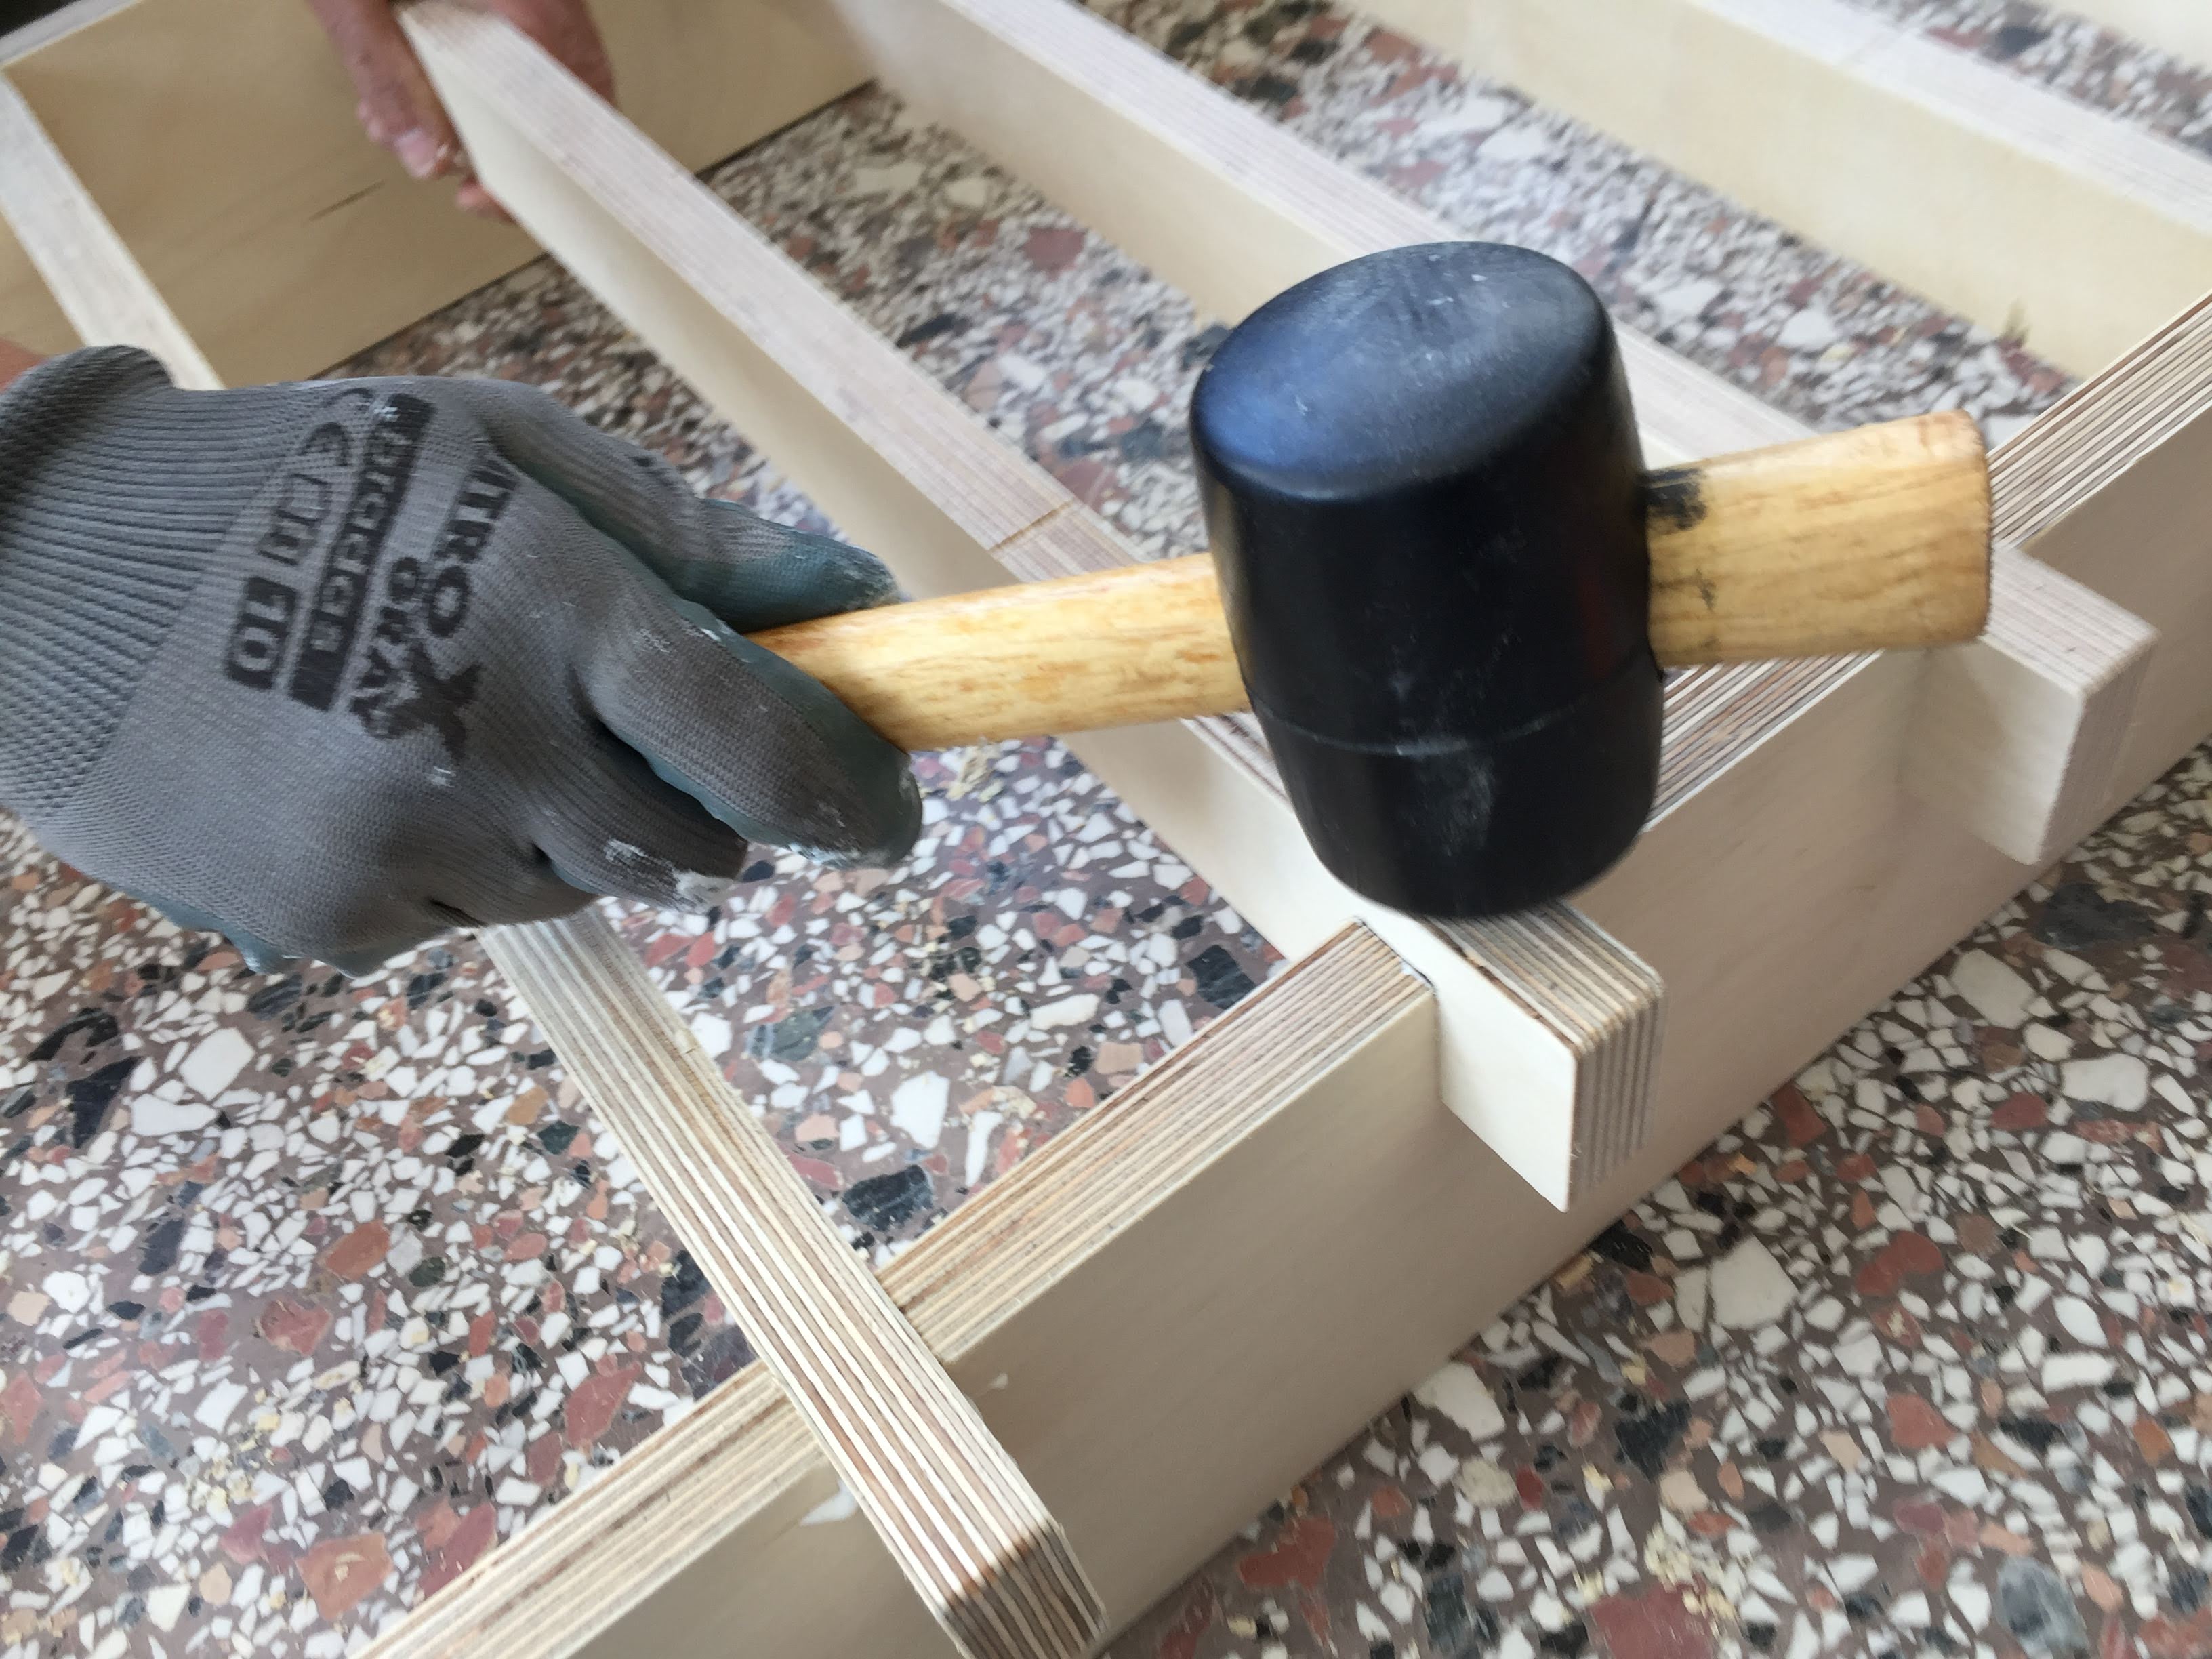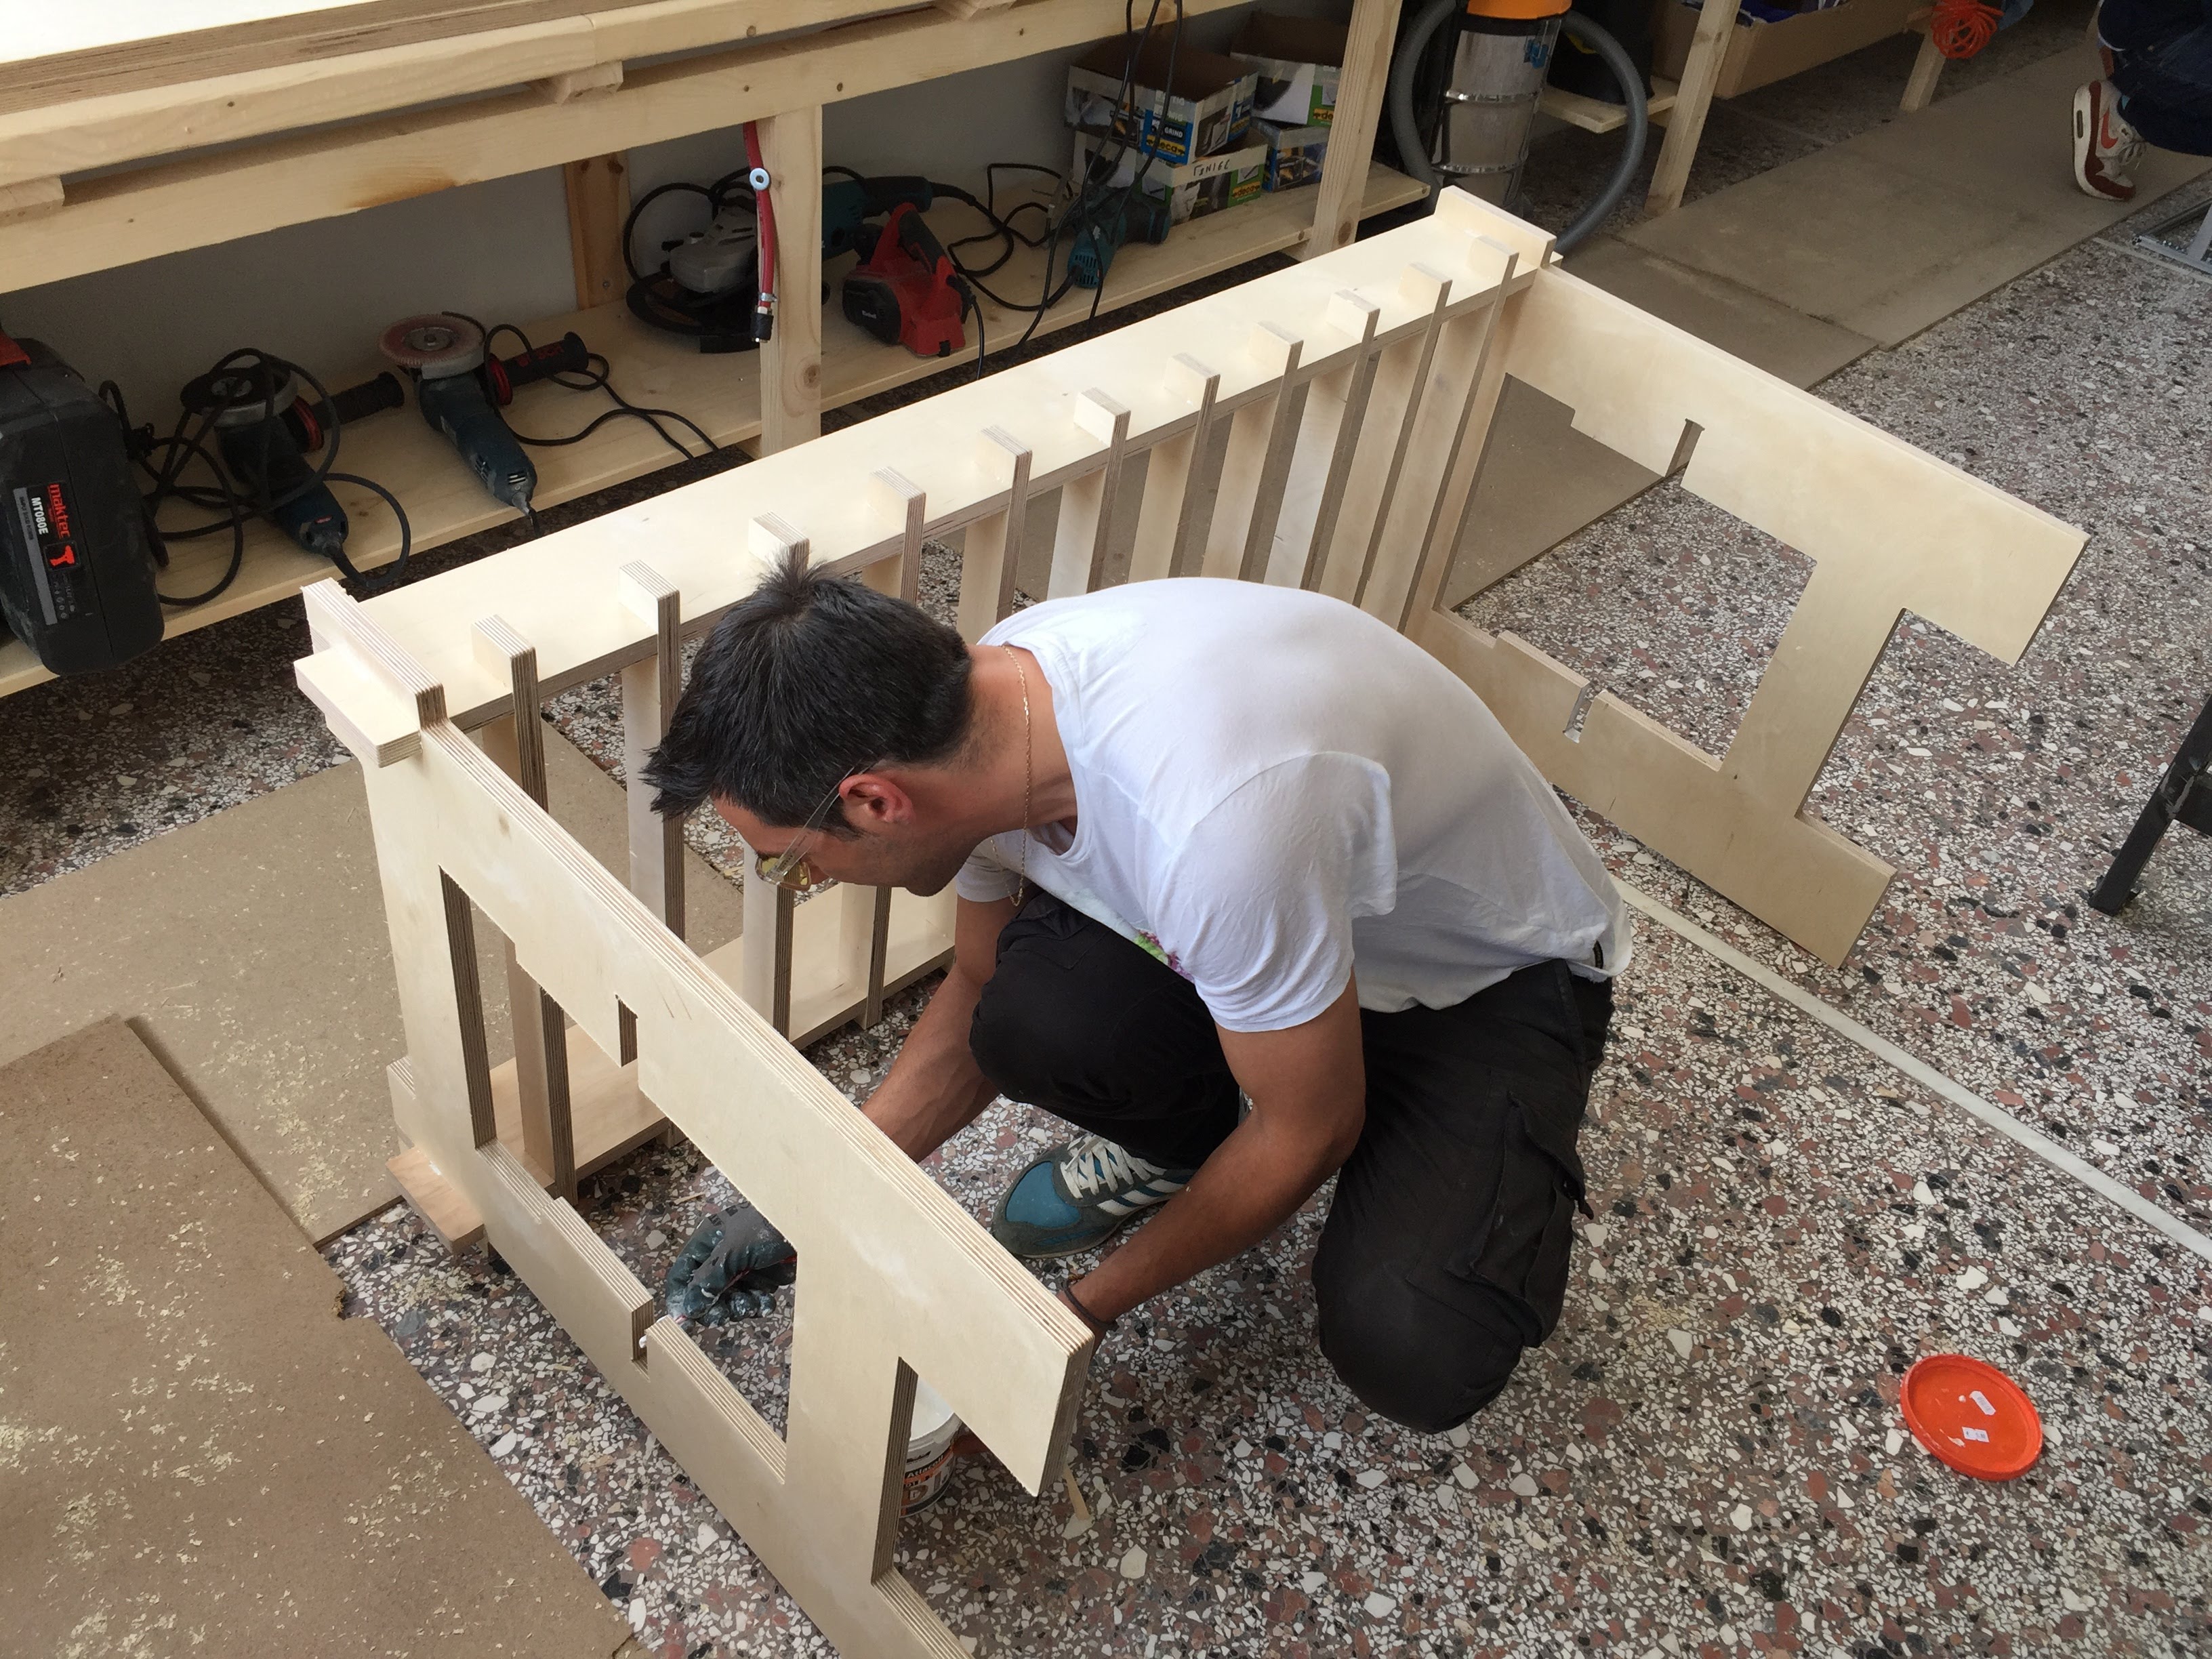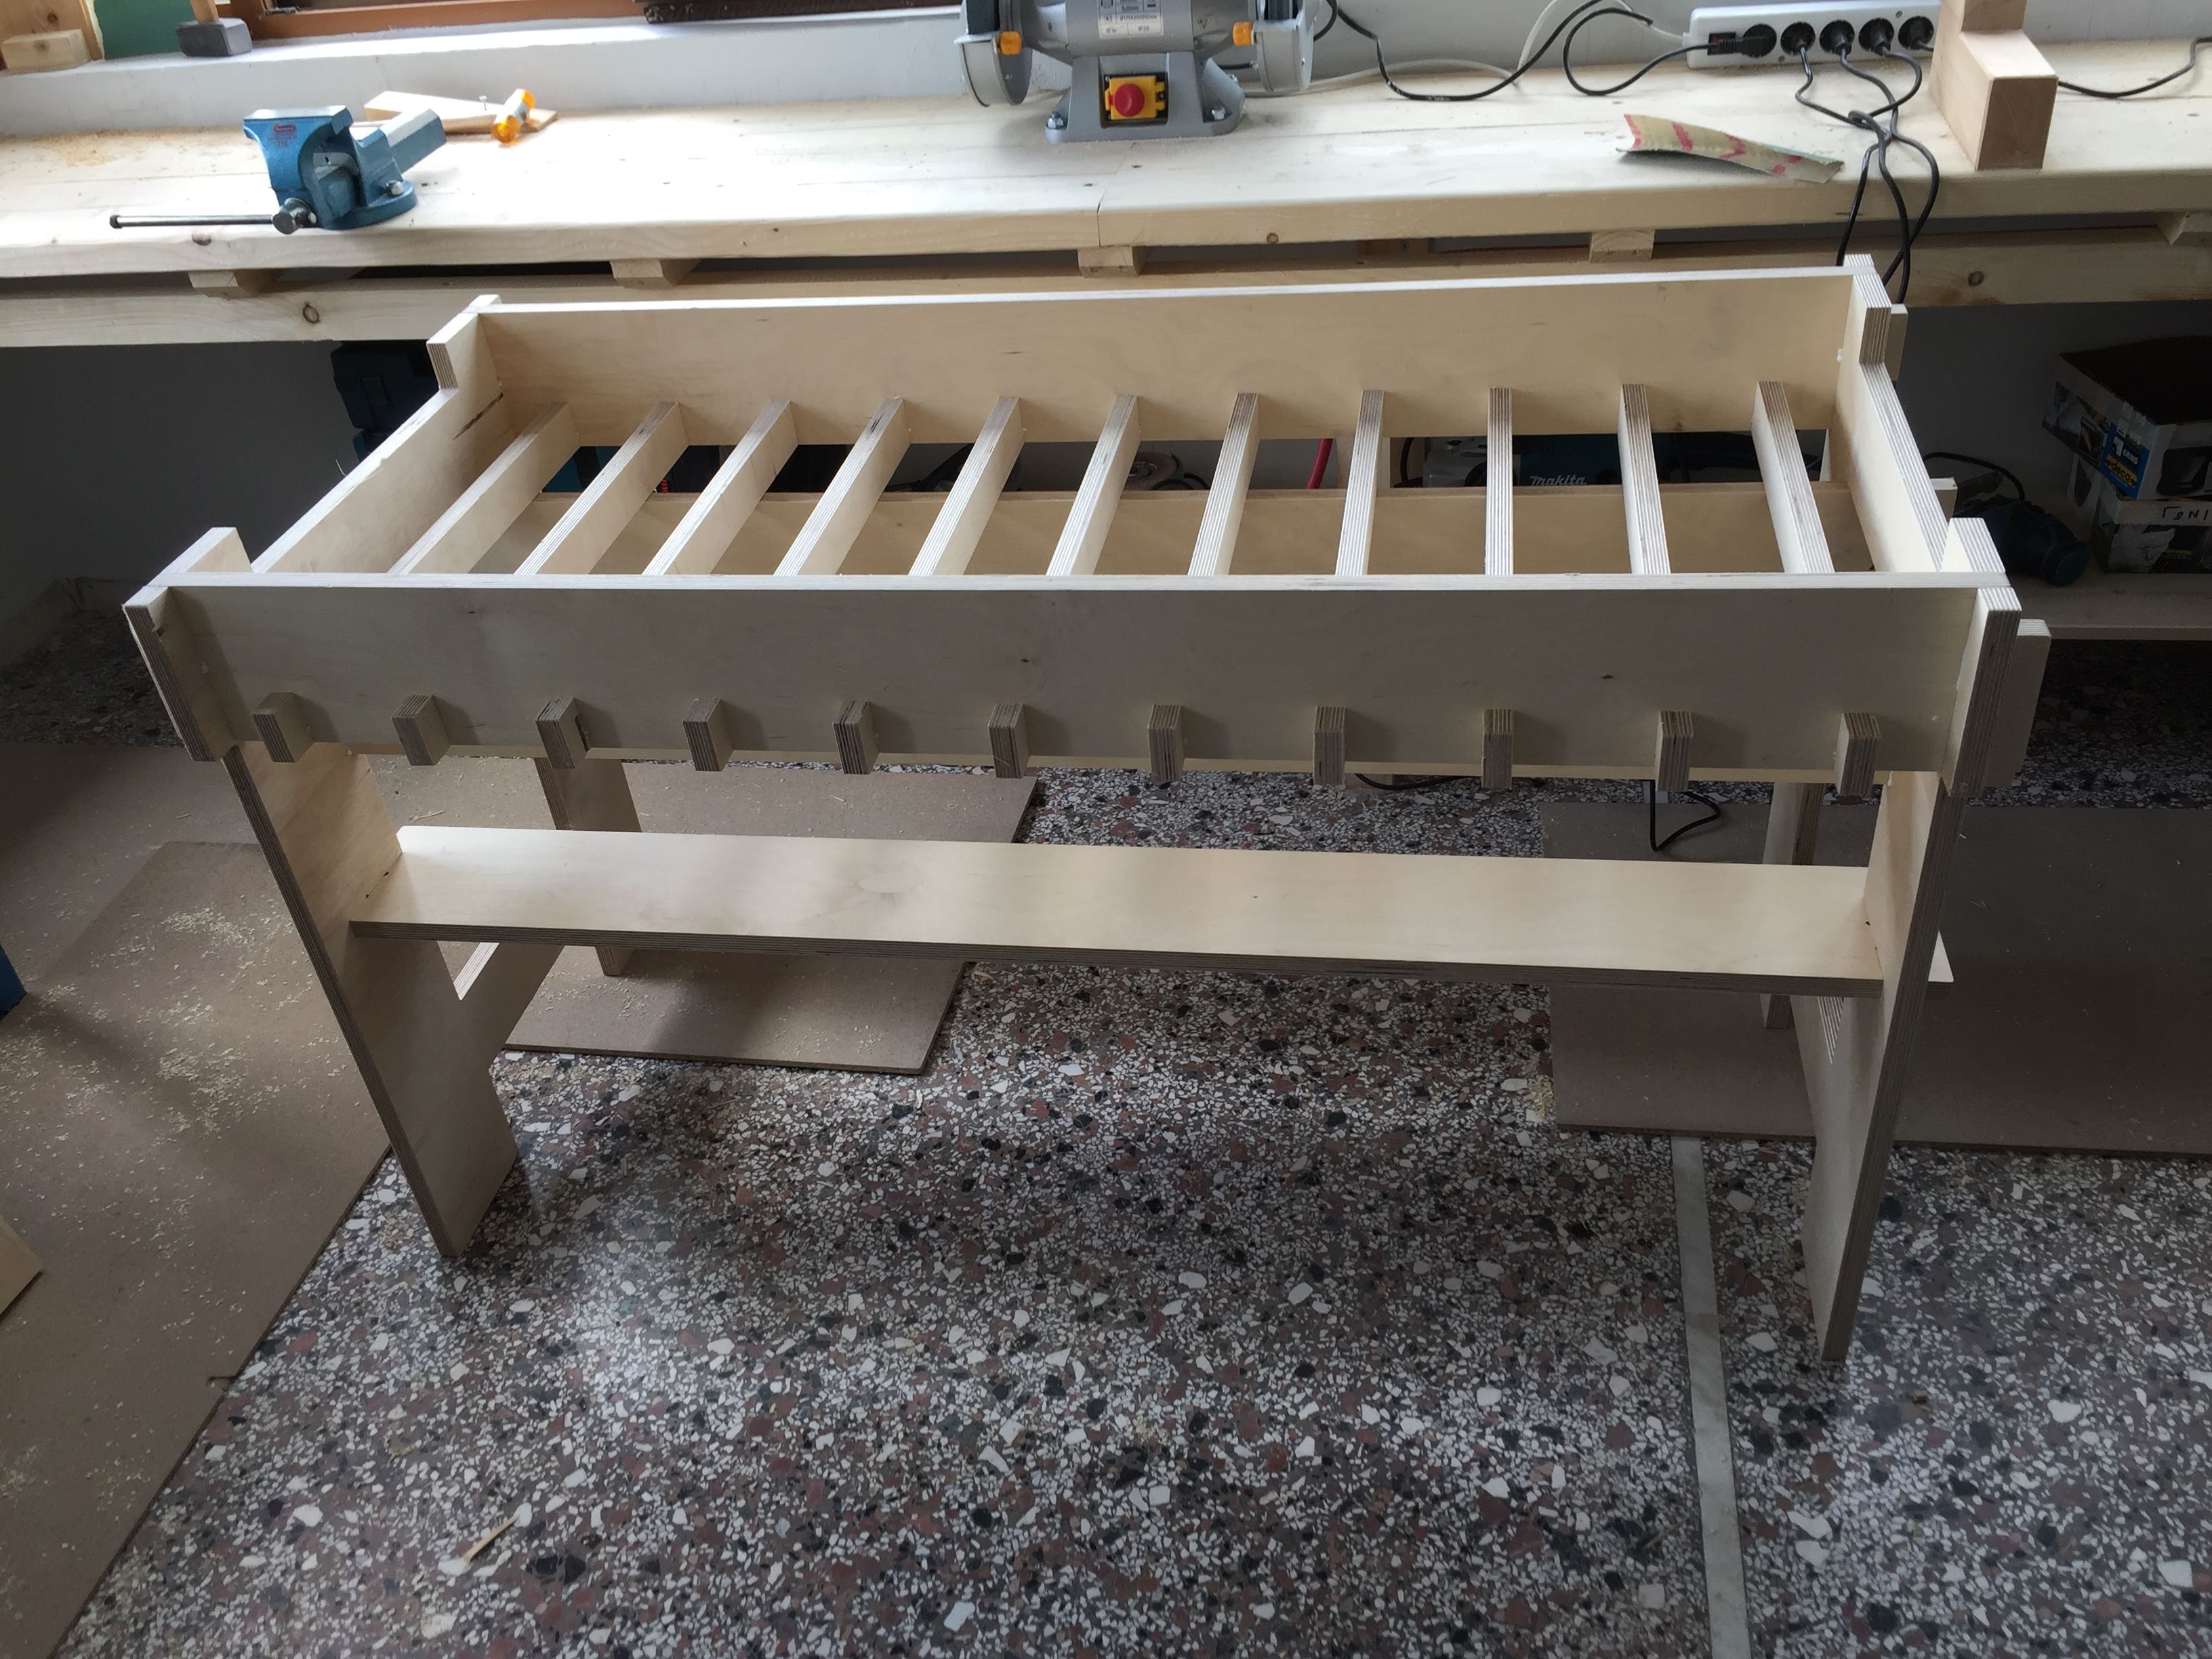
This story starts with the invitation of spending a Week in a Makerspace in a Mountainous Area of Kalentzi Greece. As I explained before, this workshop aimed to develop an Open Source Agriculture Solution with the local Community. I suddenly thought this would be an excellent opportunity to develop GROUU nursery further.
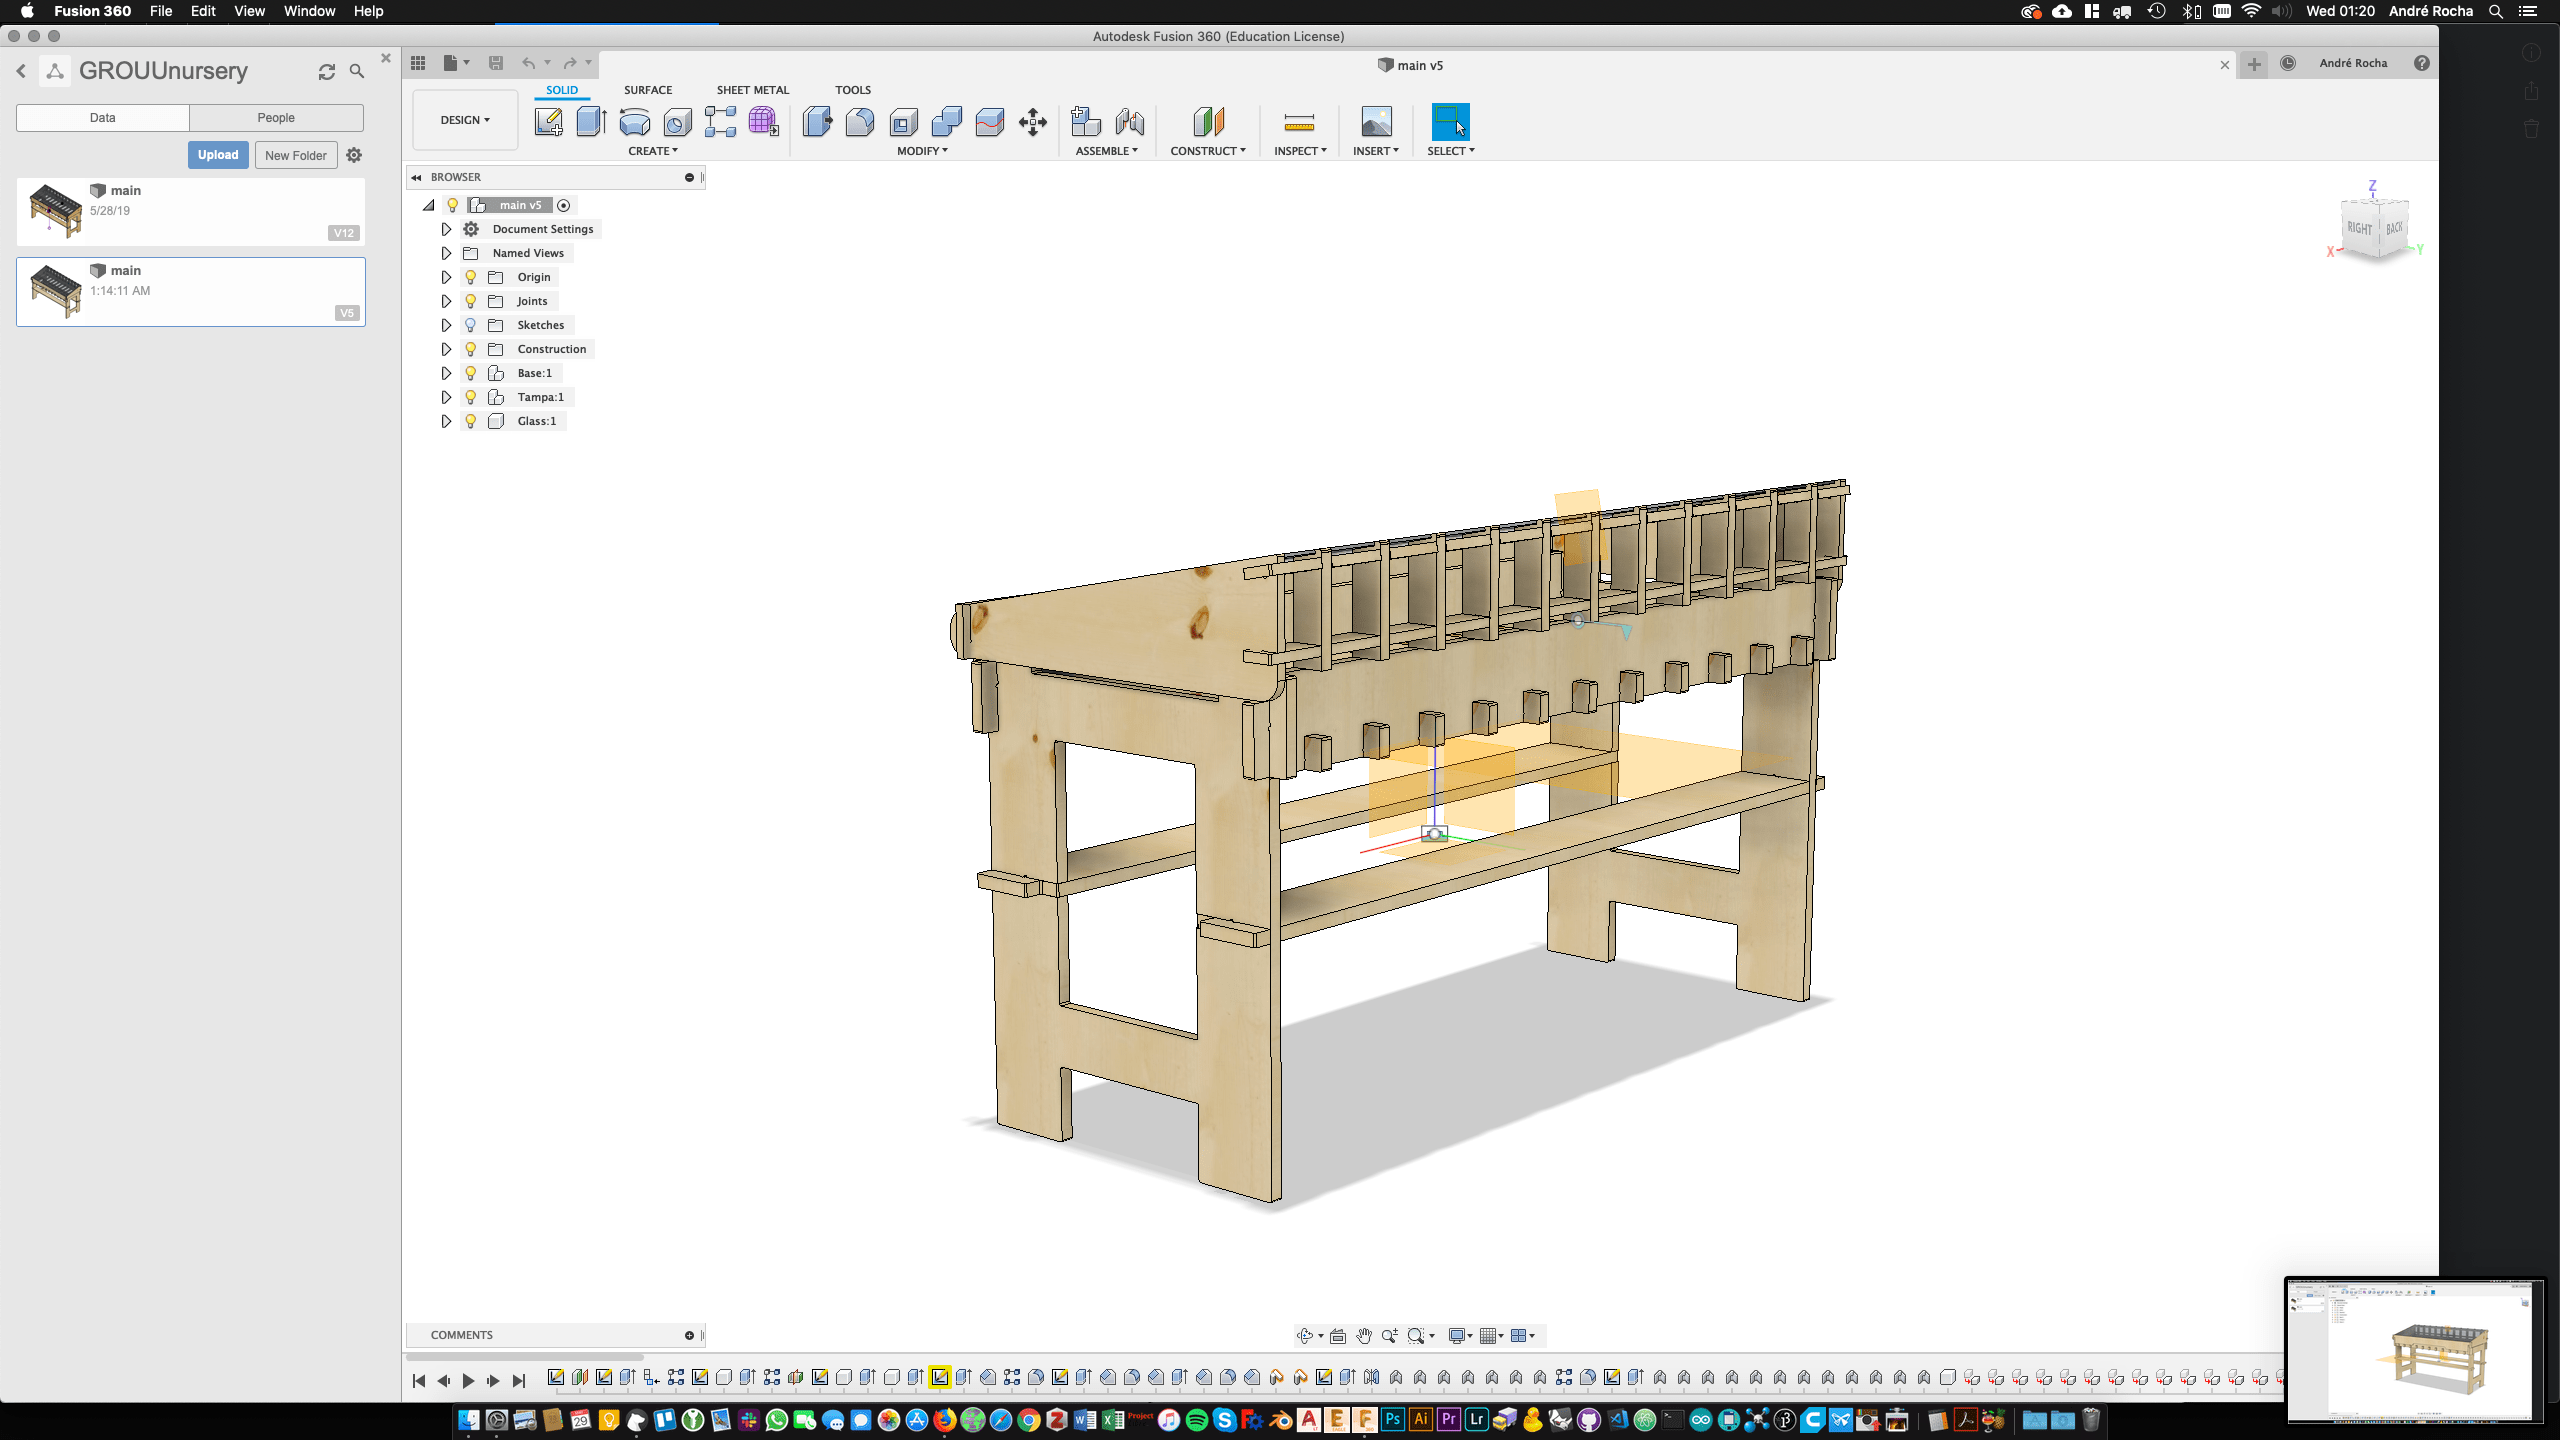
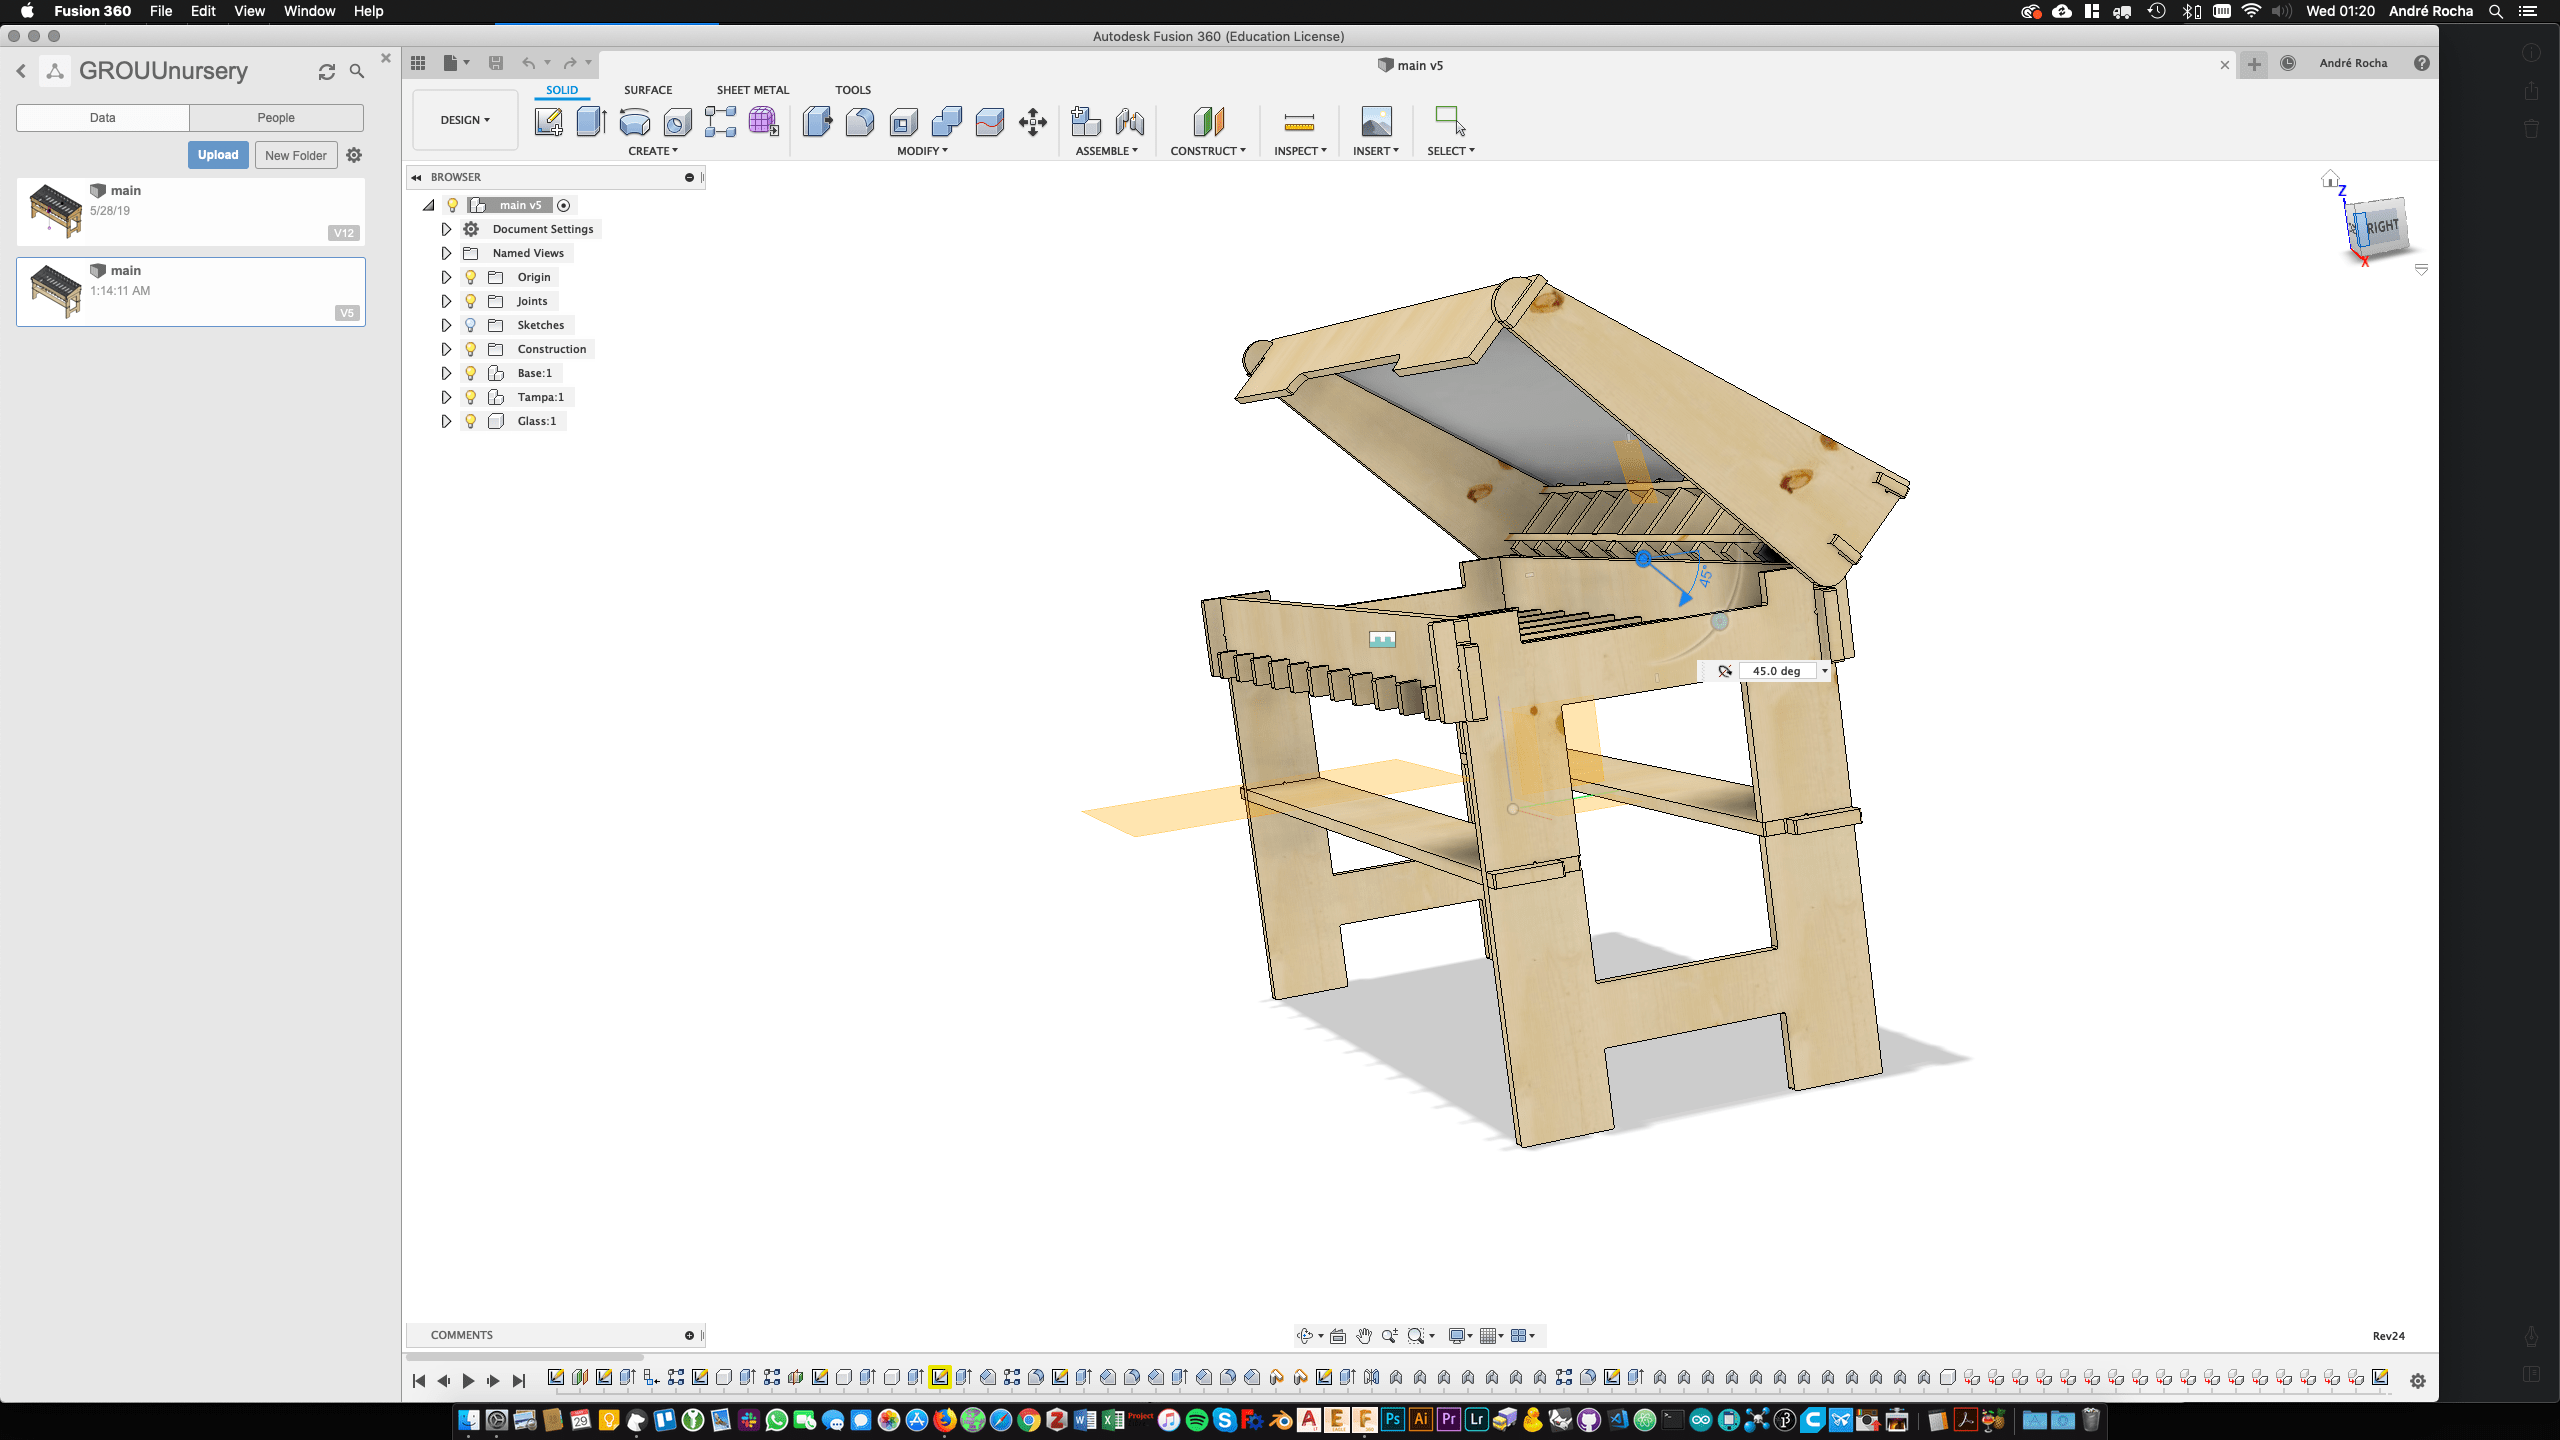
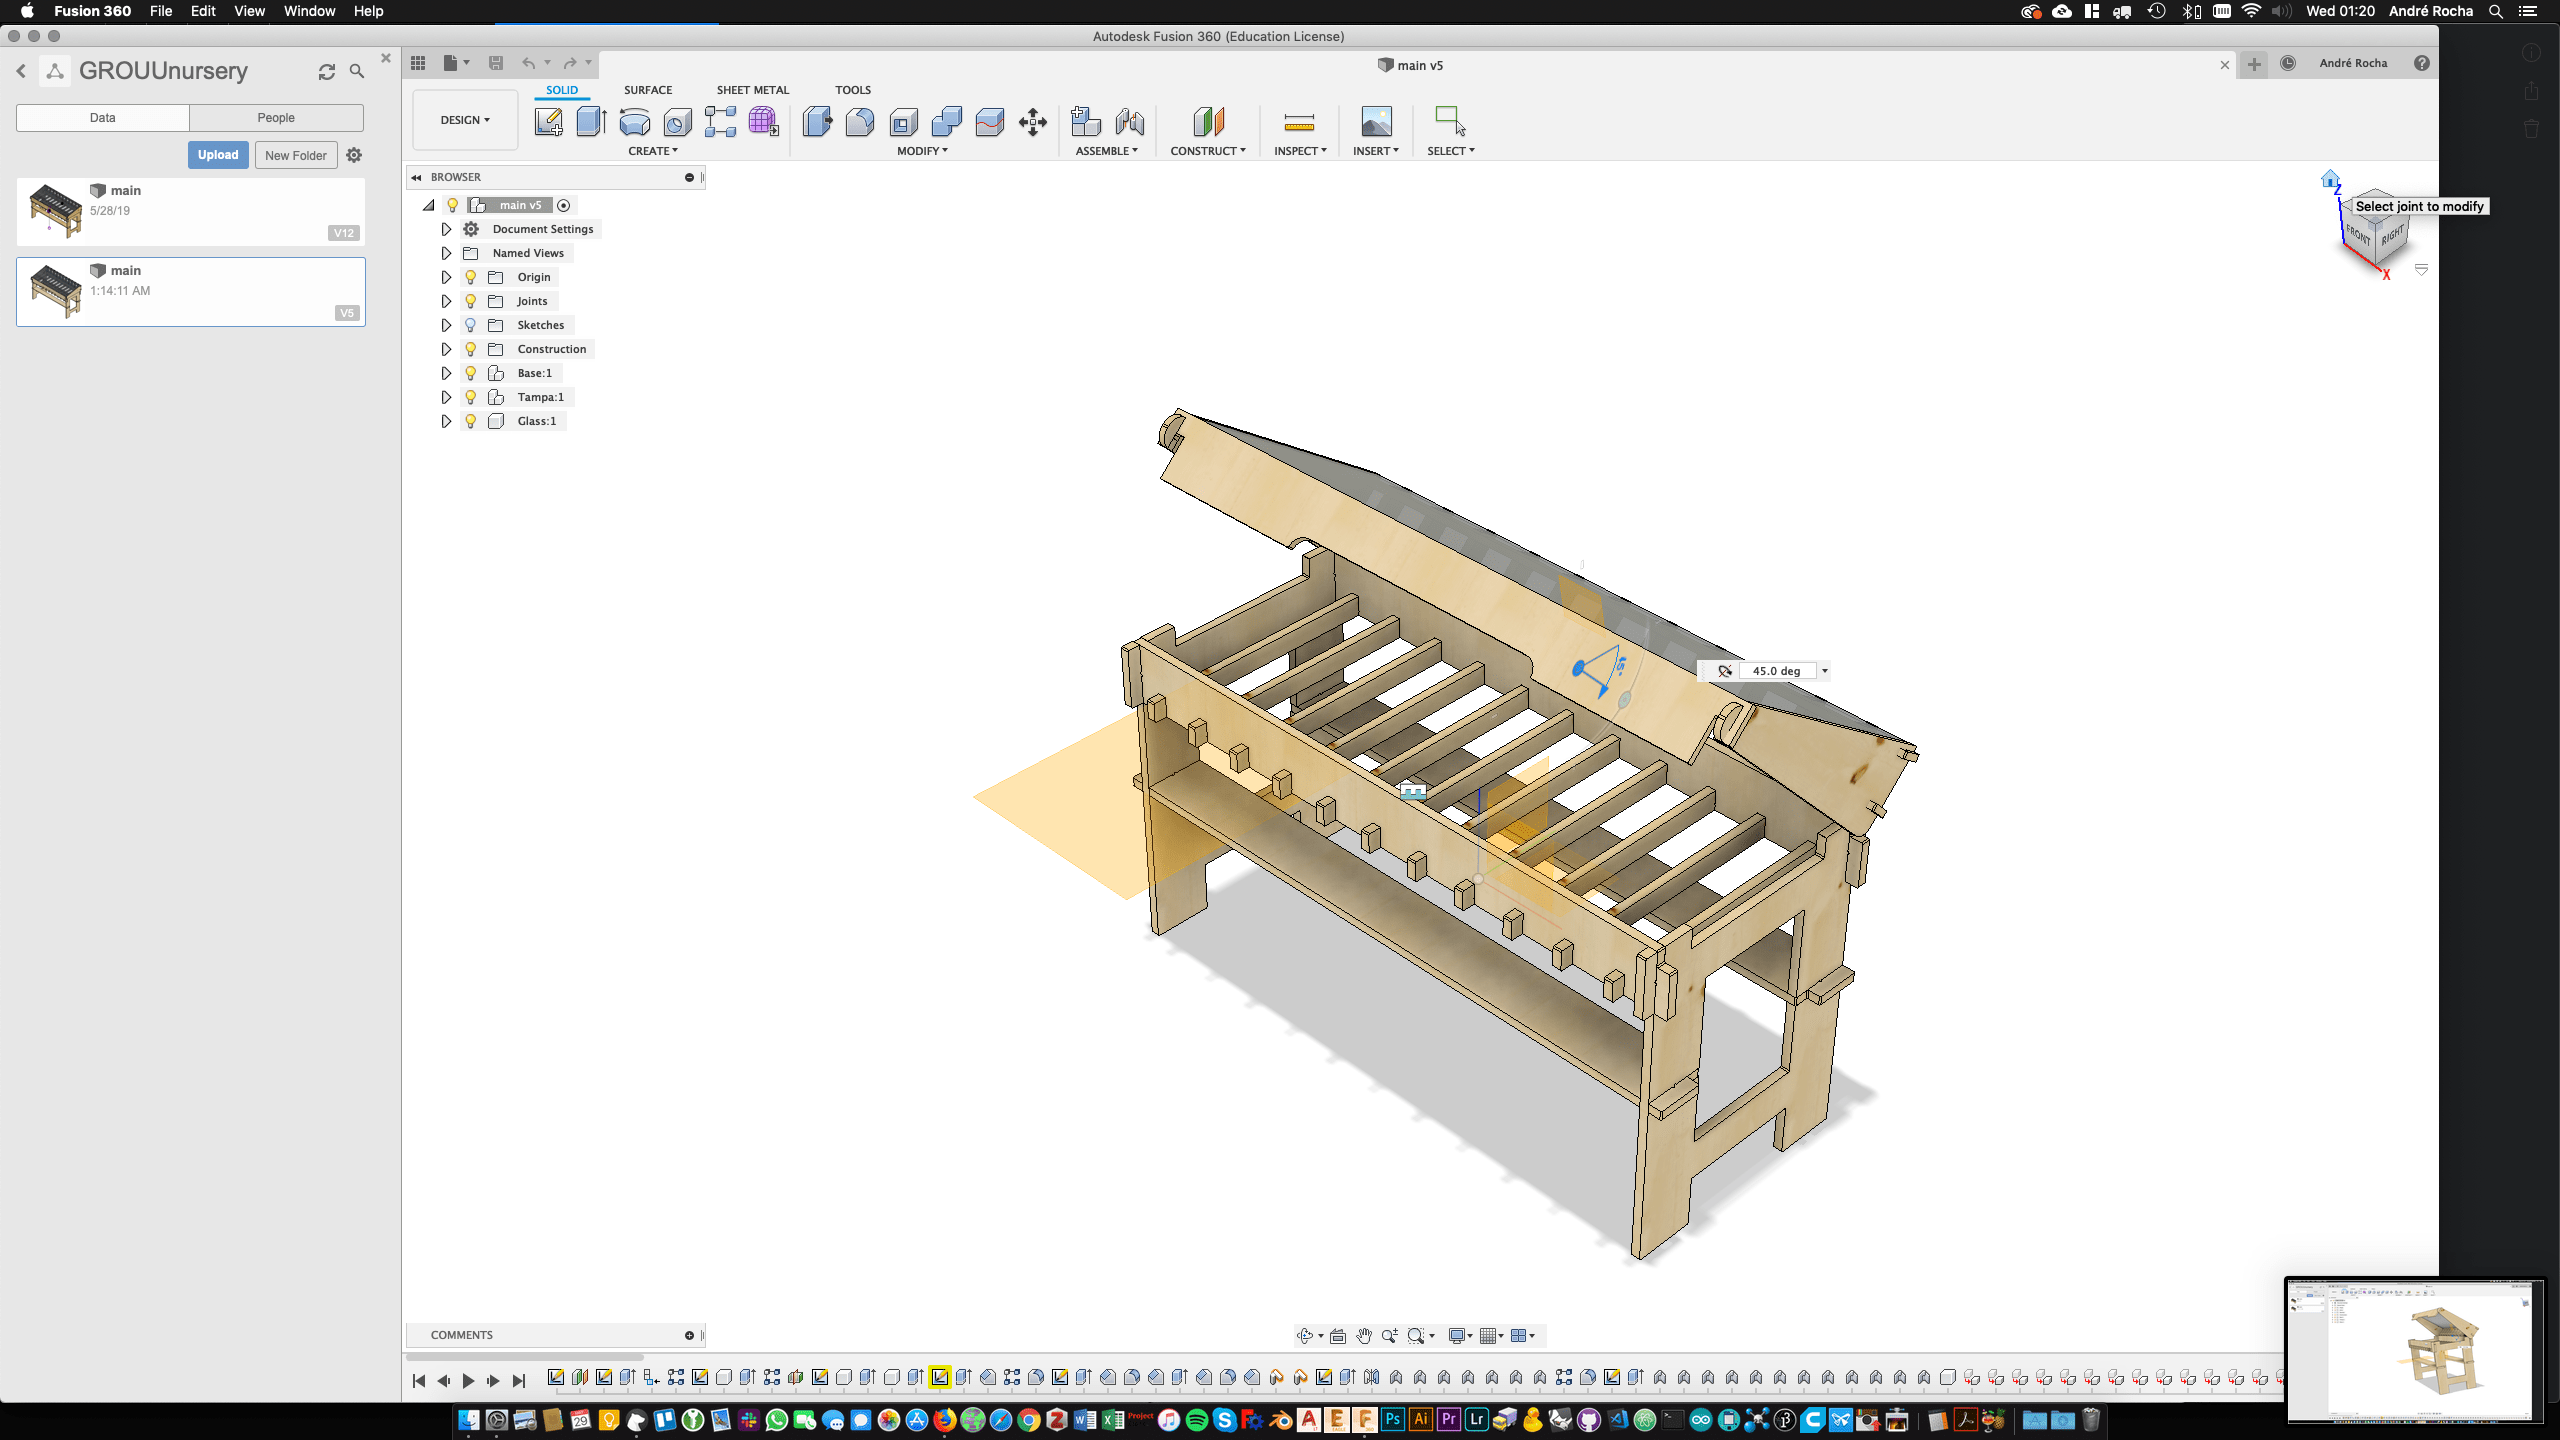
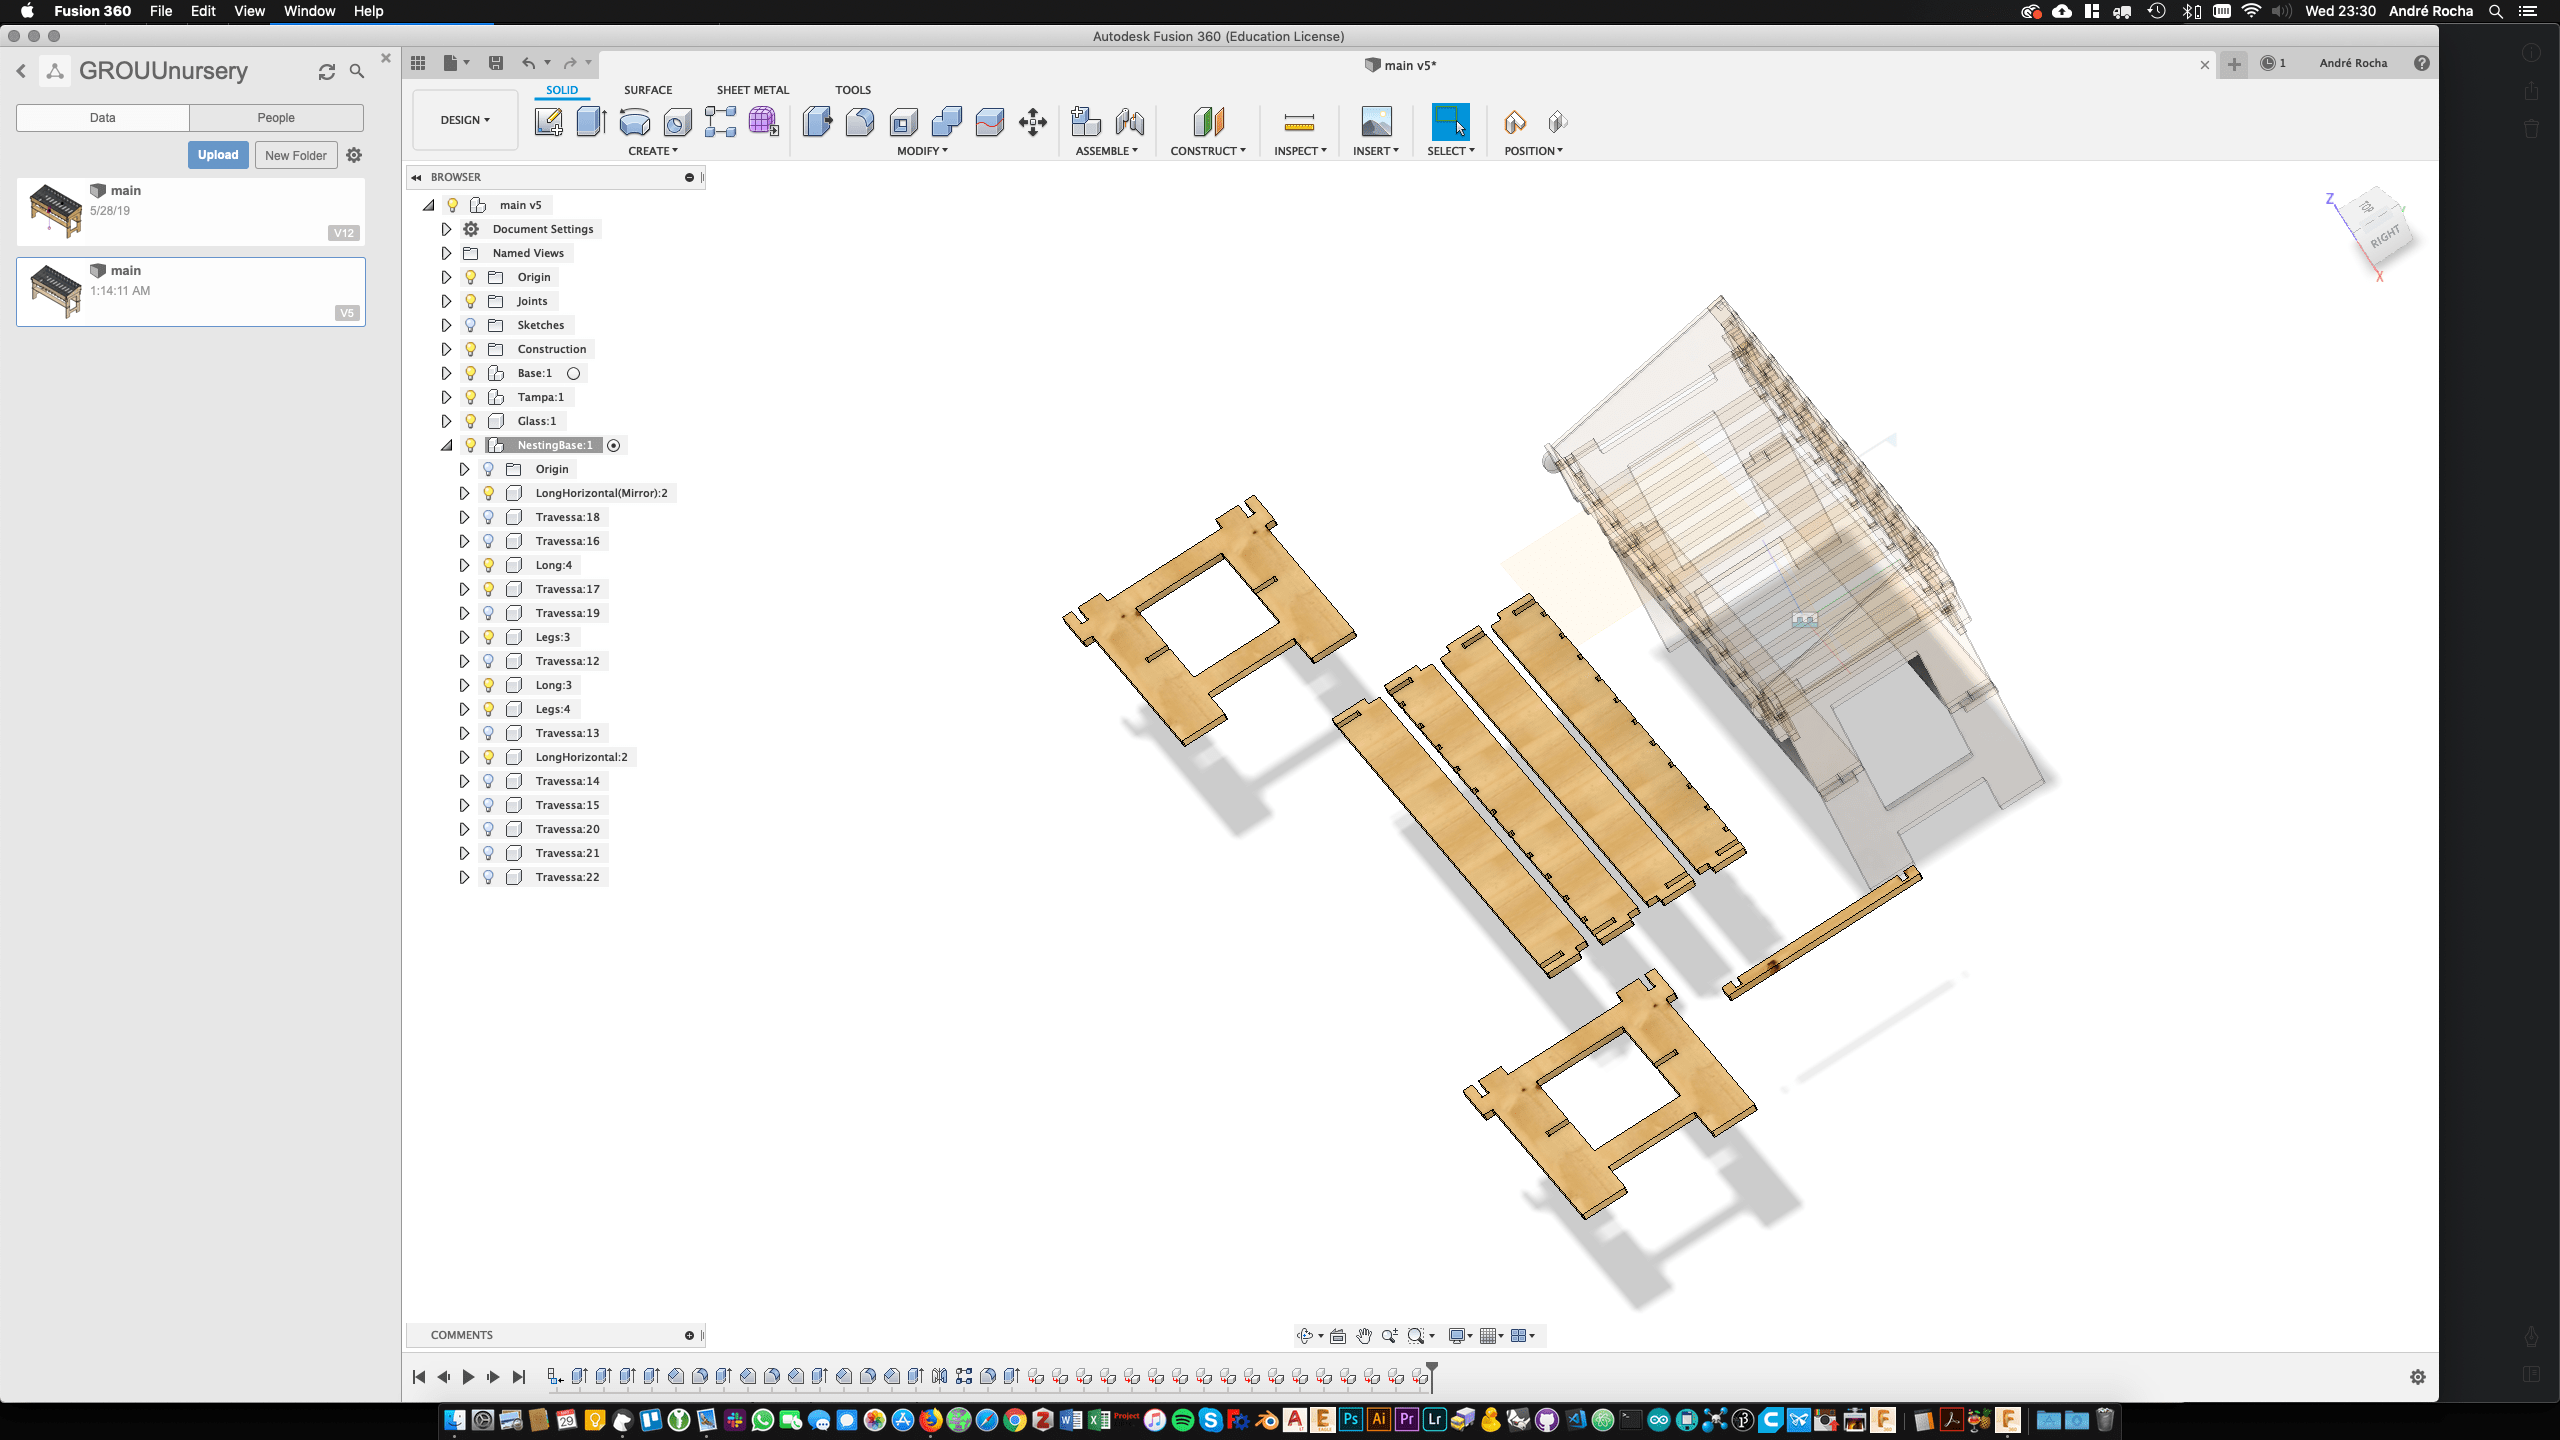
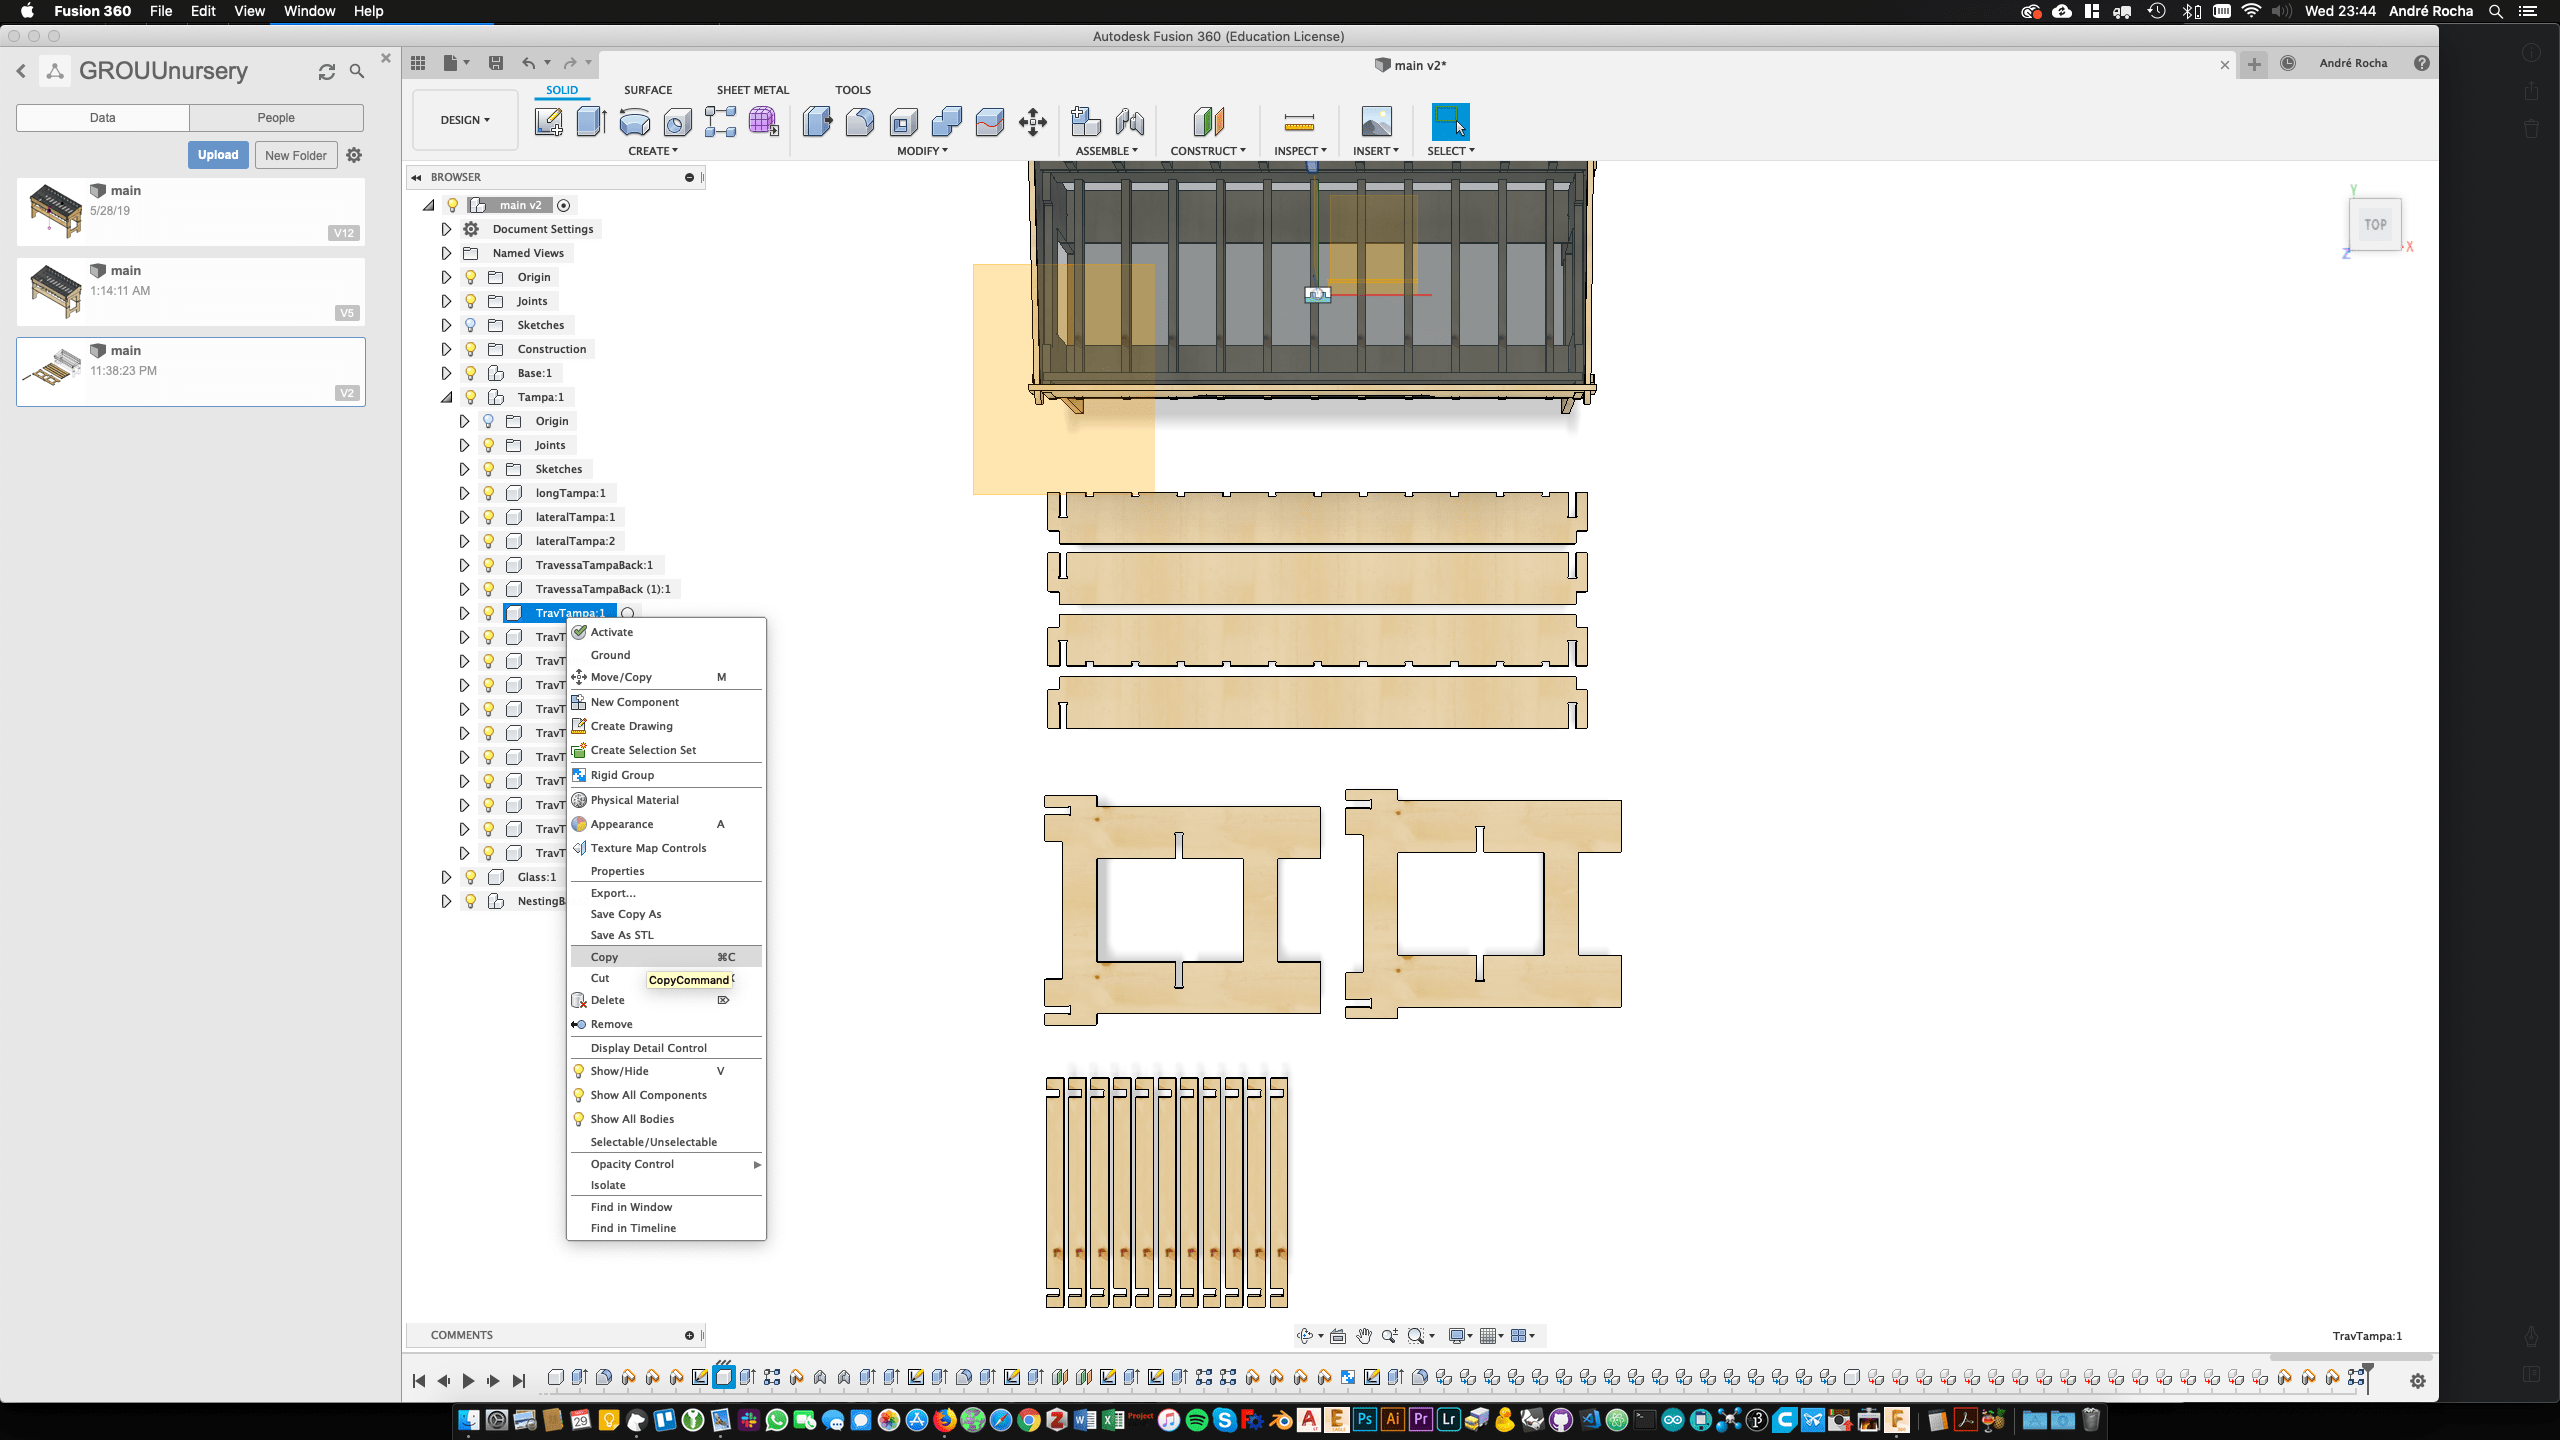
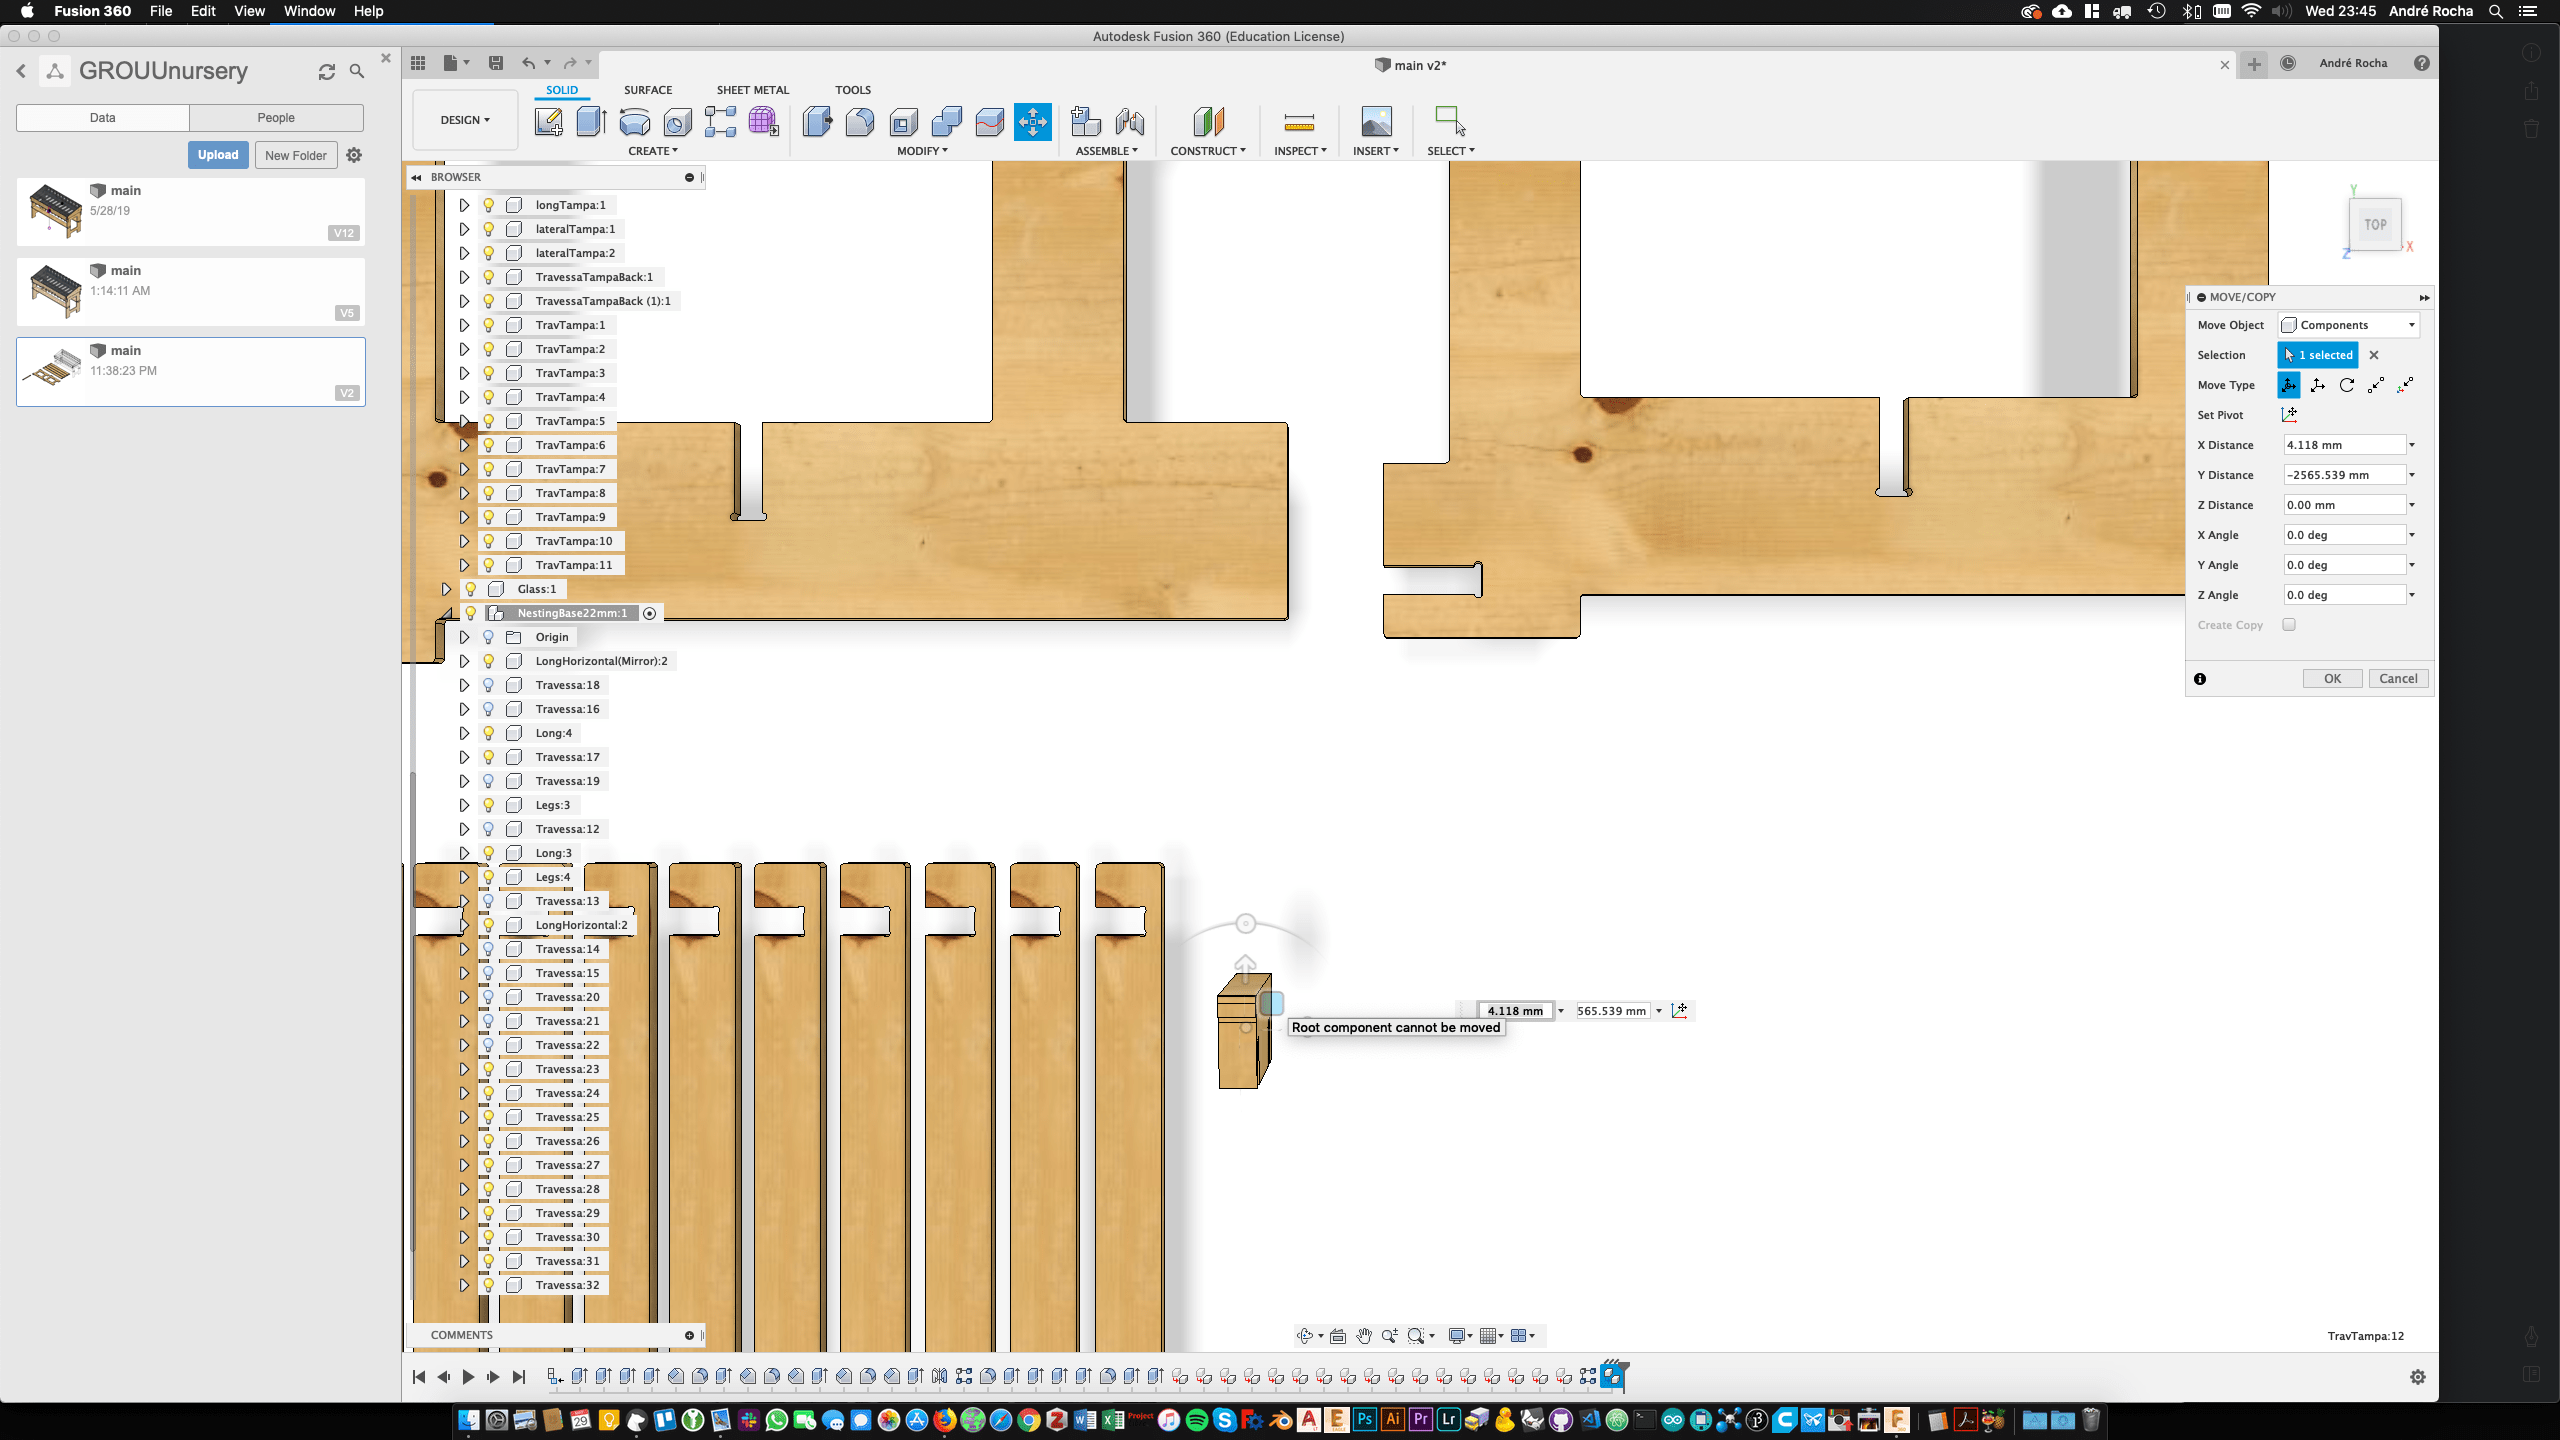
After designing the piece of furniture which was going to hold the system, divided by two trays for two different crops (as shown on the CAD week) I started preparing the production elements.
Fusion allows simultaneous control over the model and the fabrication parts. It is the best way to handle everything if you want to prepare for production more smartly, keeping your fabrication options and designs open until the last minute.
The trick is to copy all the components (attention! all parts should be listed as separate components) into a separate component you can call CAM. Fusion 360 distinguishes from "Paste" from "Paste New." This simple paste is an instance of the original component, and any change to the previous affects the later. Meaning we can alter stuff on the main file, correct measures, and even adapt the main design for a better nesting strategy, keeping an eye on the final result.
A good strategy is also to include some global parameters. These parameters allow us to control variables such as the thickness of the material, the tightness of the press-fit joints, and global tolerance (see week 3). In this case, I started by two tests of simple joints with 3 different press-fit values. (see drawing).
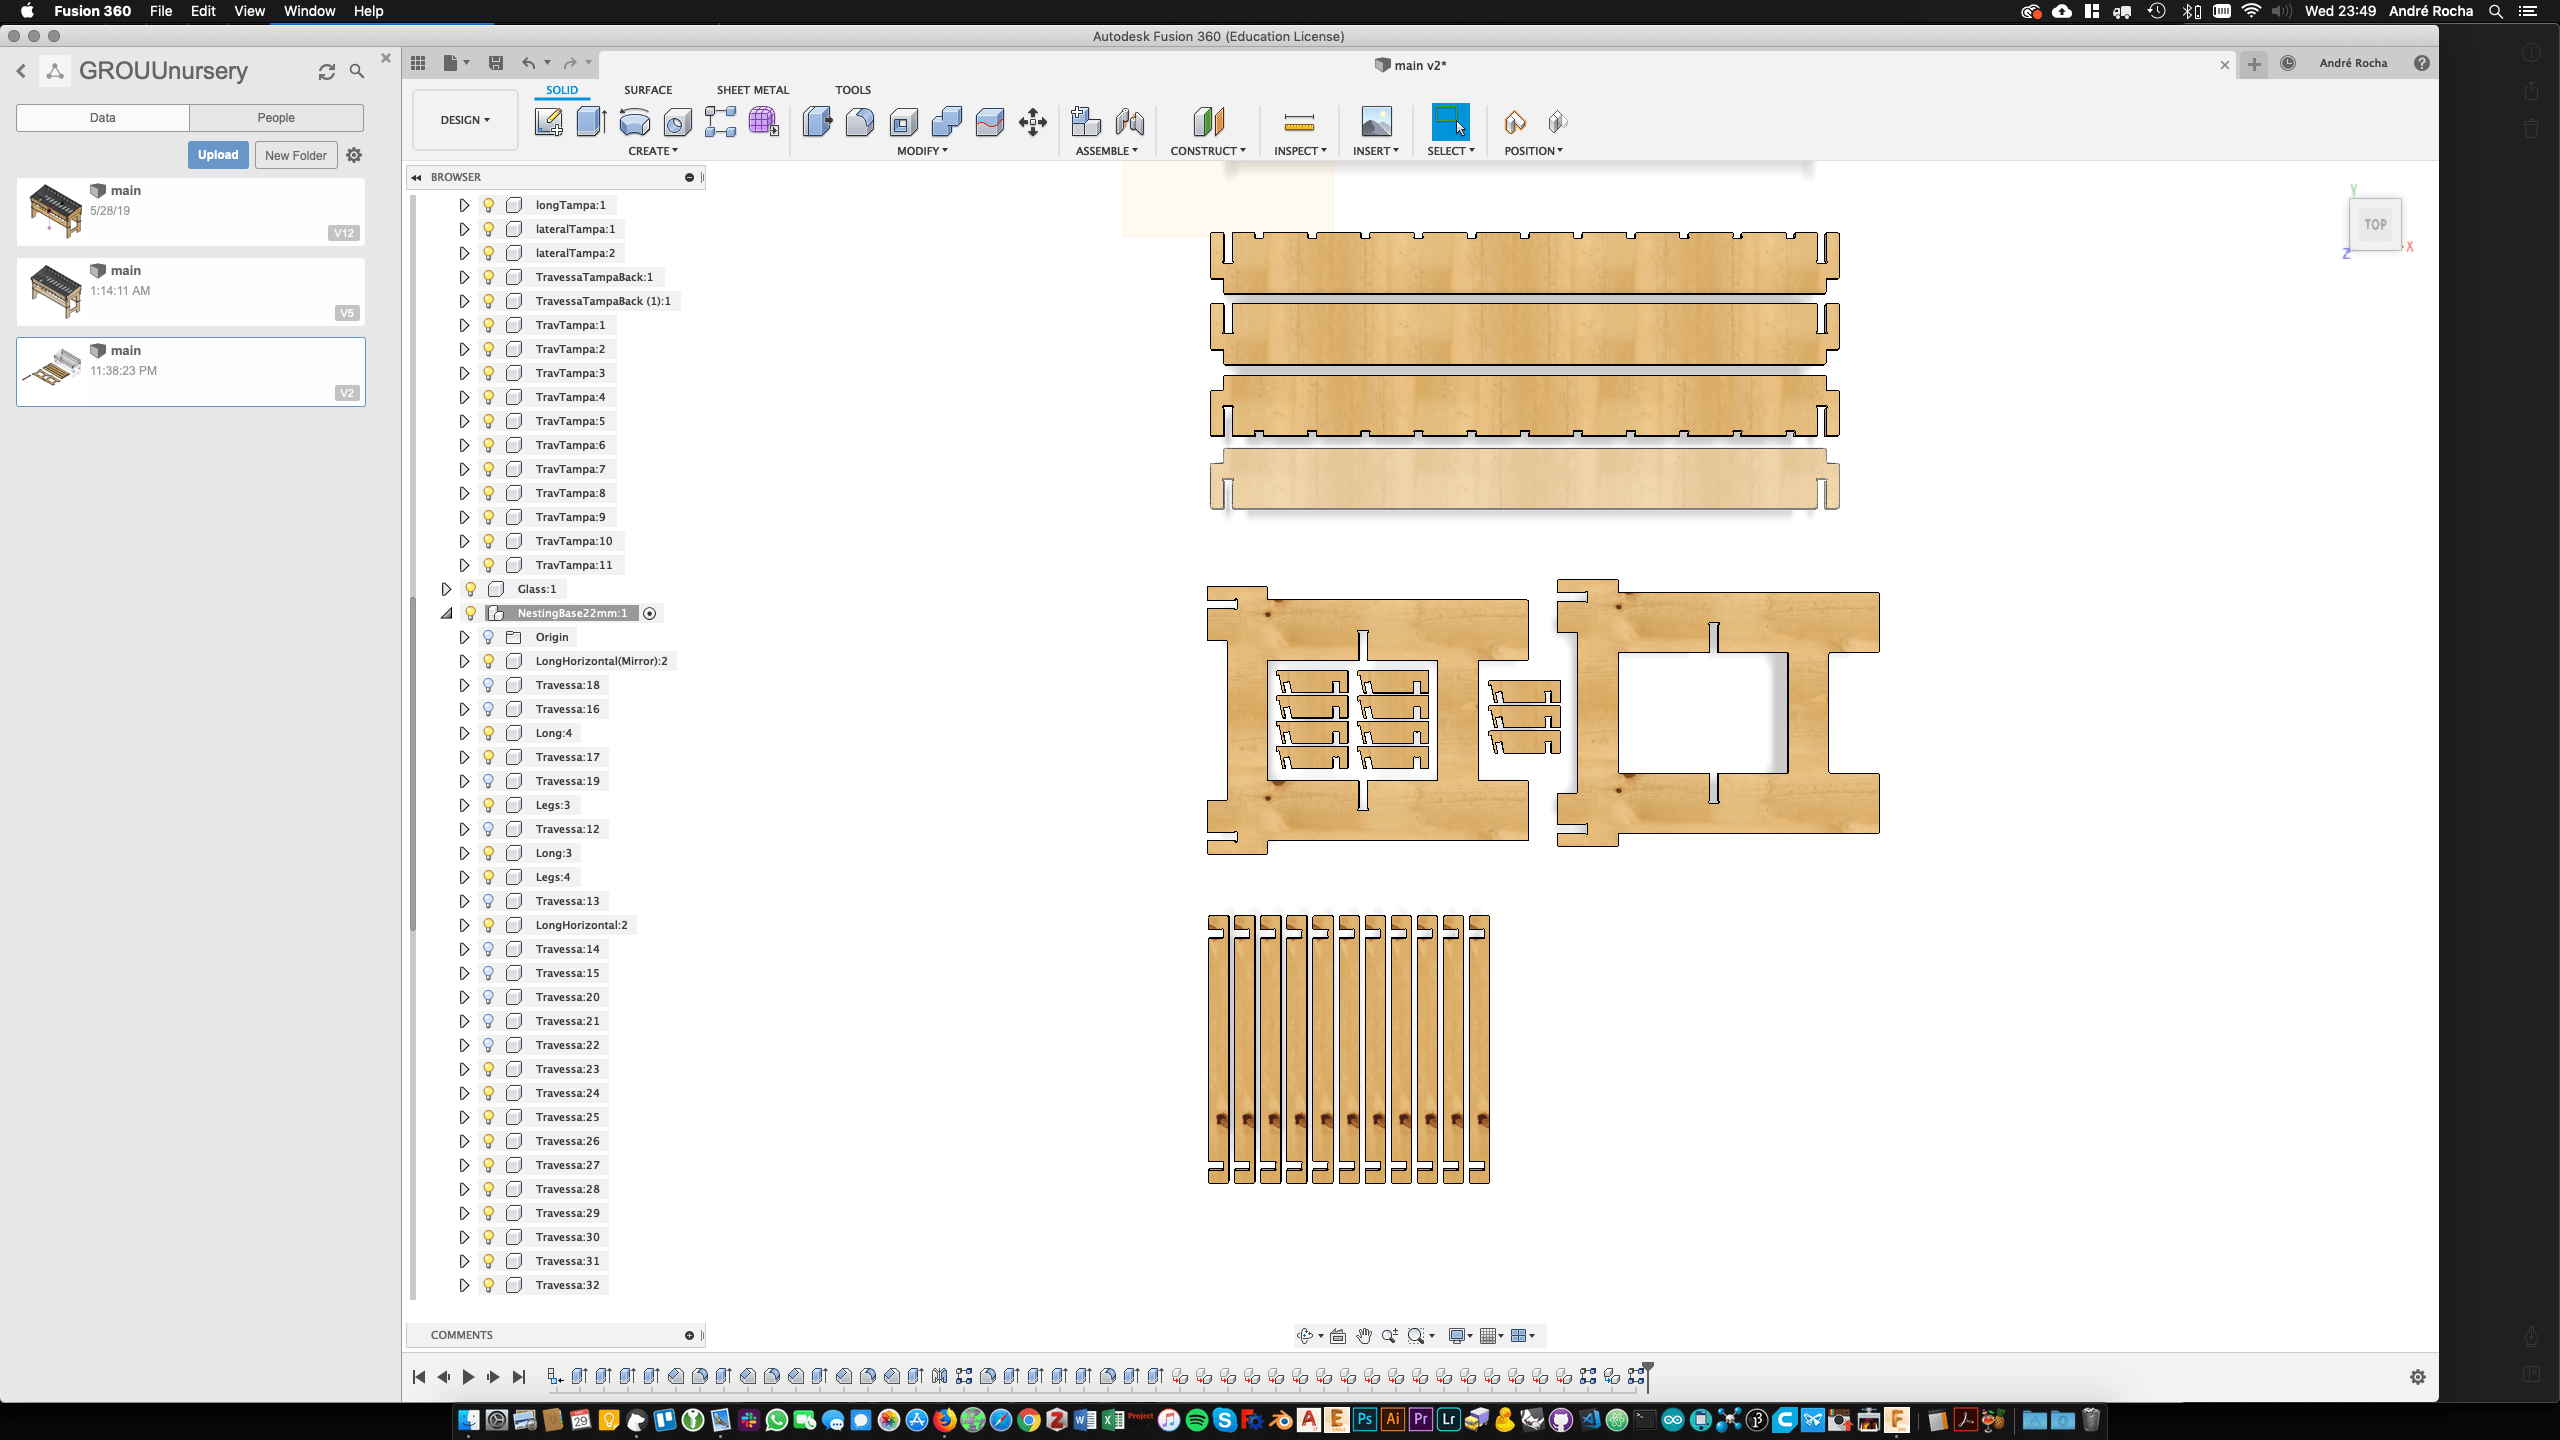
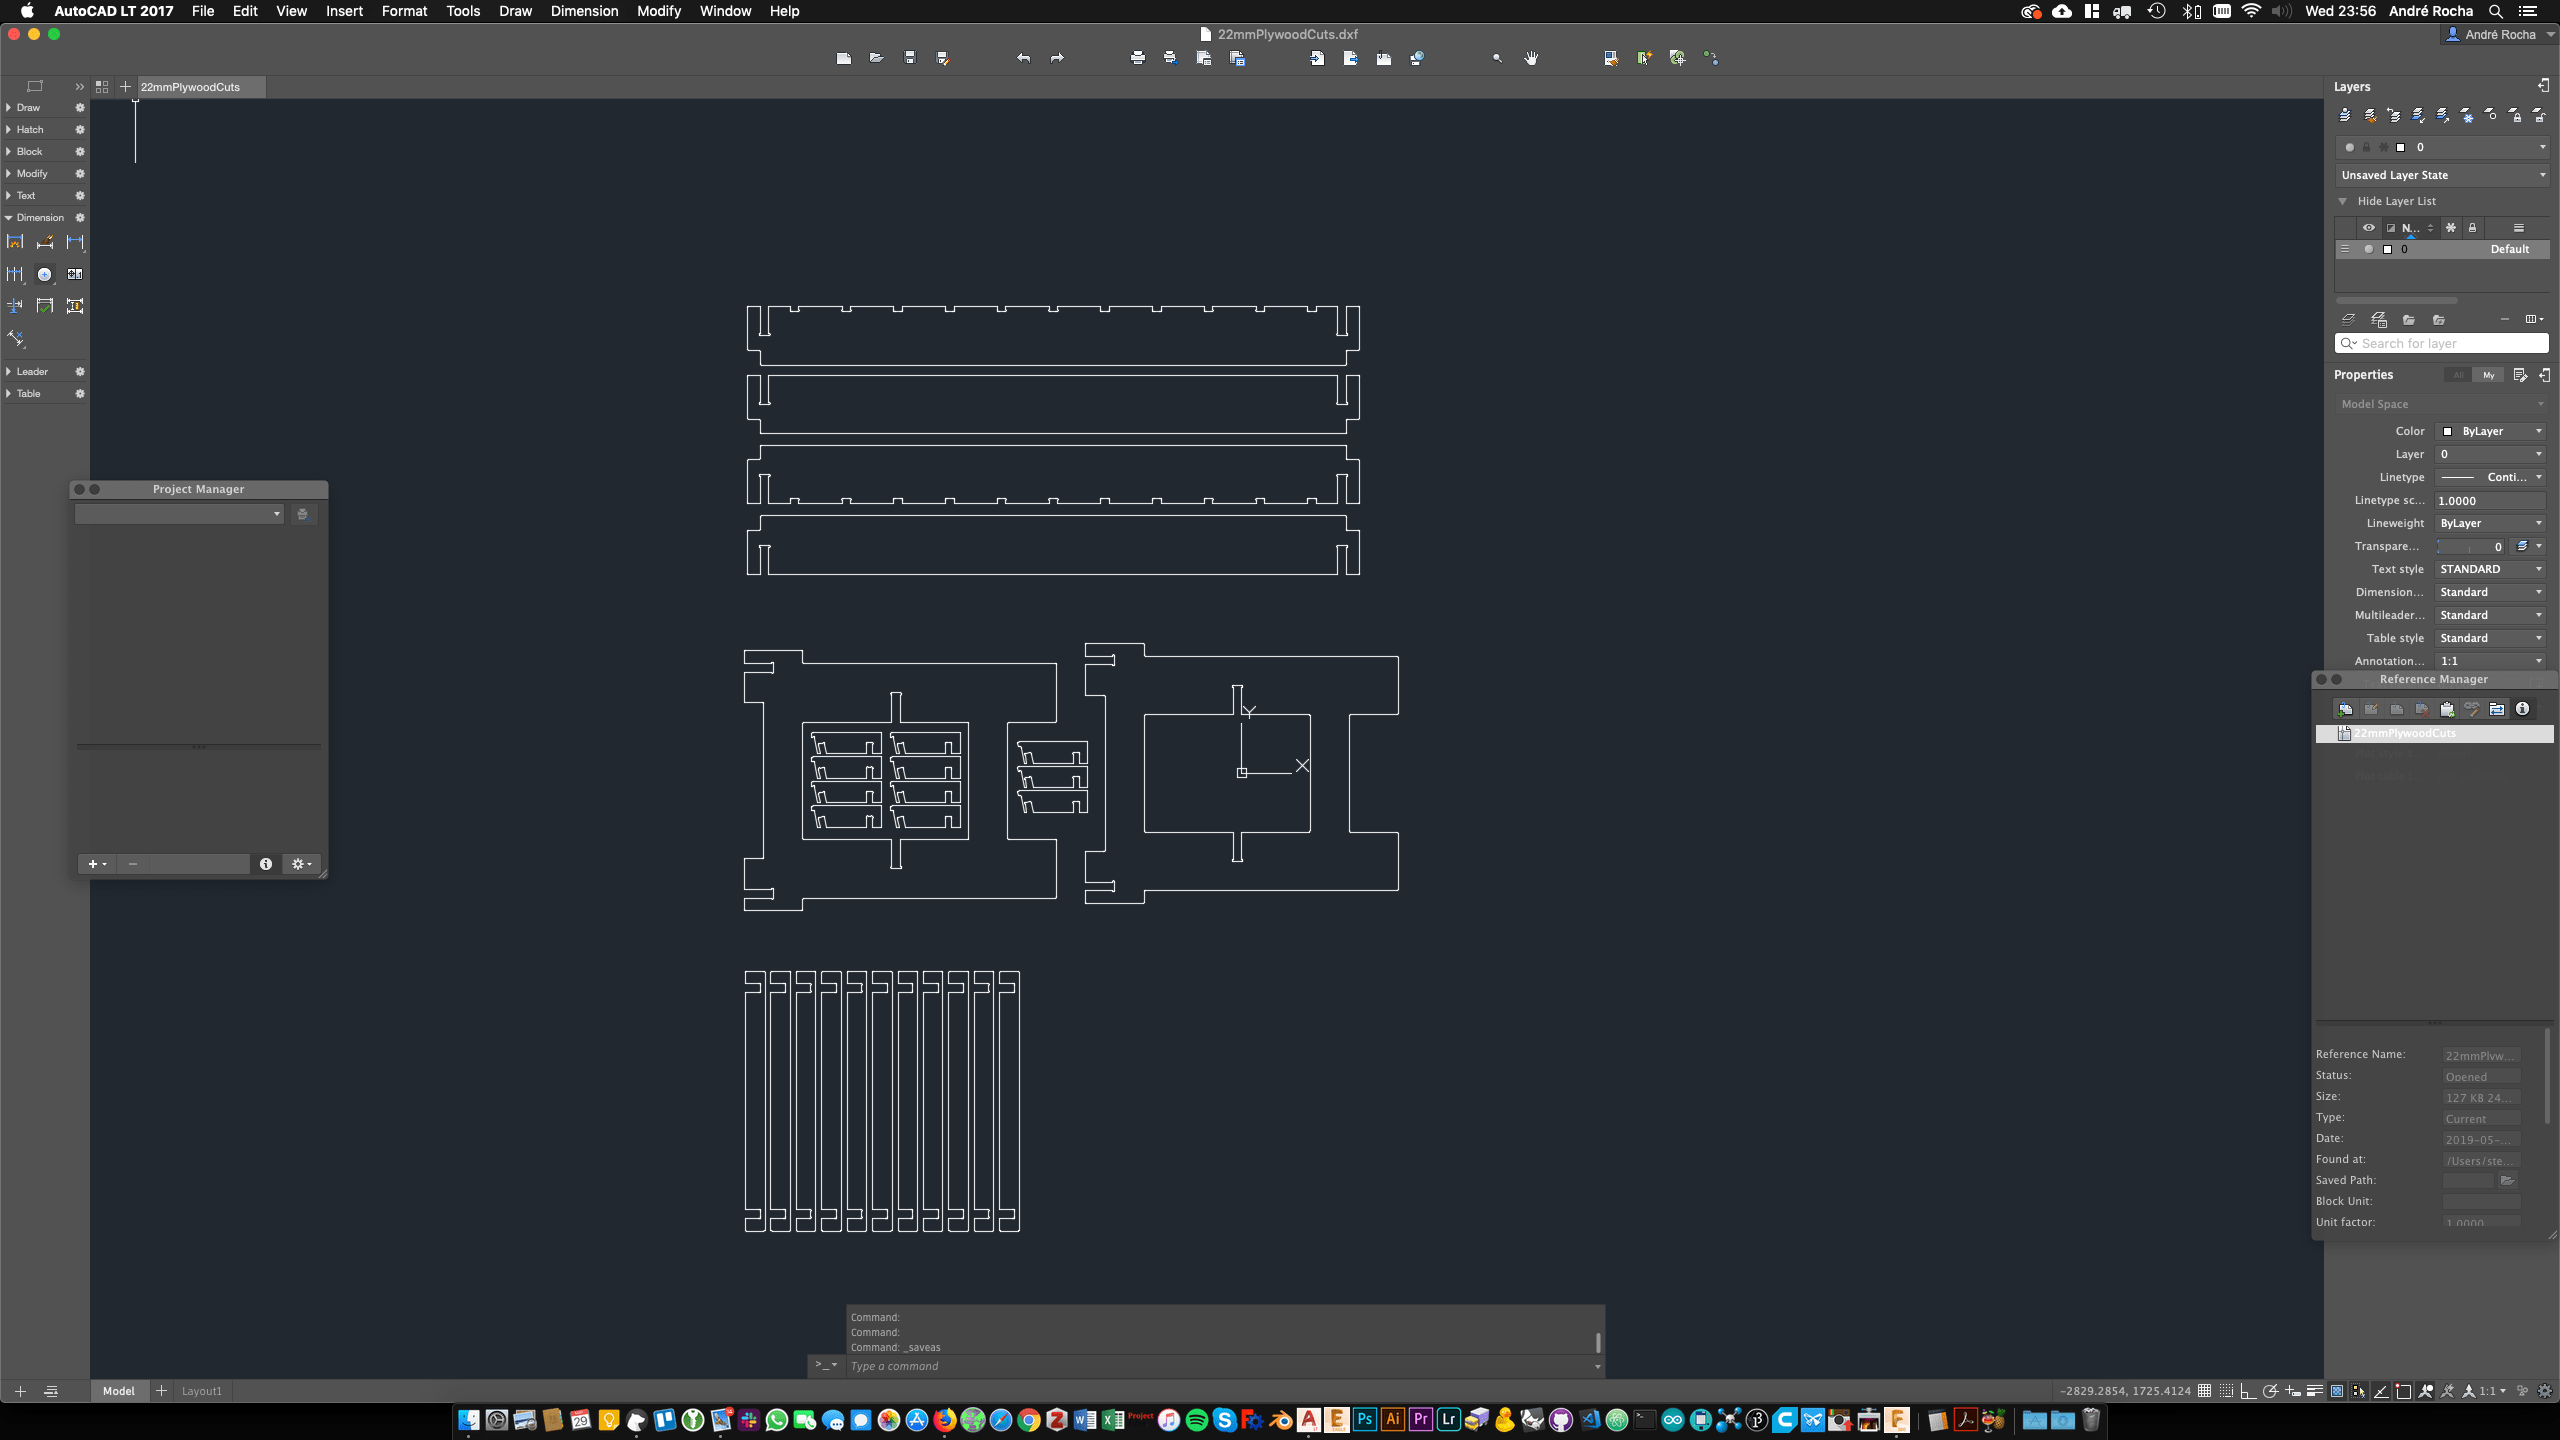
Another quick test consisted of exporting the outlines to a DXF file, scaling it down in 2D CAD, and cutting it in the laser cutter. This very exact scale model allowed me to correct the structure by adding two extra parts.
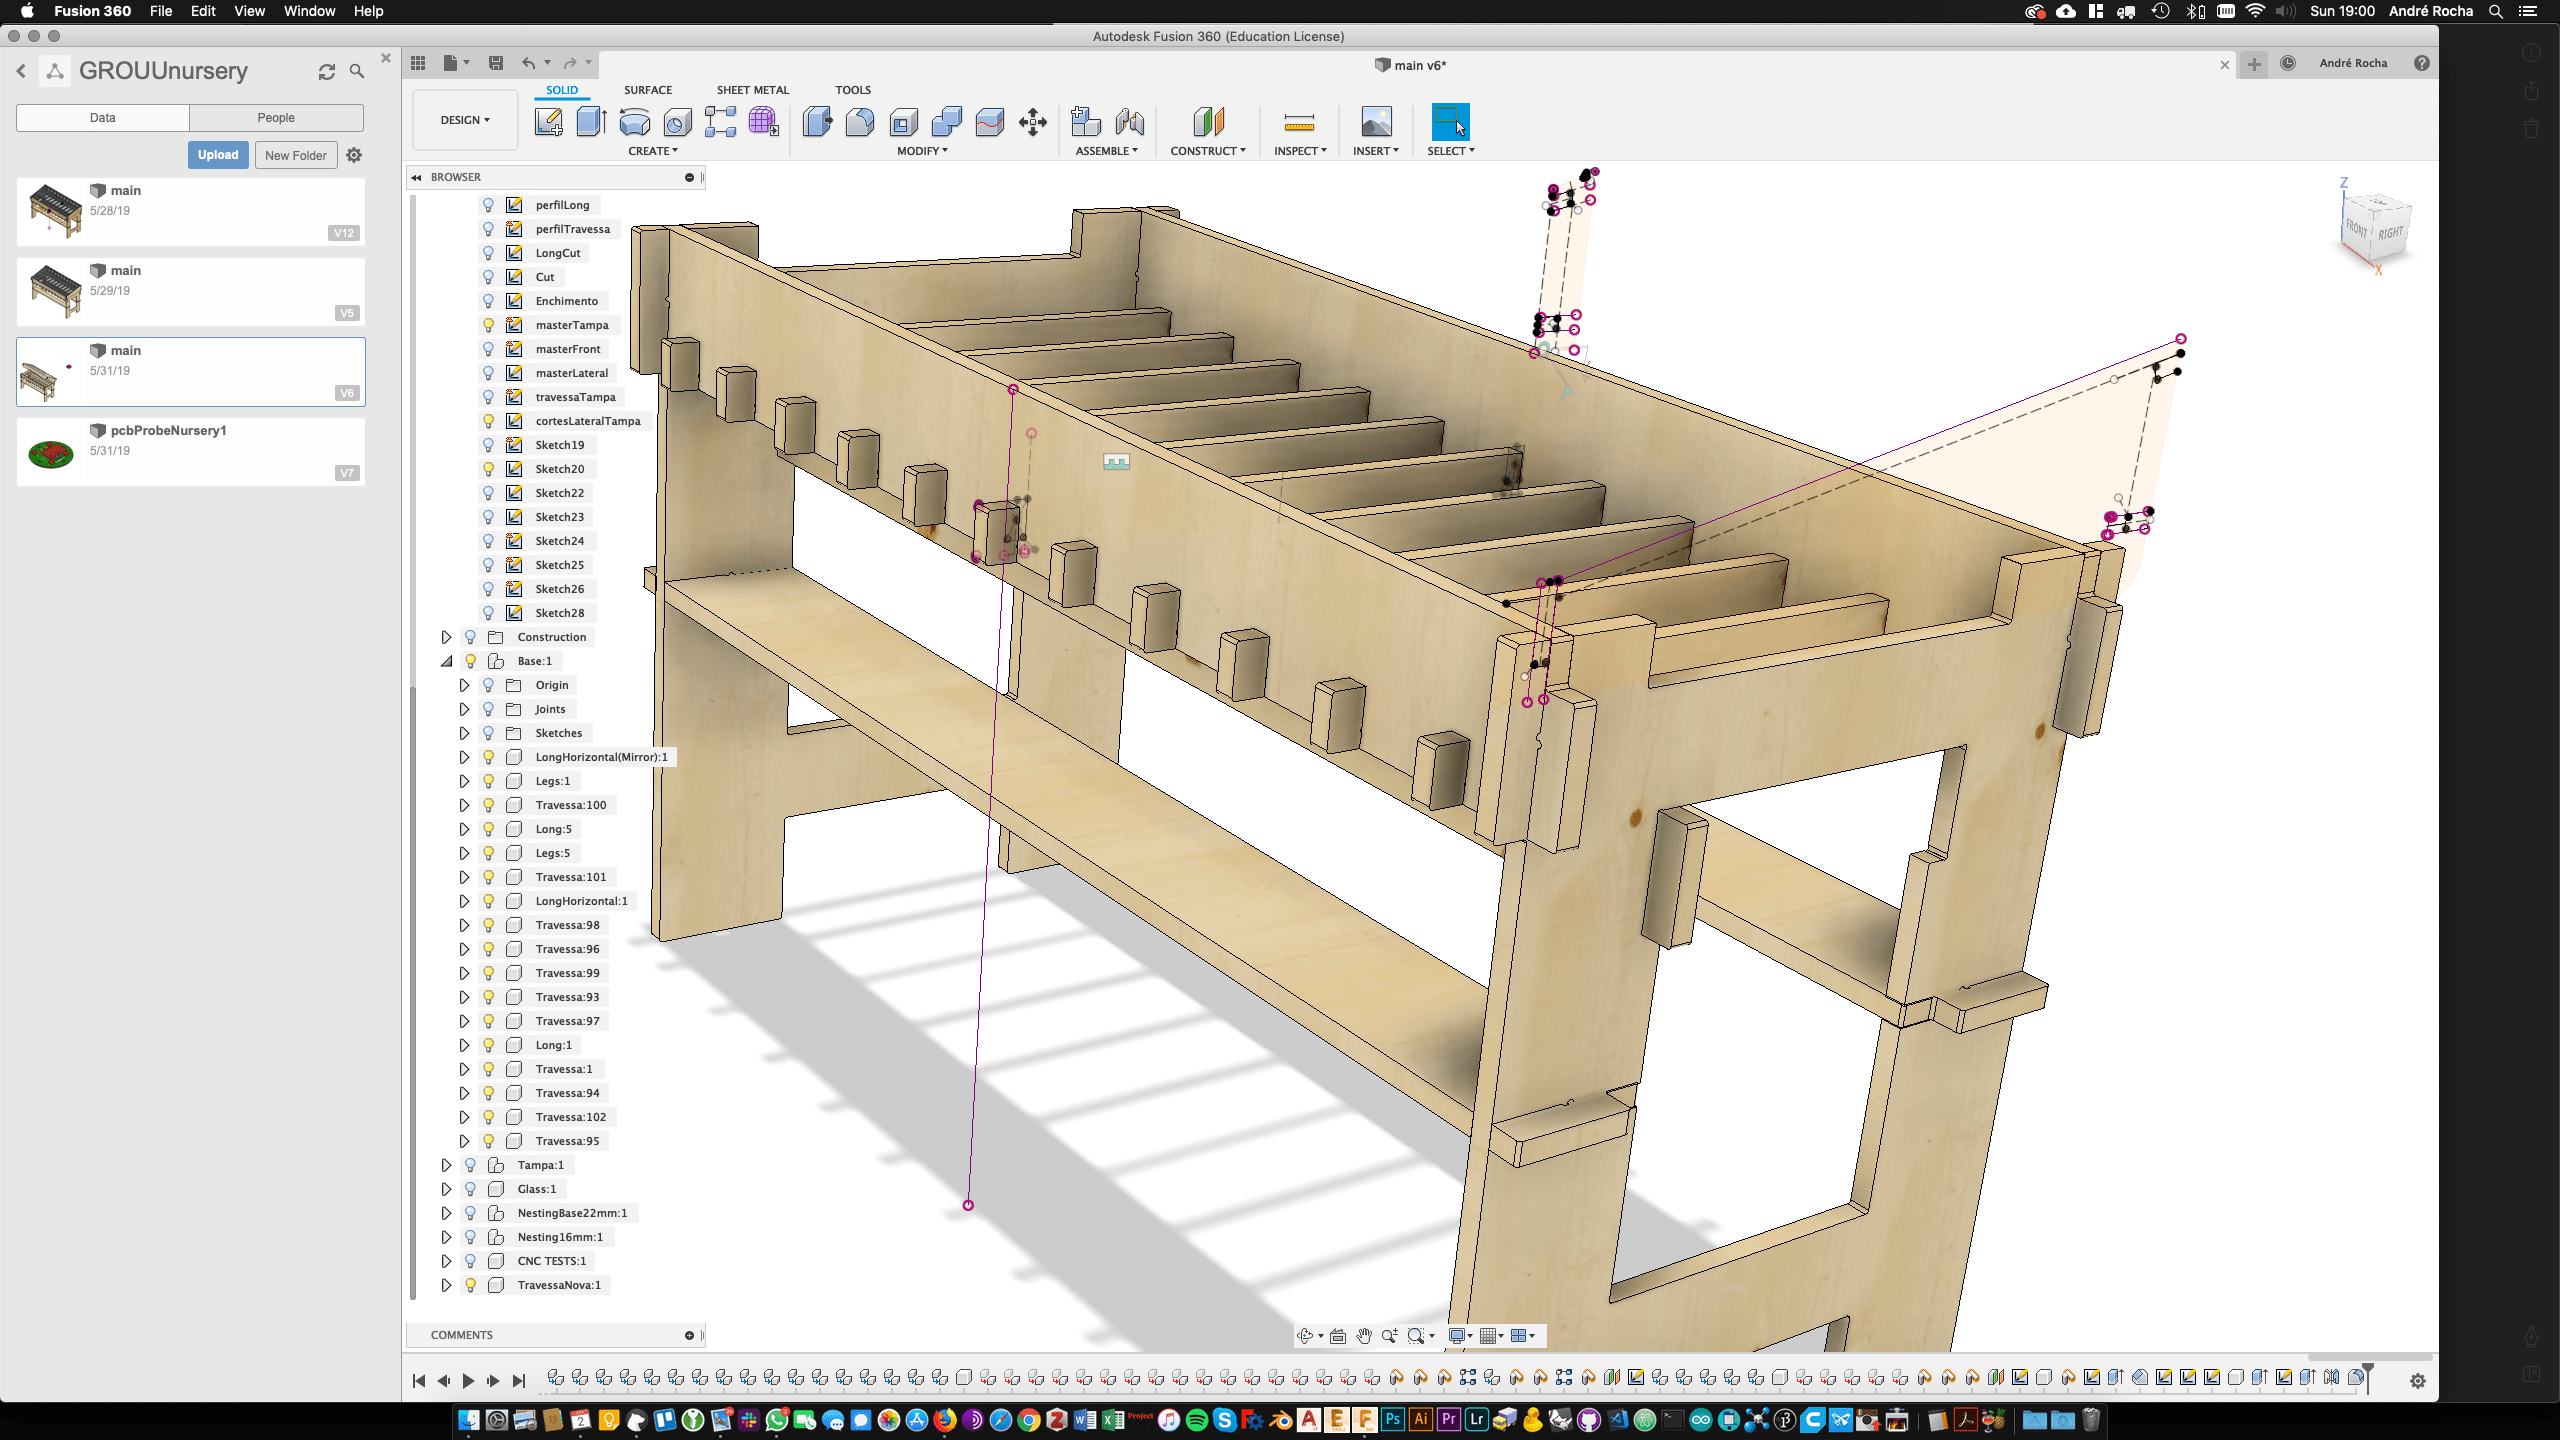
To quickly explain this process, which I successfully undertook over these last years, I made a little video, illustrating Fusion360 critical steps towards a 2D CNC cuts masonry artifact.
