
In the machine Design Week our team at Fab Lab FCT decided to work on a desktop 3D scanner.
This project integrated 3 main tasks:
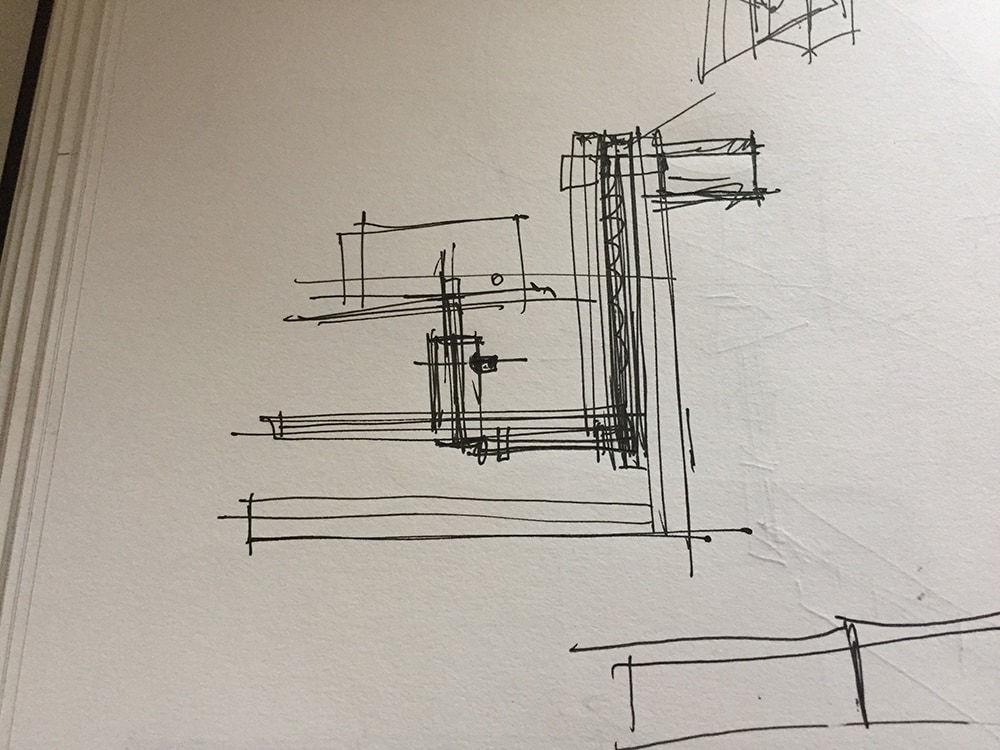
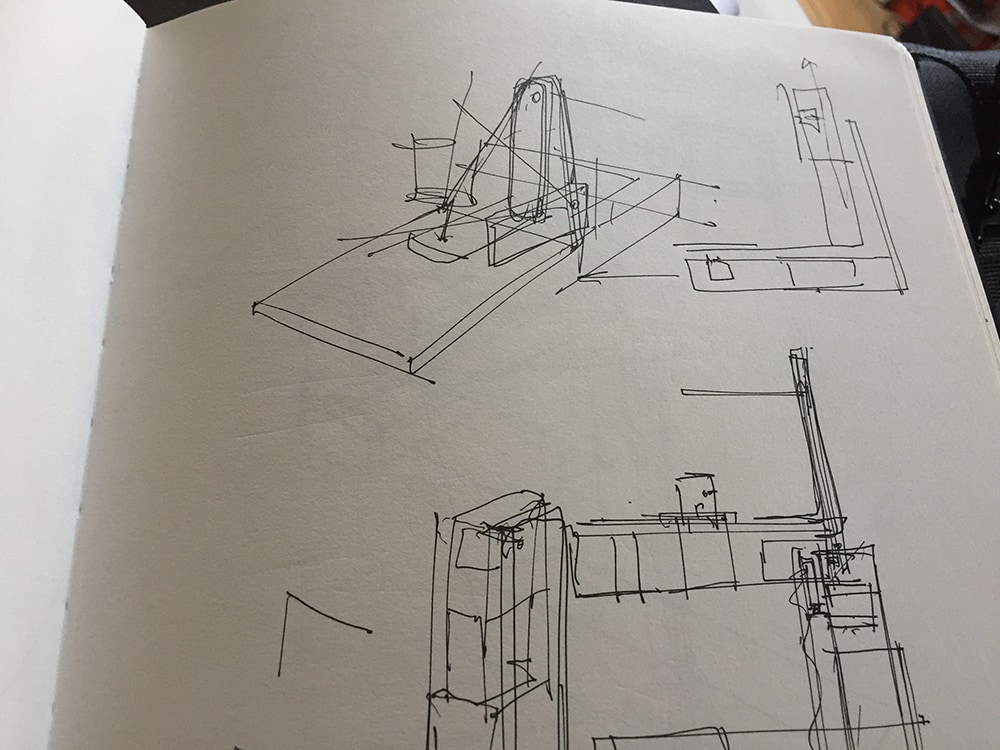
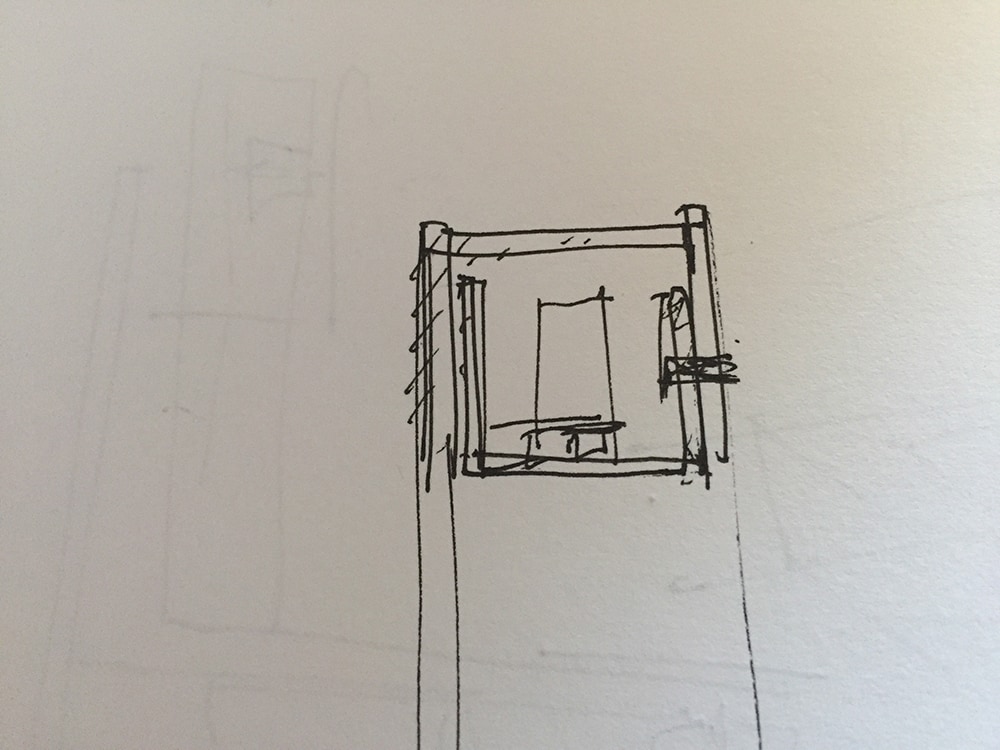
After working on some different versions and sketching toghether we came up with a final concept which I refined by sketch and later on a rough 3d that everybody agreed was the best solution.
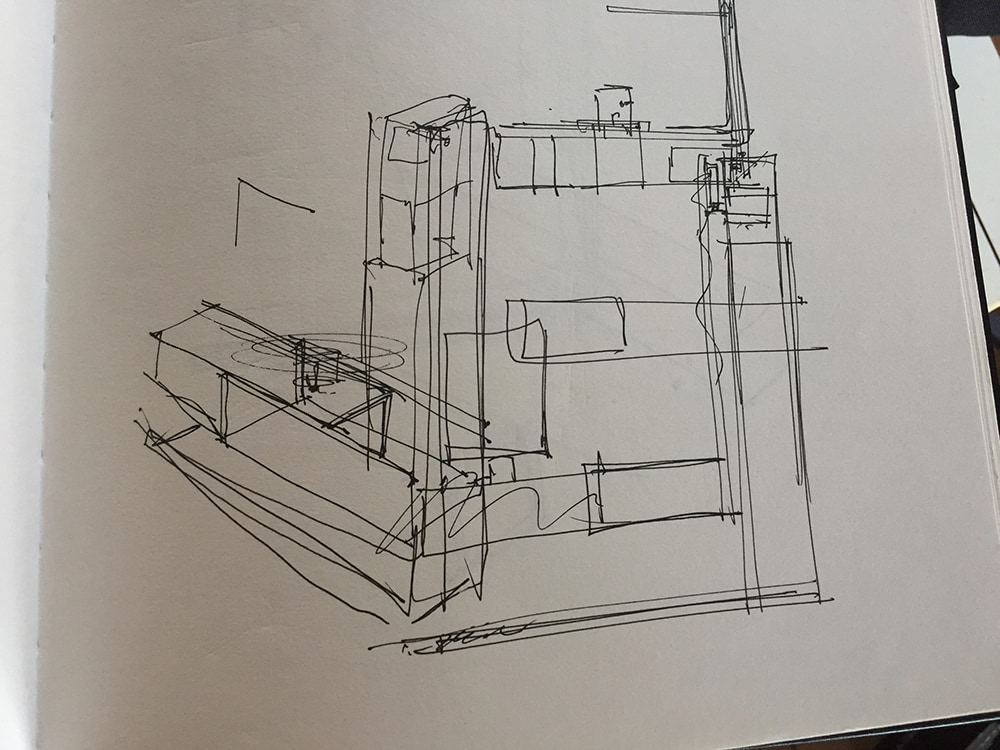
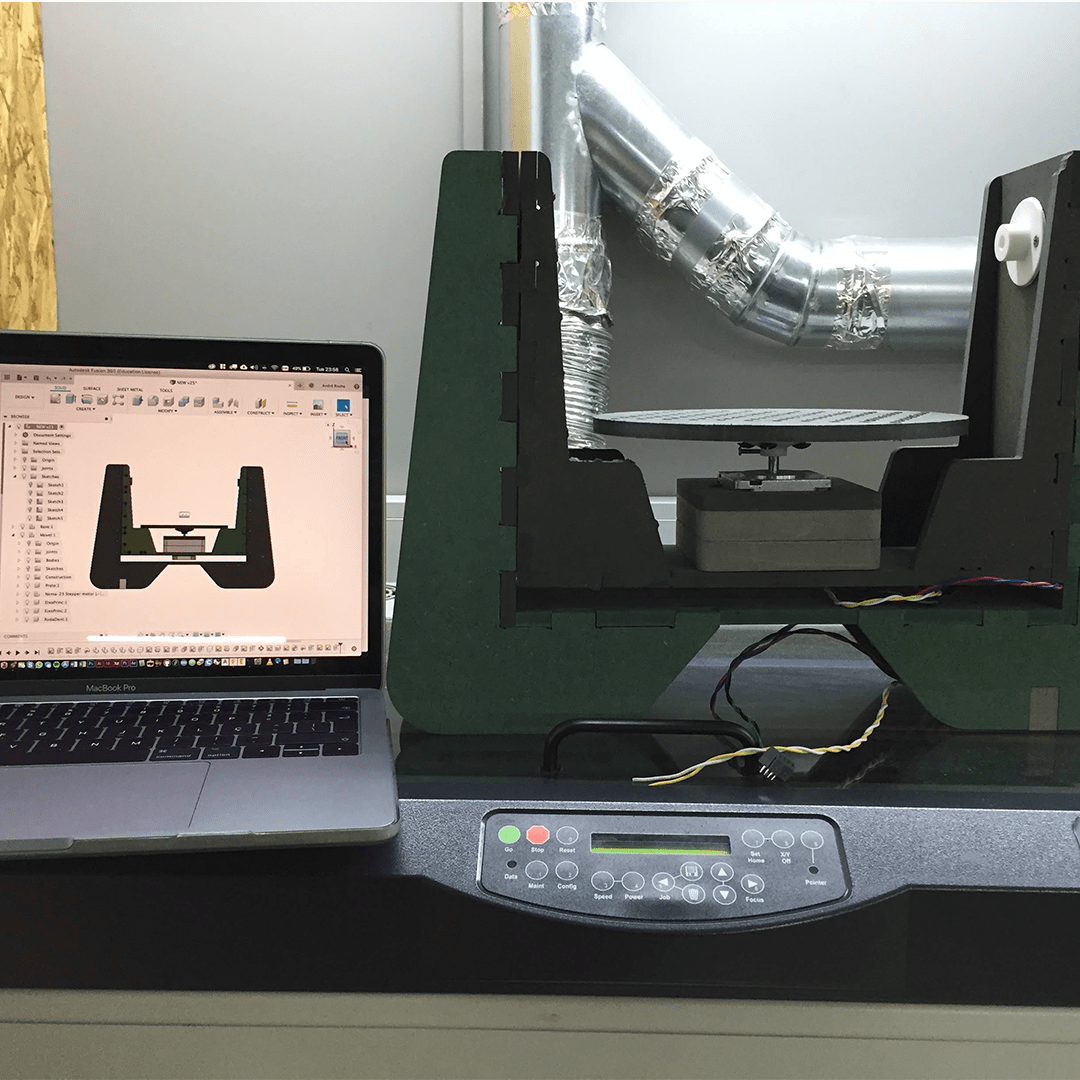
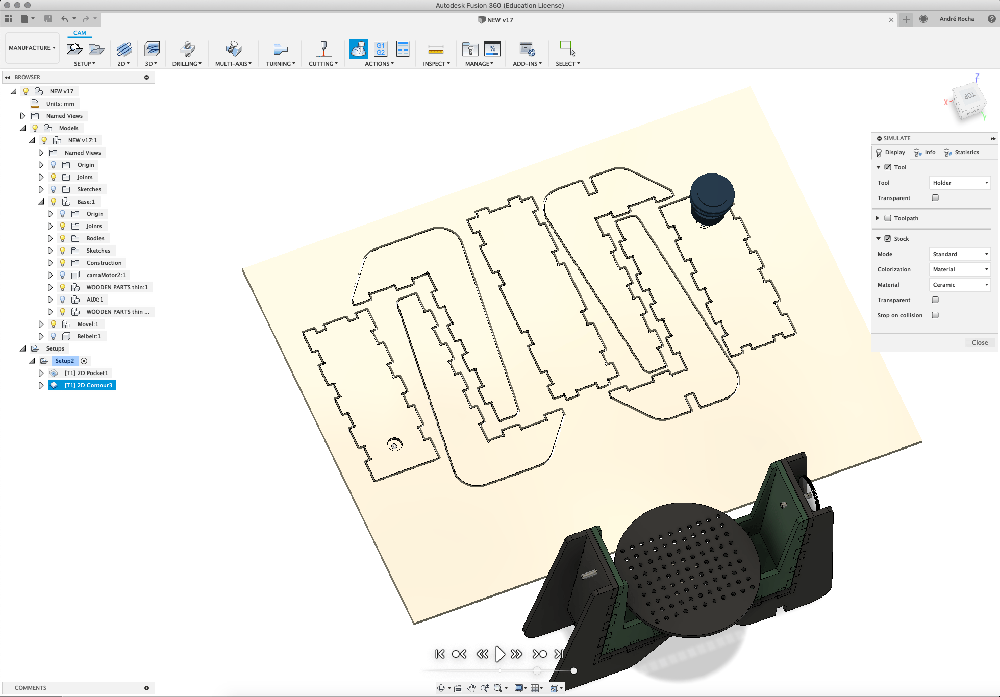
After that I proceeded with the 3d work at Fusion 360. I was mostly interested on definitely learning the assembly features and I could easily simulate the mechanics, and also on how quickly I could shift for fabrication.
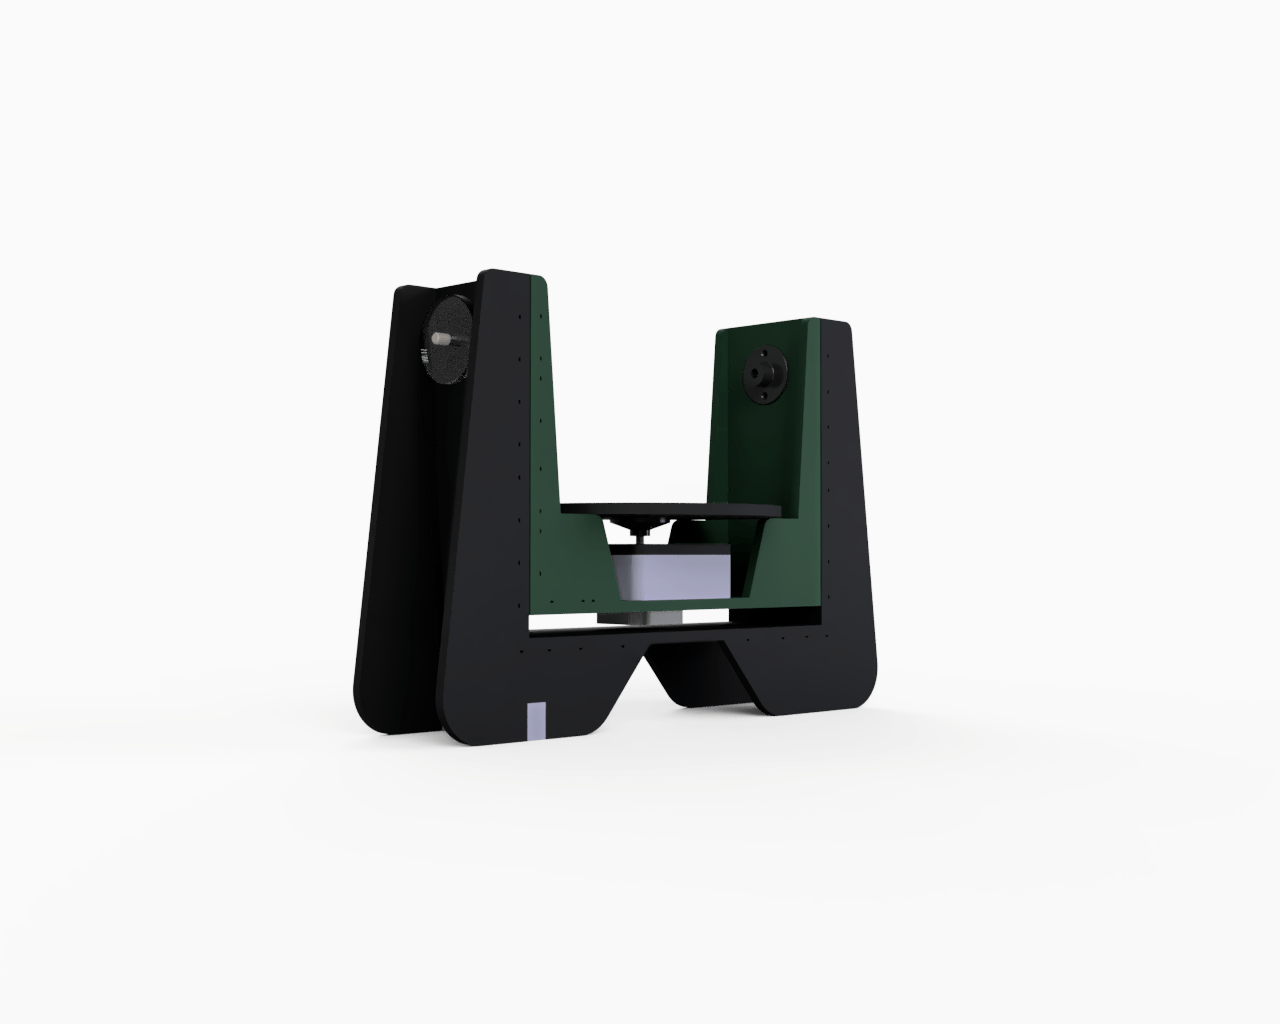
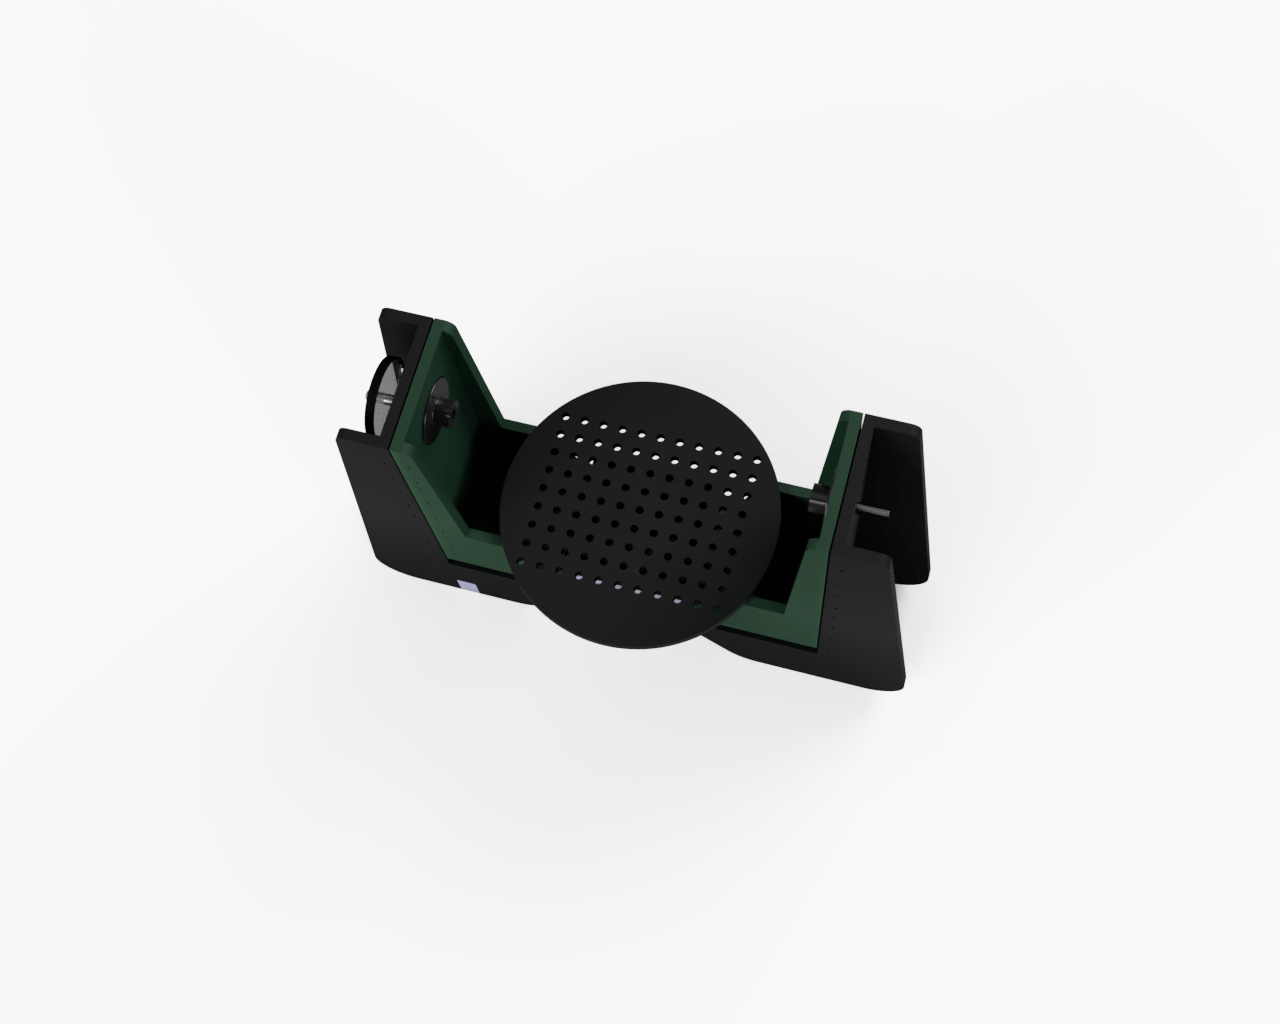
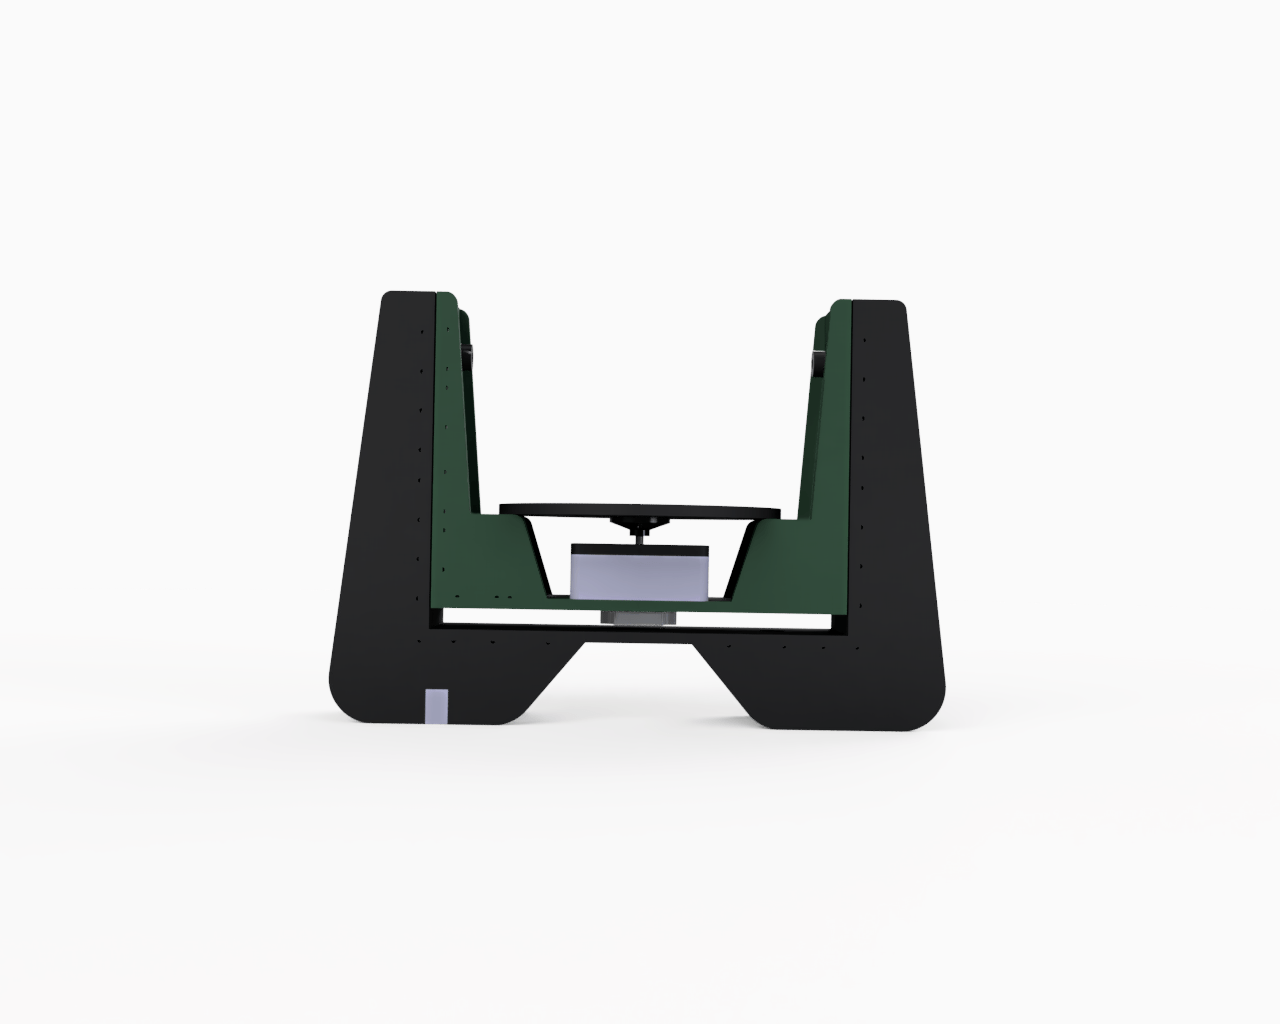
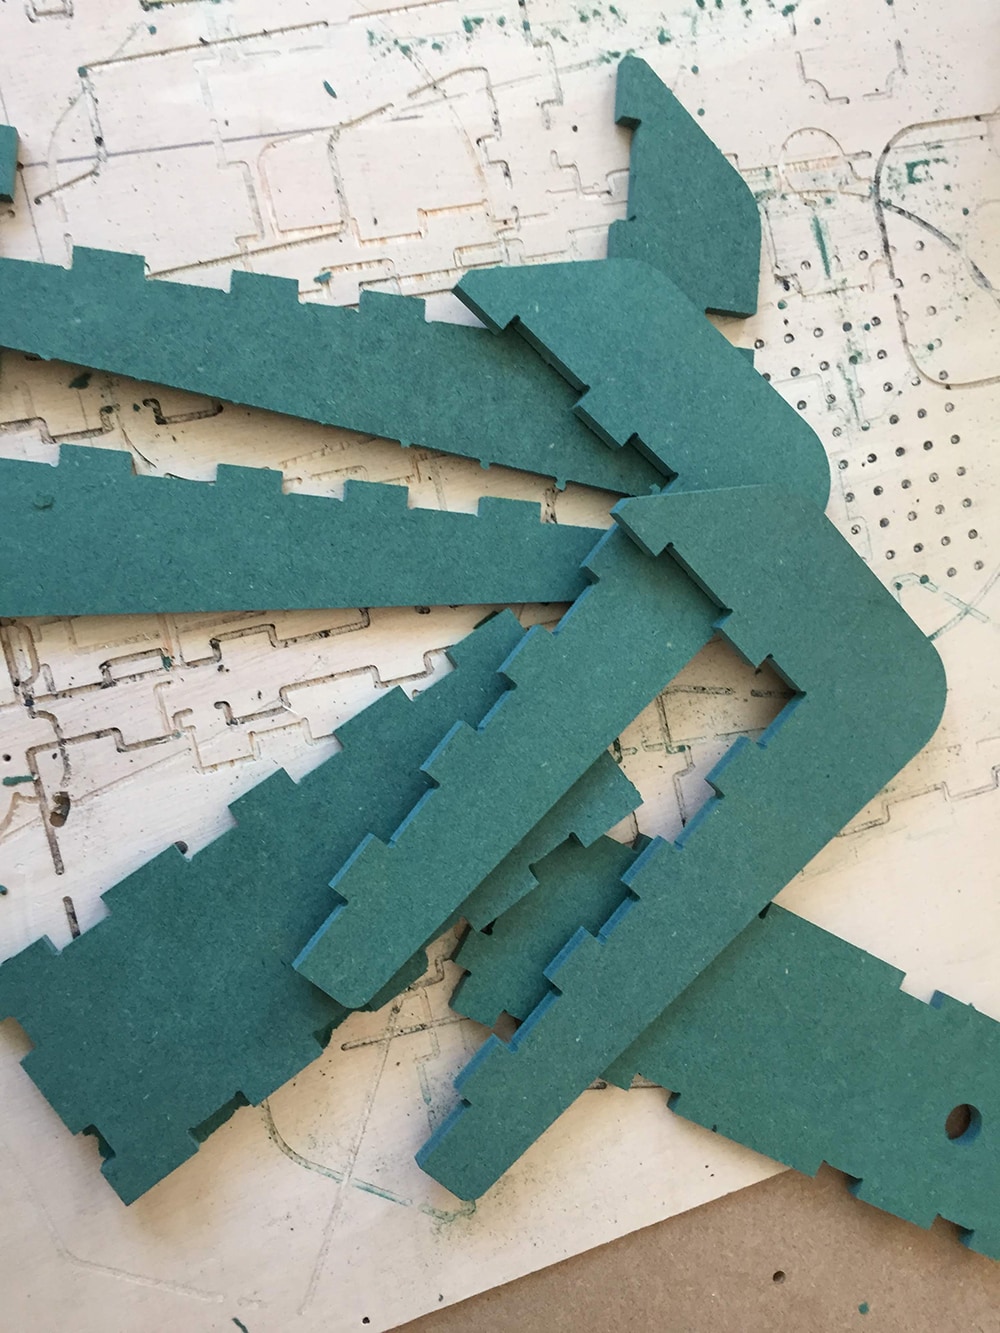
The machine was designed for this HDF leftovers with specific thicknesses and to be CNC cut.
The design files (.STEP) are available here, so as the documentation soon to be added.
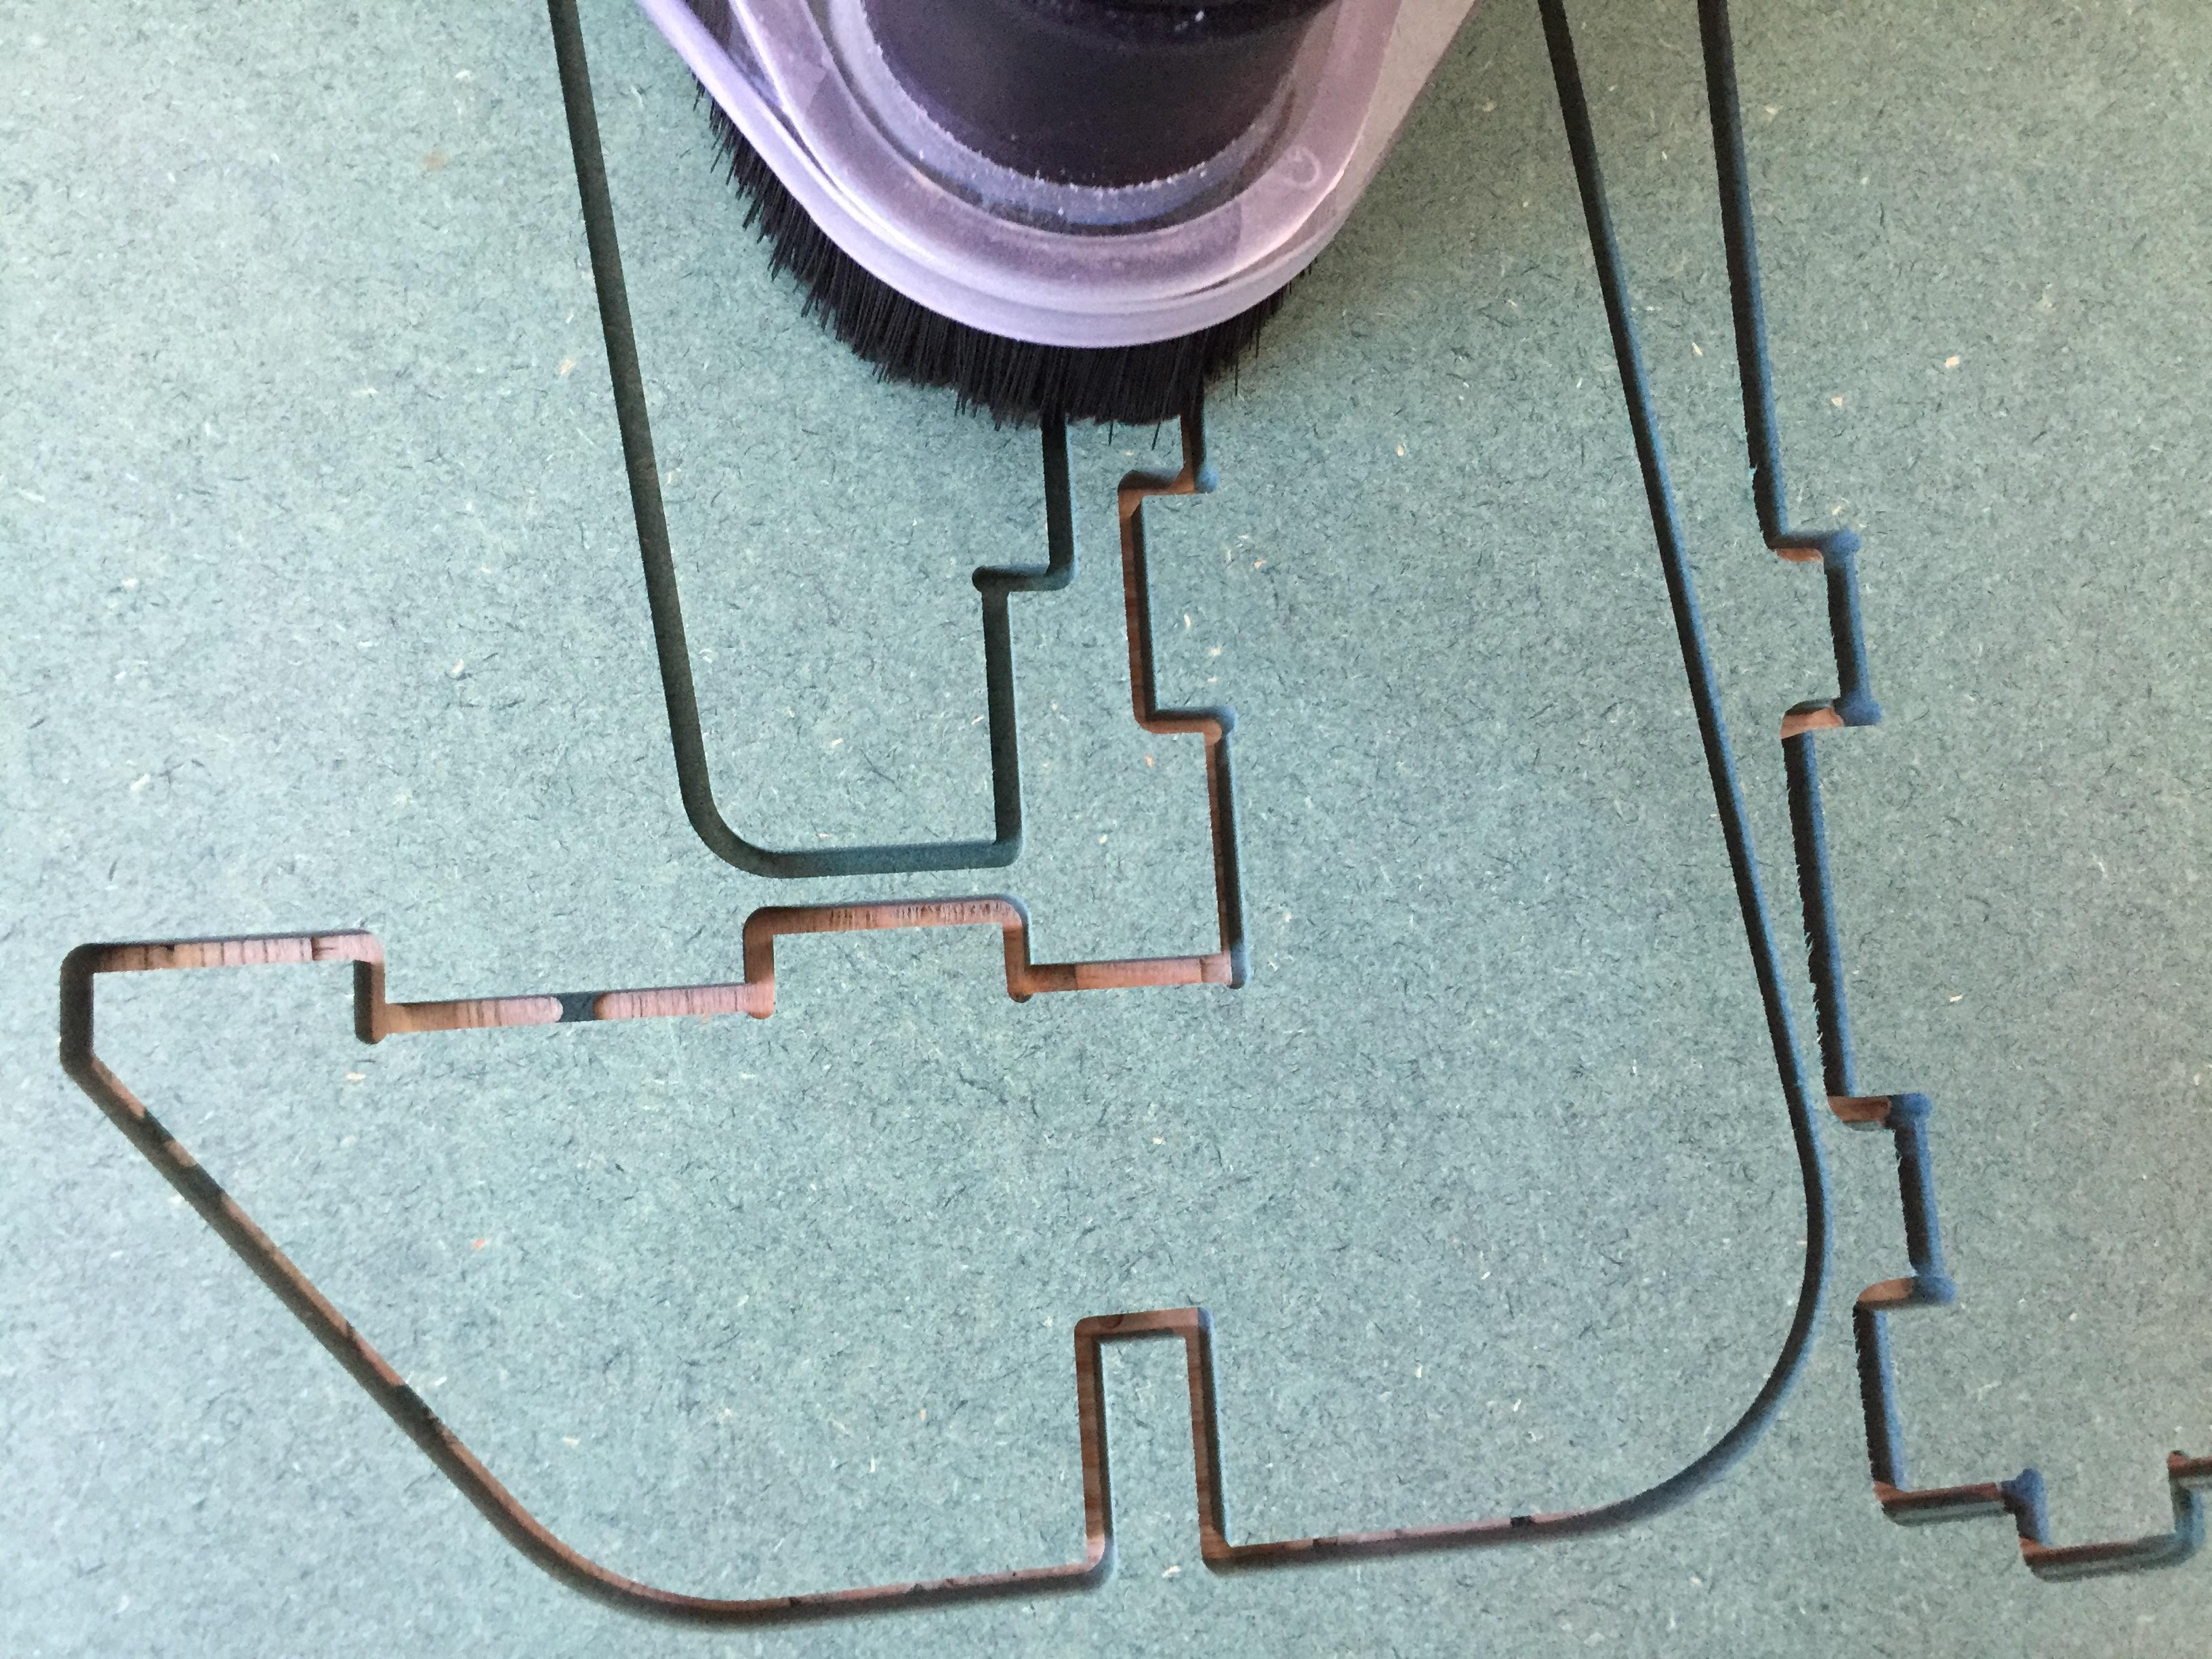
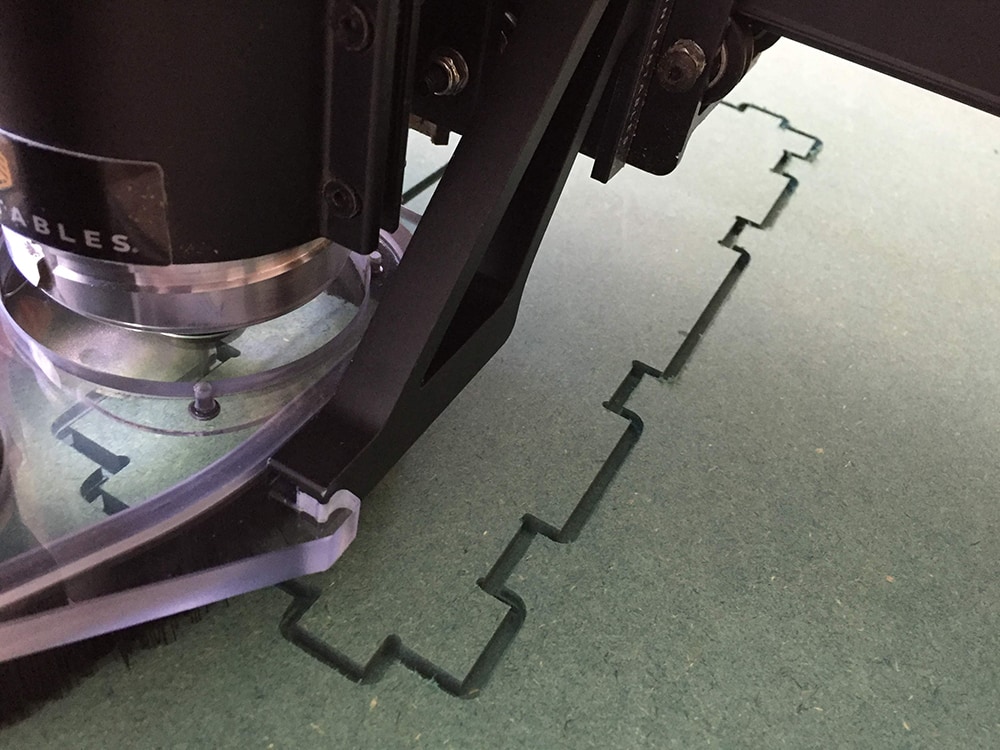
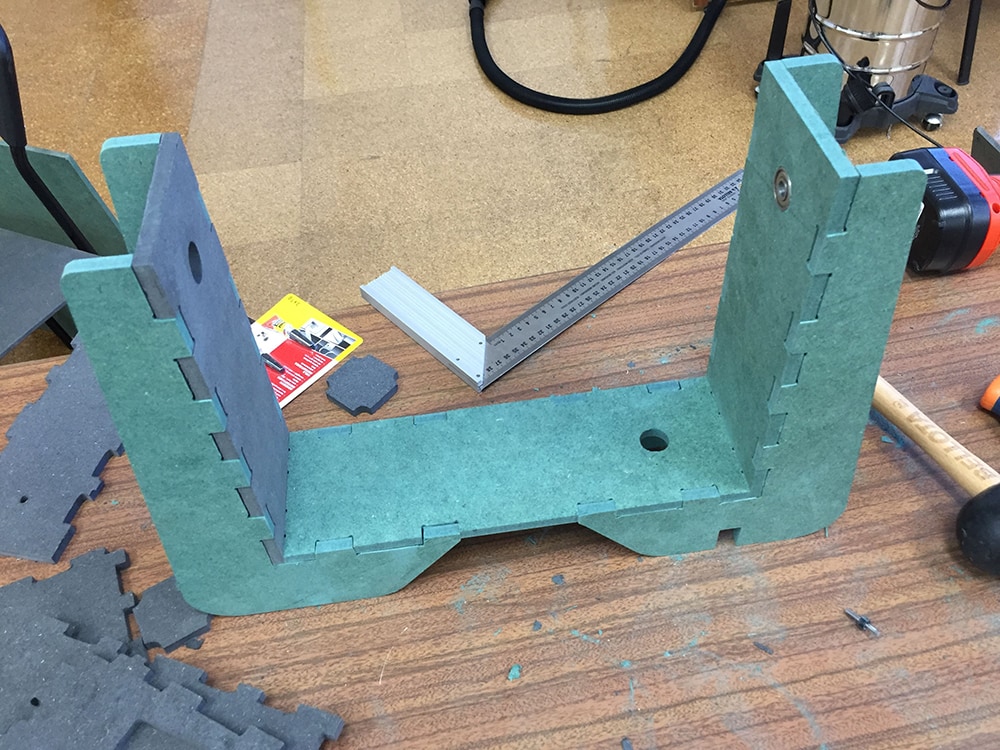
In order to machine it I ended up using the same technique as in the CAM "Make something Big" Assignement, where I duplicated all the parts creating a copy in which any change on the original would reflect there. Then I lined up and nested all the parts in order to fit my valchromat leftover scraps. Finally I programmed all the CAM paths and cut the parts of.
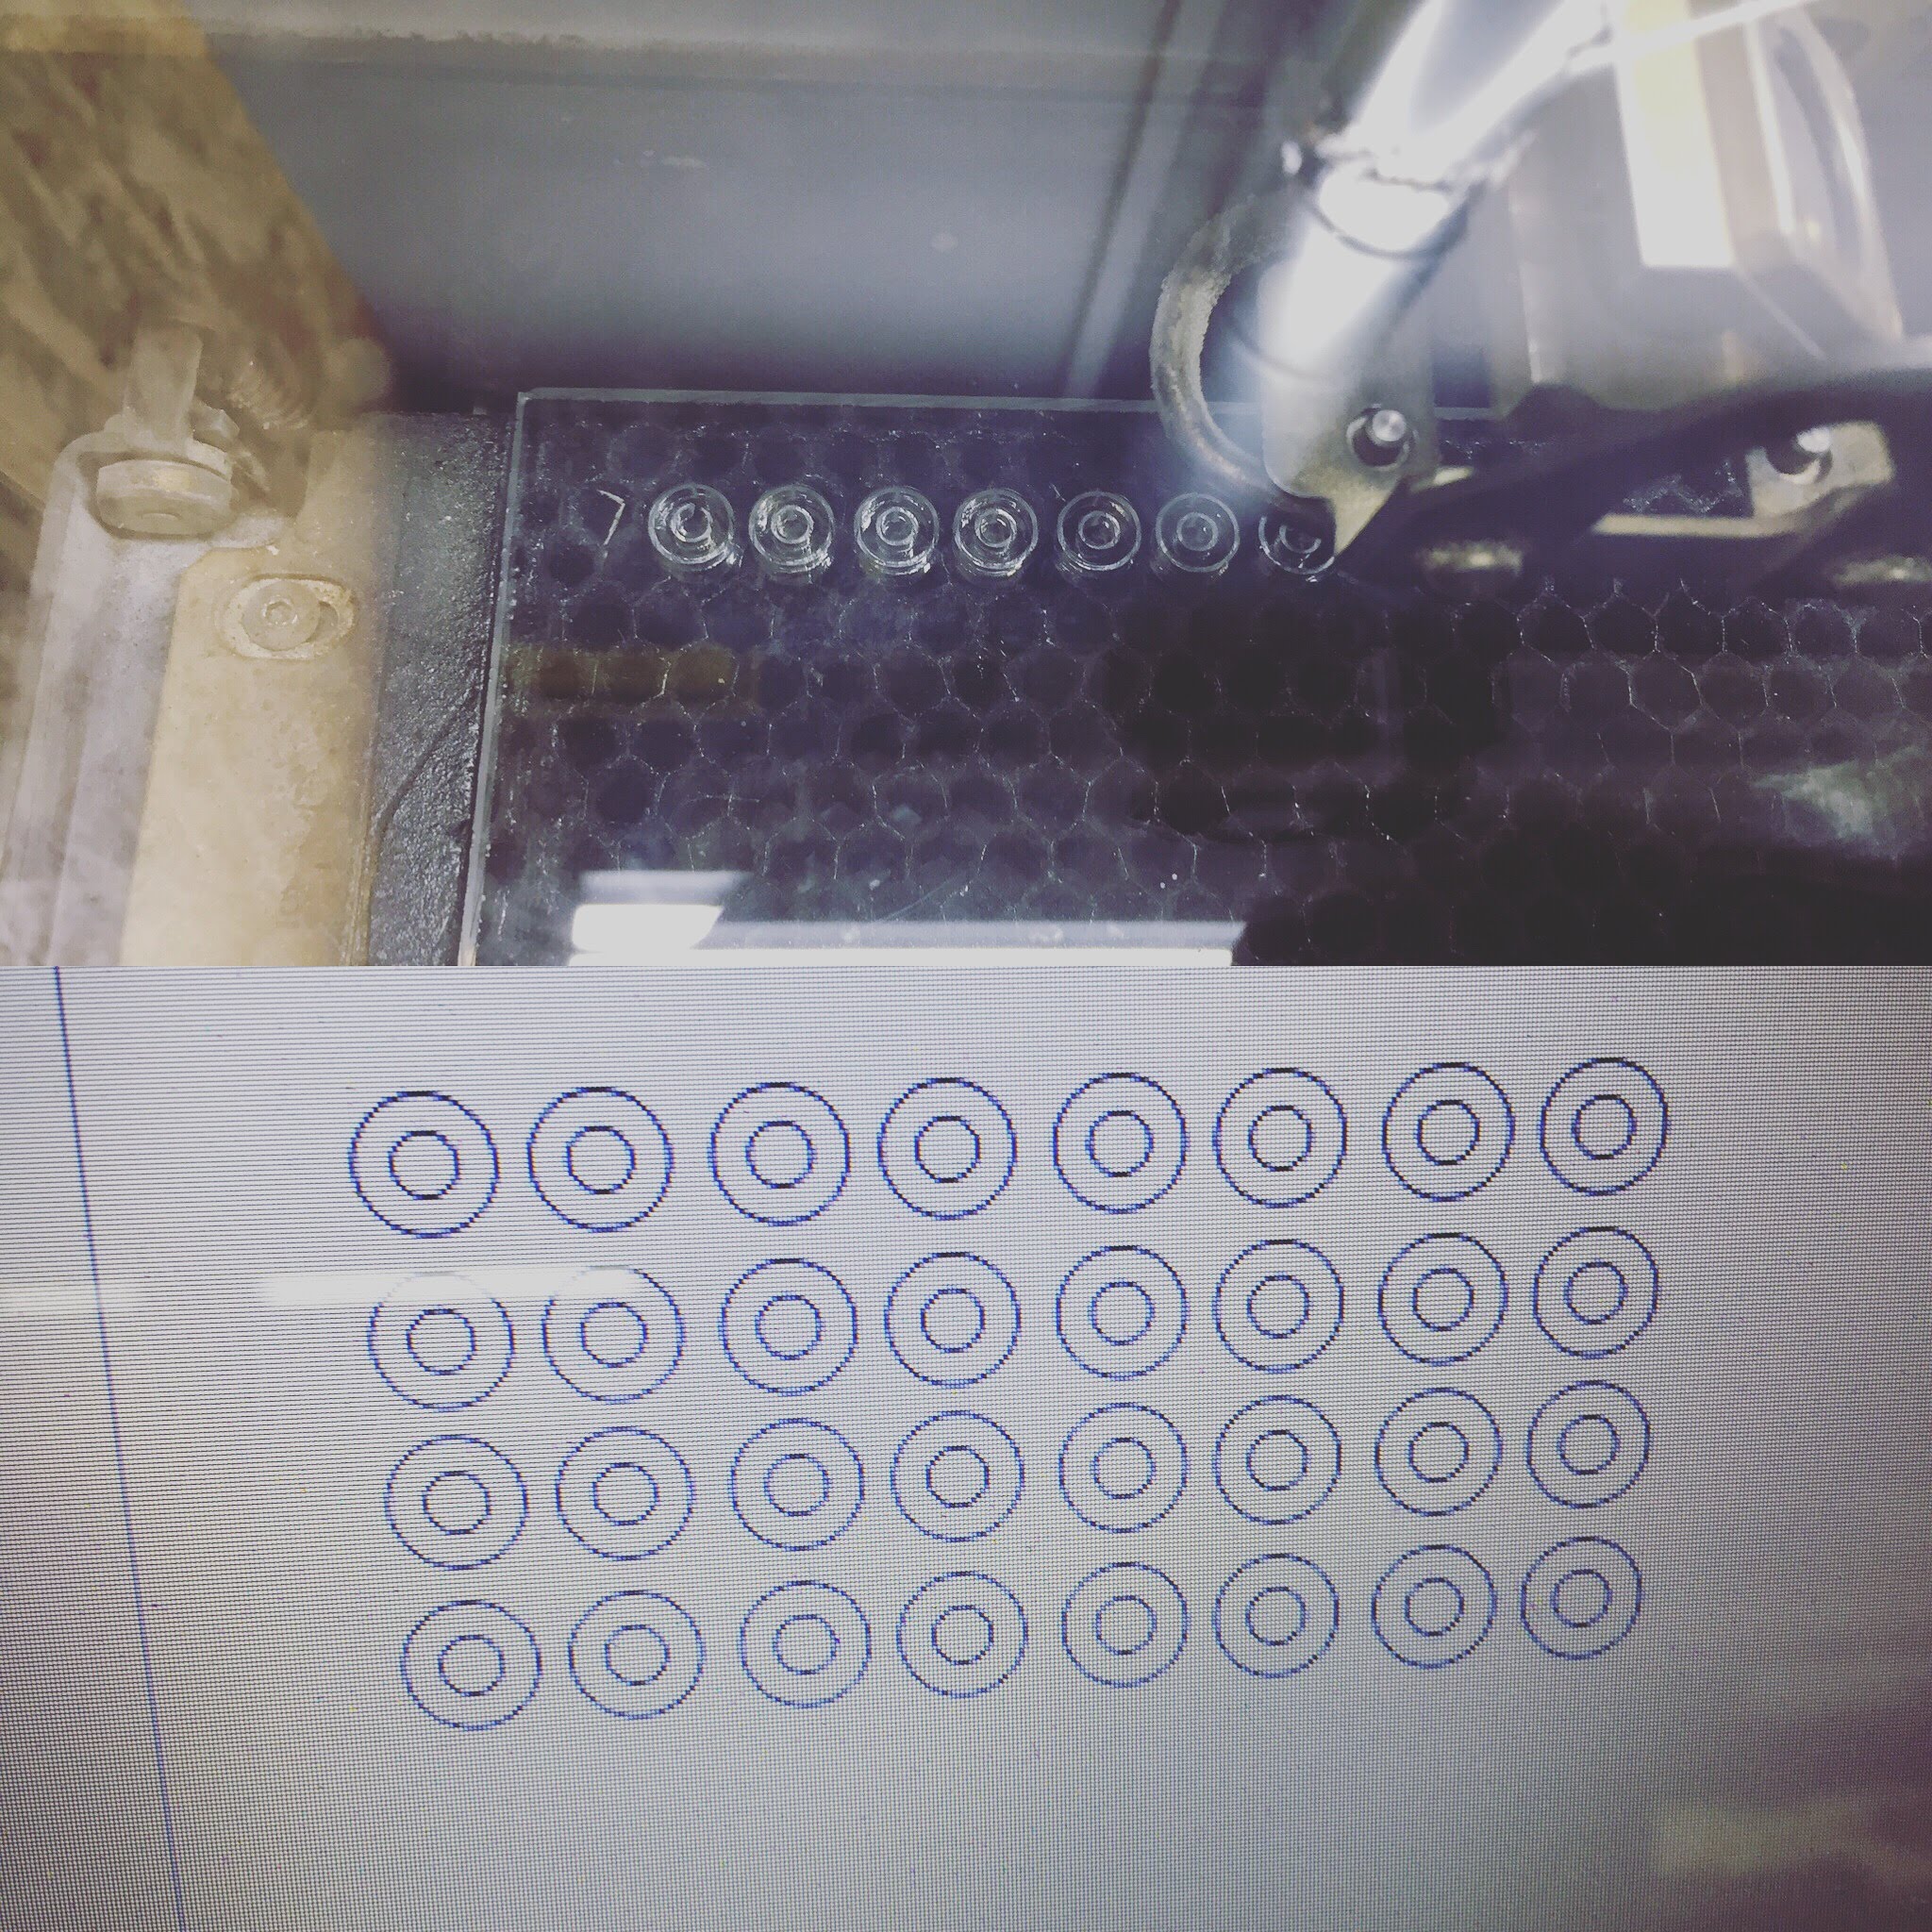
We also used 3dPrinting for the couplings and laser cut the main belt gear belt gear:
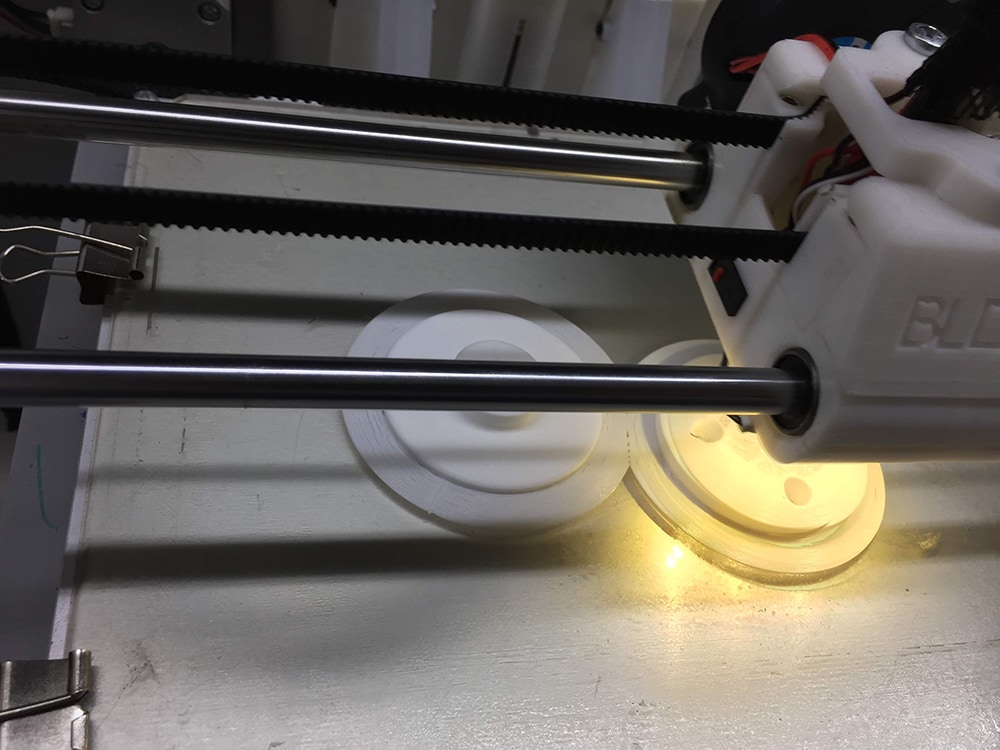
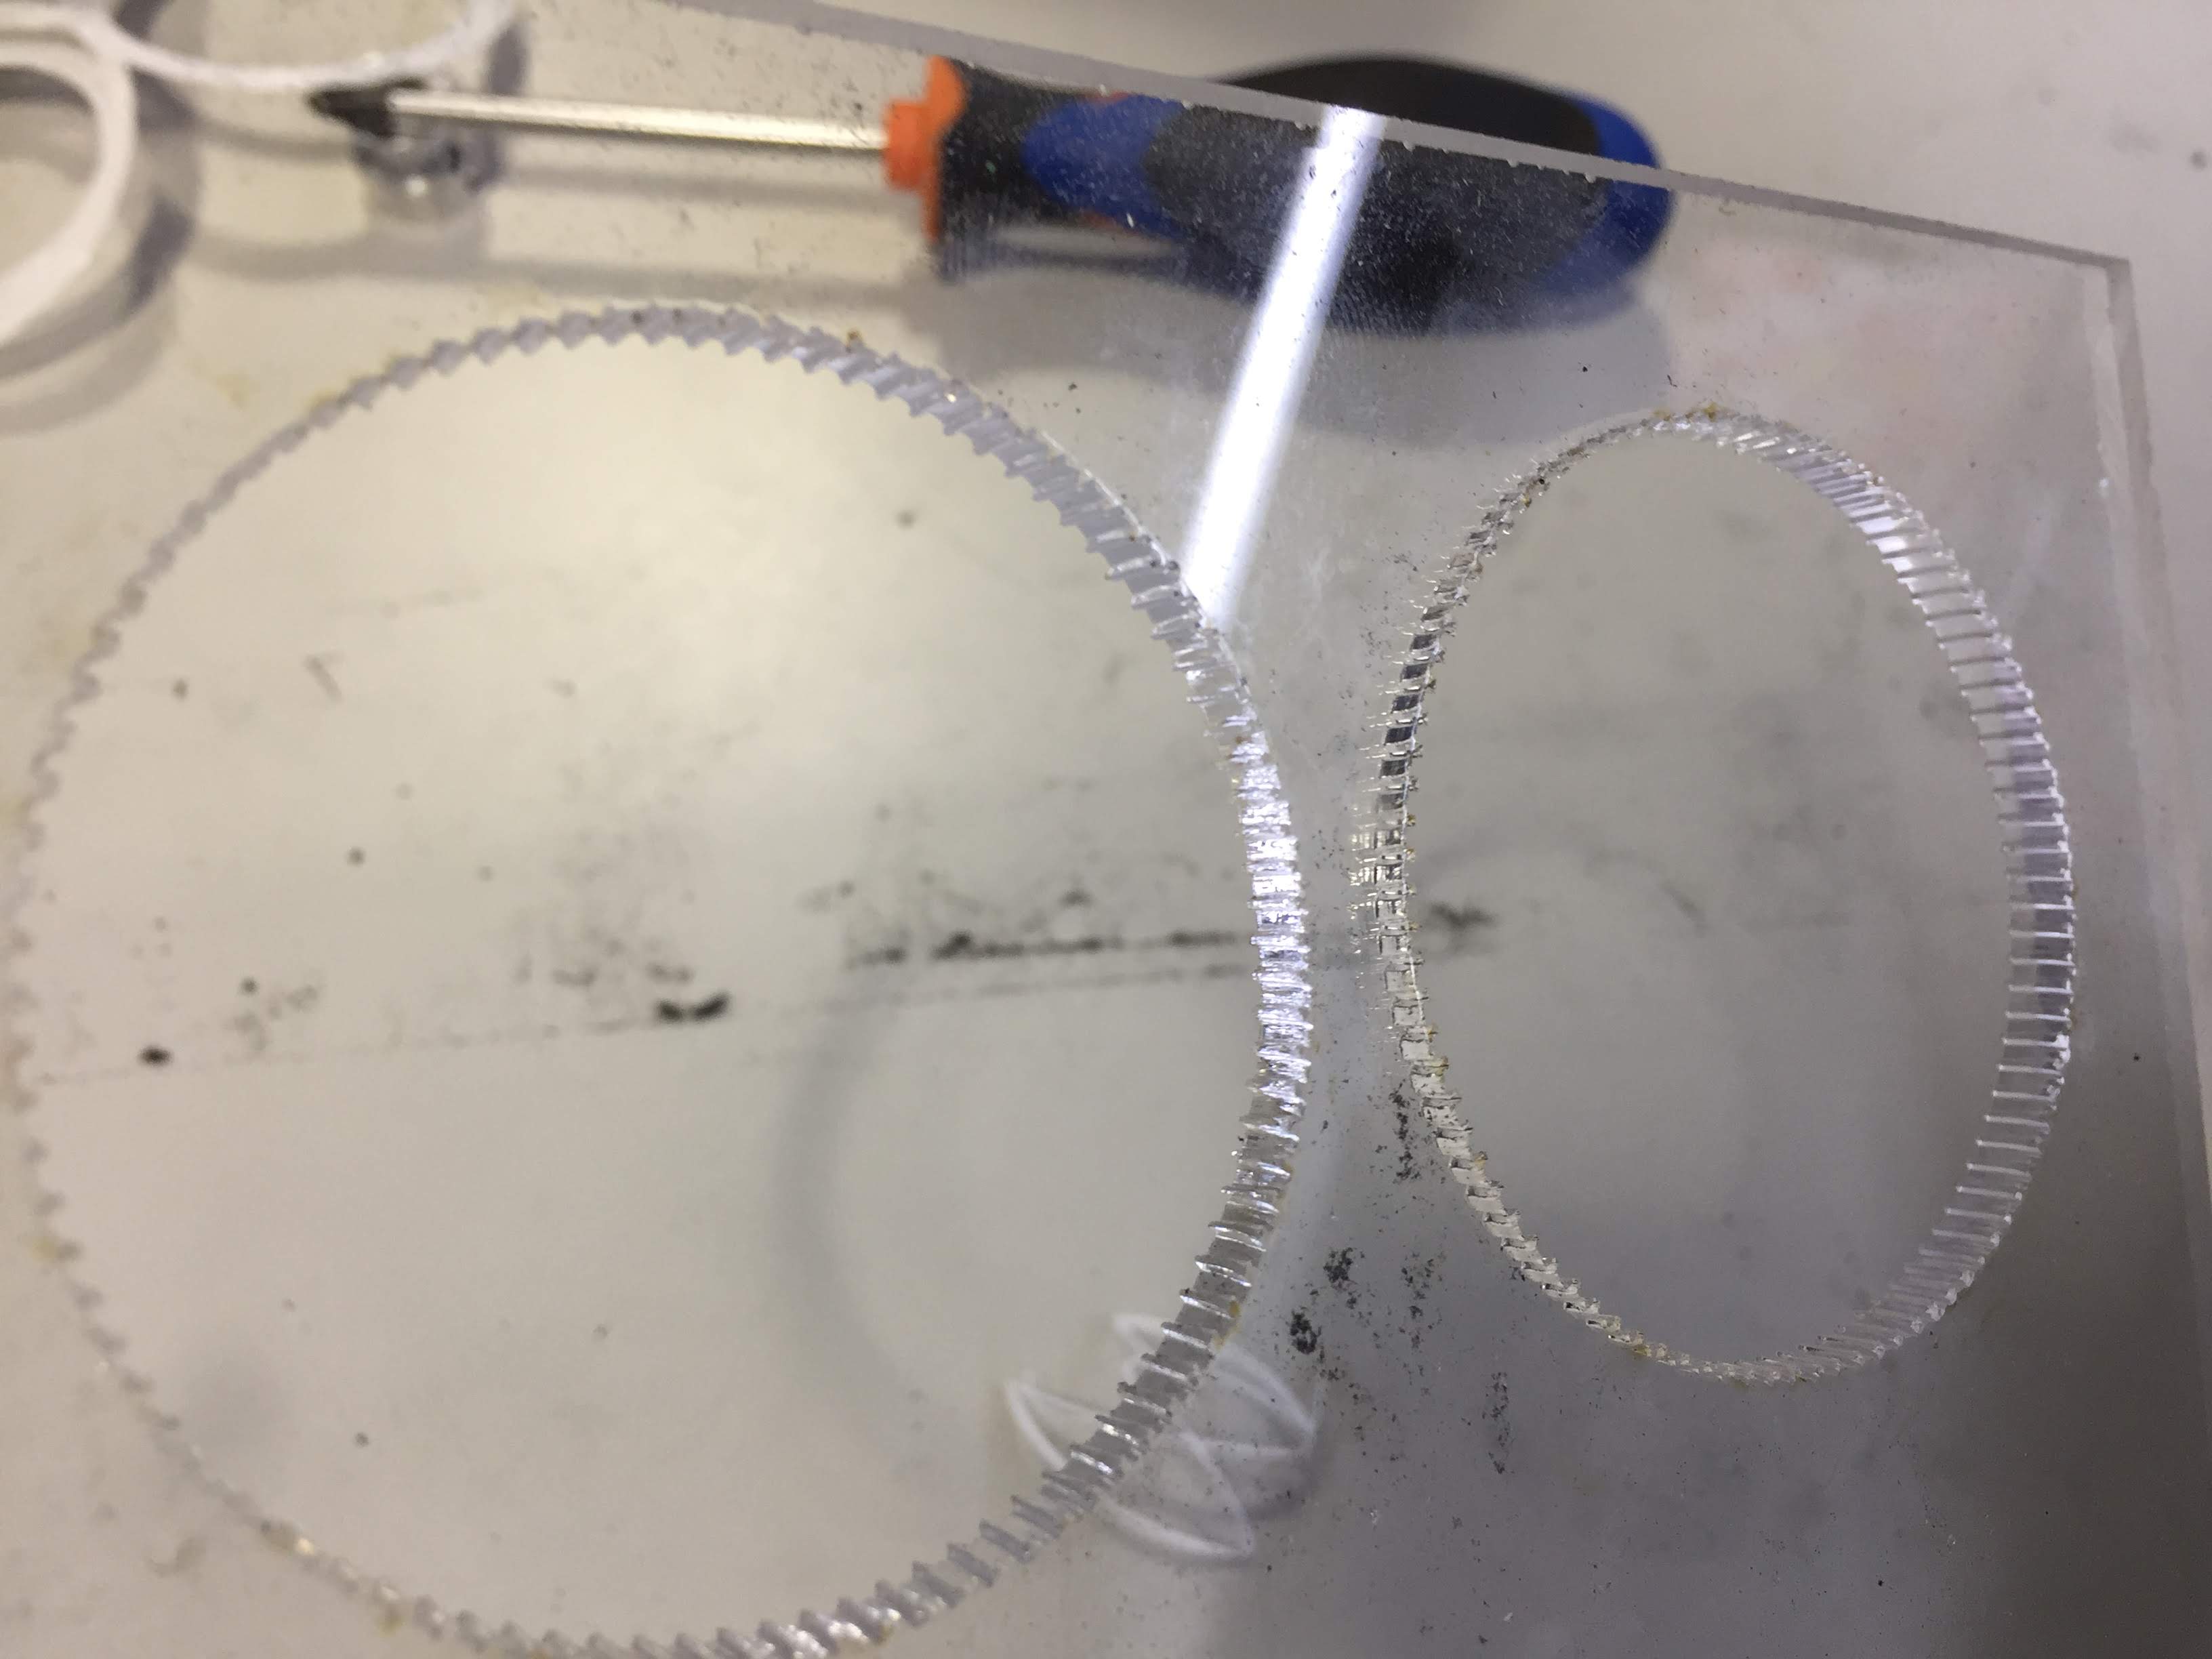
At some point we were getting some motor movements not to push or pull the main translation axis (back and forth).
As you can see on the video below we had to include some belt tensors made out of a few quick cut round shims made of a scrap of plexyglass, and fixed to the valhcromat (MDF) surface with wood screws.
The positioning of both was quite empirical because we were adapting to the available materials (belt for example) but everything work well
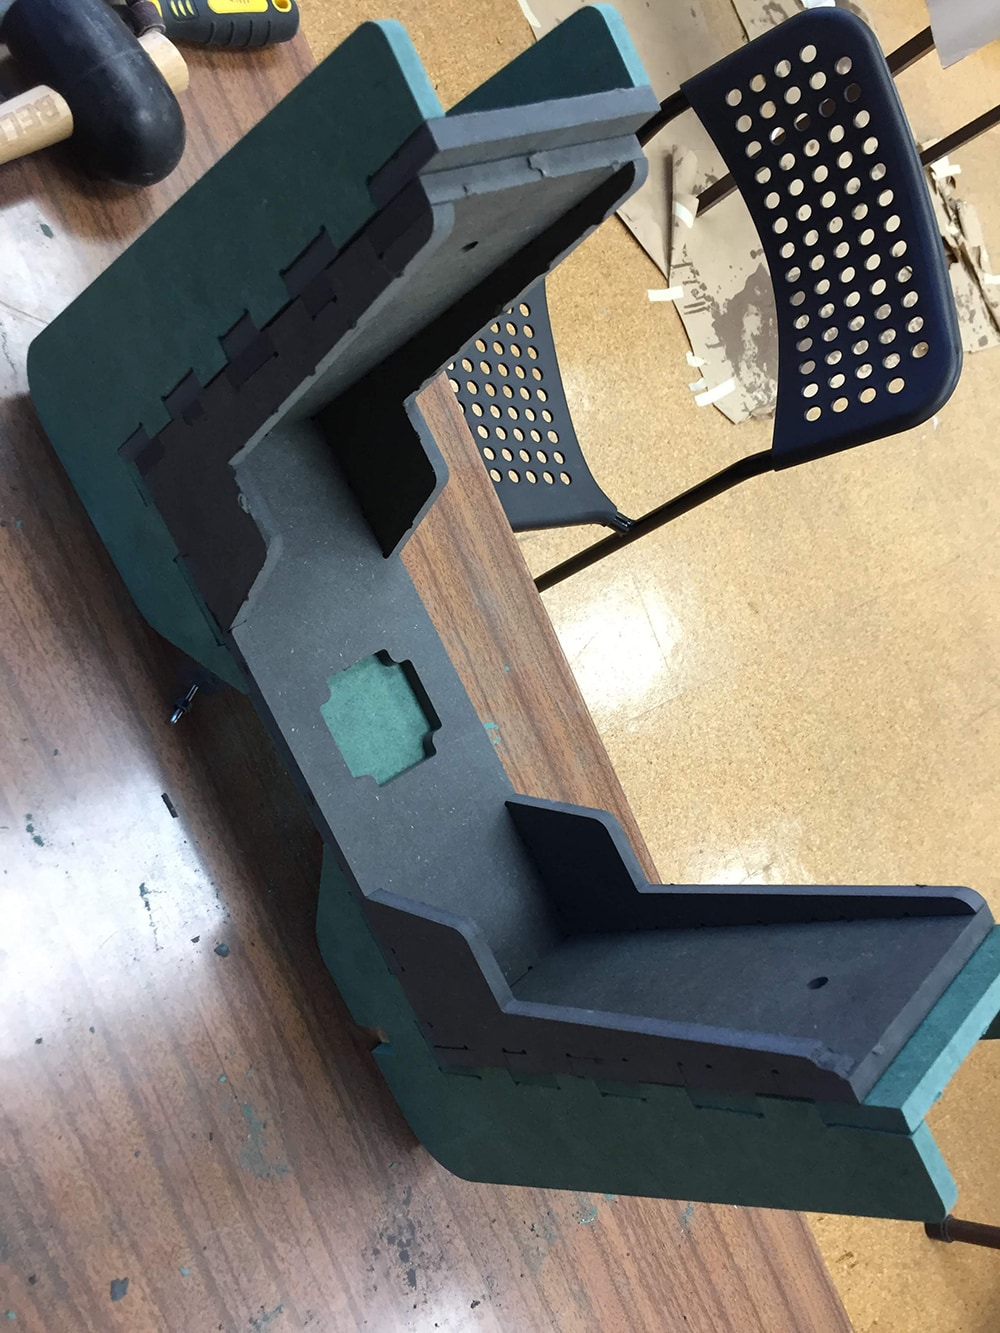
After a long Journey, everything was toghether, assembled and working!
The fact that the Raspberry Pi with Camera wasn't added and the scanning feature was got stopped by the two-axis motion problem was an obstacle between the artifact and deriving a good set of improvements. Nevertheless, changing the material for a lighter one and adding an adjustable arm for a camera mounting bracket would be an improvement.