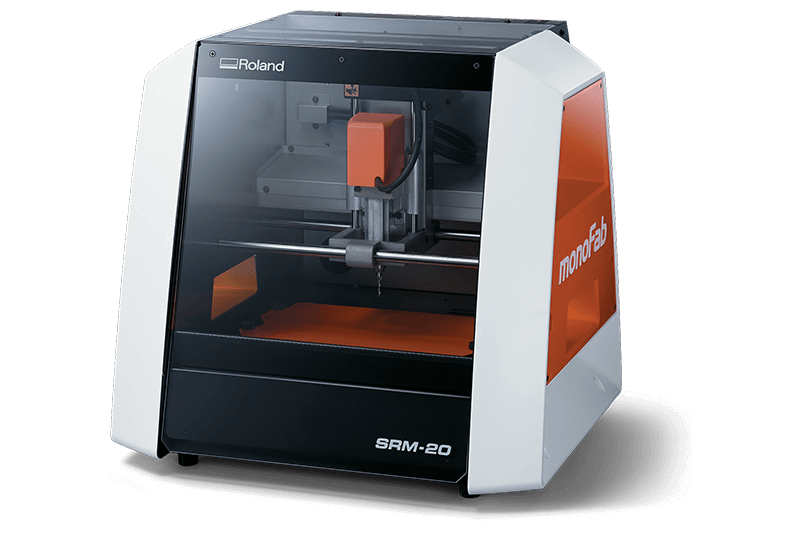
Roland SRM-20 mini mill
Machine overview
Mini-mill is high tech but not perfect
As 3D printers, mini-mills have "limitations". A 3D printer does know there is no filament any more in the roll and doesn't know you are trying to print in the air (without support). A mini-mill does know you are milling.. the mini-mill (clearly a mchine commiting suicide !) ... nor when you go fast enough to break the tools and/or/table and/or machine it self. Obviously, a mini-mill does not known you are milling your hands or fingers ! I appreciate the fact that SRM-20 is a closed area with a plexy on the front. If you open it, the motor will stop.
About height and sacrificial boards...
Oups... too short !
A 1/64 endmill is small and, even with the lowest position, the spindle cannot reach the PCB blank on the table. You need some extra spacers. Anyway, adding some spacer is a good idea if you don't want to break the endmill and/or to scratch your table. I prepared a set of MDF spacers. Here is how it looks like:
Leveling is critical
It looks ok but...
Even a very small error can have big consequences. The mill removes a very thin layer of copper. If it is not enough, your traces will create shorts. If it is to deep, you could cut your PCB. Leveling is tedious but usefull. Check user manual for the procedure.
Don't forget your origins...
The machine does not know where the PCB is and for sure does not know neither where you want to mill on a PCB blank.
The machine it self has a "hardware" zero position (x,y and z) but your job a one as well. The 0 level from the Z axis point of view depends on sacrificial boards and material thikness. The x,y depends on where the PCB blank is installed and also depends on your design
