Applications and implications

week 13
April 10, 2019
This week, we need to propose a final project. Several basic questions must be answered in order to determine the project. An idea was launched at week 1 and I will now analyze it for fesability.
Propose a final project
What will it do?
To begin, here is a sketch of the project I will realize. This will help to give you an idea of the project.
My final project is an automatic water dispenser for cats. The primary goal is to create a fountain with a high enough fall to be able to interest the cat in drinking. You can see the origin of my idea in week 1. The project mentioned at the beginning is an idea of the final result after several additions. It is not this project that will be completed in the fab academy but only part of it. The fountain will have several functions. First, a peristaltic pump will pump the water to run the waterfall. This type of pump is quieter and cannot be damaged by lack of water and the flow rate is easily controllable. On the other hand, the flow rate of the fountain will be fixed so as not to overflow the fountain. The fountain will only start when the animal is in front of the fountain. This will be possible with a distance sensor placed in front of the fountain. Finally, a water level sensor will be installed so that the fountain stops pumping when there is no more water. A light will flash to indicate that water needs to be added. This same light will be used to light the fountain at night with a light sensor.
An option that goes beyond the scope of the project to be able to meet the objectives is a system that cools the water using Pelletier.
Who's done what beforehand?
What I found of what had been before in the fab academy is a water fountain with lights to make a visual effect. In her project, Nadine H. Tuhaimer used a servo to pump water from her fountain. It's not the same type of pump so I can't build my project from her.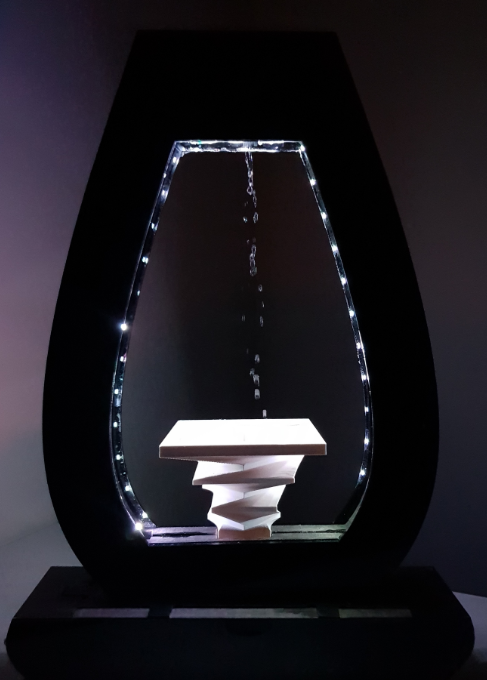
here the link to her page.
Another project realized during the Fab academy is a dog house that I can monitor with an intelligent phone. Mario Fullone's project uses a water distributor but without a pump. It is a dispenser that uses gravity and keeps the same water level. The person uses a temperature sensor to measure the water temperature. Unfortunately, it's still not a project that I can base my design.
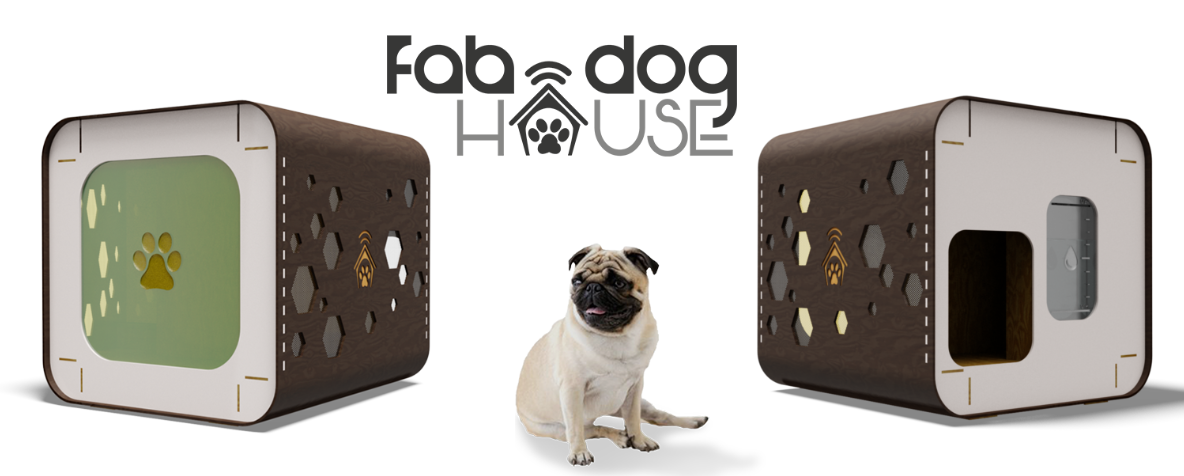
here the link to his page.
Here is a commercial version of my project. However, it does not have the same features. First, it is always on and does not stop when it is empty and has no indicators. This represents three super important features for me. That's why I decided to design mine. To be able to add important features that are not available on the market. Also, from what I have observed, the cat prefers a higher waterfall.
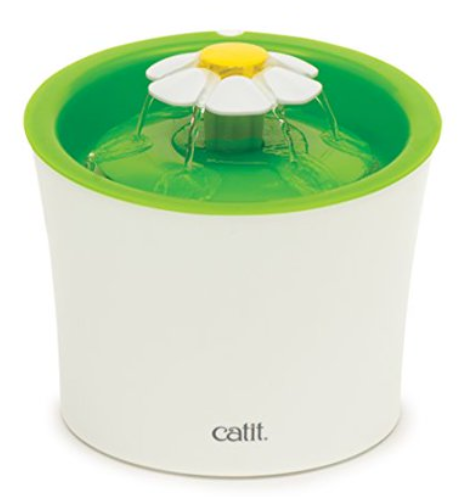
here the link to the page.
What will you design?
I will design several parts of this project. I will list the different parts to be designed in spirals. This will be easier to follow for future explanations. I will design 3 different boards that can be found in the spirals below. The main board with the microcontroler is used in the spirals 1,3,4,5. A board with a stepper motor drive used in the 1,3,4 spirals. Finally a board with 4 LEDs used in the 3,5 spirals. The boards are not designed at the moment so there are no electronic components list available this week.Spiral 1:
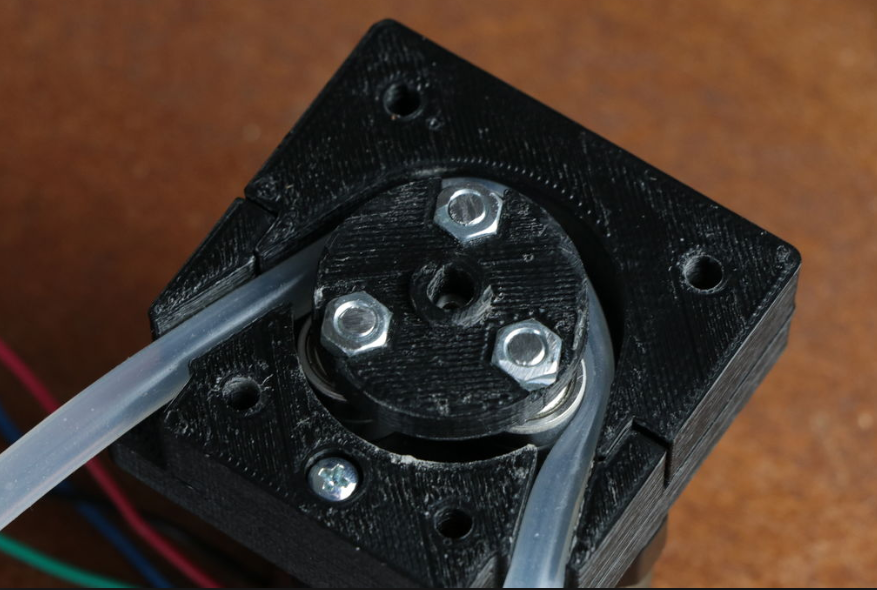
The first spiral is to design the system that will pump water. I decided to use a peristaltic pump because it is relatively quiet and easy to vary the speed. What interests me to practice in the fab academy is mechanical design. So I will design the peristaltic pump using a stepper motor.
Spiral 2:
I'll design the frame for the water dispenser. The most difficult part is that there is a part that must contain the water. So I have to design a waterproof container to get the water. It is also necessary to protect the electronics from splashes and also to protect it from leaks. I plan to have a fountain about 15 cm high. I will use 3D printing to make the two containers and wood to build the exterior of the water dispenser.
Spiral 3:
I will put a water level indicator in the container so that I do not operate the pump when there is no more water. The chosen indicator simply indicates whether the water is above or below a certain threshold, so it is impossible to know how much water is in the fountain.
Spiral 4:
I will put a distance sensor on so that I can detect the presence of the cat when it is in front of the dispenser. When the cat is there the pump will start and the fountain will start to flow. This reduces the amount of energy consumed but also makes it quieter because the fall will not always be active. Ideal for a quiet night.
Spiral 5:
I will design a light to be able to illuminate the front of the fountain for the night. The water dispencer will also have a light detector to know when the room is dark to turn on the light at the right time. I will also use the light to indicate if the water level is too low. When the water is too low, I will make the light flash. I prefer a light indicator because it is more discreet than a sound indicator.
What materials and components will be used?
I will explain the necessary equipment according to the spirals explained above.Spiral 1
To design the peristaltic pump we will need:
| Description | Material |
|---|---|
| Latex tube |  |
| Stepper Motor | 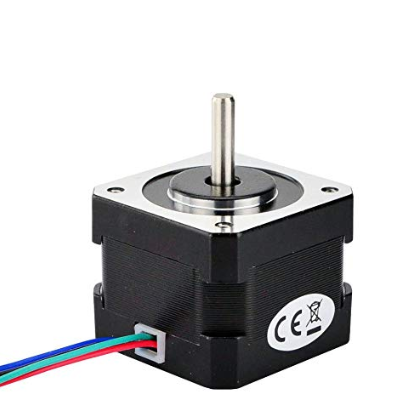 |
| Bearing | 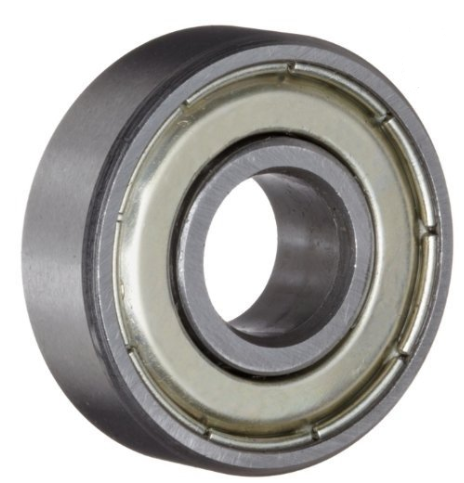 |
| Acrylic | 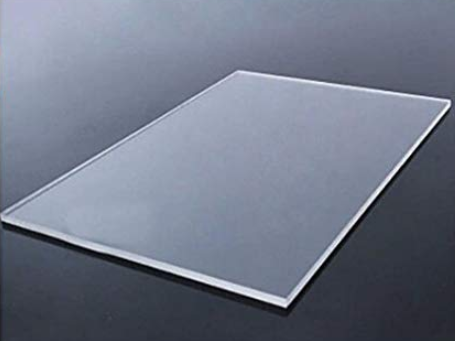 |
| PLA 1.75mm | 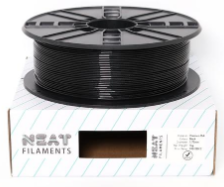 |
Spiral 2
| Description | Material |
|---|---|
| Baltic Birch 1/4 inch | 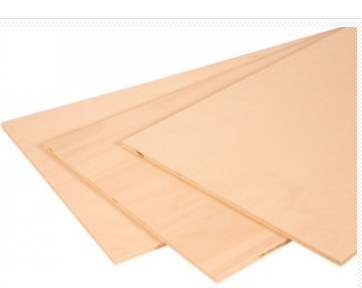 |
| PLA 1.75mm | |
Spiral 3
| Description | Material |
|---|---|
| Water level sensor | 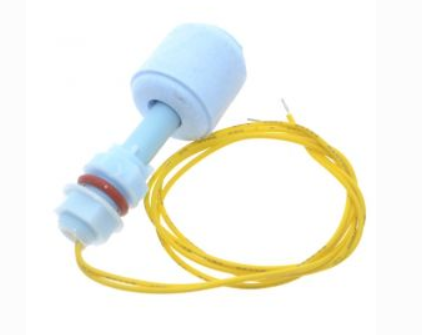 |
Spiral 4
| Description | Material |
|---|---|
| Distance sensor | 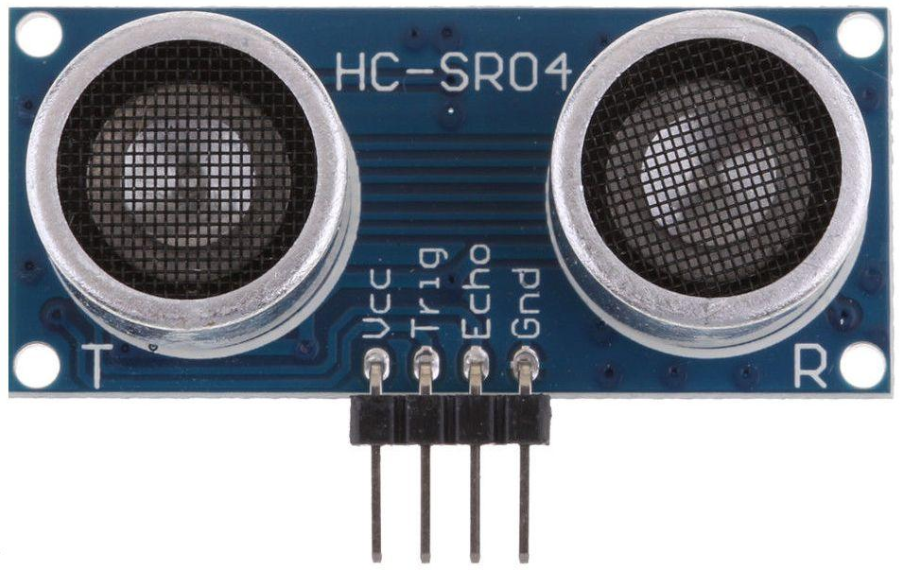 |
Spiral 5
| Description | Material |
|---|---|
| White LED 1206 | 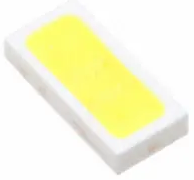 |
| PCB | 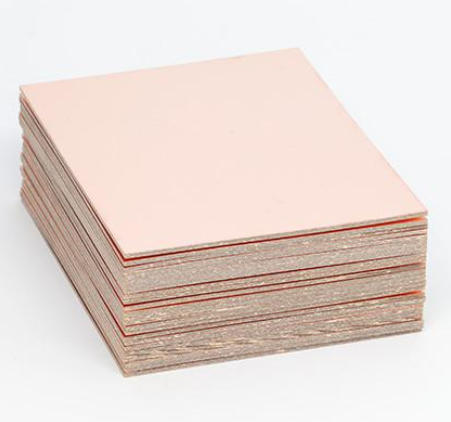 |
| Light sensor | 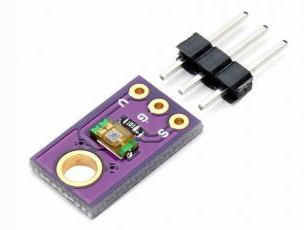 |
Where will come from?
Spiral 1| Description | Store | Link |
|---|---|---|
| Latex tube |  |
link |
| Stepper Motor |  |
link |
| Bearing | |
link |
| Acrylic |  |
link No price available online |
Spiral 2
| Description | Store | Link |
|---|---|---|
| Baltic Birch 1/4 inch |  |
link |
Spiral 3
| Description | Store | Link |
|---|---|---|
| Water level sensor |  |
link |
Spiral 4
| Description | Store | Link |
|---|---|---|
| Distance sensor | |
link |
Spiral 5
| Description | Store | Link |
|---|---|---|
| White LED 1206 |  |
link |
| PCB |  |
link |
| Light Sensor | |
link |
How much will they cost?
| Description | Price |
|---|---|
| Spiral 1 | |
| Latex tube | 21.99$ CAD |
| Stepper motor | 15.88$ CAD |
| Acrylic | 12 x 20 inch 15.00$ CAD |
| Bearing | 15.30$ CAD | 15,30
| Spiral 2 | |
| Baltic Birch 1/4 inch | 18.00$ CAD |
| Spiral 3 | |
| Water level sensor/td> | 8.39$ CAD |
| Spiral 4 | |
| Distance sensor 3 | 6.29$ CAD |
| Spiral 5 | |
| White Led 1206 | 0.35$ CAD |
| PCB | 1.34$ CAD |
| Light sensor | 3.49 |
| Circuit boards | |
| Boards are not designed yet | ??? $ CAD |
| TOTAL at this point | 107.08$ CAD |
What parts and systems will be made?
The parts to be done in the design of the water distributor are the following:Peristaltic pump
The first part to be built is the peristaltic pump. It will have a part attached to the shaft of the stepper motor that supports the bearing. The second part is what keeps the latex pipes in place. To make the pump more visually interesting, the tops of both parts will be made of acrylic. The pump in total will consist of 4 pieces. Here is an example of a peristaltic pump.
Water containers
In the water dispenser there will be two water containers. The first is the main container that contains the water when the pump is not running. This container will have the water level sensor and the hole to suck the water for the pump. He will also need a hole to mount the electrical wires up because the electrical boards are under the container. A hole to bring the latex hose to the pump. The second container is the top one which contains the water pumped by the pump. He's gonna have a hole in it to create a waterfall. This container is used to have a more constant flow rate for the waterfall because a peristaltic pump does not give a constant flow rate. The most important constraint in the bottom container is the height of the water level sensor changing from full to empty. This height is 41 mm so it is important that the bottom of the tank is 41 mm higher than the bottom of the container that the sensor is positioned.

Water dispenser frame
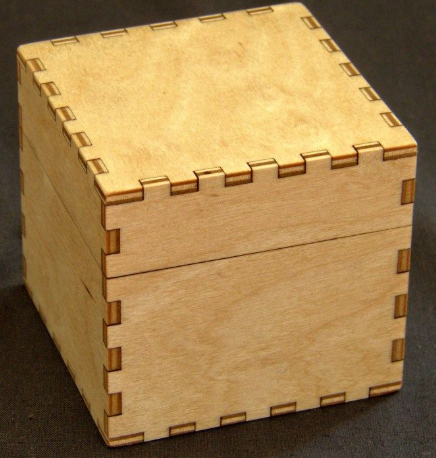
The frame of the water distributor will be made of wood and will have to accommodate the two containers mentioned above. The case will be press-fit so no screws or glue is required. For this, the sides will need to be inserted one into the other to be solid. I'm going to base myself on this box.
Distance sensor holder
I also need to design a part that will support the distance sensor in front of the water dispenser but behind the waterfall.

Light and light sensor holder
I have to design a part that will support the light directing down to illuminate the front of the fountain. In the same part, the light sensor need to be installed upwards so that the light from the fountain does not influence the light level received by the sensor.

Circuit boards
I'm going to have three boards in my project. The smallest is the one that will have 4 LED lights to illuminate the water dispenser. The second is the board with the microcontroller and the inputs and outputs to communicate with the different sensors. The third one is the board with the motor drive. I decided to make the main board and the drive separately because it made the options more modular and matched the different spirals of the project. If he ever had a problem with a board I didn't have to start all over again. It's a way of not putting all the eggs in the same basket.
What processes will be used?
In my project, I will use two different design processes.3D printer
I will use 3D printing to make both containers and the frame of the peristaltic pump. I will use the most popular material, which is PLA. I decided to use this process for this part because it was a more complex shape and therefore more difficult to make out of wood. It was also too complex to be done with the CNC and also much too deep for this same machine. That's why I'm going to use 3D printing.
Lasers cutter.
For the frame of the water distributor, I will use 1/4 inch baltic birch and laser cutting to be able to cut it. I decided to use laser cutting compared to CNC because it was a thin wood and also the cutting is much more precise. It is also much more esthetic because there is no dogbone in the inside corners of my pieces.
What questions need to be answered?
The big question I have is how to make a stepper motor drive properly because in the week output I had chosen a unipolar motor. Now I want to design a drive for a bipolar motor. The advantage of having a drive separate from the microcontroller is that it is less busy managing the steps and can therefore do something else. This makes the execution of the program much more fluid and also the response time of the sensors is faster.