-
Assignment
Computer Controlled CuttingComputer Controlled Cutting
In this week assignment, I did try laser cutter and vinyl cutter to do some prototypes
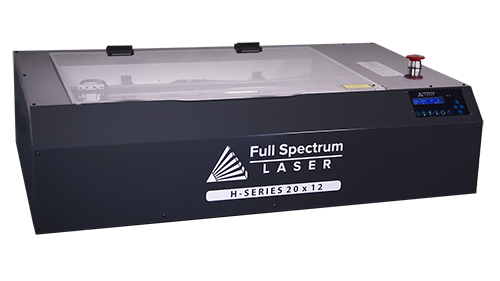
Starting by the first laser cutter that I have, the laser cutter which is called Full spectrum laser cutter. The one that we have here is 5th generation 20*12 (50cm * 30cm working area). This machine uses a special software to do the cutting and engraving. The software is called
it's an open source, easy to use program
I downloaded the program and installed it. The intrface was so easy as shown below. You have two main things: Vector (cut) or Raster (engrave)
Now, I have to prepare the laser to start working on it. I have 3 main parts that should be connected to the laser before doing anything. The first one is water pump or water chiller to cool down the laser tube. The second is air pump, to control the sparks during the cutting. The third part is exhust fan, this part is used to take out the fumes that produced by laser
There is a table showing the material settings to adjsut the speed and power accordingly, you can check it below
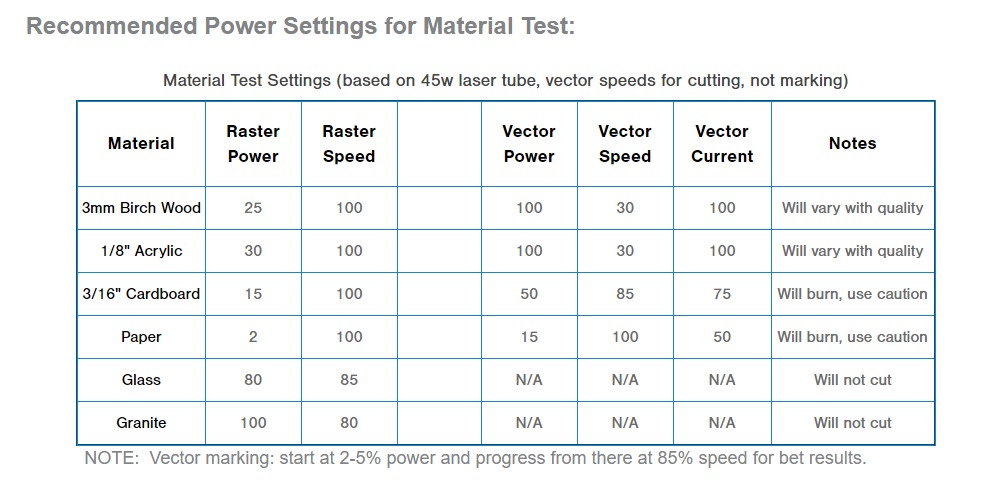
We have to have the design ready to cut and engrave before I use Retinengrave program. You should keep in your mind the following:
1- for cutting parts: the object should not be filled, and the strock must be red with 0.035 mm as the line thikness
2- for engraving parts: the object should be filled with black and no strock
So, it's the time to start using the machine. First, I connected everyting to the power and run the devices (Water chiller, Air pump, Exhust fan, and laser cutter) moreover, then I opend the laser software, I have to click the box (ignore thin vector) because the software will detect the edges of the engraved parts, but by clicking this the software will detect the 0.035 mm strok
I print the design from inkscape using the machine driver (full spectrum engineering driver). You can do it by pressing ctrl+p
Now, the IP address shown in the machine display should matched the IP address shown in the software. Otherwise, you have to click refresh (the button beside the IP address in the software)
The machine is connected and I will start cutting the robot parts now, I have to select if the design includes Raster only or Vector only or Raster then Vector (both of them starting by raster)
Now, it's the time to cut the final project initial design (robot chassis) that I've prepared
I exported the design to prpare the cut file by using Inkscape at first to prepare the line strocks before using the RetinaEngrave software to cut it
By editing the strock to be ready for the cut (strock is 0.035 mm and red color)
File>>> Print>>> Select the driver. The design will open directly in the RetinaEngrave software
Then, editting the power and speed as I'm using Acrylic 6mm. Starting the cut and the assembly process

But I remembered the material should be 3mm because it was not fit. I cut the parts and made assembly
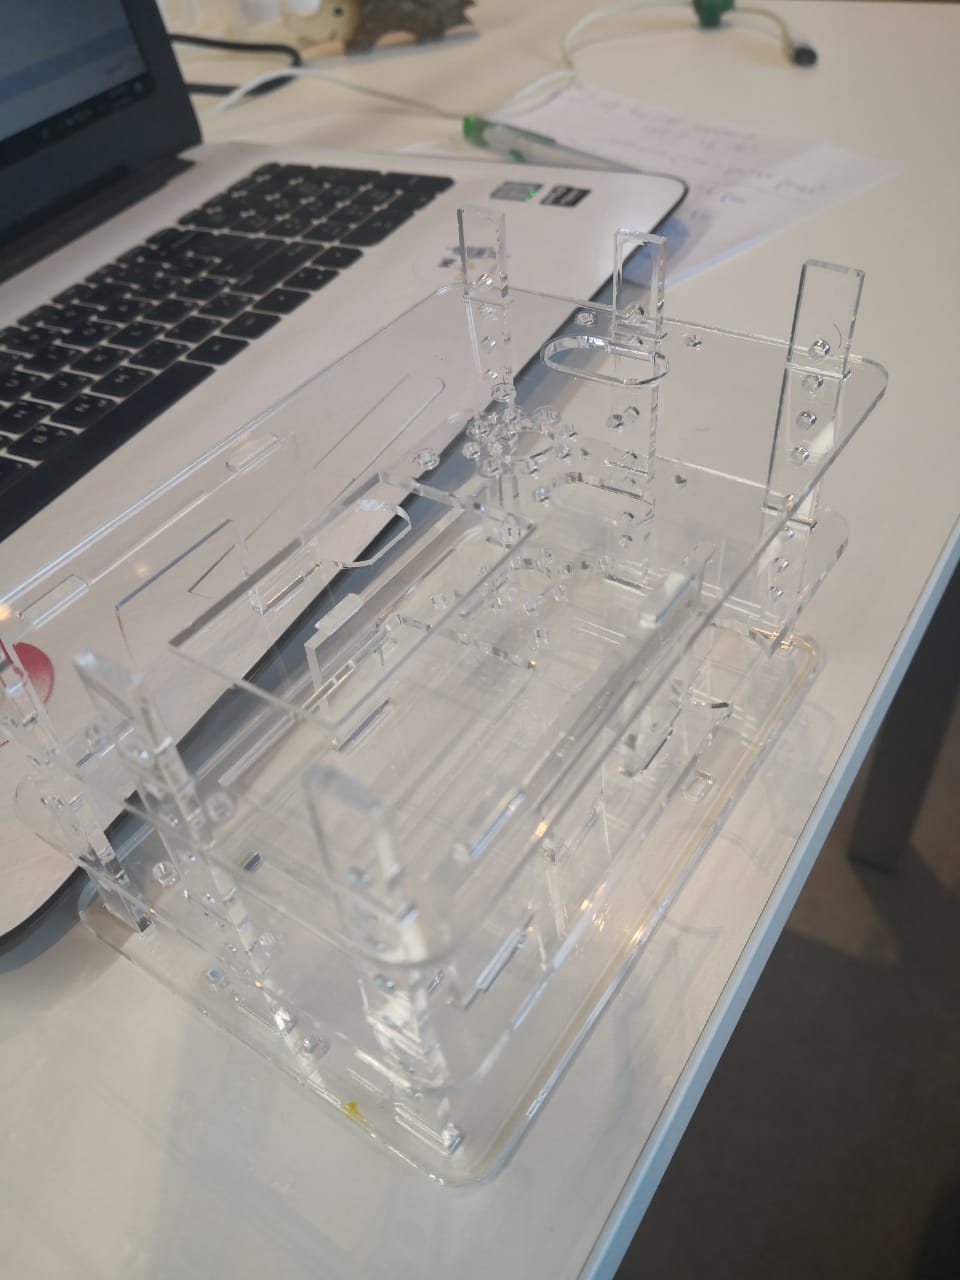
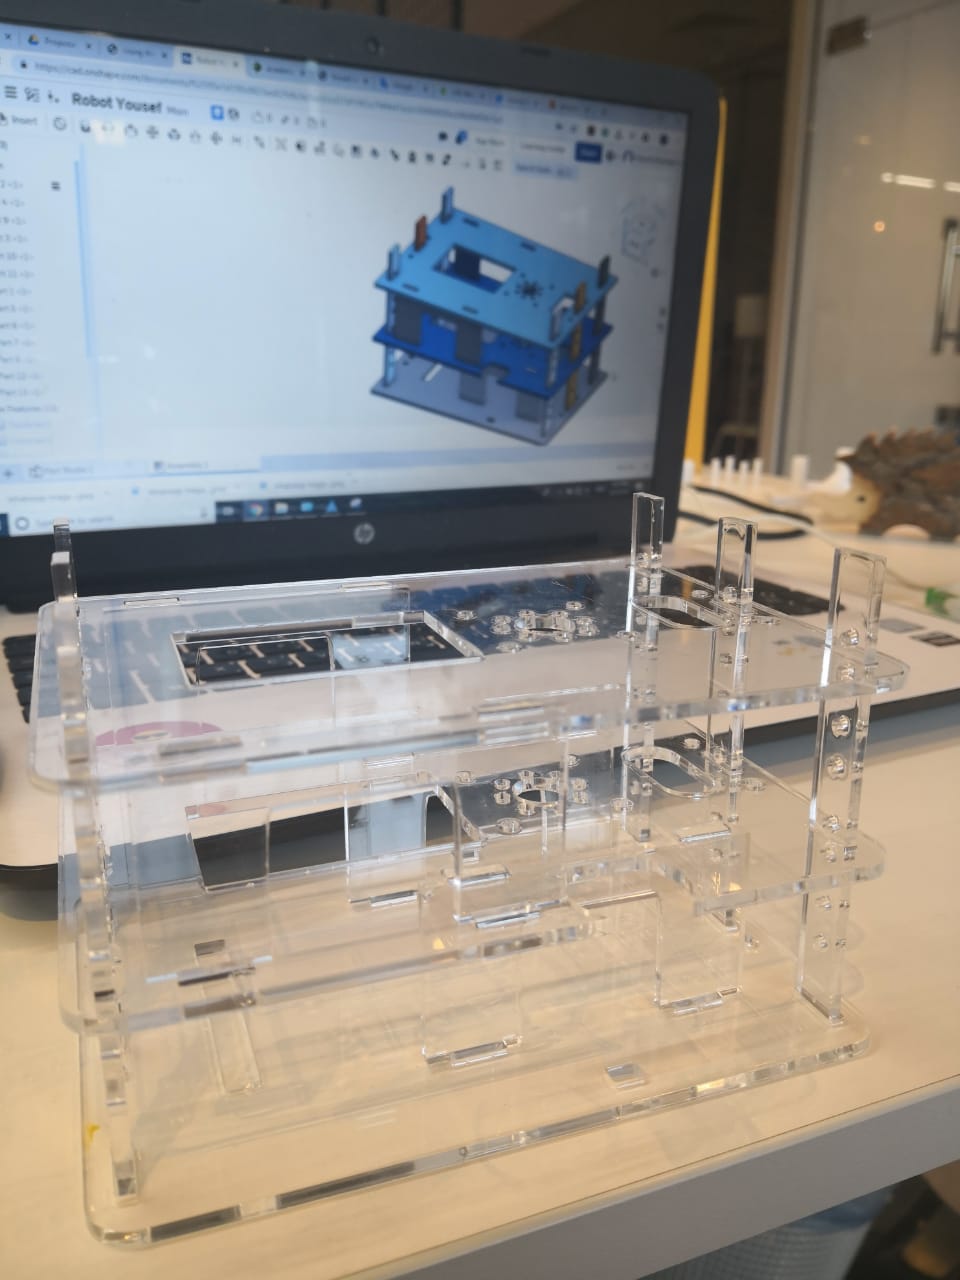
Design file (svg) hereI started another parametric design process by doing a simple sketch to a model that describes a shelving unit. Therefore, I opened a new document in Onshape to convert the idea into digital sketch
Starting by converting the document dimensions from inch to mm. And then I added 3 rectangular, first one for the main part, the second one is to make difference to set the joints, the third one is to set the dimensions among the joints
I used Trim to cut the additional lines to make the joints. I added a variable called Y to be as the joint space because If I want to use any material, it will be easy by changing the value of the variable Y. I made it equals to 3.5mm as I'm planning to use acrylic 3mm
I edited the dimension for the joint to be Y, to change by changing the value of the variabe Y. I did that by using Dimension icon and set the dimension to be #Y, so I had to add # before the variable name
Then by copying the part and making a total of 4 parts, now I can extrude the parts and set the depth as #Y to change also if I want to change the material. Because the joints should fit the parts
I opened the assembly tap, to make the assembly by using fasten icon
The design file is available by clicking here
I exported the design to set the strock using inkscape program, to make sure that the parts are ready to cut using laser cutter. I opened inkscape program
As I'm going to use Full Spectrum Laser Cutter, the strok width should be 0.035 mm to recognize the cut. I selected the fill and stroke from object icon as the following with no fill
Design file (svg) hereAnd from inkscape, pressing ctrl+p to print the file using Full Spectrum Engineering Driver, the design will open automaticlly using the laser software which is RetinaEngrave
Setting the power and speed as I'm using Acrylic 3mm. The power is 100 and the speed is 8. Then run the vector cut only as there is no engraving part, as shown above,
After cutting the parts, and by the way it was nice cut and easy to remove from the main sheet
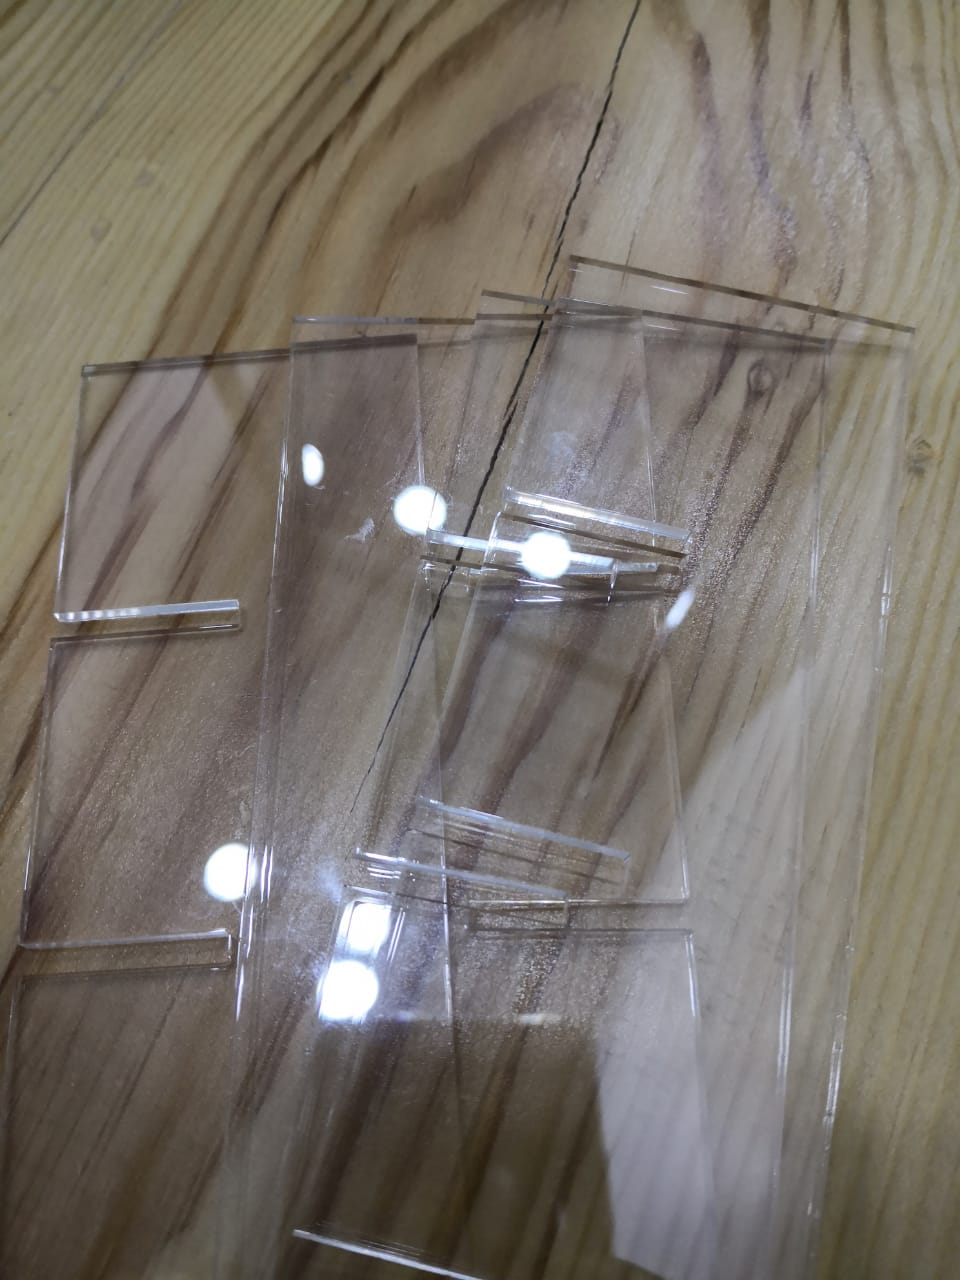
Now, the last step which is assembly, connecting the joints to form the full model
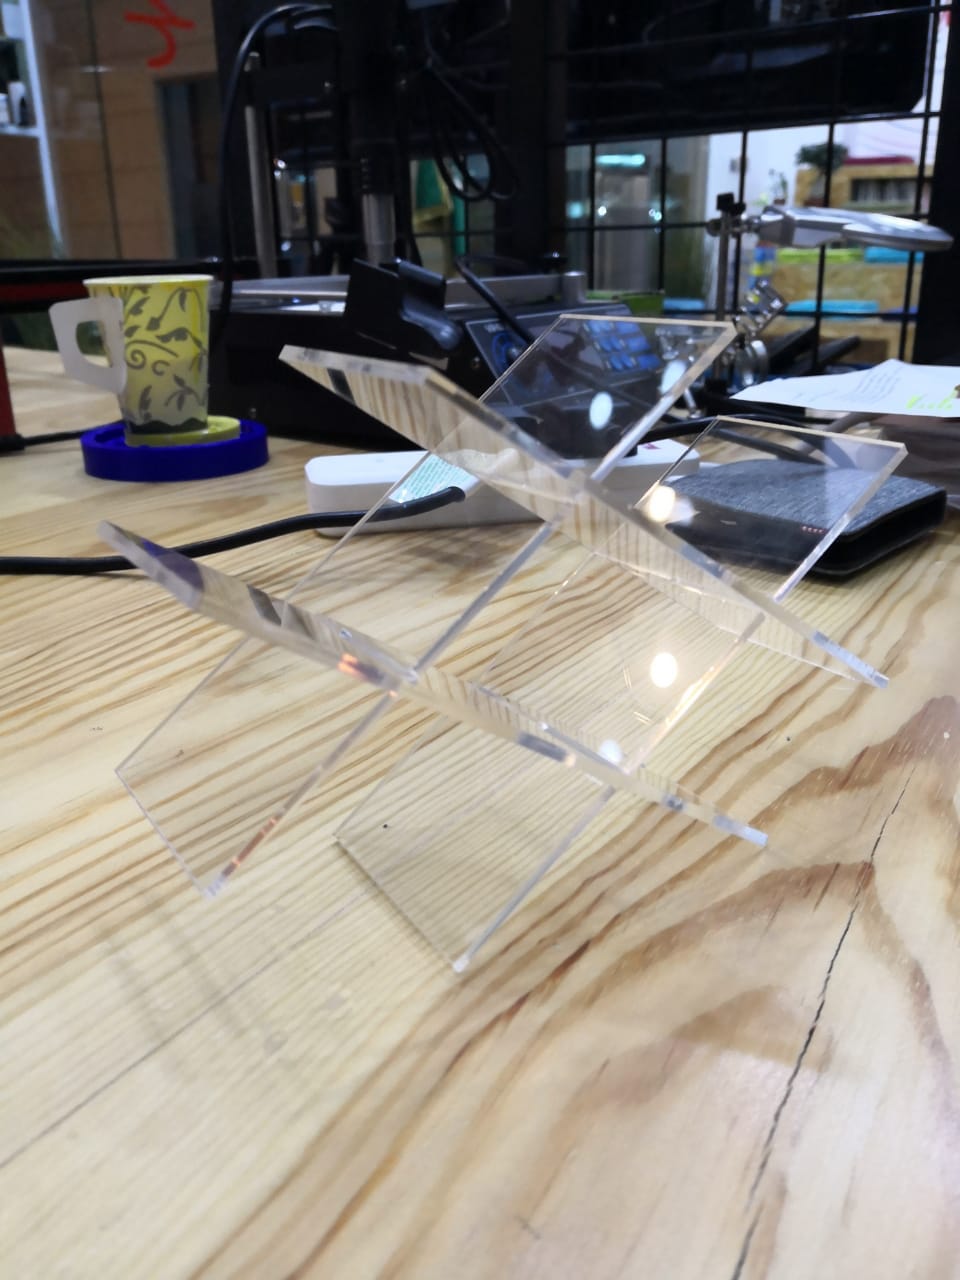
The parts fit perfectly, I'm planning to do it big scale by editing the variable and using CNC machine to be used at home
I used to use digital fabrication machines since I'm working for FABLABs' and Makerspaces. I've printed some models that I made last week using CR-10 3D printer and Epilog mini Laser cutter as well
I started the process for the second machine with simple design using inkscape, I use one of the ready photo and then trace bit map to convert it into vector. Then I added some designs elements by drwing using the tools available in the program
The machine that I'm going to use is Epilog mini 24. Now, to cut the design, you have to note that any cut parts should not be filled, and any engraved parts should be with strock of 0.01 mm. Then it's the time to save the file as pdf and run the machine to cut it
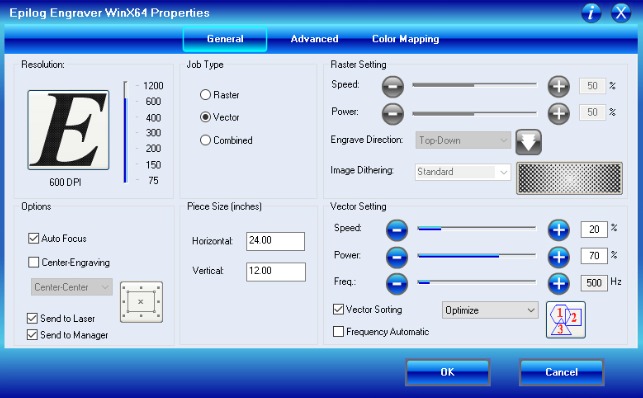
I had to edit the speed and power as I'm using cardboard. These are some pictures during the machine runing
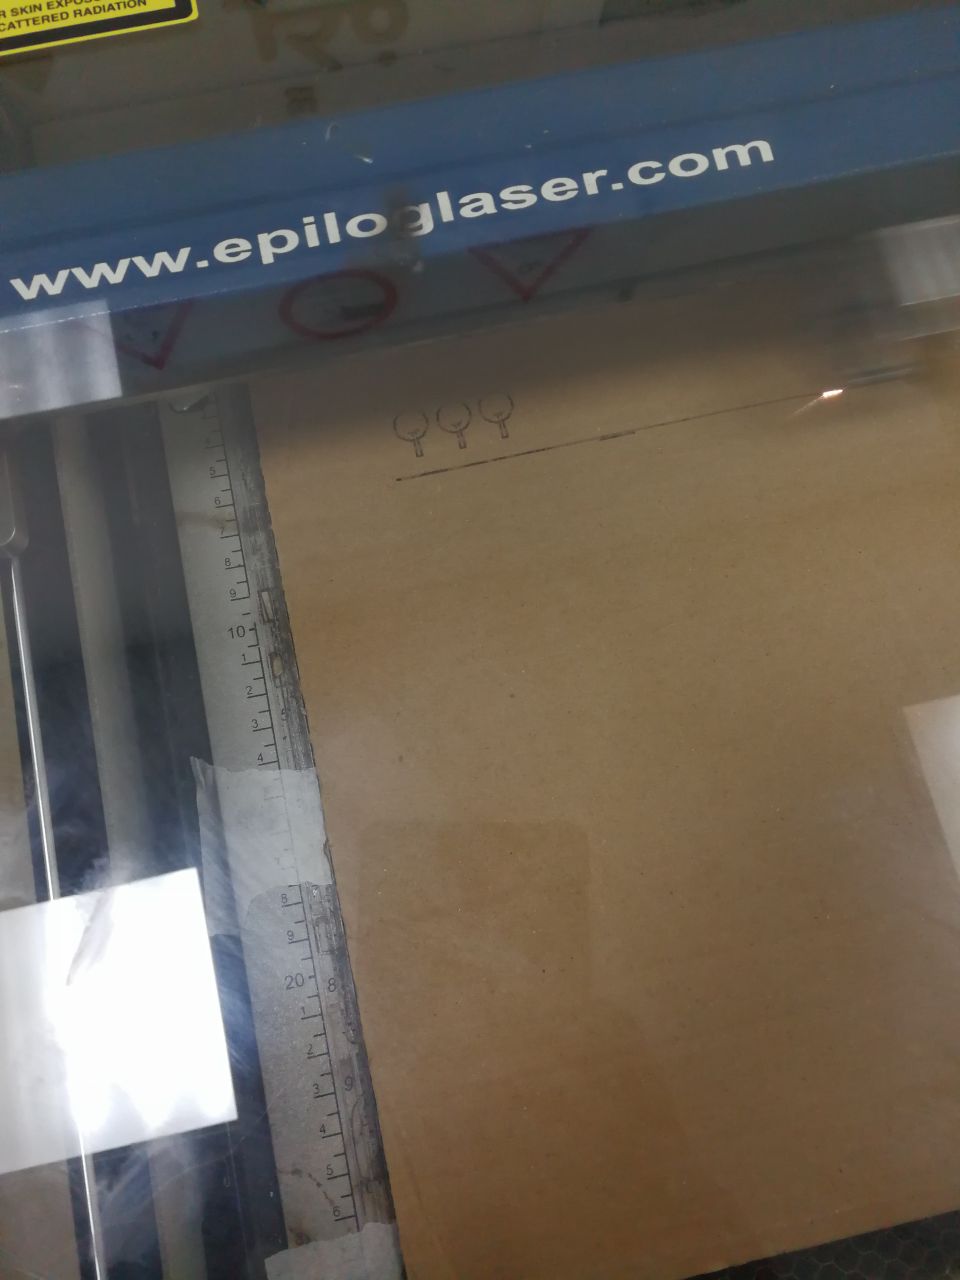
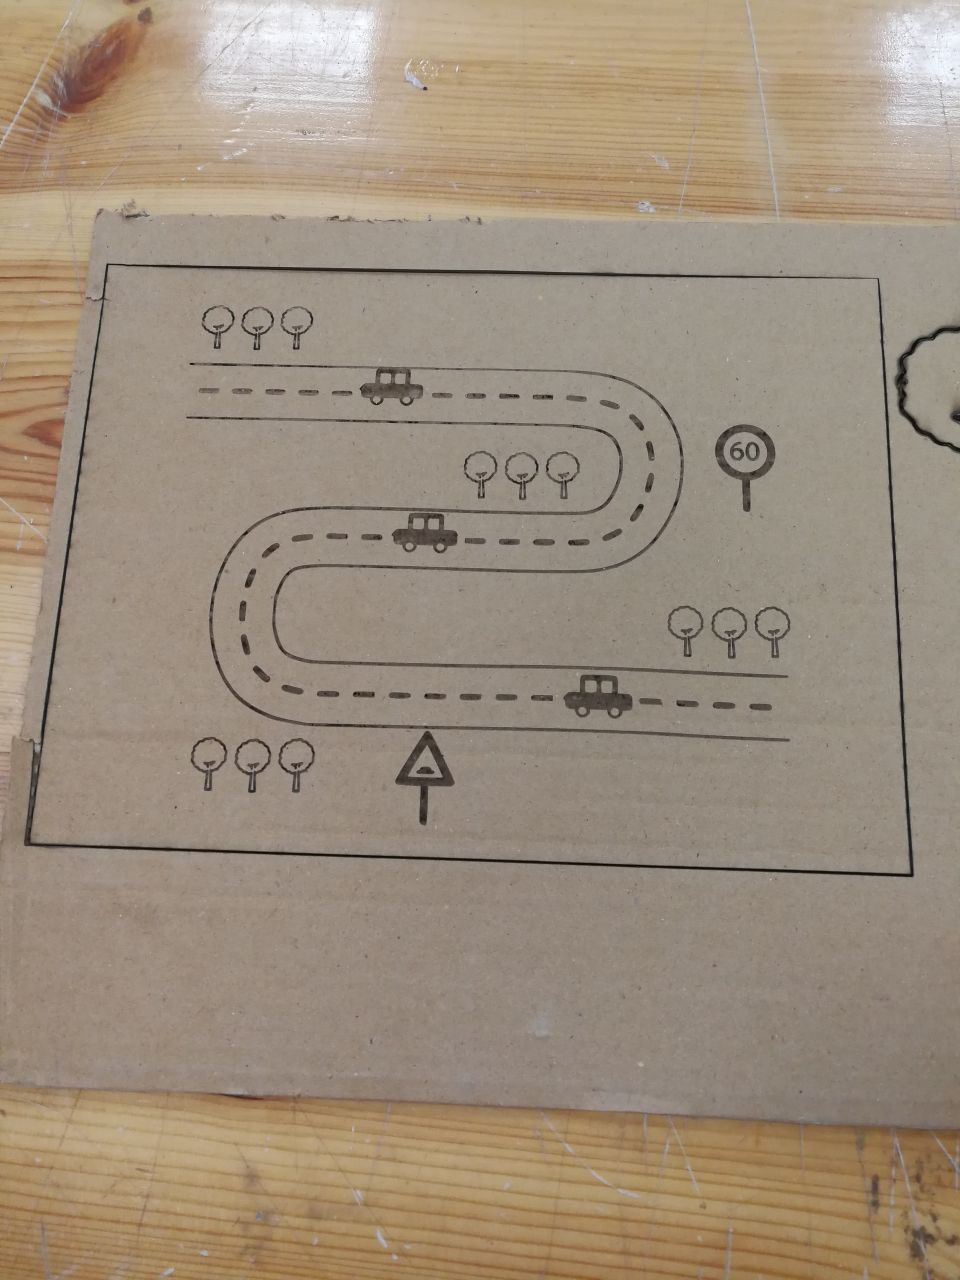
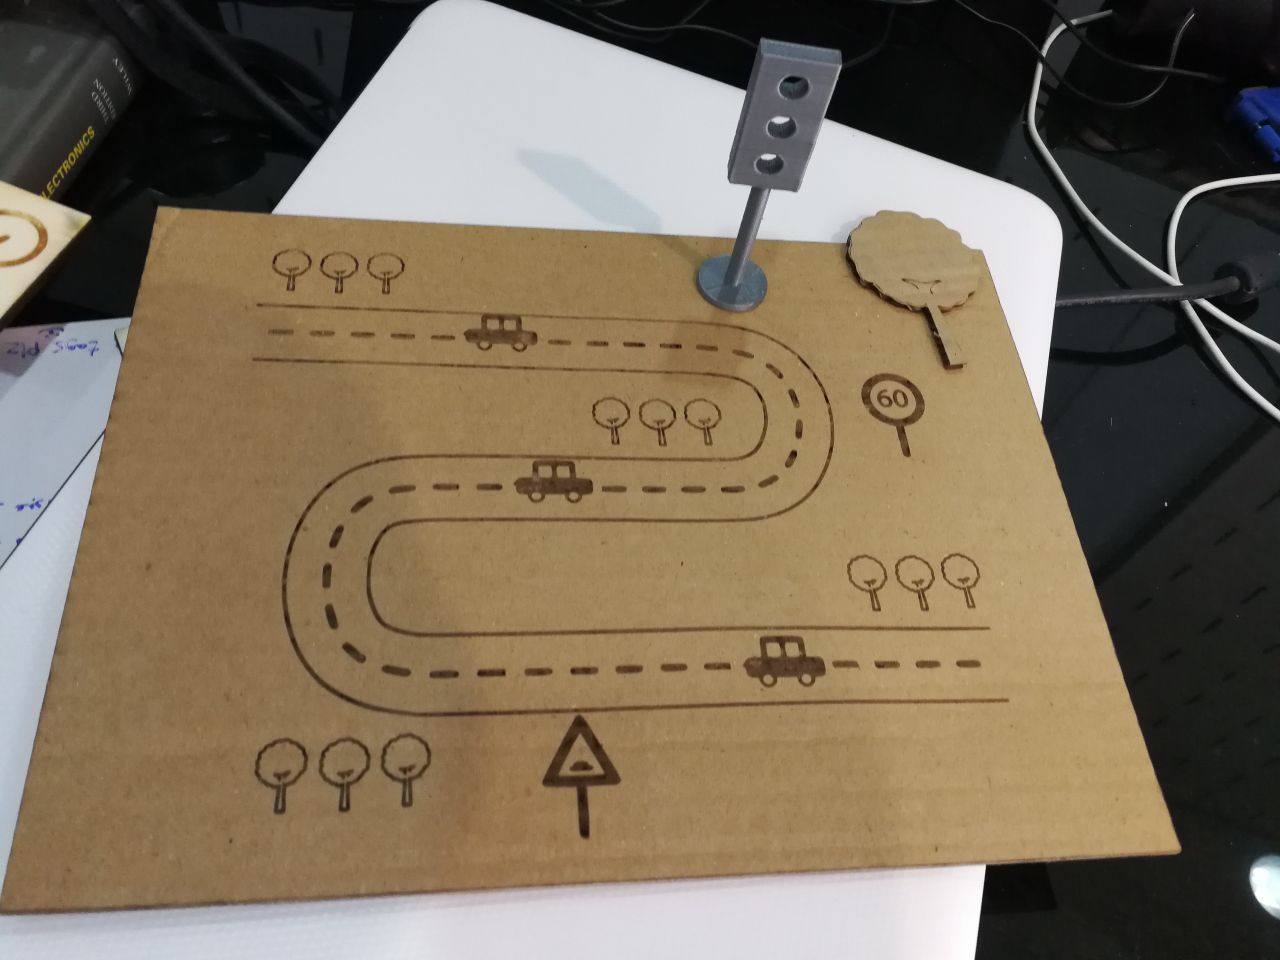
Trying to design and cut the maze using laser cutter
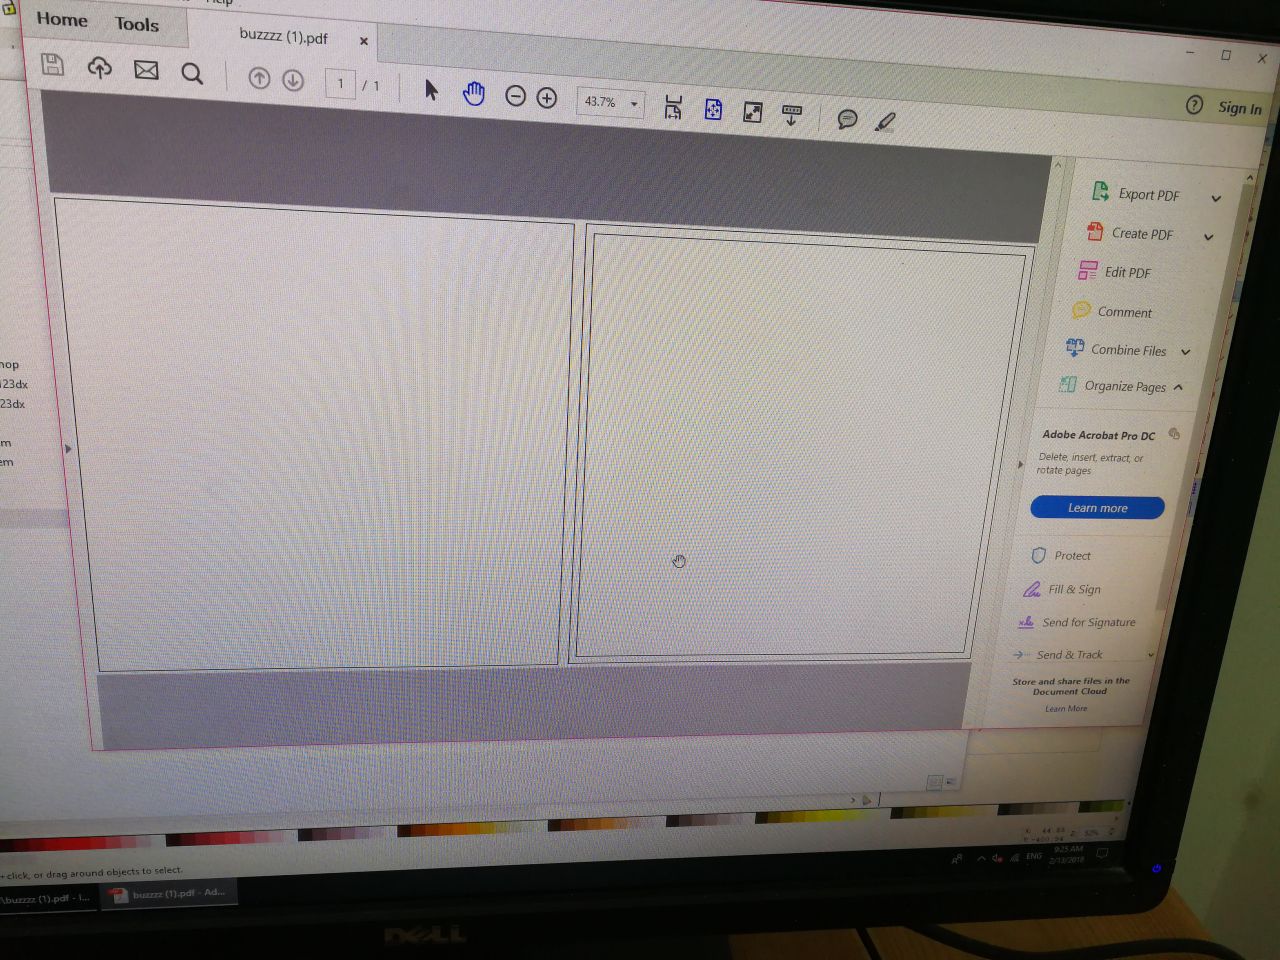
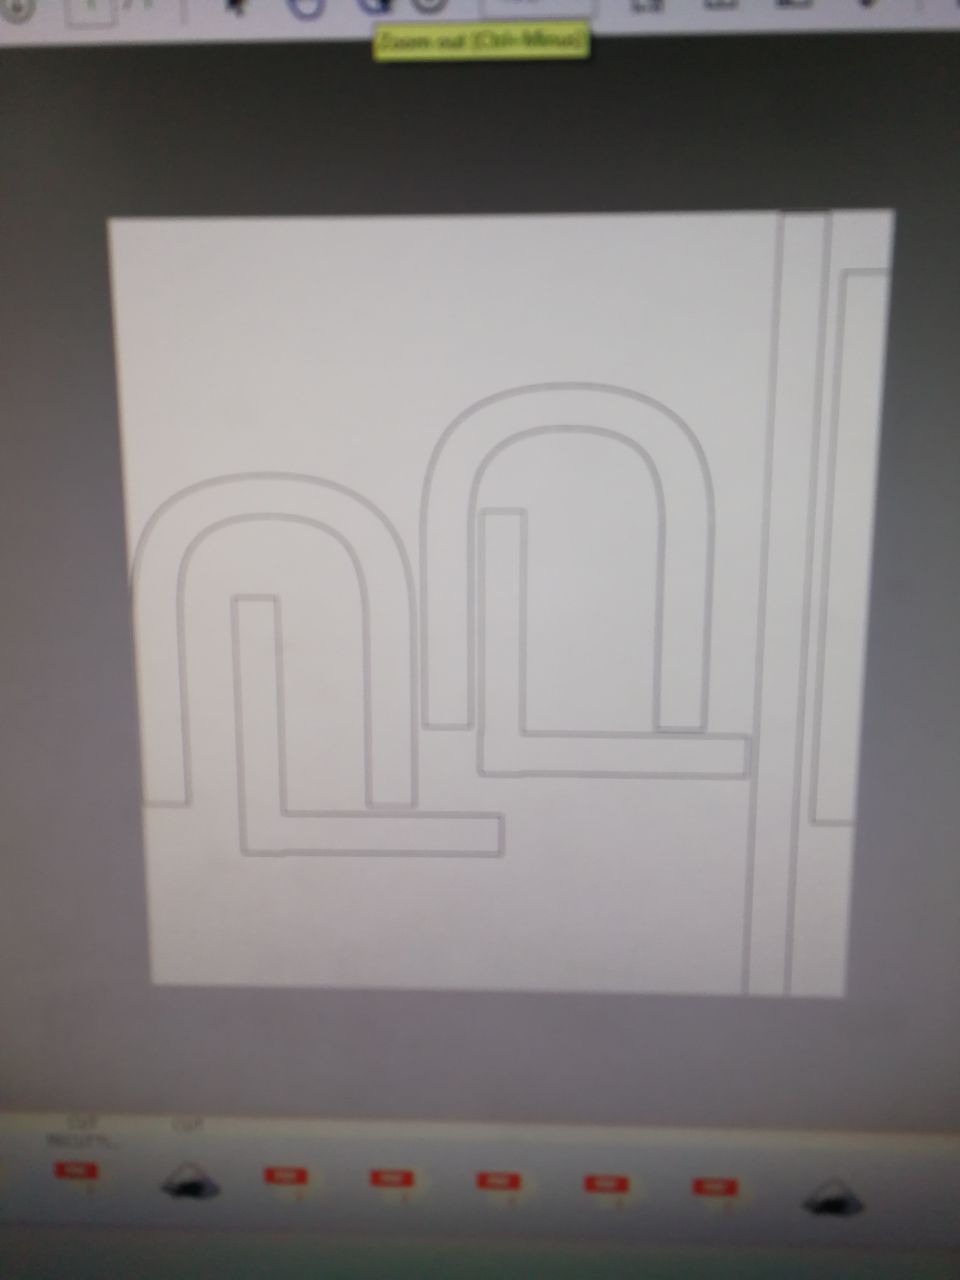
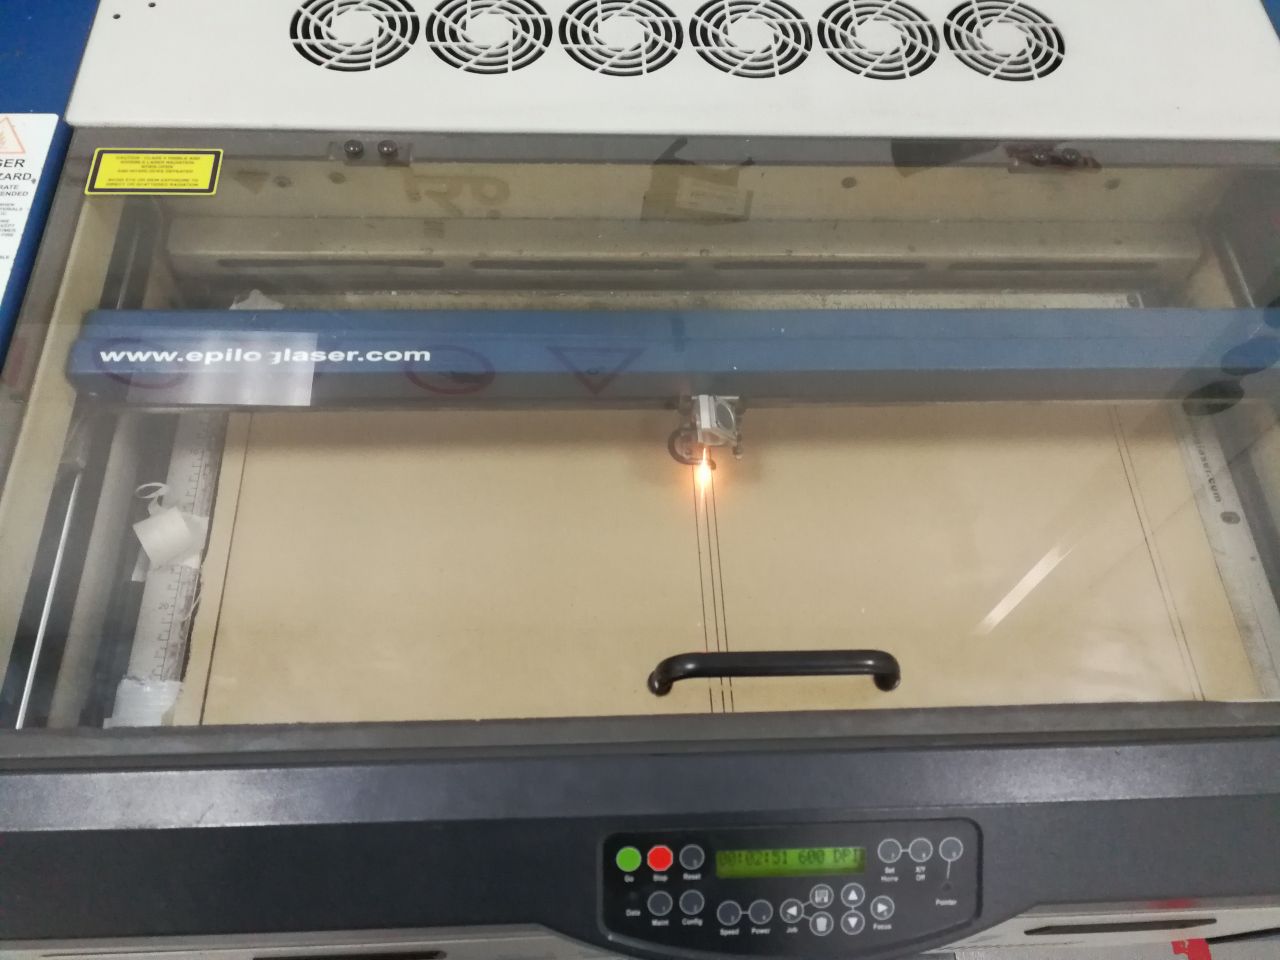
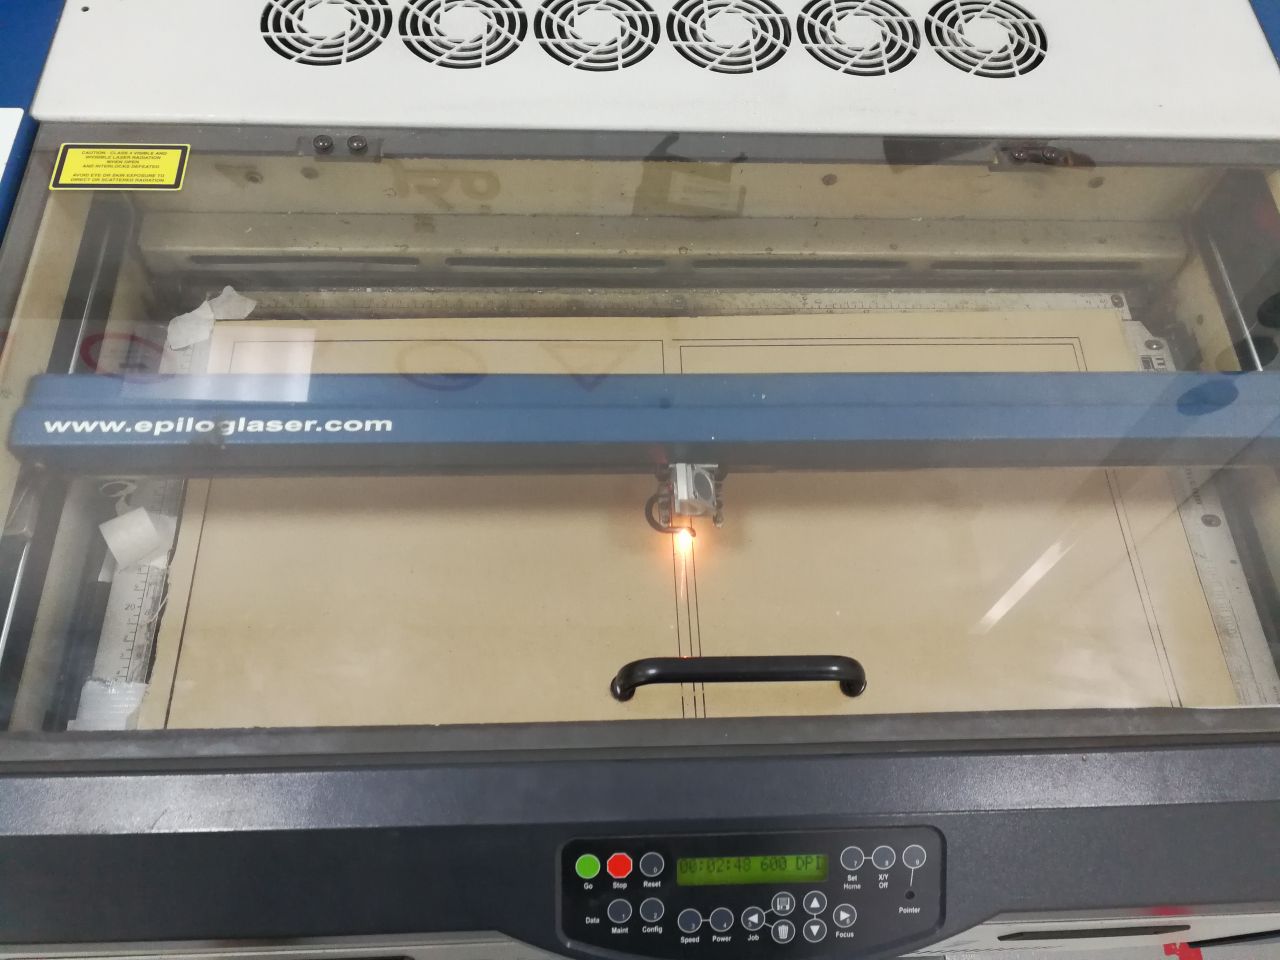
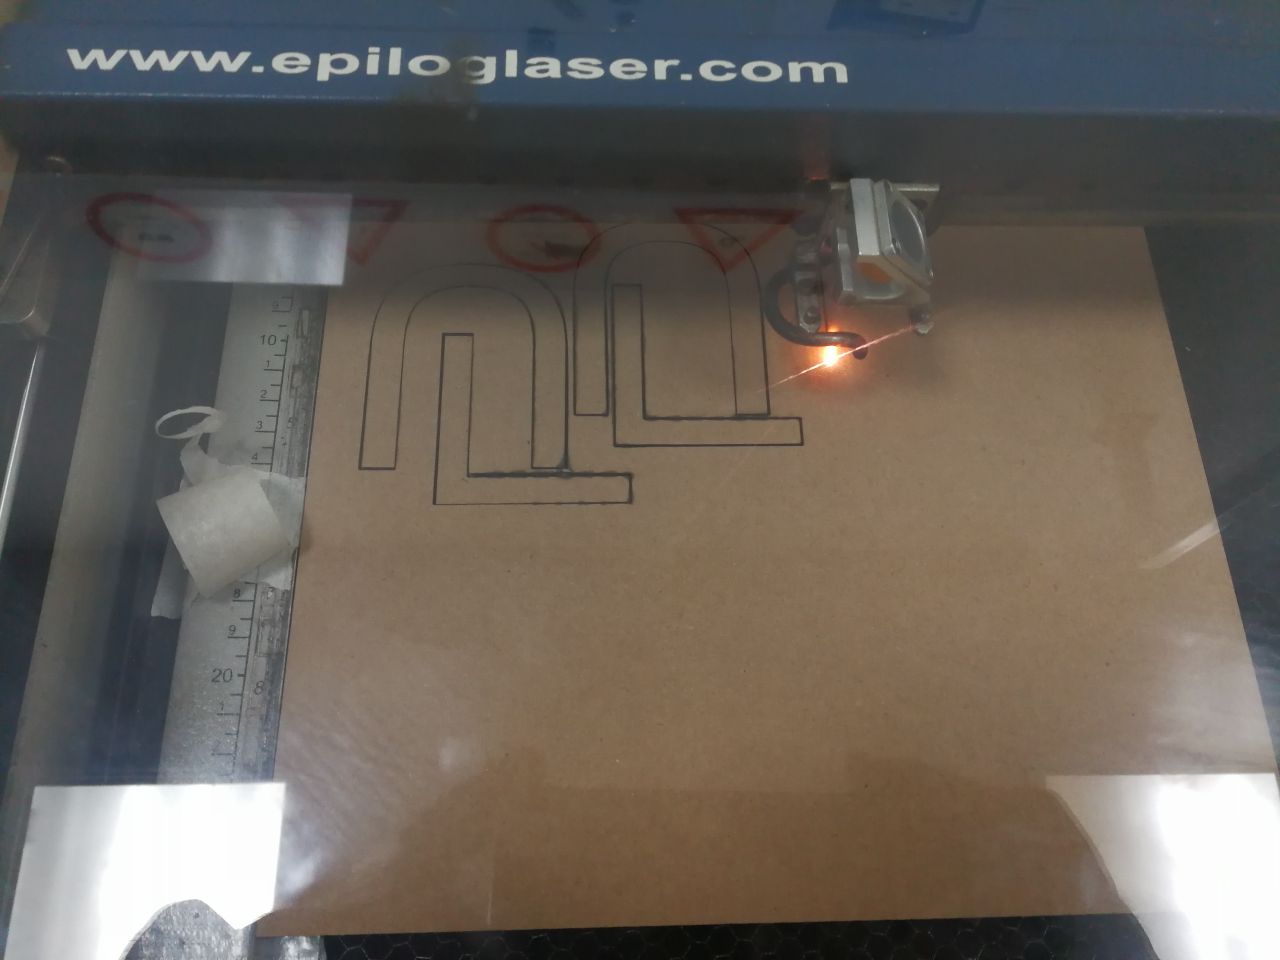
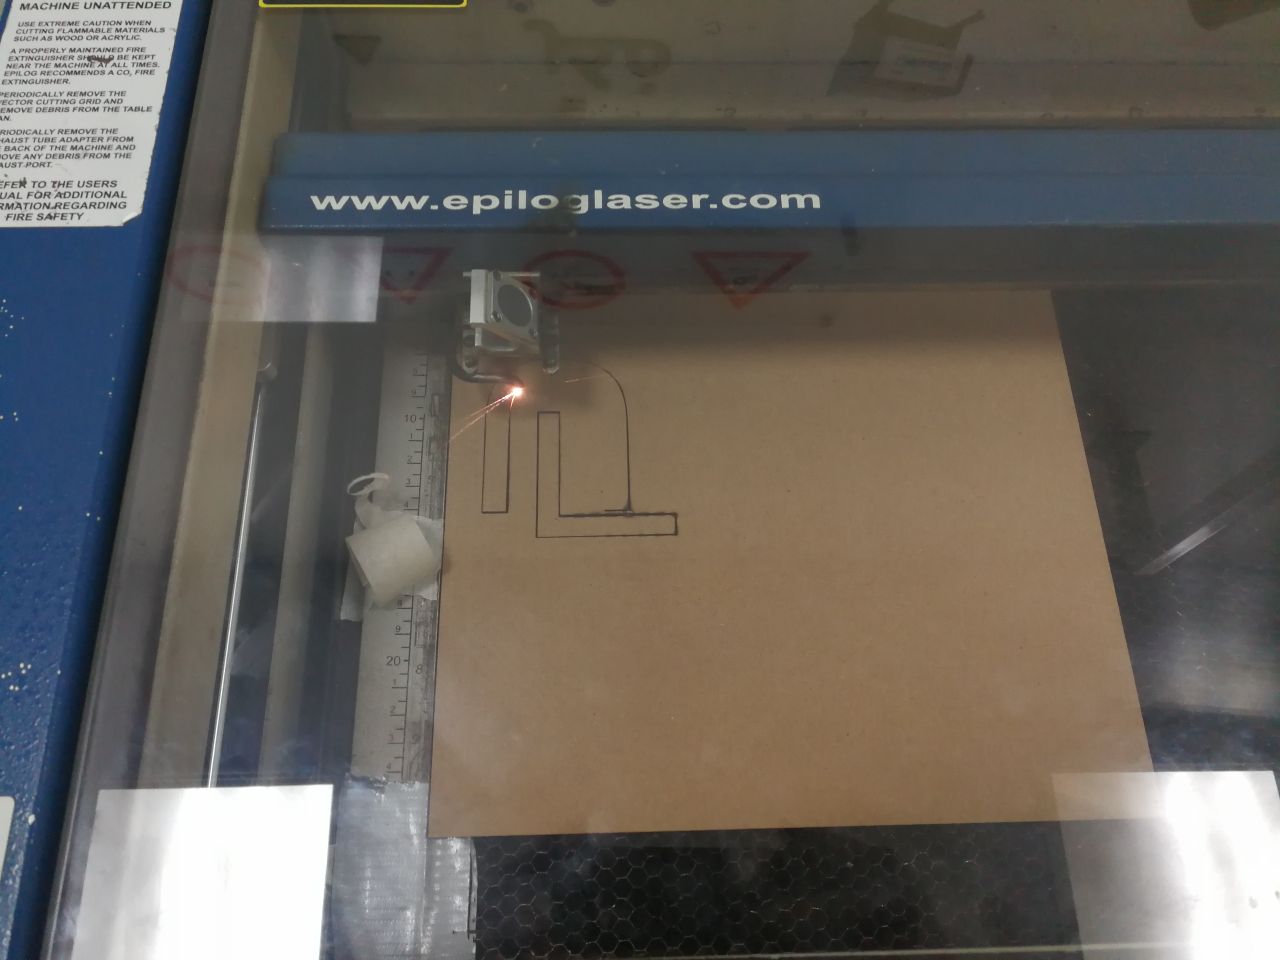
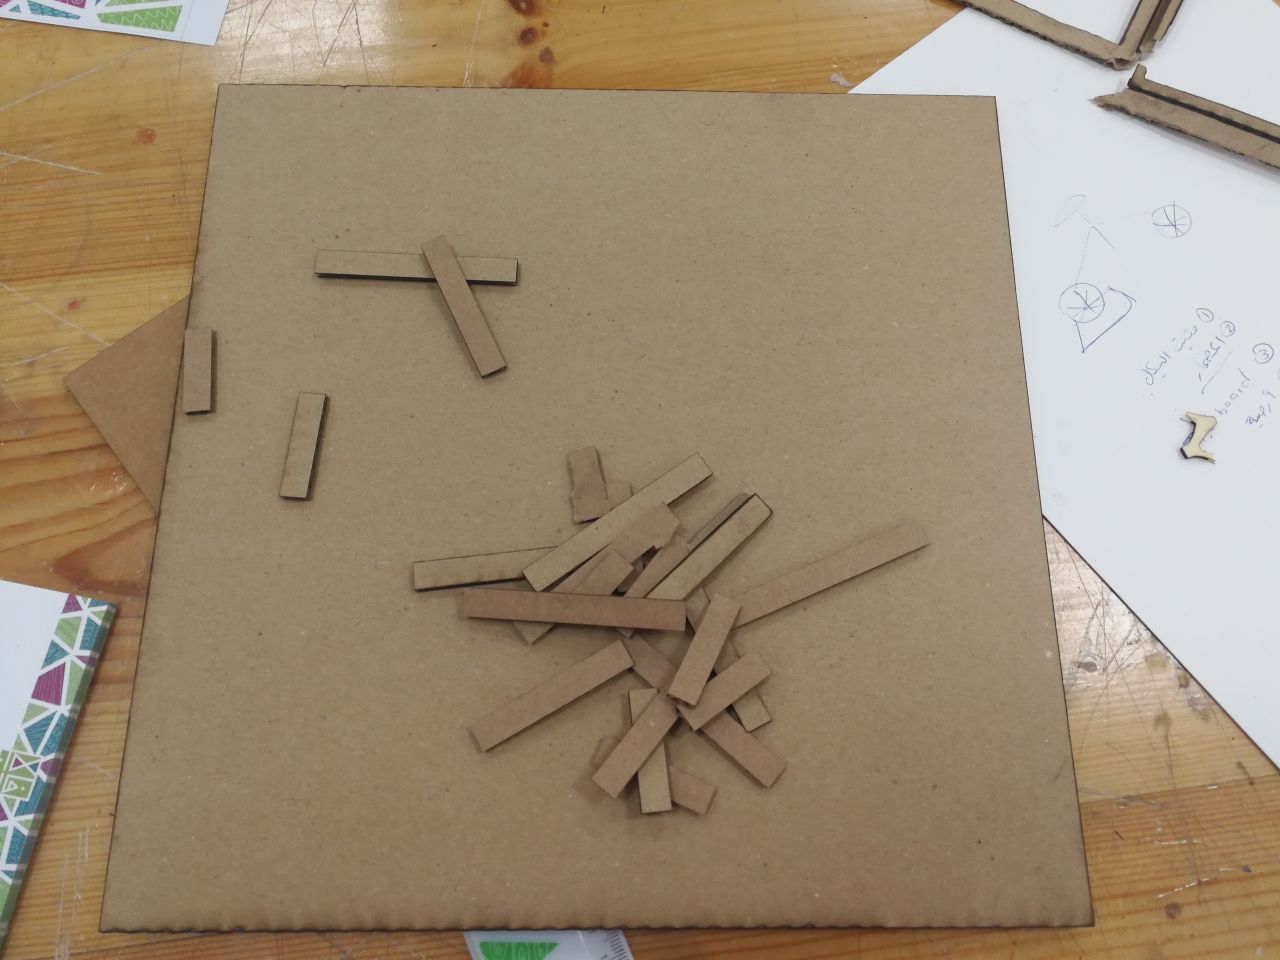
Now, I tried to collect the parts and glue them to get the final result
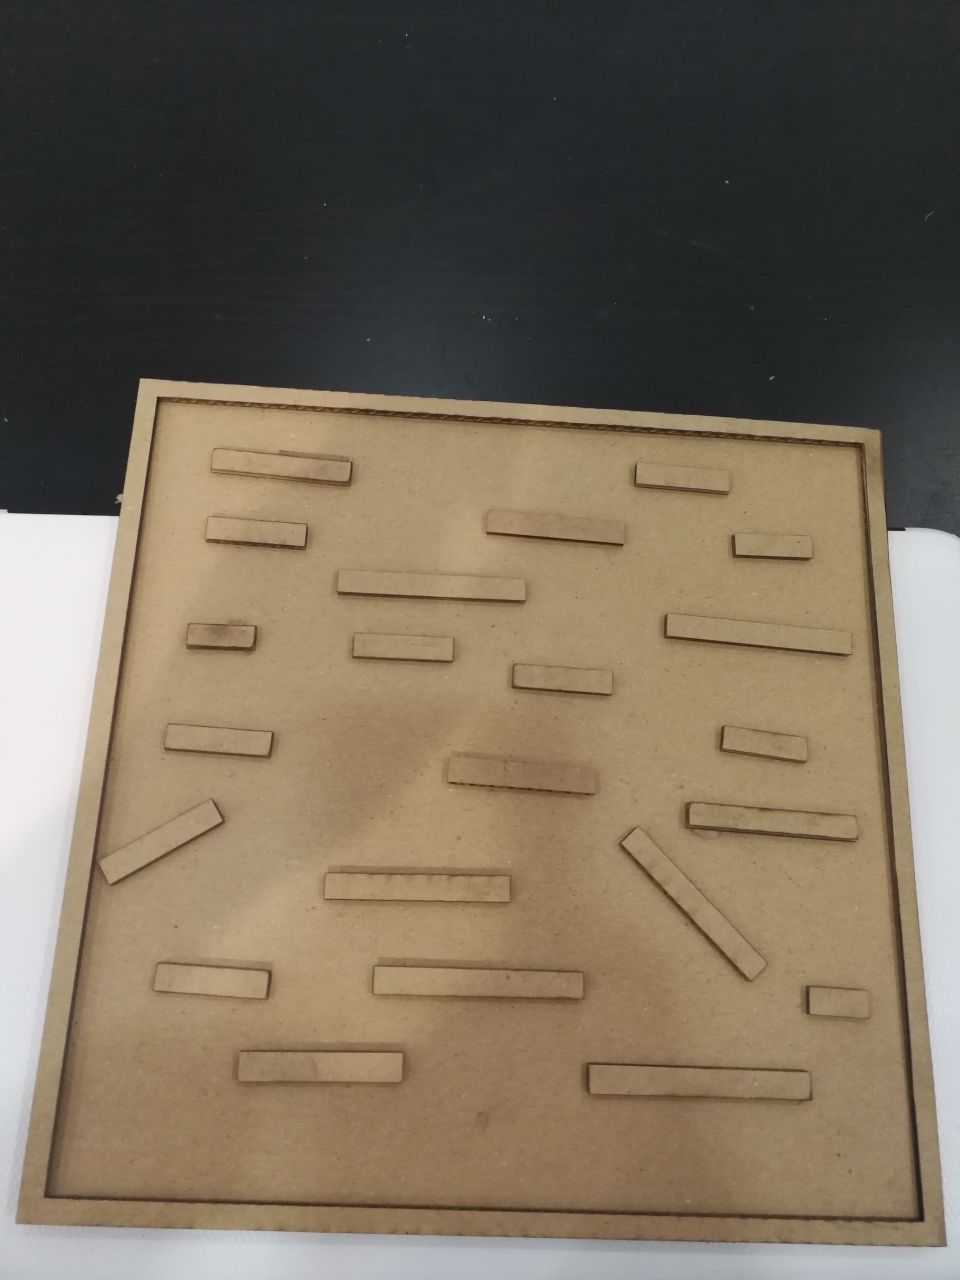
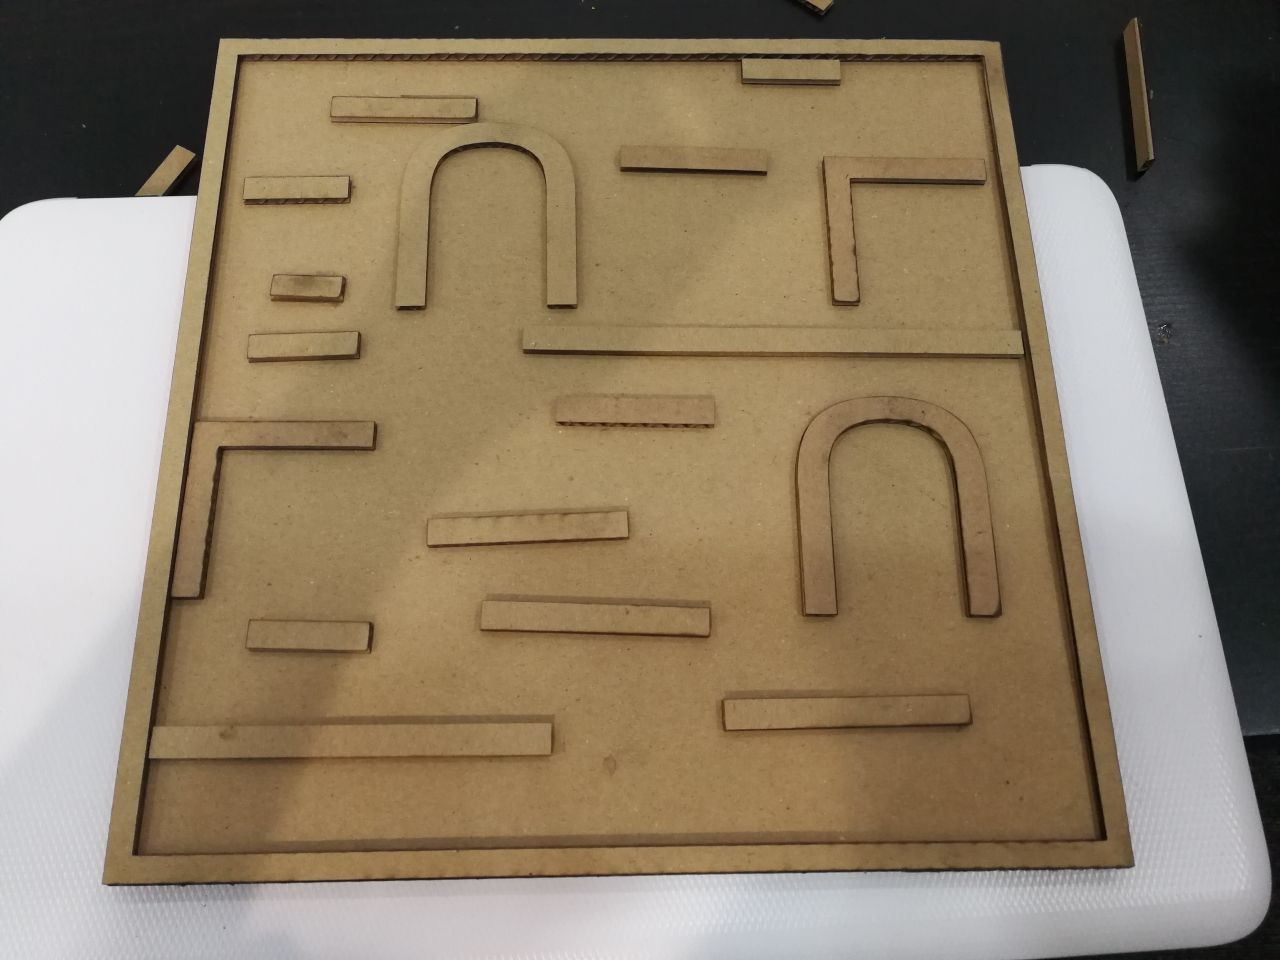
I moved to the vinyl cutter, the one that I have here is Expert || 24 from GCC company. The working area for this machine is 60cm * 50 m as vinyl roll
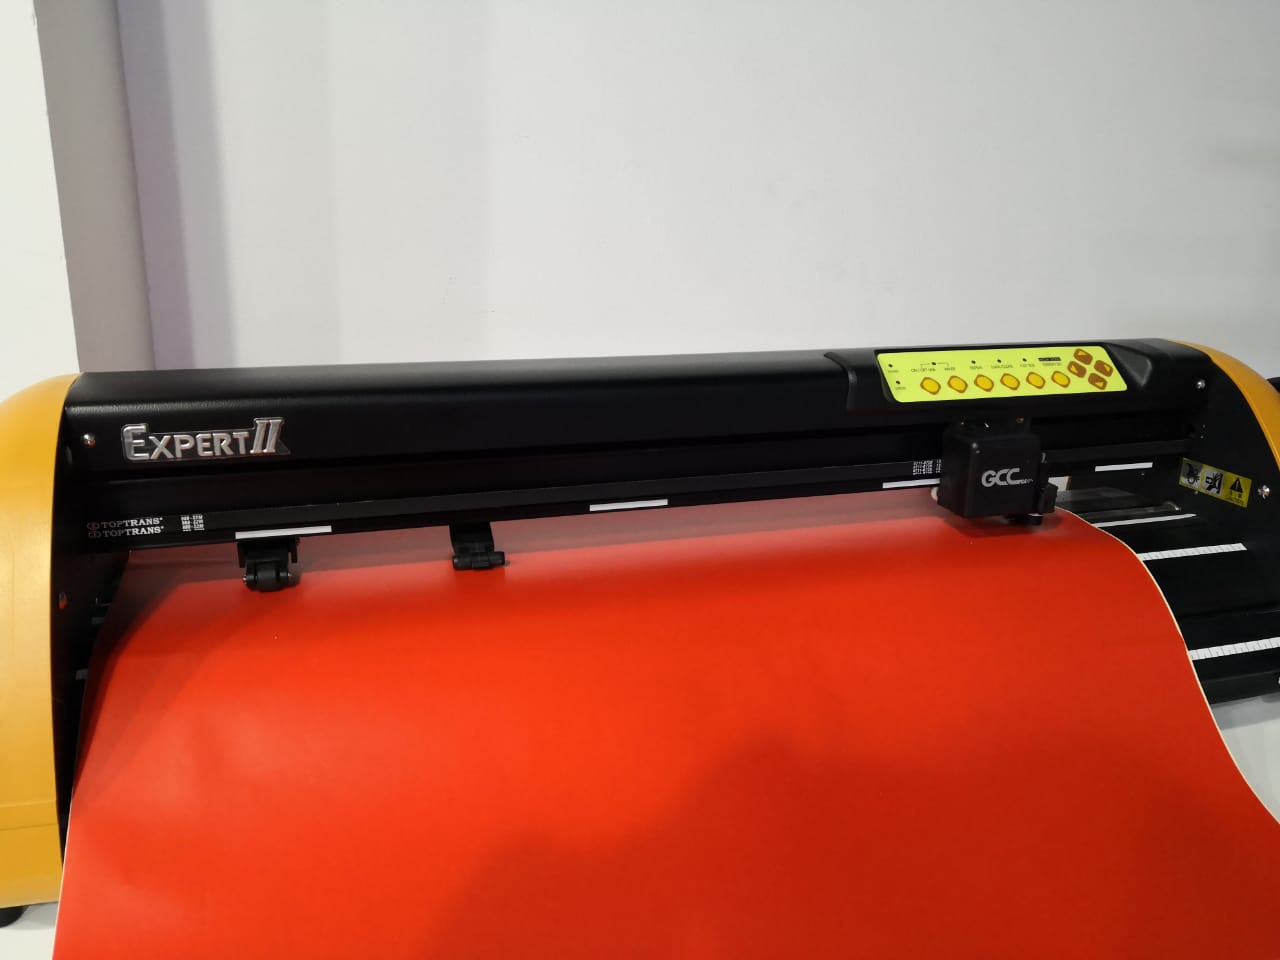
I prepared the design, I created a new document using Inkscape and starting by adding a star. I did that by pressing on the icon in the left toolbar (create stars)
Also, I added a rectangular by clicking on creating a rectangular and squares icon in the left toolbar
My plan is to make union to both forms to get something similar to the tree. I selected both and clicked on Union from path icon, so, the result as shown below
Adding new text by clicking on the text box from the toolbar, and doing the alignment and font size to create special design
The design is almost ready, the program that runs the machine is called GreatCut. It comes with the machine on CD to be installed
The Program is very easy to use, I just saved the design from Inkscape as SVG and drop it in the prgram
Design file (svg) hereI pluged the machine and fixed the vinyl roll. I cliked on the output icon to check the setting and cut the design. The most important parameters are pressure and speed. Now by clicking on output, the machine started cutting
By cutting the edges of the design, I got the main part that I designed and by using the tweezers, I remove the additional vinyl from the design, I can use both the sticker after removing the design and the design itselfe

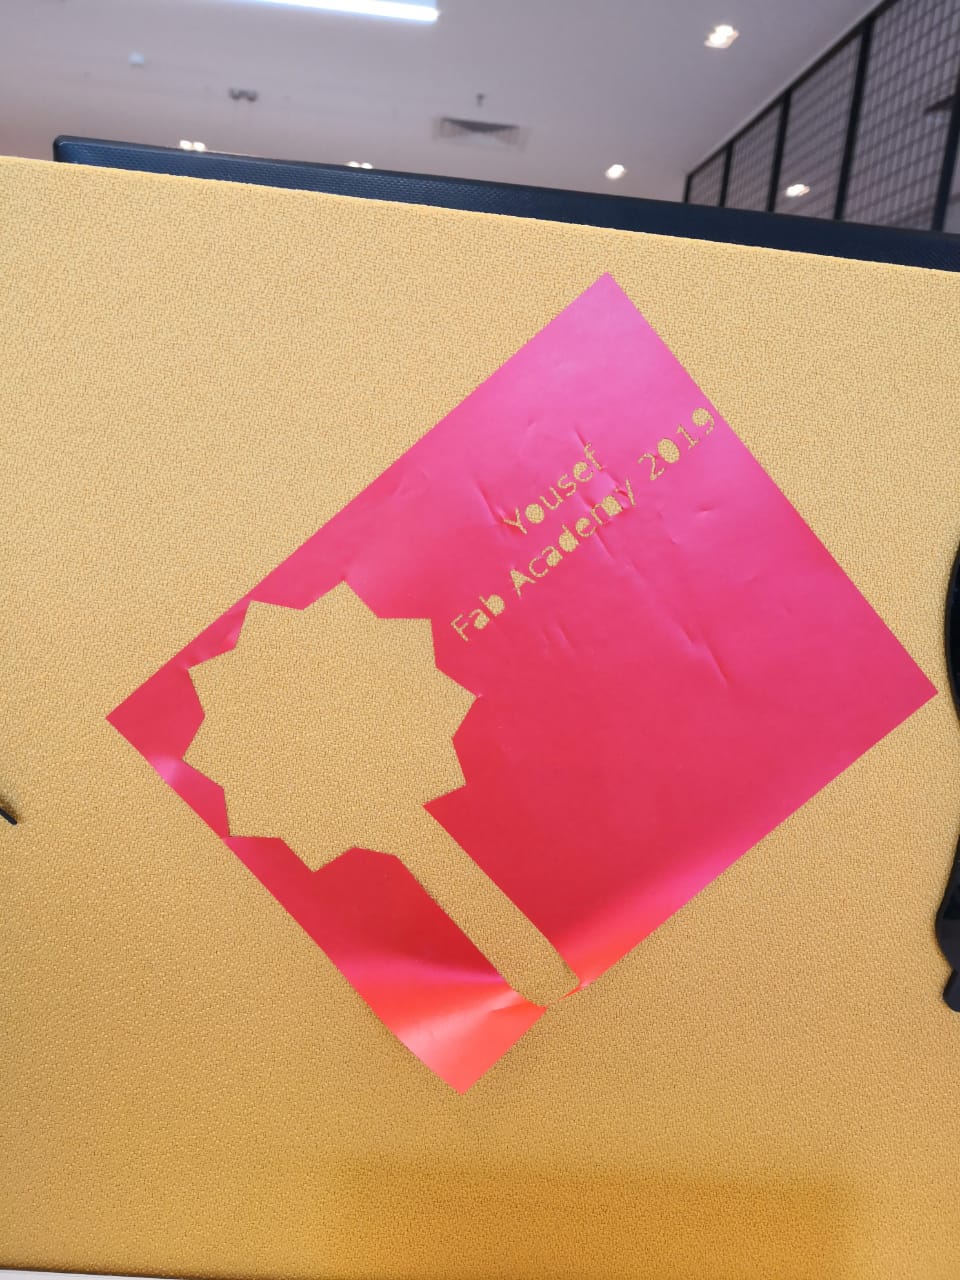
Finally, this week assignment was amazing as I tried so many things and I faced some problems and I solved them. This made me happy and discovered new wounderful things