-
Assignment
Molding and CastingMolding and Casting
I love this kind of making!! This week assignment is great and this is an easy way to fabricate new fabulous parts. I used to use Smooth on Material to do these kinds of making
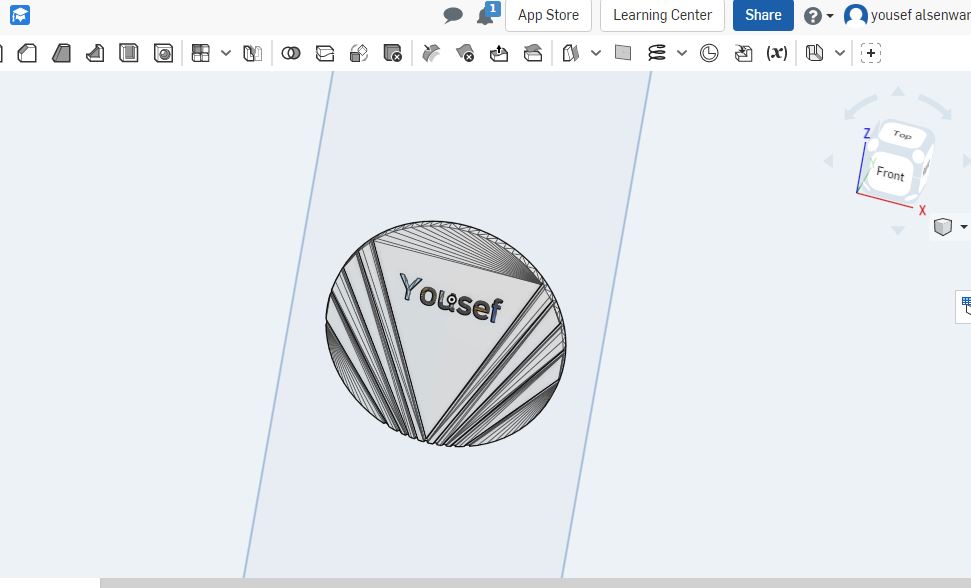
As starting, I designed a simple object (Coin) using Onshape to print it out and then make the mold after printing to make another copies by casting the mold
You can get STL file by clicking here
Then, as I planned, I open the file after exporting stl version from Onshape website, I opened the file using Cura to make the settings and get the g code ready to print
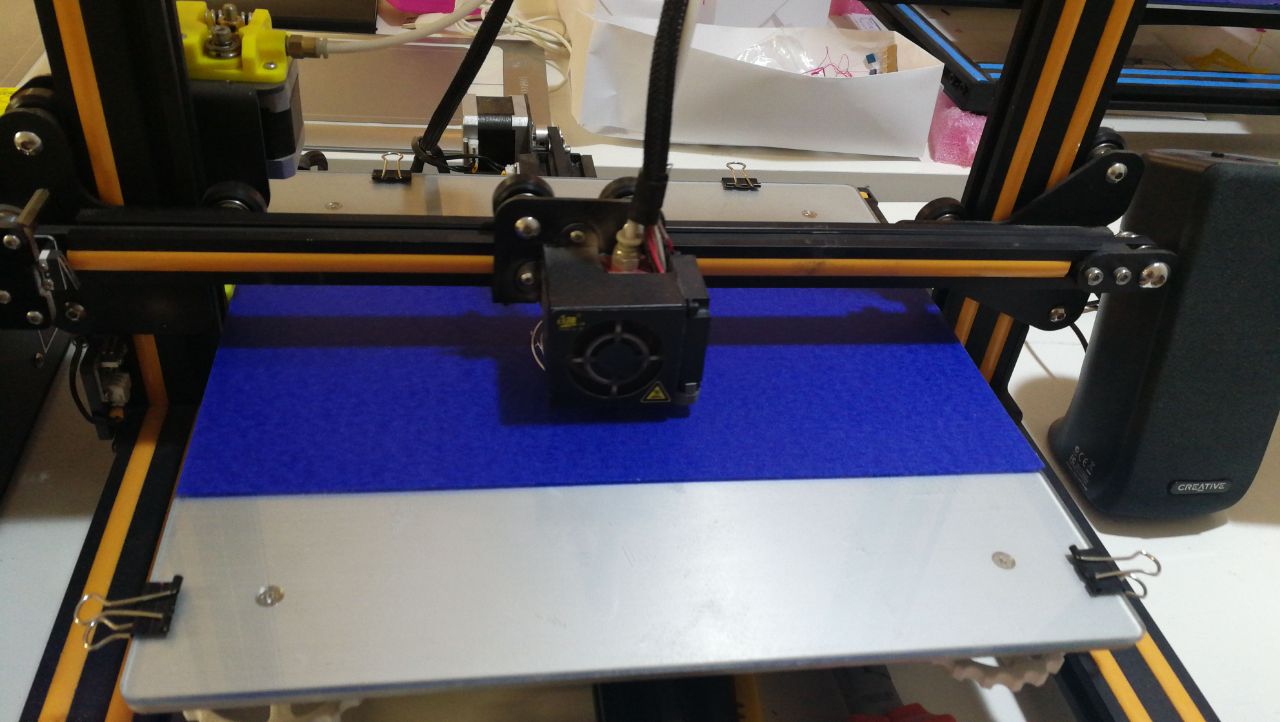
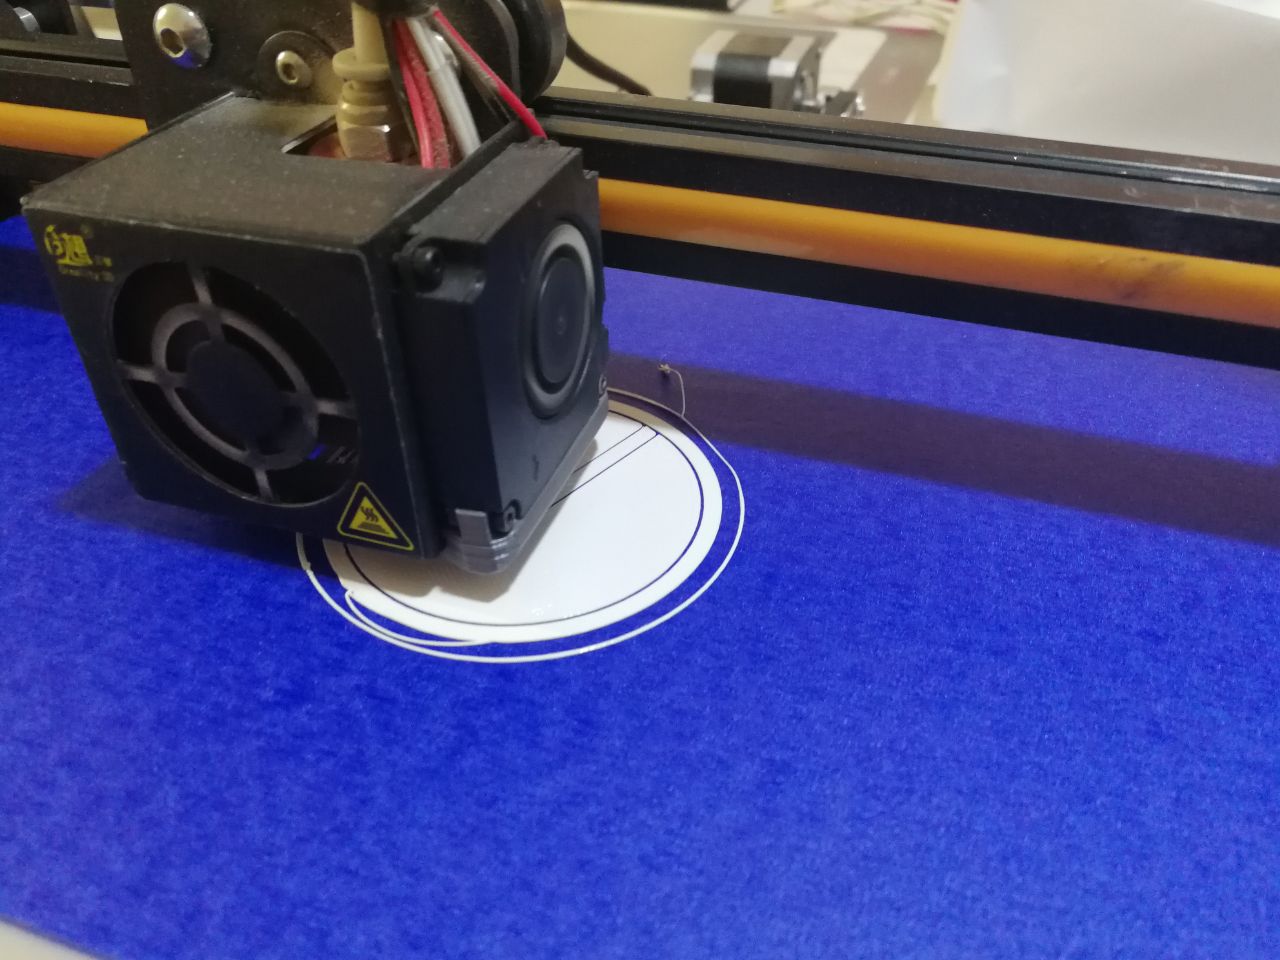
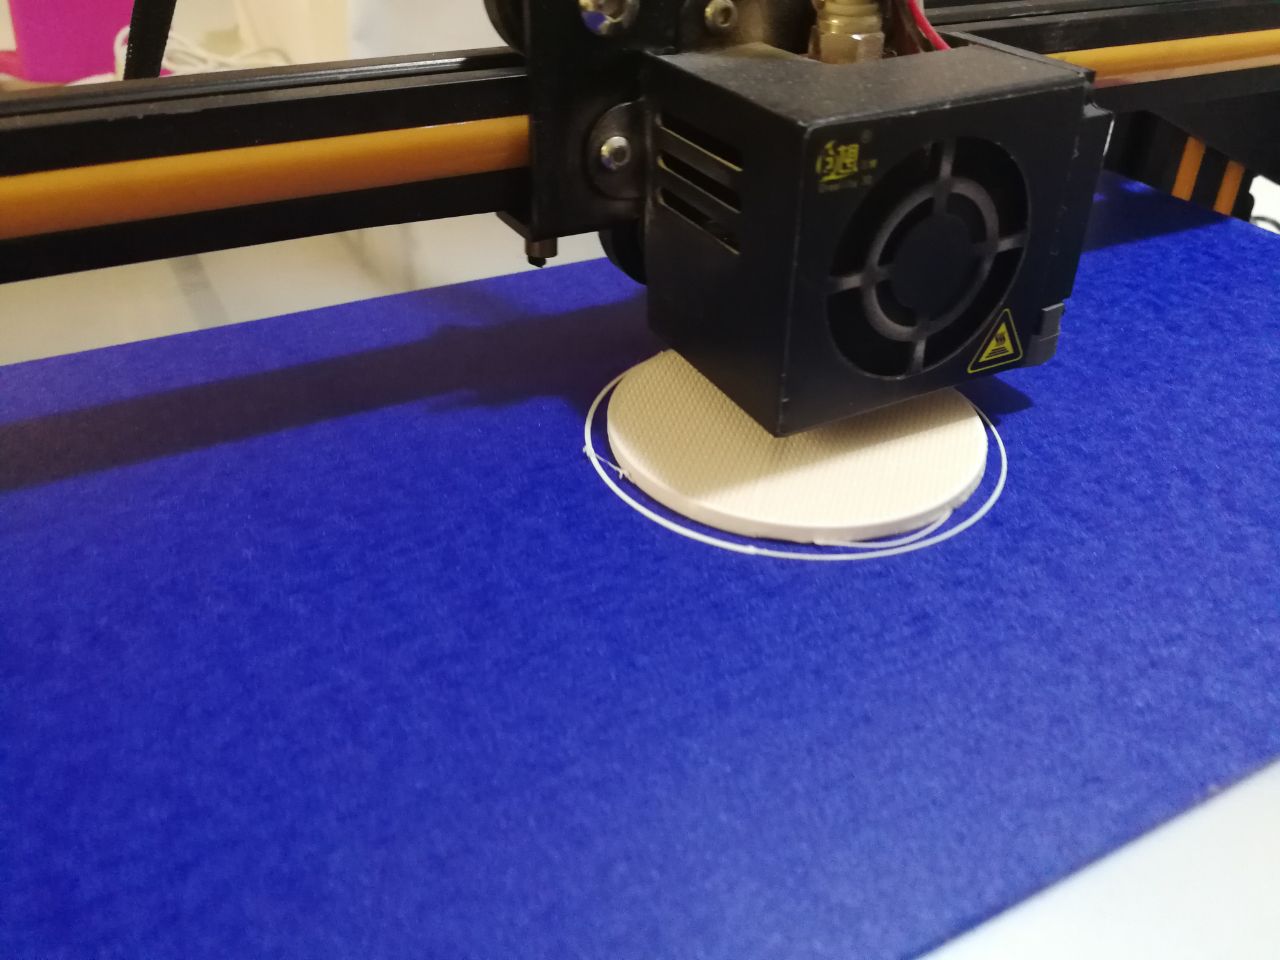
The printer started the printing process layer by layer. I used blue paper tape to make sure the first layers will stick correctly
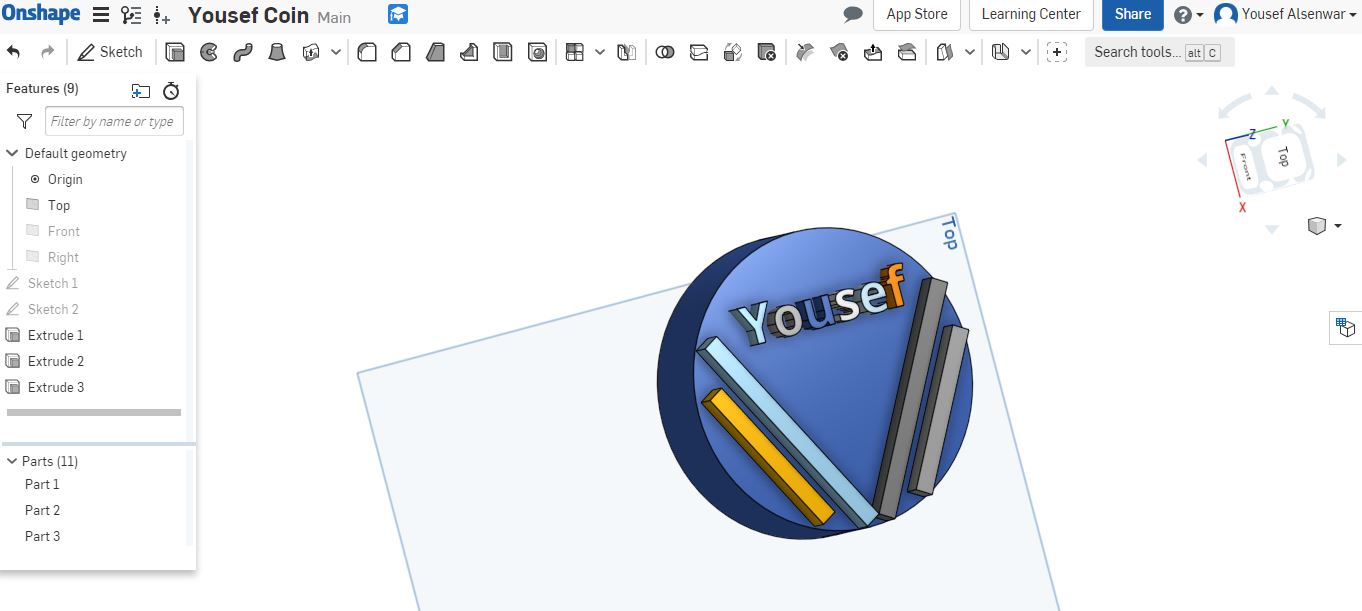
I designed somthing similler but I think it's much easer to mold and cast. I started new document and did some scketches like circles and rectangulars. I used mirror to make the upper circle like lower
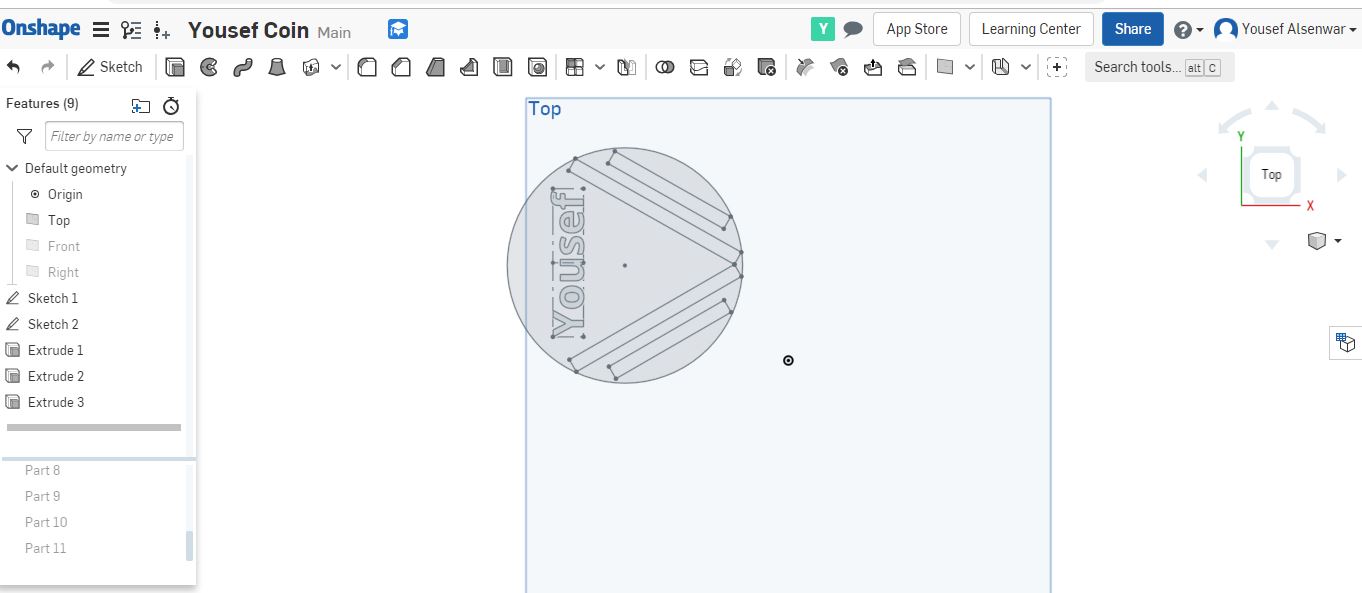
Then, I extruded the scketch to get the coin but with different hights because I need to get the name and rectangular extruded more than the circle
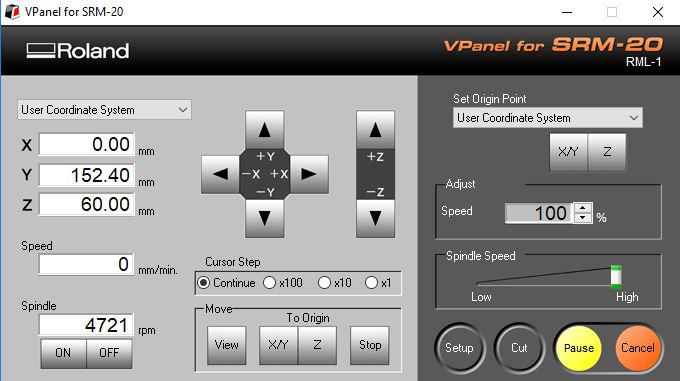
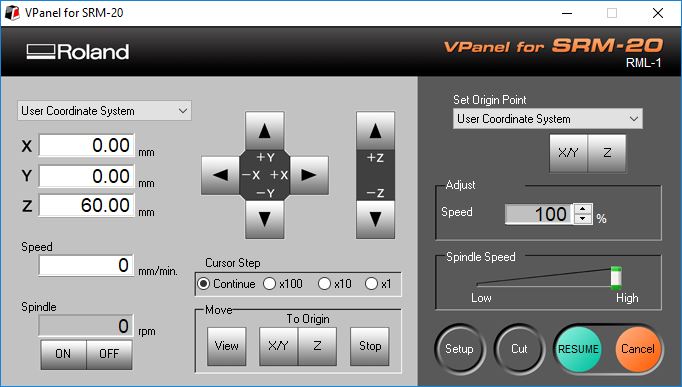
Now and by exporting the model as STL from Onshape. I will be using Modela monofab SRM-20 the machine provides many programs. I will use VPanel and Modela player 4. I started testing the machine head movment by using VPanel
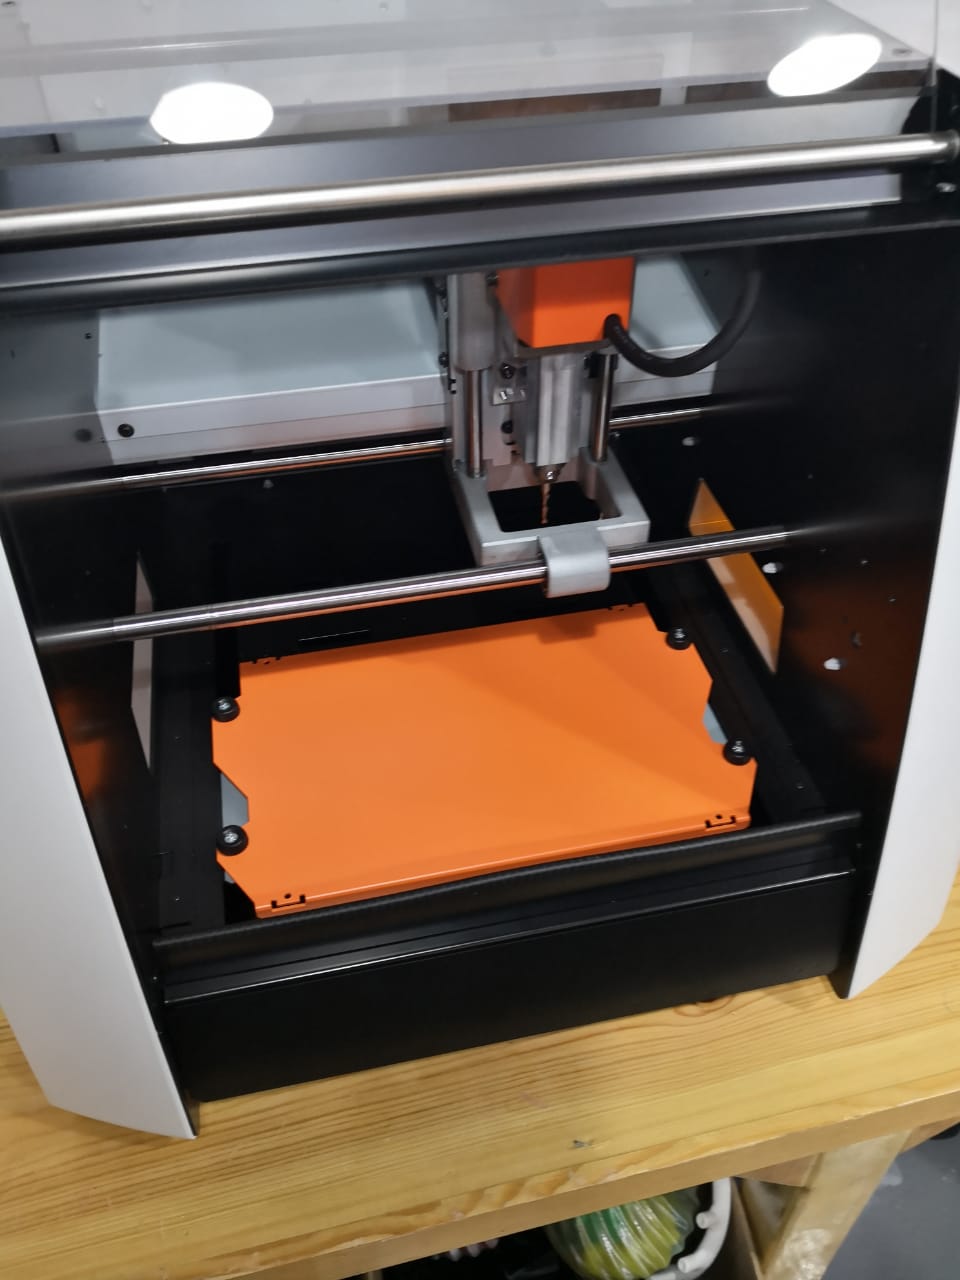
The machine while taking the first look
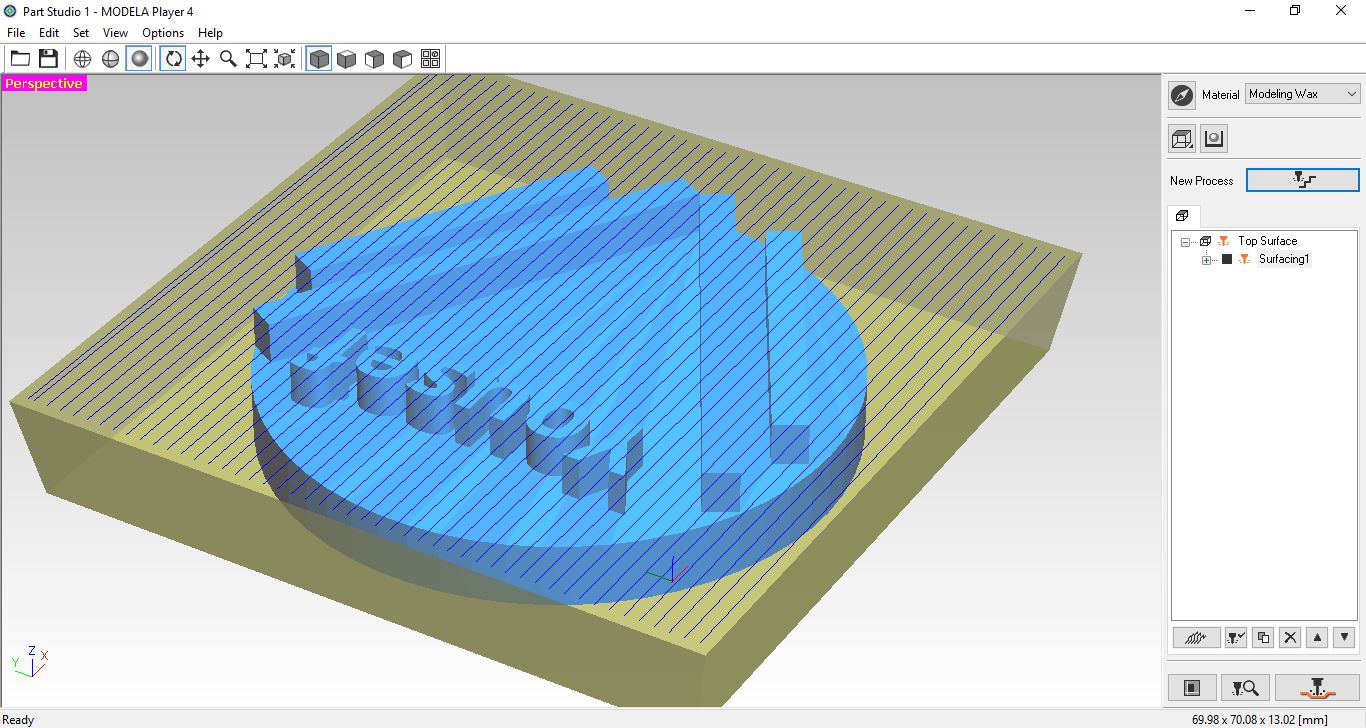
I opened Modela player 4 and importing the STL file to make the setting and start milling
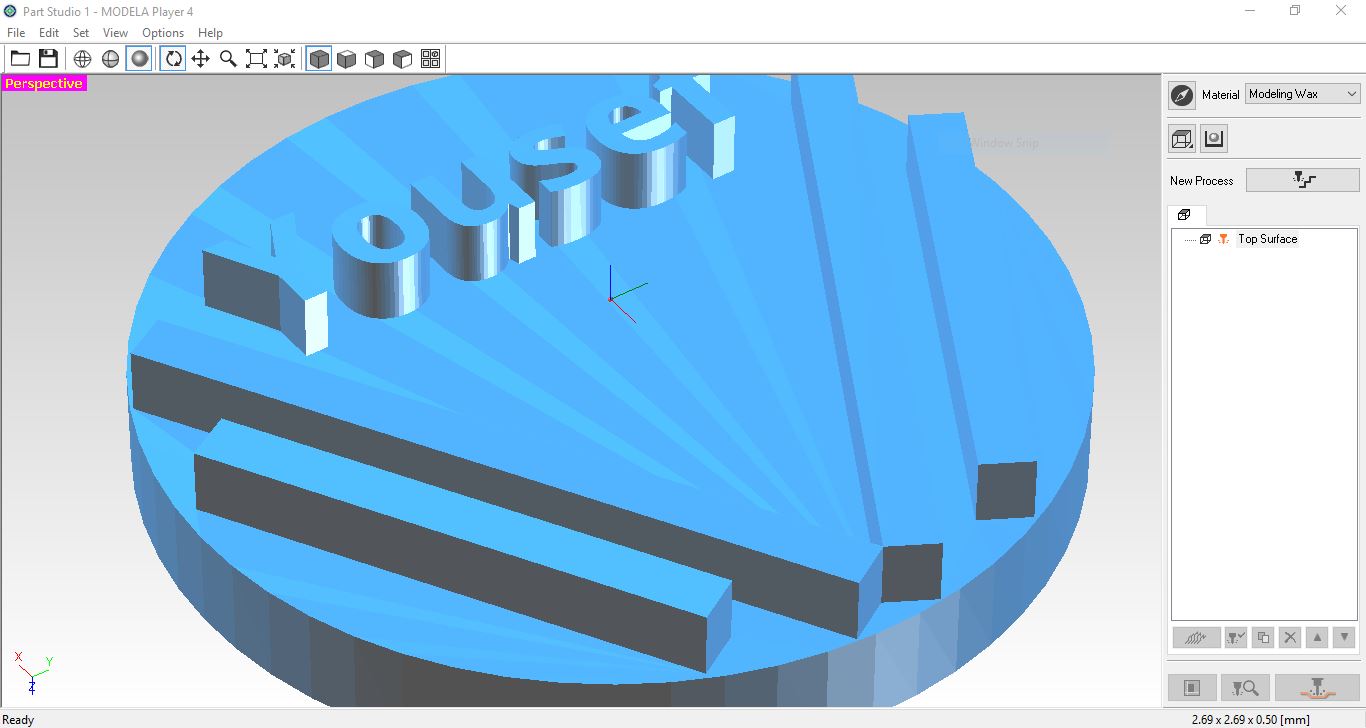
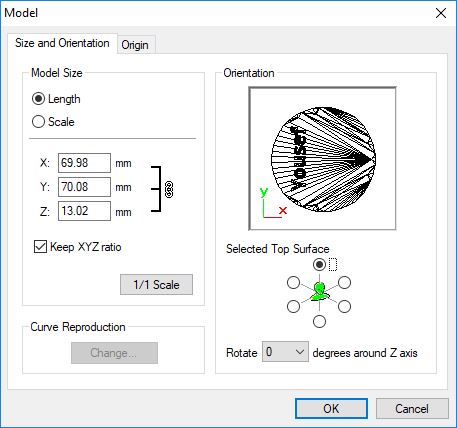
Checking all available options to customize the milling. First, setting all the dimensions (x,y,z). Using the dimensions reference to the milling wax that I have and the machine working area
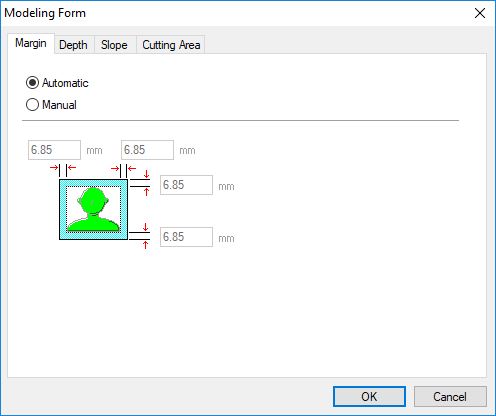
It's important to set margins So I make sure the edges will be strong enough. It's all about shifting the start point a little bit from the zero origin as I'm setting the origin at the material corner
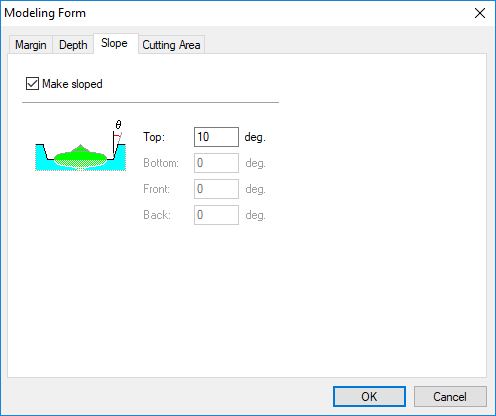
Making a draft angle is important too, so, I can make sure that the mold will get out easily. I could do it during the design process as Onshape allows this option when I make expanding. In this program known as slop. I set 10 degrees
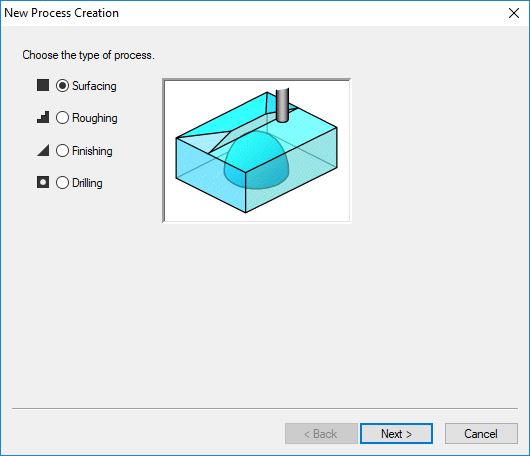
I moved to the next step, which is the process that I'm going to do at first. General speaking while preparing the design to be milled, you have to go through specific processes starting from surfacing (making the surface leveled and doing a new zero point to make easy molding), roughing (doing the first process of milling), and finishing (to make the small details and smoothing) I started with first process which is surfacing
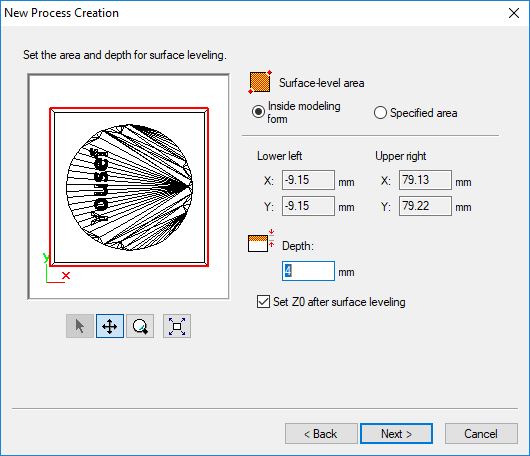
Starting make the setting of surfacing process, Making the surfacing depth 4mm
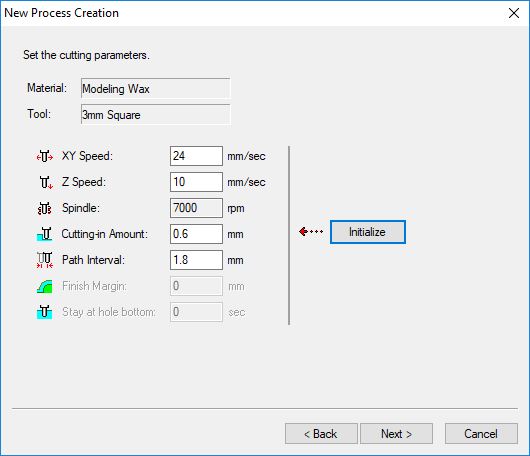
What I have for surfacing is 3mm square up-cut bit. I had to identify it and fix it as well
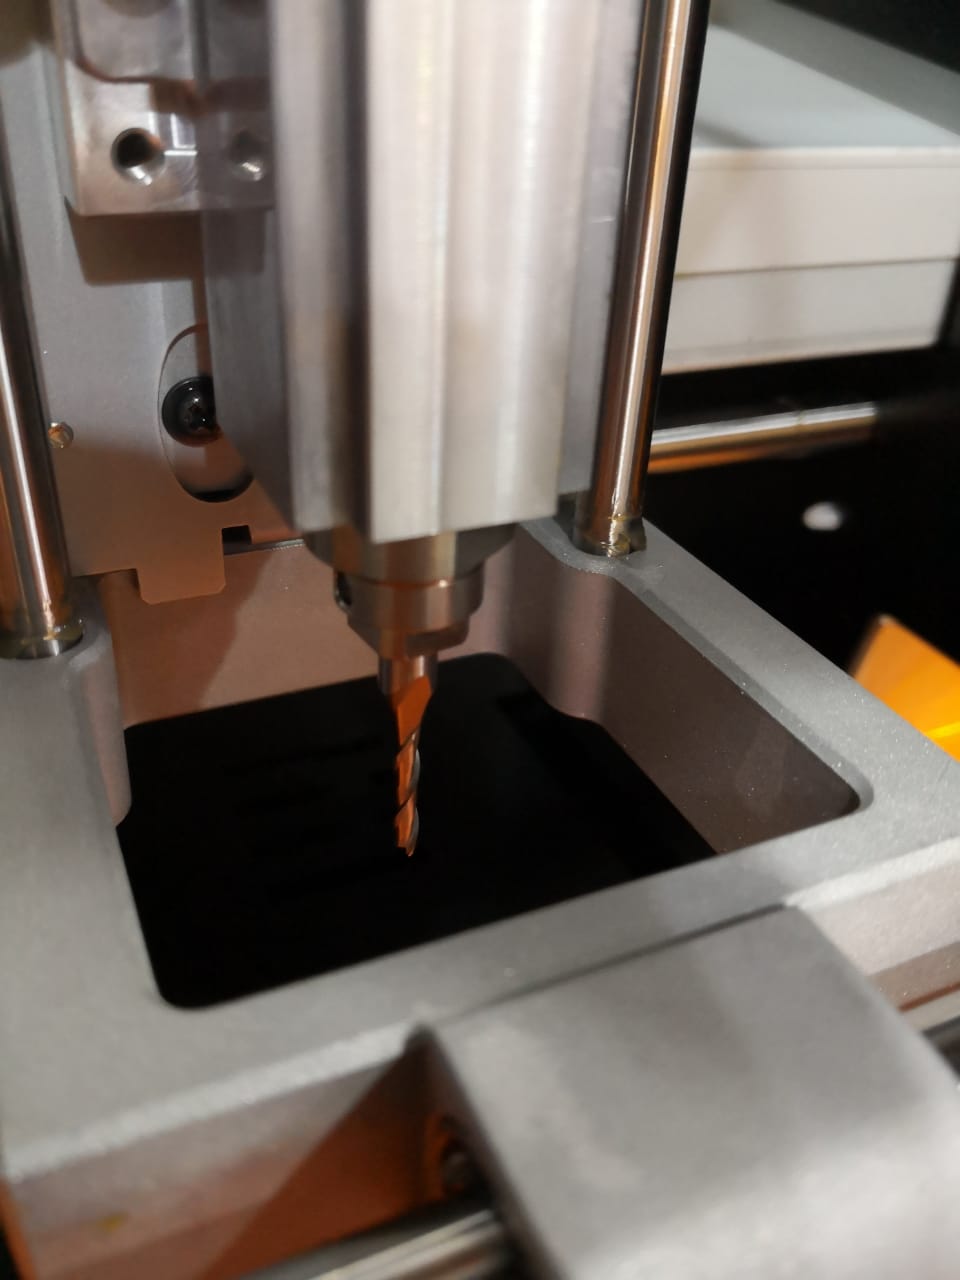
Mentioning the same bit specification to do the right job
Now, the first process is complete and ready
Doing the same thing to get roughing and finishing. But sadly I don't have many bits and nothing is suitable to do correct finishing because you need to have something small enough to go deeper and make the details perfectly
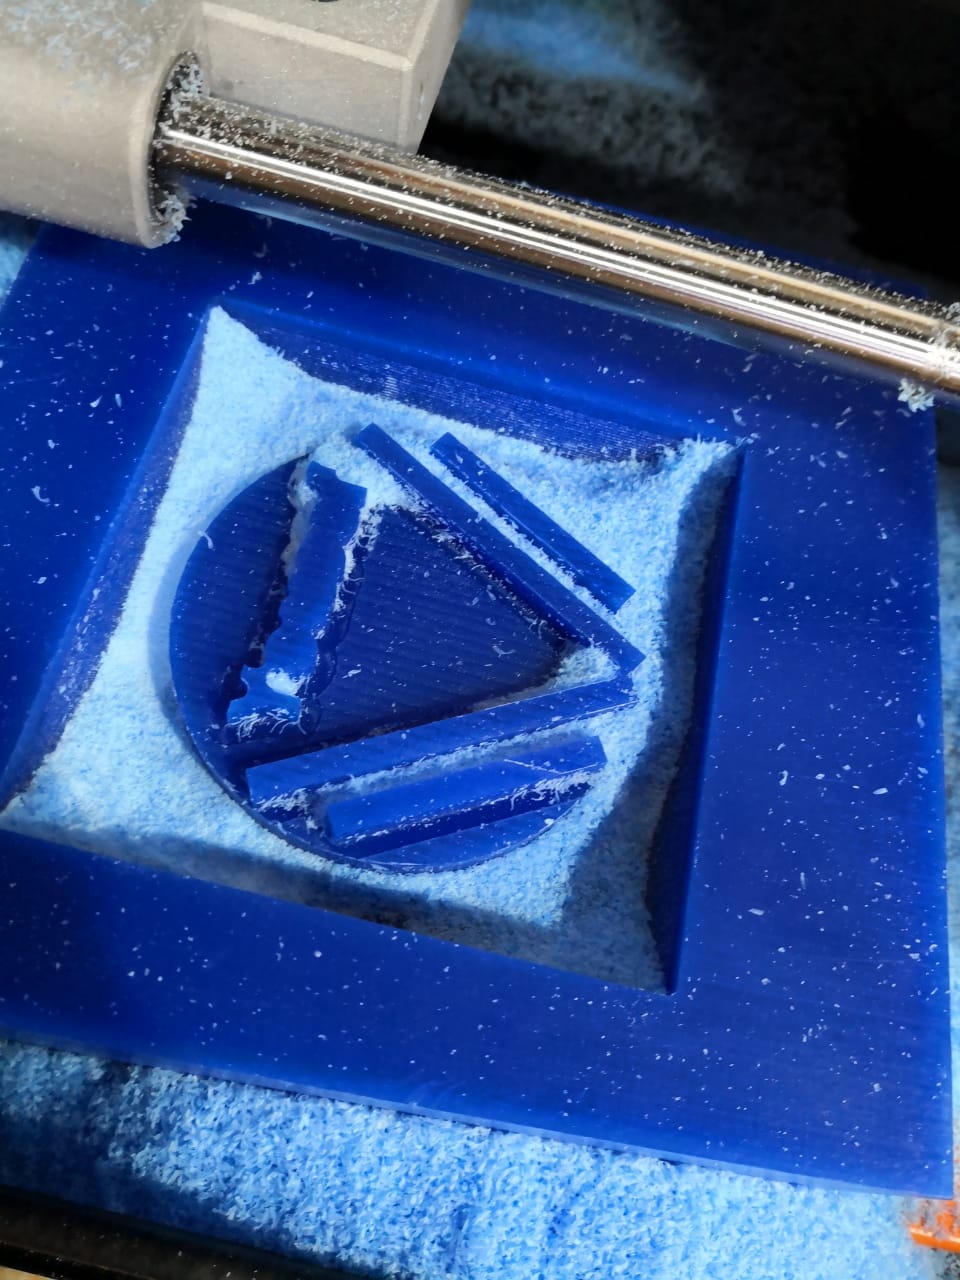
Roughing process
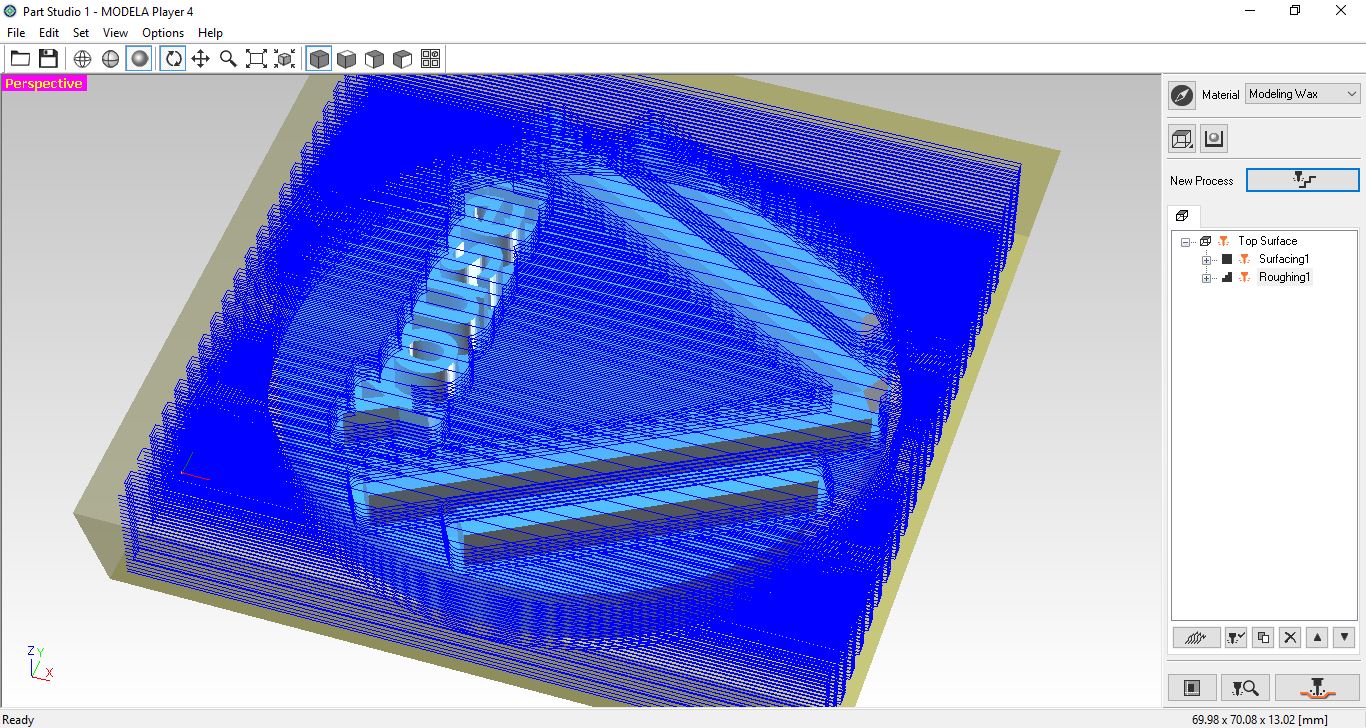
Finishing process

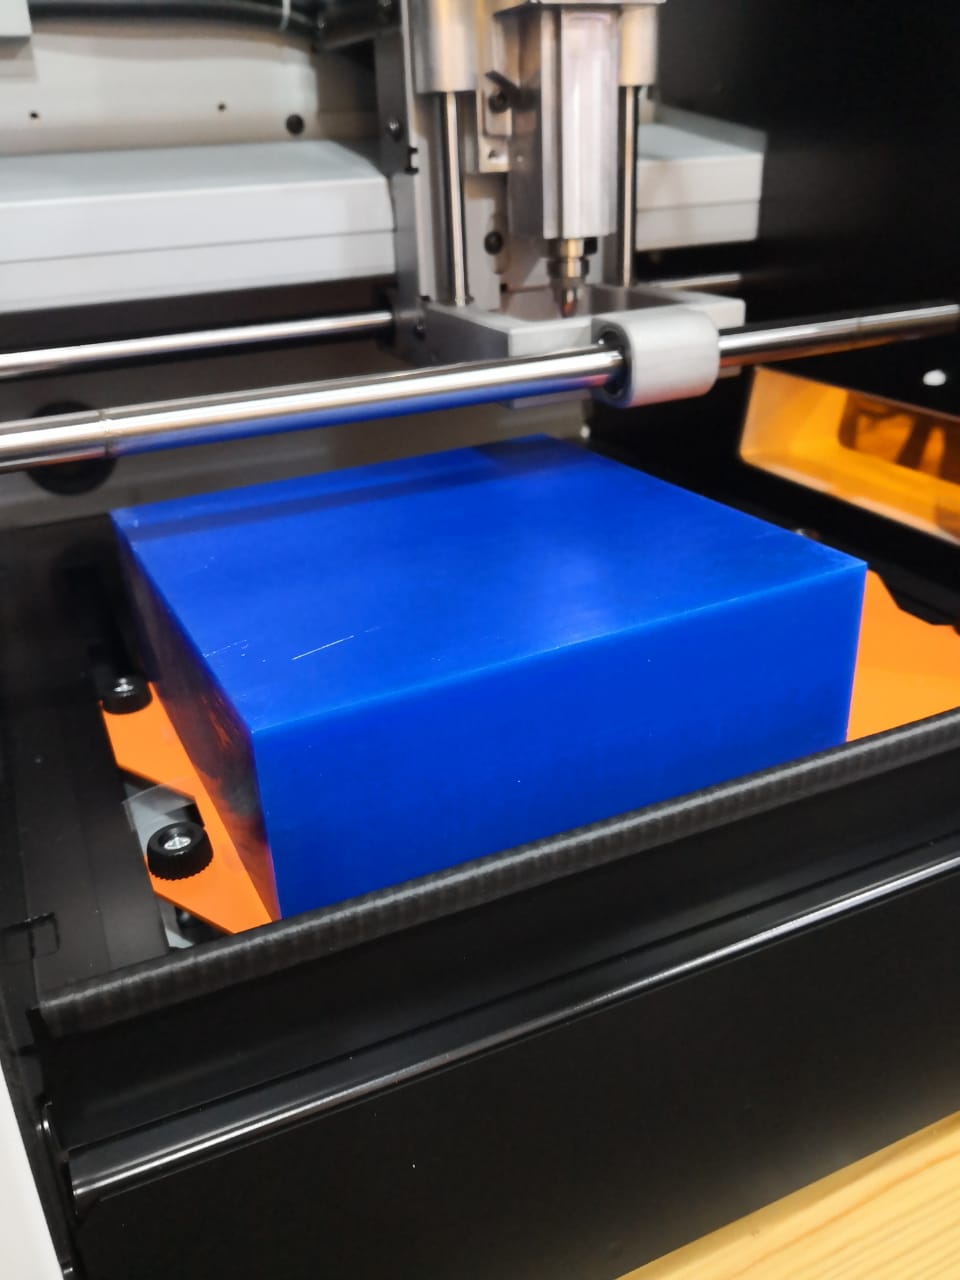
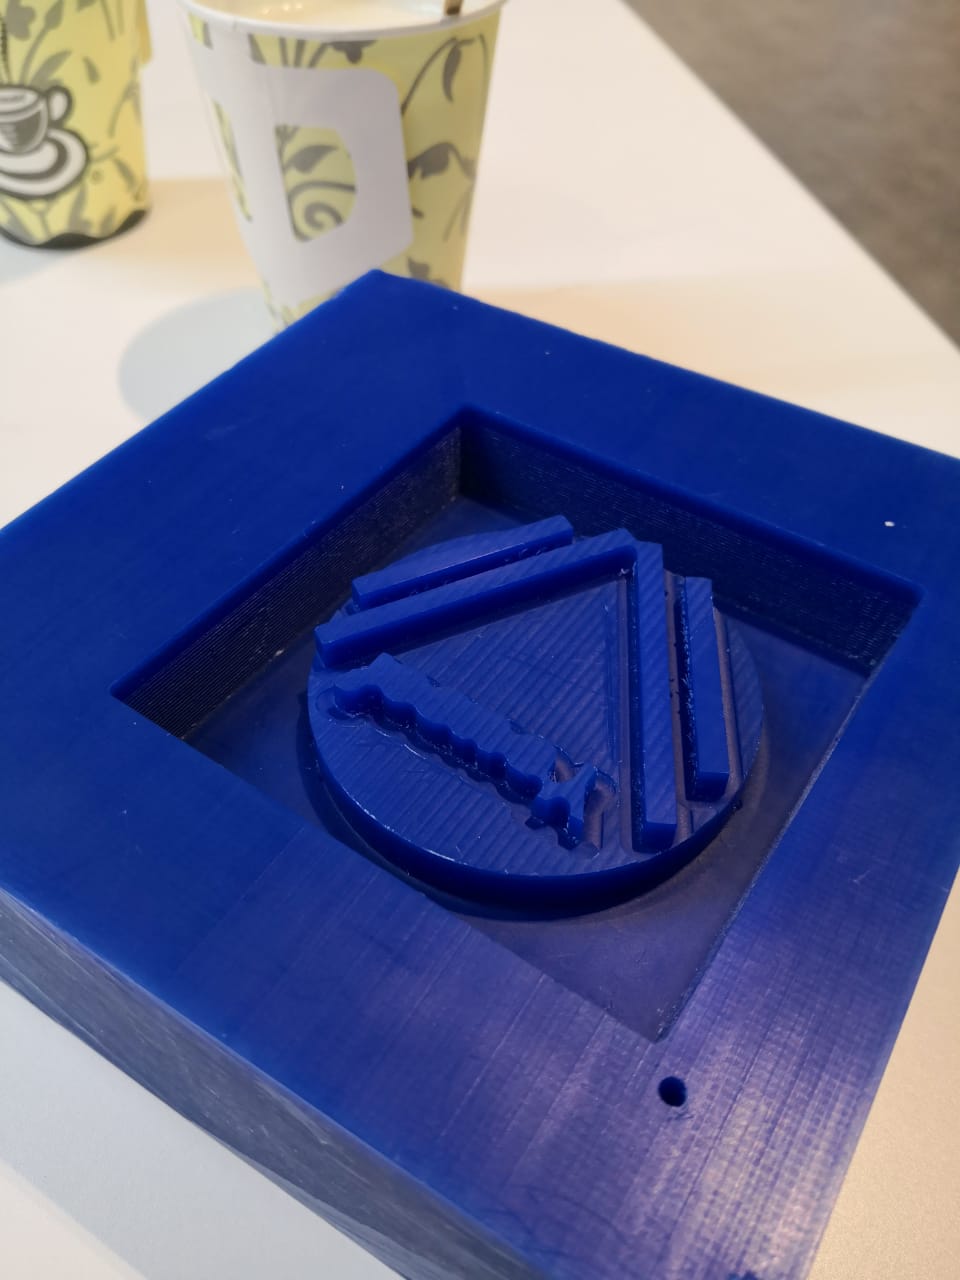
Finally, the processes are ready. I need to prepare the workspace with the modeling wax. I have a piece of modeling wax with 5cm thickness. I used double sided tape to fix it on the machine bed
I have to set the zero point according to the place of the modeling wax and taking to my account that I did margins. I used Vpanel to do that
pressing the two buttons in the right to make sure that the machine will consider the current position as zero point to start
The machine started the processes all togather starting by surfacing
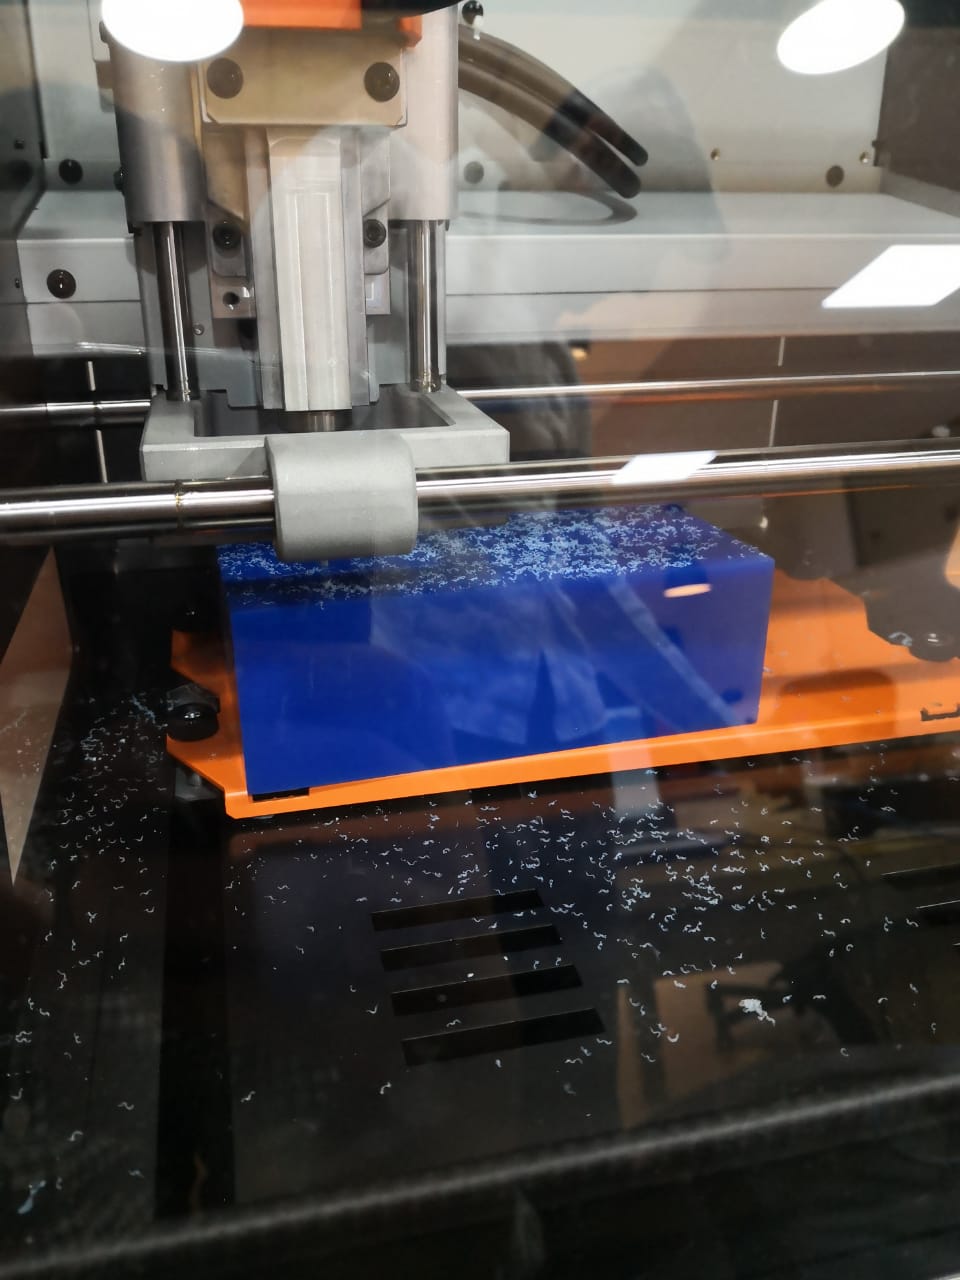
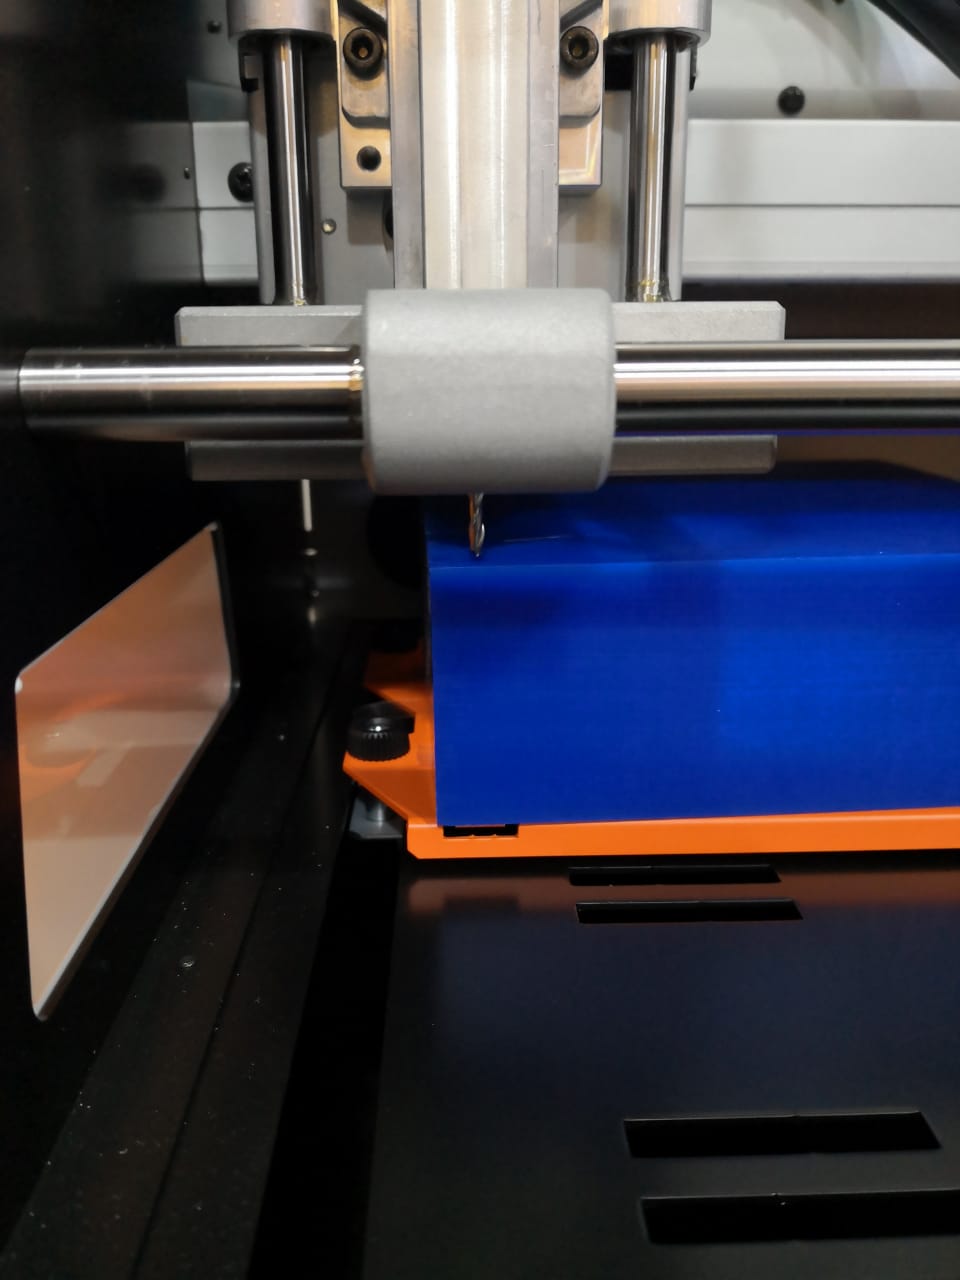
Capturing the machine working two hours later
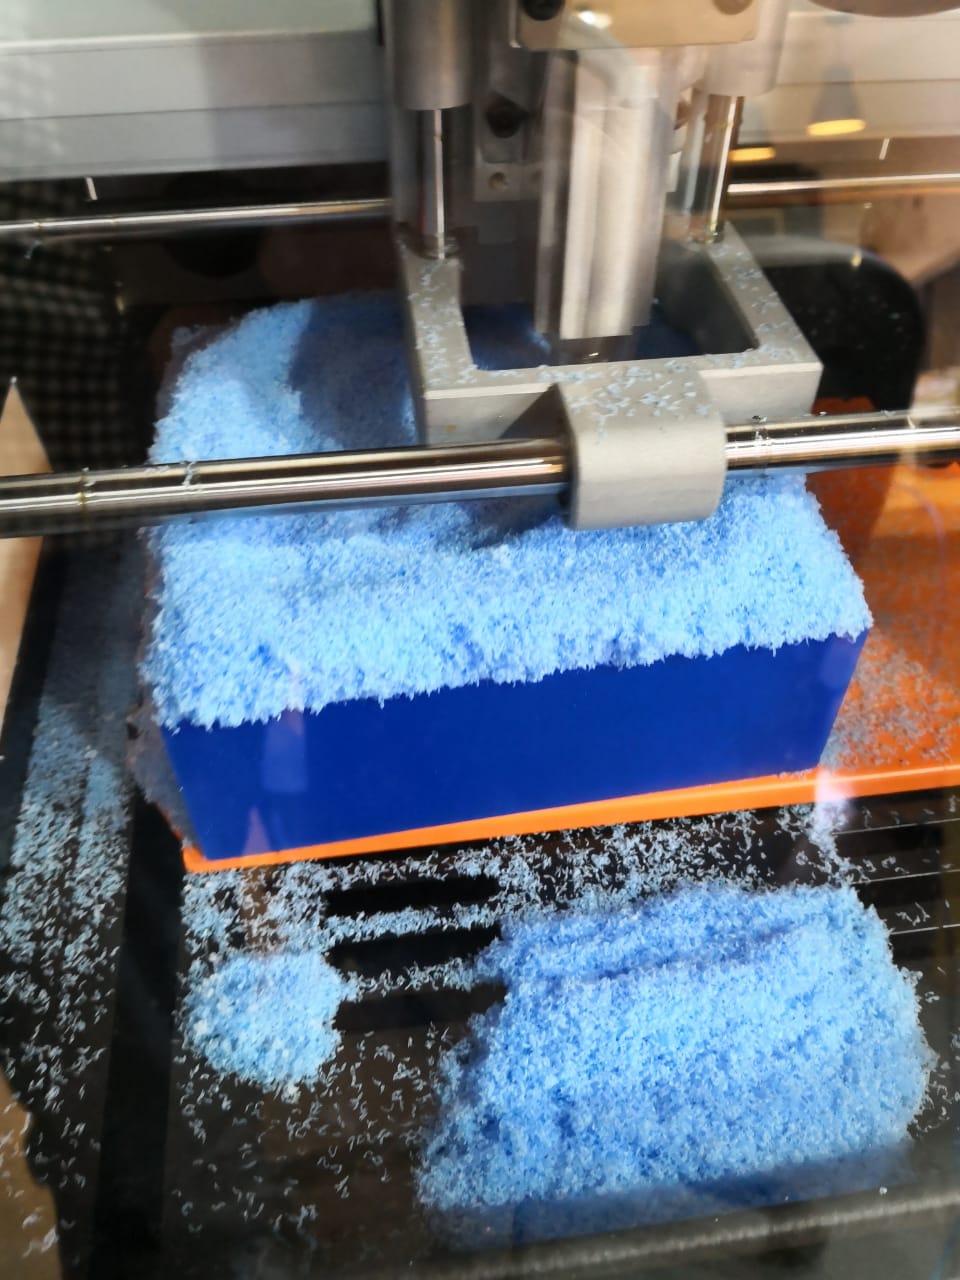
Capturing the machine working three hours later by pausing the work
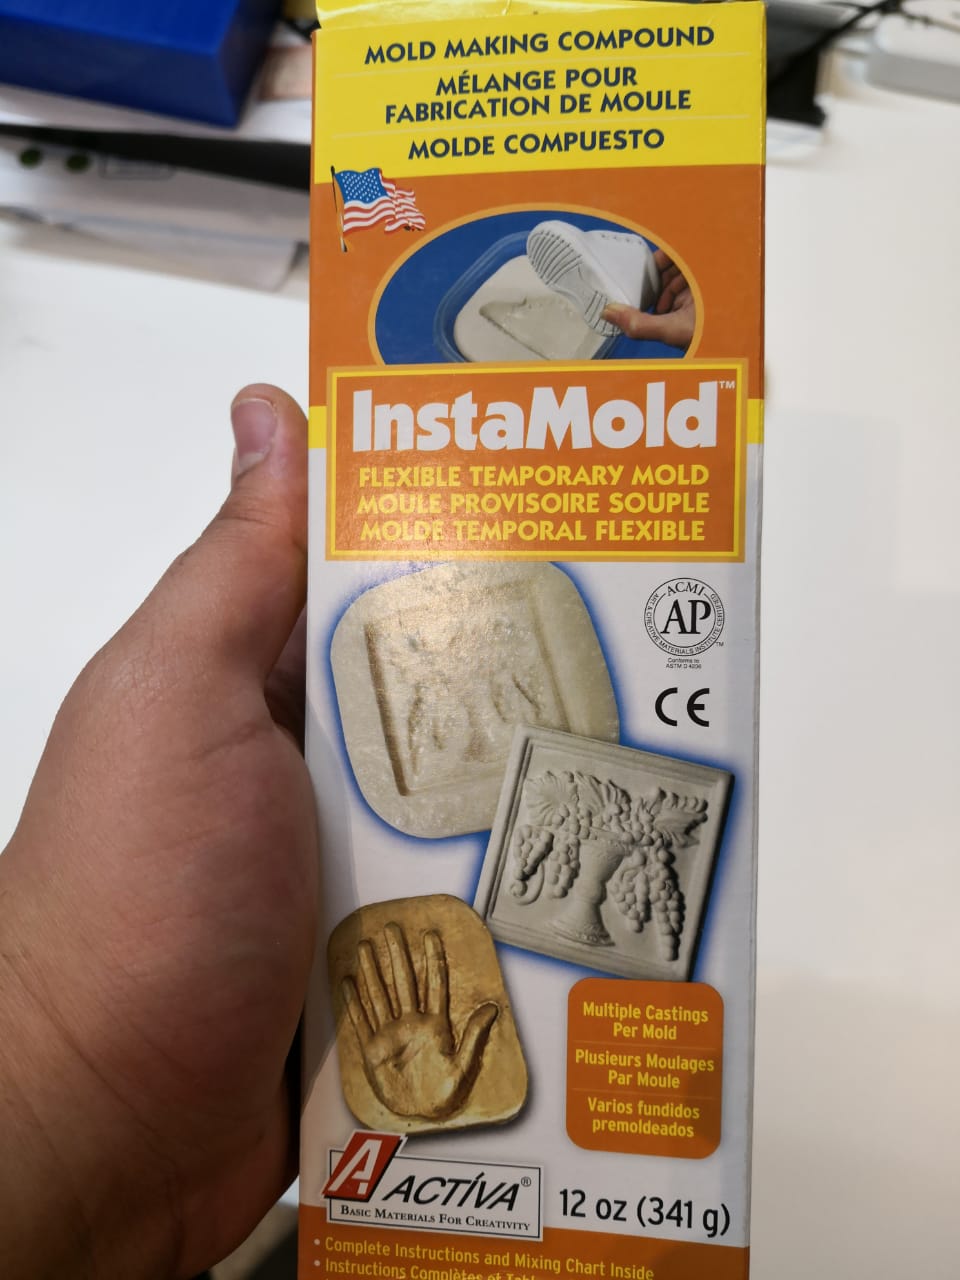
After finishing the milling process, I looked for suitable material to use to get the mold. Unfortunately, I don't have smooth-on for molding, I have for casting only. Looking for one in the local stores, I got one
Cleaning the modeling wax by water and making sure it's dry
The material is like powder and the instruction guide is there to follow. This is the first time that I'm using this kind of material. First, prepare the powder amount and warm water amount based on the volum that I need using two paper cups one for water and one for the powder

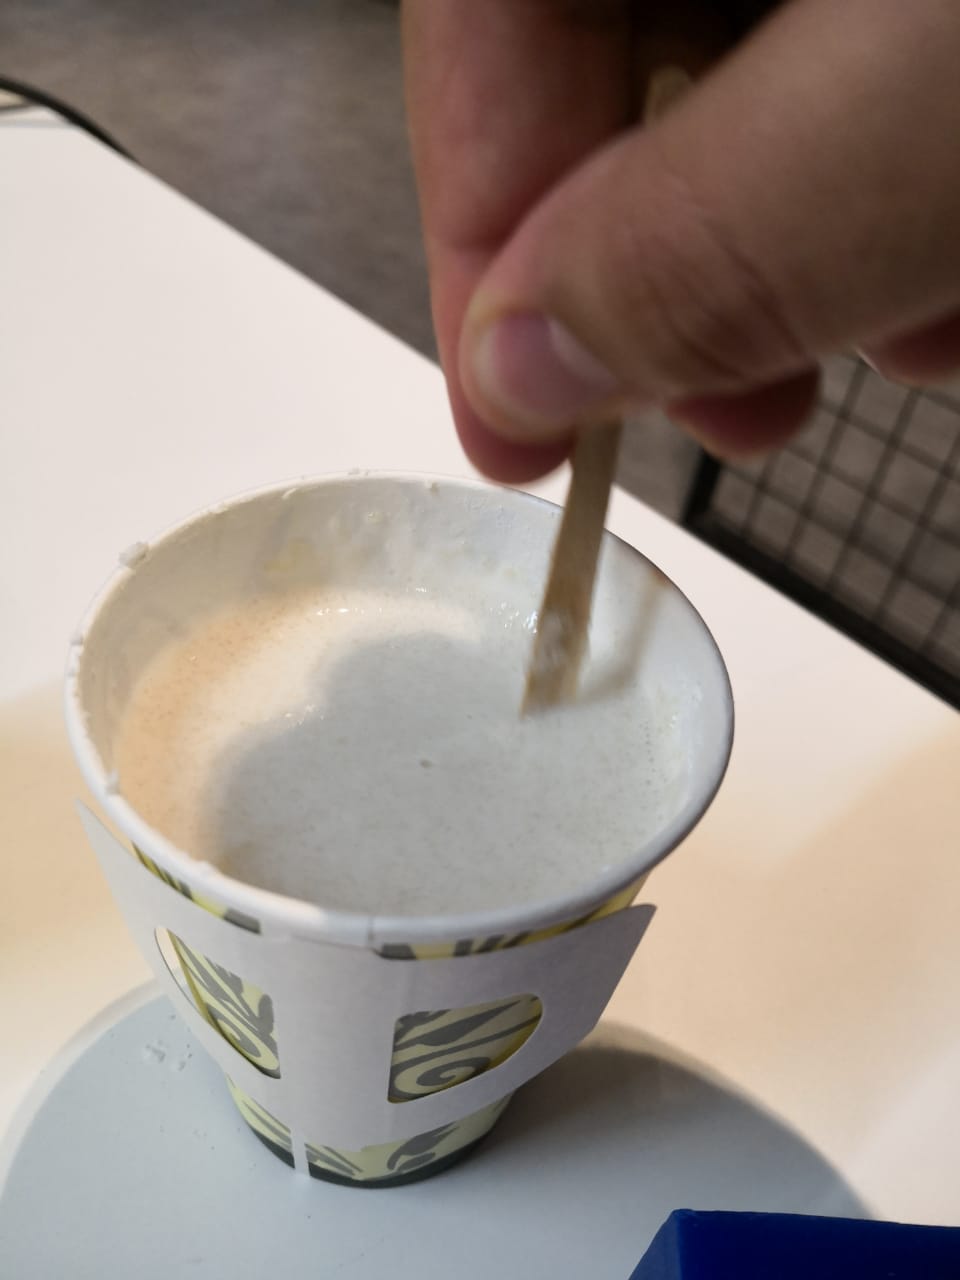
Adding the powder slowly and start the mixing using wooden sticks
Just started putting the mix slowly as well. Trying to cover the area and spaces very well
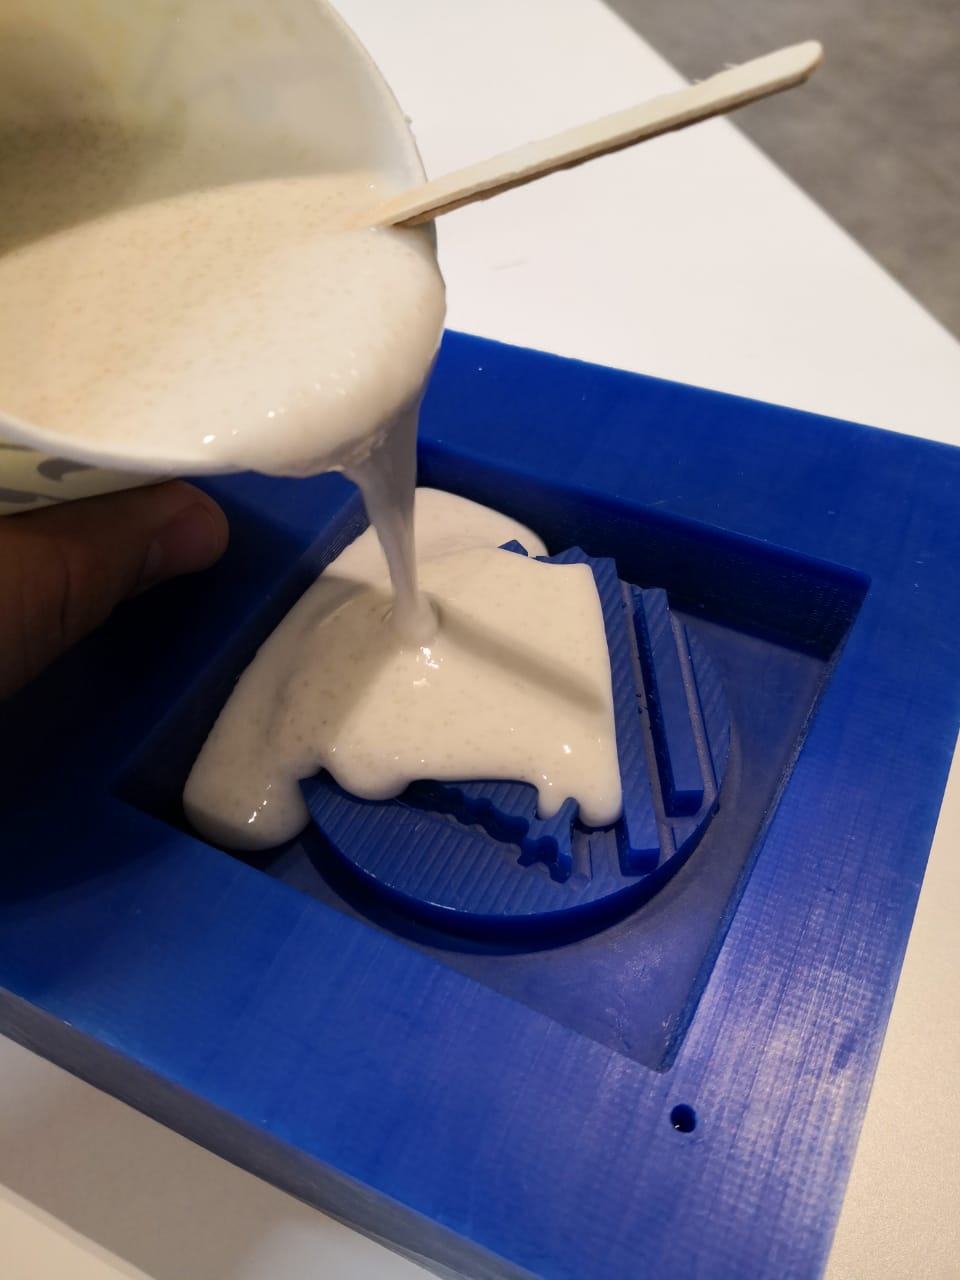
Distributing the mix everywhere
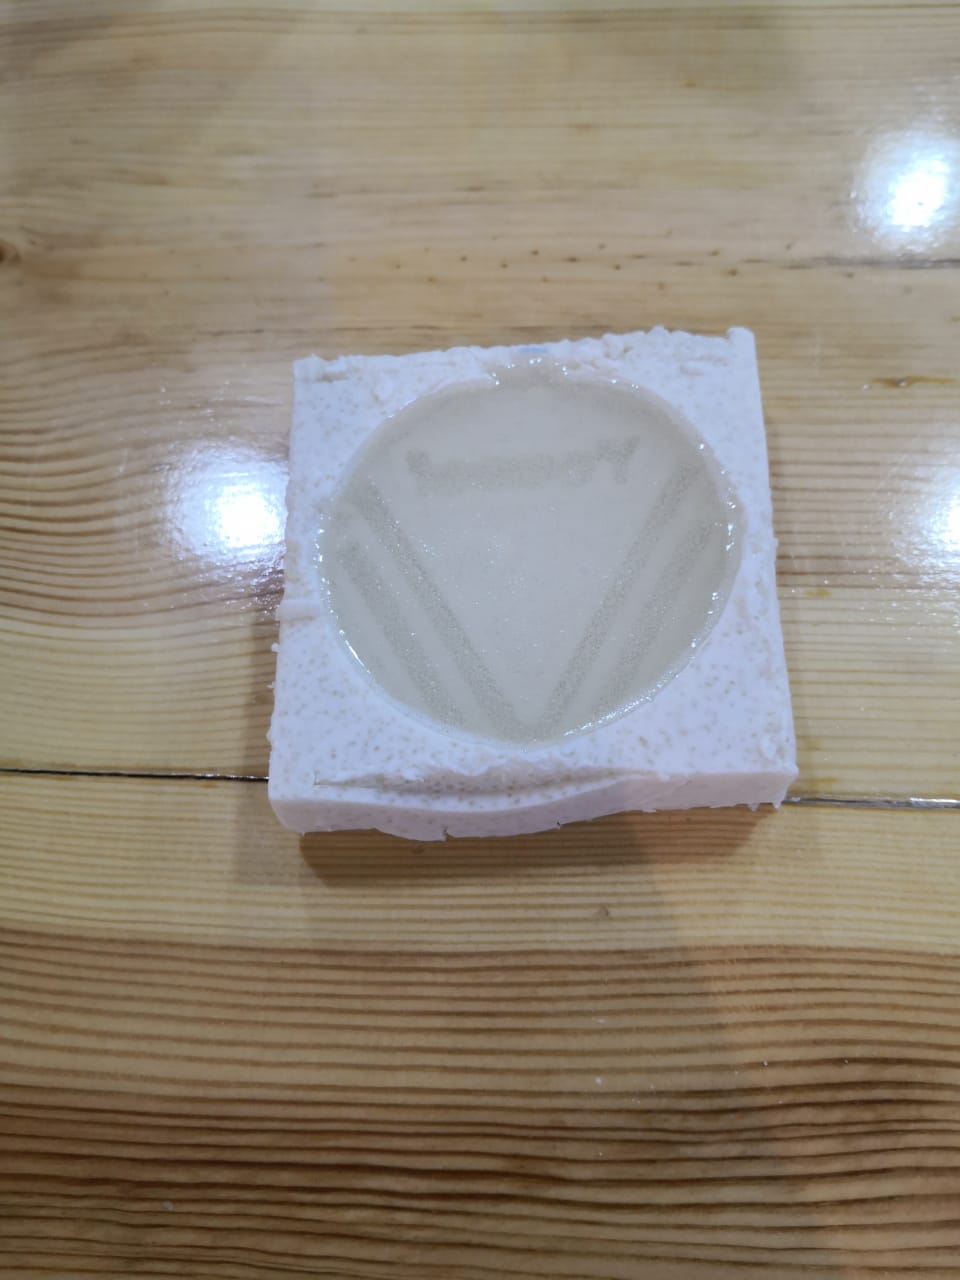
I finished, and that the result

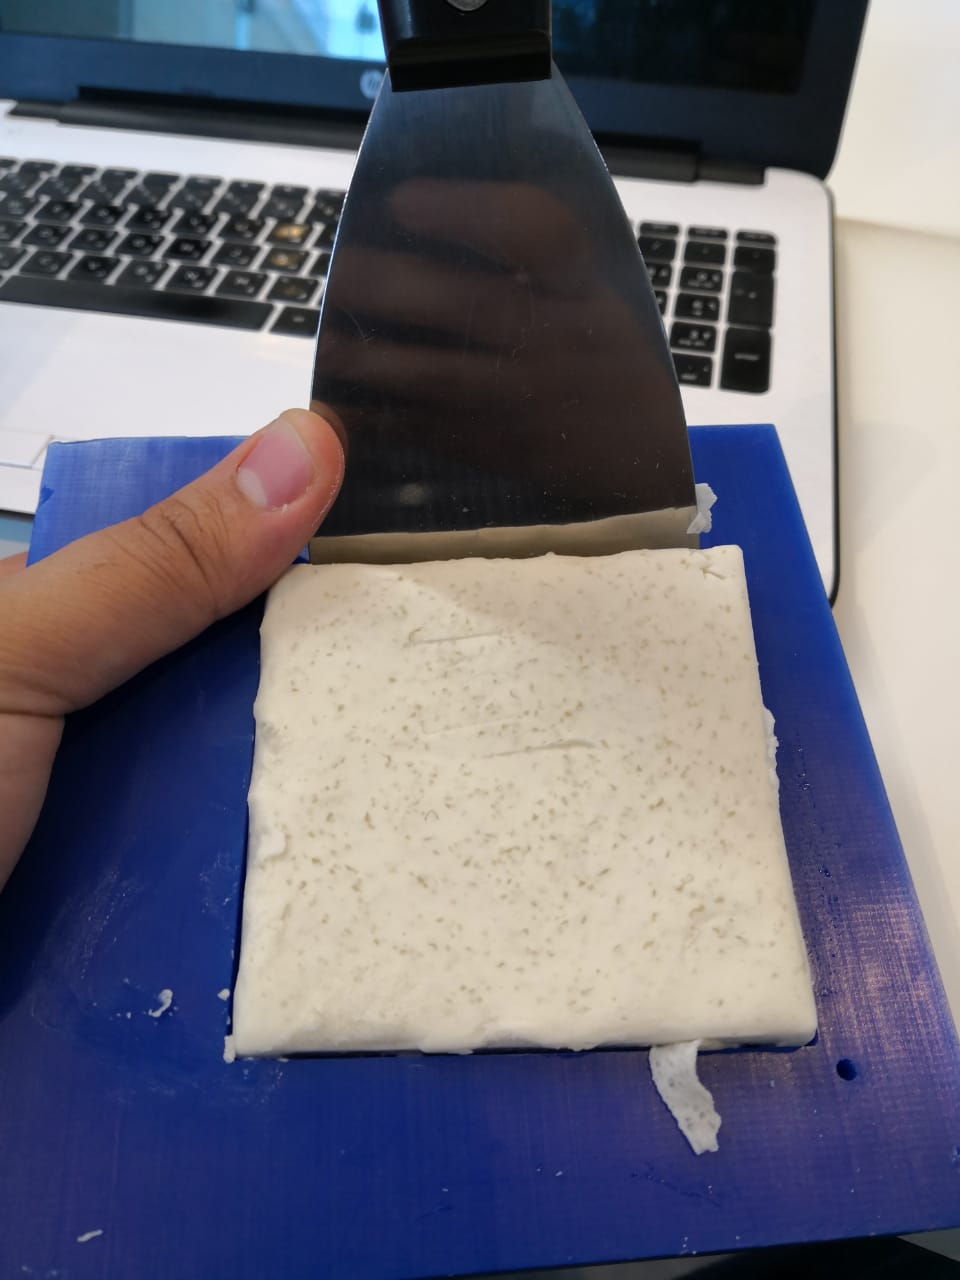
I checked it after getting back from work (10 hours) it's not perfect maybe the mixing time should be more or I should leave it more time to dry and form strong. Removing it using spatula
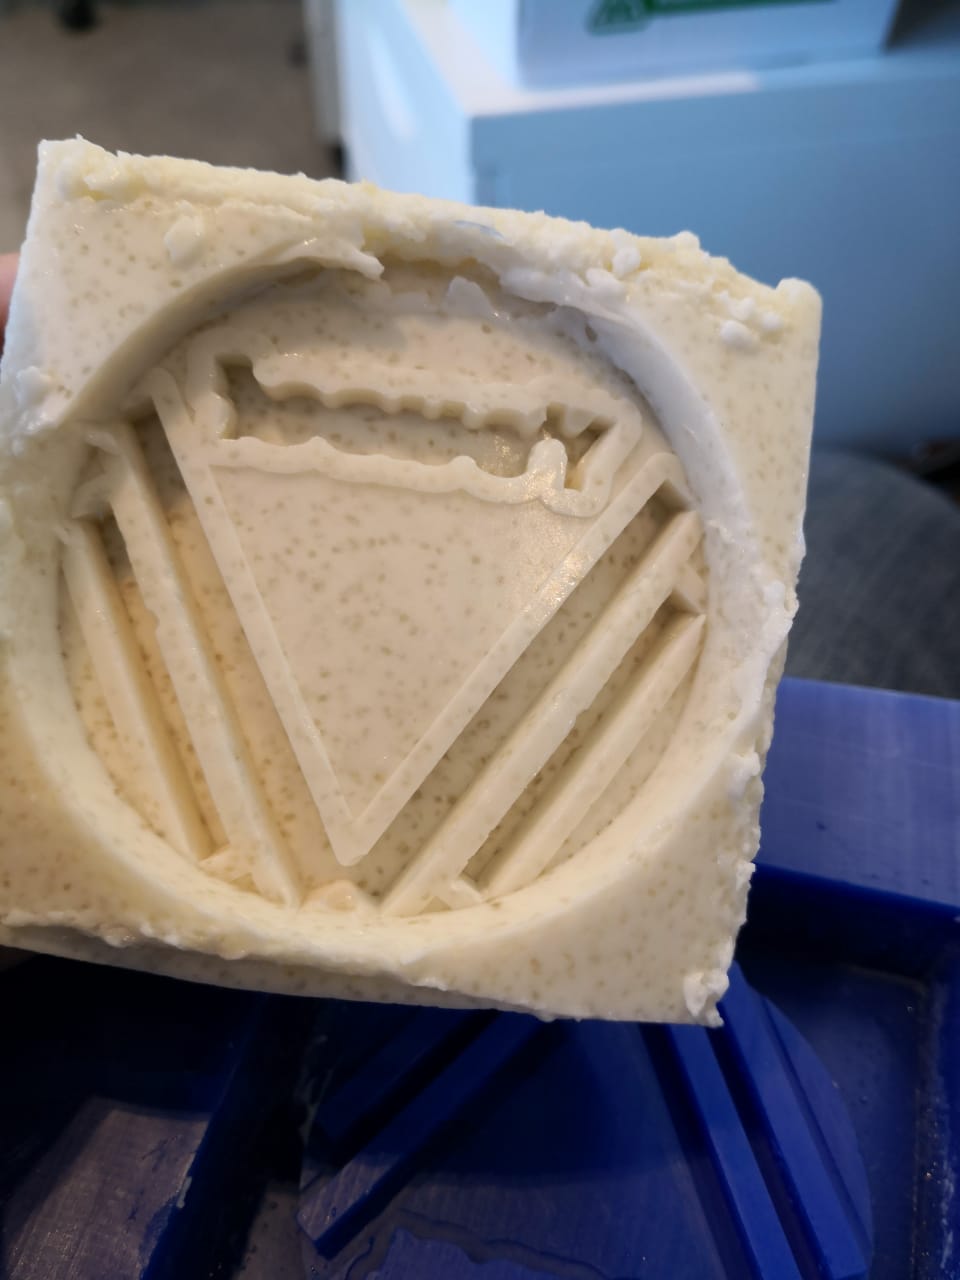
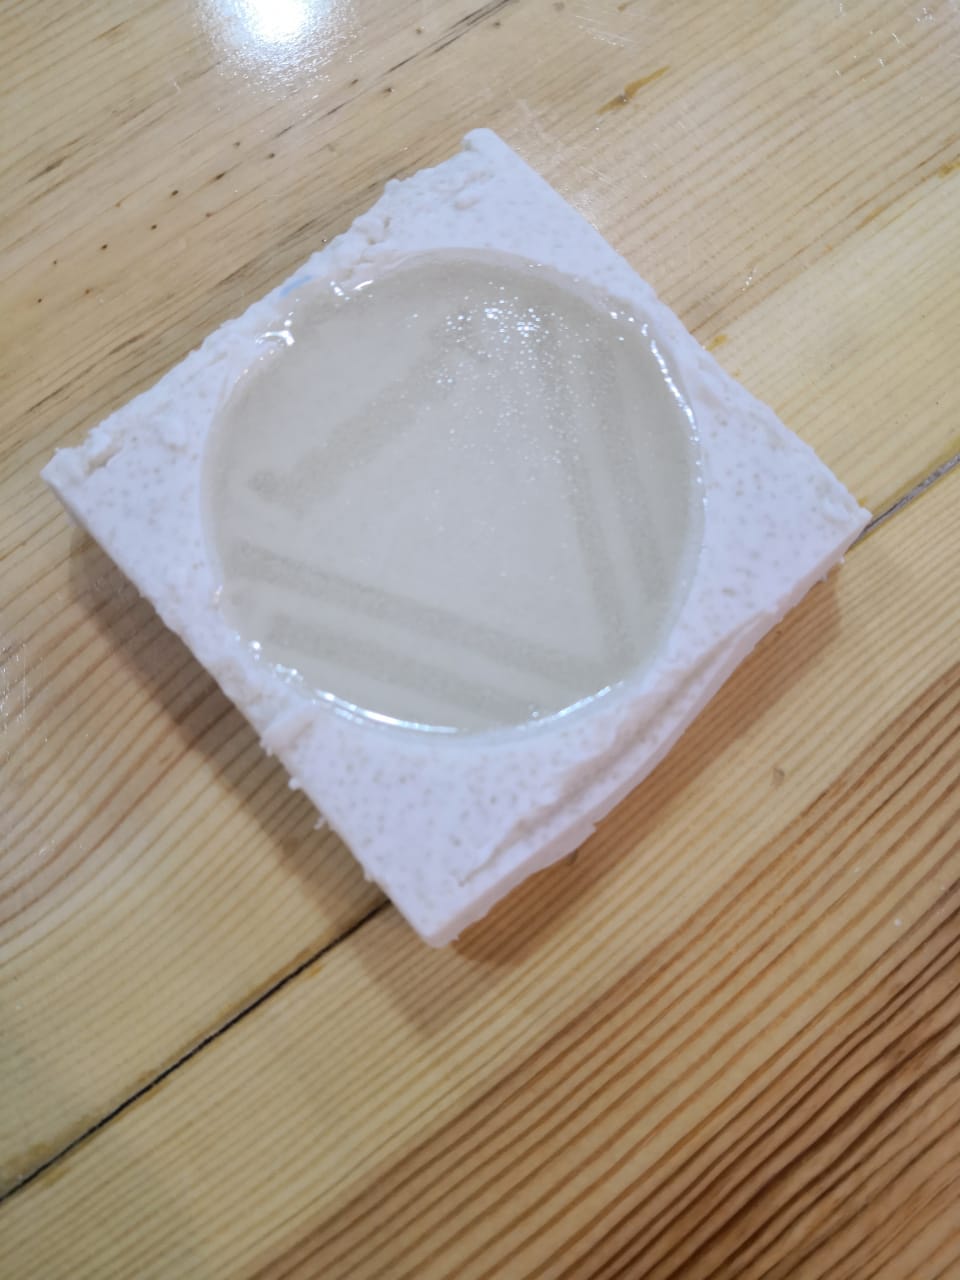
Getting the mold ready and as I mentioned is not perfect. This is the first time I use this type of material. I followed the instructions very well but I think it will not be strong enough because of different usage
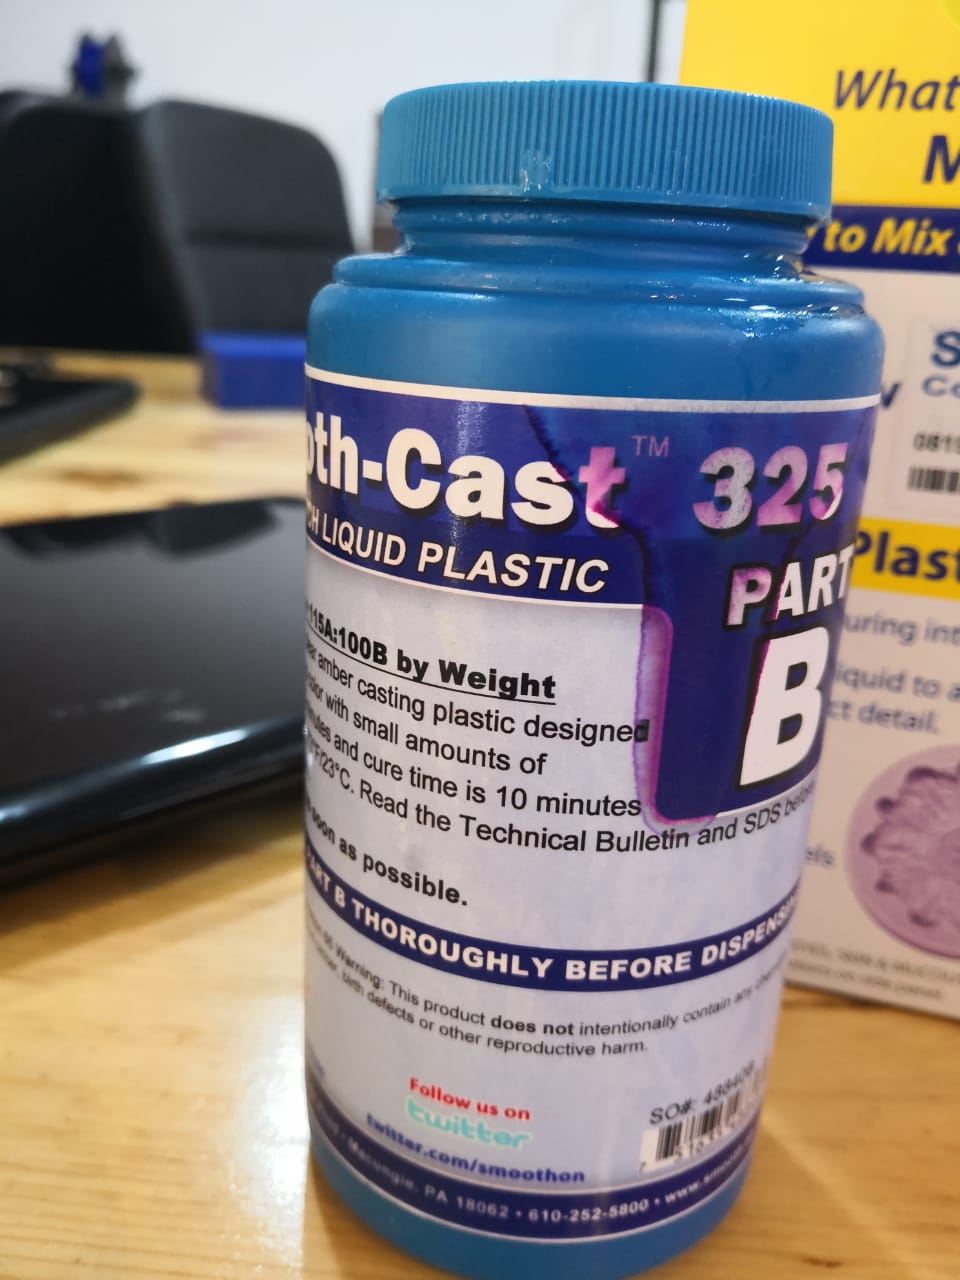
I'm going to start the casting process to get the product. I have a lot of Smooth cast material from Smooth-ON. To pour into rubber molds to turn the liquid mix into solid plastic
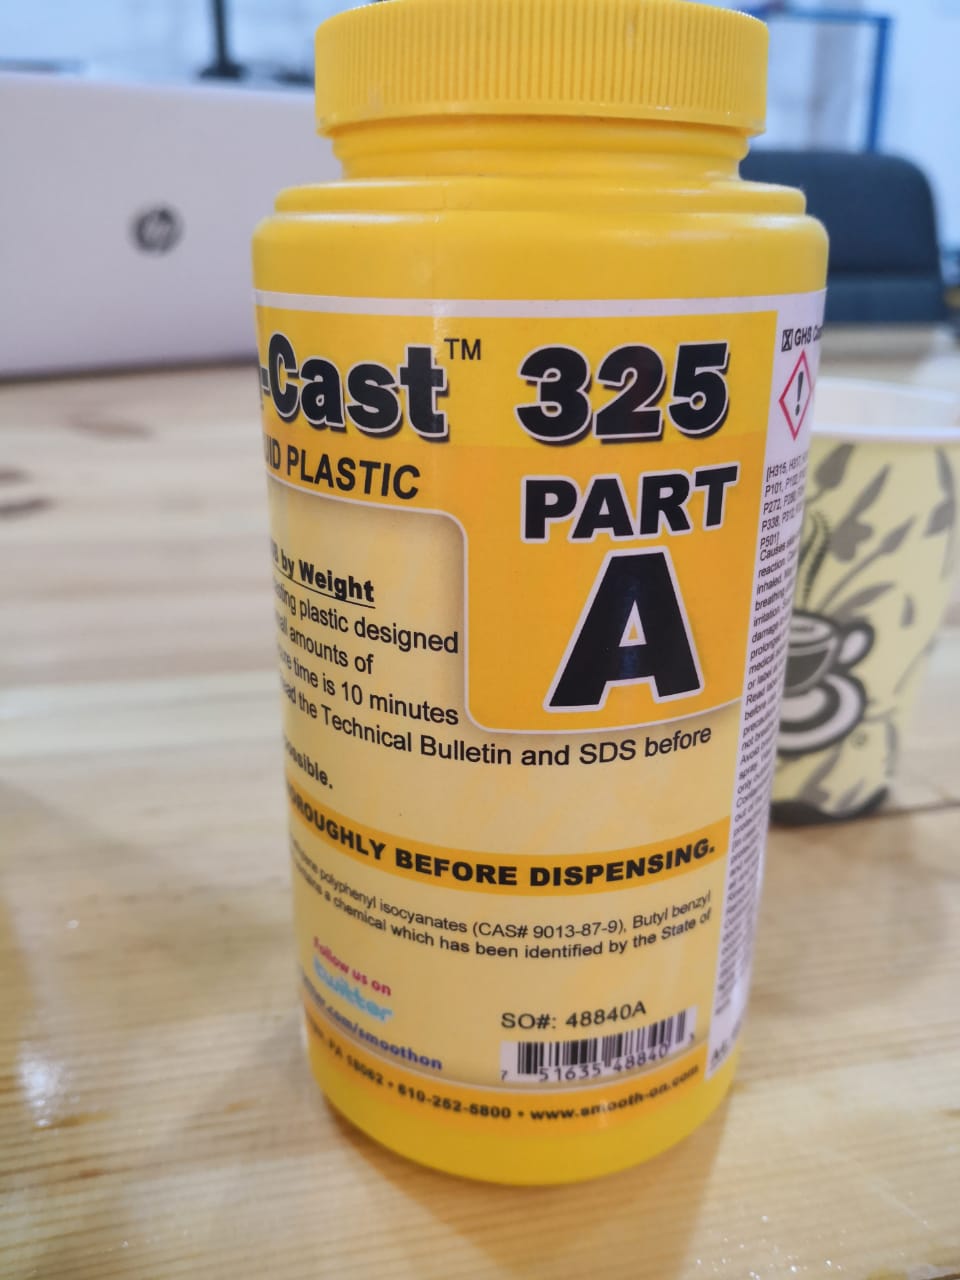
I used Smooth Cast 325 because the curing time is 10 min and Pot life is only 2.5 min. As instructed, I had to mix same volume both material and add them to each other
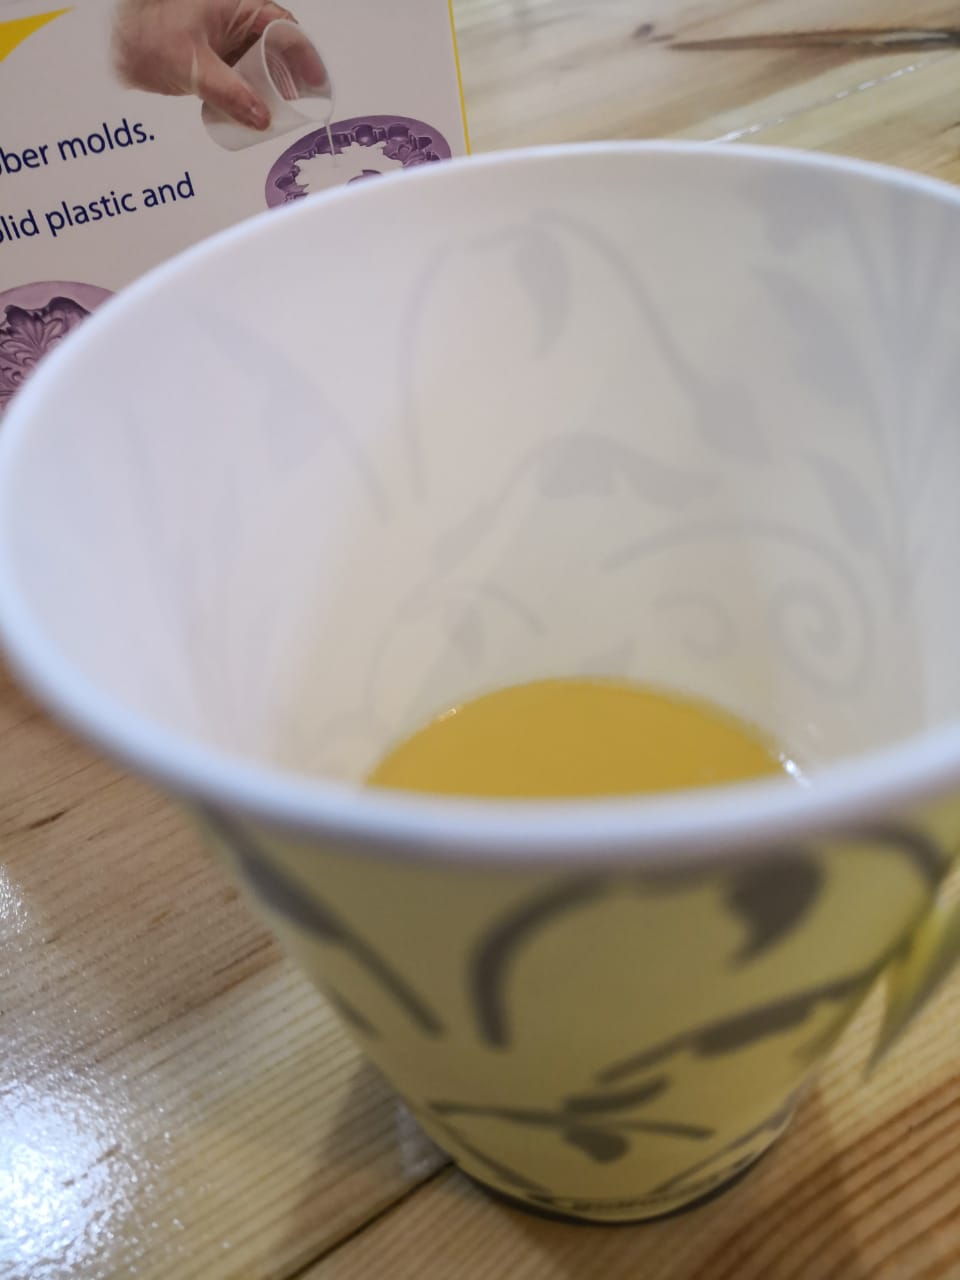
Pouring the first liquid using paper cup
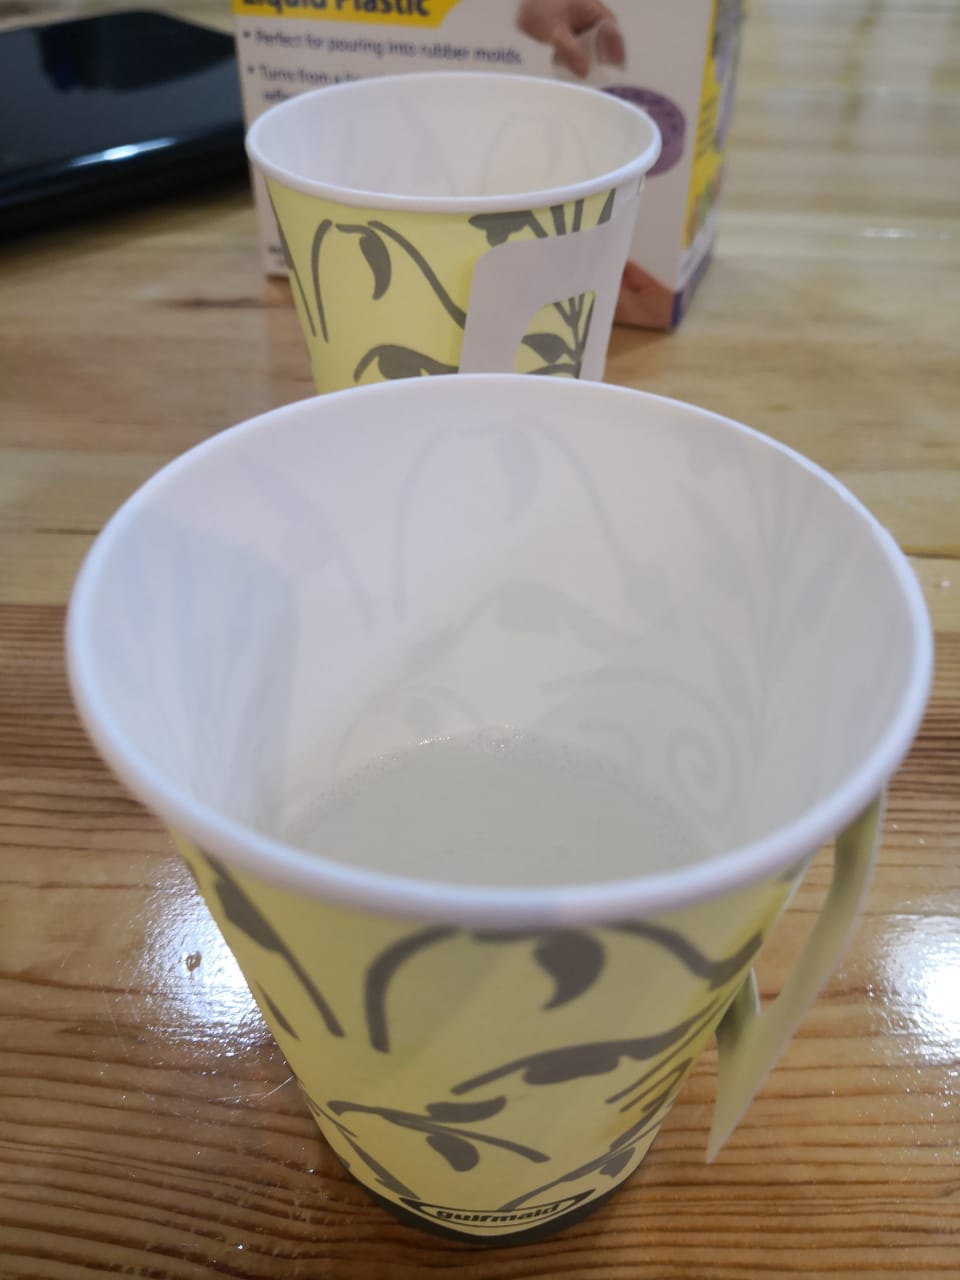
Pouring the second liquid using paper cup
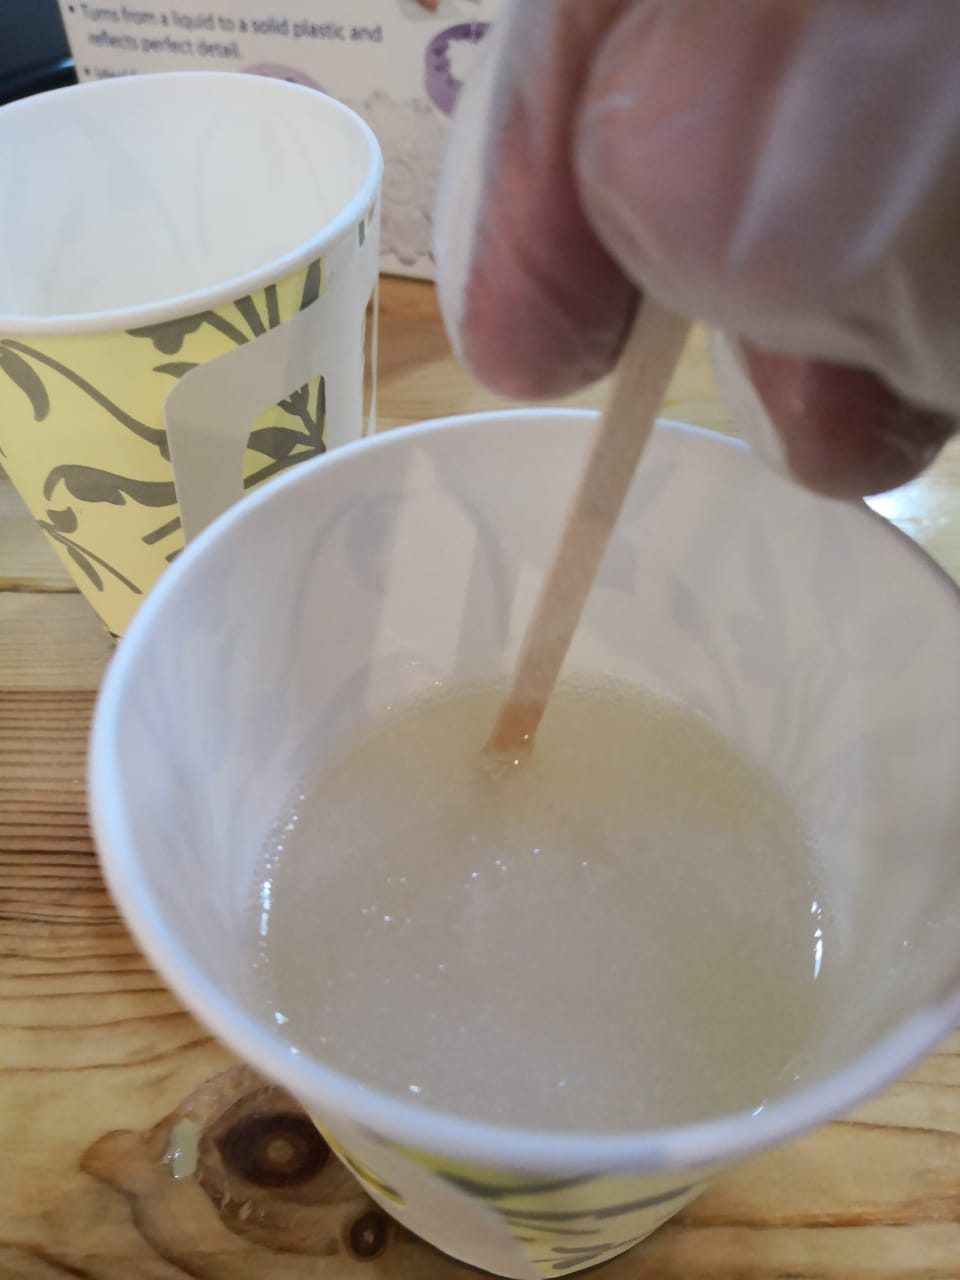
Started the mixing process for 2 min after adding the two liquids. The mixing temperature increases gradually as I felt
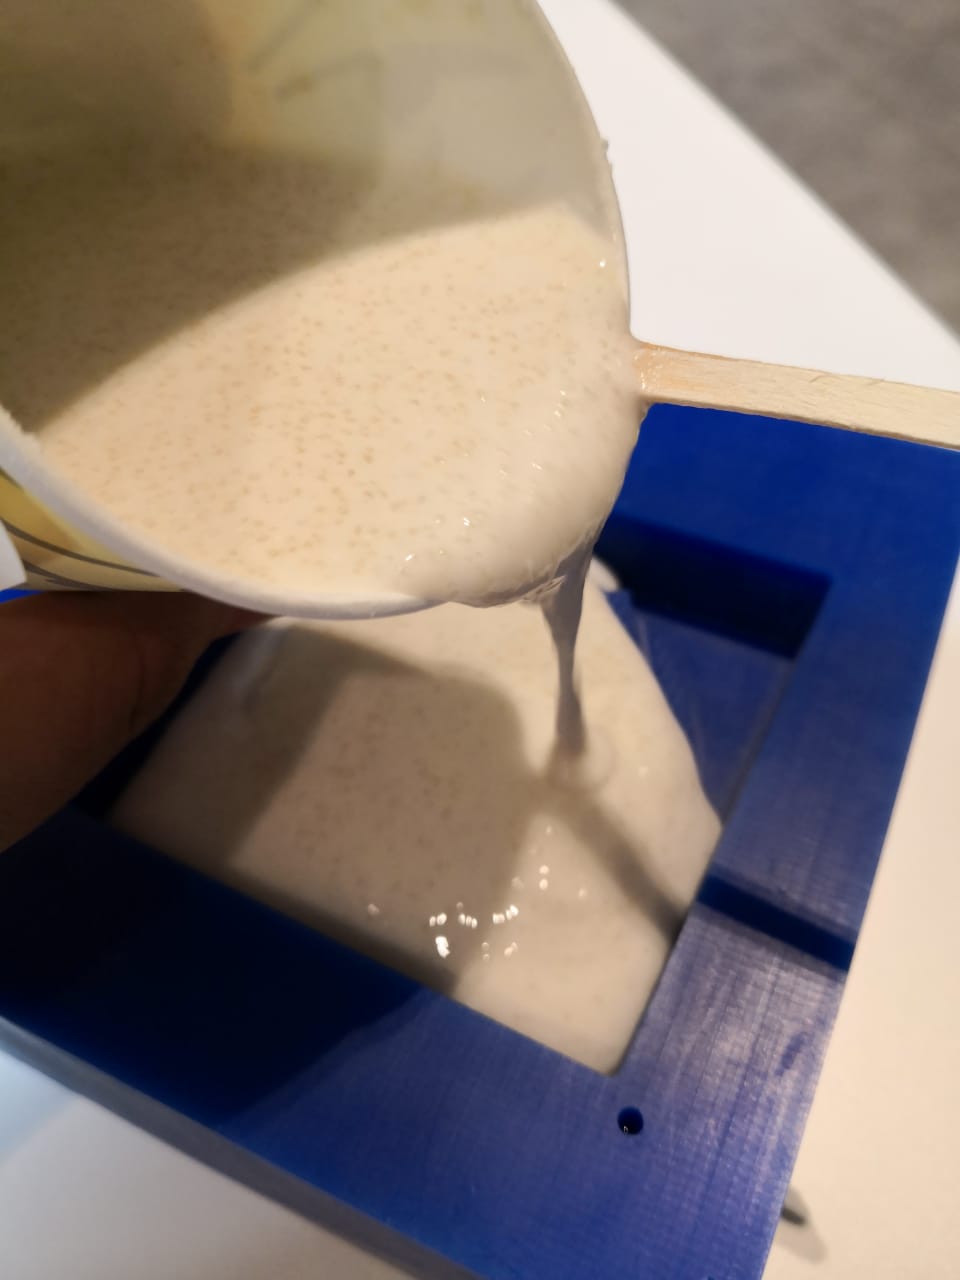
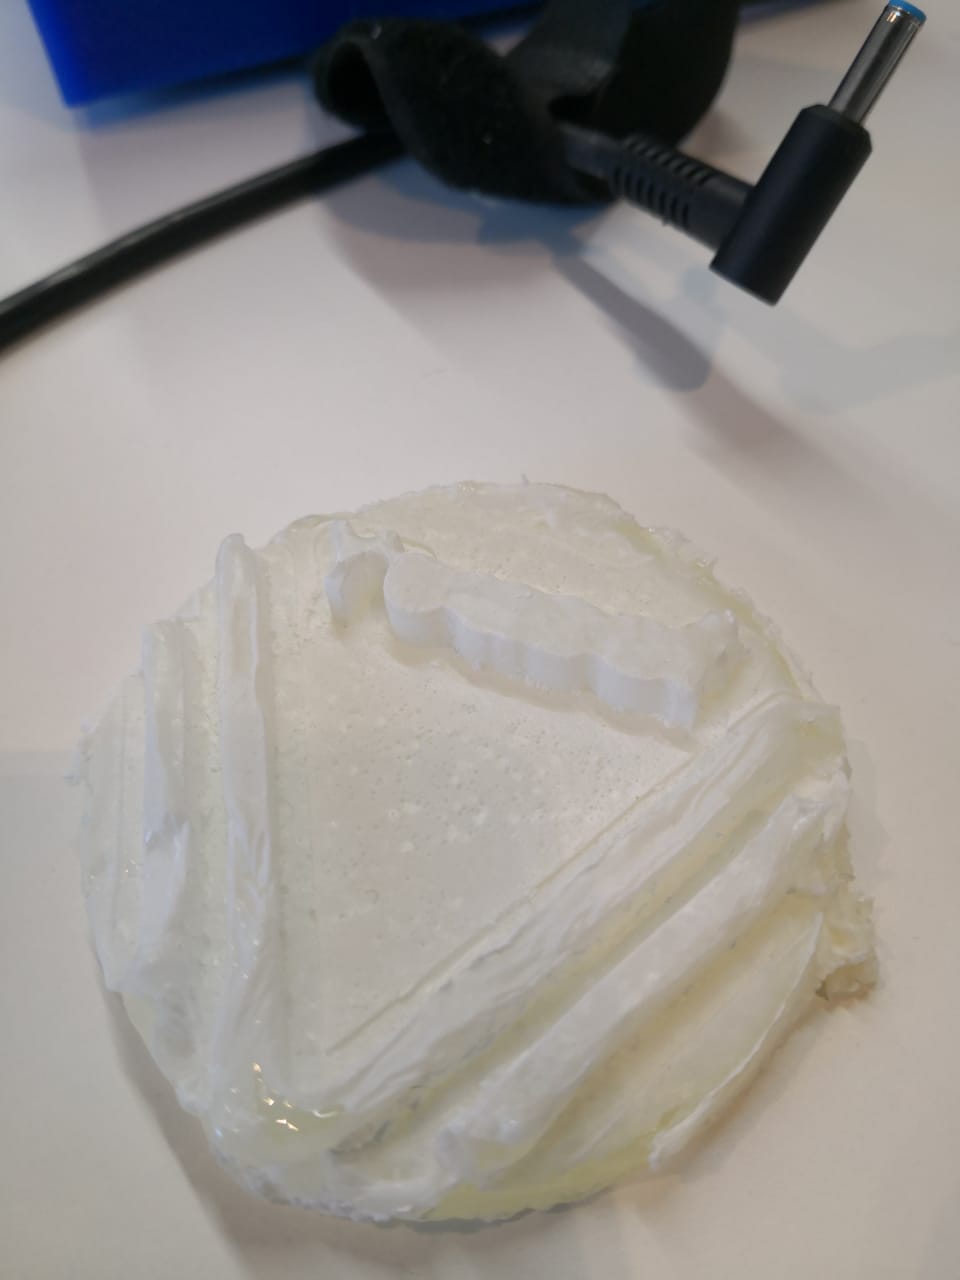
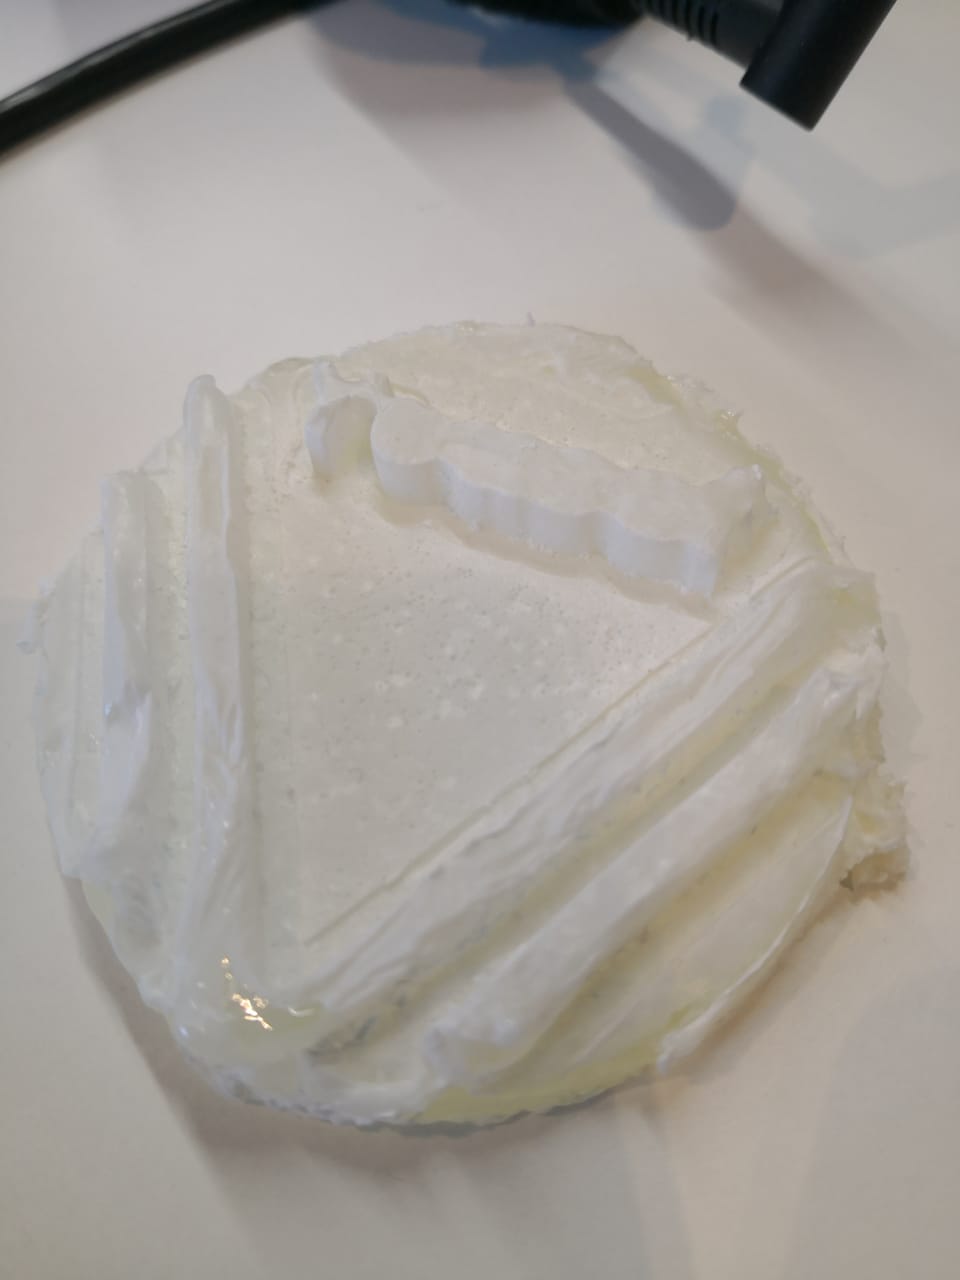
Pouring the mix in the mold
I removed it 10 min later but it's not fine because of the mold itself
Download Files' Links: