Molding and Casting
design a 3D mold
Tooling, Machine, and Cast Parts
When I was a child I was wondering how they can do a perfectly stamp without any distortion. It was so fun that I was trying to do my name by using a box cutter and some silicone. Later, my dad gave me a gift that I can arrange the letters of my name and I can use it as a stamp. This gift was giving me an idea that I can do the letters by cork which is easy to engrave then casting silicone. Anyways, those experiments enrich your knowledge of your curiosity.
Well, in this assignment I'm planning to present one of the most popular icons in Saudi Arabia which is the palm tree. And you can notice it in different places and logos.
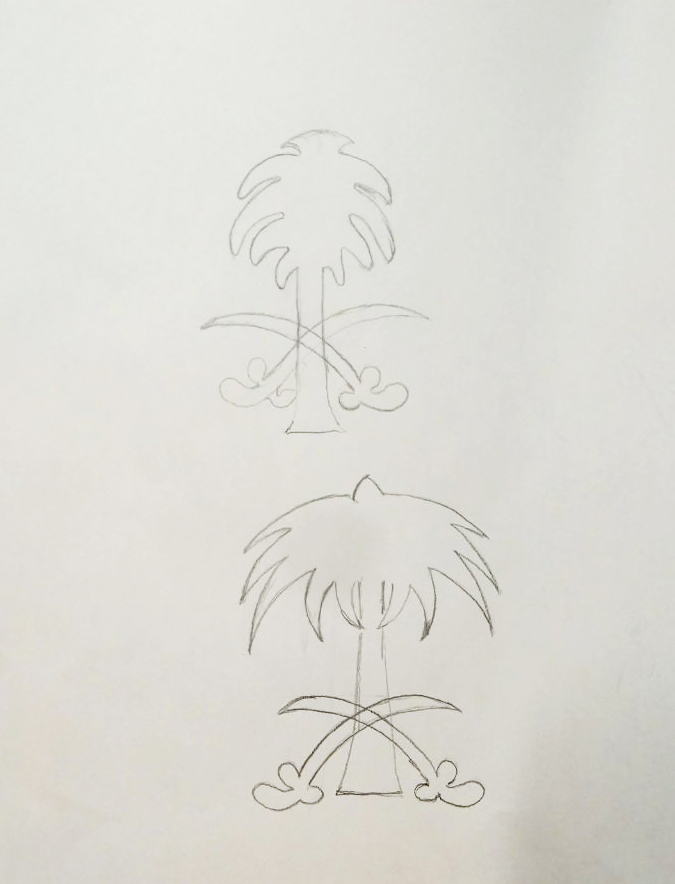
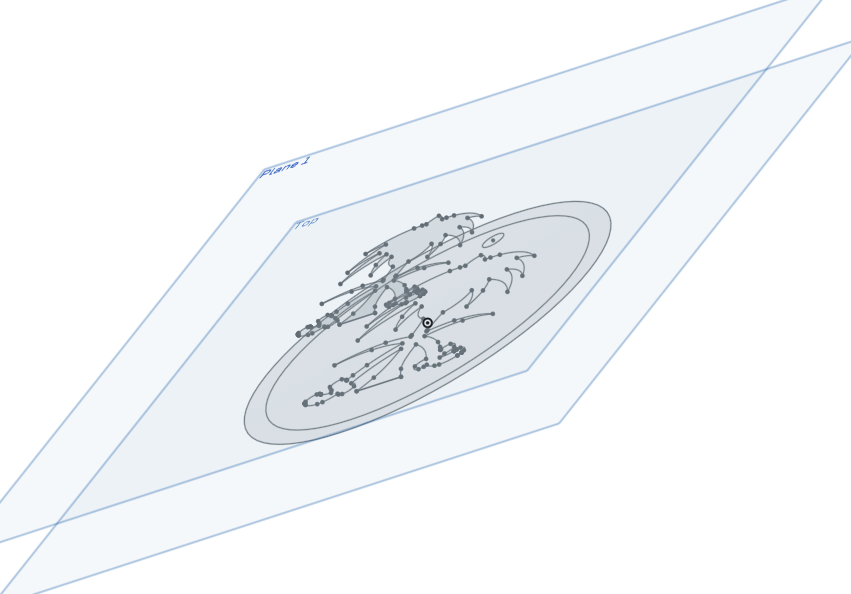
a sketch for the mold
And to get this sketch as perfect design and vector I did use illustrator to sketch it using golden ratio method
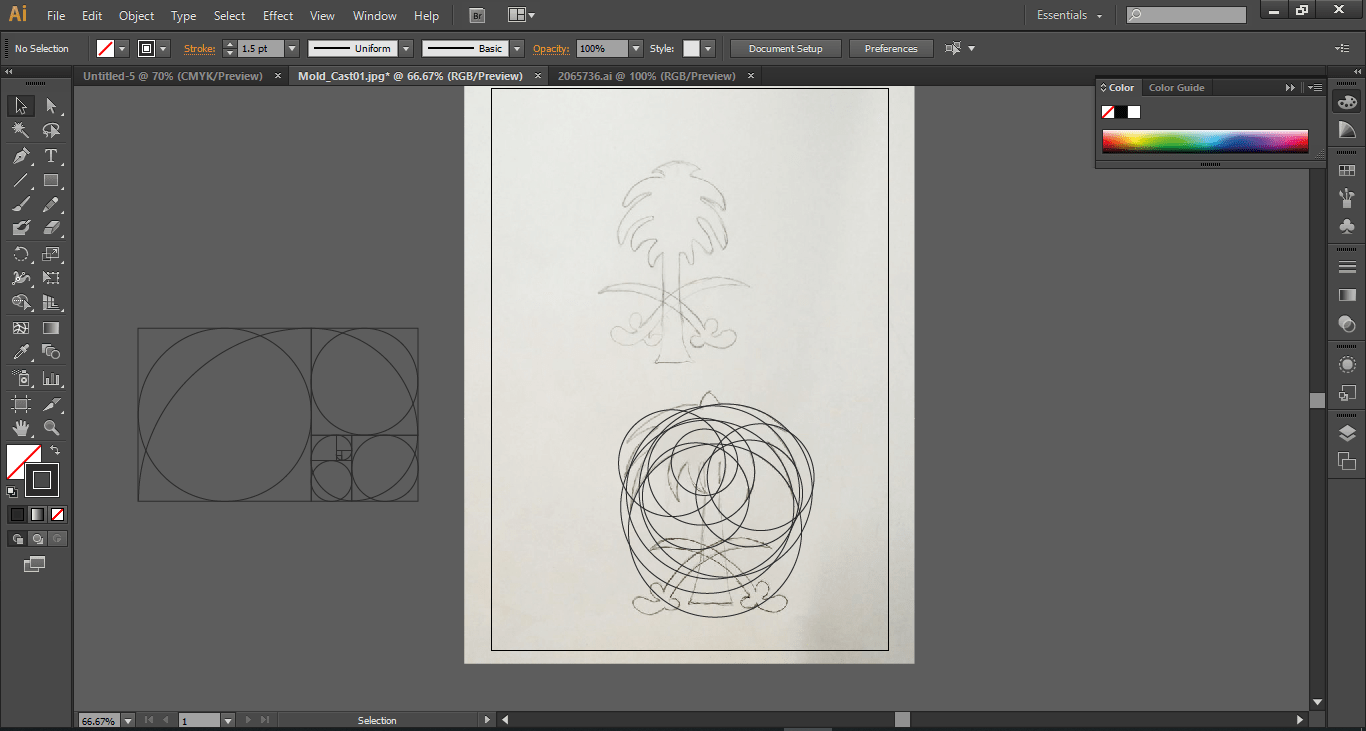
golden ratio using the shape on the left of image to draw on your sketch

Then by using Shape Builder Tool you add and subtract the lines (circle shape) to get your sketch
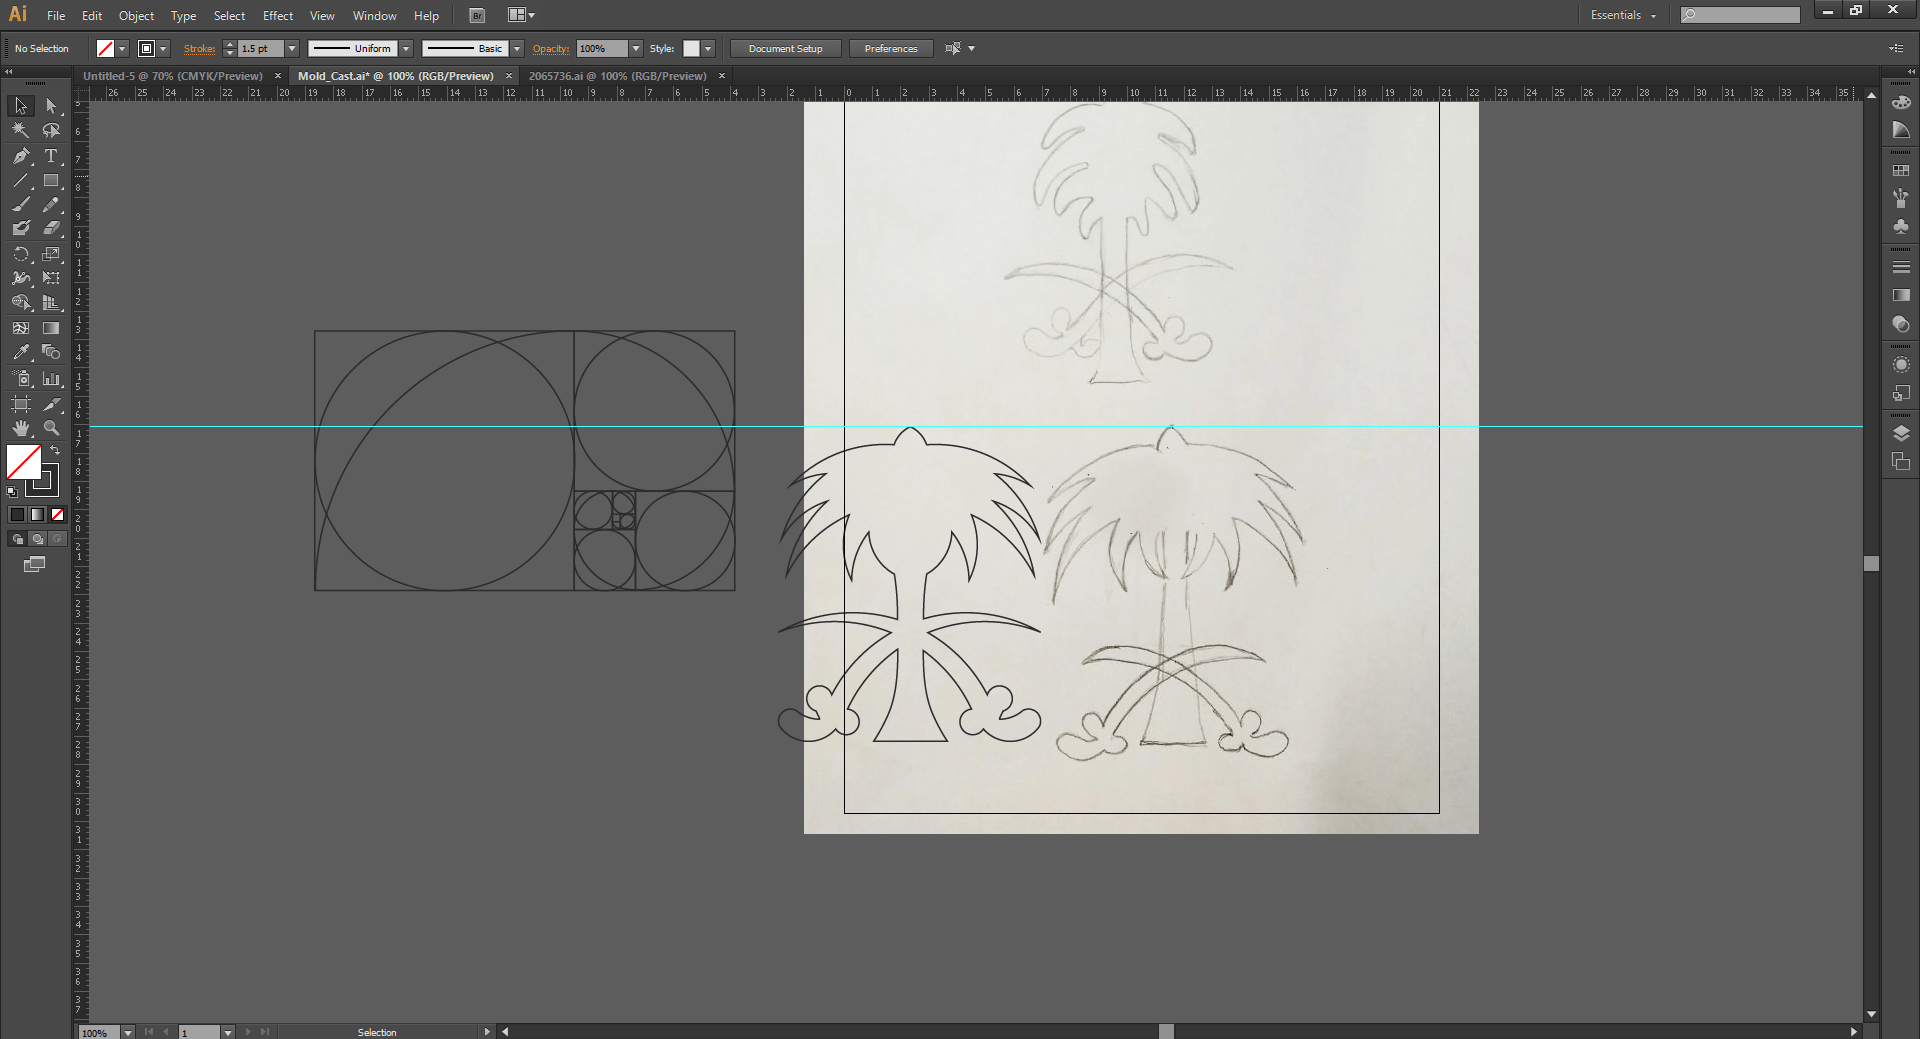
Final sketch after 30 minutes working using the golden ratio
Then, I have saved it as svg and dxf format to import it later on in Onshape
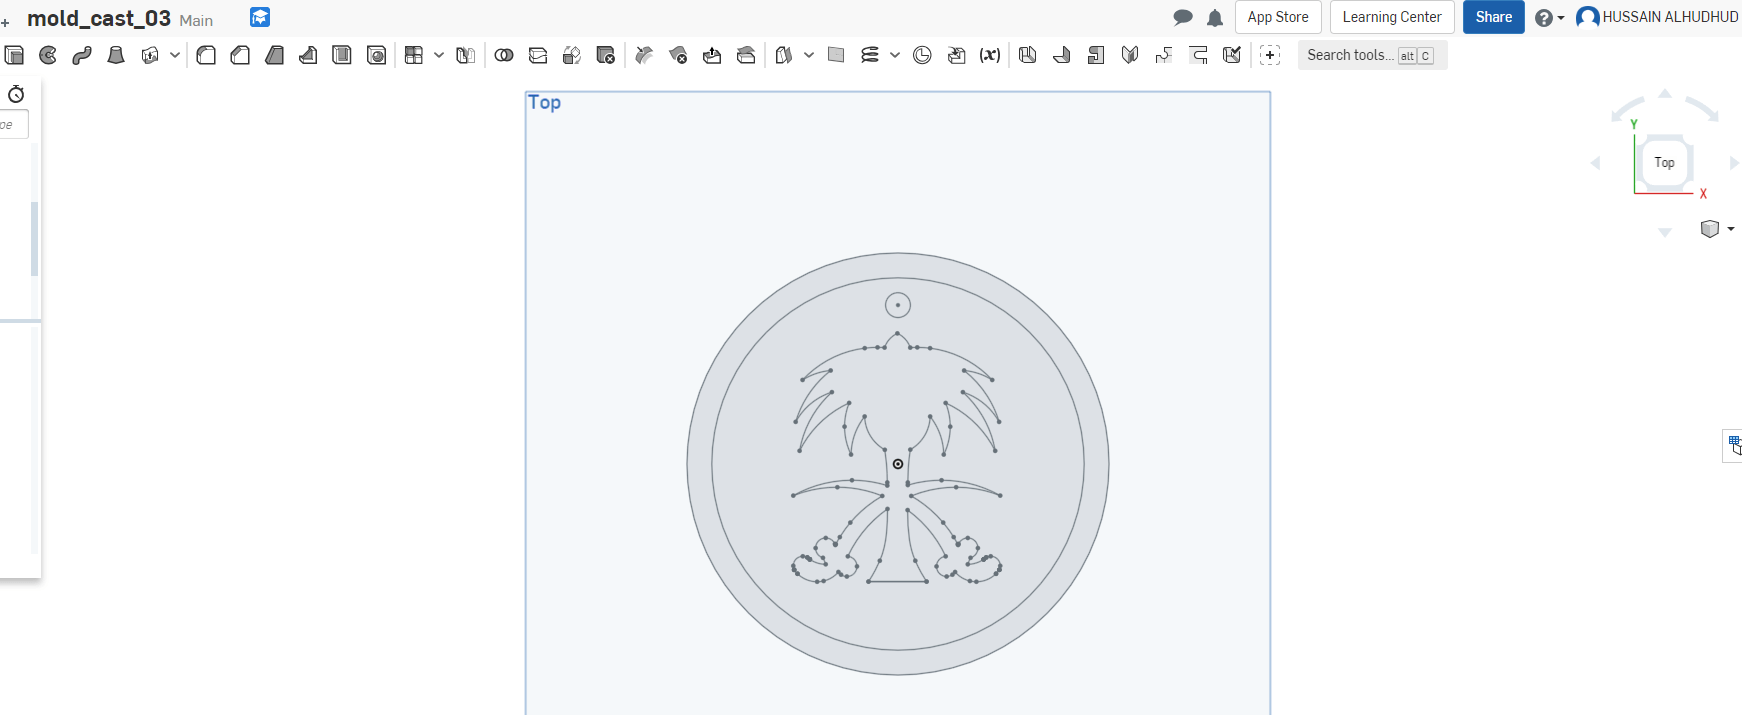
import the sketch design
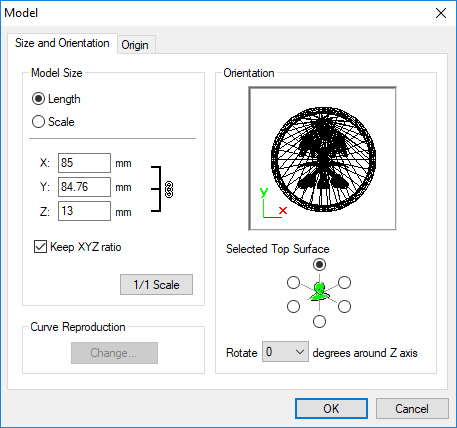
then create an offset plane 13mm away and copy the sketch. I did change the size of sketch
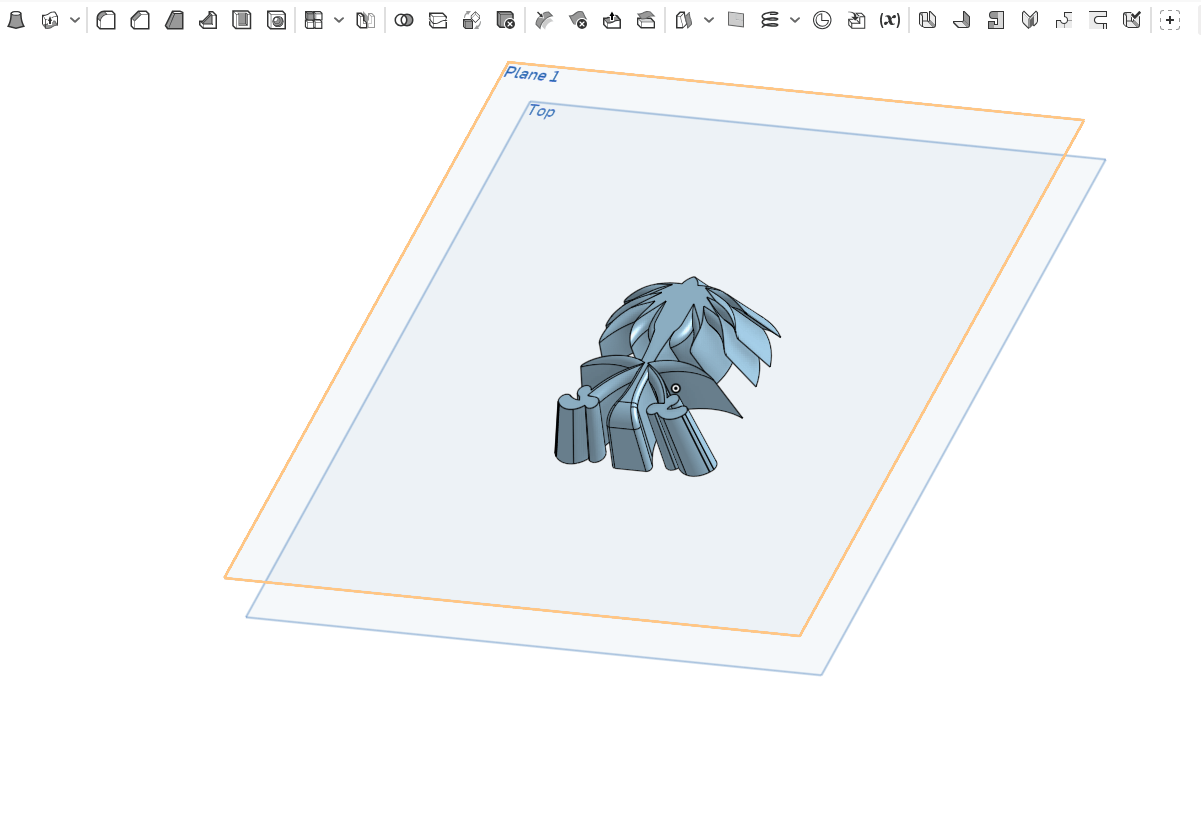
then creat an offest plan 13mm and copy the sketch and I did change the size of sketch
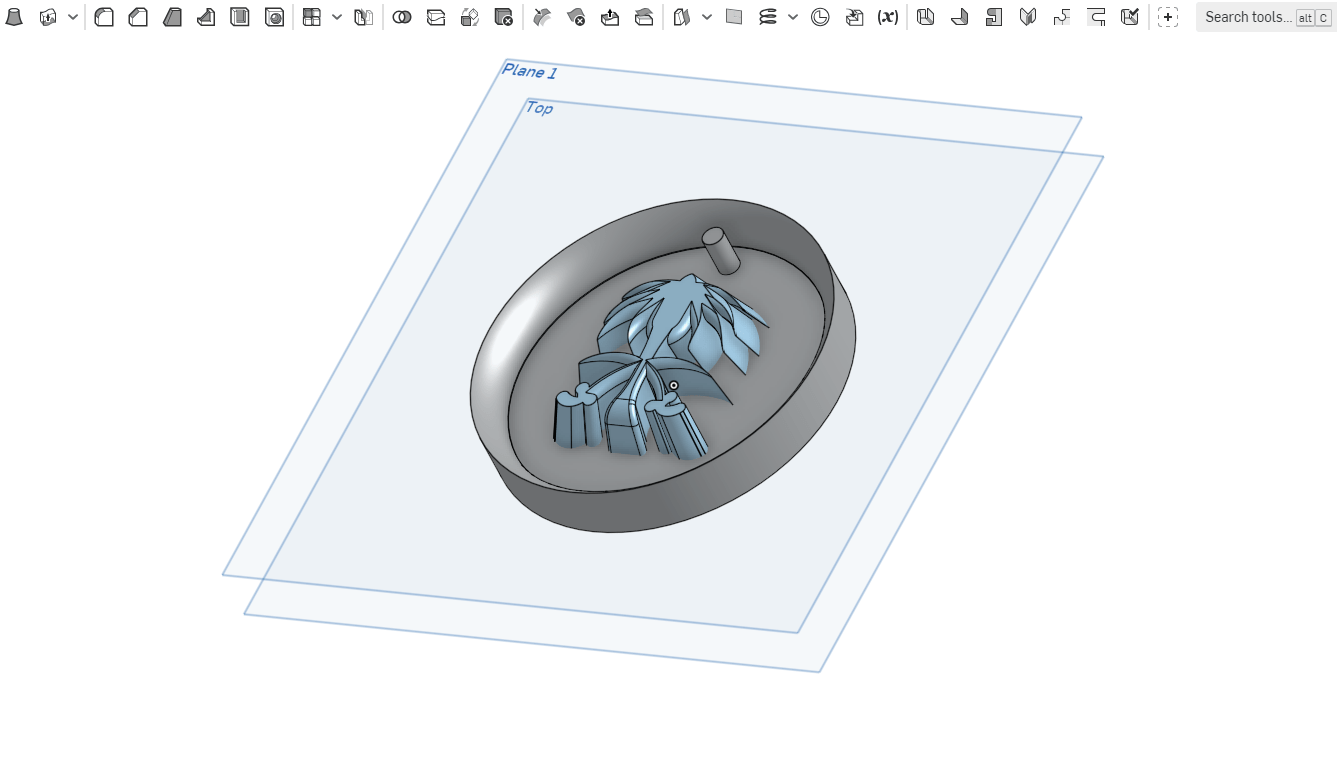
Extrude and filet tools to get final result to be like a 3D look
Download: STL File
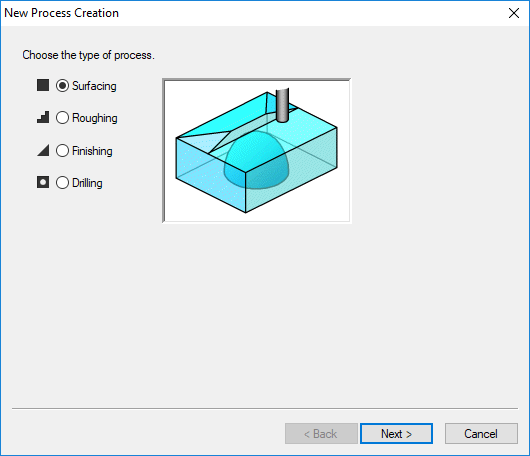
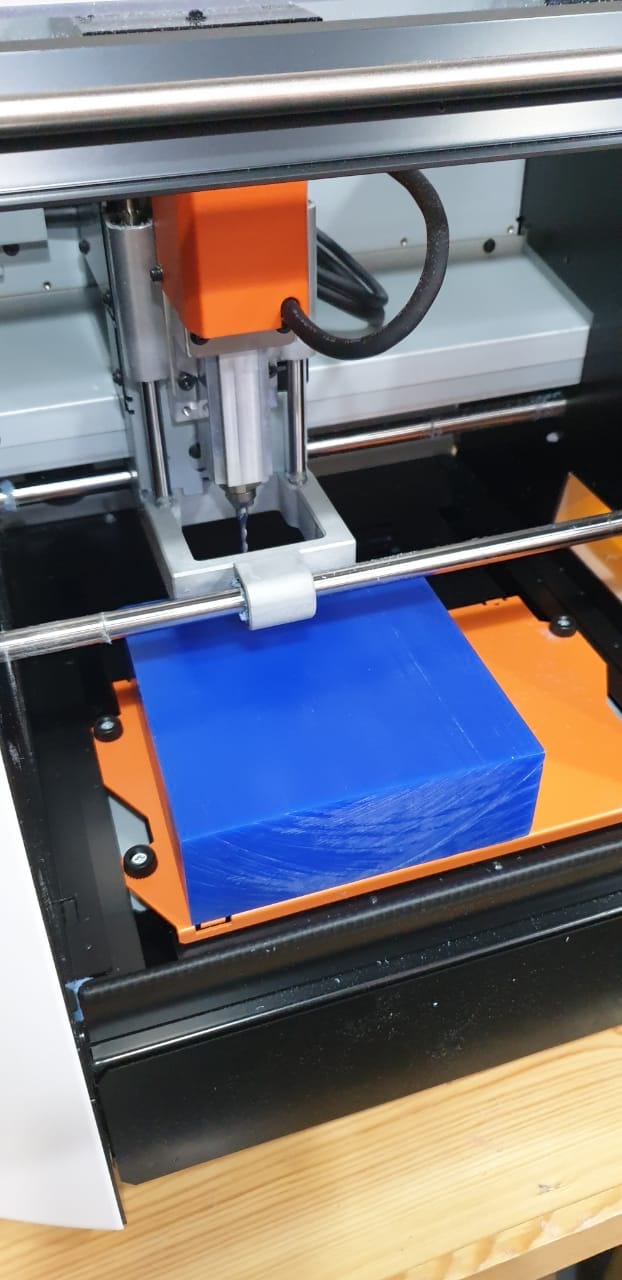
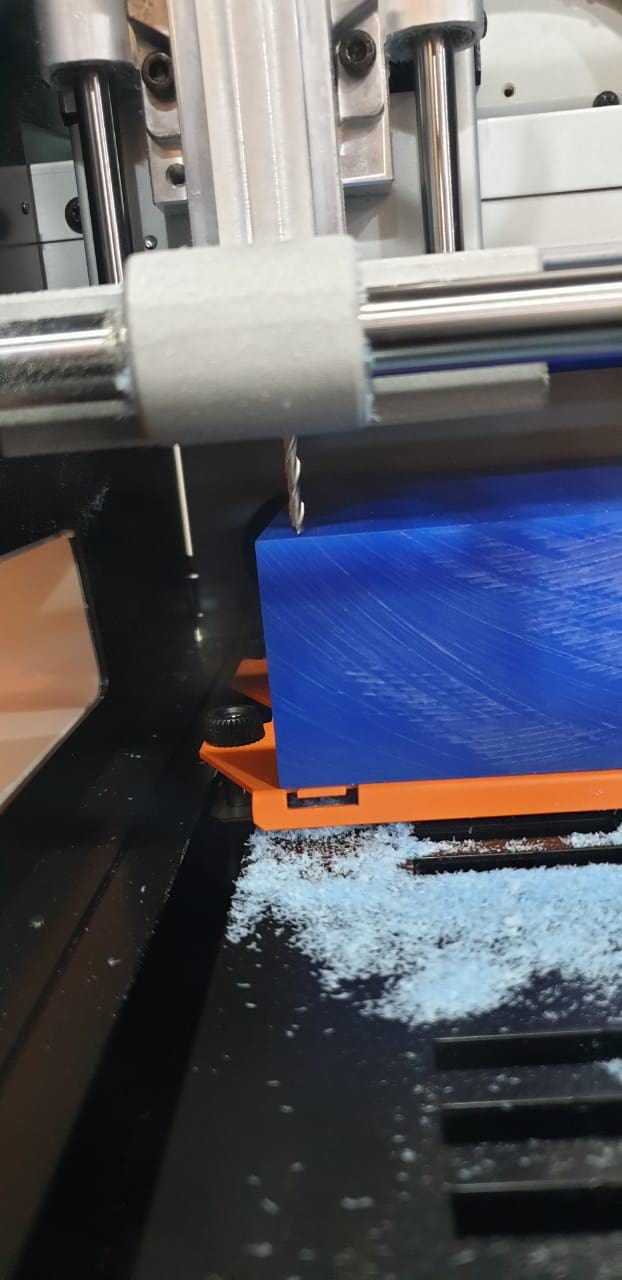
For milling, I'm going to use Roland SRM-20 to milling the design in wackes. To prepare the design as G-Code we will use MODELA Player 4 software for finalizing the settings
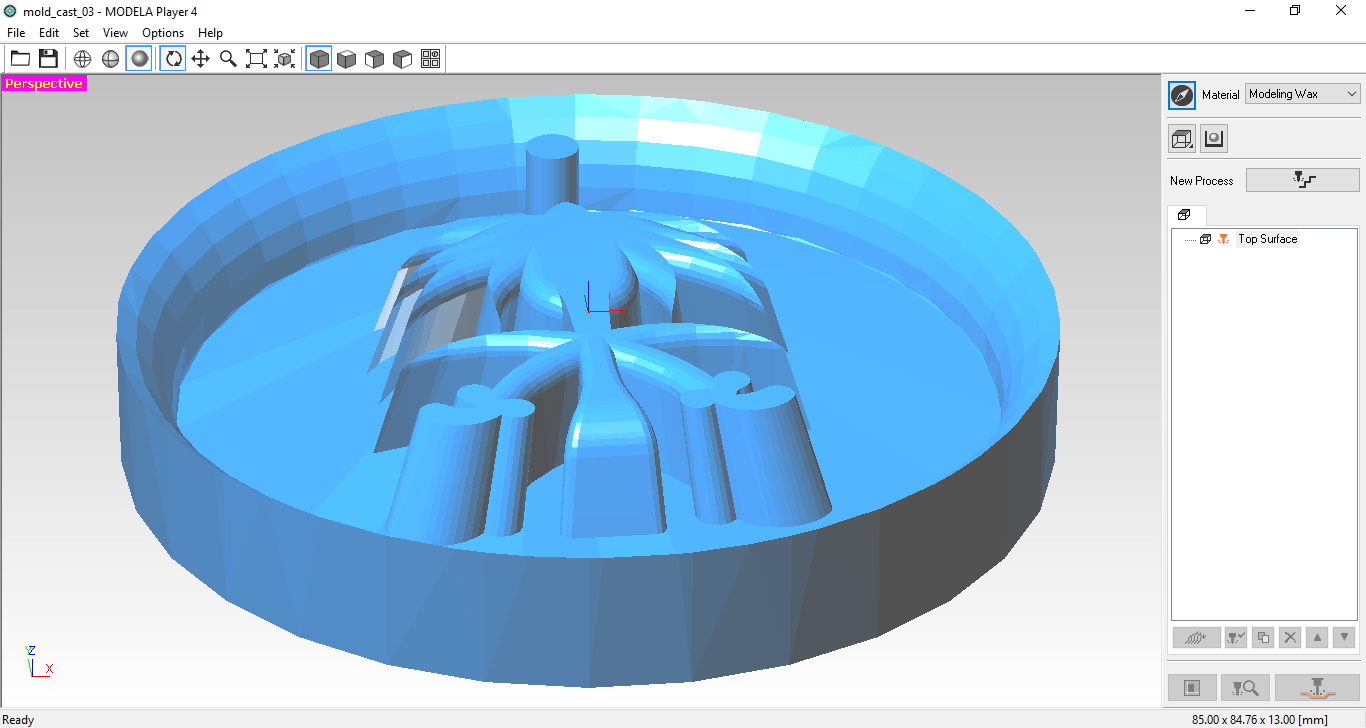
import the stl file
check out the dimension of design and where would be the orientation
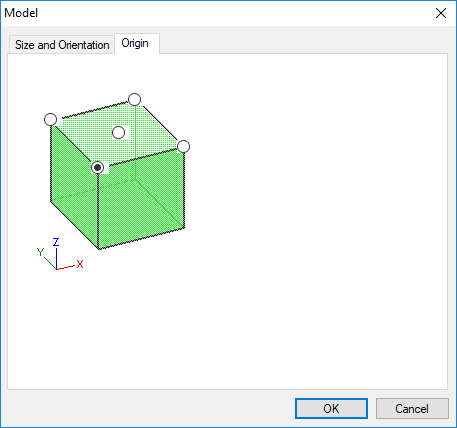
setup the origing zero axis
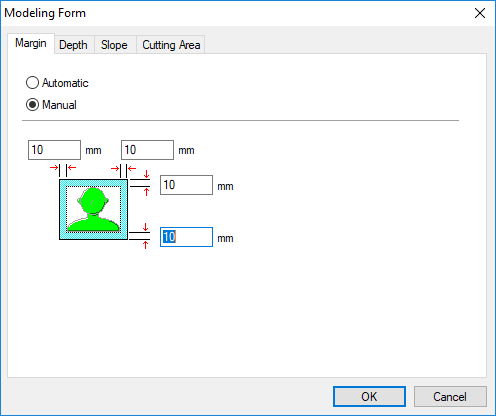
you wouldn't start from the corner without putting a margin so later on it's going be hard to cast without edges
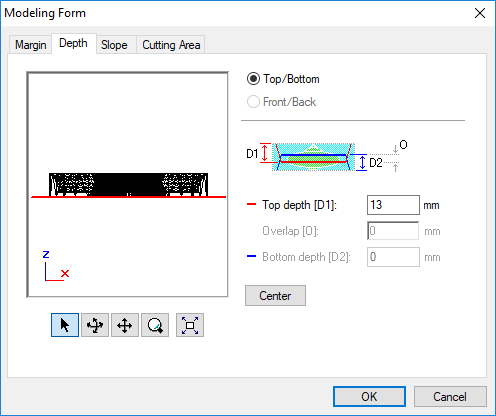
set up the depth of the design based on the original design
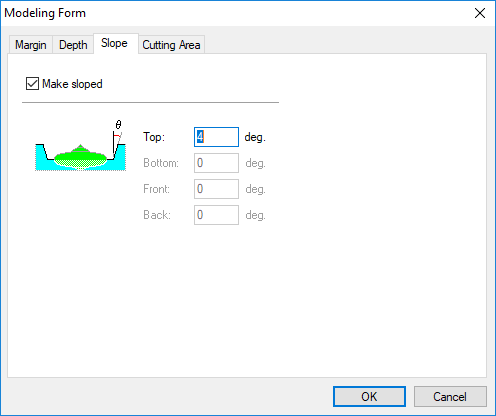
It's very important to have a slope so when you cast it's going to be easy to remove
also, you have to surface first layers even if the wackes is perfect flat .. like 3 mm
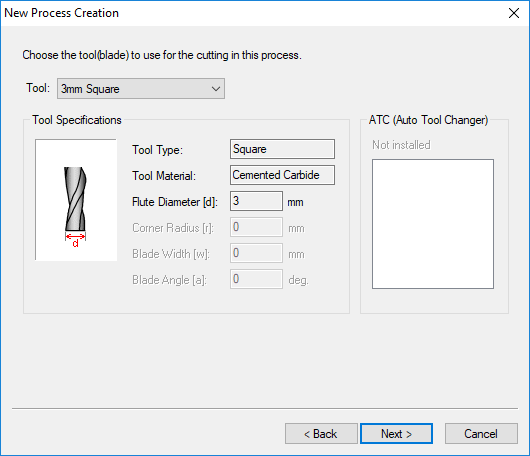
the bit that used for surfcing
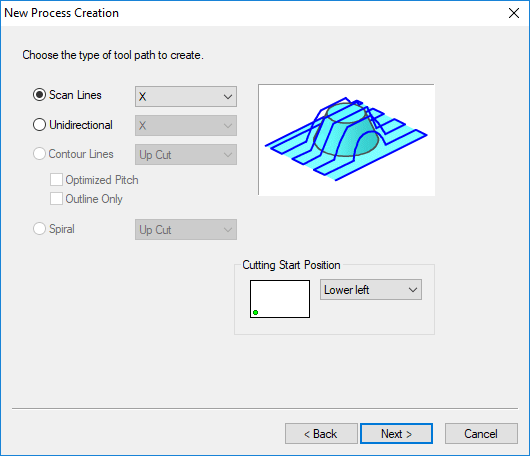
determining the movement for x-axis and y-axis
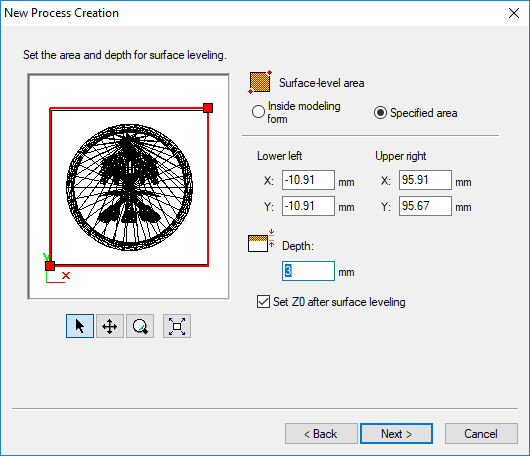
set up the depth for the surface as 3 mm
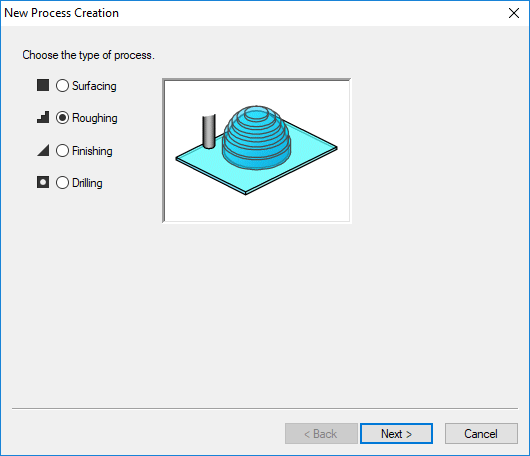
second step once we finish the surfacing
set up the surface for the whole design

step up the origin for the whole design
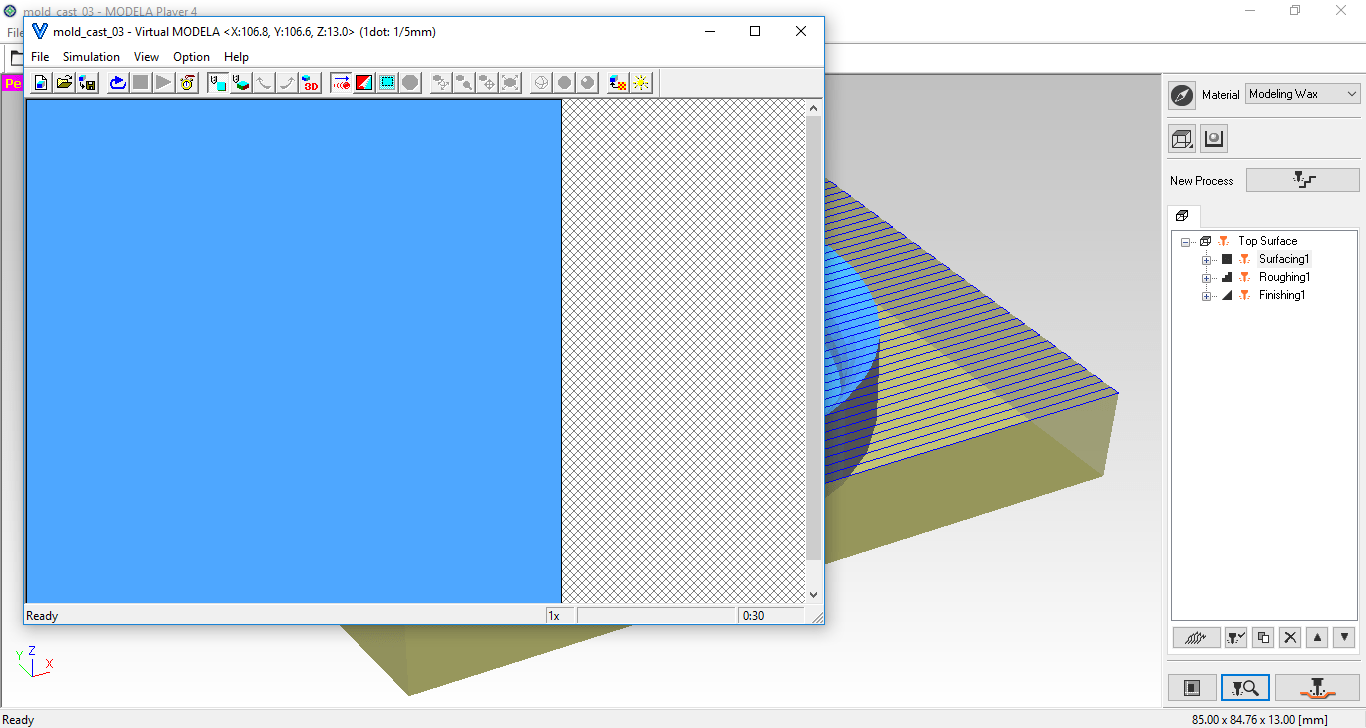
Simulation of surfacing
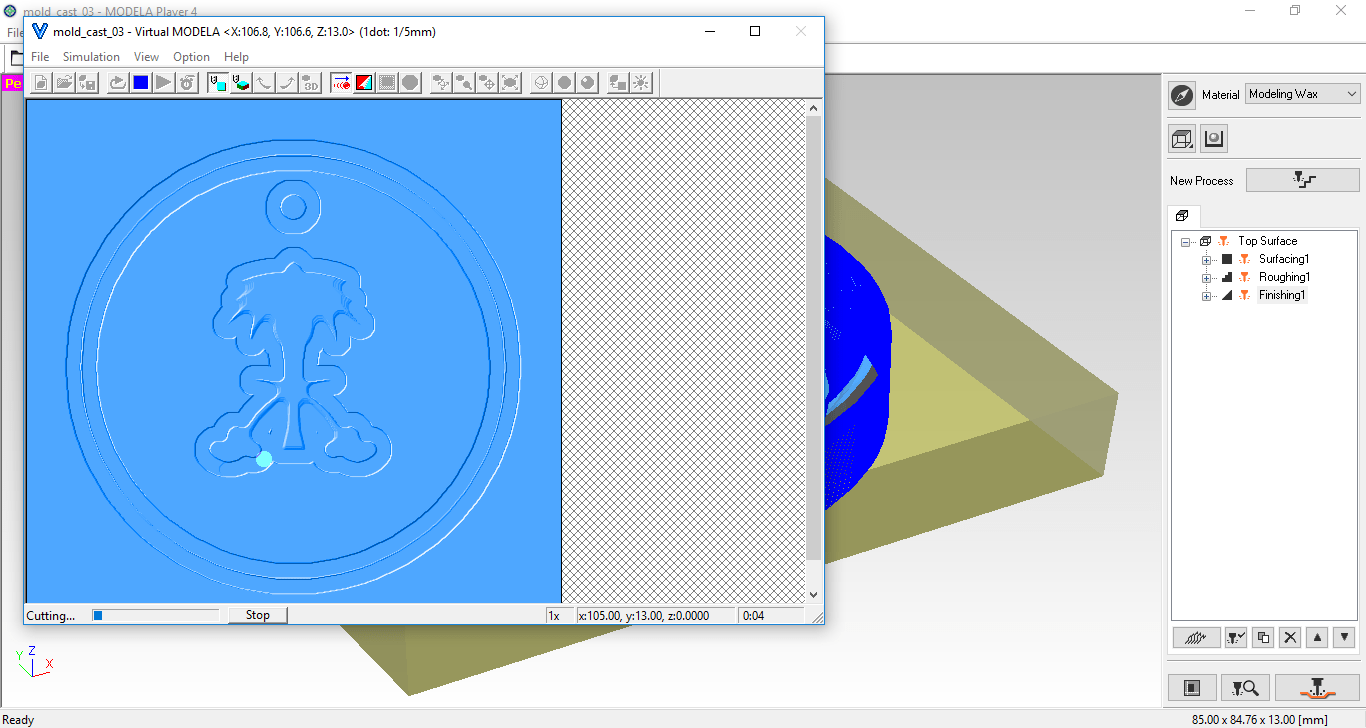
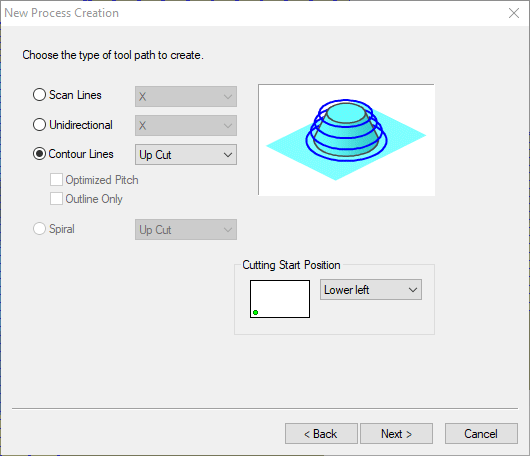
Simulation of roughing
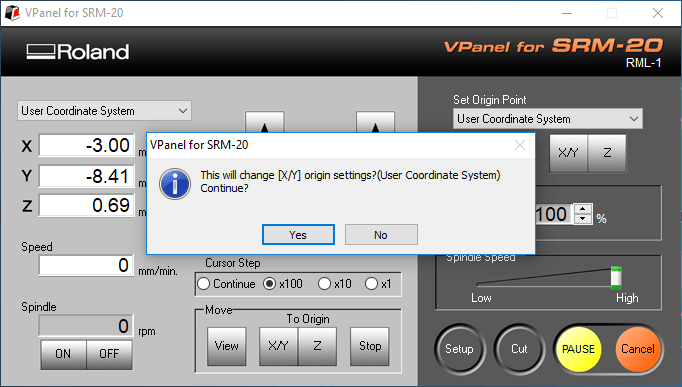
Once we finish the steup for design then we will use VPanel to step the machine and run the file
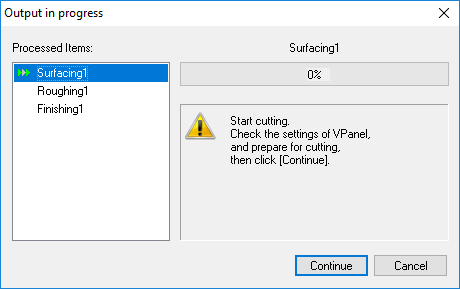
import the file and start milling the design
Set up the origin for the machine
set up the z-axis
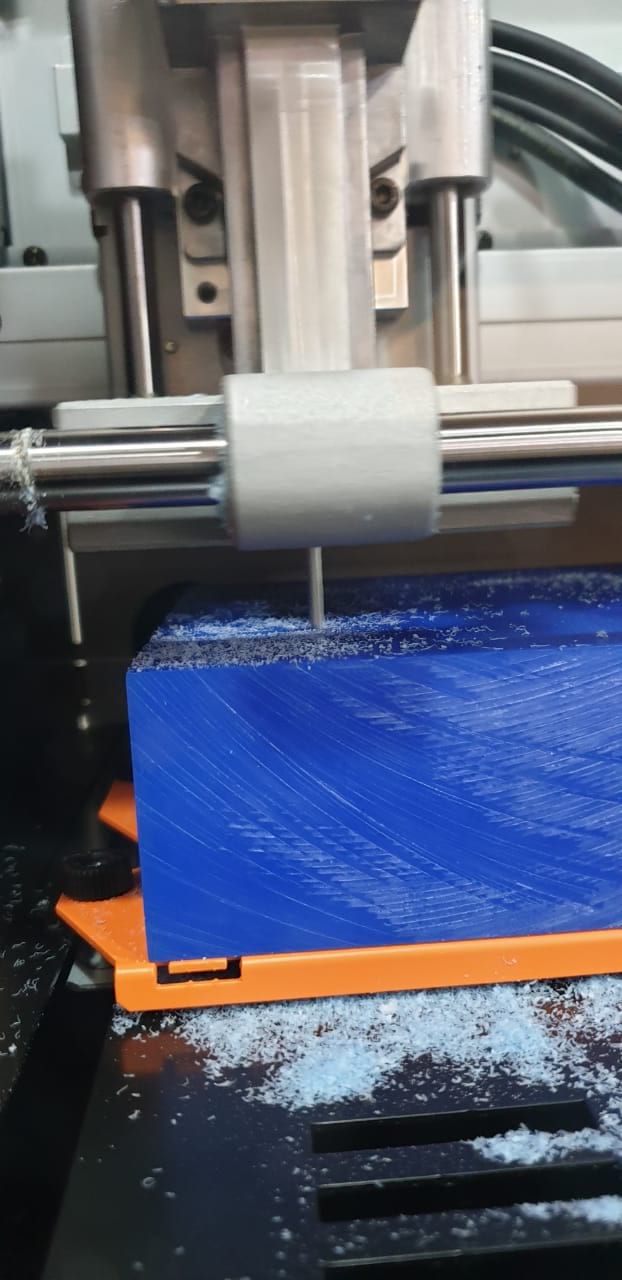
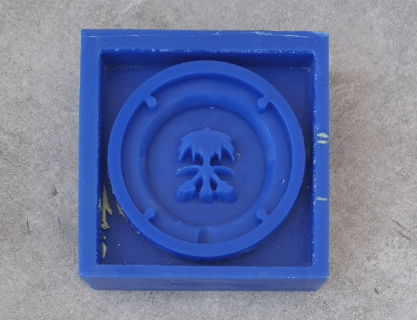
Final result
also, I have printed the design to do a different experiment
It was necessary to read the safety data sheet before starting to cast the molds and because I did use two different materials then I should be seen by the manufacturer of the material.
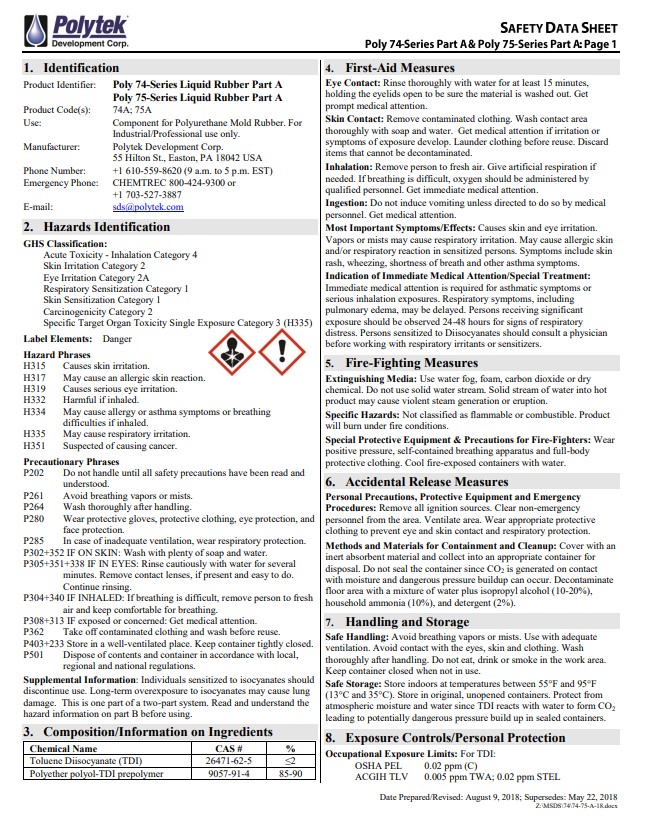
This material (Polytek) was found in the local market and is an approach to the other material (Smooth-On). Note that each material characteristics and uses
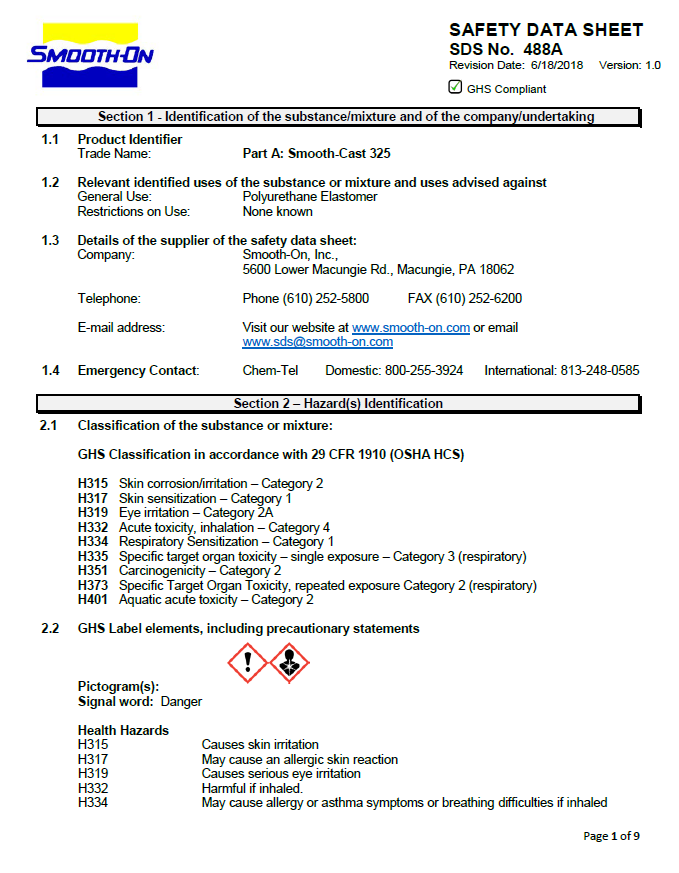
It is easy to find a safety data sheet for this material as viewed through their website in the direct link
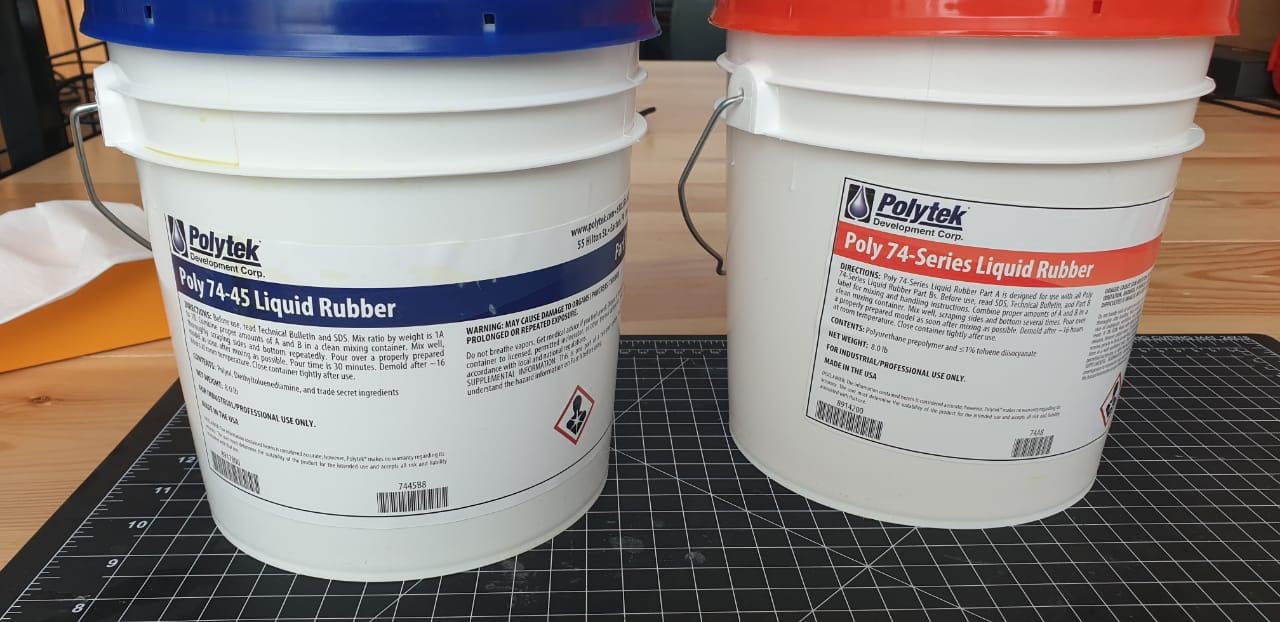
The first material I used is a flexible material through which we make a mold before the final product. I did Add an equal amount of both materils then I did mix them well between 6 minutes and up to 10 minutes. Mix Ratio 1A:1B by volume.
1&2- I did mix the material (Poly 74-Series Liquid Rubber + Poly 74-45 Liquid Rubber) togither
3- I did mix them mostly for 10 minutes to make sure is homogeneity of both materials
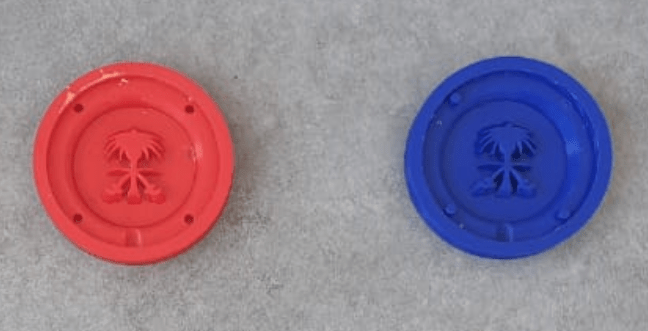
Then, I put the mold in order to be ready for the final stage, where the material takes 8 hours to be ready to use and to make sure the material dried out for a day and then I did use it
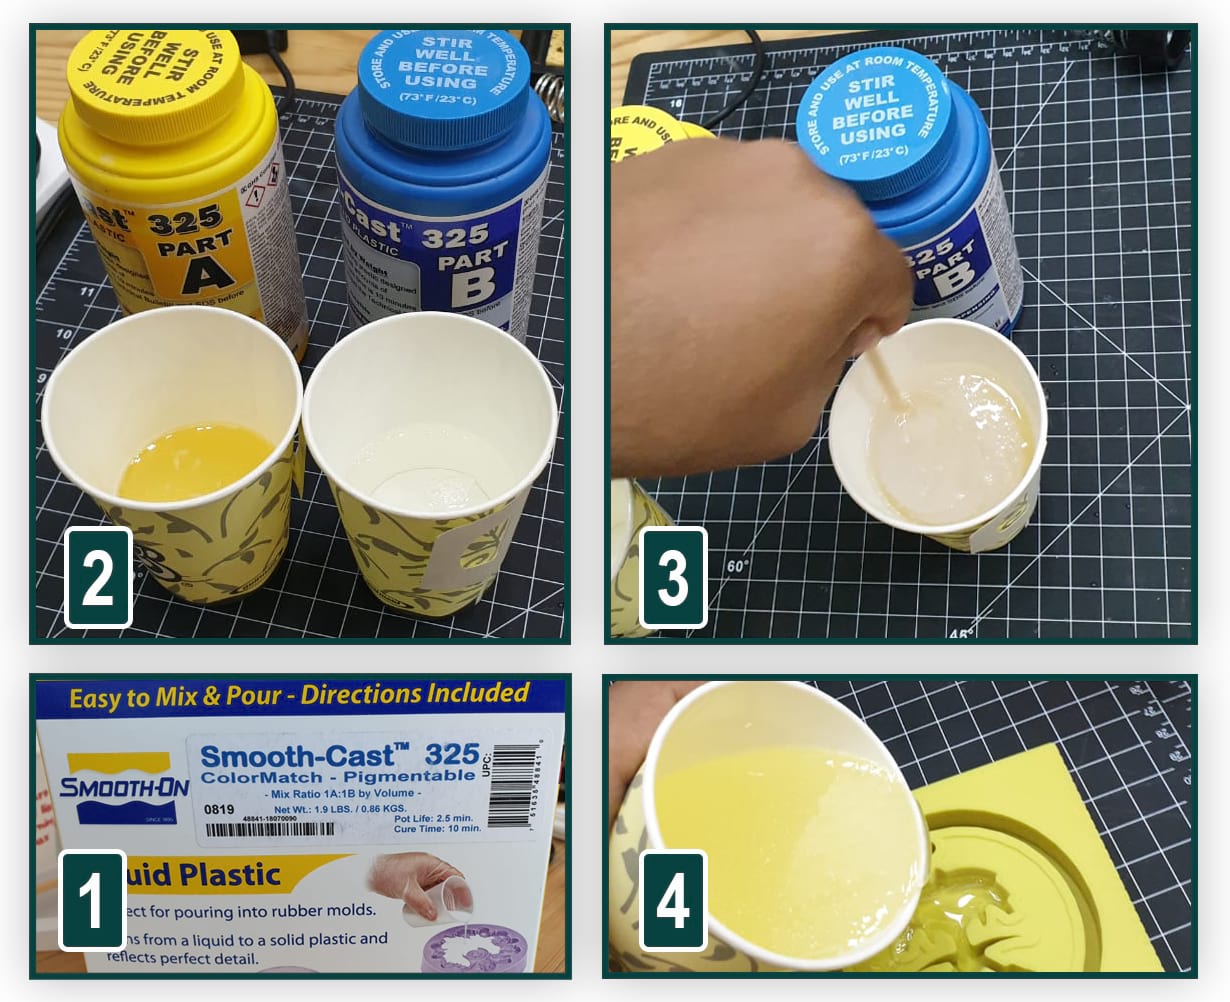
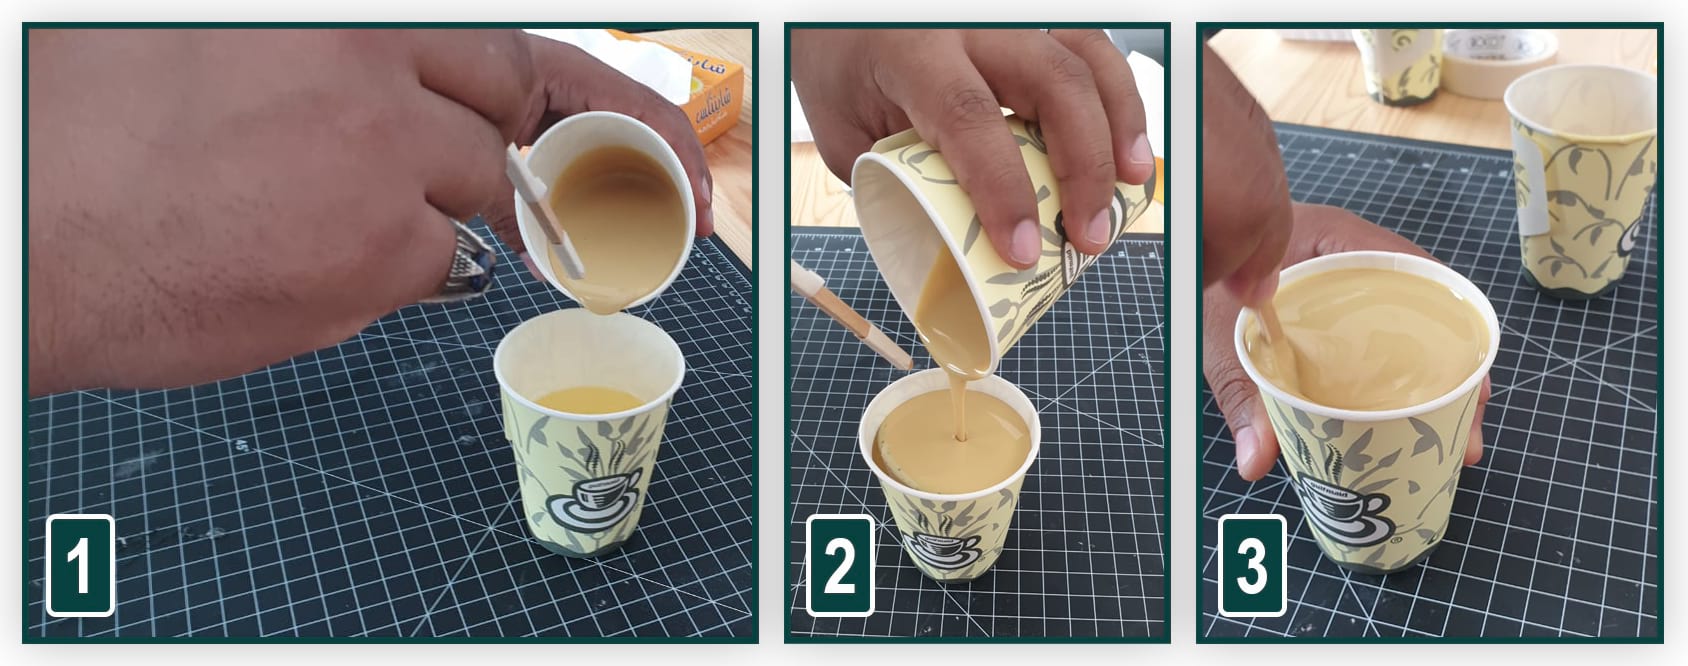
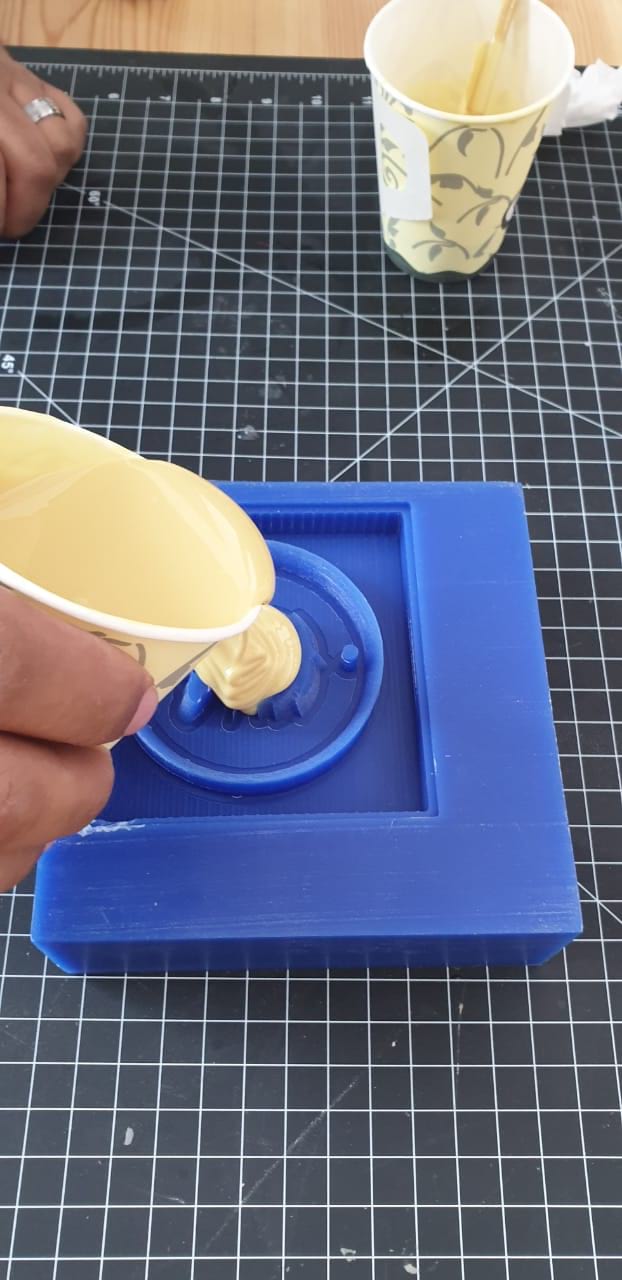
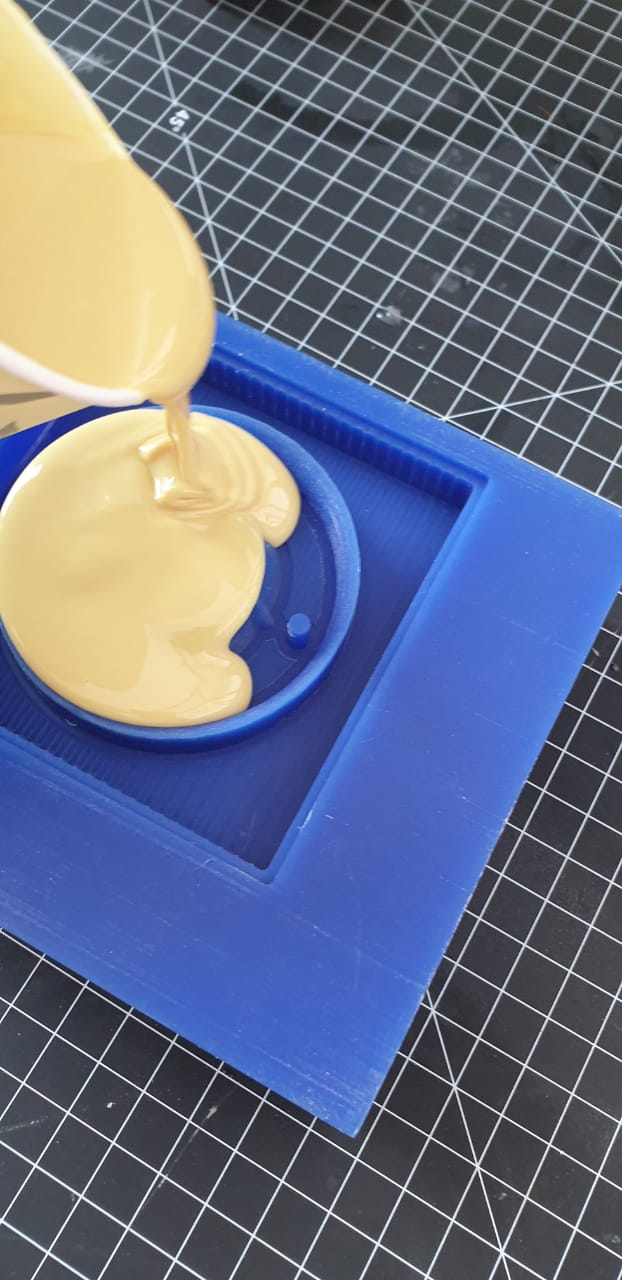
1 - the time required to mix the material and the time to dry (where it takes two and a half minutes to mix the material and 10 minutes to dry after pouring directly). Mix Ratio 1A:1B by volume.
2- I did add two equal amounts of A and B
3 -I did mixed A and B for two and a half minutes and I noticed that the two substances became heated to react with chemicals
4. Then I did use the flexible mold I made in the previous step to get the solid material that I mixed in this step
Note: I used release mold was to make it easier to unpack the mold after drying
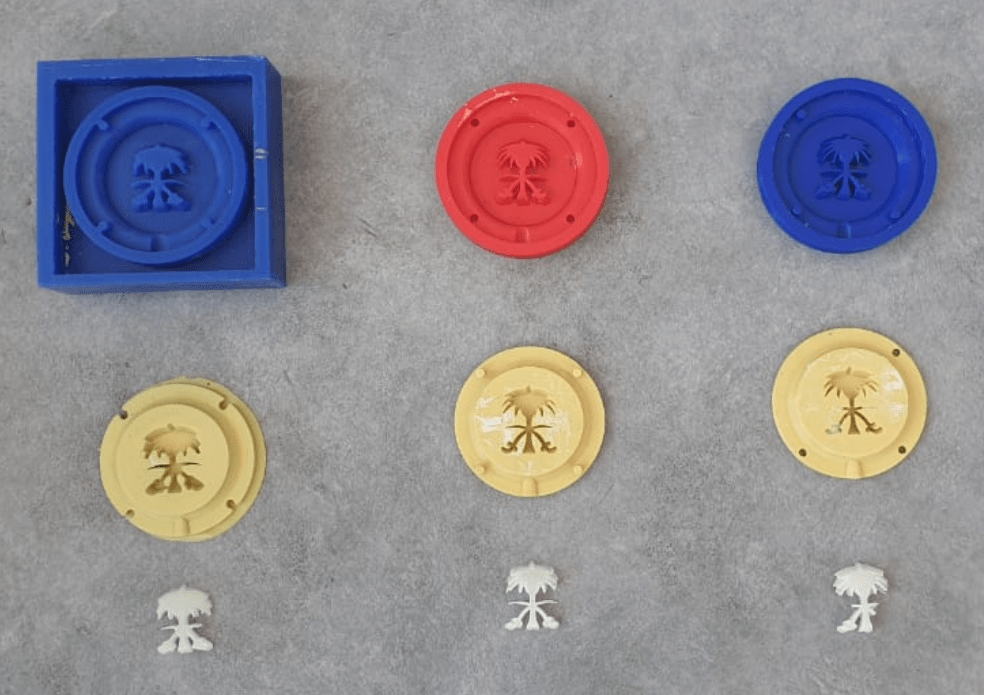
One of the molds I did cost it without the release mold material and was not easy to extract. After that, I did use DW-40 spray as a release mold material and the output was good
To download file