Principle and Practices - Project Management
Assignment: - Build a personal site describing you and your final project. - Plan and sketch a potential semester project and add it to your website. - Upload it to the class archive. Work through a git tutorial.
WORK
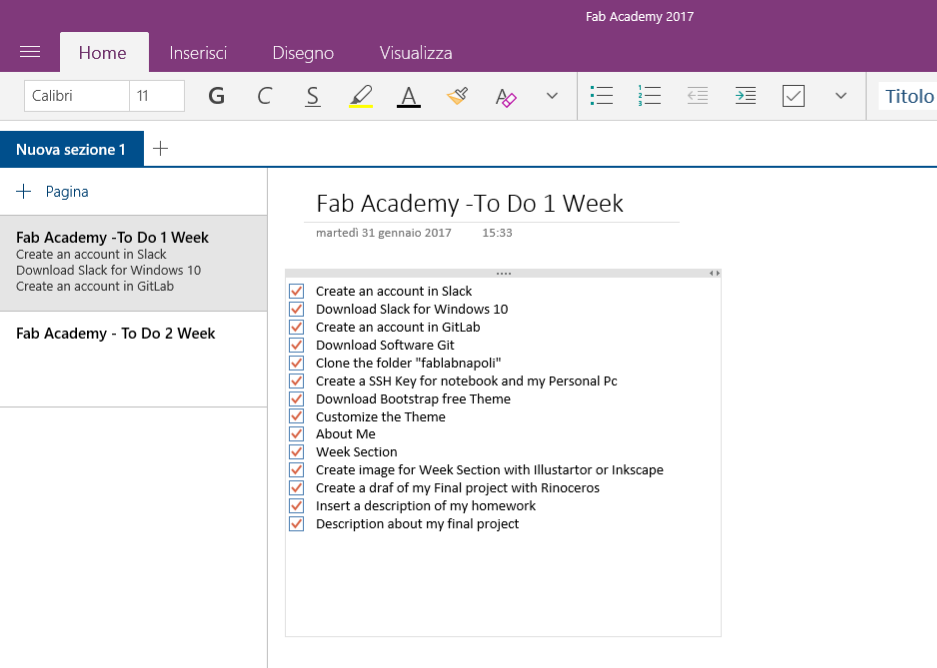
This is my list of things to do. I write it in One Note on Windows 10, so I have it synchronized in all my Pc and smartphone.
Once I have cloned the folder from Git Lab I can start customizing my website.
In the past i build different kind of website; I always use CMS like Wordpress, and I know how write a basic web site in html/css. This way I want learn to modify a Bootstrap Theme.
First I choose a free theme, on this Site where can found many free themes; after i download it on my local pc and I start to custumize it.
I found some information how to write a basic site in Html and Css on W3C Site. W3C (Worl Wide Consortium) is the orgazination who define all Web Standard.
There are other important informations and tutorial for build a web site, on this W3C School site.
The first thing is to choose a text editor that can help me to write in html. I choose ATOM for edit my bootsprap theme.
Atom is a simple Text editor for edit different kind of programming language. In my case, I use it for edit my Index page and my Bootstrap theme.
It is easy to use, because when you digit a command or a tag(if you're writing in html), there are some helps that facilitate the work.
In this example:
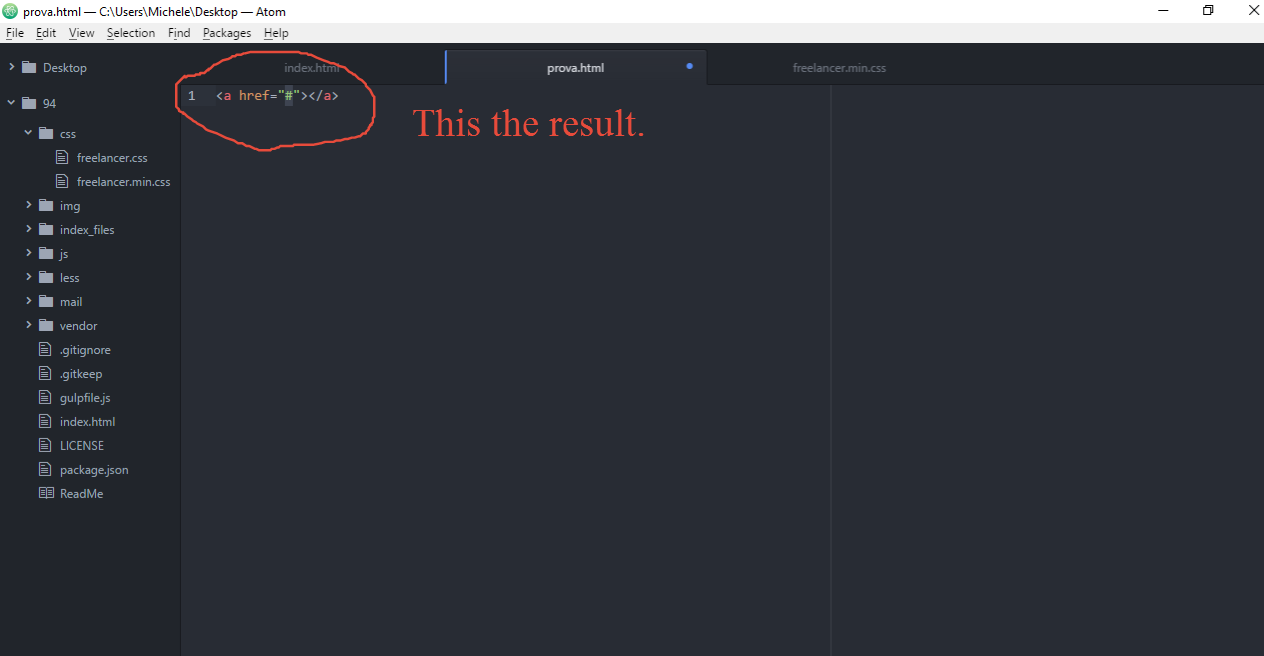
If i want to use the "a tag" Atom helps me to write the good code, and anticipates my actions
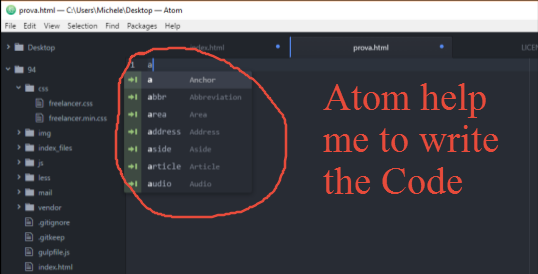
Atom help me writing the "a" tag
The theme from I start is this:
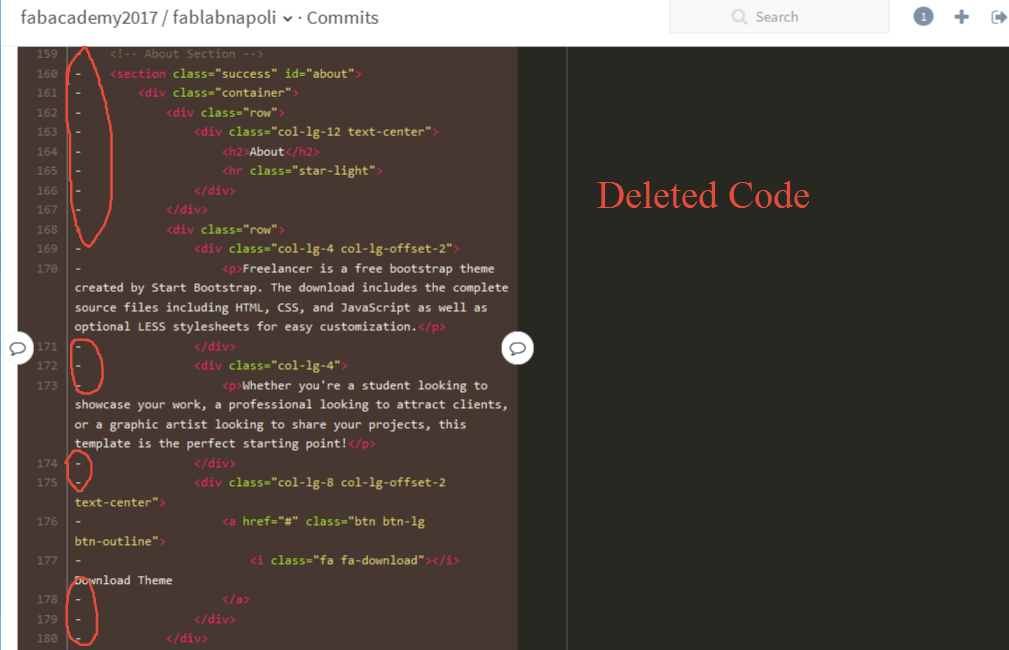
I start to delete all parts that I don't need:
after I add all parts I need: The About Section Section, The Week Section, The links about FabLab Napoli and all links for contact me.
After modify all sections, I start to custumize the css for change the background colour of each section, and customize icons and fonts' colours
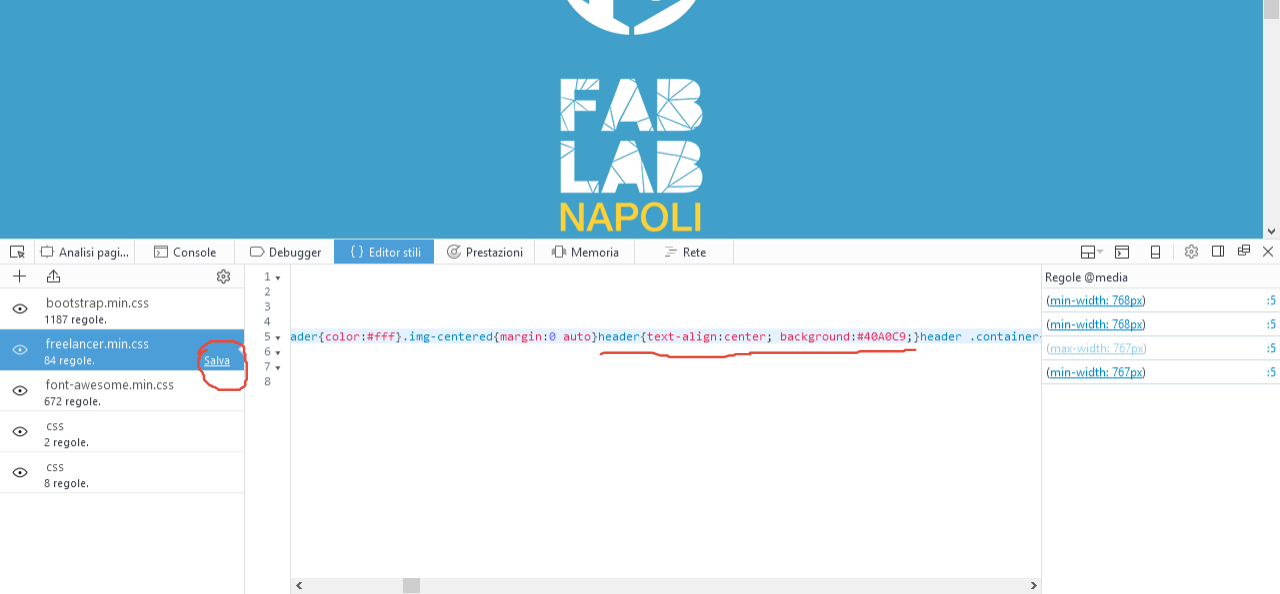
For modify the Css, i prefer to work directly from the browser, in my case I use Mozilla Firefox; but I can use also Google Chrome
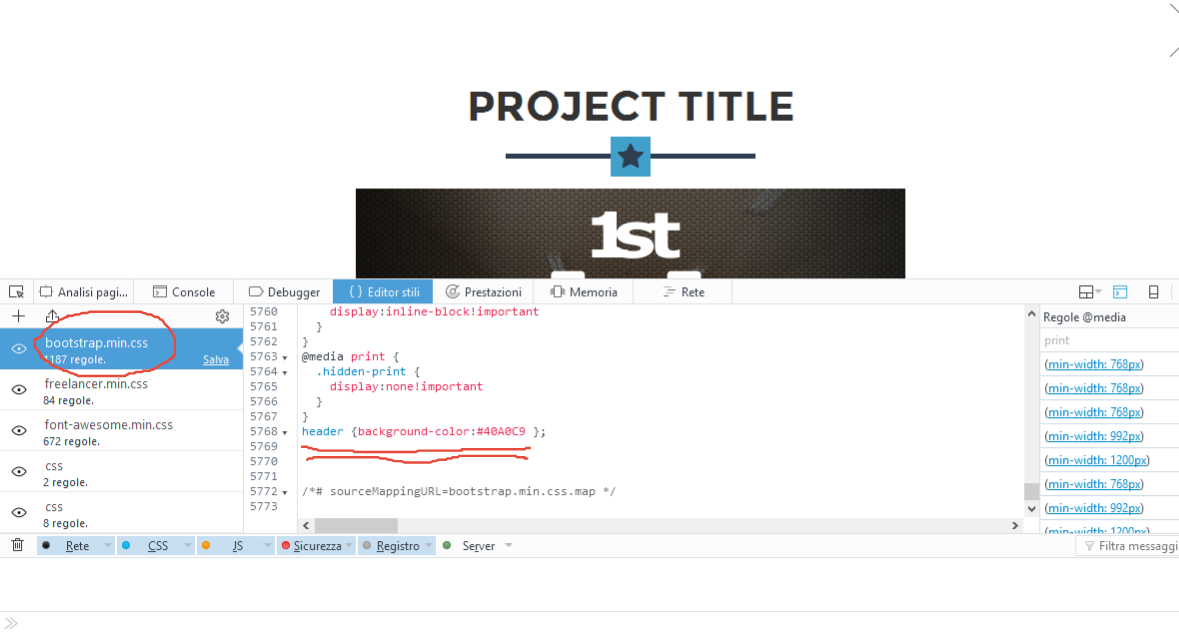
In the Css file I change the color of sections' background and the text hover color. I can save the my changes directly from the browser. like in this picture:
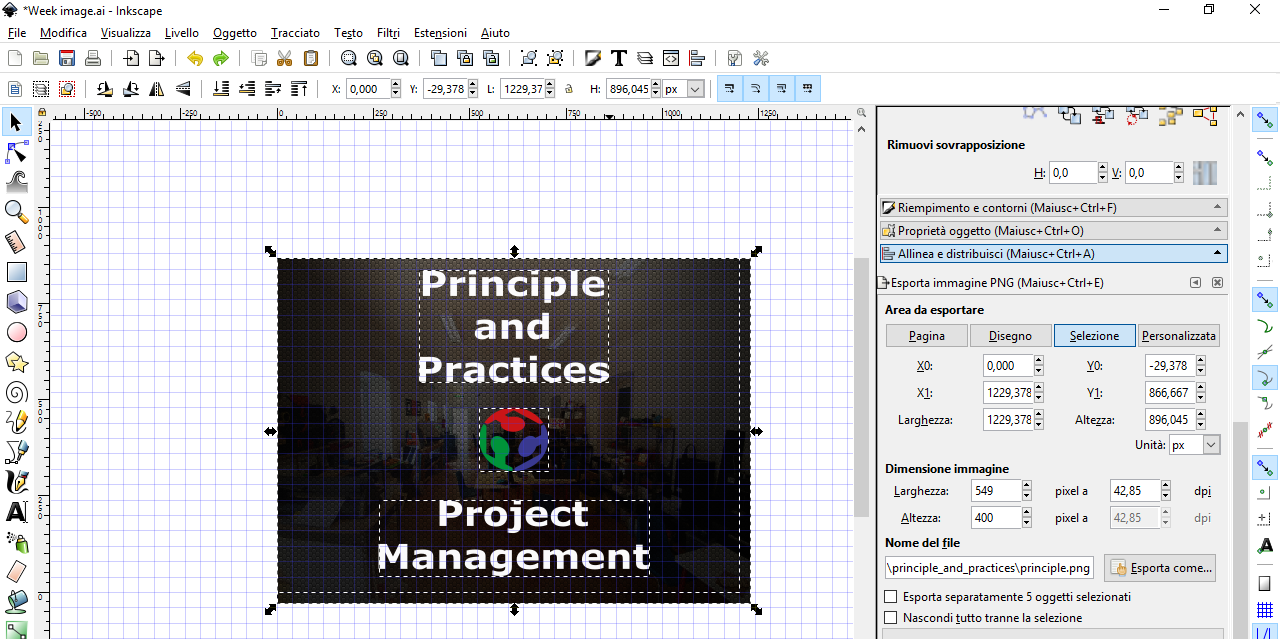
For the image I use Adobe Illustrator and Inkscape (Open Source Vector graphic software)(I save a copy of the file in this repository); and i download other
icons in .svg format by Flat Icon site.
This Bootstrap theme is responsive, it mean that can be visible from mobile device and have adaptive visualization.
Issue and how I solve It:
The first issue i have is about the background colour of the header sectionFor solve this issue, I insert the selector for the header also in the Bootstrap.css, like in this picture:
The second issue i have is about the images I upload on this website, and linked on this code. In local Pc, all works and is allright, I can see all my pictures; but when i push all modify on the remote repository, the server don't show the images, i've linked. I solve this issue, linking my image on external server, in this way I solved 2 issue: The first, Now all image are shown. The second, I don't lenghten the remote repository with many pictures. I linked picture in tis way:
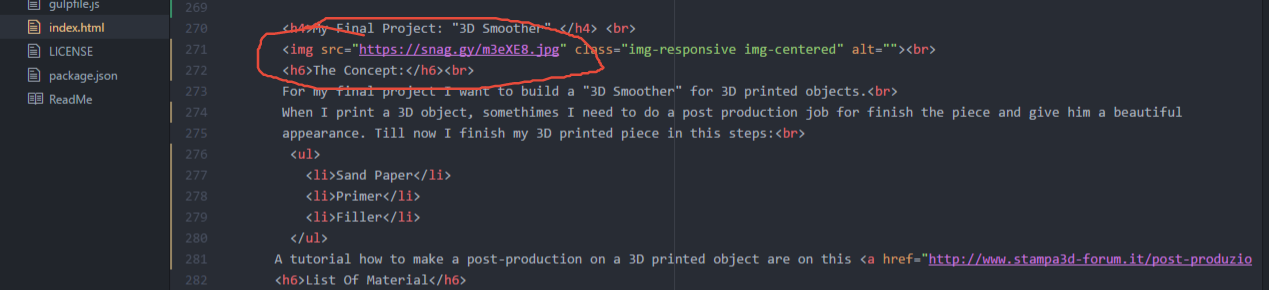
My First Final Project: "3D Smoother"
The Concept:
For my final project I want to build a "3D Smoother" for 3D printed objects.
When I print a 3D object, somethimes I need to do a post production job for finish the piece and give him a beautiful appearance. Till now I finish my 3D printed piece in this steps:
- Sand Paper
- Primer
- Filler
List Of Material
- Glass and alluminium window for the upper part
- Plywood for the box
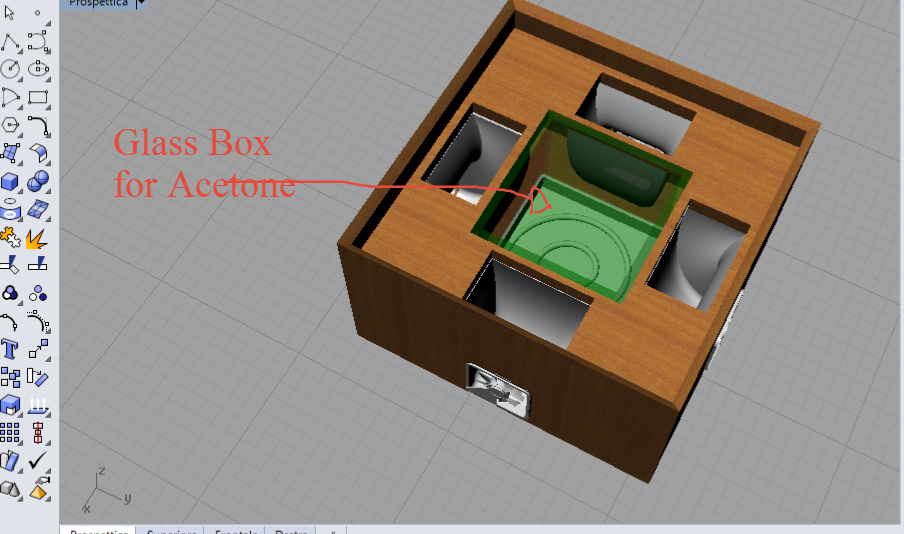
- A glass box fot the Acetone
- 4 Fan
- Resistor
- Acetone
- Arduino 1
- Temperature Sensor
- Acetone
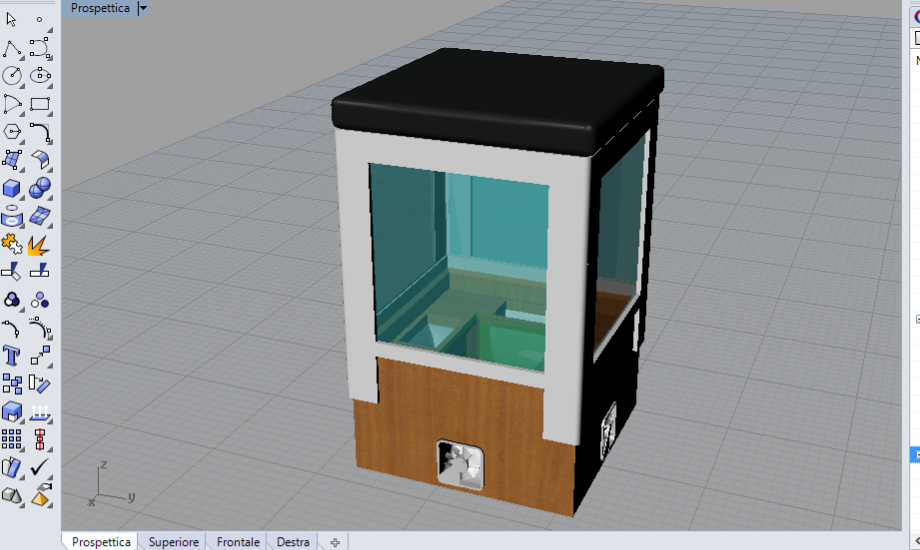
How it works:
I think to smooth a 3D object using acetone Vapor, to blow it with che fan, on the 3d printed object. I think to accelerate this process with a resistor under the glass that contain the acetone.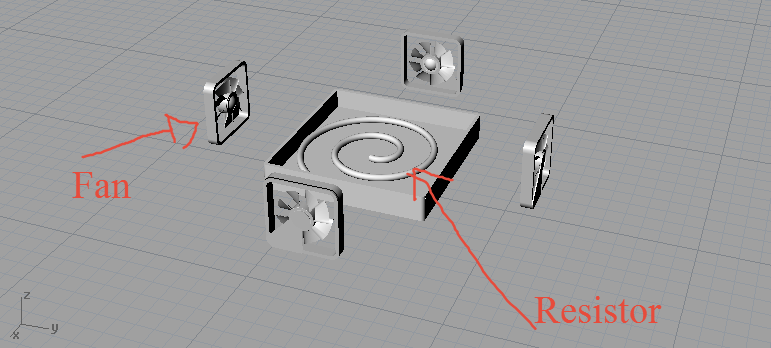
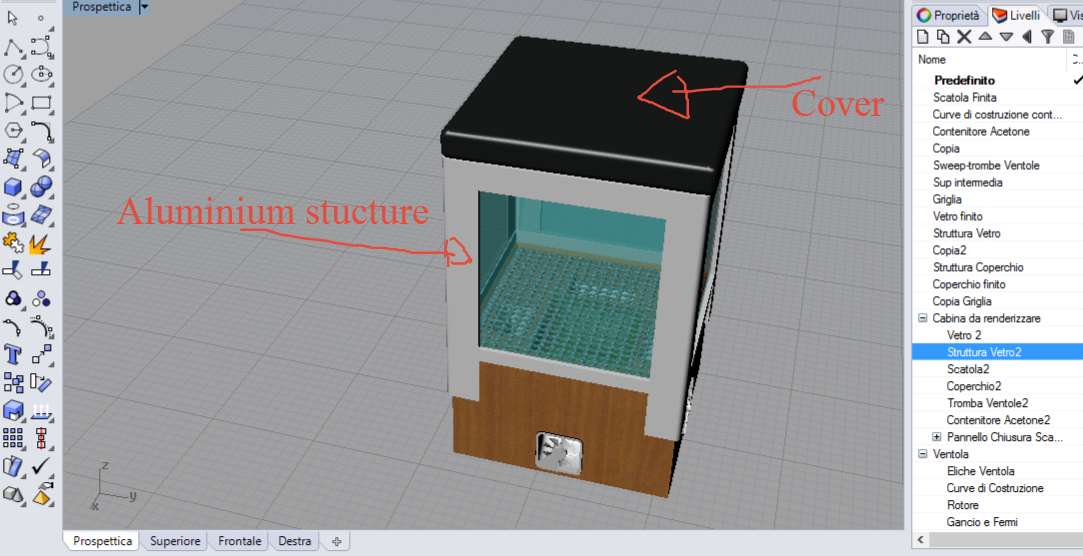
To canalize the air in the box and use the acetone capor, I use this conveyor:
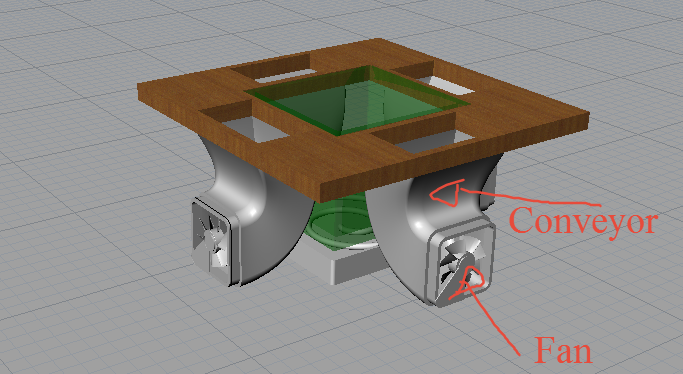
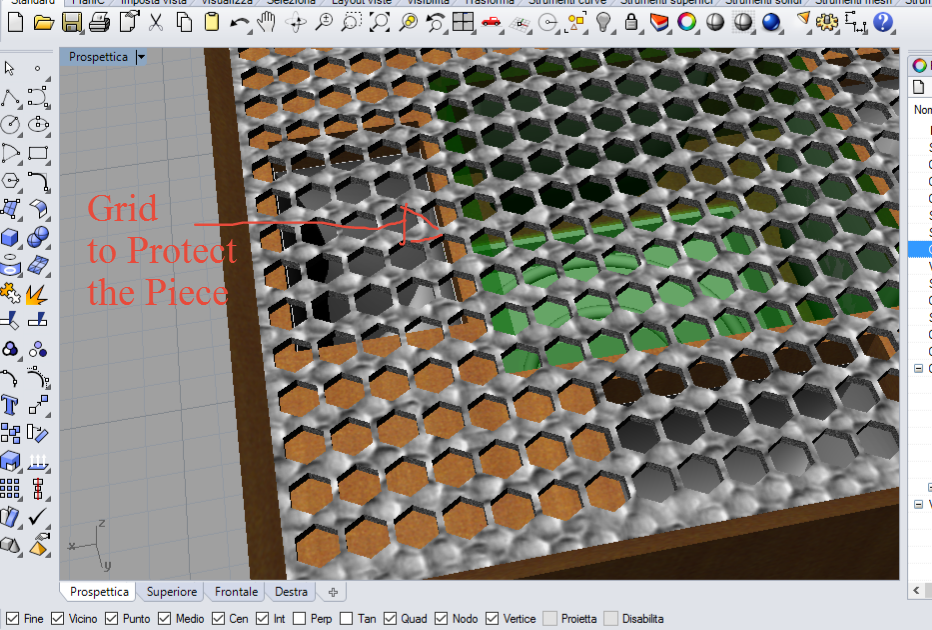
And there's a grid to protect the piece:
A glass stucture, because Acetone can damage othe materials:
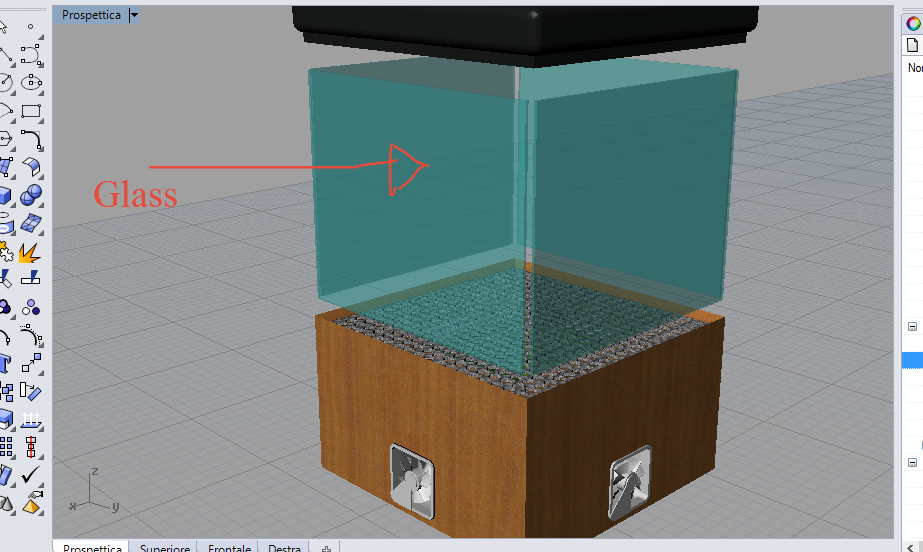
And at the end there's an Alluminium structure, that hold the glass
During our first local review, when i speak with our remote Guru: Fiore Basile, he tells me that this project is too dangerous because I want to use the Acetone. I think that it's true, and for the moment I decide to put aside this project.
My second and definitive "Final Project": "The FabTrolley"
This is my really final project: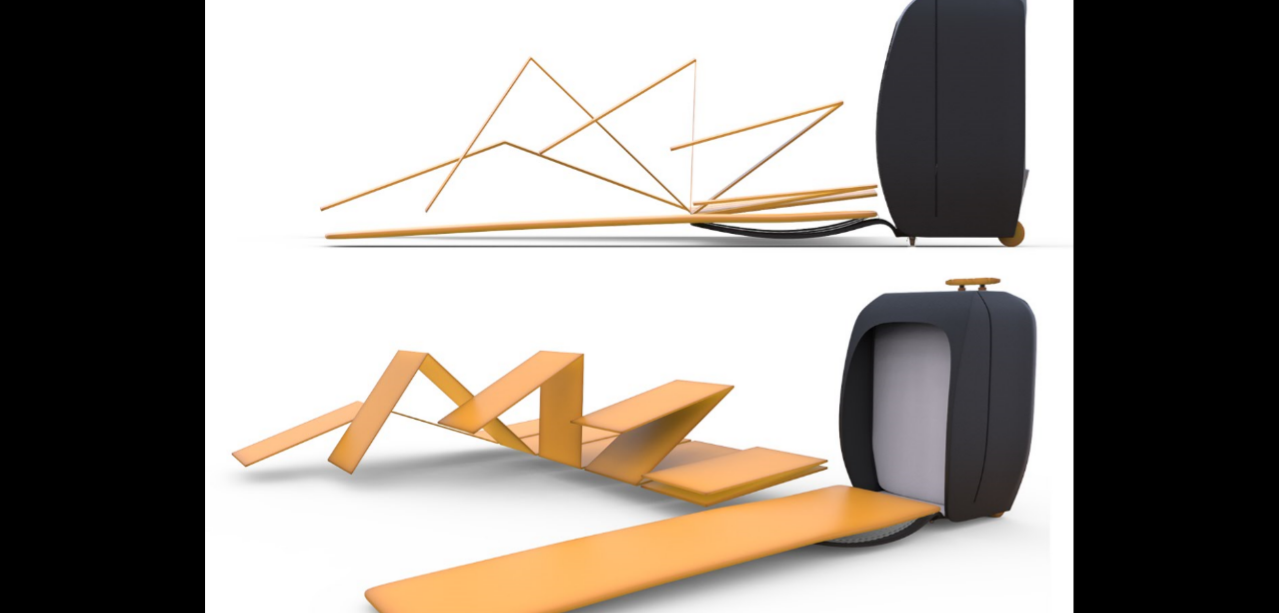
- Back to: Home
- Date Jen 2019
- Topic: Principle and Practices