Molding and Casting
Assignment
Design a 3D mold, machine it, and use it to cast parts
Work
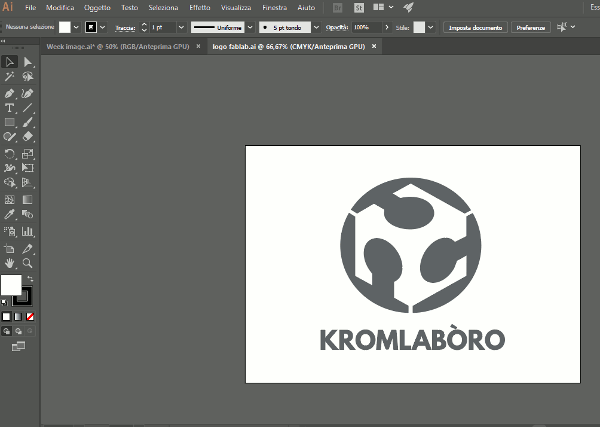
For this assignment I want to create a mold of the FabLab Logo, and for do this The first Thing I need is the FabLab Logo. I Import it in Adobe Illustrator, I modify the colour for practical issue in greyscale and I export it in svg for Fusion 360, and in Ai file for Rhinoceros.
 I create the mold with Rhinoceros and Fusion 360
 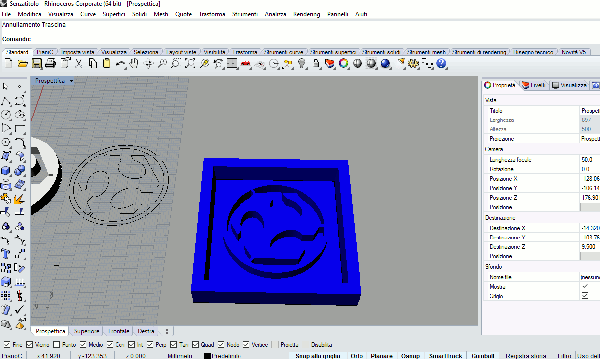 Here the File on SketchFabb:
 Here The file created with Fusion 360:
FabLabLogo
Here The Files Archive with Logo in Ai end svg. Files.rar
After Prepare the file I export it with an elevated relosution, because every imperfection can be visible.
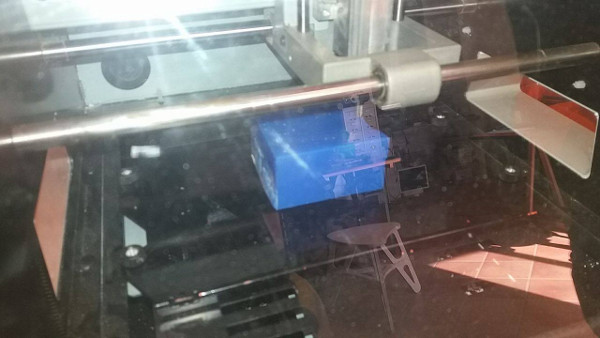
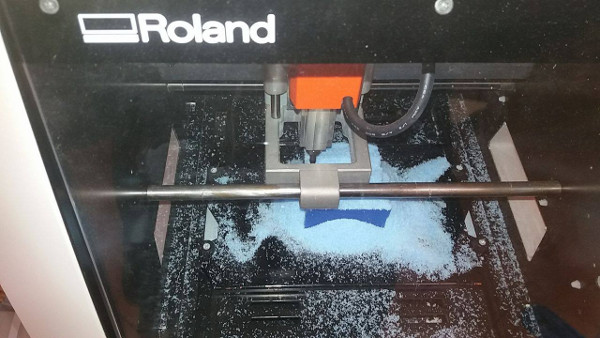
Machine Setting(Roland SRM20)
For this assignment I want to use the Roland SRM 20, because in the other assignment I use the MDX40, and I want to test every machine I can. In my design I create the containment walls where the silicone rubber will be cast. First I foung the center of my piece, and I set it as x-y origin, after i set manually the z axis, and i start to put my parameters in Modela Player 4 I my case I use a 5mm flat endmill, and I set the parameter you see in the following pictures:
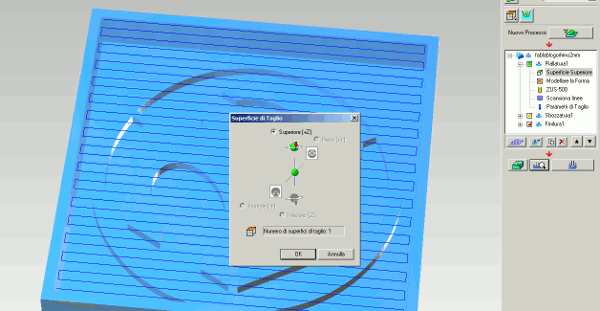
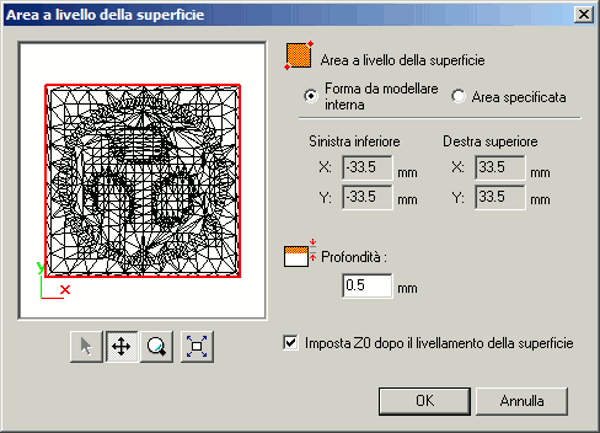
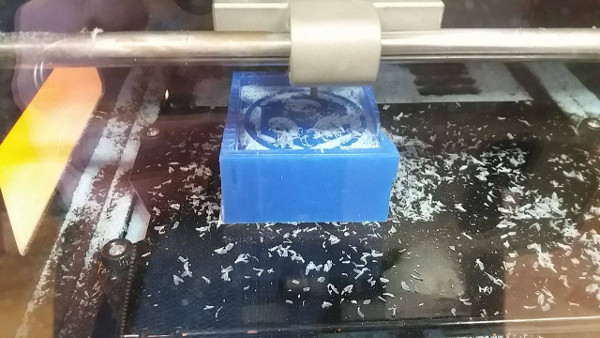
Before start I planning the top surface of my piece, so I have it at the same level of the bottom side There's a function on Modela Player 4 that able to plan a piece before mill it
Here I set the interested area
Here I set the 5mm flat endmill
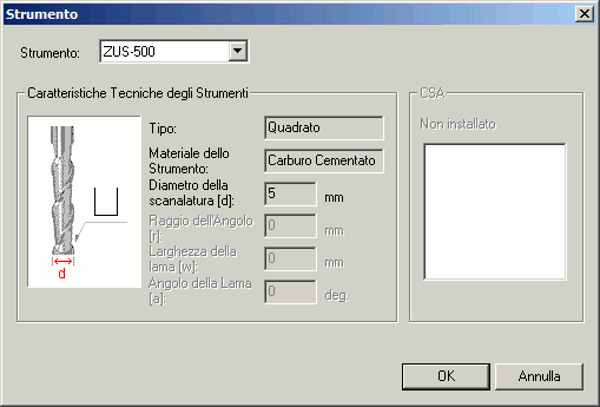
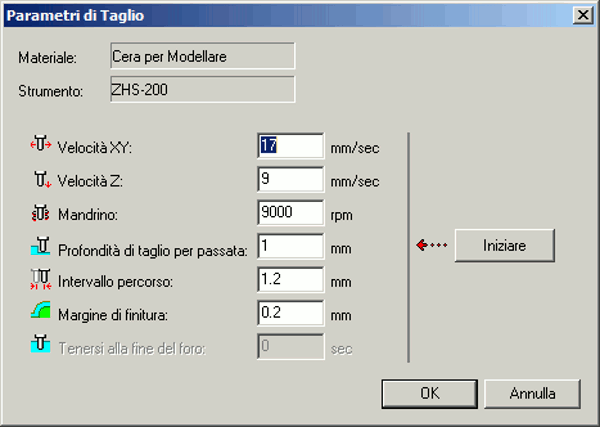
For The Plan Process I use the 5mm flat endmill with this Parameters
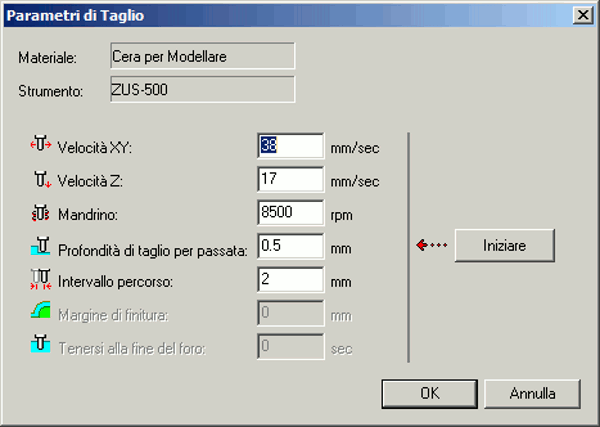
For the roughing and finishing process, I use the 2mm flatendmill and set this parameters:
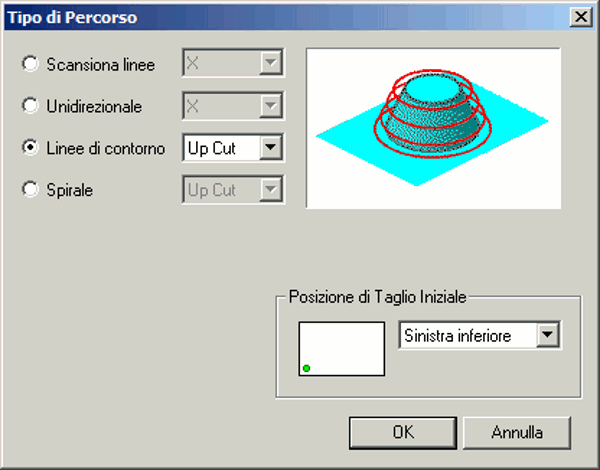
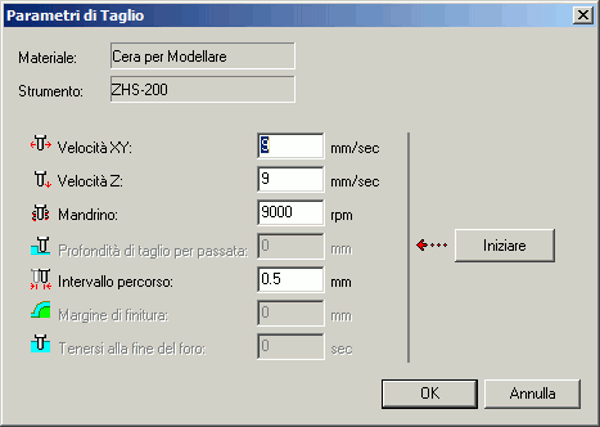
For the finishing and contour process I set This parameters
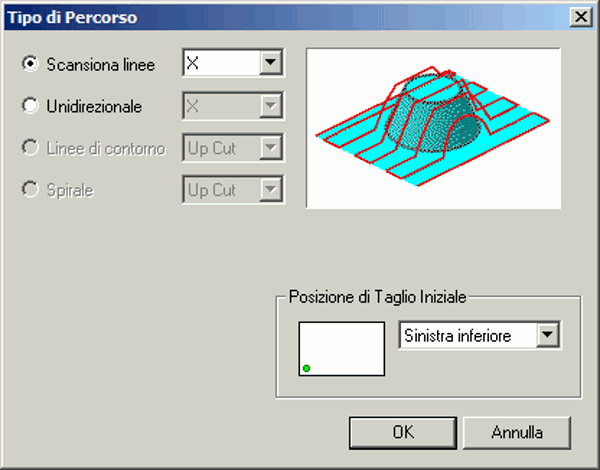
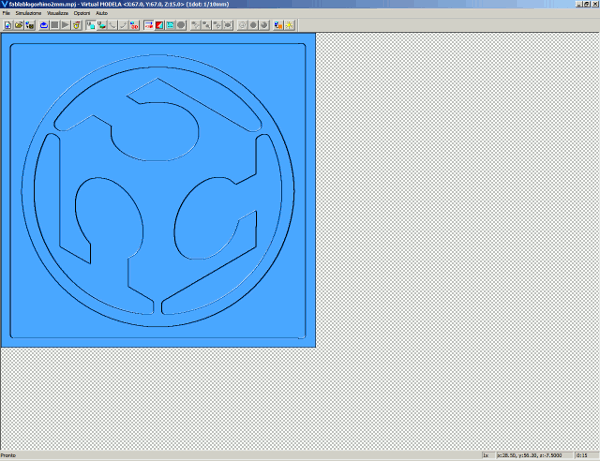
This is the preview of the final process:
Work Process:
Molding and Casting
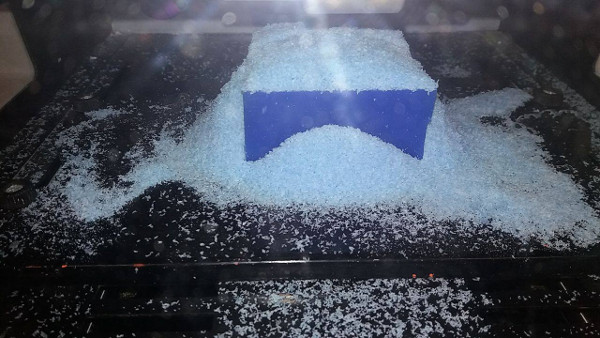
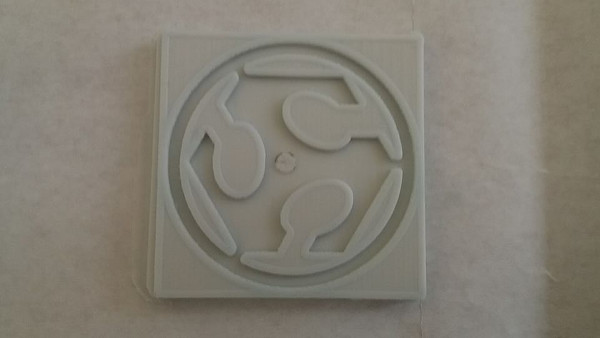
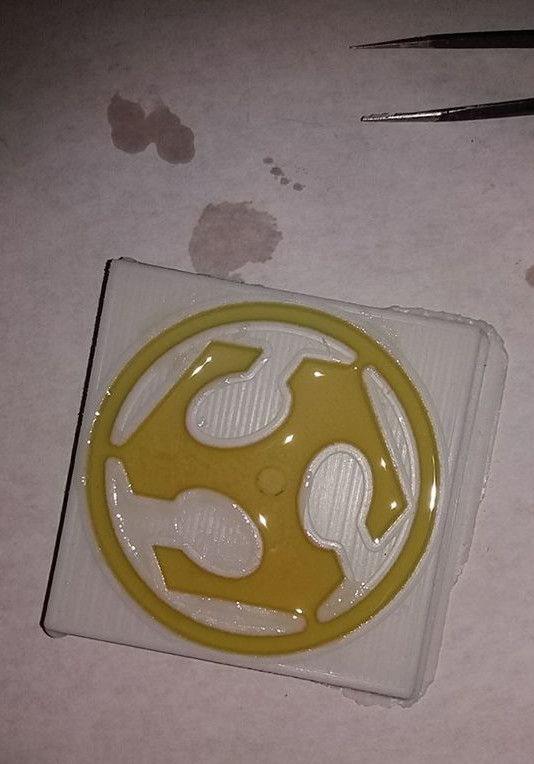
This Is the final result of the milling piece: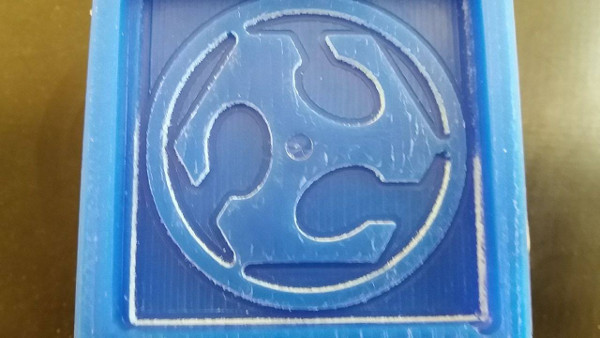
Now I prepare the silicon rubber for my mold. For do this I use the MM810 Rubber,It's a 2 part rubber condensation with a catalys. Here we can found the datasheet of this Rubber. Files.rar
This kind of silicone Rubber can mix with this proportion:
Component A (Silicone Rubber): 95% of the total weight
Component B (Catalyst) : 5% of the total weight
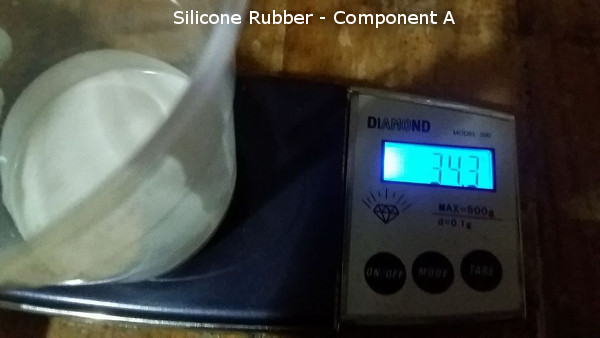
In my case first I filled the mold with a water, so I know how silicone rubber I need (The volume occupied). After this operation I do a sign on my container, in this way I put the same volume of the wather in my container, and after I I weighed it for prepare the quantity I need. the weight of the rubber is 34,3 g.
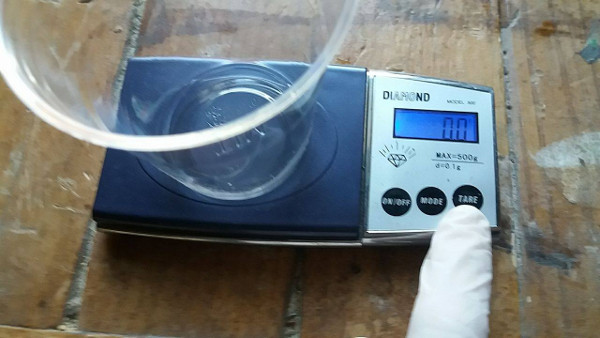
With my weight scale I can set the Tare, It is useful because in this way It show only the weight of the material, not the container.
Now I need to know the weight of the catalyst, that can be mix in the quantity of 5% of the total weight. I set the total weigth I need to 36g because is the amount of excess material I really need.
This is the catalyst quanity I need:

The proportion is:
- Total Silicone Rubber I need: 36g
- Component A (Silicone Rubber): 95% of the weight - In my case is 34,3g
- Component B (Catalyst) : 5% of the weight - In my case is 1.8g
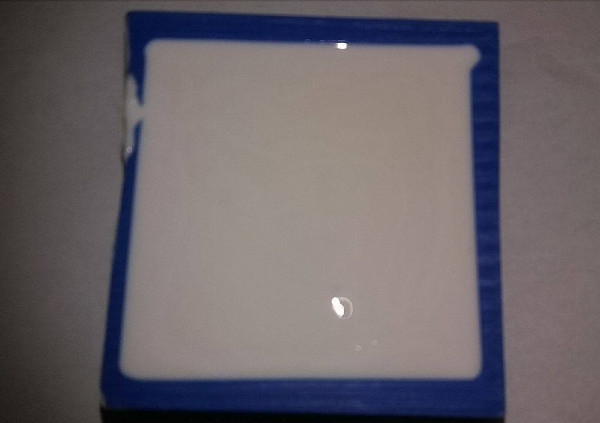
In this Picture you can see the material I prepare Is the good quantity:
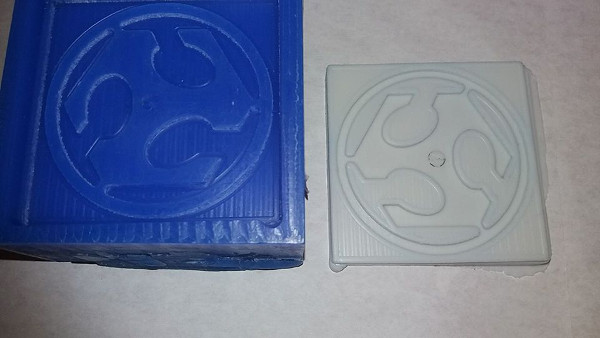
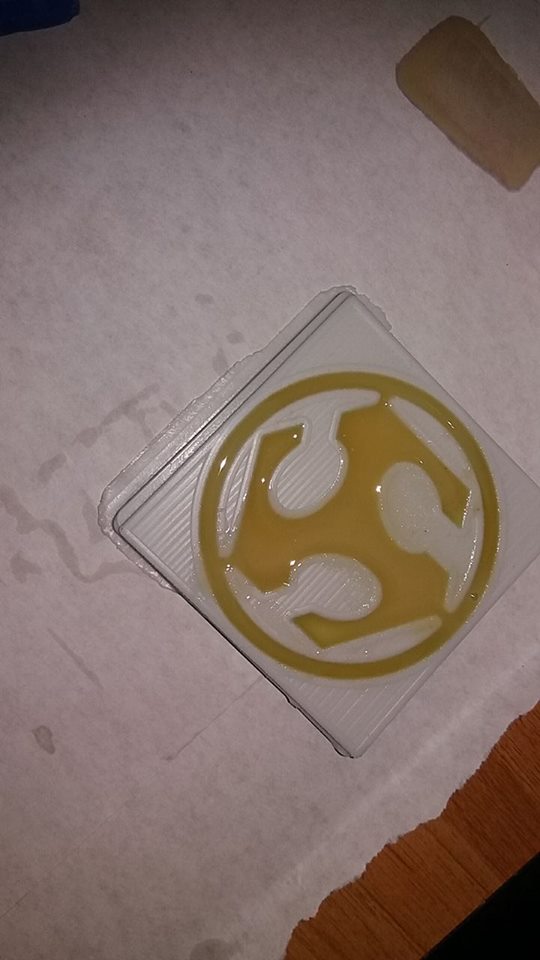
This is the result of the molding:
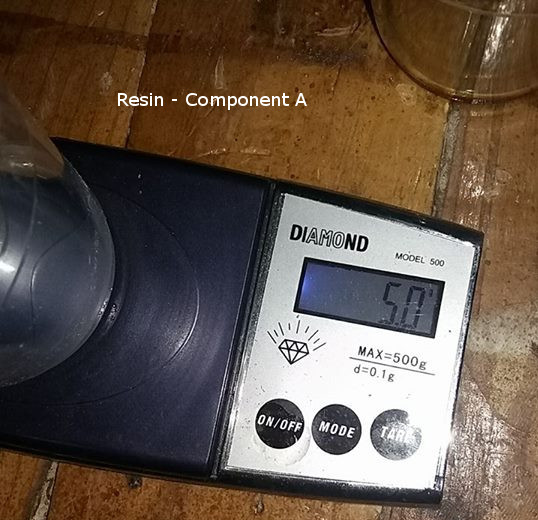
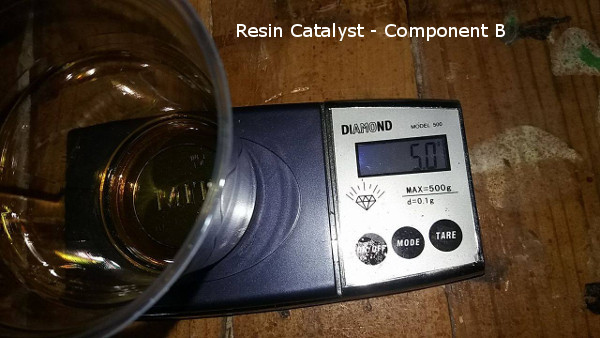
Now I Prepare the Polyurethane Resin for my final piece.
The datadheet of this Resin can be found Here
This Resis can be Mix with a quantity of 50% for each component (The resin and the Catalyst). So I use other contenitor for weight and mix them. In this case I weight only 5g for each component, because the piece is small.
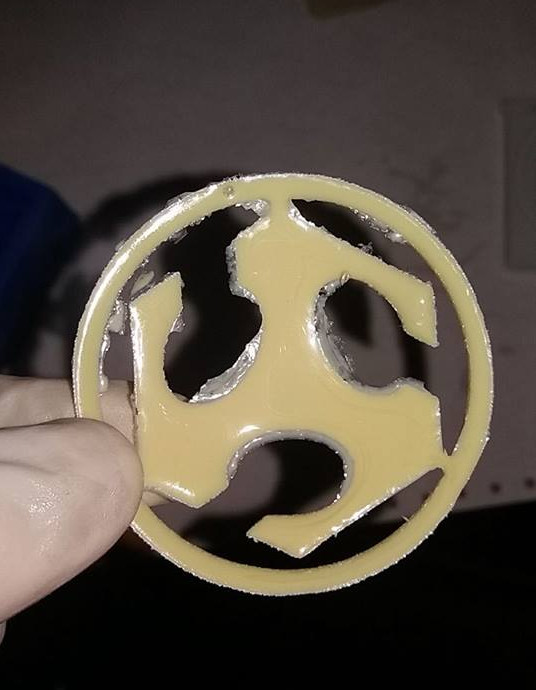
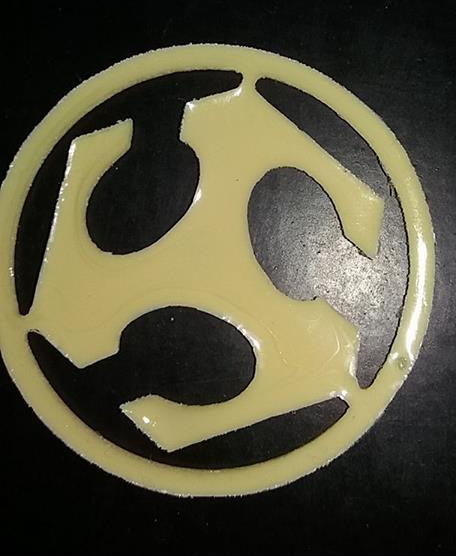
This is the result of the Cast:

After few minutes (The potlife of this Material is 120-130 sec.) the result is this:
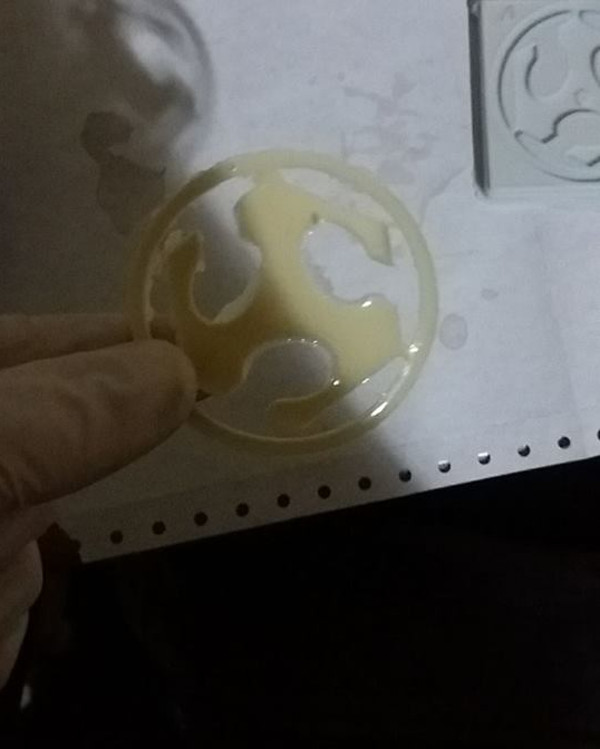
In the previous picture you can see some imperfection in the contour, this happens because wen I cast the resin, a bit of material goes out the mold. This is not a problem, because I clean it with the cutter. See the following picture, and final result:
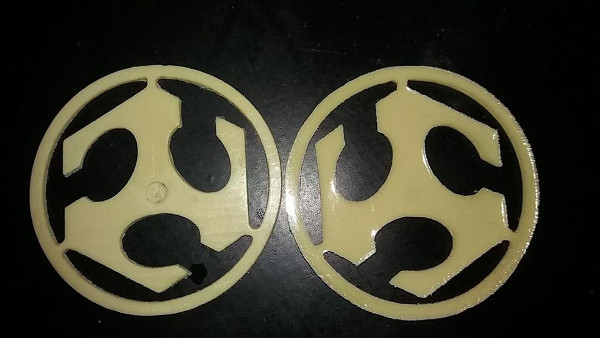
After the first cast I prepare other resin and I do other piece.


Issue and Considerations
In this assignment the first problem I have is with the finish and contour process, because when I set the tool distance, i made an error:
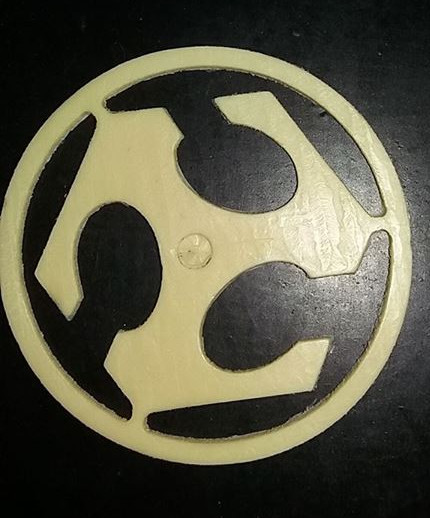
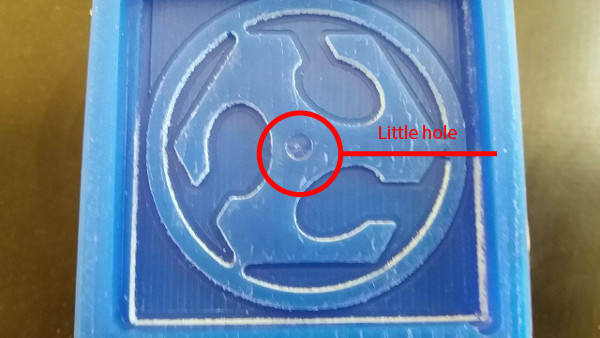
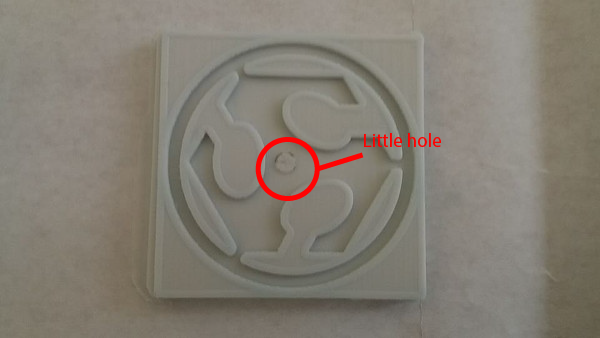
I set the distance of 1.2mm with a 2mm flatendmill, whe di minimum distance i must set is the 50% of the total width of the endmill. For this reason the first time the piece i have in striped. I understand this issue after i leave my piece by the plate. I solve this issue with a new finiture. and I must set the piece on the plate and I must fount again the centre of the piece. When I set the Z axis manually after found the centre of the piece, and set the x-y axis, I made another error: I do a little hole on the piece when I lower down the Z axis. You can see this on the picture:
obiovsly the same sign is on the silicon rubber:
Extra and Test
In the night I do some test with a 3D printed parts, with a skull, I download it from Thingiverse, and I import this file in Rhinoceros, for create an external container, and use it as mold. I print this object with my prusa i3, and I use Slic3r for prepare the file:

Setting for Print the Skull: Material=PLA, ExtTemp = 190°C, Bed=40°C, infill 20% , Retraction=5mm(Bowden extr), Speed:55mm/s , Flow:100% The silicone Rubber and the Resin, are the same used for the fablablogo.
Download ZONE
- FabLabLogo.3dm
- ablablogorhino.stl
- fablab.ai
- fablab.svg
- skull-mold.3dm
- skullmold.stl
- KromLabòro FabLab Keyring
- Datasheet
Home