Controlled laser cutting
Group assignment
Stones
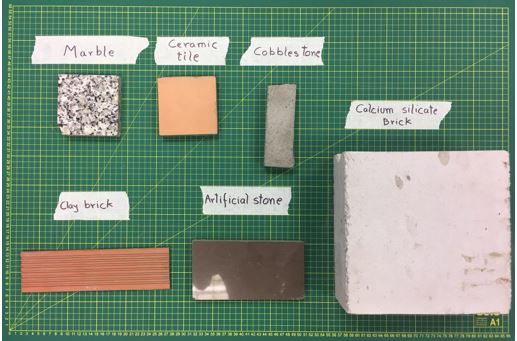
In the group work, we decided to test the performance of the laser cutter to make engravings on various types of stones that we got in the university, in this way we tested the parameters and how well it registers in this material. The picture shows all the stones we use.
Test 1
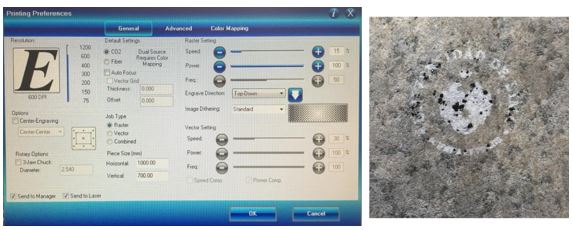
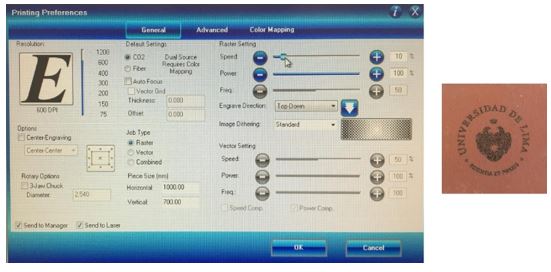
The cobblestone is used as the first test material, it is rasterized with a speed of 15% and a power of 100%. Being a material with a hardness superior to brick we can see that a clean finish is not achieved. The parameters are the following.

Test 2
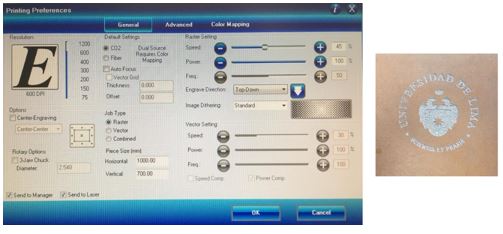
The second material to be rasterized was an artificial stone, in the image we can see that there was no need to increase speed or power. The parameters are the following:


Test 3
For our third test, in the claybrick, speed was taken into consideration since having granulated components, they are detached from the material. In this way, we realized the color of the engraving was controlled by increasing and decreasing the speed of the machine. We wanted to have an intense engraving so we used a speed of 10%. The parameters are the following:

Test 4
The ceramic has a varnished surface, which is why we increase the speed of rasterized so as not to burn the surface, we wanted to preserve the natural color of the material. The parameters are the following

Test 5
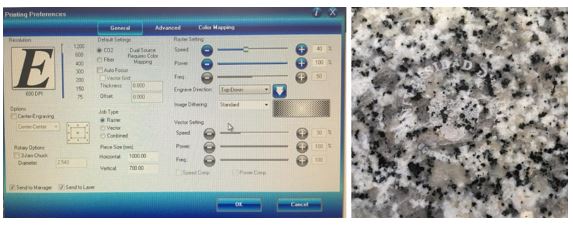
Finally, we chose a material of great hardness, however much it decreased or increased the speed, a good finish was not achieved. In this way, it is concluded that not everything depends on the parameters of the machine, but also that it is suggested to identify the properties of the material to be used. The parameters are the following

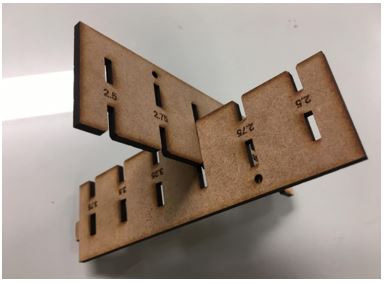
Tolerances
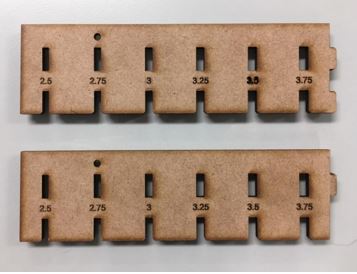
The next test was the creation of "combs" and "discs" to verify the cut tolerance and the adjustment between them. It will observe measurements from 2.5mm to 3.75. This test has allowed us to generate perfect joints between materials such as MDF, cardboard and plywood.
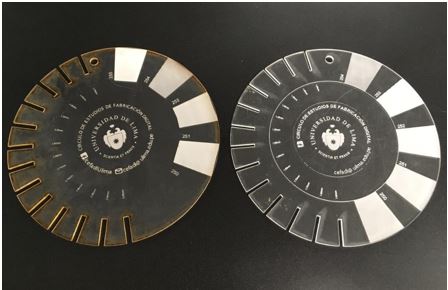
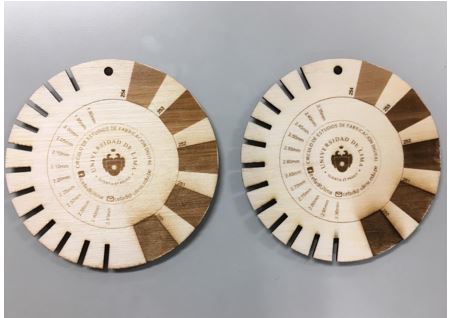
The discs were made by a group of students called CEFADI (https://www.facebook.com/cefadiUlima/) and the result is shown in the image. The cutting configuration was applied with the vector option and the rasterization option with the raster option. In the process of the replication we realized that it is necessary to first make the raster and then vector so that the cut material does not move.
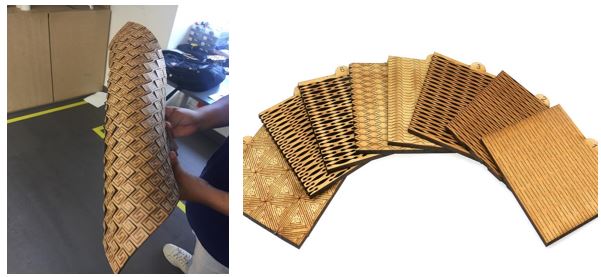
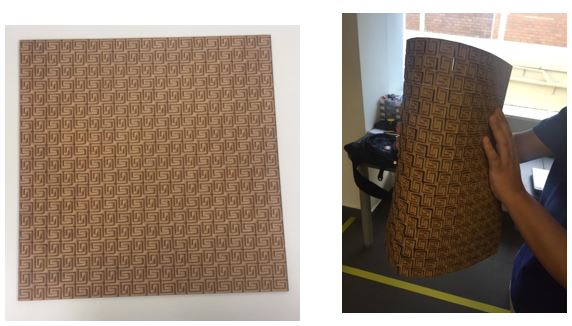
As a final work, kerf patterns were downloaded, and we tested with one that had a more interesting geometry. It was cut and the result is that the closest, thin and thin cuts give a softer curve and the small and wide cuts generate a curve with segments that have more pronounced design.