Mechanical Design
Group assignment
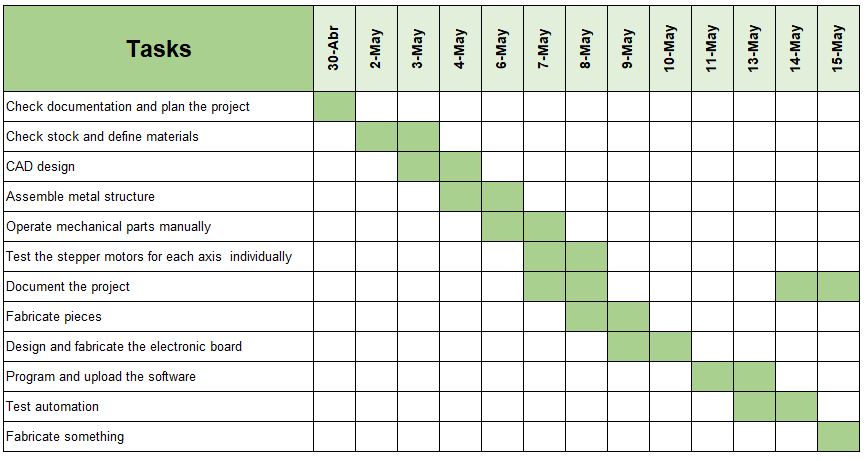
For this group assignment, our team made up of Edwin, Italo and Danny designed a CNC machine, manufactured its parts and assembled them, in addition to trying some movements. On Tuesday 30th, we are dedicated to planning the project schedule, establishing specific tasks for each day of the week.
Planning
Gantt diagram
After the planning, we proceeded to select the transmission method that the CNC machine would use, after reviewing documentation and availability of parts, we chose gears and toothed belts, in addition, it was decided that the material of the structures will be aluminum, specifically profiles v slot, which are perfect to use together with bearings and slot, which would allow a smooth and frictionless movement on the X, Y and Z axes. The movement will be possible together, thanks to the stepper motors we have decided use, 2 for the X axis, 1 for the Y axis and one for the Z axis. Once the materials to be used have been decided, with a correct measurement, we proceeded to design a 3D model in CAD to obtain the parts that we will manufacture in the week.
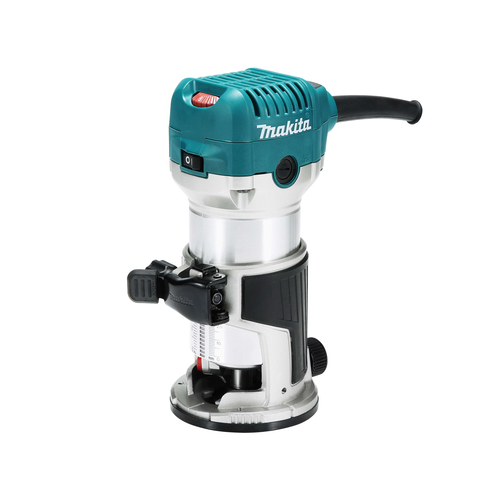
For the actuator in the z axis the laboratory bought a router of the makita brand, but it weighs a lot and it is possible that the stepper motor can not raise it, besides due to the low height that the z axis has, it is possible that it collides with the sacrificial bed, so we are analyzing whether it is convenient to place a laser cutter lens as an actuator
CAD design
As for CAD design, each member contributed with the design of some piece, using solidworks and inventor and assembled them in rhinoceros

.
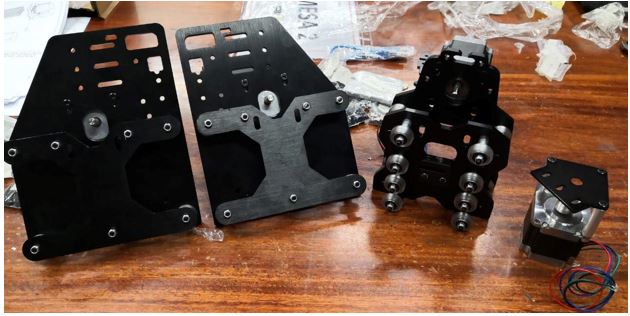
Assembly
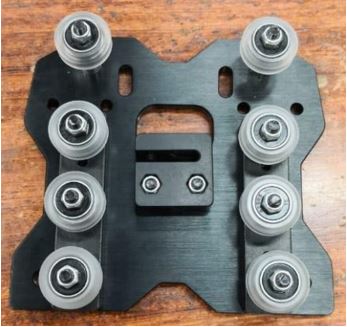
Once the pieces were obtained, the metallic structures of the CNC machine were assembled.
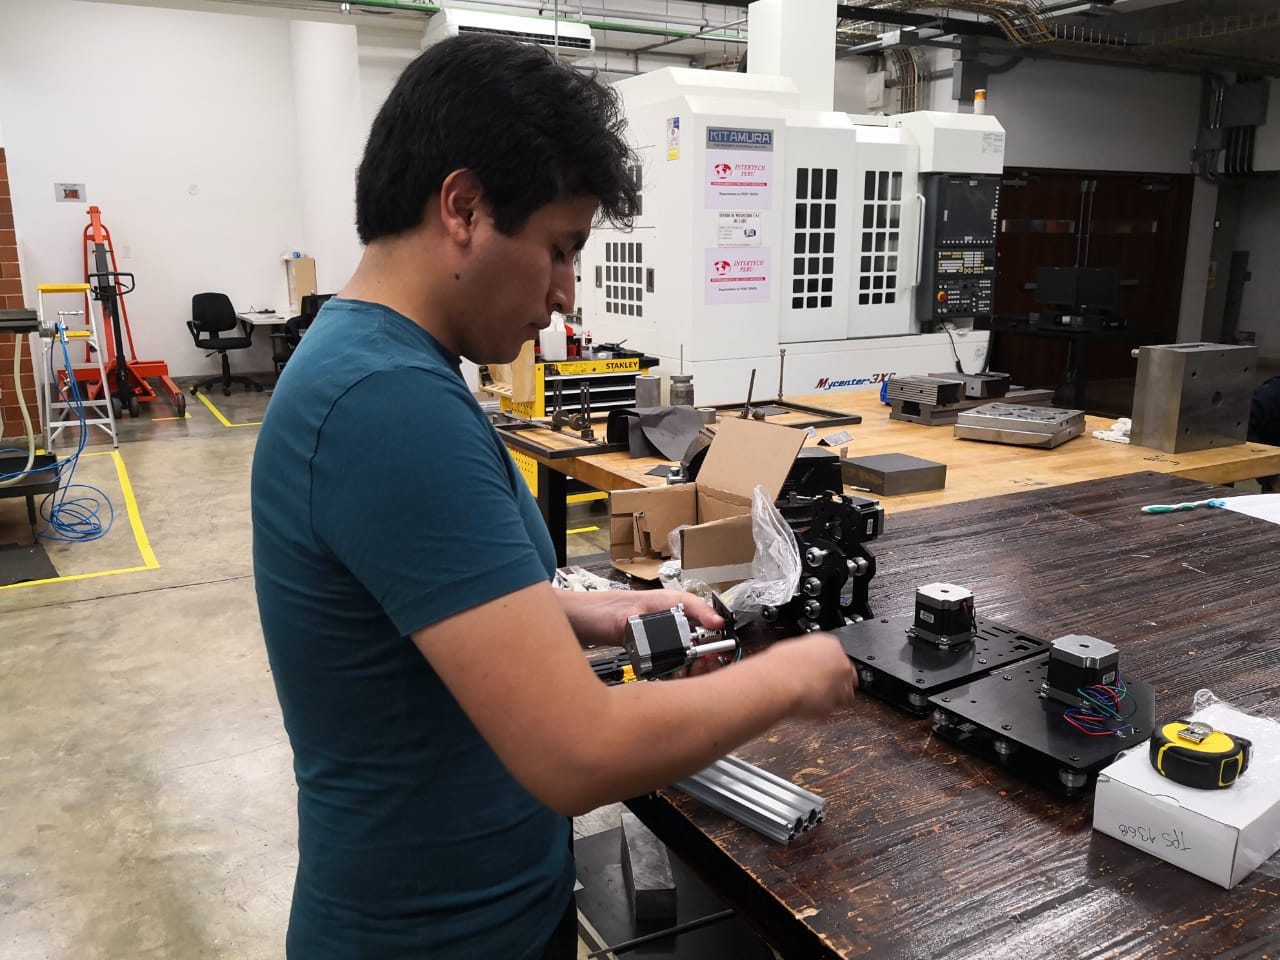
As you can see, the rotary wheel were assembled correctly, we will test the movement with aluminum profiles v slot then.
.
In the following image we can see the mobile supports where the stepper motors will be placed

Axis X, Y and Z assembled
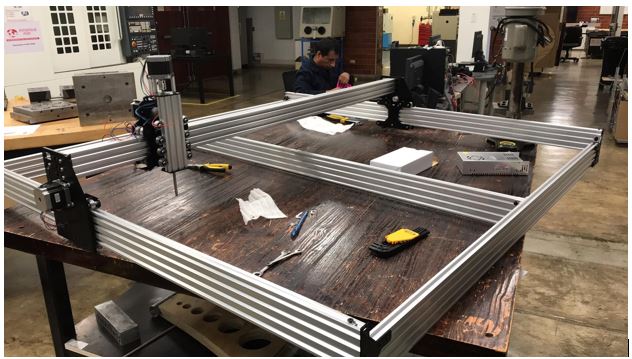
And the sacrificial bed
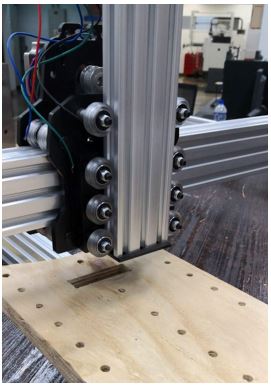
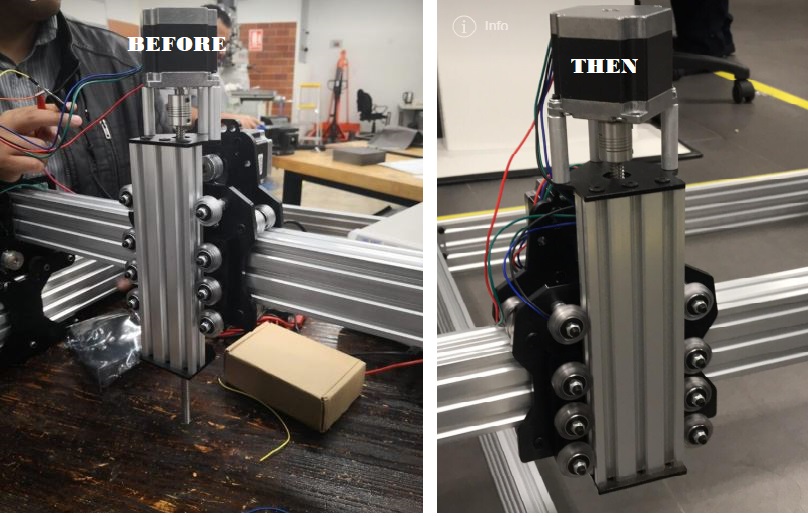
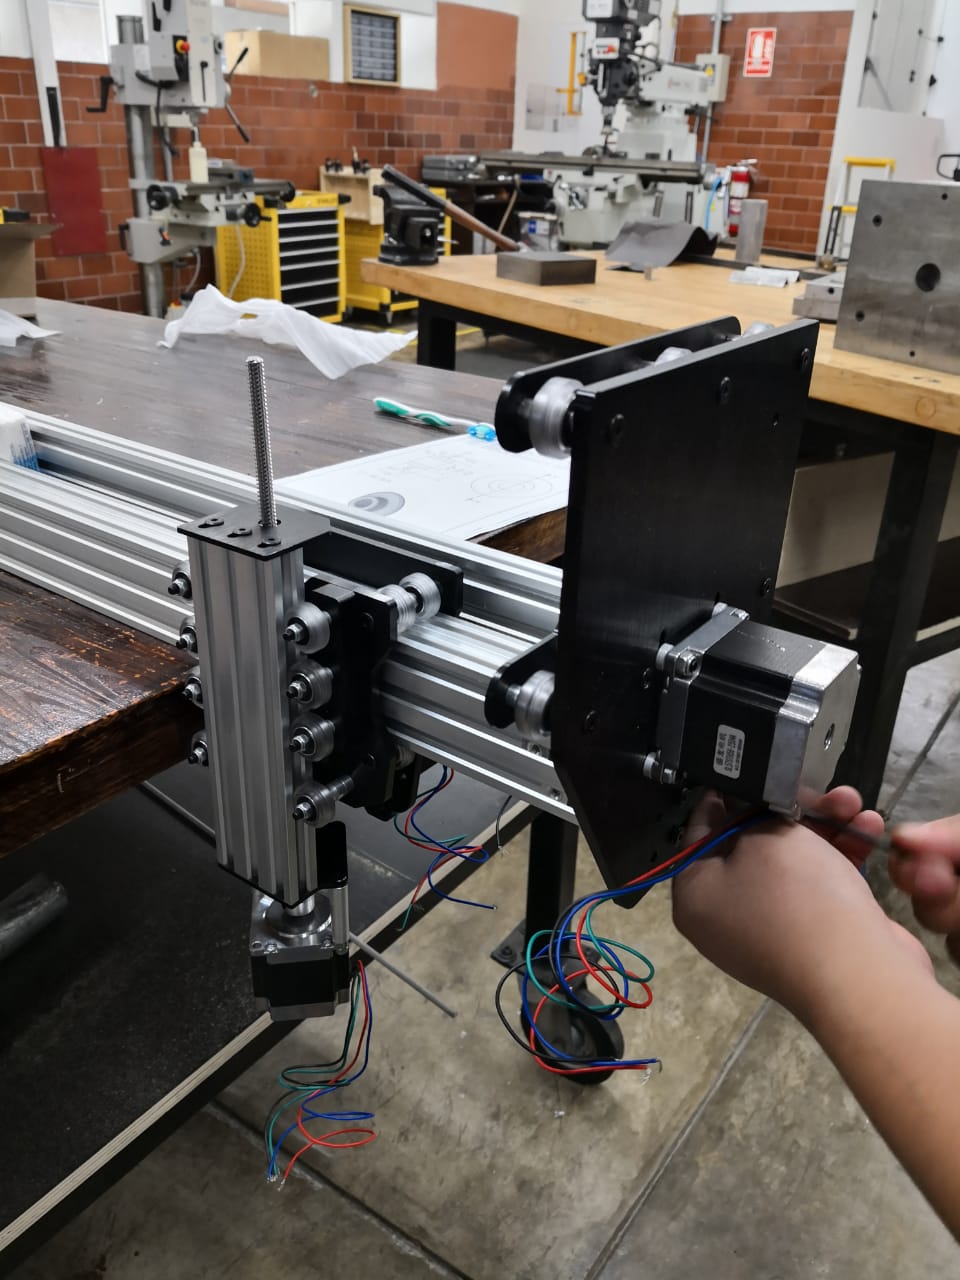
Already assembled mostly, we proceeded to manually operate the axles, to see the friction and if any lubricant will be needed.
Subsequently, we tested the movement of the axes with the stepper motors were carried out, using a driver and arduino. See the result
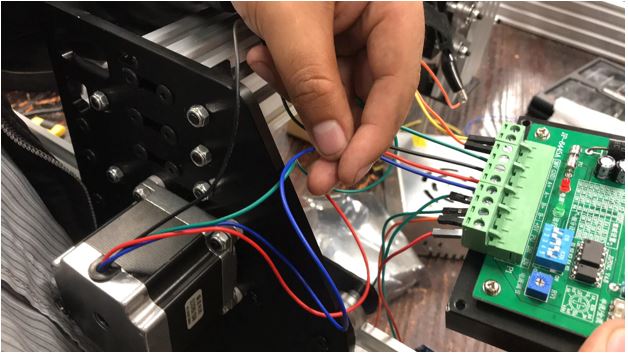
Problems
As we can see in the video, the stepper motor works well in conjunction with the z axis, but the endless screw is too long and is likely to crash with the aluminum base, so we decided to cut it using a dremel to have the exact measurements so that the machine can work well