2. Project management
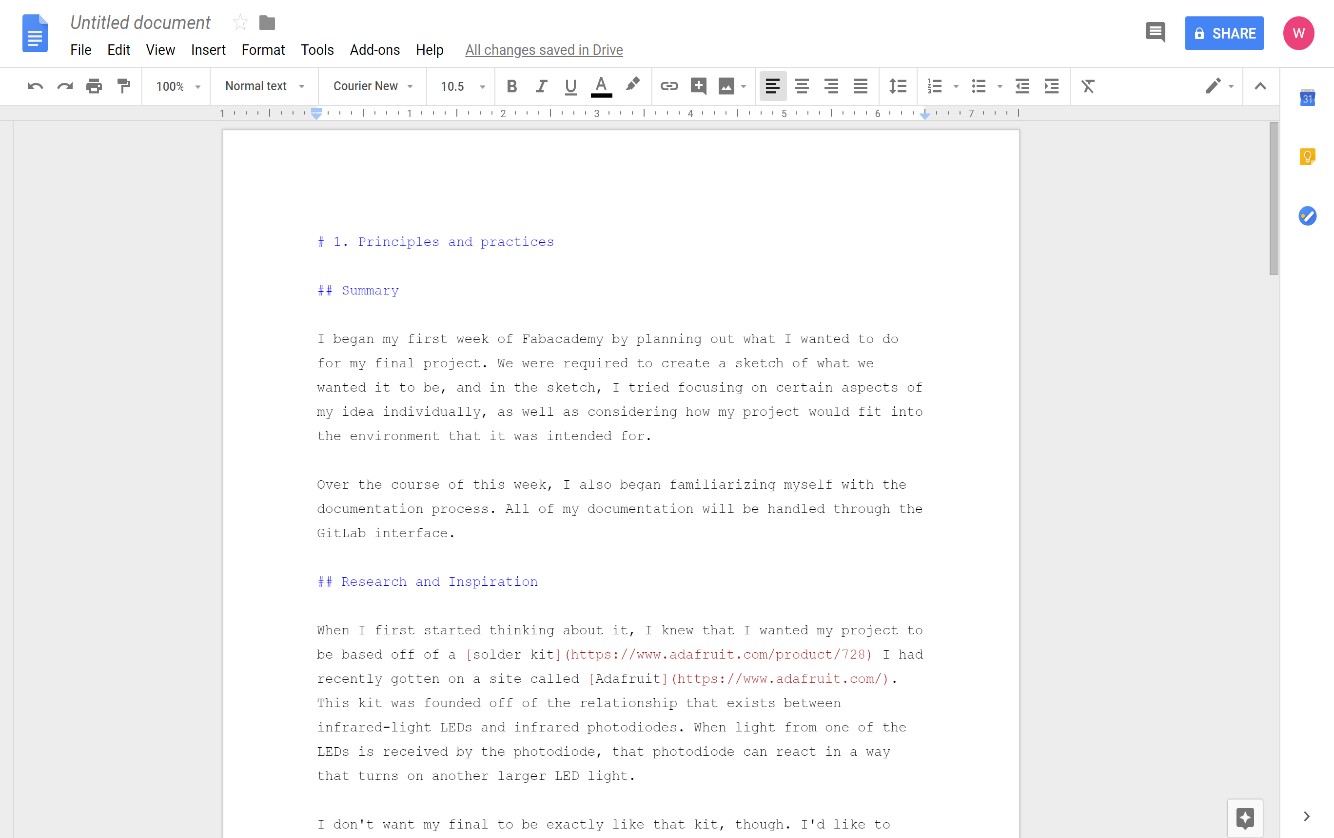
The main assignment for this week was to get our sites up and running through the class archive, as well as to work through a Git tutorial. I actually got ahead and began working on my site last week, which I did include in last weeks documentation, but I also plan to provide the full process in this weeks documentation as well.
Gitlab
Most of my knowledge about how to use Gitlab so far has come from my own exploration, as well as some help from my fellow classmates. I began my site creation when I got an email link from the Academy IT that gave me access to my Gitlab account, then, after logging in and resetting my password, I was able to view my account for the first time.
At the start, things were a little overwhelming. I had a very vague idea in my head of what Gitlab was like, but I didn’t actually have any experience with it yet. I just started out by trying to navigate the different menus and dropdowns until things began making a bit of sense, and eventually I discovered the template index file that I would be using as the “About Me” part of my site.

After a bit more trouble shooting, I found the “Web IDE” button at the side of the page and discovered that it actually lets you edit your text as well as other aspects of the file. I began customizing the about me section of the template right away, and eventually I moved on to the other sections which included my week one documentation as well as the final project page.
To further aid in the detail of my documentation, I’ll be including pictures of what I’m describing when necessary. At the start, I yet again had no idea how to include any pictures, but I eventually came across the images folder within my Gitlab account. The folder, along with the other provided templates, had enough context that I was actually able to get my first images put up with very little outside help. One thing from the images folder in particular that I saw was the week01 directory. Having directories has been nice so far because of how easy they make organizing my photos. When I want to use a specific image on my site, I have to first compress it so that it won’t take up to much space. I’ve included that process further on in this page. Then, I’ll take it over to the images folder on my account and upload it into the specific directory for where I’m using it.
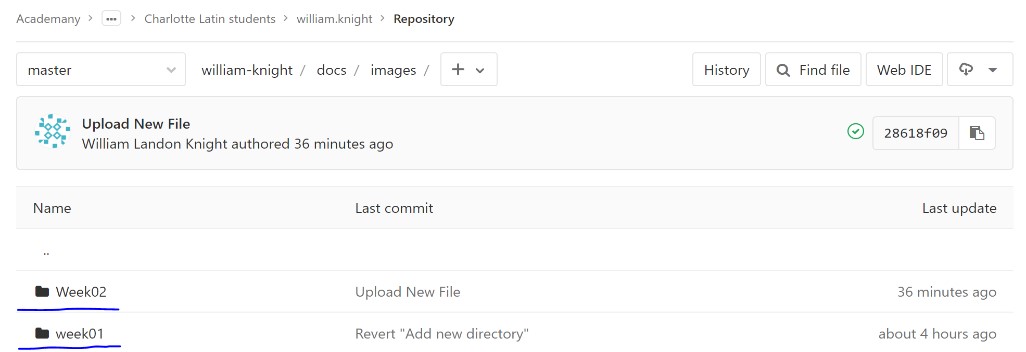
Here’s a picture of what the directories themselves look like
And here’s a code example to show how the directories actually help with organization.
//This is what I would use to just take a photo from images directly
[Photo Description](../images/filename.jpg)
//This is for choosing a photo that’s in my week01 directory
[Photo description](../images/week01/filename.jpg)
//This is for choosing a photo out of my week02 directory
[Photo description](../images/Week02/filename.jpg)
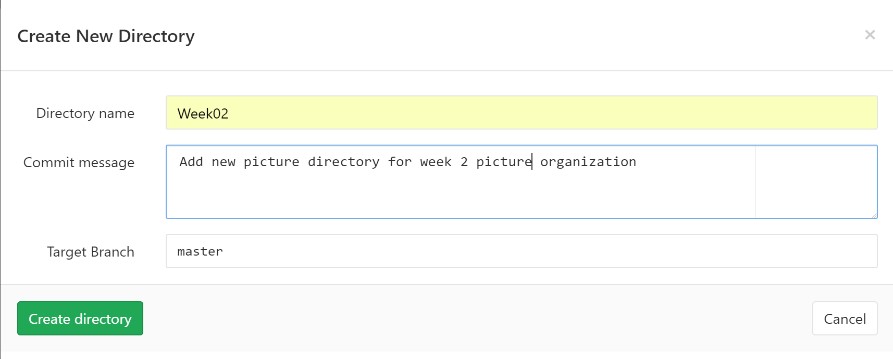
As you can see, having directories helps with organization a ton when it comes to using images. The organization that they provide is great when you’ve got lots of different images that are only really relevant for a short period of time. The week01 directory was already set up to help us get going, but I went ahead and made a week02 directory as well, pictured below.
Gitlab Vs Brackets
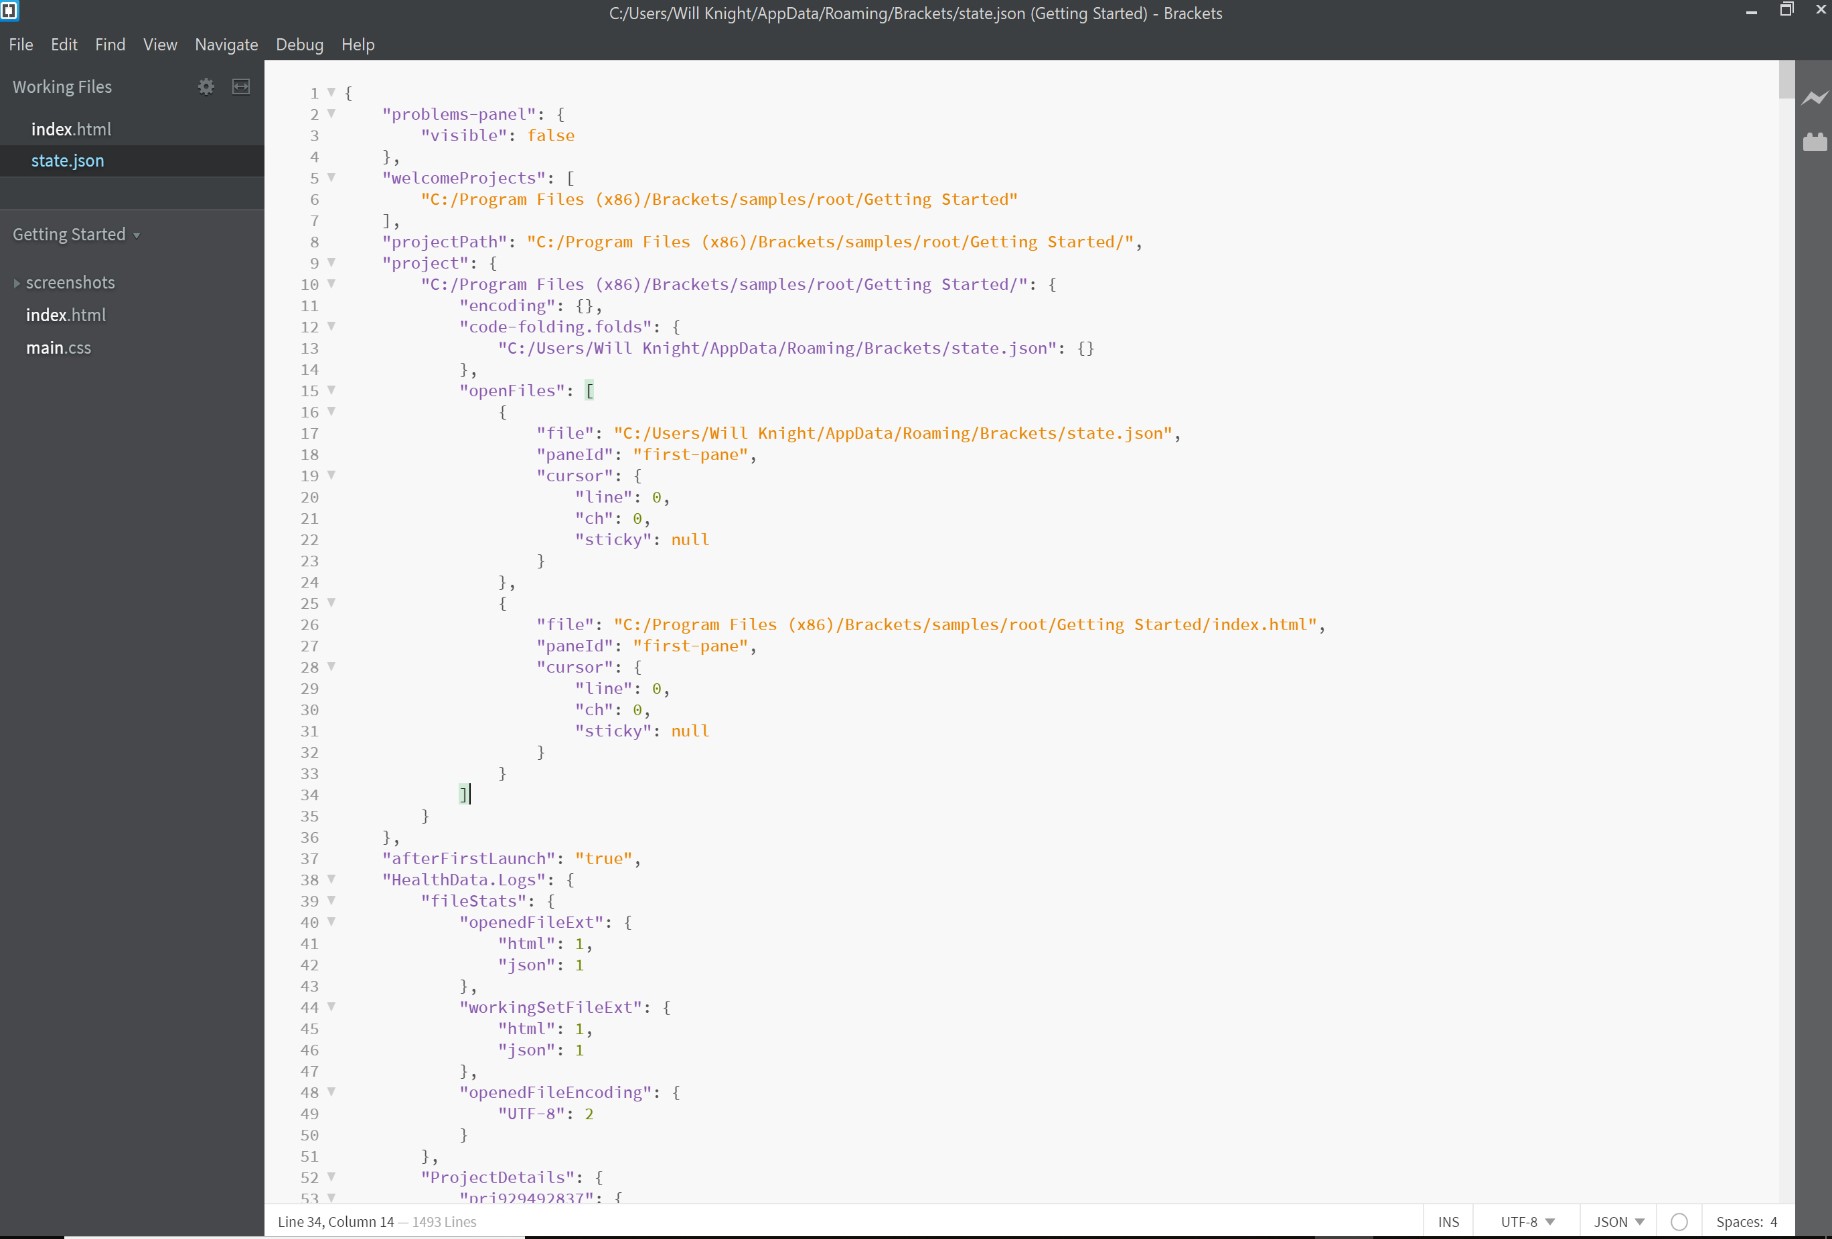
I looked at using two different web development tools during this week, Gitlab and Brackets. Gitlab is where everything initially started, it had the basic template of my site already set up in it ready to go and after some time with it I was able to navigate it quite easily. My other option, one that many of my labmates have used/currently do use, was Brackets. Brackets is another great web development tool that has quite a few useful web development features in it, and I’ve only ever heard good things about it from others. It has highlighted text that helps with organization, it has a cleaner look overall than gitlab does in my opinion, and there’s much more customization available for brackets due to it being open source.
In the end, though, I chose to just use Gitlab. Gitlab had an integrated web IDE just like Brackets did, and on top of that if I just stuck with Gitlab, I would never have to worry about large file transfers and other things that come along with using a web development environment thats separated from the Gitlab repository. For these reasons, I chose to just use Gitlab in the end.
Markdown vs HTML in Gitlab
Gitlab’s web IDE natively supports the use of markdown, which is really nice for a beginner like me. Markdown was what the provided fabacademy site template was written in, so that’s what I started working with right away. I considered learning how to use HTML (Hyper Text Markup Language) for all of this instead, but after looking into it more I realized that HTML is definitely more complicated than markdown. The script requires many more symbols and identifiers that can all make a difference in how something ends up working, and all of the extra protocols that come with writing HTML we’re going over my head at the time. The interesting part is that what’s really happening behind the scenes on my website is that MKdocs, the static site generator that was set up for me, is taking the Markdown script and turning that into HTML.
Another thing I realized is that the web IDE isn’t necessarily locked to using just Markdown or just HTML. Rather, you can use a mix of both throughout, and that’s what I’ve ended up doing. Simple stuff on here like paragraphs of text and small data tables are exactly what Markdown is intended for, so thats where Ive been using it. When it comes to more complicated things like embedding videos and 3D models directly on my site, thats where HTML really starts to shine, and thus that’s also where I’ve been using HTML over Markdown. They both have their own specific uses, and that’s why I use both in my site
One small note to add is that there is a big difference in the raw capabilities of the two languages, but for my purposes, they end up being equally useful. HTML is usually what drives all of the websites and pages you see online, and it really is quite more powerful than Markdown, but during my time in fabacademy, I don’t plan to do lots of things that would really take advantage of these great capabilities, so I’m just using markdown primarily and HTML when I need to.
Version Control
One of the best things that Gitlabs has to offer is its version control capabilities. Every single edit you make to something on your site in Gitlab gets saved in the gitlab repository. This means that no matter how old or small or short the change is, it’ll still be there for you to go back to later and observe. This is really useful because if you make some sort of mistake in your documentation or you accidentally do something catastrophic like delete your site (hopefully that doesn’t happen), It’ll all be ok because you can go back into the Gitlab repository and recover it, all thanks to version control.
There are other options out there for version control such as just setting up a file system in your own computer, or if you were using something like Brackets, for example, you could set up some sort of version control in there. I’ll just be stickig with gitlab for this, though, because of how it’s already been provided and set up for me.
Tutorial
The Git tutorial I used to help expand my understanding of the functions and terminology in Git can be found here. The tutorial did have some info on things that have already been set up for me as well as things that I’ve already figured out, such as making repositories and commiting changes, but it also had info on things I haven’t quite understood yet like using commands and creating multiple branches. The tutorial was great for filling out the gaps in my own self accrued knowledge from the past week.
Markdown
While doing all of this, I noticed that the language being used for these pages was called Markdown, so I quickly googled it to see what I could find. At first, all I was really able to do with it was based off of what I found on this helpful guide about the Markdown language. The Markdown guide did help me get going at first, but after being informed by one of my classmates as well as Neil himself that all Markdown does is convert itself into HTML, I realized that HTML is what’s actually driving my documentation process, and therefore I should be looking into it as well. I plan to keep using Markdown for the simple stuff just because that’s literally what it’s intended for, but I’m also going to begin branching out and seeing that HTML can offer that the markdown language just isn’t capable of.
Images
Another thing I had to worry about during all of this was getting pictures onto my site. The most invaluable thing I’ve been able to find for documentation so far is the snipping tool on Windows. It’s great for getting screencaps of your work in whatever size or orientation you want, and it even has a convenient button included that takes your new screencapture right over to Paint 3D for editing.
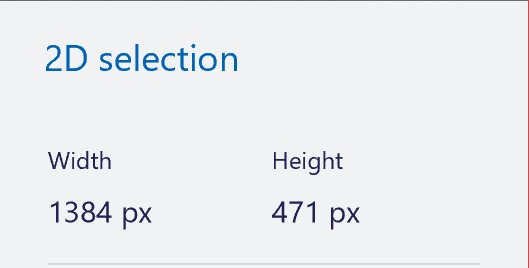
I’ve actually found Paint 3D to be quite useful and intuitive. It’s all I’ve been using so far to compress my images and I haven’t actually been that confused or even had an issue yet. It shows the pixel count off to the side of the edited image so you can get an idea of how much space it will take up, and it’s been a very helpful software so far.
Additional Info
Another thing I’ve found to help me streamline my documentation process is the spell checking and general grammar suggestions that google docs has to offer. Now, before I ever make a commit to my site I always paste the Markdown text into a google doc so that I can check for misspelled words or other small typing errors.
The final thing I did this week in terms of site editing was to add in the Fabacademy student agreement. I found the text for it on the Fabacademy site and then pasted it into student agreement section on Gitlab and signed my name at the bottom before committing it into my repository.