The Second Hand : More Power. Triggered.
Hand Splint for enhancing movement.
Many people must have encountered funcionality or reduced function problem after a fracture or injury. For example someone has got fracture in finger. After recovery his/her finger won’t move as it should. I myself have limited functionality in my right hand. I want to make a device or tool that would help and enhance physical functionality.
My intent for this project is to help people so that they can do more by enhancing the functionality.
The strategy was quite simple for final project. The core of my project was to make mechanism and actuator. I followed Neil's Spiral Development.
Spiral 1. Making One finger actuator work. Making one beding actuator. And testing manually.
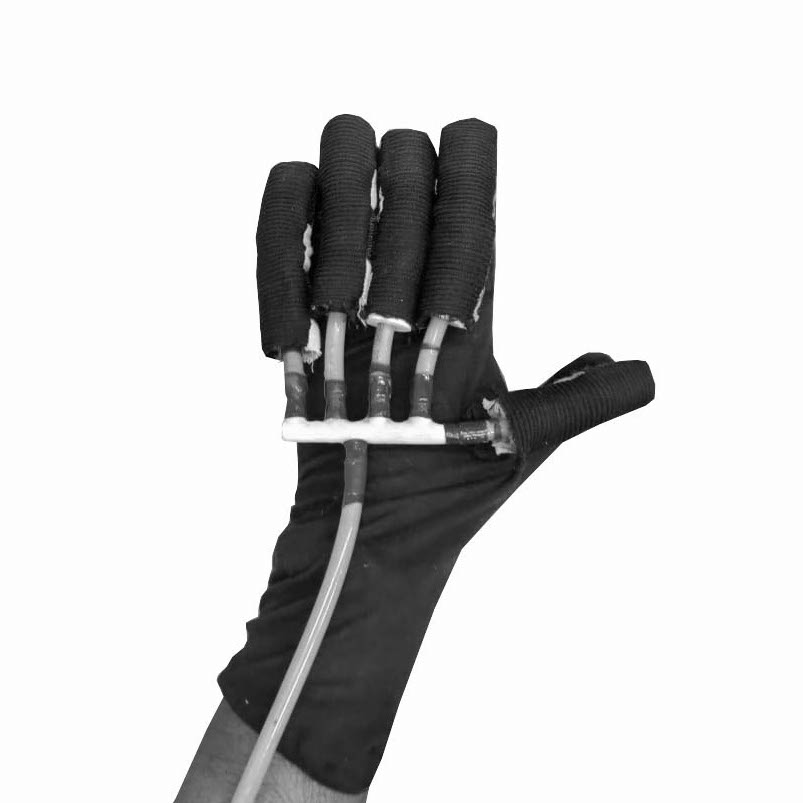
Spiral 2. Making 5 actuator, integrating with glove and combinging it and operating it.
Spiral 3. Operating Mechanism with flex sensor and packaging it.
Spiral 4. Adding more functionalities if get completes in time.
I am not from electronics background thus I wanted to start early with electronics and make electronics for final project and then going on with making actuator and then assebly. I didnt want to keep things for last moment.
The table below shows what I planned to do when?
| Task | Description | When? |
| Conncept Development | Deciding on the idea. | Week 1-3 |
| Researching | Figuring out what to do exactly | Week 4-6 |
| Planning | Figuring out and planning system | Week 7-8 |
| Electronics | Board and its function : Schematics | Week 9 |
| Electronics | Altering Boards | Week 10 |
| Electronics | Testing Flex Sensor | Week 11 |
| Sourcing Material | Ordered : Valves, Pipes, Pumps, etc. | Week 13 |
| Sourcing Material | Almost all parts arrived | Week 15 |
| Making Mechanism : | Testing Actuator | Week 16 |
| Designing Parts | Designing parts needed. | Week 17-18 |
| Packaging and Assembly | Figuring out Packaging and Manufacturing. | Week 19 |
| Running Tests | Checking the assembly and finalising codes. | Week 20 |
| Preparing For Final Presentation | Finishing annd painting and organising project. Making Video. | Week 21 |
It is really difficult to know how much you actually need to do and how much time it will take. Thus its better to be early than being late and suffer.
As it is said 'Everything that is supposed to go wrong will definately go wrong.'
First thing first : 1. Set your spirals. You need to be atleast sure about what do you want to do at inital stage and go in one direction.
2. Get to know the components you would use with final project and work with it at early stage.
3. I realised the more you know your parts more you'll understand complexity of project.
4. Document as you go, so you dont have to rush in last minute.
1. First thing went wrong was sourcing time. I should have ordered earlier and explored it more. It arrived just in Mechanical Design Week. That two weeks went off very fast and didnt get to try more stuff.
2. Another was to divide time. I didn't divide time wisely according to complexity.
3. Pnuematics is complex than it seems. I used 3D printed parts as connectors. But I realised it was never air tight. I had to seal it with epoxy coat.
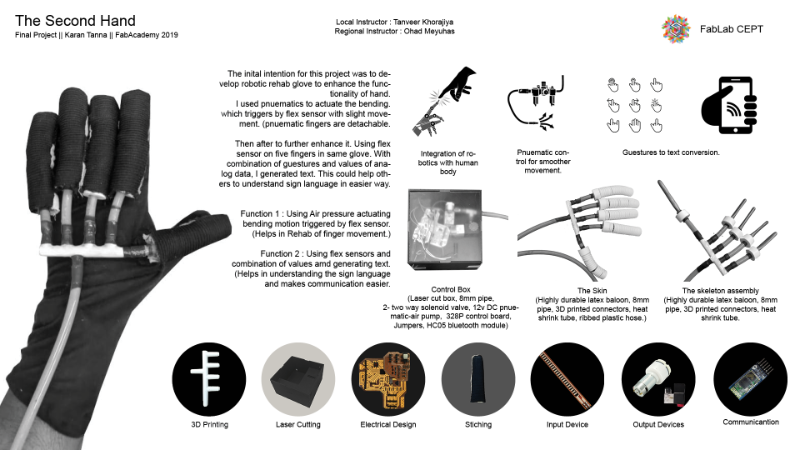
Below is the presentation slide that I made for the Final Presentation.
I made it using Adobe InDesign and Photoshop. I composed it in InDesign and liked images of Photoshop.
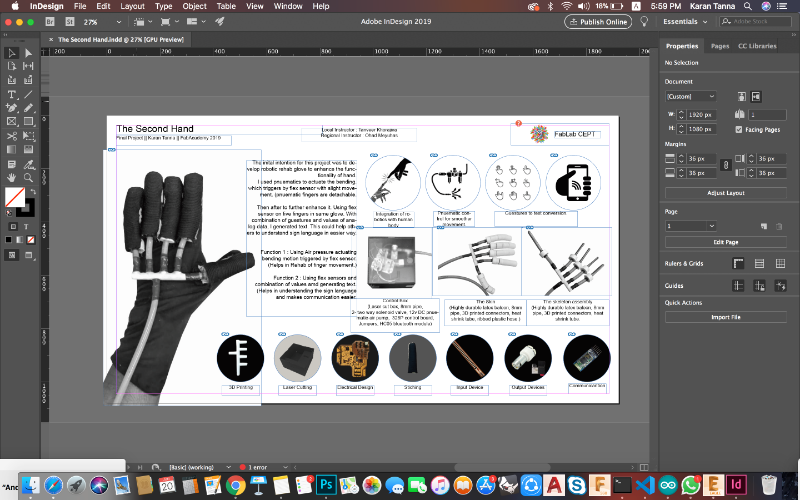
The above screenshot shows the image from process.
Below is the link to original slide and image of slide.
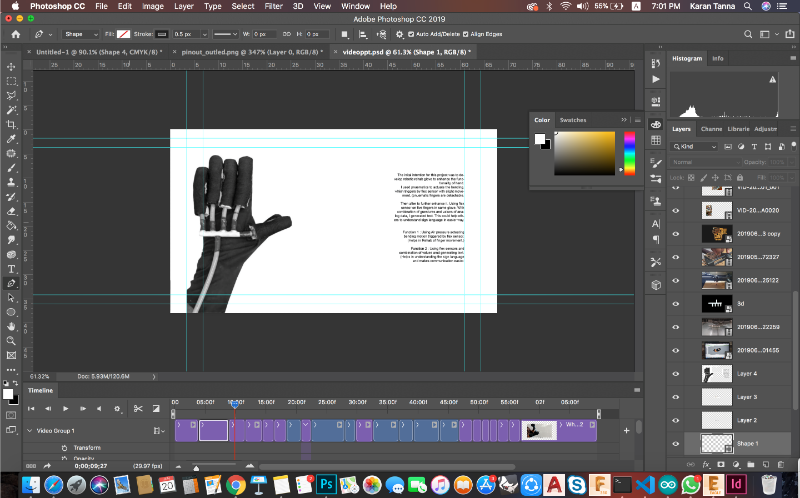
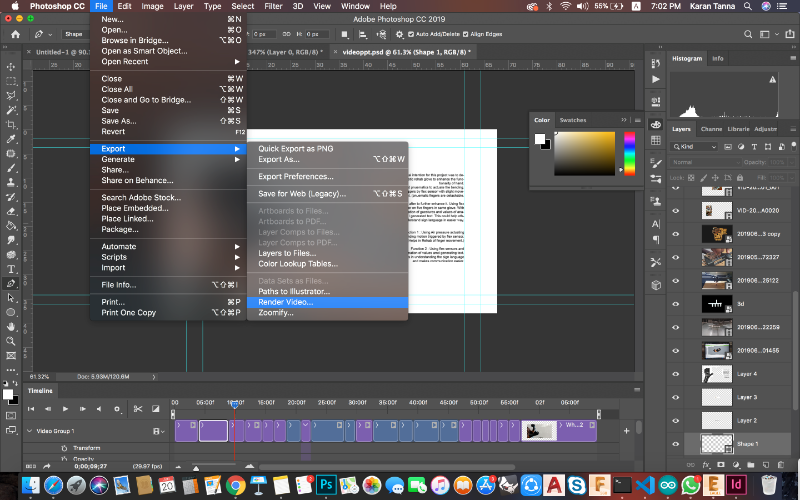
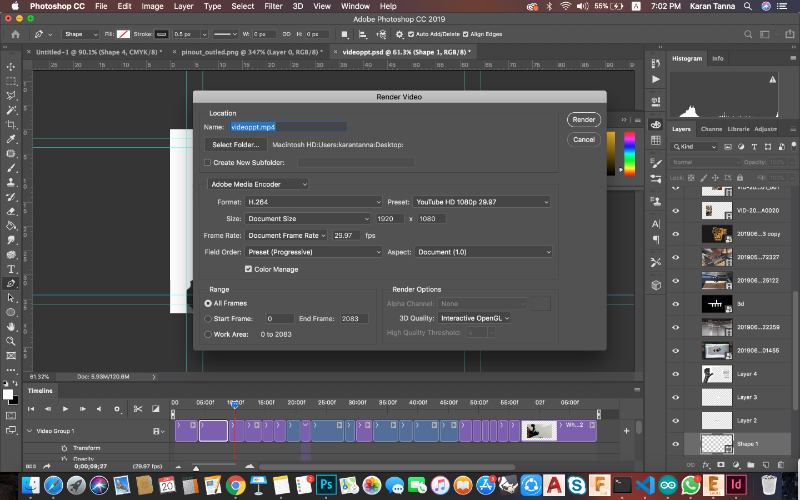
There after I made a .mp4 video in Adobe Photoshop CC 2019. Photoshop CC has capablity to edit and render videos. Also while exporting it allows to modify all parameters like bit rate, frame rate, etc.
Images from Process
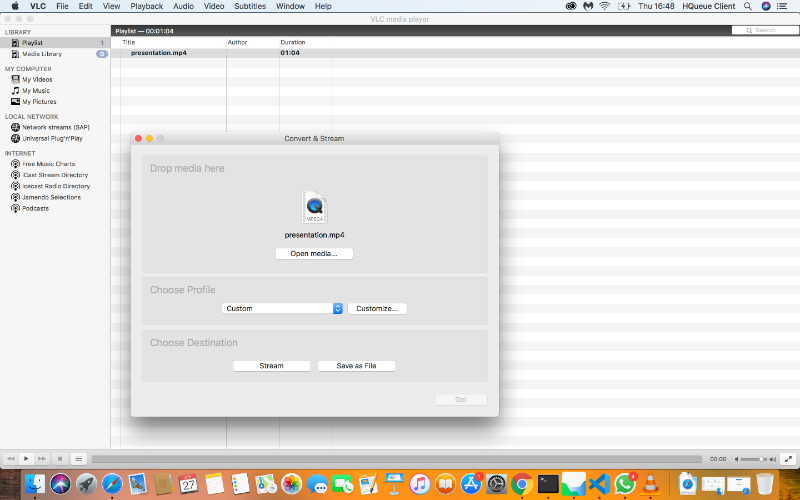
Then I converted for web with VLC Media Encoder/Player.
Step 1: Download VLC software. (From Neil's list of softwares.)
Step 2: Open VLC.
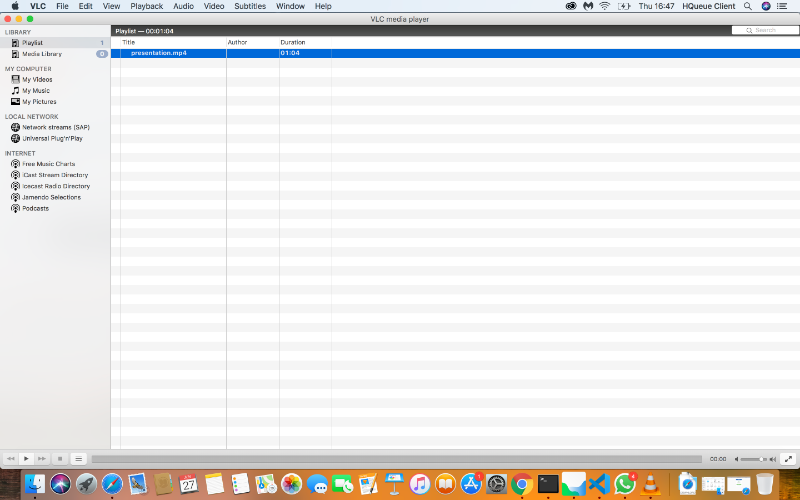
Step 3: Go to File > Convert.
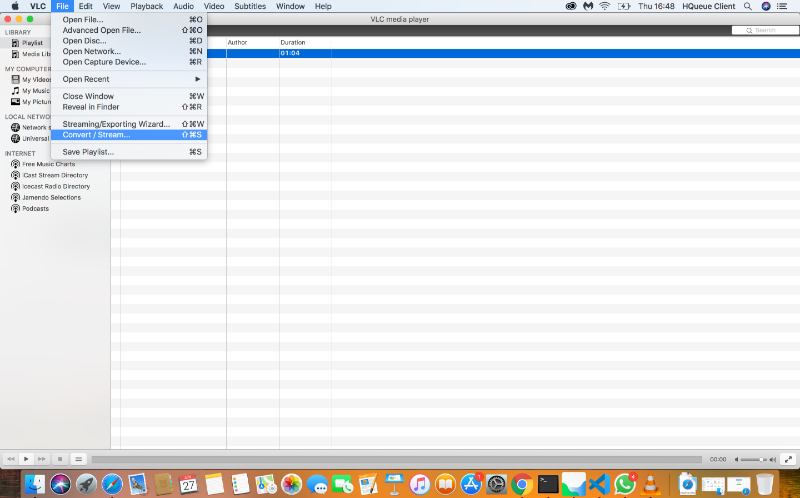
Step 3: Add file that you want to encode.
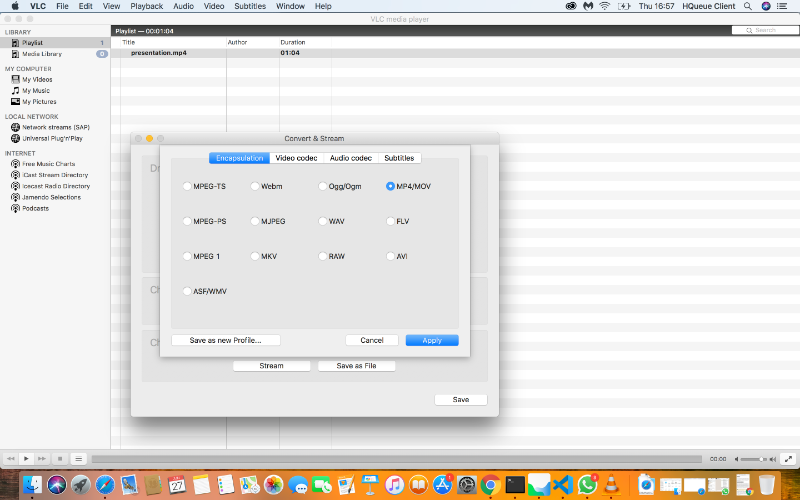
Step 4: Encapsulation. Select MP4.(we have to upload mp4)
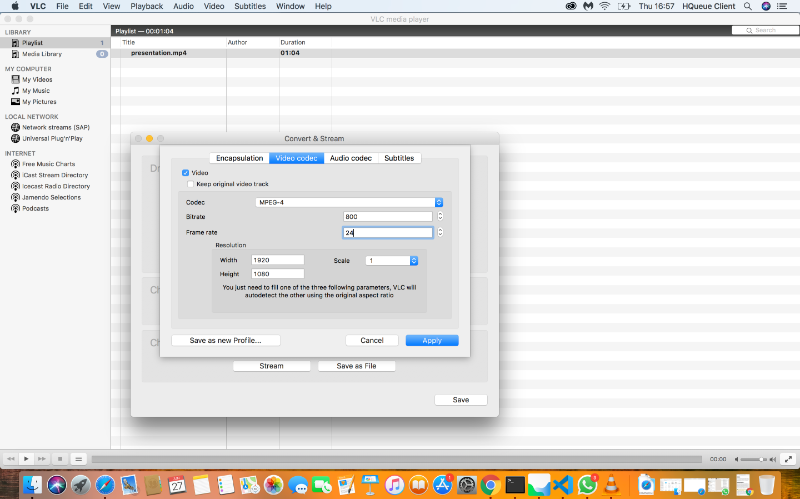
Step 5: Video Encode: MPEG-4 supports web most web browser. Bit rate : 800. You cann reduce or increase as per your size requirement. Frame rate: 24. Smoother the video if more frame rate. Resolution : 1920x1080.(as per need.)
Step 6: Audio Encode: MPEG Audio. Bit rate: 128.(you can reduce to save space.)
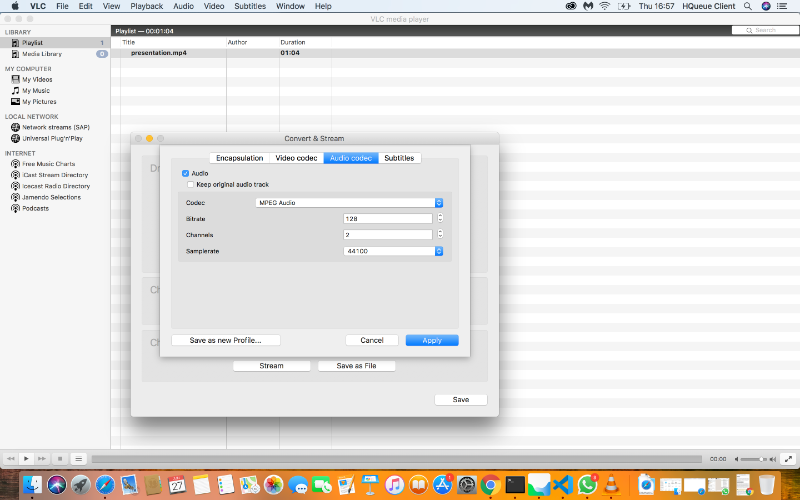
Step 7: Save it.
Video Link
* For the complete process and development of Final Project Development page go to the link below :
| Components | Vendor Link | Cost(70 INR~1$) |
| Fabric : Flexible | Souced Locally | 100-150 INR/Mtr. |
| Fabric : Non-Flexible | Souced Locally | 70-100 INR/Mtr. |
| Fabric Cotton Glove | ~250 INR | |
| Main Final Board- AtMega328p, Copper board, Capacitors, Resistors | Fabricated At FabLab |
*Visit The board design section in the Final Project Development Page for components. |
| Flex Sensors | Can be made/purchased at : Amazon | 500-600 INR/Piece |
| Solenoid Air-Valve (Two Way) | Amazon | 300~350 INR/Piece |
| Pnuematic Air Pump (12V-DC) | Amazon | 300~400 INR/Piece |
| Ribbed Plastic Hose | Vendor Site | 35~50 INR/Mtr |
| 8MM Vaccume Pipe | Vendor Site | 30~35 INR /Mtr |
| 3MM Pine MDF - A1 Sheet | Sorced Locally | INR 140~200 |
*I also used 3D Printed and Lasercut parts.
*Licence that I used is attached at the end of page.
*I have attached all files on link at the end of page.
Below is the list of work acknowledged by others
