COMPUTER AIDED DESIGN
3.WEEK
This week was about introduction with CAD (computer aided design) softwares and trying them out, also making 3D design for our final project.
So lets start with some informations. First what is CAD? Computer-aided design (CAD) is the use of computers to aid in the creation, modification, analysis, or optimization of a design. CAD software is used to increase the productivity of the designer, improve the quality of design, improve communications through documentation, and to create a database for manufacturing. CAD output is often in the form of electronic files for print, machining, or other manufacturing operations. The term CADD (for Computer Aided Design and Drafting) is also used.
2D CAD
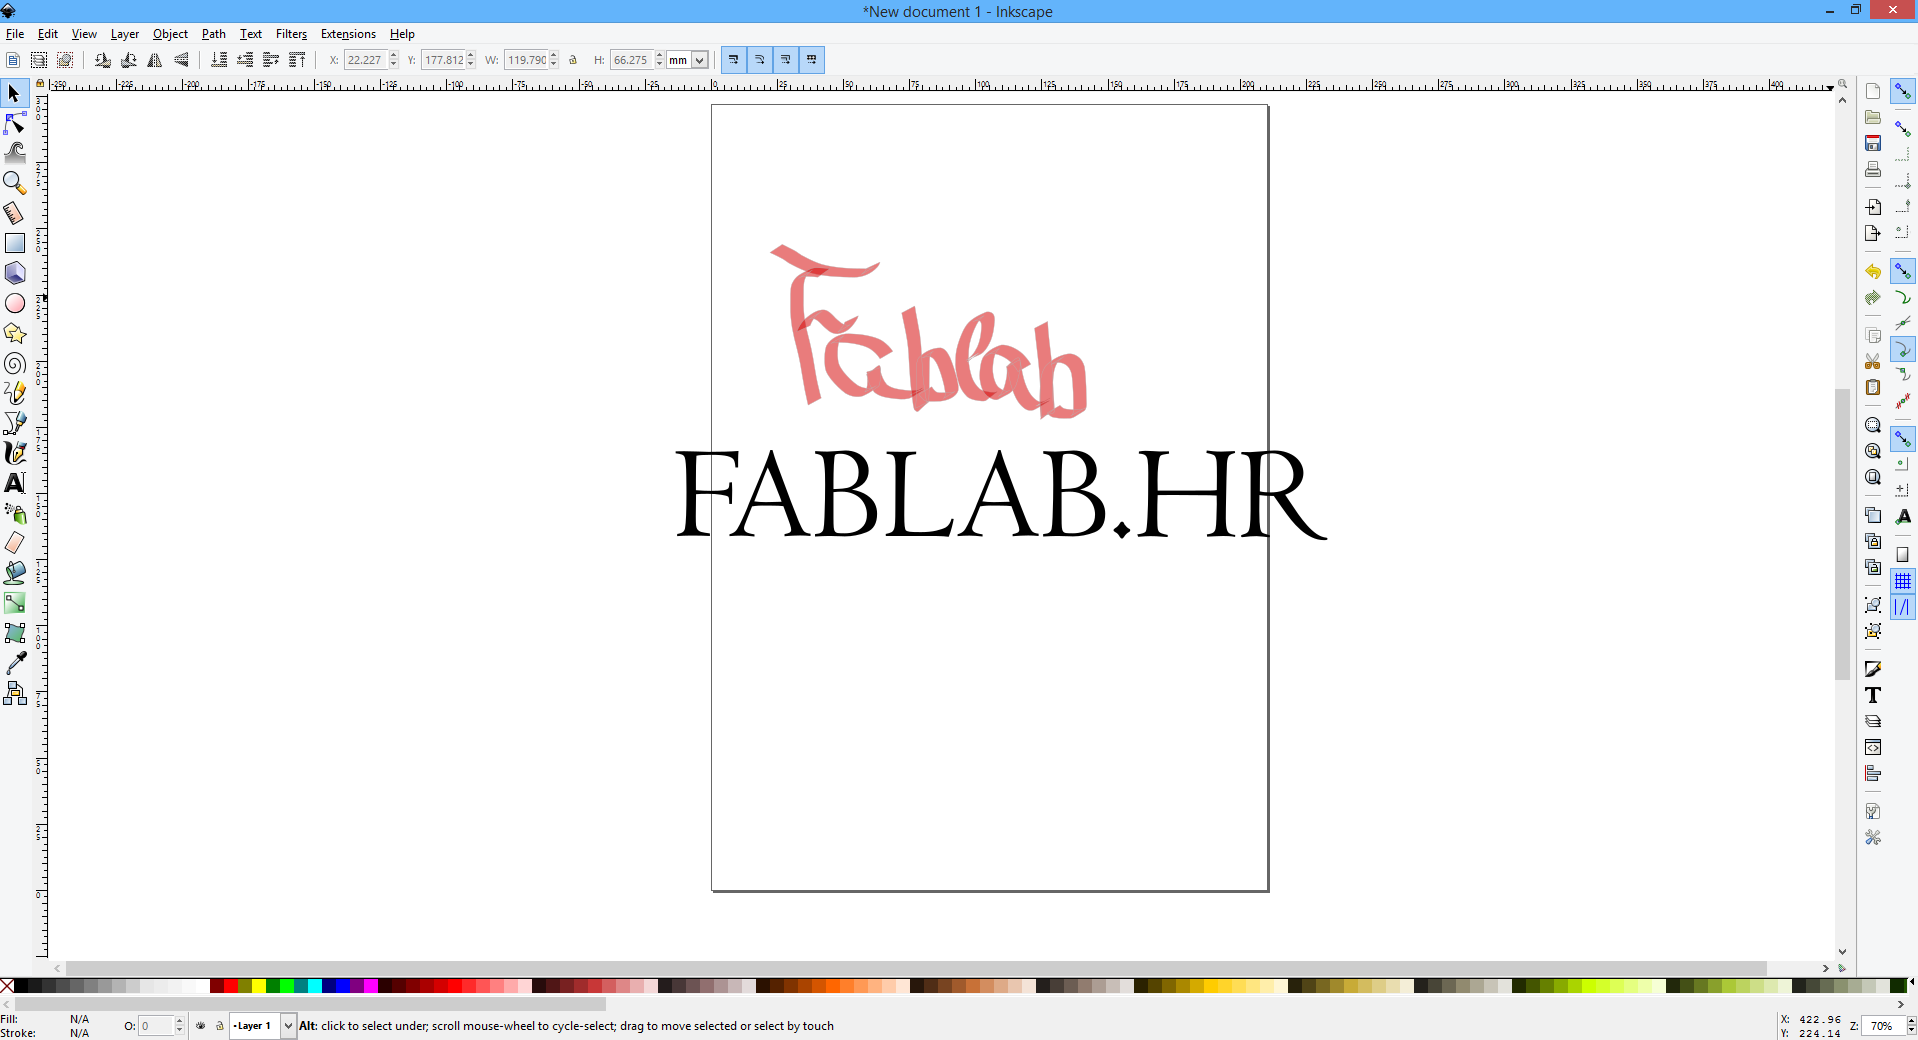
First thing as you can see is 2 dimensional Computer Aided Design and first software that I'll try is Inkscape. Inkscape is a free and open-source vector graphics editor. This software can be used to create or edit vector graphics such as illustrations, diagrams, line arts, charts, logos and complex paintings. Inkscape's primary vector graphics format is Scalable Vector Graphics (SVG); however, many other formats can be imported and exported. Image is showing Inkscapes main window and basic exercise to tipe some text and drow it. As you can see Inkscape is a lot more than just text design, it can also make any shape, import pictures and transform them into vectors so you can for example cut the on laser cutter.
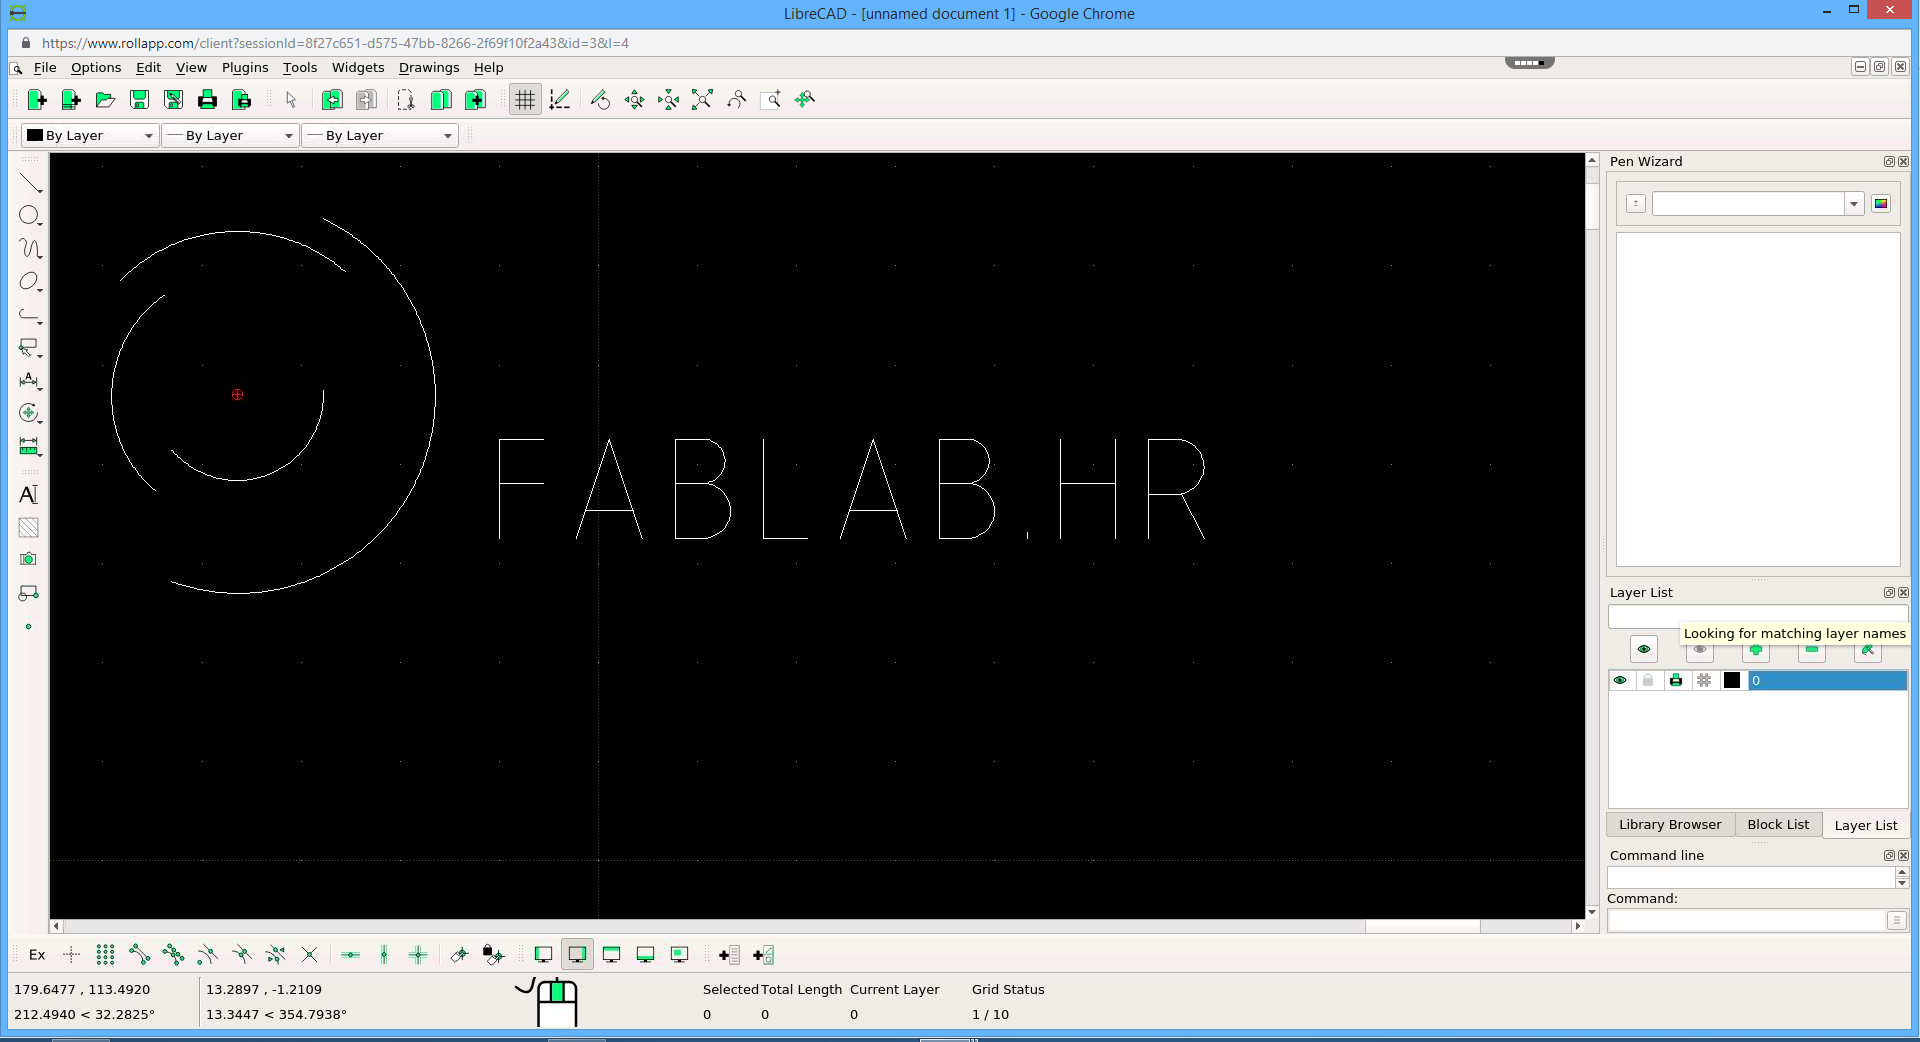
Next CAD software that I found interesting is LibreCAD. LibreCAD is a free computer-aided design (CAD) application for 2D design. It works on Linux, macOS, Unix and Windows operating systems.LibreCAD was developed as a fork of QCad Community Edition. The GUI (graphical user interface) of LibreCAD is based on Qt5 libraries, so it runs on several platforms in the same way.Most of the interface and handle concepts are analogous to AutoCAD, making it easier to use for users with experience of this type of commercial CAD application.LibreCAD uses the AutoCAD DXF file format internally for import and save files, as well as allowing export to many other file formats.
For practice I'm again trying some text and arcs. I personali like this CAD because it seams like a good one for beginners, simple main window with basic commands.
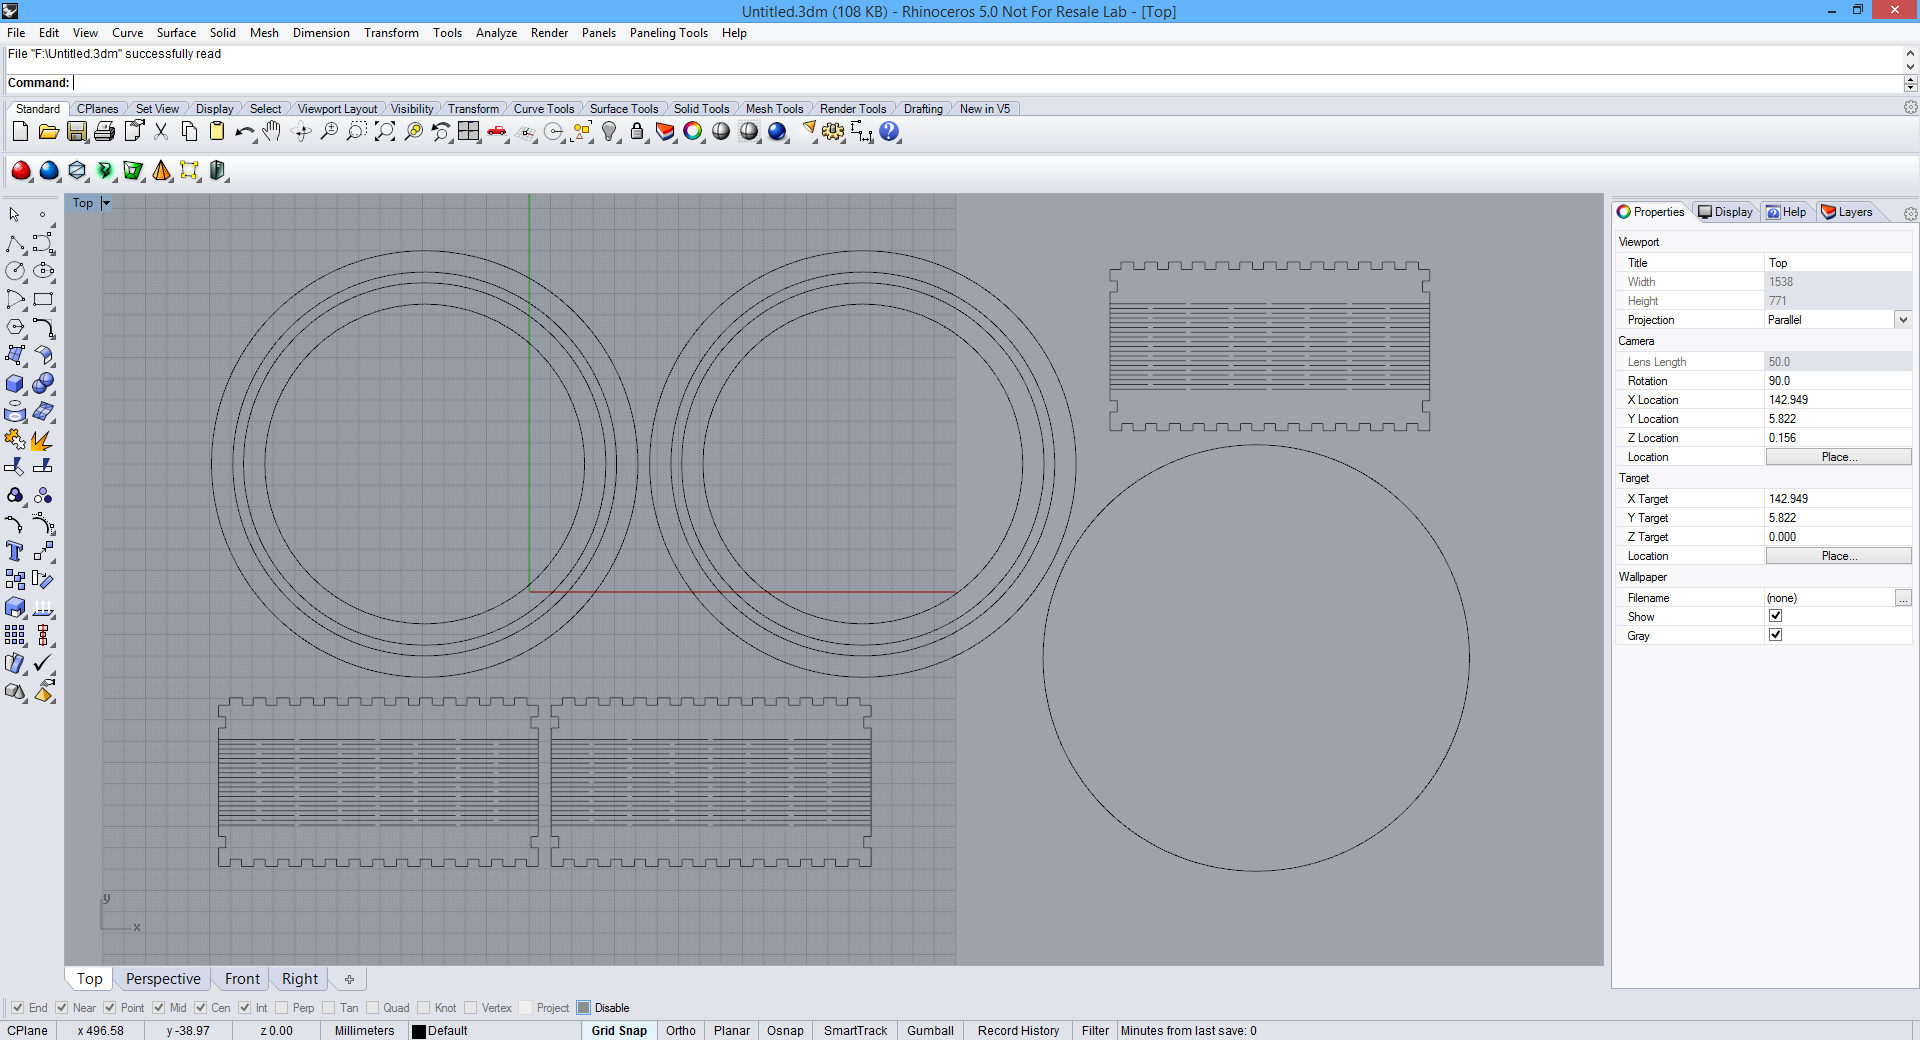
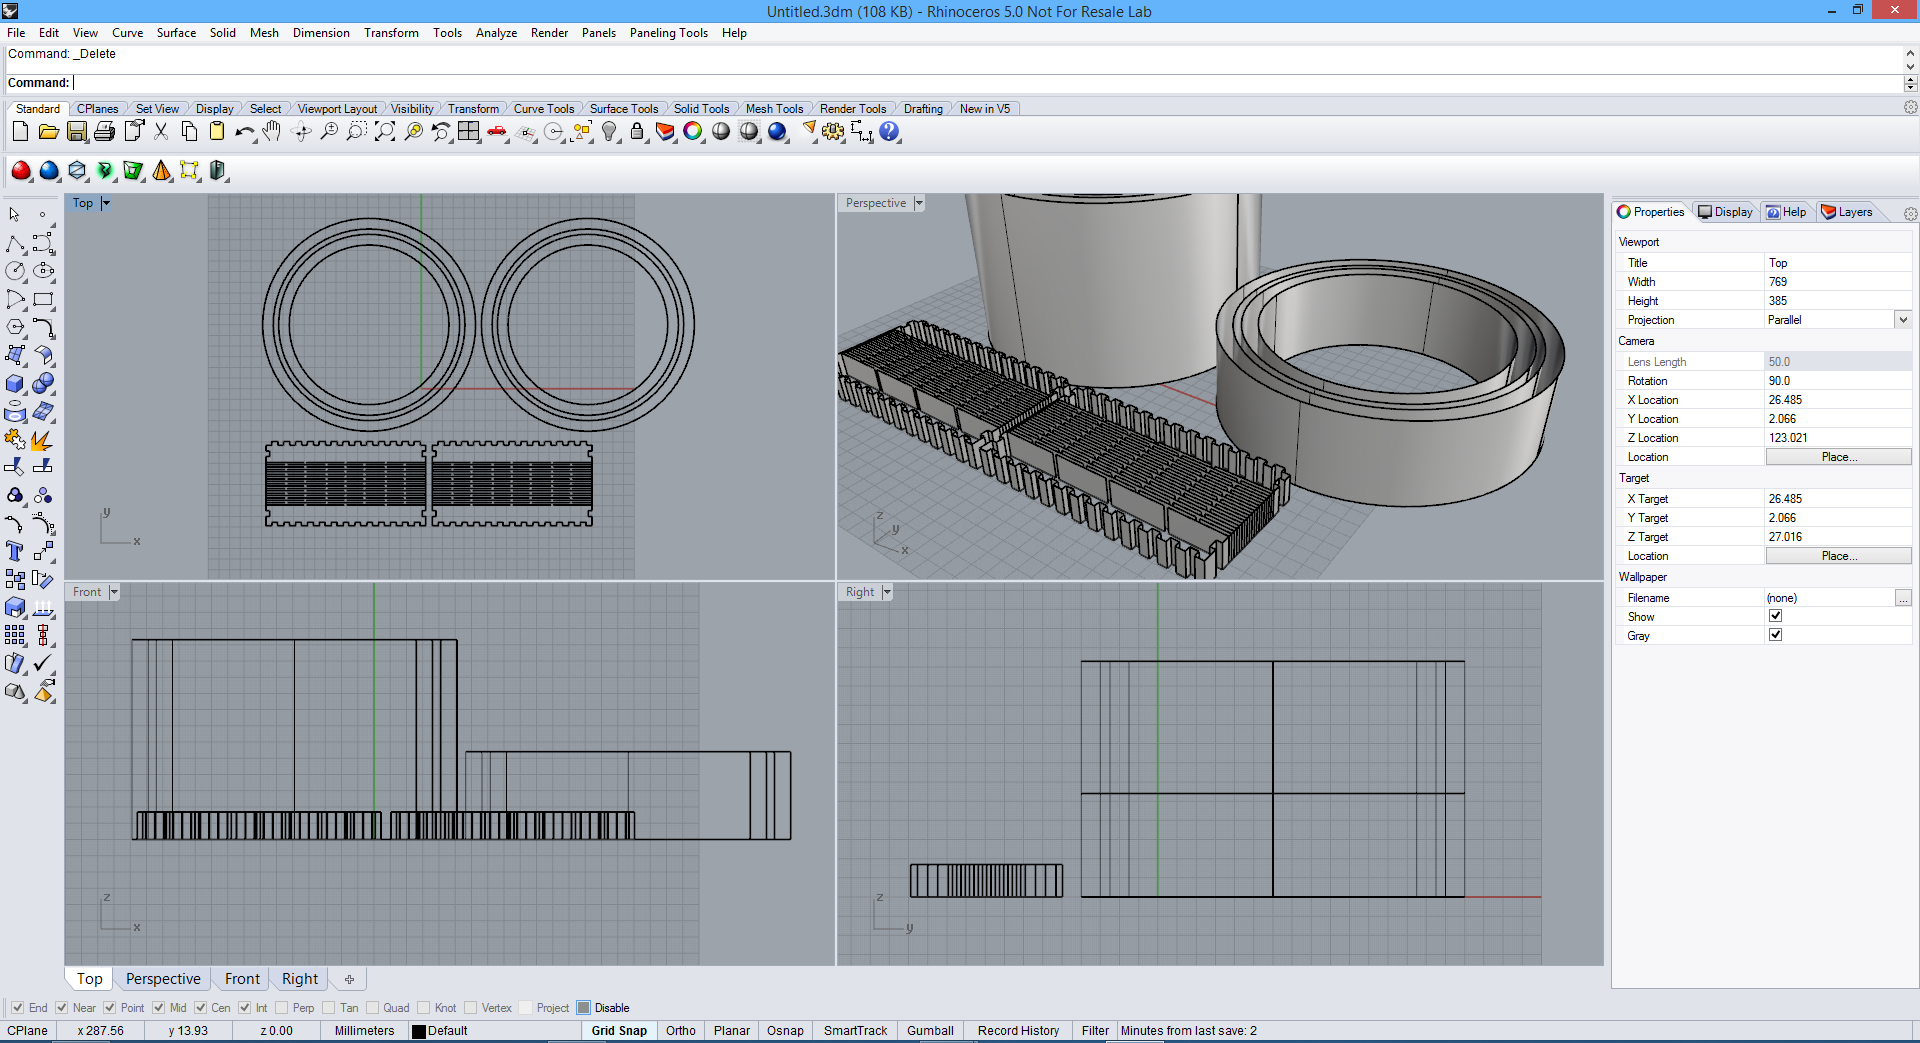
This software that you can see below is next level in comparation to the other two from abowe and that is Rhino 3D, one of my fawourite CAD softwares. Rhinoceros is used in processes of computer-aided design (CAD), computer-aided manufacturing (CAM), rapid prototyping, 3D printing and reverse engineering in industries including architecture, industrial design (automotive design, watercraft design), product design (jewelry design) as well as for multimedia and graphic design. Below you can see my actual 2D design for my final project, it is in 2D because that's preparation for laser cutting on plywood. But Rhino is a lot more than 2D design and you will see later in 3D design. As it can be sean it is a lot complicated CAD software for beginners, but good side of it is that Rhino has live tutorial when you pres os wanted command, so you can very shortly learn each command and it's specifications. I used this softwear in 2D topic because for me it is easiest to export in 2D files, like for example .dxf which I'm using frequently.
3D CAD
To continue on previous topic where I was talking about 2D CAD and ended with Rhino3D, now I'll talk a little bit about it's main usage and that is 3D design. I got first time in touch with it 4 years ago and first thing that I noticed it was his 4 split screen that is from a lot help for better preview of your model/s. Below I'm showing same sample like in 2D CAD but difference is that in this case I extruded shown models. Good thing in Rhino is that you can make quick mash designs and that is only outer line conture without infil. Picture below is also showing how that looks. In Rhino is also possible every command select using only keyboard, change the valeus, positions and other parameters.
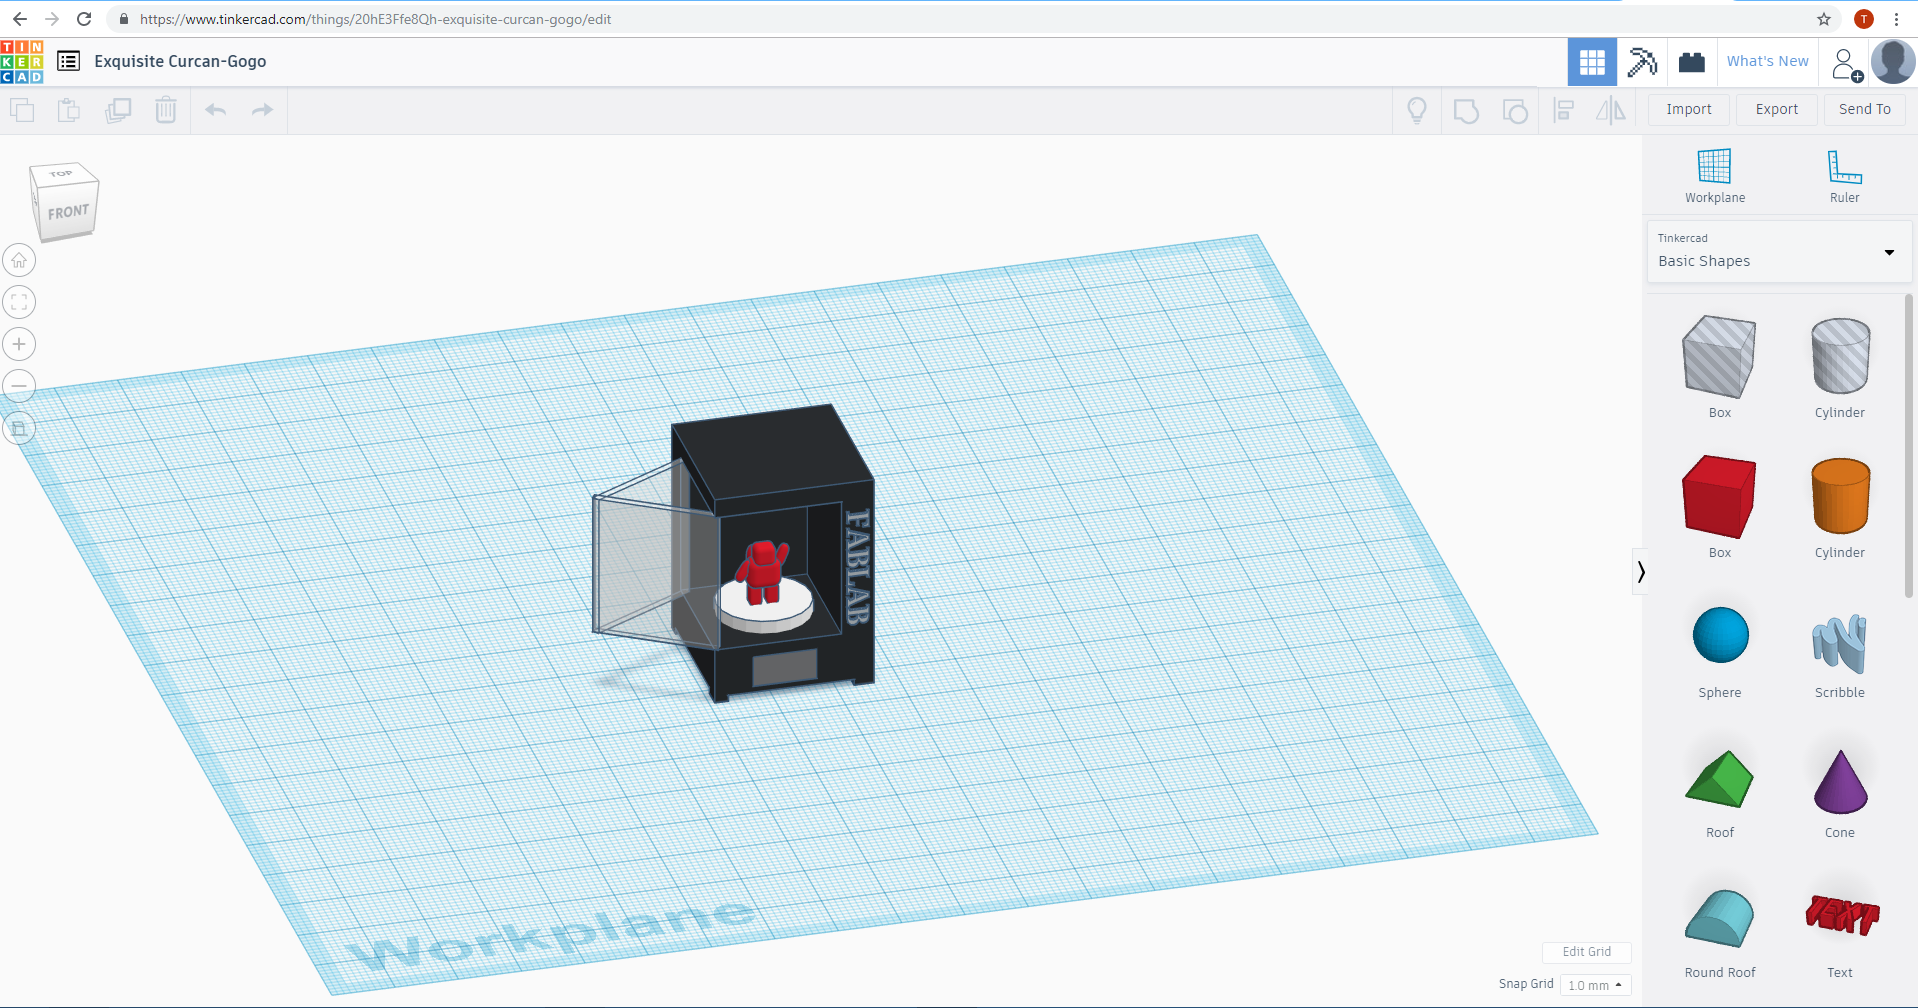
Now I'll show you my favourite online 3D CAD, TINKERCAD. One of the most popular classroom tools for creating simple designs from scratch, quickly modifying existing designs. It’s a Autodesk's free online 3D design program that you can use in your web browser without downloading any software. Tinkercad is extremely intuitive and easy to use, and has built-in Lessons to help you learn the ropes, making it perfect for beginners both young and old. Basic models such as name tags, furniture, houses, snowmen, vases, keychains, and cups are easy to create quickly with Tinkercad. Design by selecting, dragging, and placing basic shapes and then combining and manipulating them to create 3D models of whatever you like. Custom Shape Scripts add more flexible tools like text, shape generators, and parametrized forms. If you make your designs public then other people can open their own copies of your models and Tinker with them; likewise, you can Search through thousands of public models to find desings to Tinker with and modify. You can import 3D STL models into Tinkercad for modifying or incorporating into other models, or import 2D SVG images that can be used to make extruded patterns, lettering, and designs. When you’re done designing you can export to STL for 3D printing.
FUSION 360
Before start with Fusion 360 I need to know what is he capable of. FUSION 360 is the first 3D CAD, CAM, and CAE tool of its kind. It connects your entire product development process in a single cloud-based platform that works on both Mac and PC.
This is my first time to use Fusion 360 and on first it seams to me that it looks like Dassault Systemes Catia which I was learning for 4 years in my high school, but I wanted to learn new CAD.
To start I need to have an idea what I want, so I took my final project sketch but removed long LCD stand for now, maybe it's going to look better.
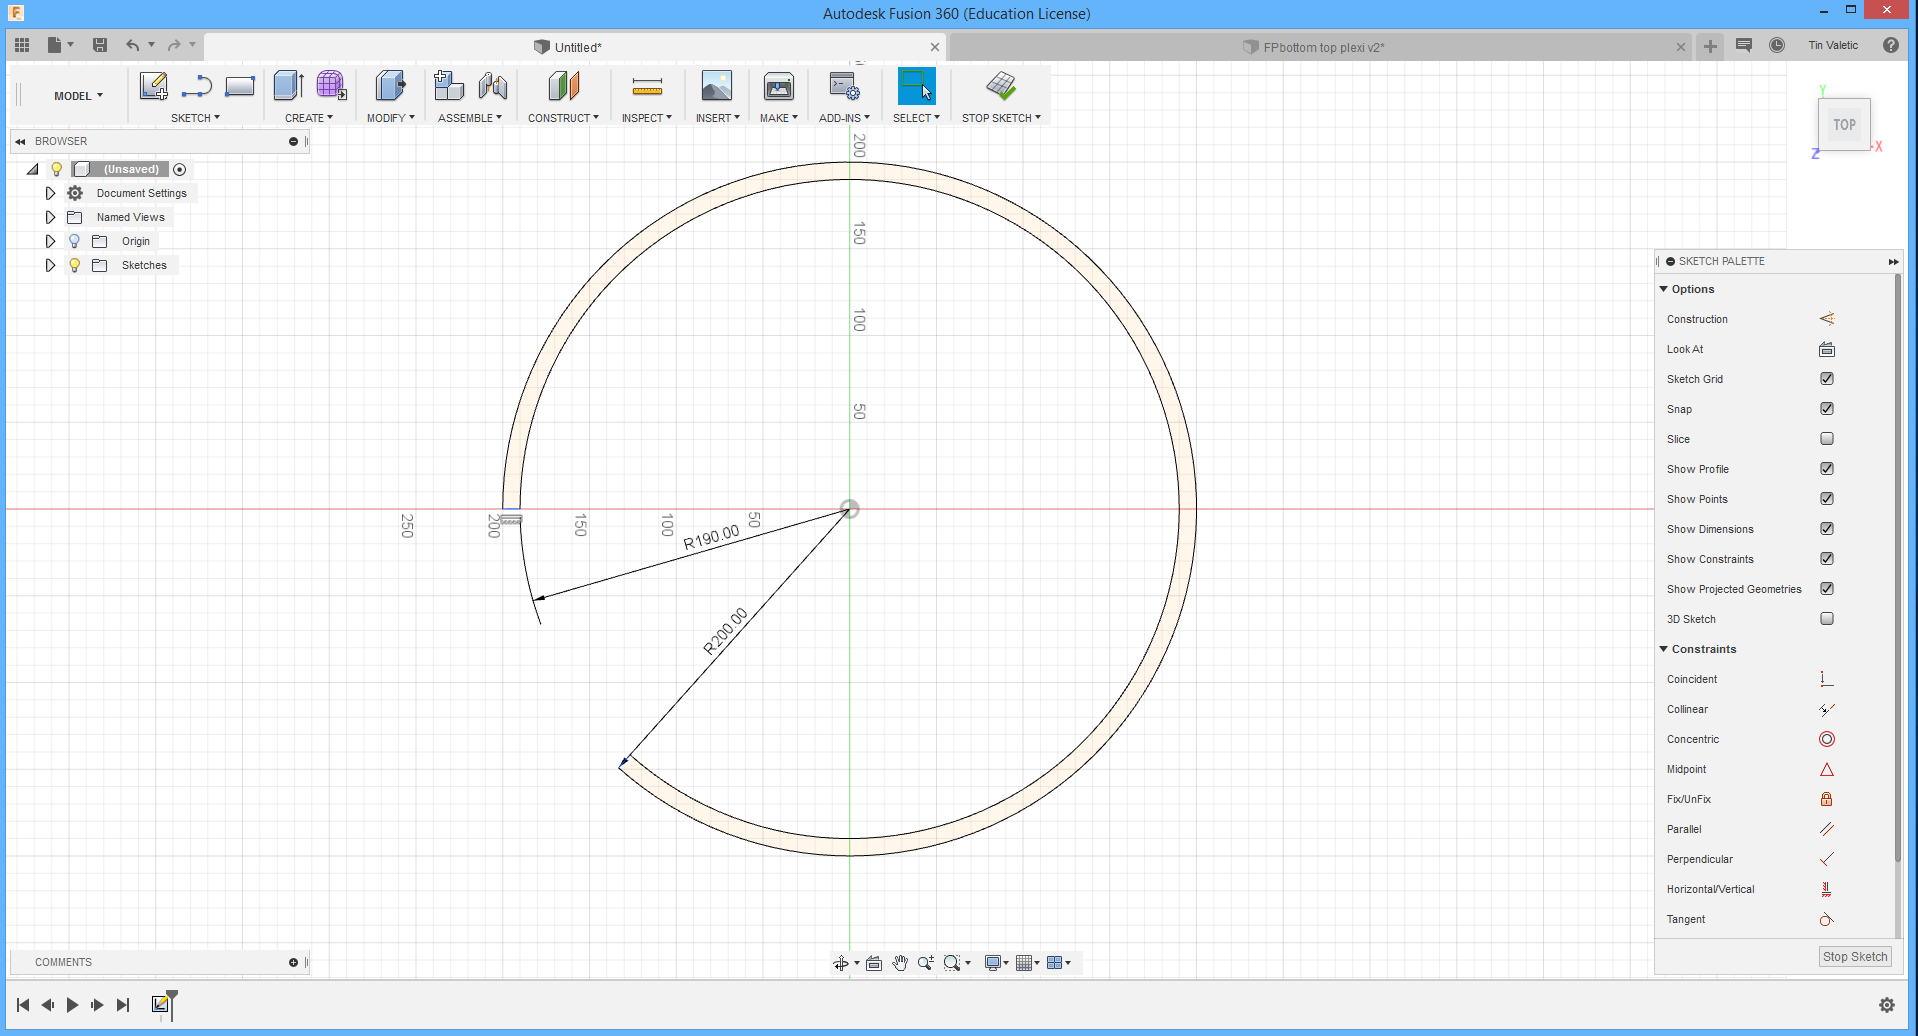
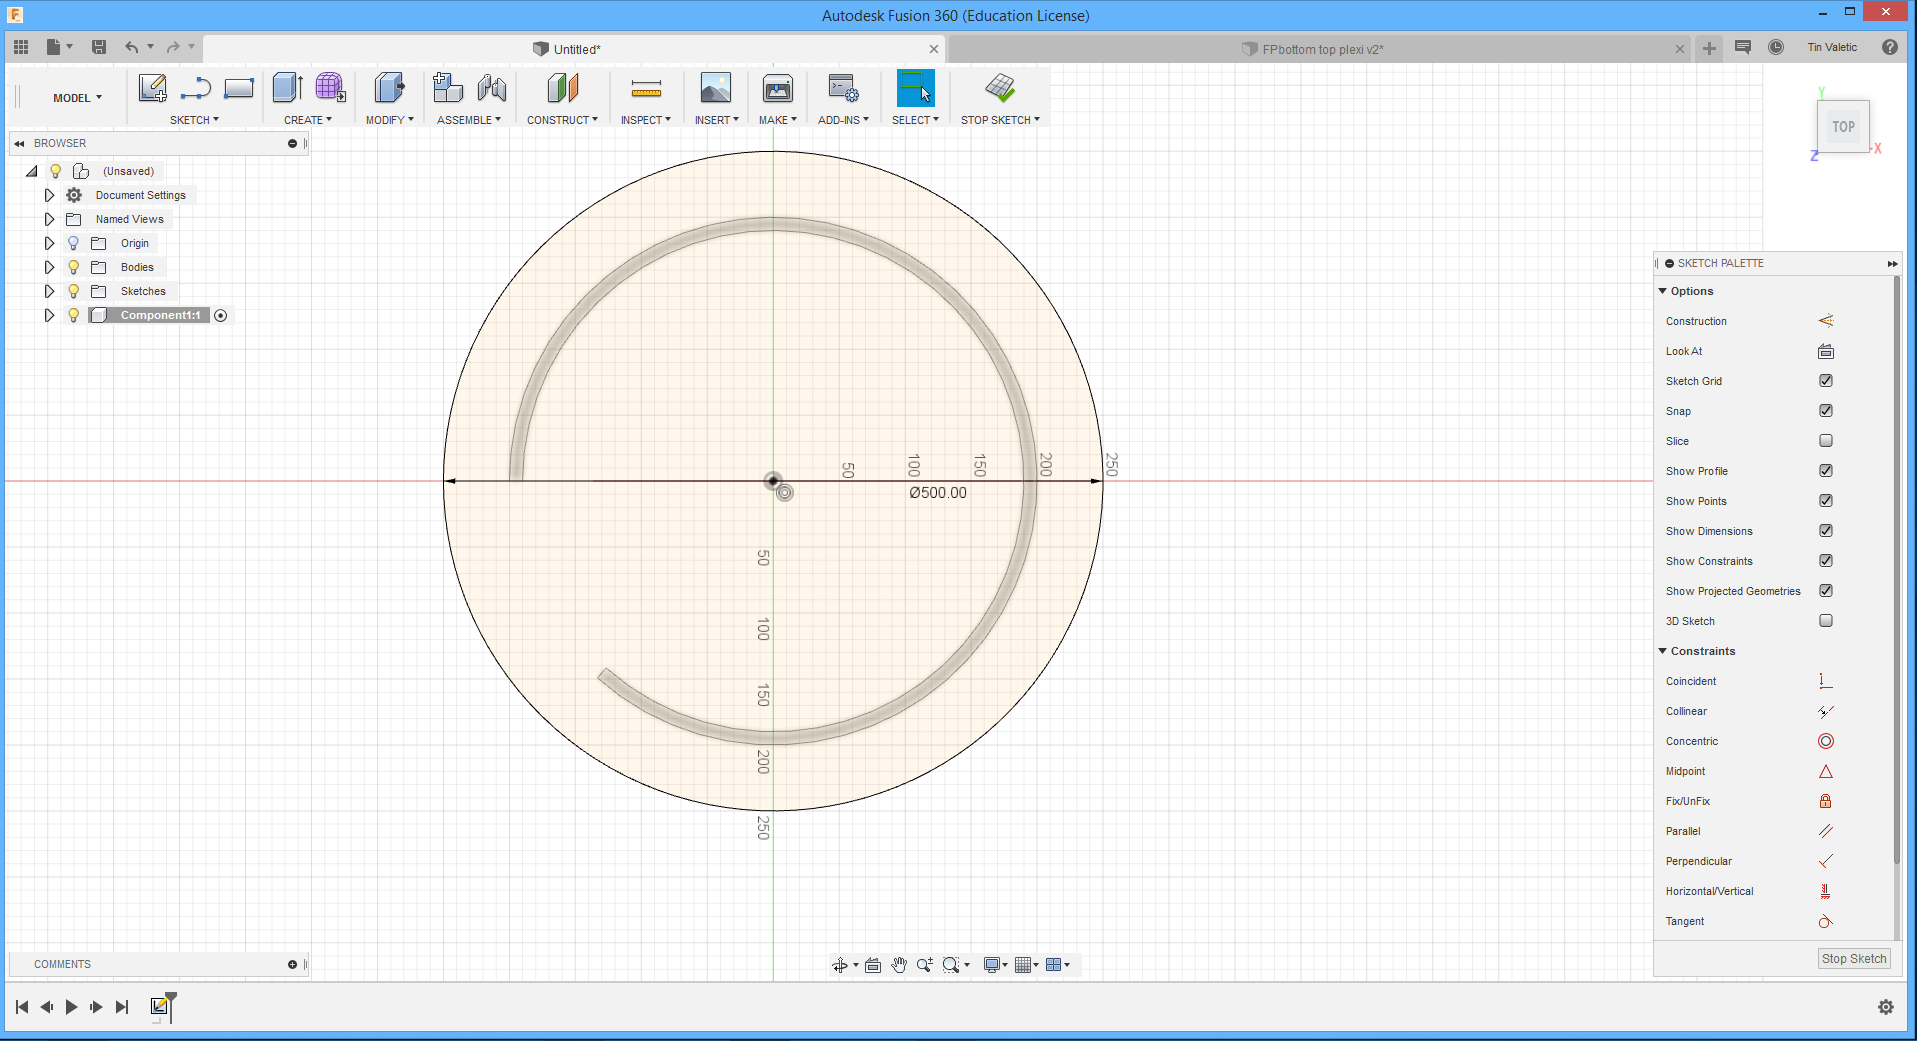
Right away when you open Fusion it opens new project, if you want to change it to your past saved project you can easily press in top left corner 9 dots and he will open you your local projects or if you have projects with someone else so you can see what they have done. In my case I'll use new project and frist sketch some opened circles. For that first need to change into sketch design with pressing on top left icon beside "MODEL" under "SKETCH" and also select axis plane on which I want to draw. So that looks like picture below.
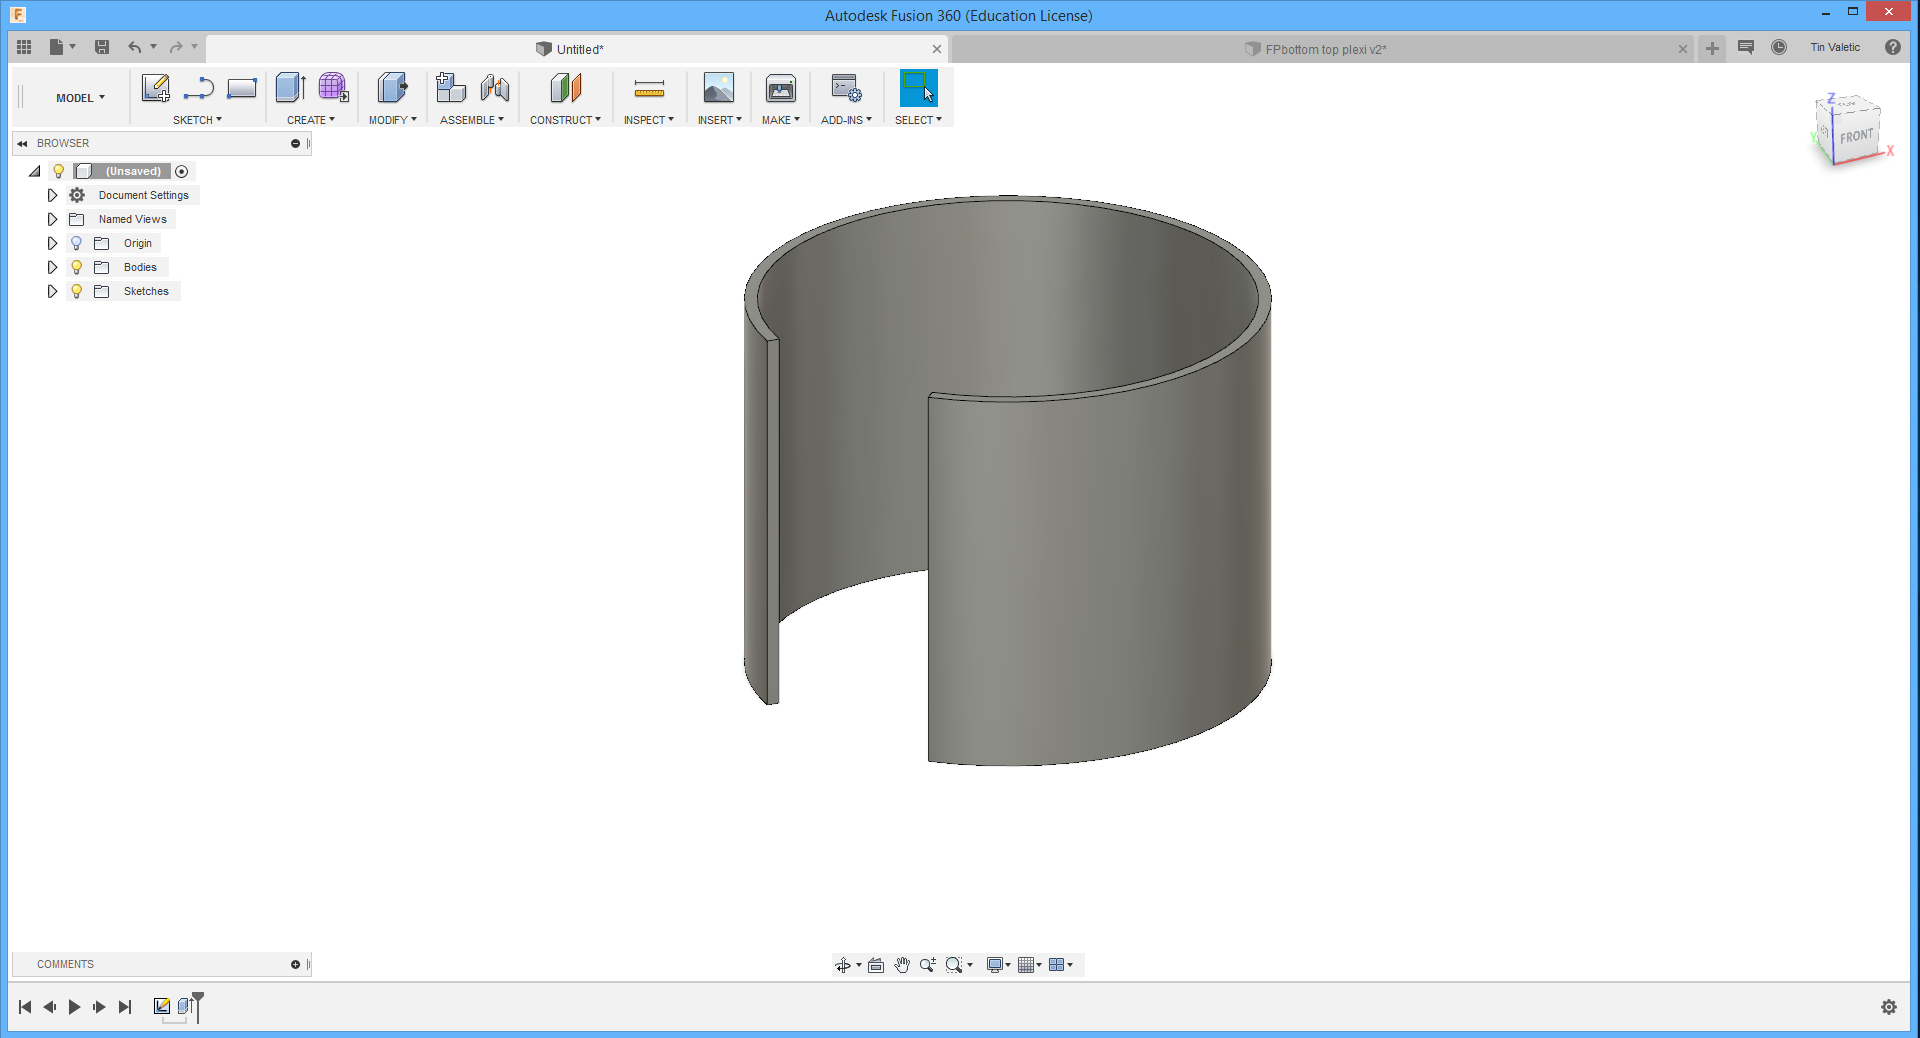
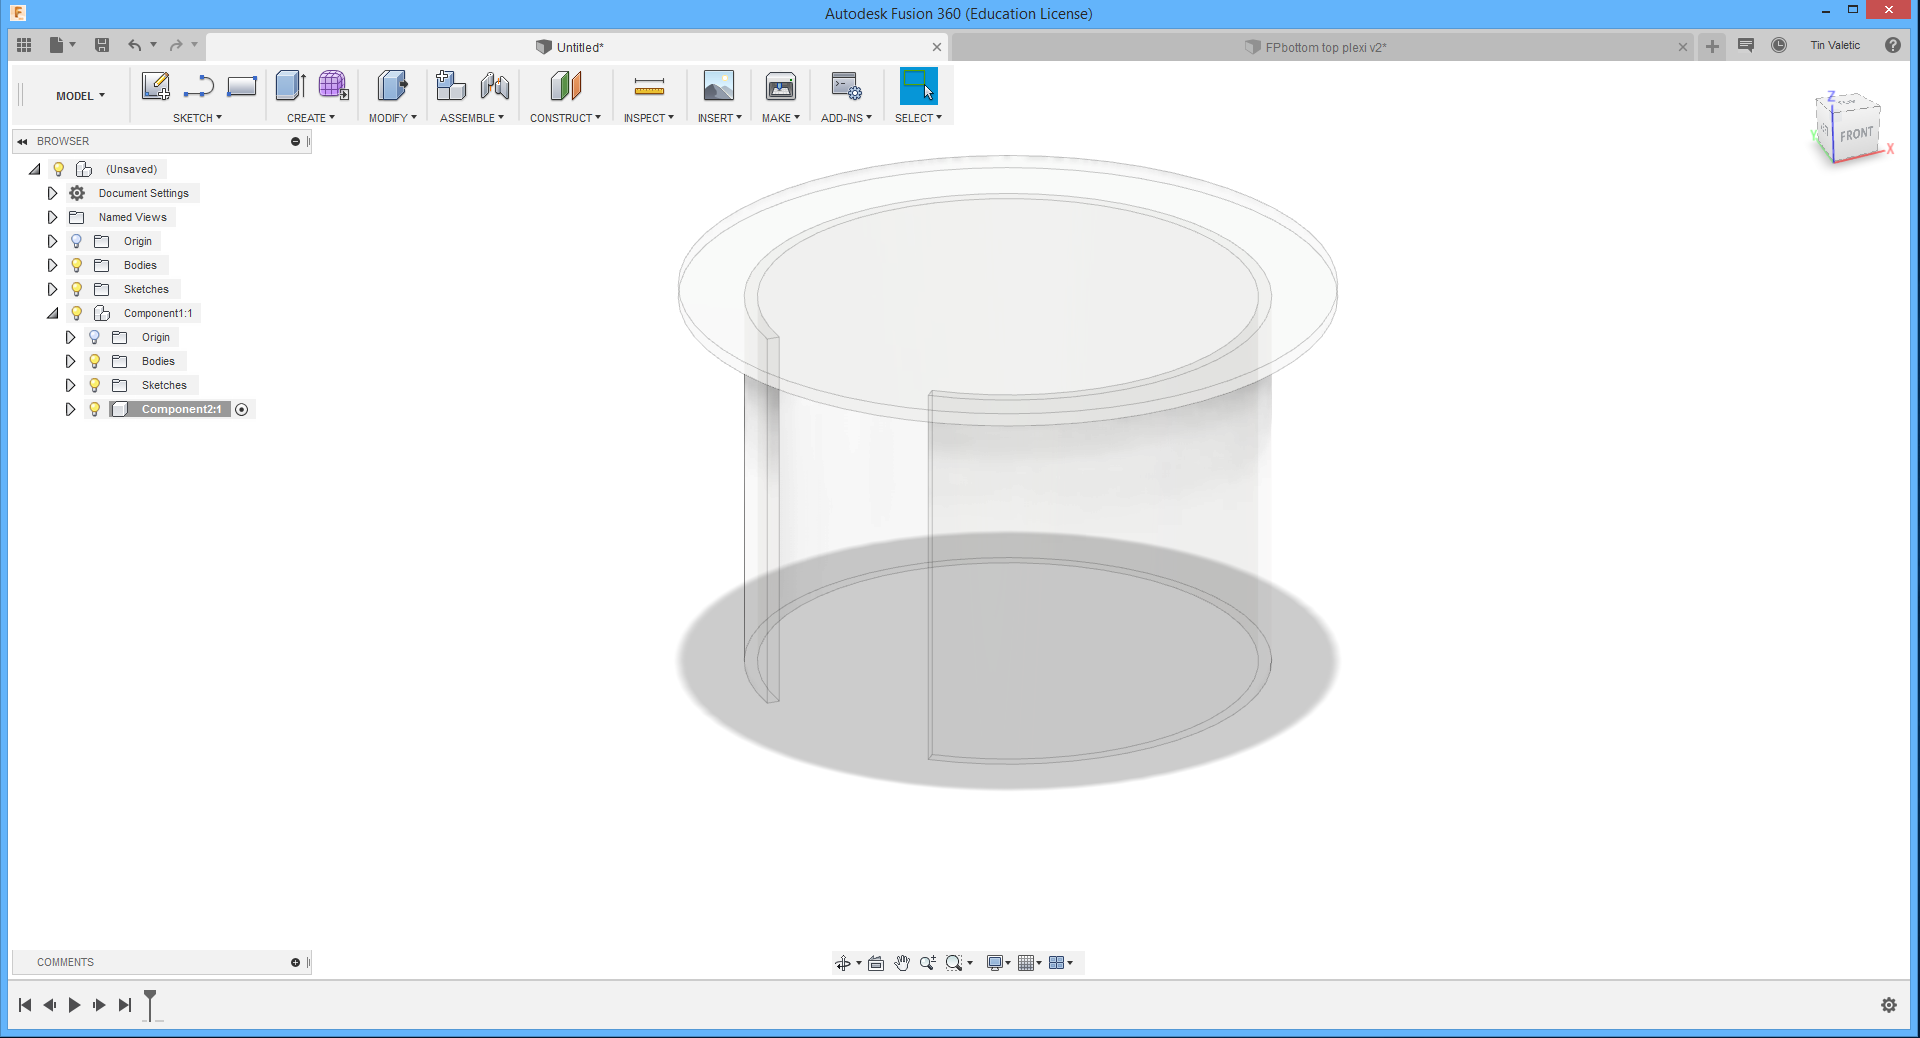
Then time is to make 3D from 2D. First need to exit from sketch design and the command is located in the end of the top toolbar. Now command "PRESS/PULL" needs to be selected. Again on top toolbar under "MODIFY>PRESS/PULL" and select what I want to pull, also is dimension option offered so need to type dimension.
Now to make top and bottom part. This command I like in Fusion because you can edit parts wher ever you want. The command is called "NEW COMPONENT", need to go o top toolbar under "ASSEMBLE>NEW COMPONENT" and select where you want to sketch another part, so I select top one first and also like preavious picture pull it with command "PRESS/PULL". After making that, same procedure was made for bottom part.
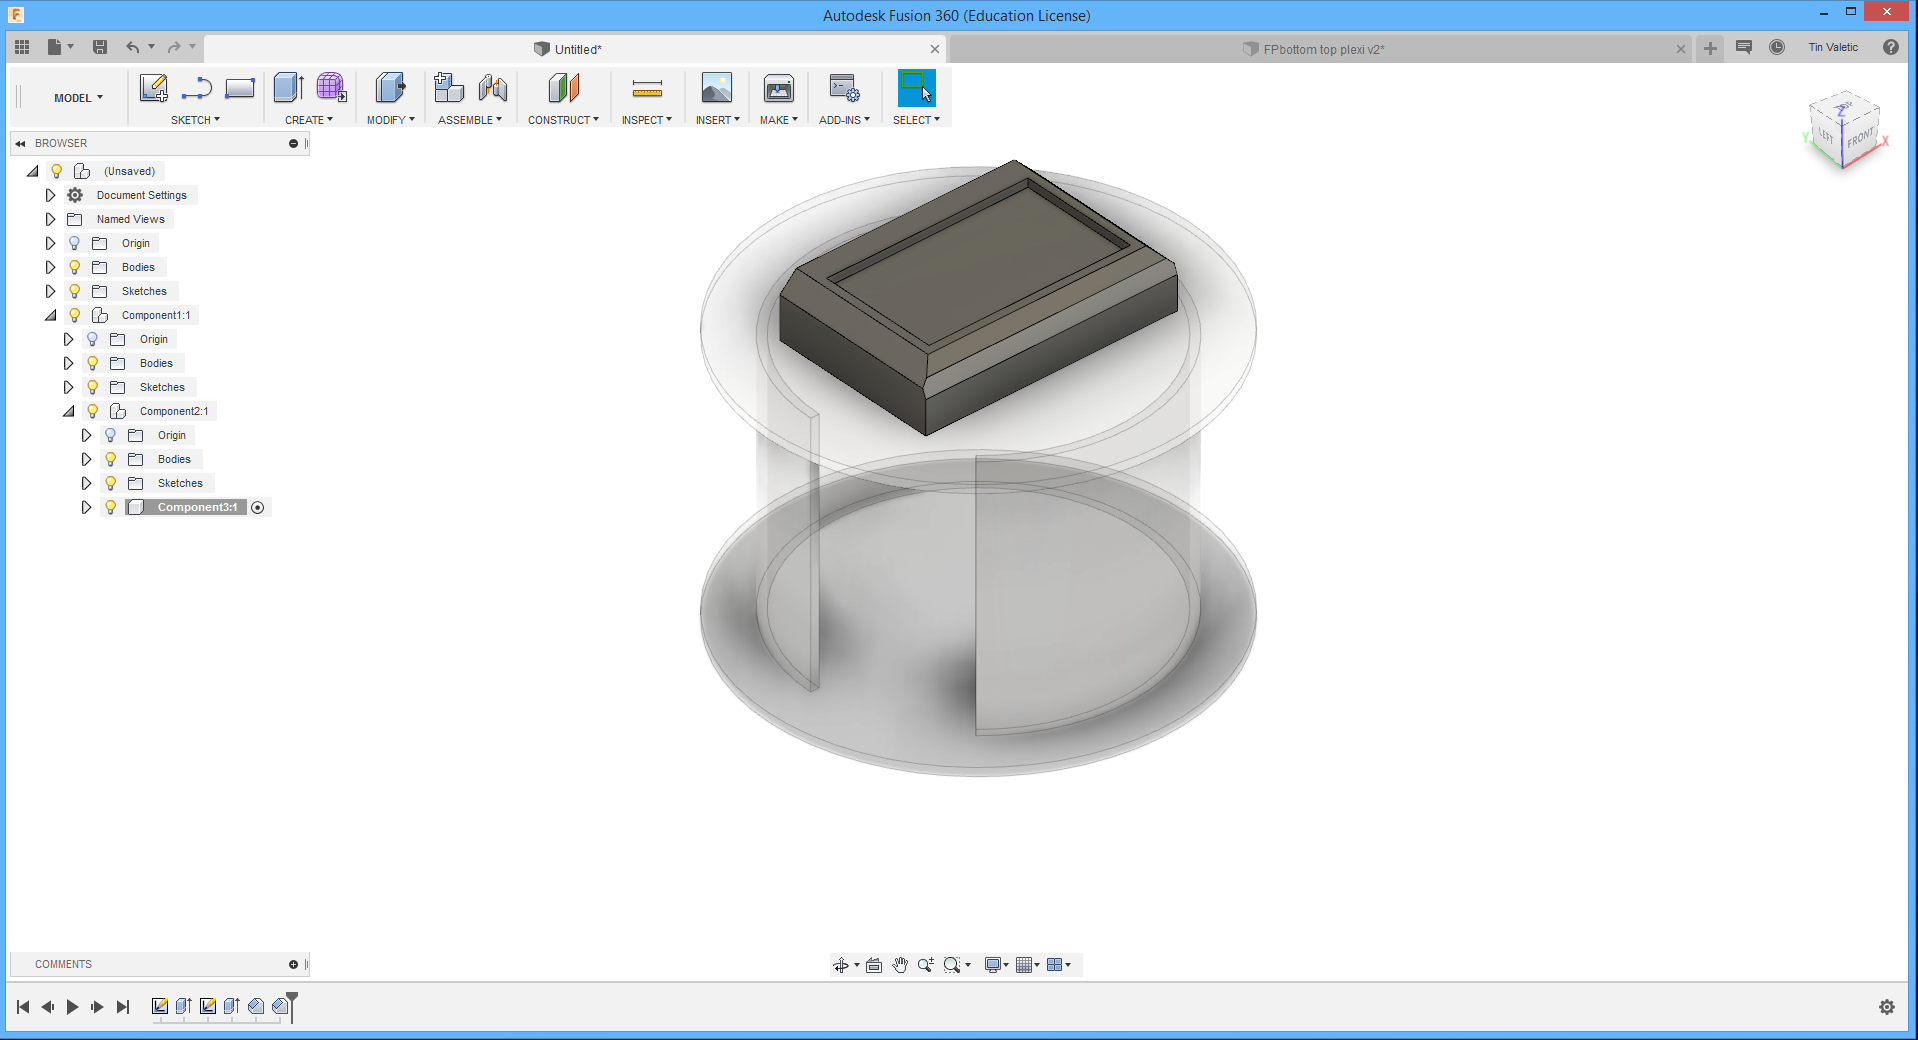
When the lamp housing is done I need to make LCD housing. That I'll start with the same commands like last one, so "ASSEMBLE>NEW COMPONENT" and select top of the lap. For this I sketch simple square and pull it, then to make a place for LCD, I also sketch simple square but now with command "PRESSI/PULL" I typed (-) before value and shange to "CUT OUT" so that part got removed. You can also change direction so you don't have to tipe value with minus. And to shape edges I used under "MODIFY>CHAMPFER", select edges that I want to shape and tipe value.
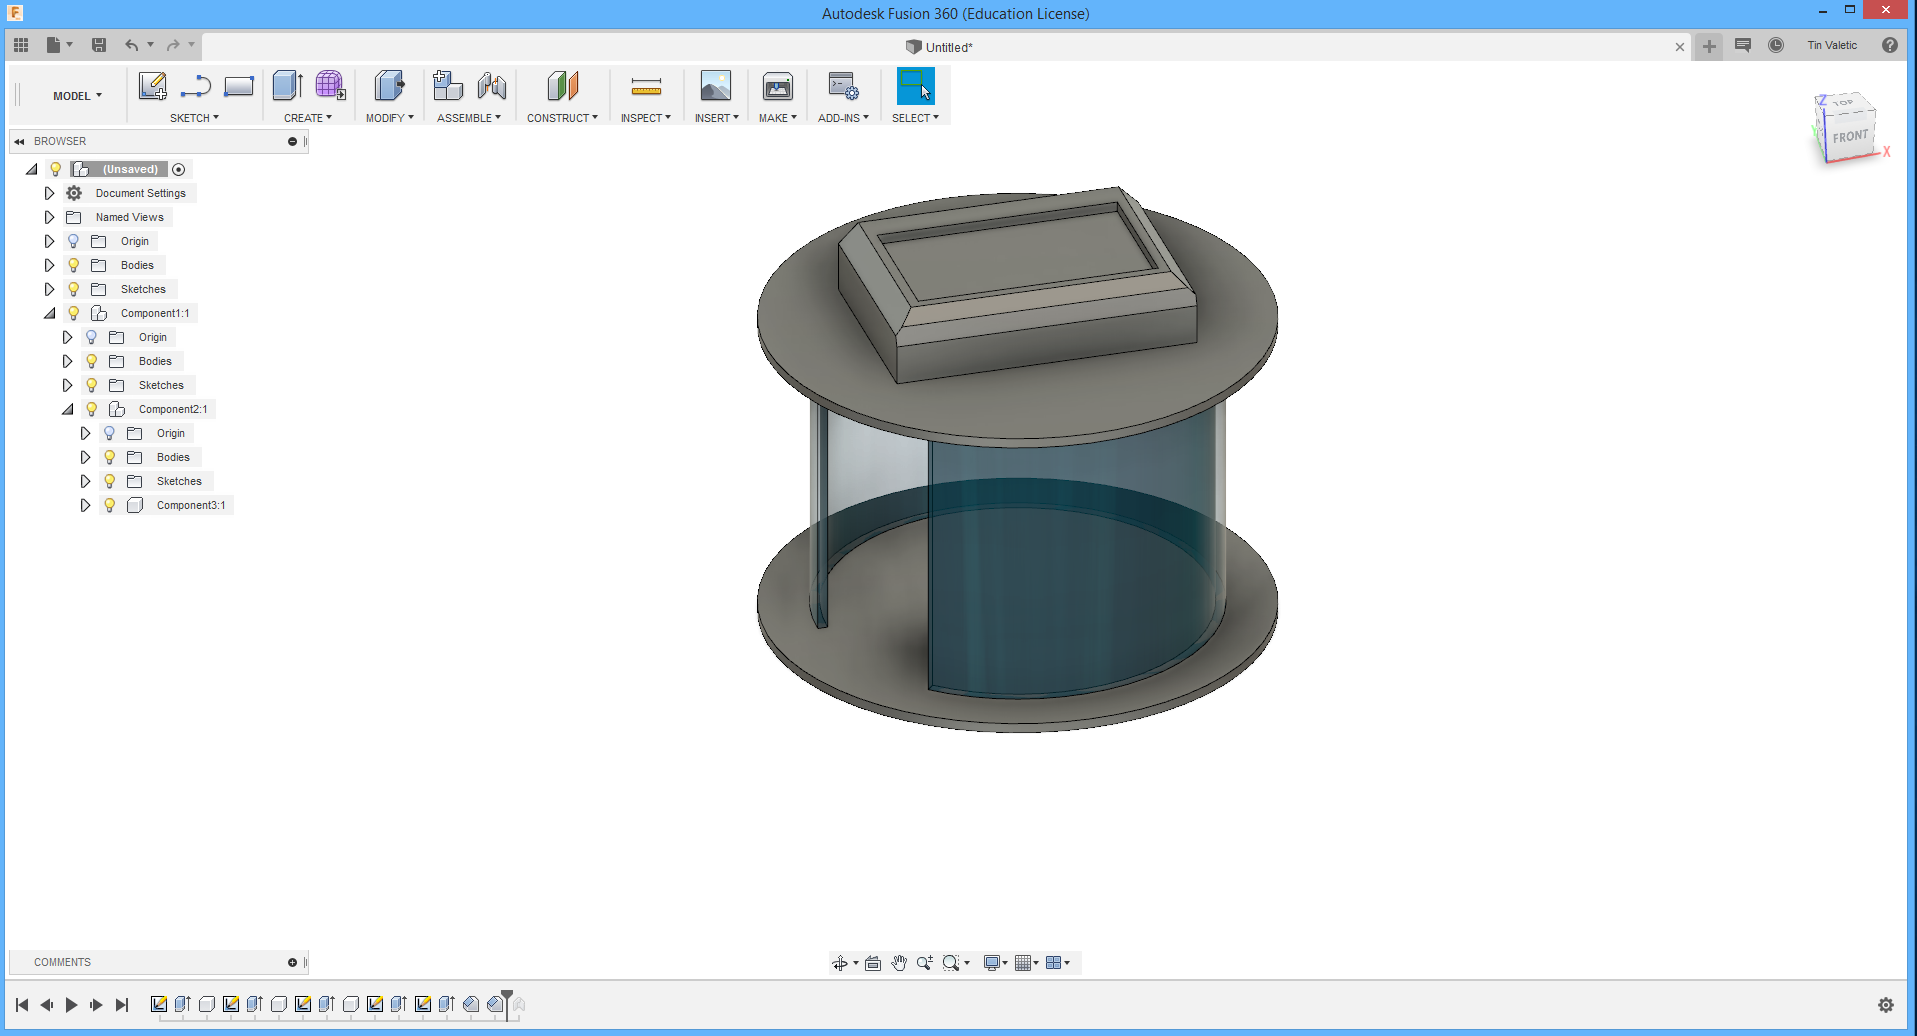
You can notice that I have different materials for middle part and other parts. That can be easily changed, just press right click on your pointer and select "APPEARANCE". window on right side will open with list of materials, to selec them just hold it and drag it to part that you want to change.
After finishing I wanted to make short animation of my model. And that can be priviewed on bottom left corner where you can see al your steps and have a play buton to animate your work.