17 - Wildcard Week
Wood Bending
This week the assignment was to make something new, using new technics and methods that has not been used during the Academy program. In the lab at Barcelona we did some classes about different things like clay printing with a robot arm, welding iron and wood bending. In my case, for the Ukulele I found wood bending a really interesting concept, so I decided to go for it and build the body of the Ukulele.
Wood Bending is a composite technic, so the main idea is to use two wood parts and glue them together keeping them in a certain shape, so when the glue gets hard, the tension between them will keep the shape you put them before gluing them. This allows you to get nice shapes and objects in a simple way.
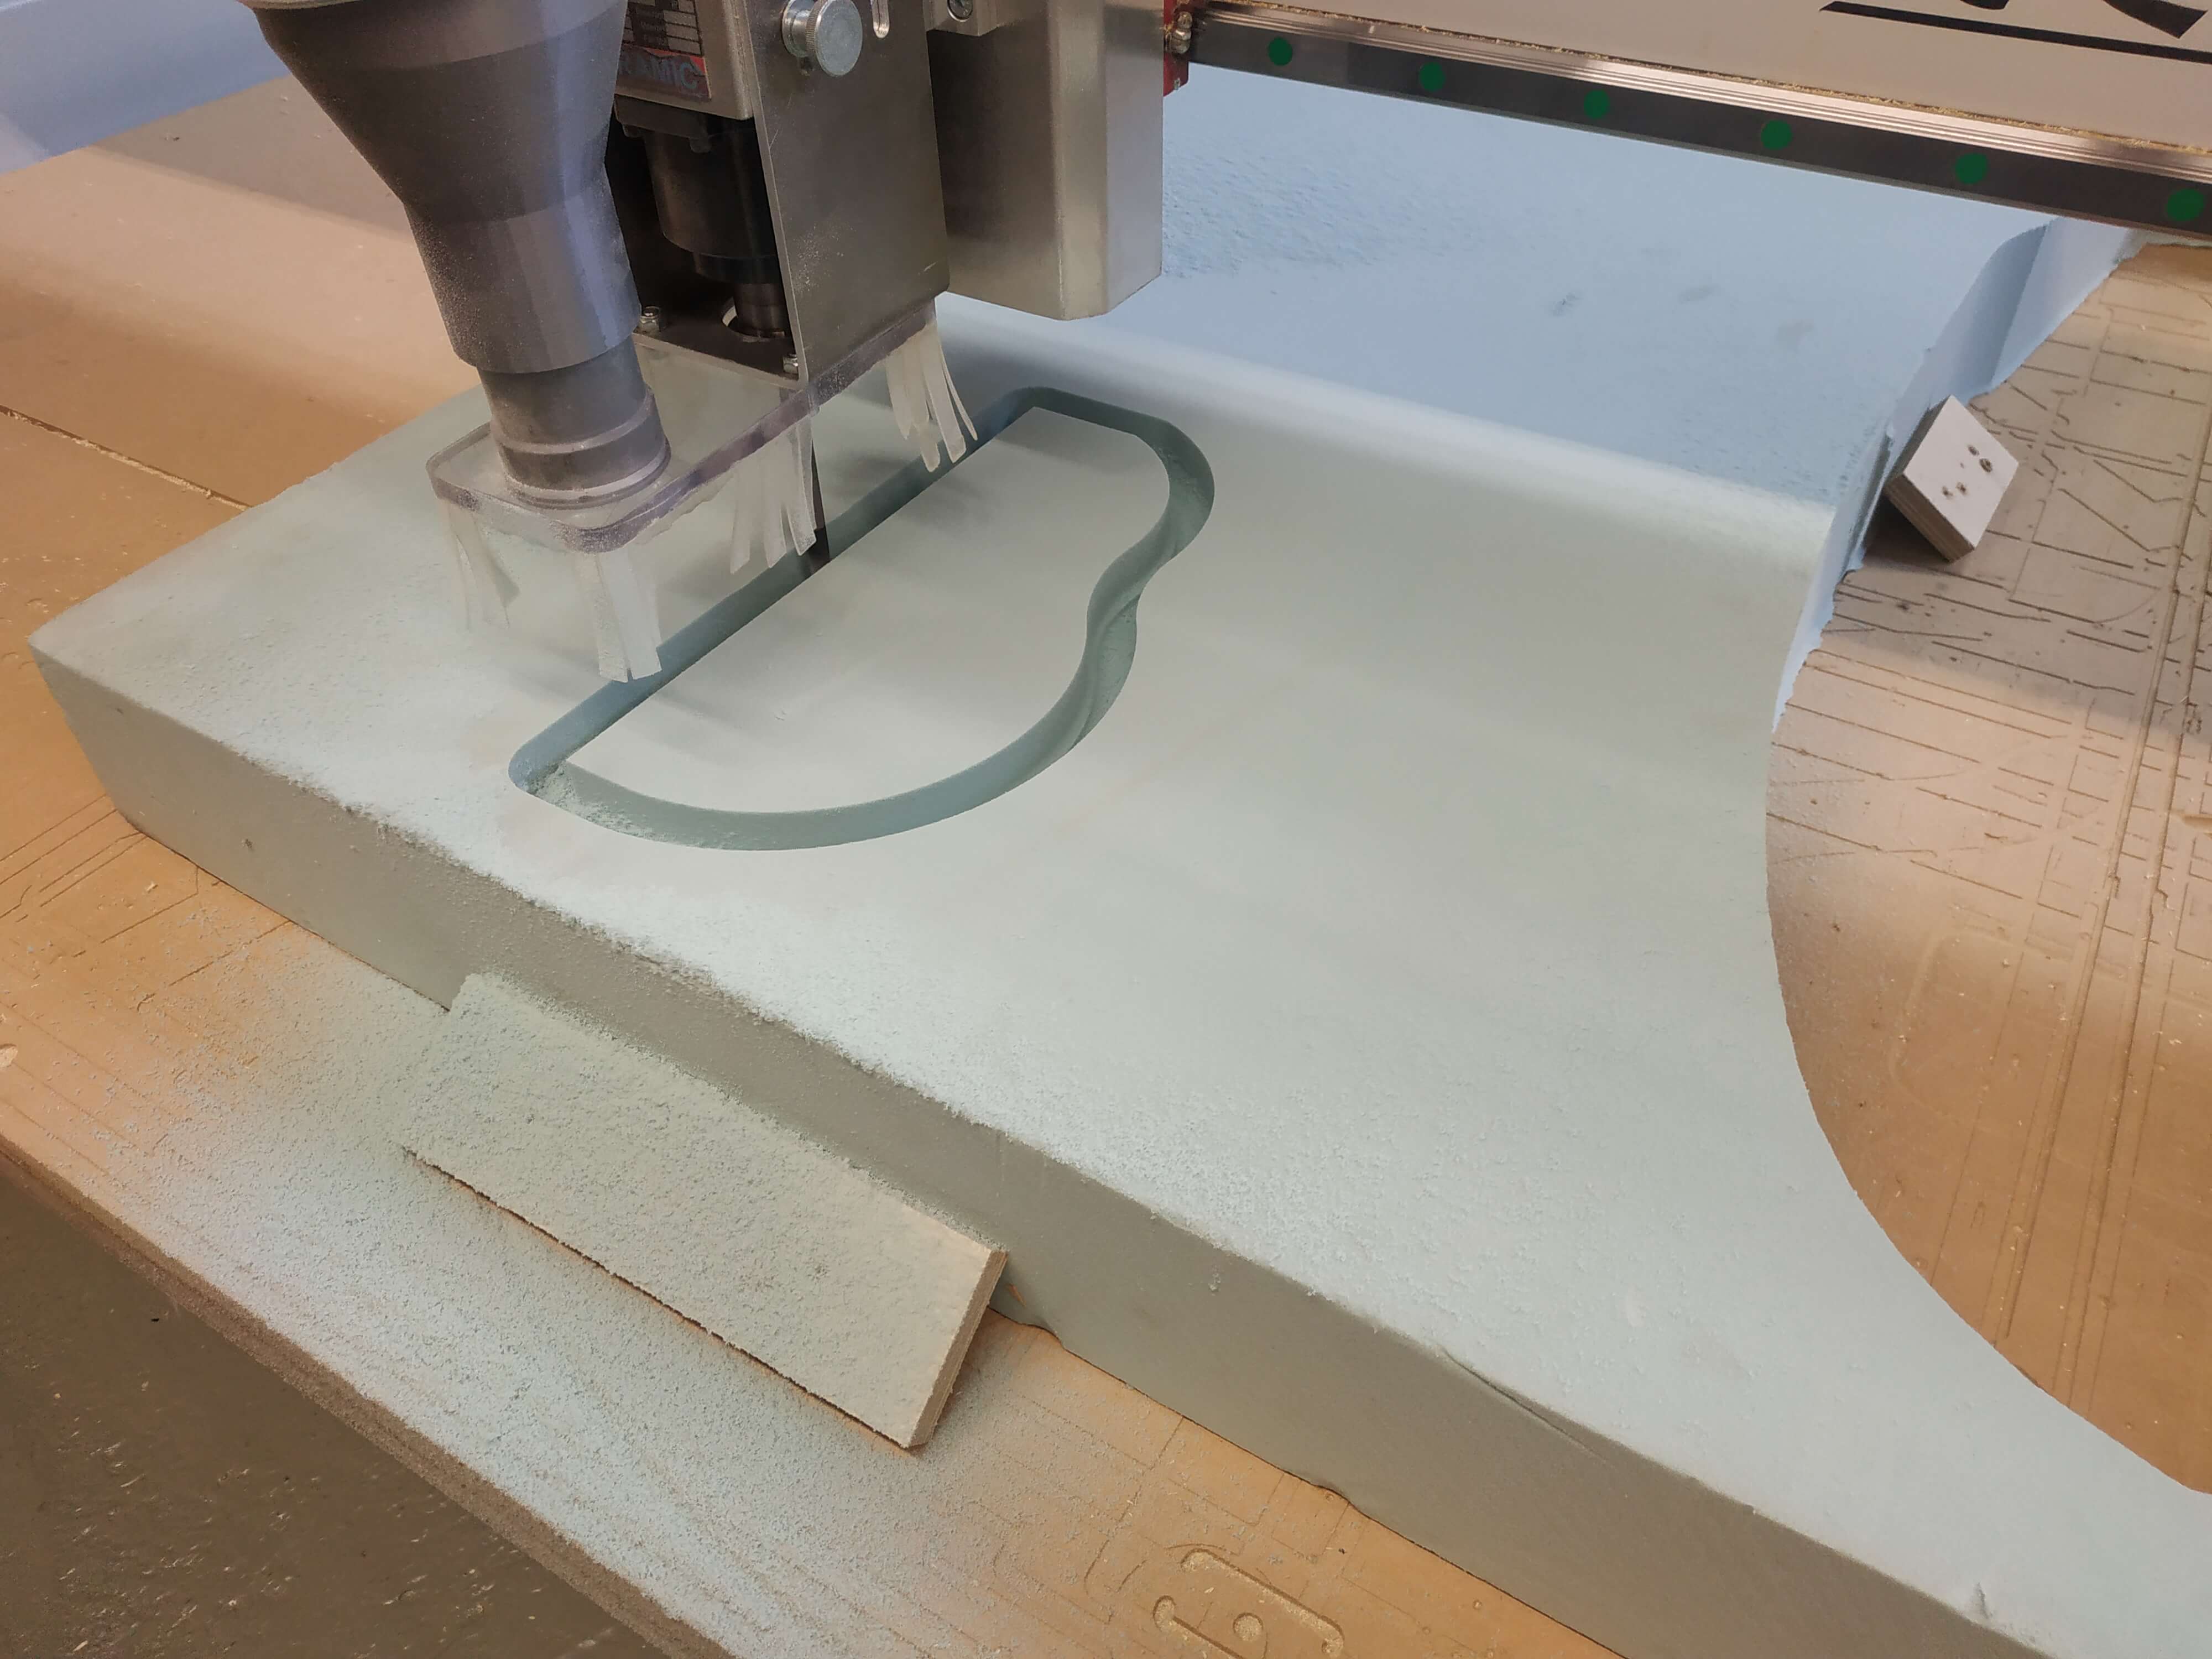
Milling XPS Foam
The first step was to mill a block XPS foam with the CNC to get the final shape of the object, it will act as the mold for the wood. For doing it, I designed the body in Fusion 360 first, then I graved the sketch and imported to rhino where I cut it in half to get both sides. Following the same process I did during week 7 I prepared the file in Rhino CAM and mill it with a 10 mm ball-end mill. It was a 2D cut because I only need the exterior shape.

Gluing the wood
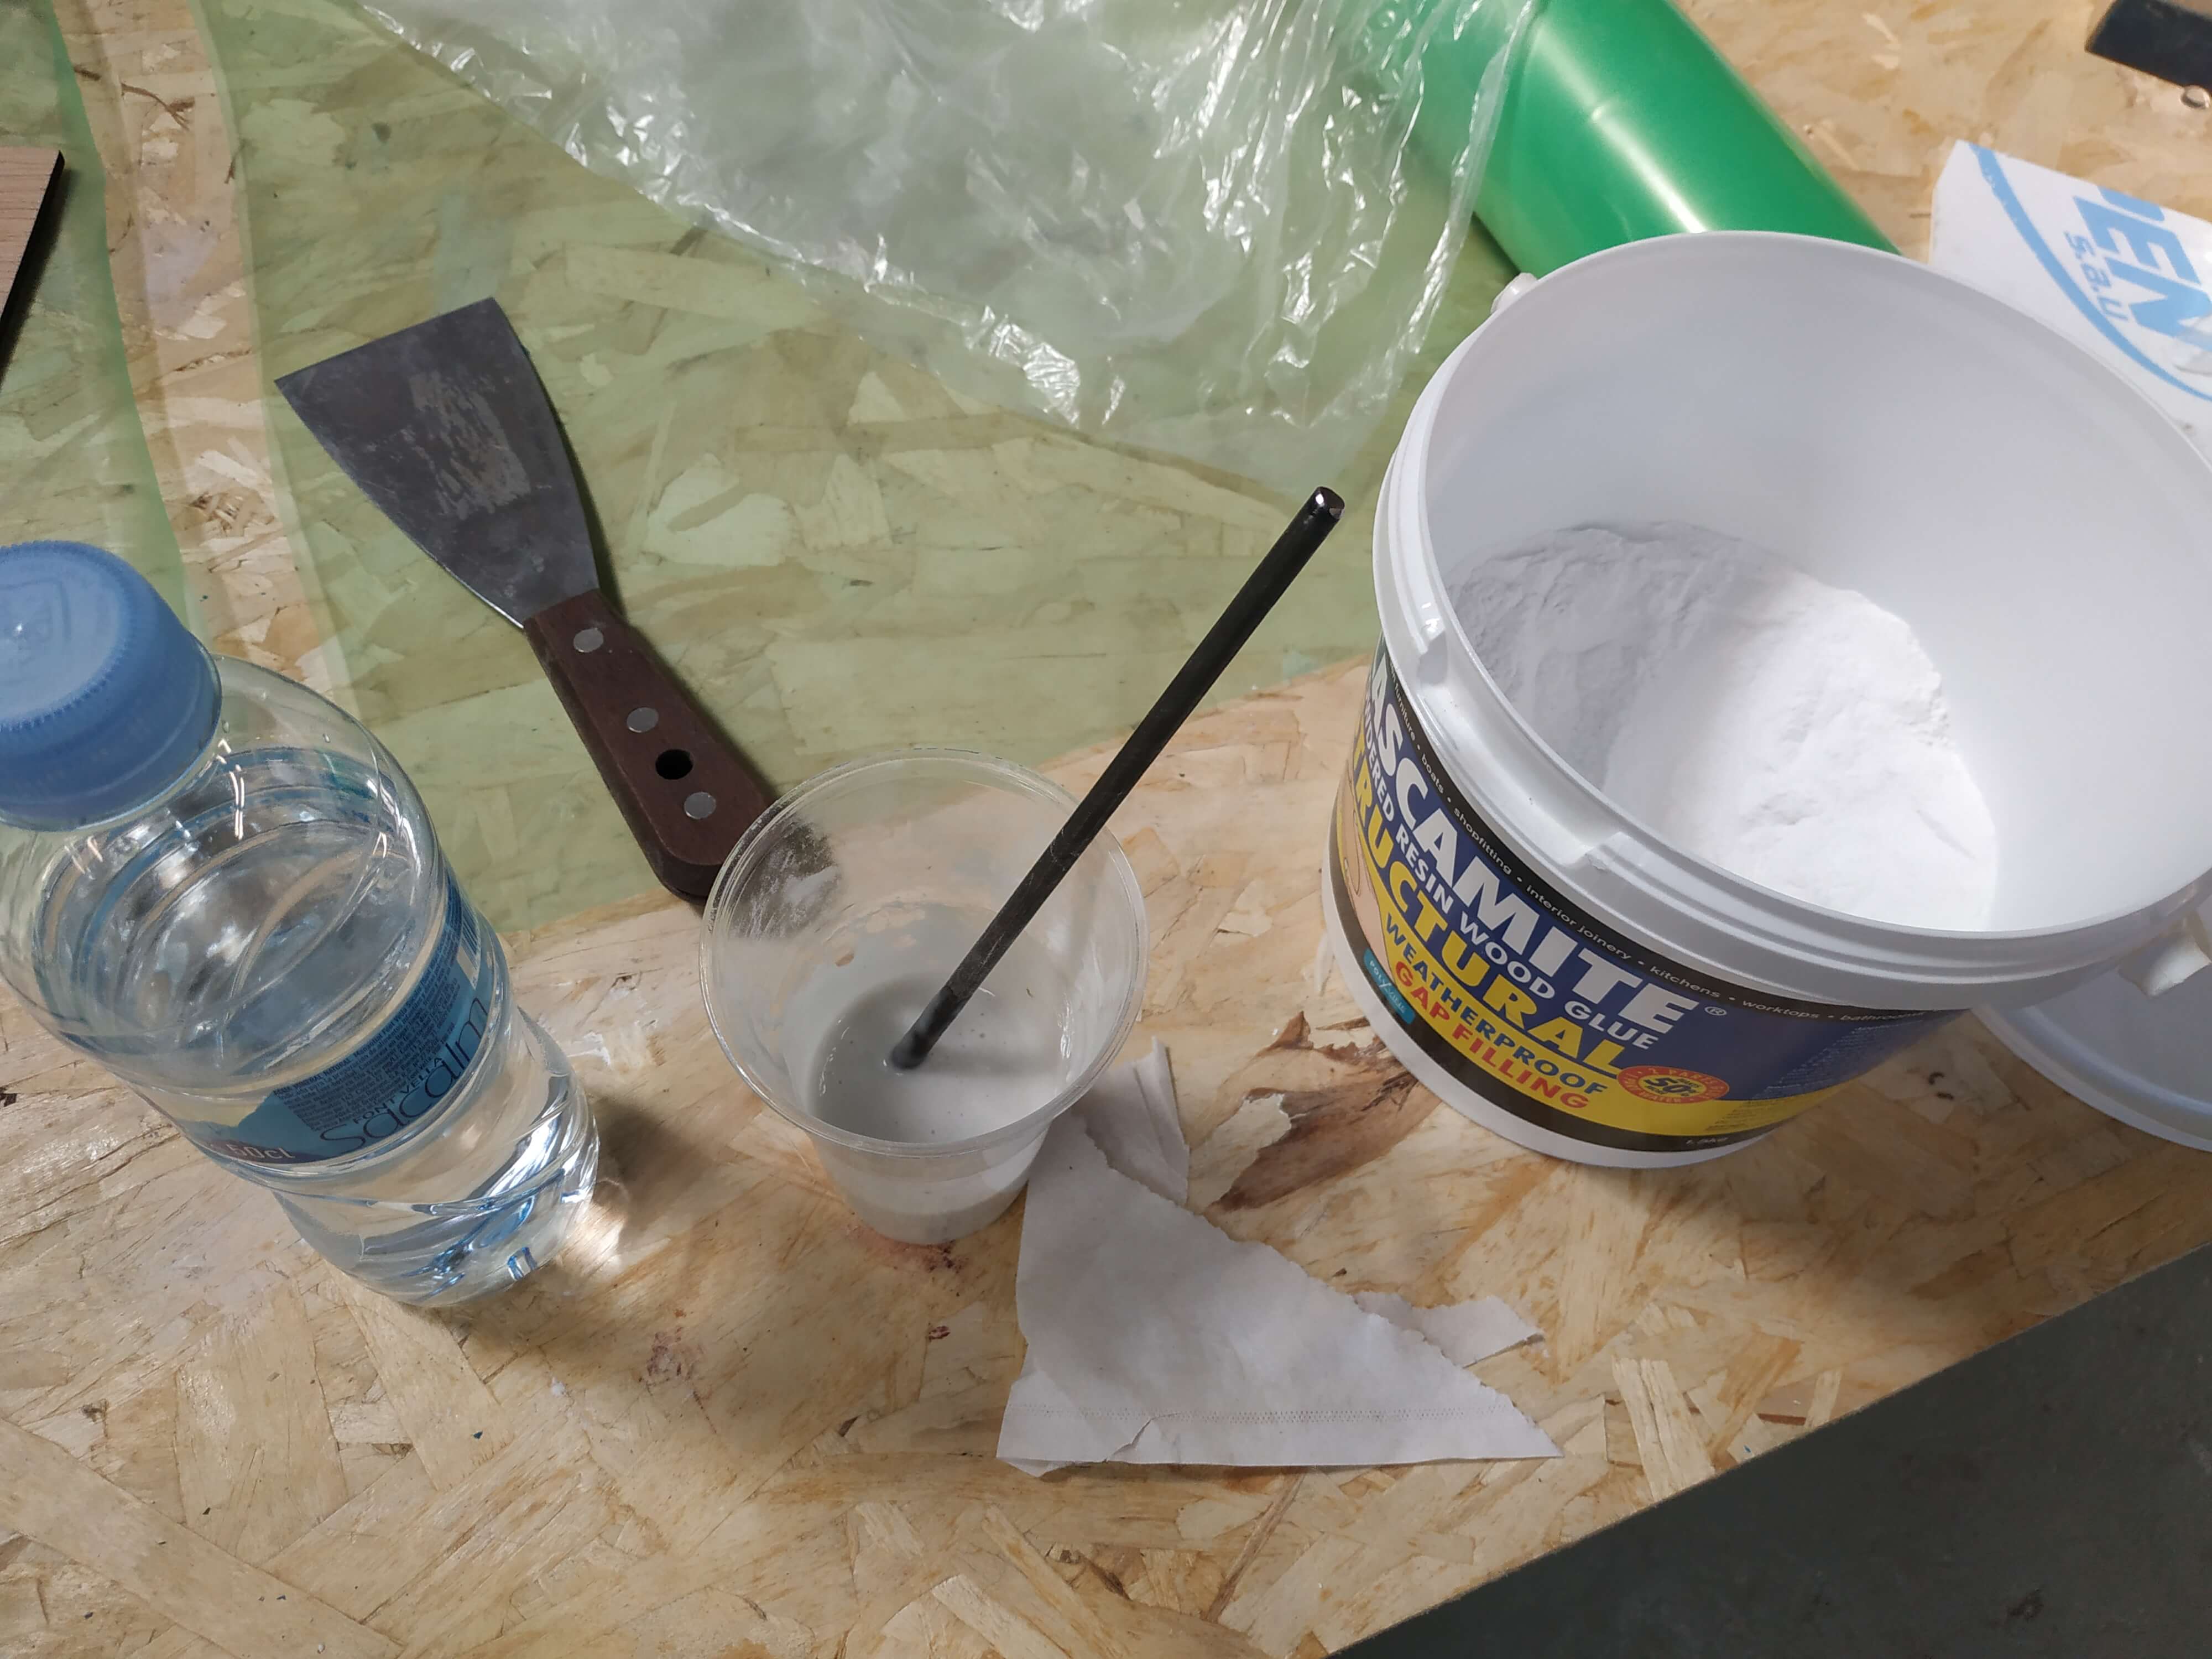
Then, I catted 4 pieces of flexible plywood (2 for side) in the laser cutter machine, that will act as the bended wood side part of the body of the Ukulele. Here I had a little problem, the wood was 5 mm thick, so the body will be really thick, but it is the first prototype, so I did it. Then I glue them with Cascamite, a powerful glue used for wood. I mix it with watter in a 3 parts of water for one of cascamite.

Vacuum machine
After applying the glue we have 12 hours before it gets hardened, so it was time to put it inside the vacuum machine. This was my first time working with it, this machine has a silicon cover that you put on top of your object and it creates the vacuum inside so it will press equally to all the object. I had a problem, the foam was to low, so I putted a piece of wood bellow it to get nice straight angles at the end of the piece.


The result
I left the piece there for until next morning, and this was the result. I had to sand some leftovers in the sides, but I calculated some space to have it done, so it was perfect.


Then, I laser catted the cover and the back part to glue everything together, adding some magnets to attach it to the main structure.

Classes
During this week, we did some classes with the instructors, so here are some pictures of what we did:
Clay printing
Eduardo showed us how to print with the robot arms of the lab, here are a picture of the process and one of a finished object by Diar.


It was super interesting and I would like to learn more about it and try it with one of my designs.
Welding
Mikel, our lab manager, showed us how to weld iron with a TIG solder machine. It was my first time welding with this type of machines. It is really dangerous for the extreme heat and the light, so we were super equipped to keep safety.


Wood bending
I just explained all the process, but we learned how to do it building a long-board. Here are the images of the process.

