
10.1. Model and material selection
For this assignment we are working on molding and casting techniques. We were asked to create a wax mold by 3d milling in a CNC to make a silicon mold that will give shape to a casted piece.
As there is a wide variety of materials and purposes for this assignment, I wanted to make something simple, one-side model that I could reproduce many times in different materials. I felt like working with polyurethan foam, but in terms of concept and shape I wanted to make something that didn't look at all like that. So after thinking, I decided to make a fishbone made of this foam.
I got an .stl model from thingiverse that I modified in height and added some round volumes to fulfill the brief of the assignment.
10.2. Mold case design
I started designing the wax mold with TinkerCAD. I chose this software as it worked easier to modify scale and references of the stl model, rather than on FUsion360 or CreoParametric. I had never used this software but after 5 minutes you can get easily how to work with this tool, adding and substracting volumes, placing working planes and using predetermined geometries. The piece will be flat on one side, as it is a one piece mold, and the milling will happen just on the top of the piece. In case we wanted to get a double side milled piece, we should cut the piece in half to make two countermolds made of wax, and add the positioning connections to assure bothe faces match, and making a pouring hole and an air exit hole.
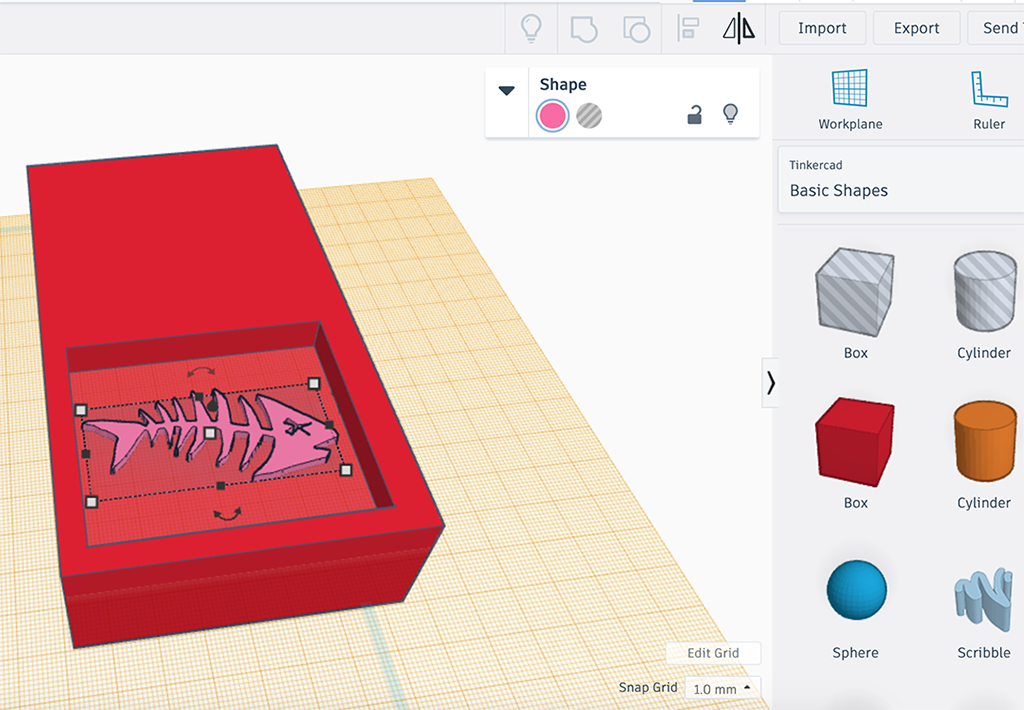
The first thing I did is making the main wax volume, then substract the squared space where the silicon mold will be made. Then I added the stl model, changing its scale to fit the area and pull up its height from 2mm to 5mm.
Then I added half a semisphere to modify the flat design and placed it on the eye position. Finally, I made some wedges on the vertical walls to help the unmolding with a 5 degrees inclination.
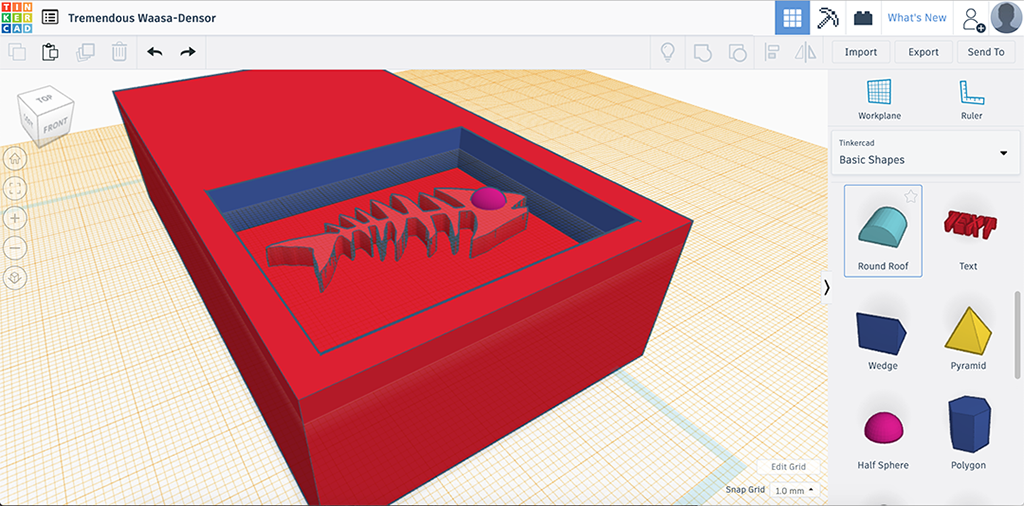
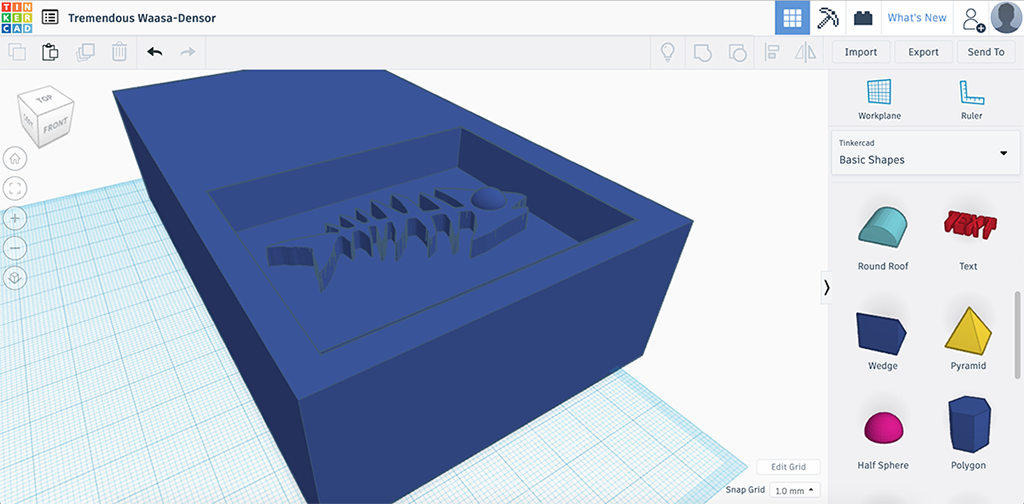
Once I was done with the wax model design, I saved it as an .stl file to work with the CAM software. This is the final view of the wax mold:
10.3. Mold case making
To design the milling CAM file, I chose working with Modela 4 Player. There is a nice tutorial to understand how it works.
So I imported the .stl file to Modela, and defined the mold's dimention, orientation and working surface.
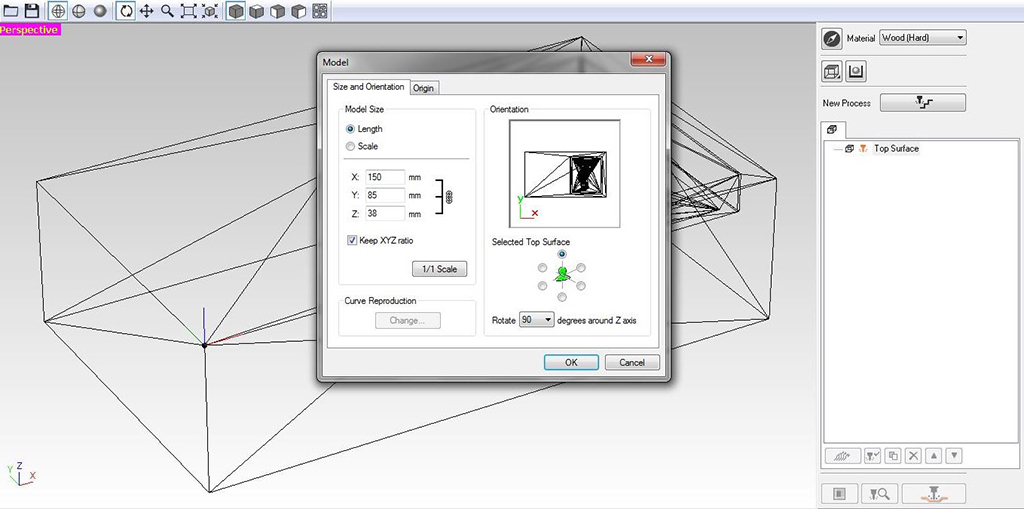
I set the axis origin reference of the wax mold on the (top) lower left corner.
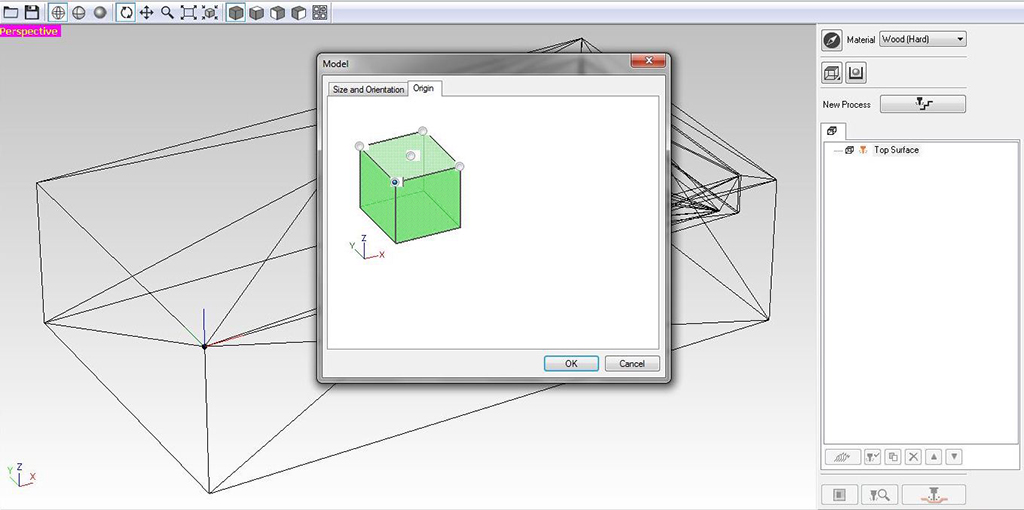
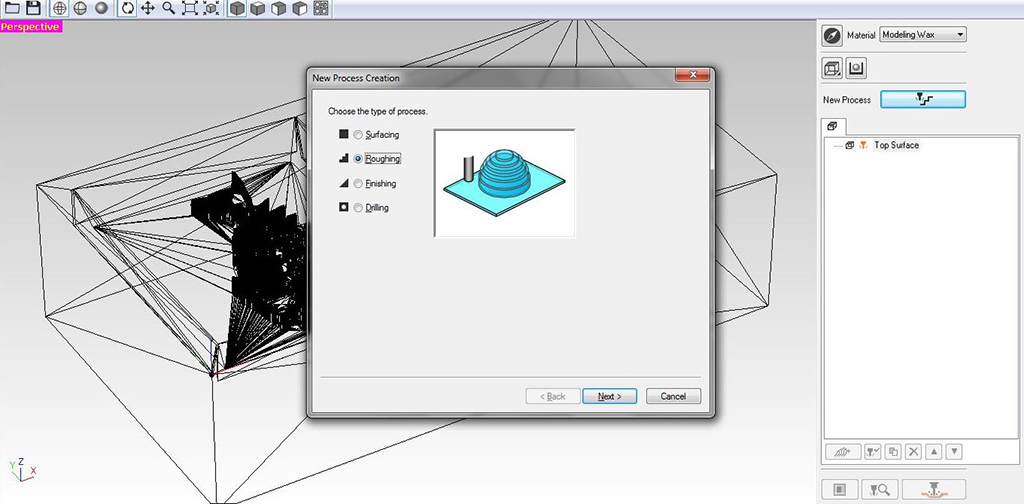
Then I chose the material (Modeling Wax), and started a new process to work with: roughing. Later on I will have to repeat the process for a second process for the finishing.
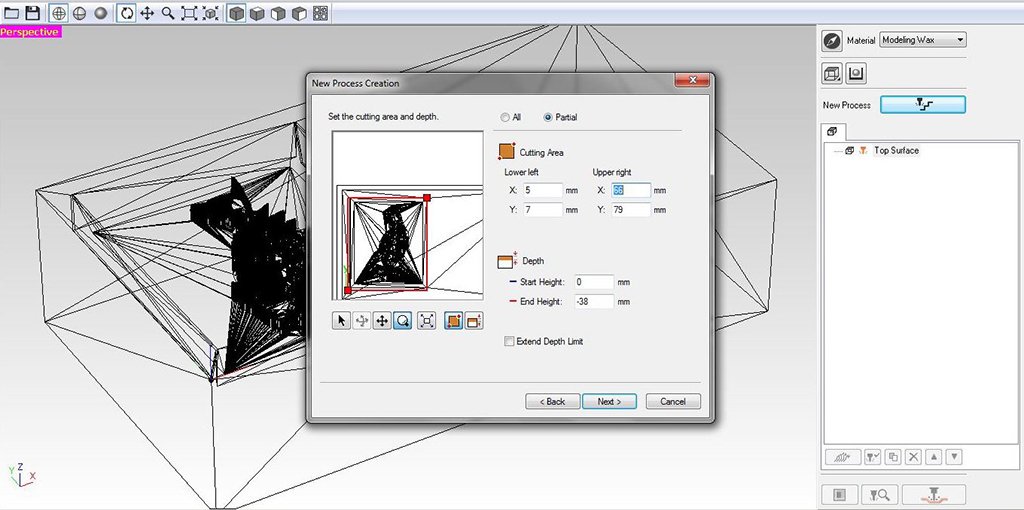
I restricted the cutting area of the model, and set the limits of depth between two opposit corners.
I chose the milling tool, a 1/8" round endmill for both processes. We should have taken into account previously on the design phase that the end mill's height and thickness fit the milling space we left.
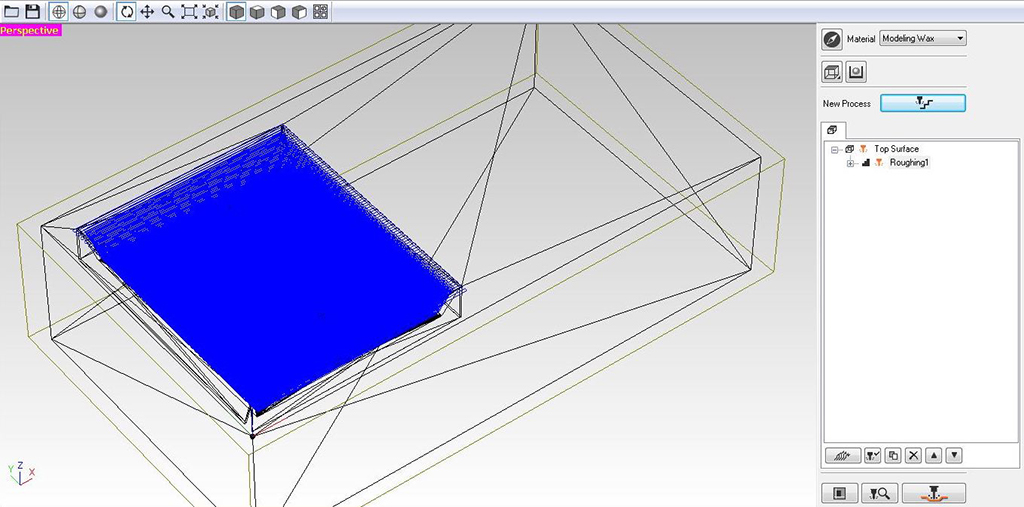
So now I got two milling .prn exportable files, one for roughing and one for milling, that will be played one after the other on the same workflow.
Mold milling
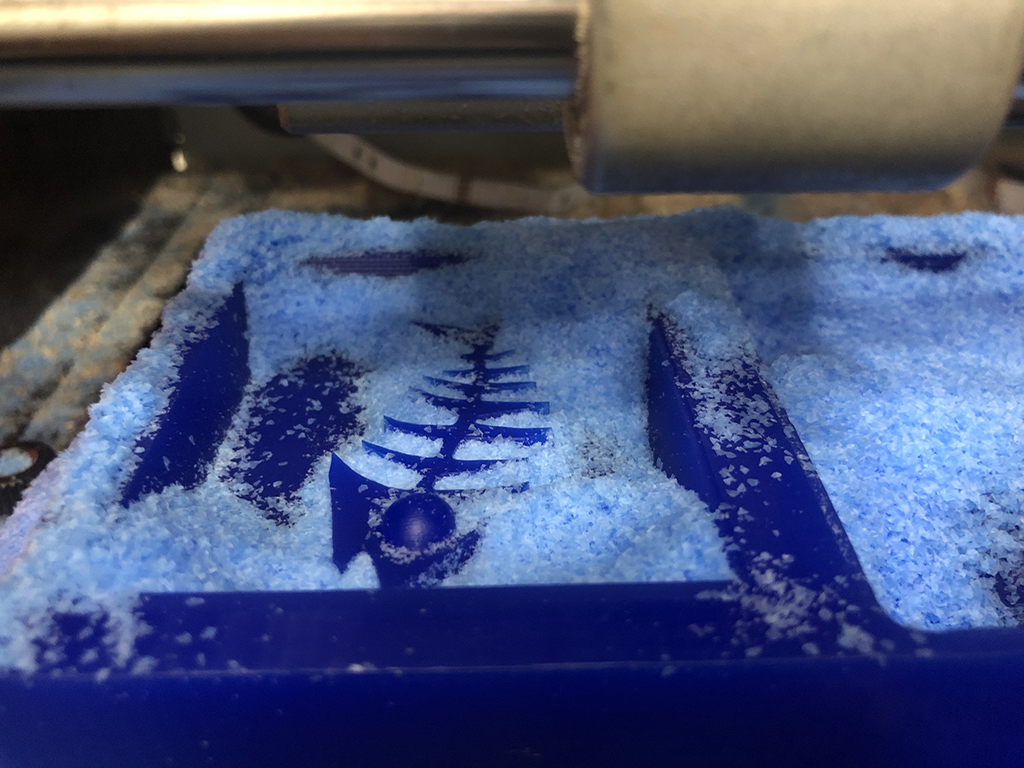
I placed the wax box onto the cnc machine's plate with doubleside tape, in this case I used the SRM-20 milling machine. I had to make sure that the box was placed parallel to the surface's edges, so that all axis references match.
I also checked the wax box' top surface was completely flat by measuring the Z distance in many places. In case it is not, you can make an operation to correct it. Setting the Z origin in the lowest part of the surface will also make the milling much better.
Using the same program and following the same steps as in other milling exercise as I explained on Electronic Design assignment, we send the file to mill.

The whole milling process took almost 4 hours, so I left it working overnight. This was due to the small size of the end mill. Once the work was over, I removed the mold from the plate, cleaned the surface and saved the wax chips to melt it later and reuse it for further wax boxes.
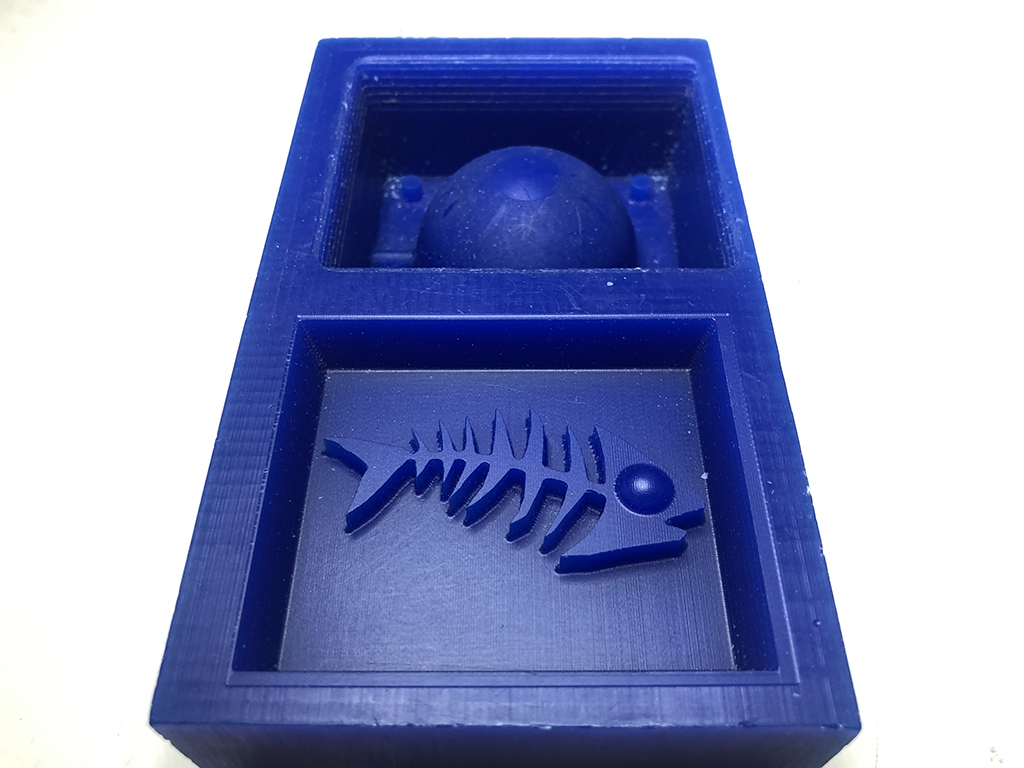
This is how the wax mold looked in the end. The finishing looks really good, and I had no problems with any geometry of the model. So now, after cleaning propperly the mold, I am ready to use it for the silicon mold.
Mold making
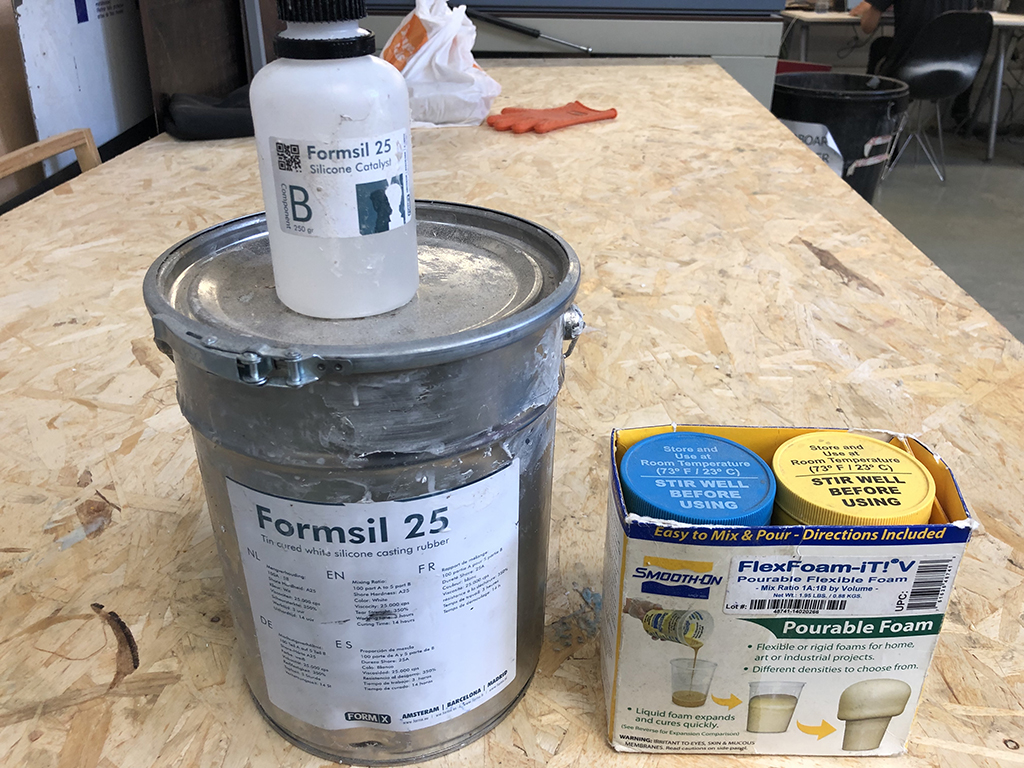
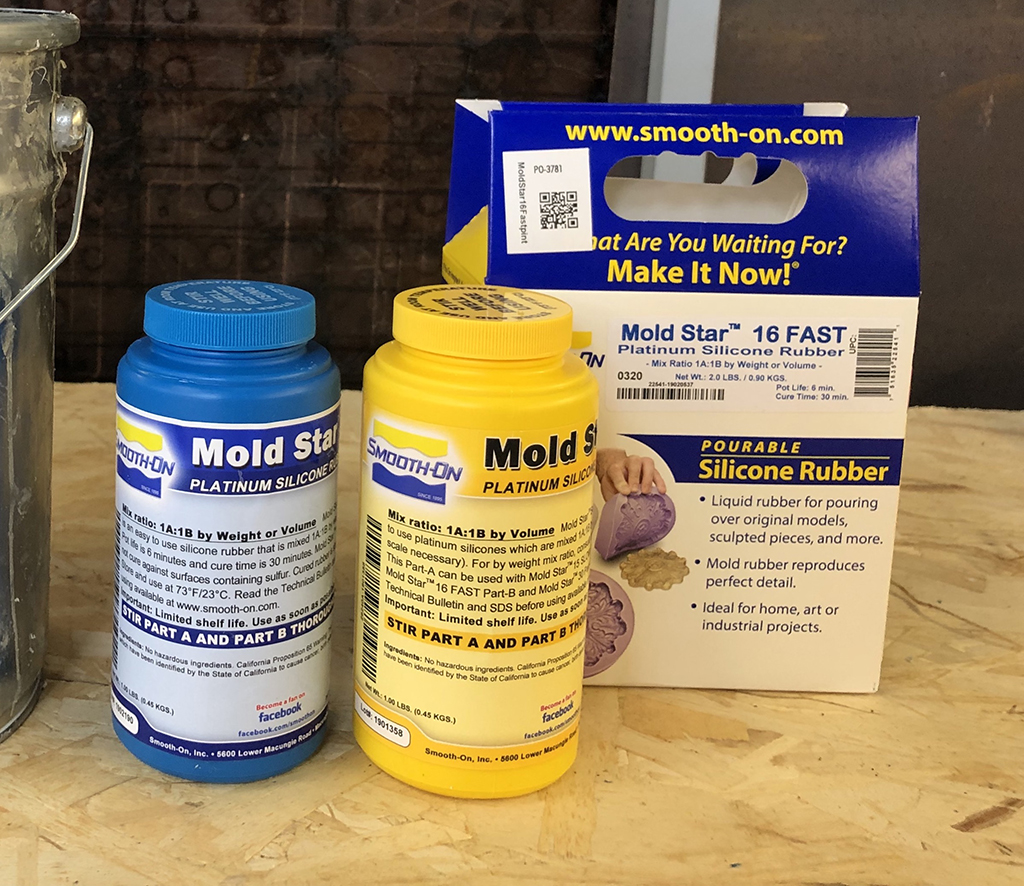
I used two different materials to make the mold. One with a long curing silicone: FORMSIL 25 and another with another silicon with faster curing time: Mold Star 16 fast.
It is crucial to follow the instructions and parameters shown in materials' datasheet. Mixing ratios, pot life, curing time, environmental conditions, and of course, mechanical, chemical and foodsafe properties are explained on them.
Along the working process, there are several rules that we must follow as wearing gloves, masks and protecting glasses, as well as a clean area to work on.
FORMSIL MOLD
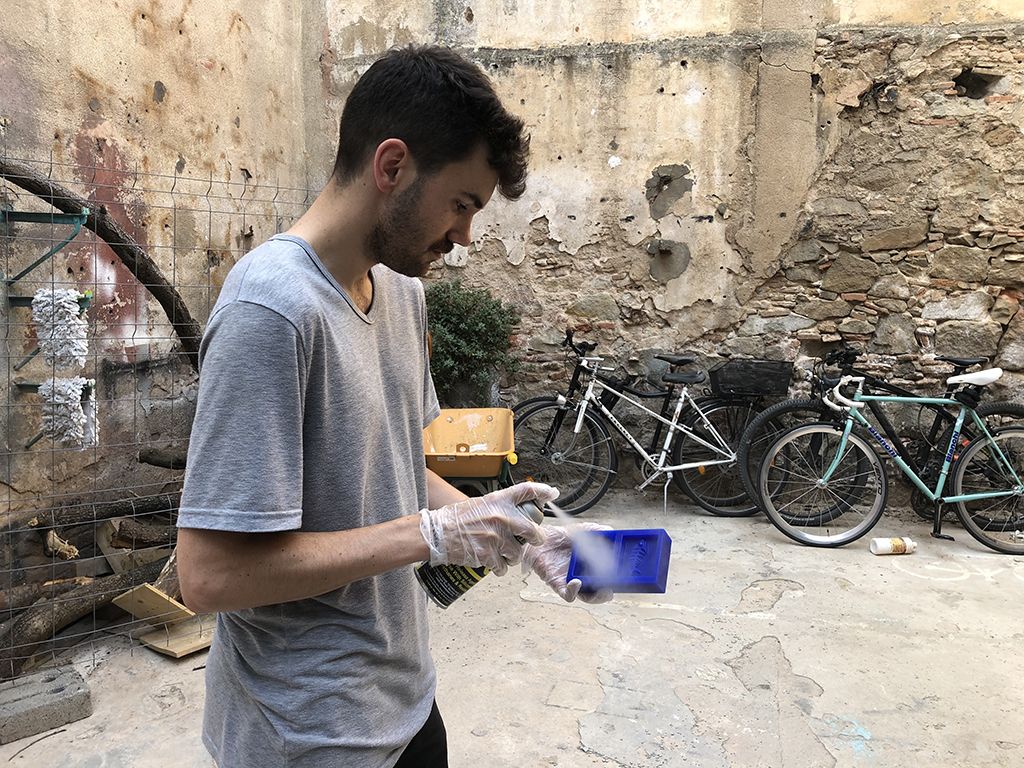
First I sprayed the wax molding surface with a release agent that will help to unmold the piece from the wax box.
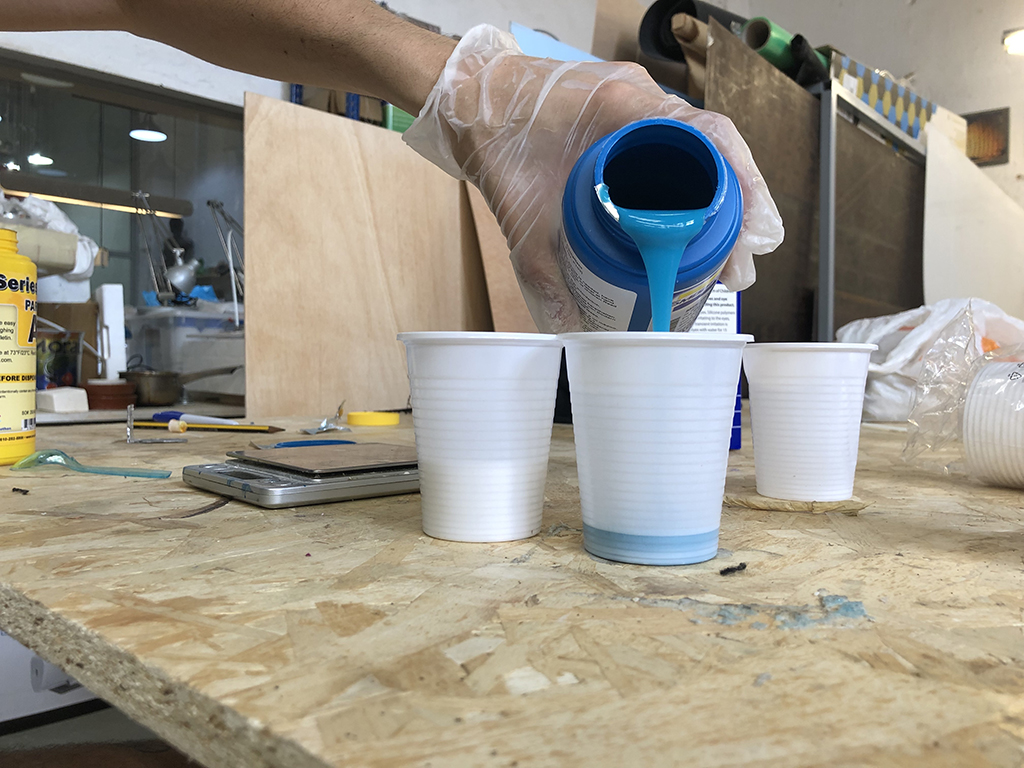
Then read the product's datasheet (not available online), so I had to trust the label on the molding material. This Formsil silicone is made of a mix of two components, the silicone (A) and the catalyzer (B) with a 100 to 5 ratio proportion. We will use two plastic cups to measure the cuantities on a scale. We have 3 hours of pot time to mix both components stearing carefully not to make too many bubbles.
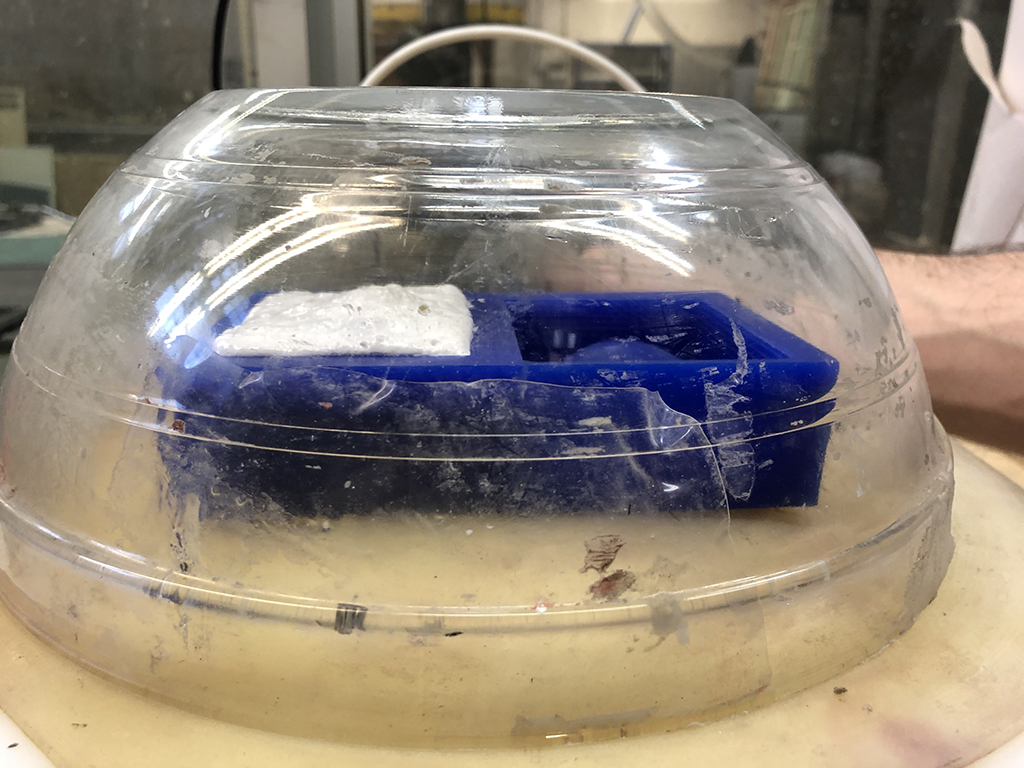
However, we need to remove all the bubbles of the mixture to avoid errors on the molding piece's surface. So we put the mixture inside a vacuum machine to make the bubbles emerge.
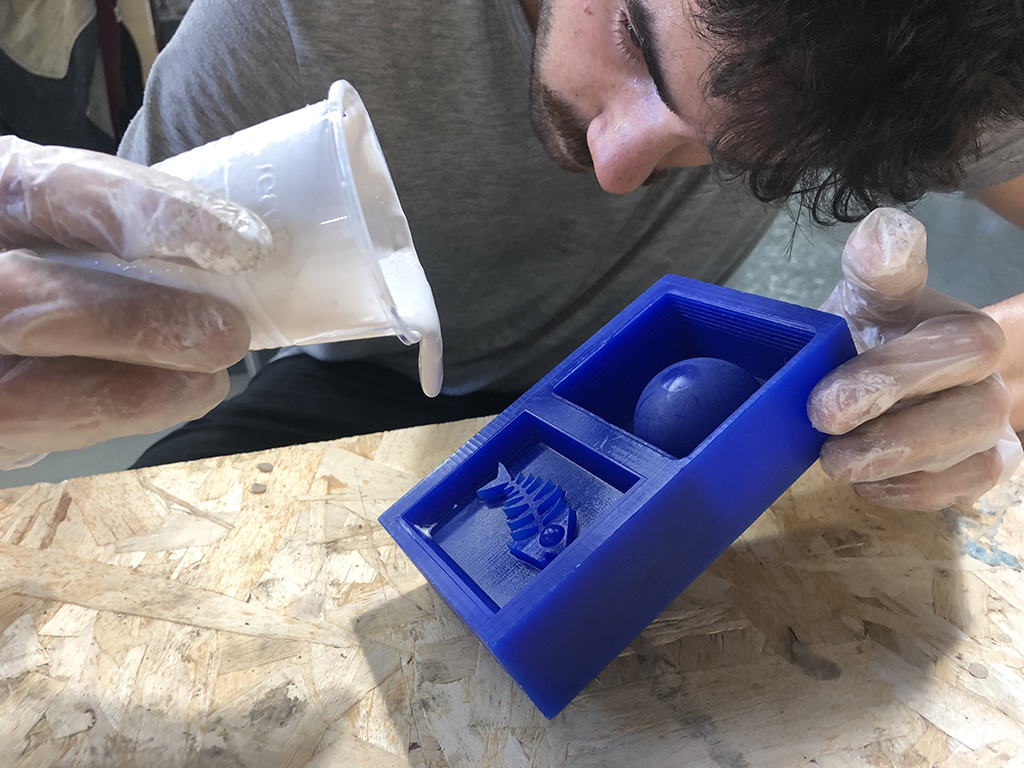
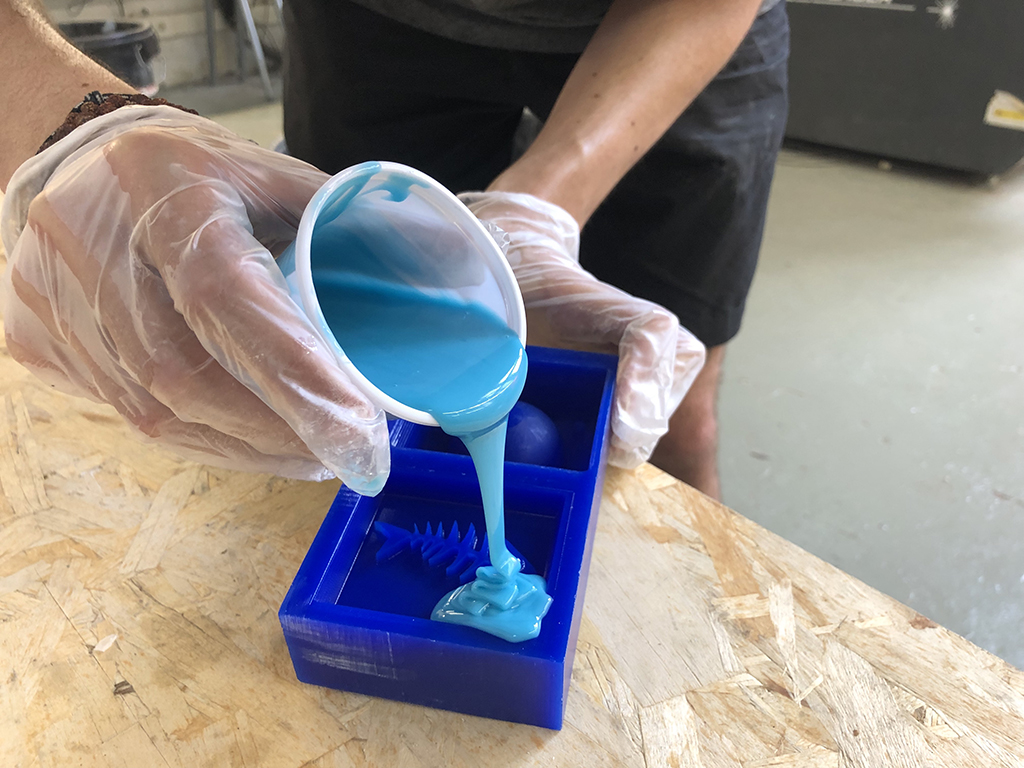
The mixing, before and after making the vacuum, doesn't look too good. No matter how many times I used the machine, the mixture had too many bubbles and looked too dense. But anyway I tried to use it and cure it. It is very important to start pouring the mix tilting the wax mold and starting from one corner, pouring all the material onto the same spot.
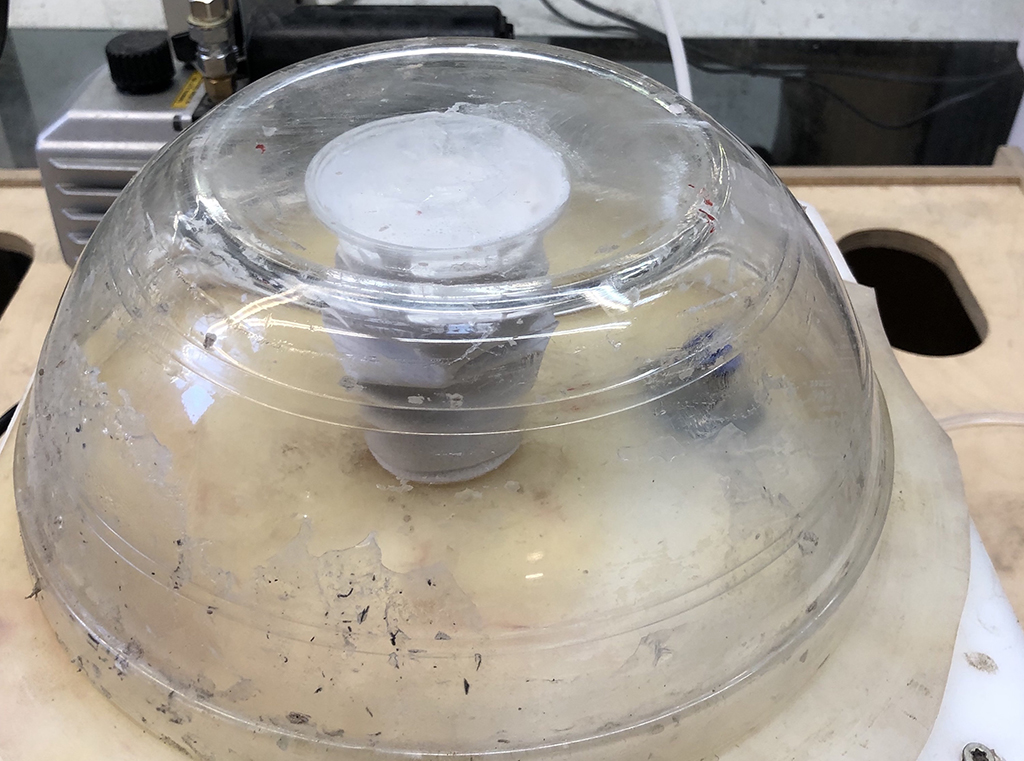
Then I put again the mix now with the waxmold inside the vacuum machine doing the same process. And kept it aside for 14 hours to cure. Next morning I saw the results.
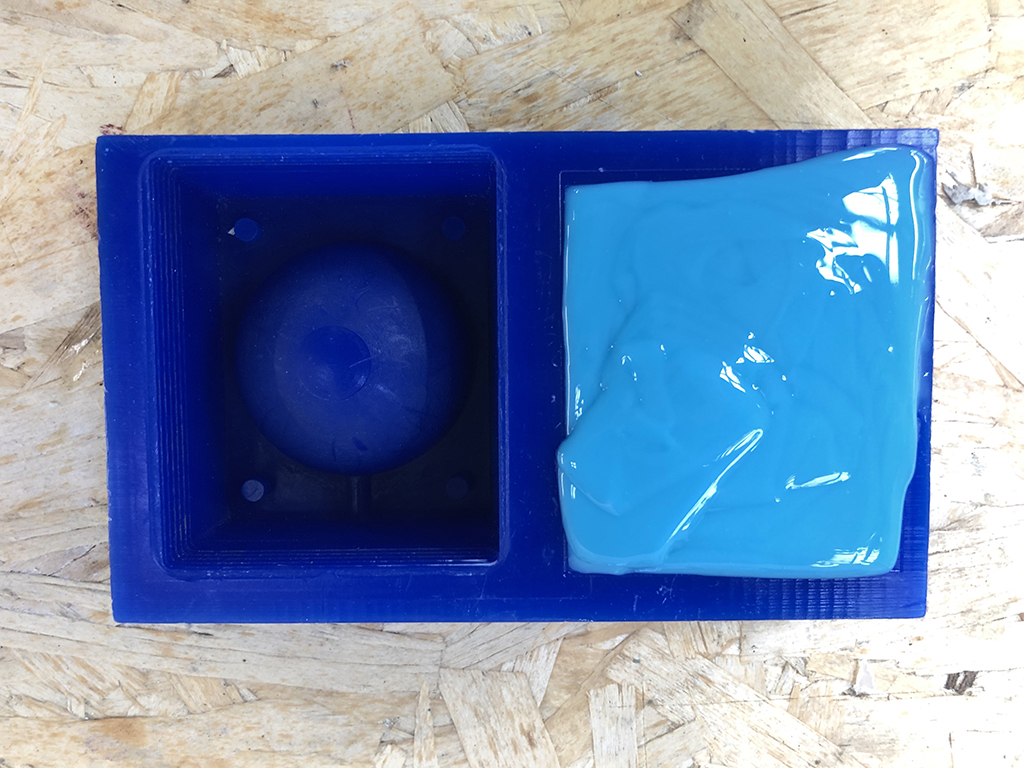
After removing the silicon mold from the wax mold, as expected, the finishing surface of the piece was too bad. Actually I don't know if it was a problem of mixing, or the material's condition as it had been stored for a long time.
Now I will try the same process with another molding silicon.
MOLD STAR 16 FAST
This fast curing silicon is widely use for multple purposes. It is very simple to use, gives excellent results, and takes very little time to see the results. So it looks like a very good option after last fail.
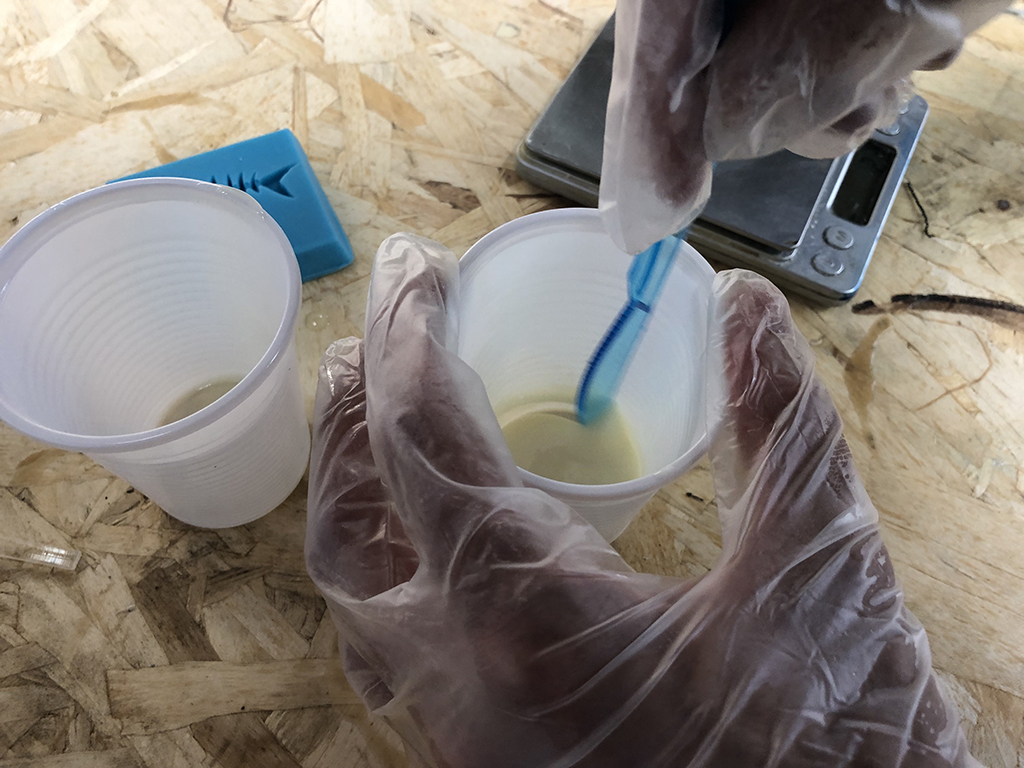
According to the product's safety datasheet, the mix of the silicon also needs a catalyzer, but in this case in a much higher proportion: 1 to 1; as the curing time is very short.
So I weighted both elements, and mixed them together. The pot life is much lower (6 mins), but it is much easier to mix, there are no visible bubbles so I did not even use the vacuum machine in this case.

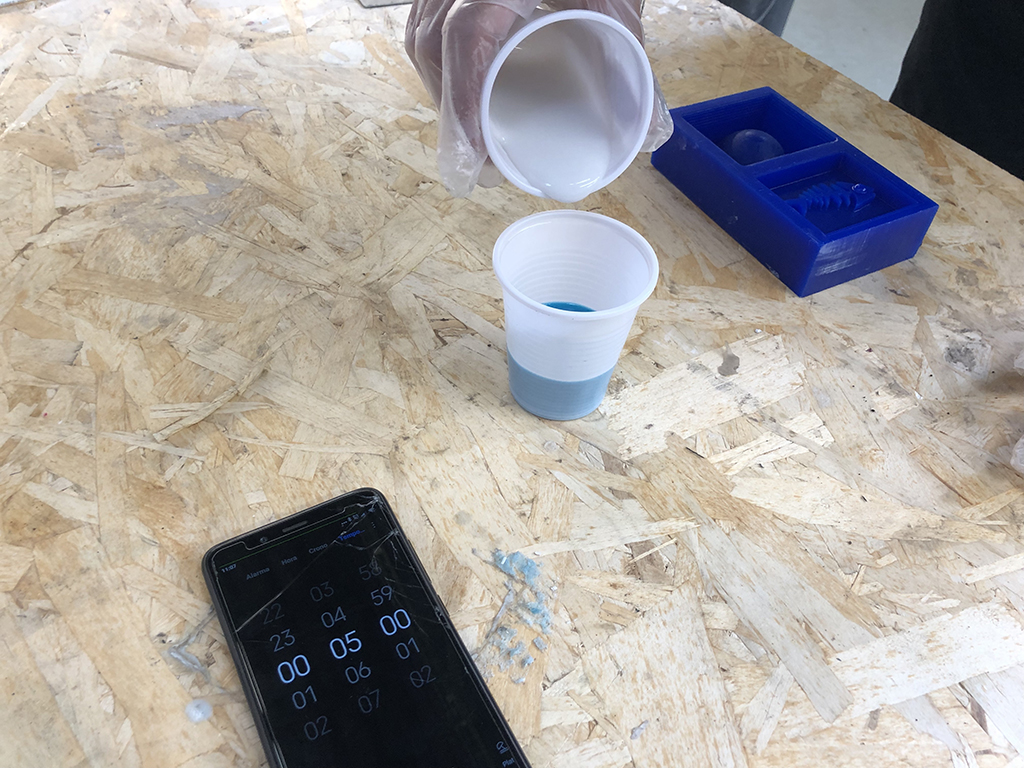
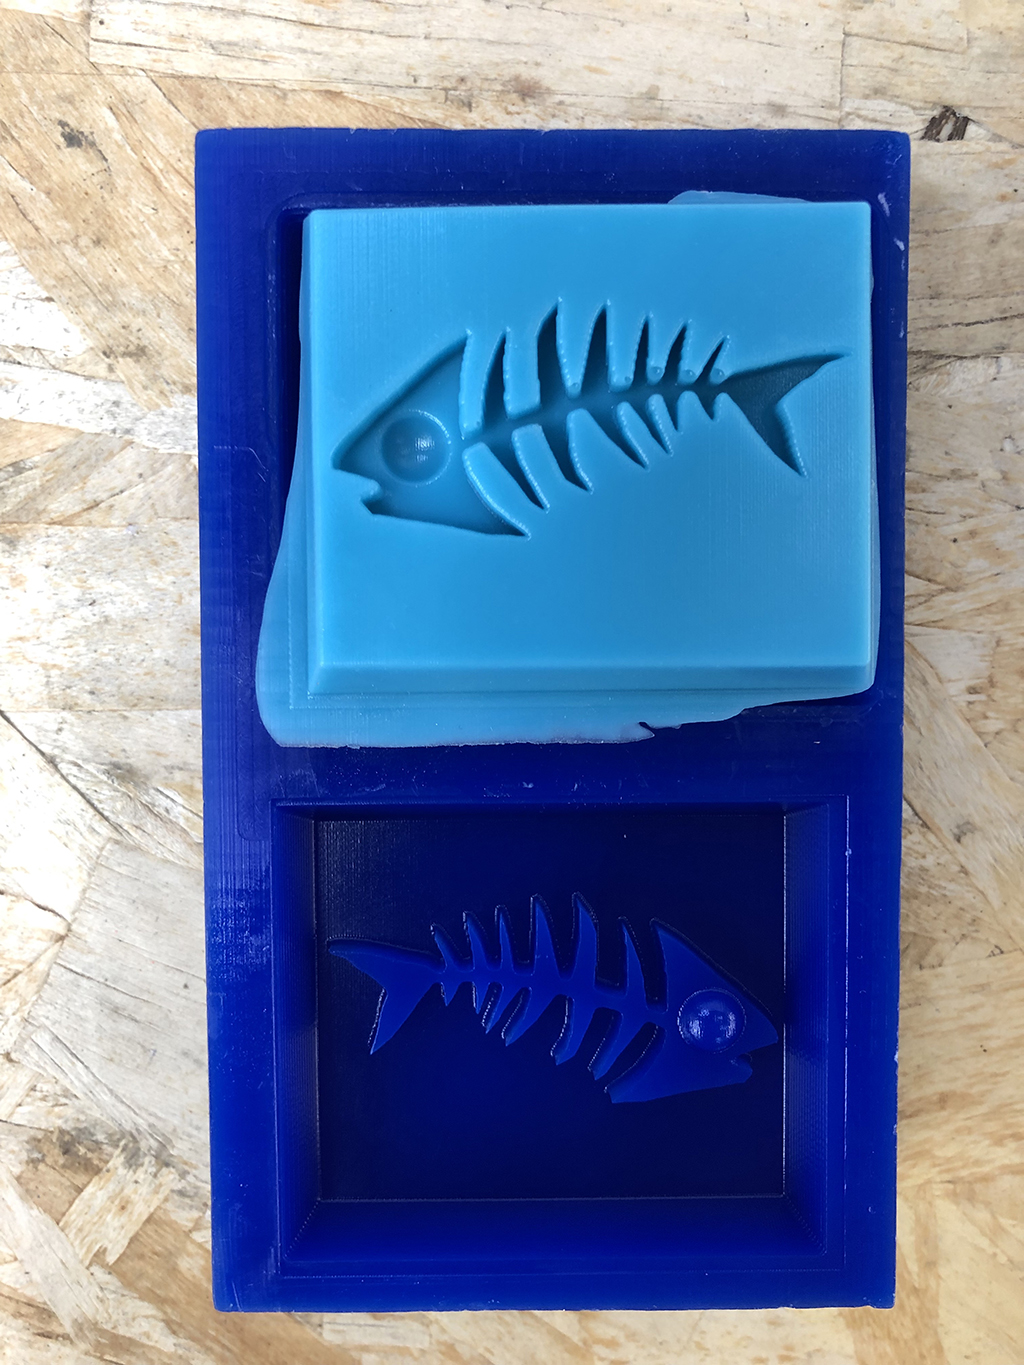
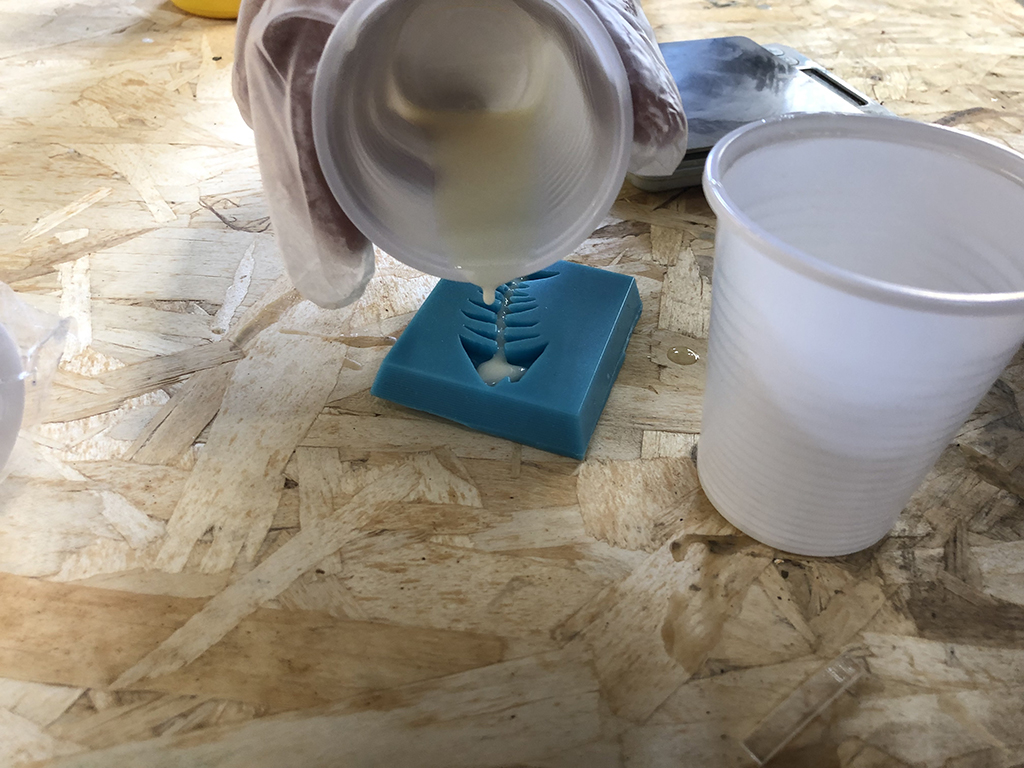
After cleaning and applying again the release agent on the mold, I poured the mix in the same way as before, and then waited for 30 mins.
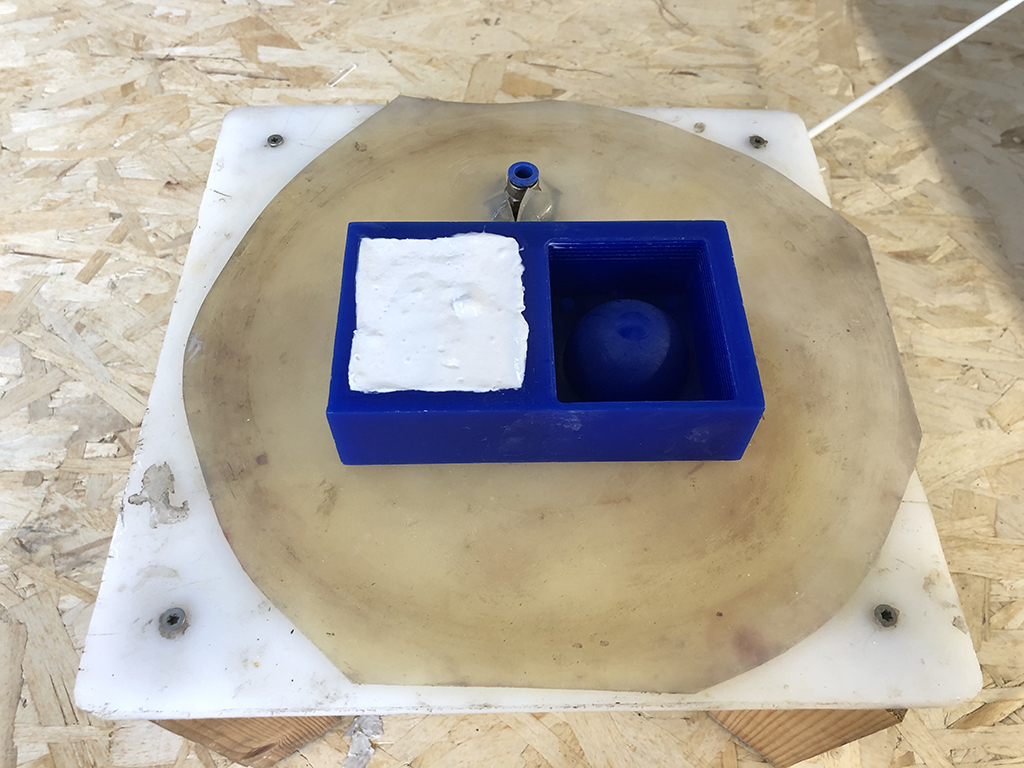
This is the nice result I got:
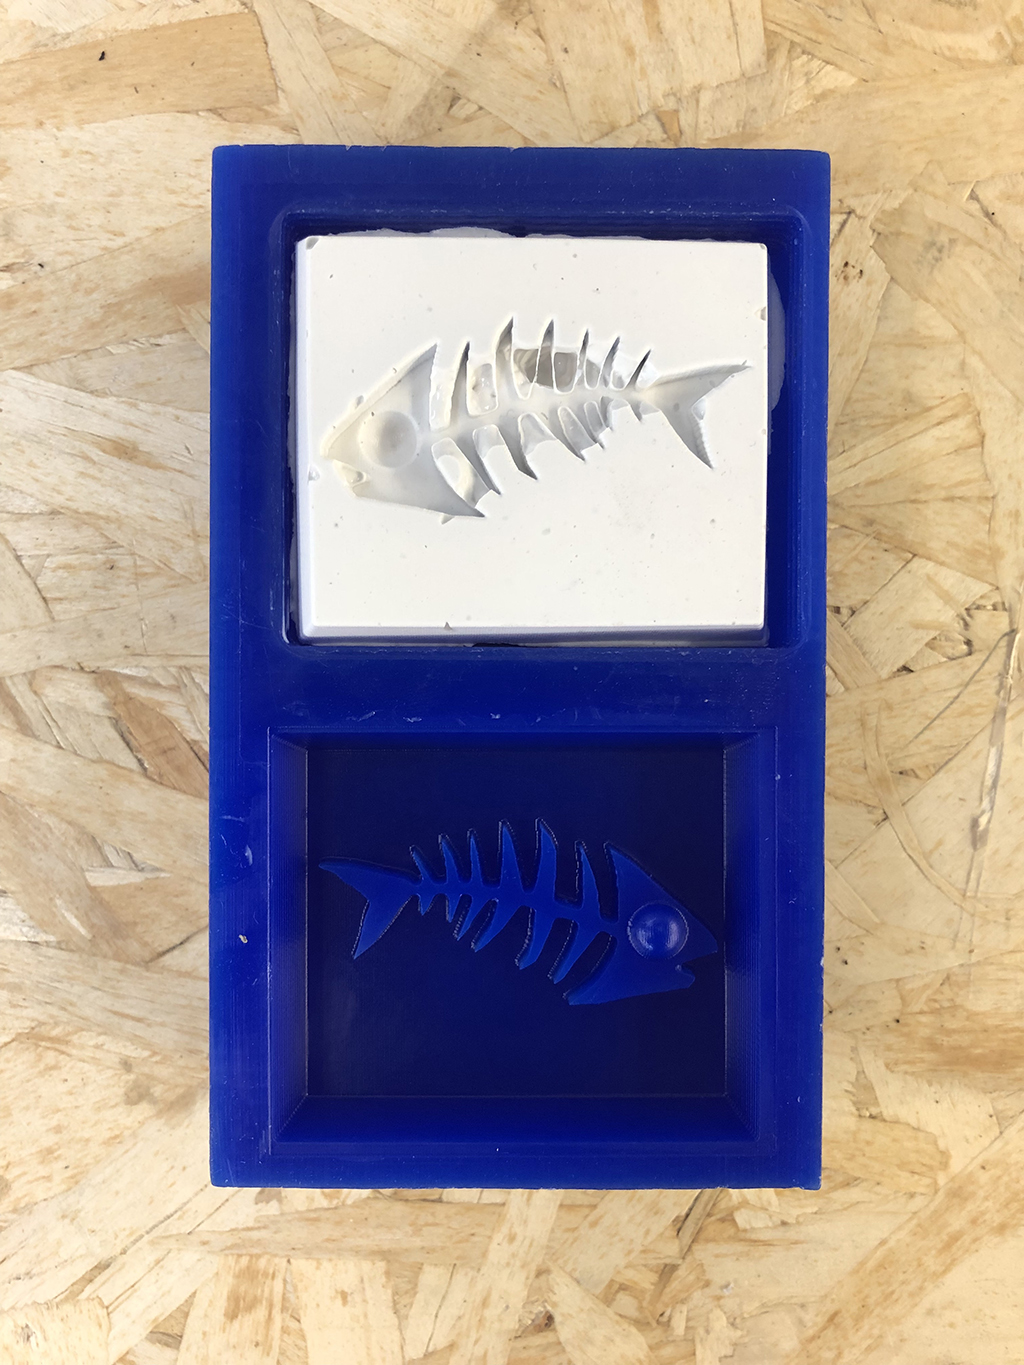
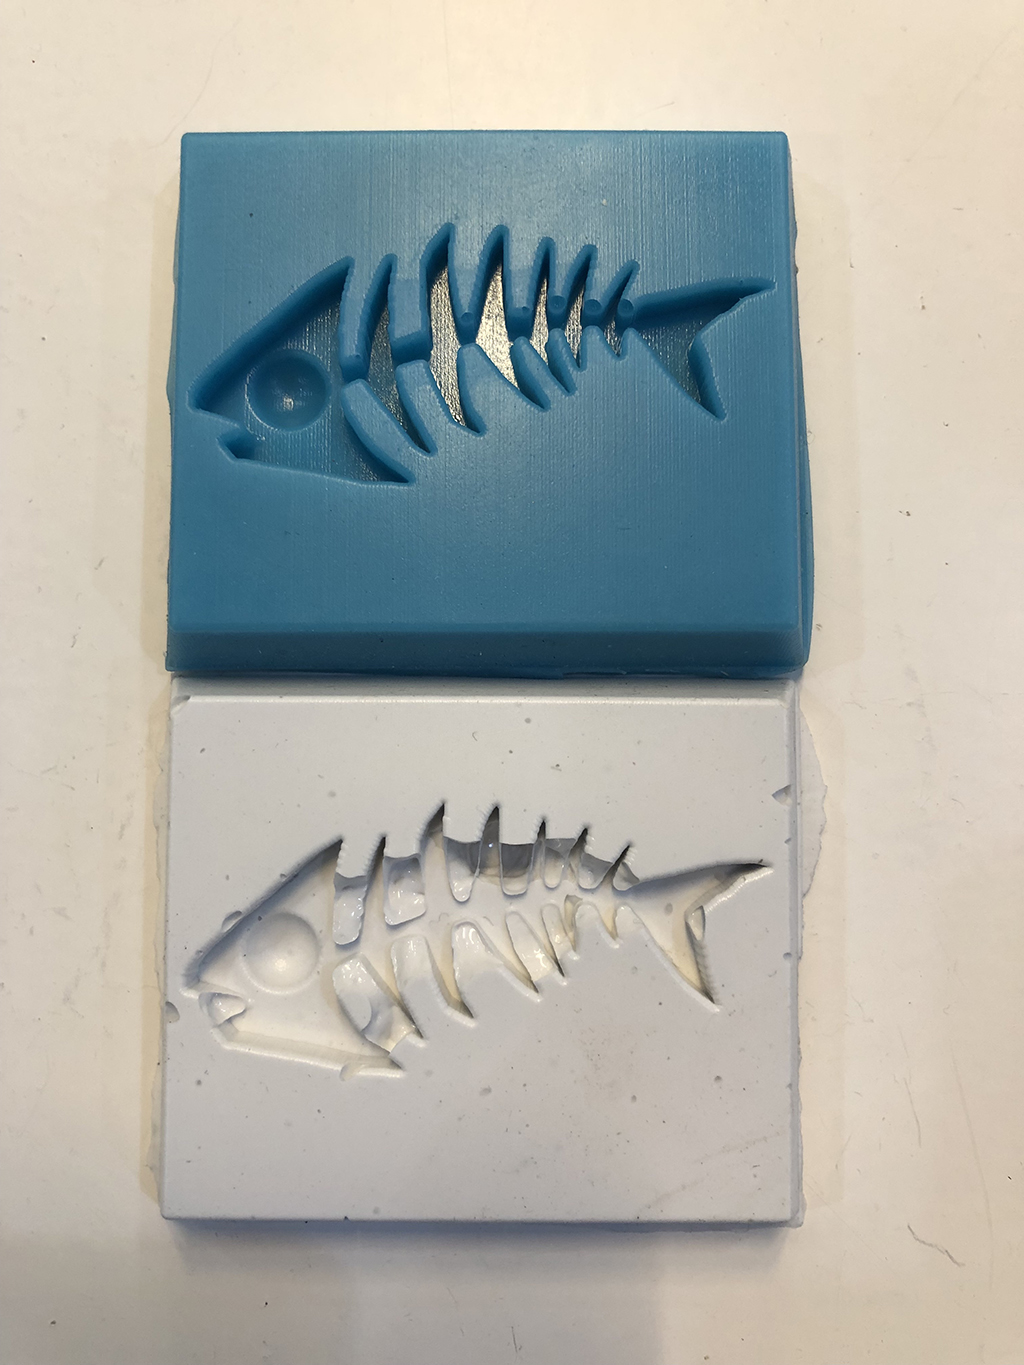
Comparing molds:
Here we can see the results of both silicon molds. The formsil one got too many bubbles close to the piece's surface so the shape was completely modified.
In the case of the Mold Star silicone, the results were way better, despite having some bubbles in the middle vertexes of the piece.
10.4. Casting process
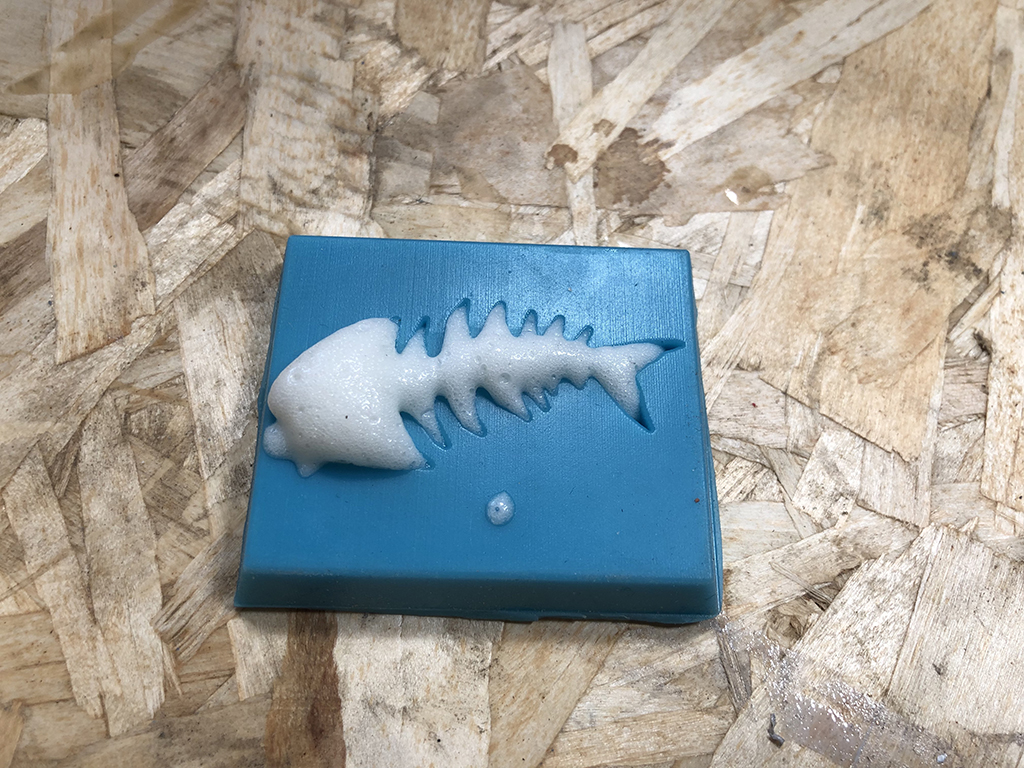
For the casting process I used a polyurethane foam called FLEXFOAM it-V. This material is not so easy to manipulate as its pot life is just 50 secs, and it expands 5 times its volume before the first 5 mins of curing (2 hours in total).
So I mixed in the 1:1 ratio as explained on the datasheet, steared it quickly and poured it without caring about bubbles, as this material is all bubbles.
No matter how hard I tried not putting too much material on the mold, but the foam expanded over the top.
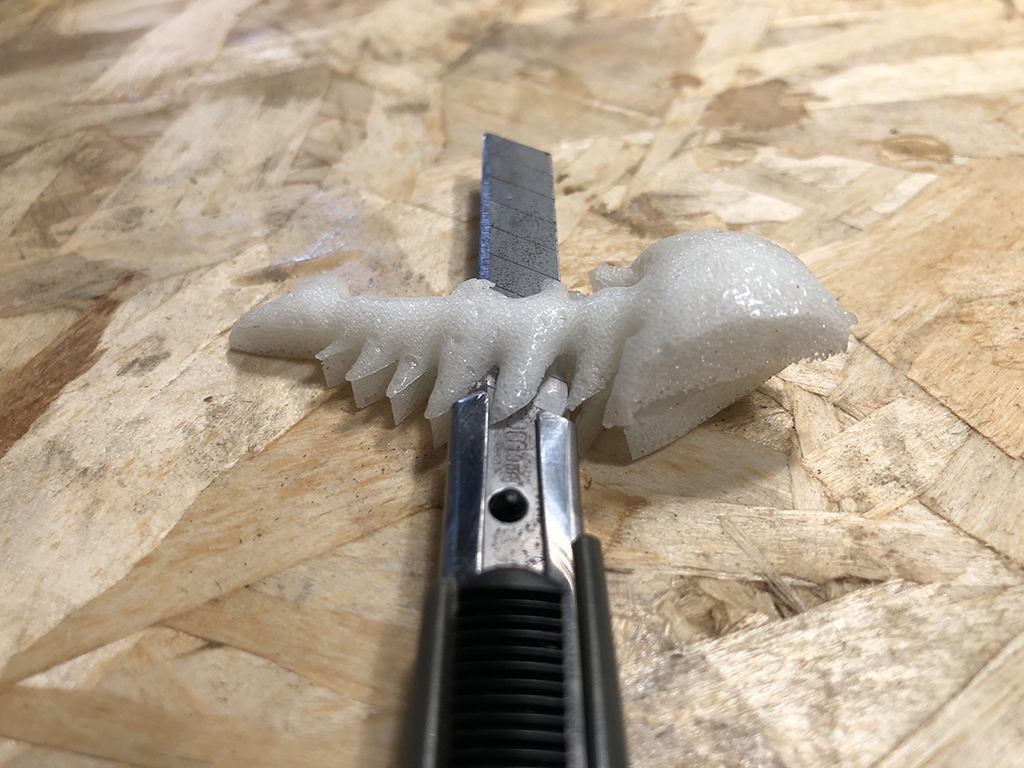
10.5. Results
After the 30 mins of curing, I removed the piece from the mold, and it looked quite defined. But I had to postprocess the model, so I used a blade to remove carefully all the extra foam I didn't need. I did it out of the mold to avoid damaging the silicone.
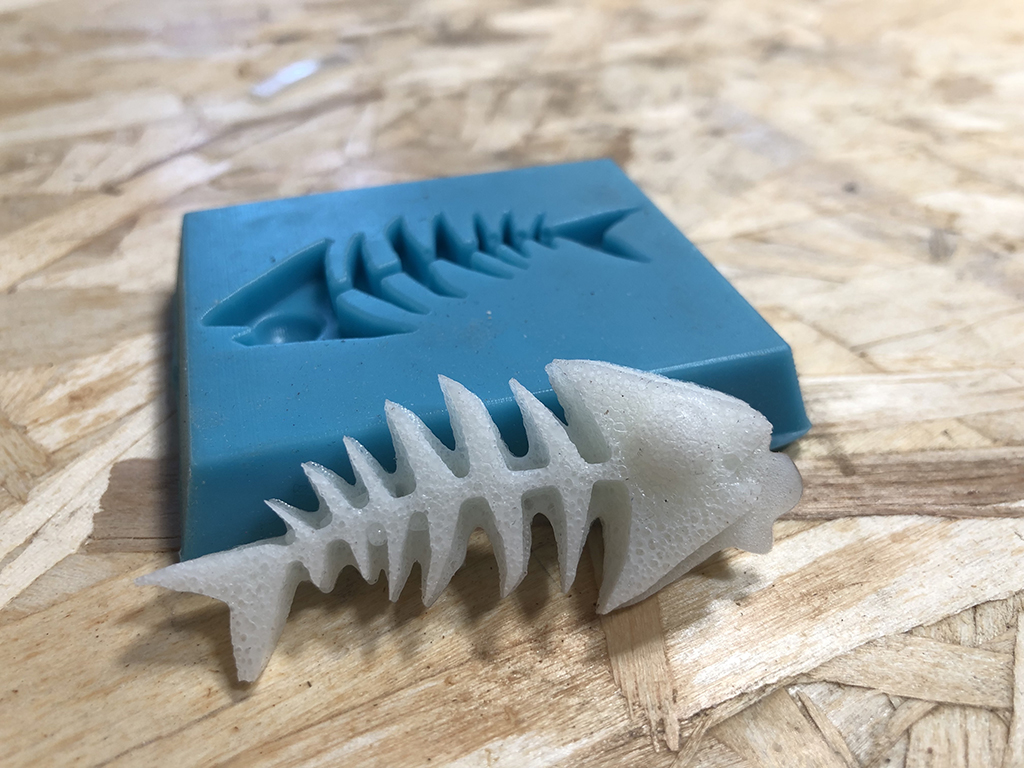
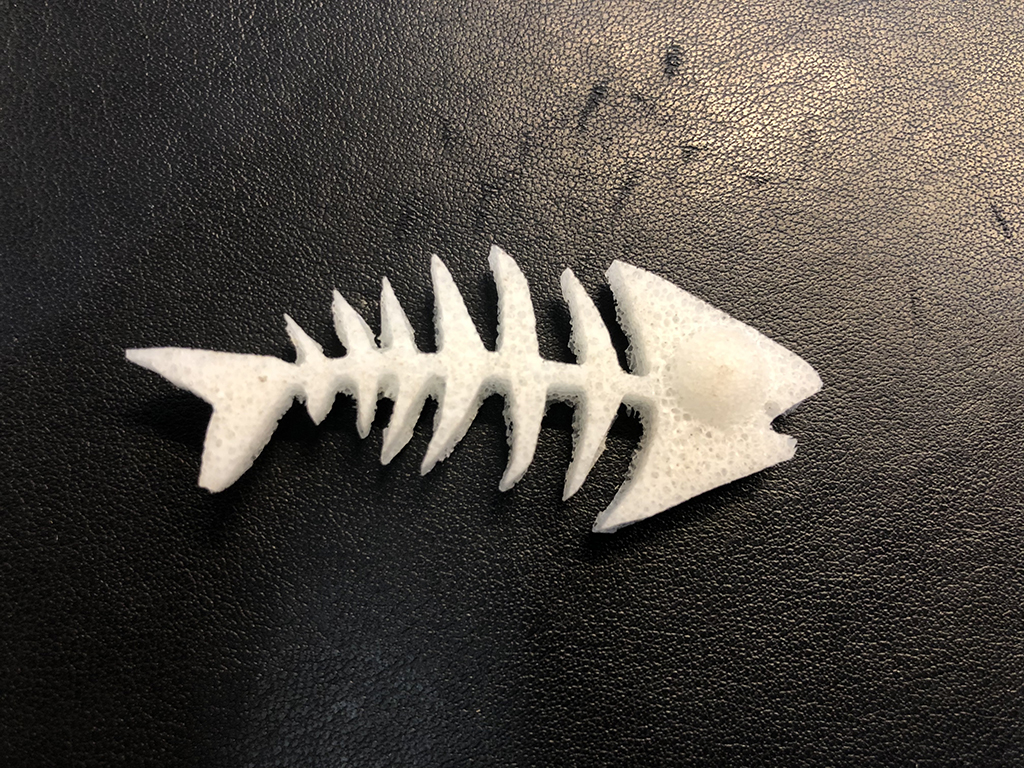
So this is the final result of my foam casted fishbone.
You can find the files here