Tenth Week
MOULDING AND CASTING
ASSESSESMENTS
| HAVE YOU | TASK COMPLETED |
|---|---|
| Explained how you made your files for machining | YES |
| Shown how you made your mould and cast the parts | YES |
| Explained problems and how you fixed them | YES |
| Included your design files and ‘hero shot’ photos of the mould and the final object | YES |
GROUP PROJECT
| HAVE YOU | TASK COMPLETED |
|---|---|
| review the safety data sheets for each of your molding and casting materials, then make and compare test casts with each of them | YES |
NEIL´S LESSON
Index
Moulding and Casting : Milling Wax blocks for Cast a Crochet Hook from Pilu Caballero on Vimeo.
| HAVE YOU | TASK COMPLETED |
|---|---|
| Explained how you made your files for machining | YES |
| Shown how you made your mould and cast the parts | YES |
| Explained problems and how you fixed them | YES |
| Included your design files and ‘hero shot’ photos of the mould and the final object | YES |
For this week, we are 5 for mill our moulds at the modela and organize our time is crucial for have our moulds in time. For begin with learn the information about the materials and components what we use for mould and cast is really important. There we can find the security and risk information.....
Also the fabacademy tutorial with a lot of tips :
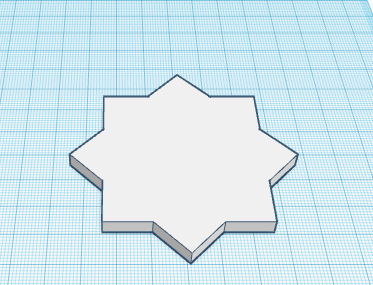
As i love made crochet, i decided try to attend a little mold for learn about the design, machine it, and cast parts from it. So i made my design with OpenScad following the next steps:
1. I declare the main variables :

2. I wrote the main function :

3. For this part i use some modules from Git Hub about regular shapes, as you can see in the picture i commented with the link for download:


5. For finish, first y pre - visualize my desing:

6. An later, rendered it for export as .STL:


As my object needs to be done in two parts, I needed to cut it in the exact half on the Y axis and to continue designing, so I decided to use the netFab tool that performs this task in a simple way and there i got data about my model that will help us to calculate the necessary quantities of the materials that we will use later such as the volume or the area of our objects. Also, netFab have advice if your model have mesh errors and you can repair here bit mistakes.
1.

2.

3.
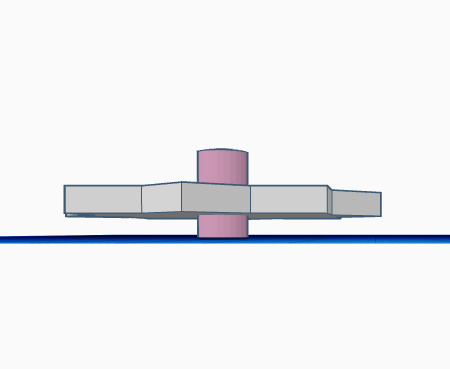
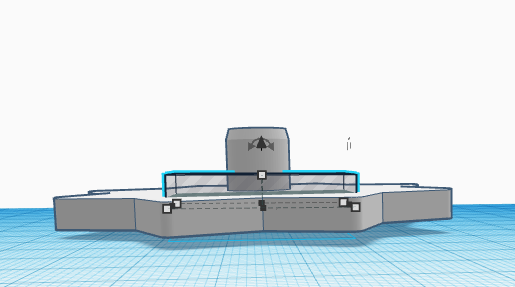
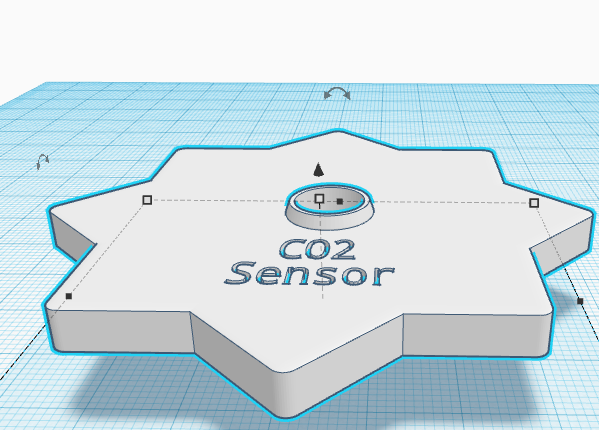
For go quick i finished the base for mold at tinkerCad, the process was easy and my instructor suggested me some things when took a look to my mold.


1. Preparing the materials :


ROUGH PROCESSES
For mill a mold in wax with the Milling Machine always have to follow two processes first we must to rough the wax block :
1. Preparing Files to send to the modela selecting mesh at : ./fabmodules_server:

2. Adapt the units (25.4 from inch to mm) and calculate the height map

3. Choose the machine as i mentioned before the Roland MDX-20
4. Choose the milling process : Rough Process First and Cut for finish.

5. Change the parameters as a type of cutter
6. After fabmodules calculate the mill route i sent it to the modela.
7. Send to Mill


FINISH PROCESS
8. Repeat with the finish milling :


As you can see at the pic i had a mistake sending the file, this file not have the design at 0 so the mill start with the process and ruined my block.

For resolve, i had to mill all the surface and start with the process again, so i spent in this assignment more than 6 days, but here was the results :


Basic Materials:
I was studying this datasheets:
I decided to use the SMOOTH-SIL Series 25 and this was the process :

For begin, i decided to make some box for my mould at makerCase, wher exprted my plans and imprted to Fusion 360 for adjust things and prepare to cut with 3mm dm material at the laser Machine:

1. Calculate the Volume of my design for have the appropiate quantity of materials. As i readed at the dataSheet the mix is 50% x 50% thinking in grams so i used : 95.60 ml for each material.


2. Mix together in less than 15 min. because the silicon begin to hardness.


3. Apply slowly for cause less oxigen bubbles as possible.

4. For finish with the Cast, i used UltraCal Cement recommend by my instructor but i think in other kind of resin for better result. Is my first mould so i was excited with the results. The Quatity used was 35grms dilued in his water proportion recomended in my case 13 ml.
5. For apply the mix to the mould i prepare some supports from case designed for the silicon.


WEEK FILES
WEEK PROBLEMS
A mistake sending the Finish file (wrong position) to the modela but solved as i commented before.
THINGS LEARNED
All was new for me during the processes so i learned how to design a mould, some tips and ideas for future designs are now in my mind. I learned how to mill too and the modela tips for mill wax blocks. I learned how to Cast, useful tips for undesire air bubbles present during the mix, the importance on stay focuss and quiet during the task and of course, how to read the DataSheets depthly for extract the main and important things for use the materials.
WEEK CONCLUSIONS
My own goals for the week about Understand new use of tools - practice design concepts with openSources - Processes that never i practice before and learned is for say : Great Week!
GROUP PROJECTS
For this year we must to make some practices in group so Lucio and i decided to made basic testers.
How contribute for this task group? First of all i organize the works for to do in time, also develope the web site for this week explaining there all things worked together and individually.
I was looking another kind of silicon for practice with other so we decided to buy other different than i used for the Ceu assignment.
So for see the experiments made together please visit our Group Project´s website here :
MY FINAL PROJECT
I decided to begin with a possible desing for the ROD with same software used for the 2ND part of the assignment with the idea to spent bit time and try to mould this design for a possible cast in future.