
Algarve FabFarm
GROUP PROJECTS : EMBEDDED PROGRAMMING
WORKFLOW :
Divided works - Research other Arquitechtures - Learn about Raspberry Pi - Getting Started - Programming Exercises - Develope Group Page
TOOLS & MATERIALS USED
EMBBED PROGRAMMING
Introduction :
For this week, we must to attempt embbeded programming with other arquitectures so we decided to use some Raspberries present in our FabFarm electronic´s inventory.
Pilu have some hardware experience with them before because she developed during 2016-16 and 17 at Spanish famous bike racer "La Vuelta Ciclista" 6 interactives devices based in augmented reality bikes with Oculus, hall sensors,vibration motors and raspberries pi for interact manually with the touchscreen and select different scenes recorded at beautifull spanish places. The programming language used for develope the initial application was OF ( Openframeworks) but for the second version we used phyton. The project finally was sold for Vodafone brand company.
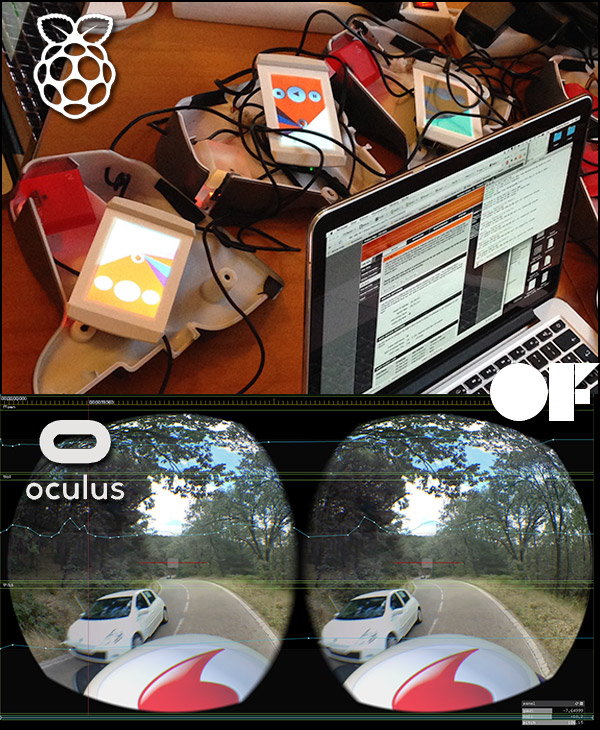
If you can know more about the project you can visit the page about it here : "Vodafone Bikes"
So we decided to begin with RASPBERRY PI 3b.
1st Exercise : Getting Started
After we watched some tutorials and the Official Web page the first thing for do before was set up the things neccesary for run the Raspberry Pi :
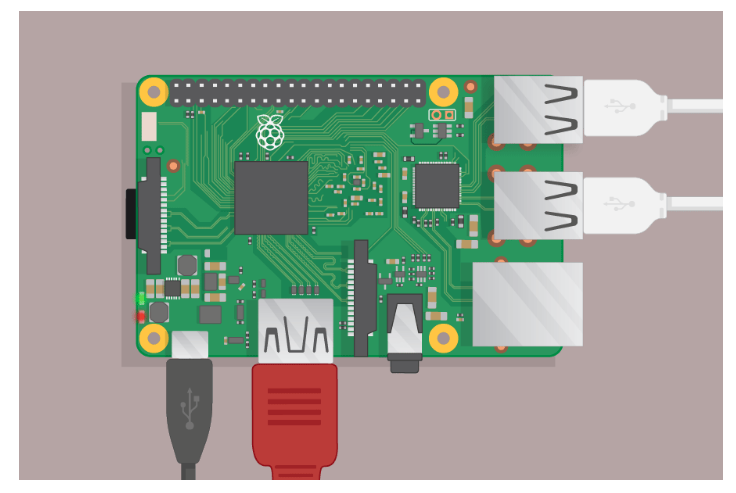
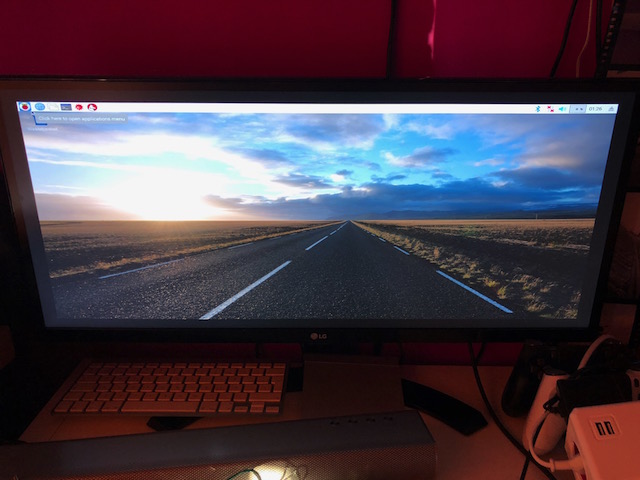
1. The Raspberry Pi is a small computer that can do lots of things, so we plugged it into a monitor and attached a keyboard and mouse to the USB Ports
2. Later we must tp install the software called "RASPBIAN" via "NOOBS", what´s that means? Using NOOBS is the easiest way to install Raspbian on our SD card.
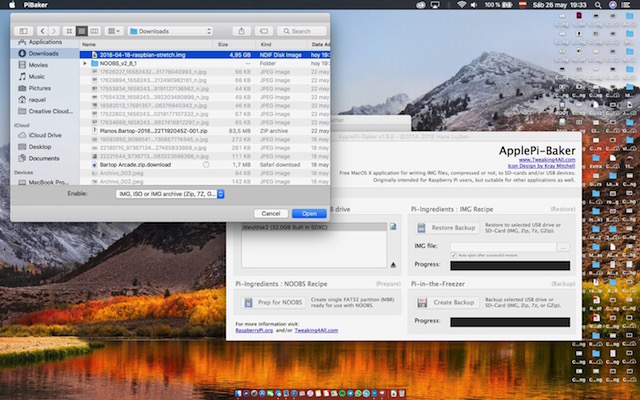
3.Formatting the SD Card :
This step is always reccomended so we inserted our SD card into the computer or laptop’s SD card reader, in our case we use Pilu´s Laptop and make a note of the drive letter allocated to it, e.g. F:/. In SD Formatter, we selected the drive letter for our SD card, and formated it.
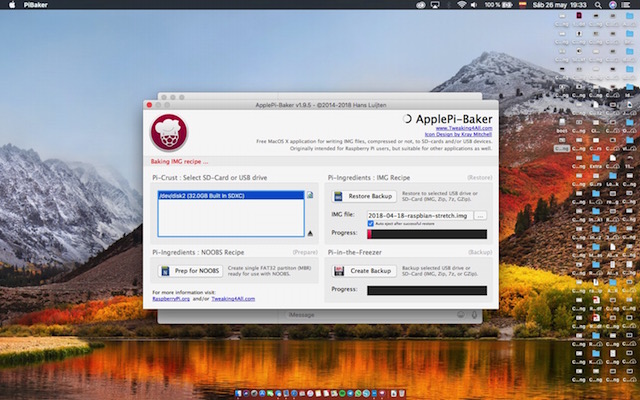
4. Later, pilu decided create an diskImage with noobs, but when we went to install some problems emerge that finally solve downloading Noobs from raspberry Pi official page:
5.Extracting NOOBS from the zip archive:
Next, we extracted the files from the NOOBS zip archive you downloaded from the Raspberry Pi website.
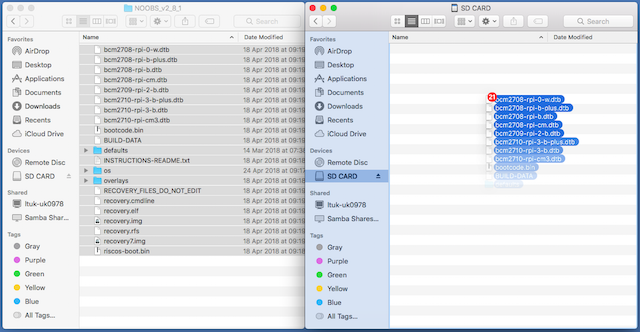
6. Copying the files:
Now we opened another Explorer/Finder window and navigate to the SD card and selected all the files from the NOOBS folder and drag them onto the SD card.
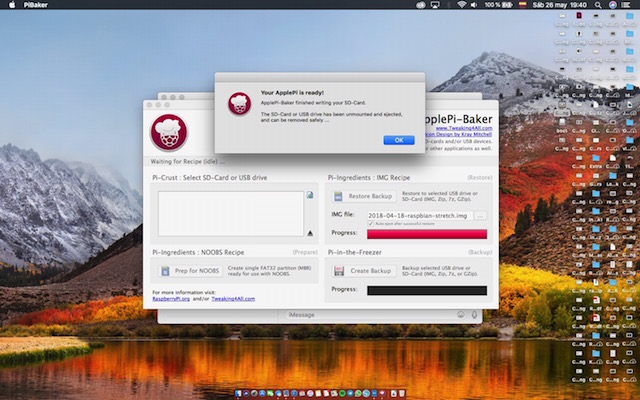
7. We ejected the SD card so wea are ready for install after we booted Raspbian from Noobs :
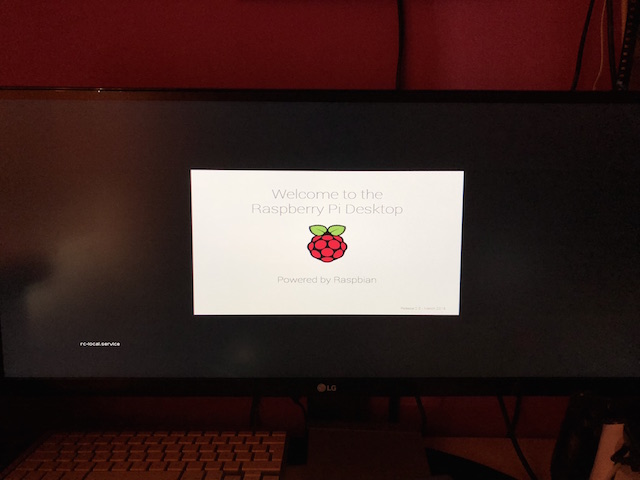
Once the files have been copied over, we inserted the micro SD Card into our Raspberry Pi, and plugged the Pi into a power source.The system offered us a choice when the installer has loaded and then clicked Install.
8.Install
We clicked "Yes" at the warning dialog, when Raspbian has been installed, we clicked OK and our Raspberry Pi restarted and Raspbian was installed.
2nd Exercise :
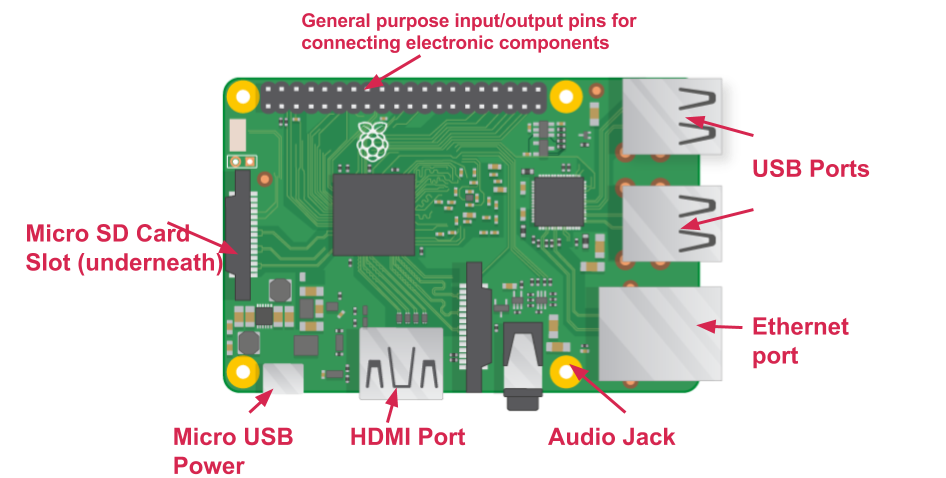
For continue with the practice, the basic is learn how to use the GPIO pins on our Raspberry Pi to interface with electronic components, such as LEDs or any sensor.
One powerful feature of the Raspberry Pi is the row of GPIO pins along the top edge of the board. GPIO stands for General-Purpose Input/Output. These pins are a physical interface between the Raspberry Pi and the outside world. Thats means taht every pin could to be use as an input pin or output pin.
The GPIO pins allow the Raspberry Pi to control and monitor the outside world by being connected to electronic circuits. The Pi is able to control LEDs, turning them on or off, run motors, and many other things. It’s also able to detect whether a switch has been pressed, the temperature, and light. We refer to this as physical computing.
There are 40 pins on the Raspberry Pi and they provide various different functions.
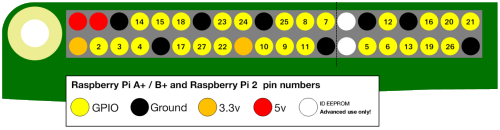
You’ll see pins labelled as 3V3, 5V, GND and GP2, GP3, etc:
WARNING: If you follow the instructions, then playing about with the GPIO pins is safe and fun. Randomly plugging wires and power sources into your Pi, however, may destroy it, especially if using the 5V pins.
Lighting the LED with PYTHON
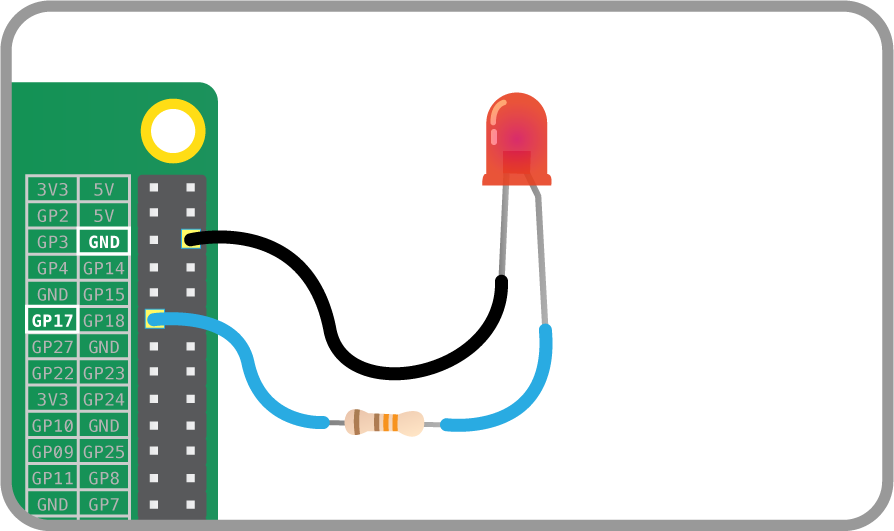
LEDs are delicate electronics components so if you put too much current through them they will be burned so to limit the current going through the LED, we should always use a resistor in series with it. We Try connecting the long leg of an LED to the Pi’s 3V3 and the short leg to a GND pin. The resistor can be anything over about 50Ω.
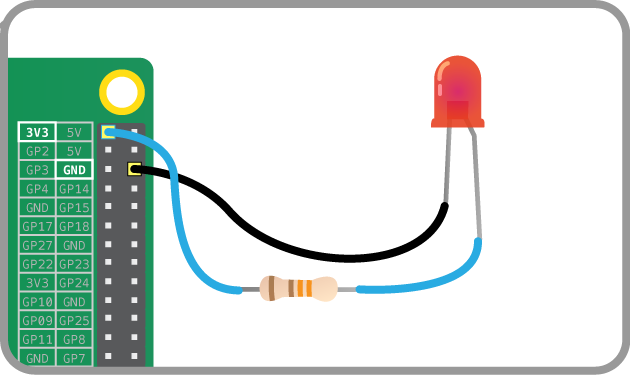
The LED should light up. It will always be on, because it’s connected to a 3V3 pin, which is itself always on. Now we move it from 3V3 to GPIO pin 17:
3rd Exercise :
THE PROGRAMS
THE PROGRAMS
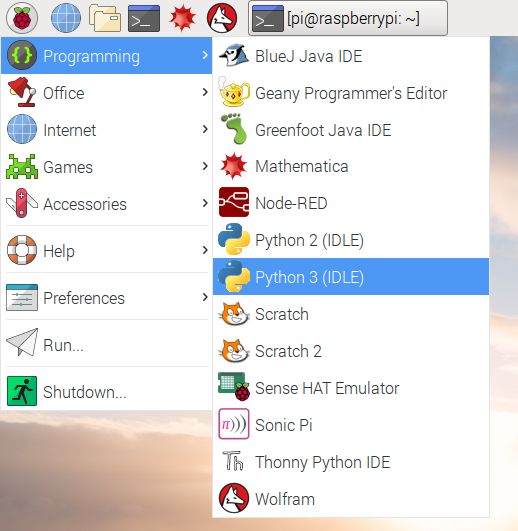
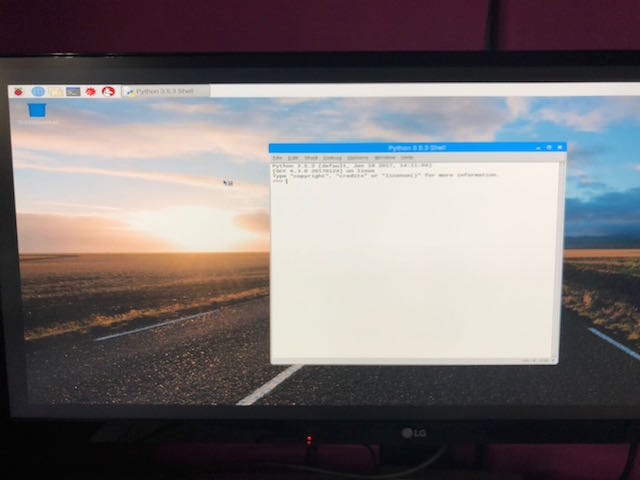
Code it with python, blinking the LED on and off we used the GPIO Zero library which provides a simple interface to every GPIO components. It comes installed by default in Raspbian so we openned the IDLE (Python’s Integrated Development Environment) so for open it, we went to the menu and choose Programming. You should see two versions of IDLE so we choosed : Python 3.
1. First we made was type this 2 commands line :
from gpiozero import LED
led = LED(27)
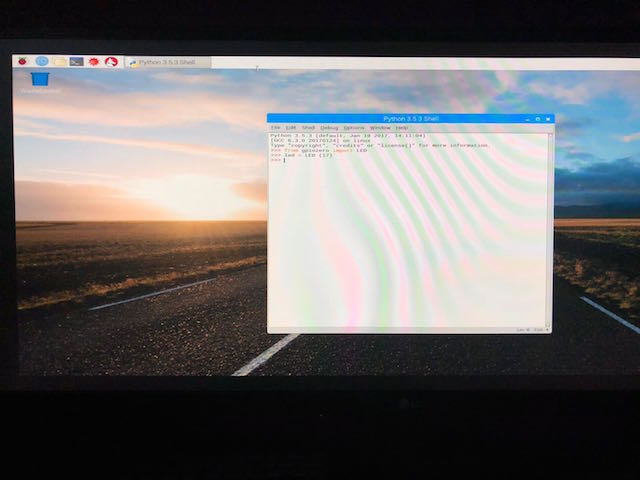
2. Later, we Pressed Enter at the keyboard.
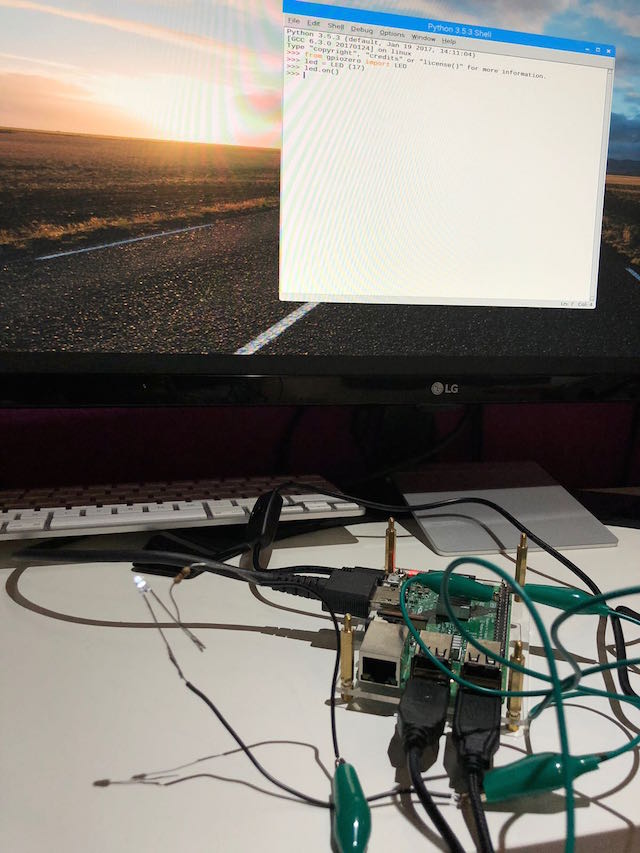
3. To make the LED switch on we typed the following and pressed Enter too:
led.on()
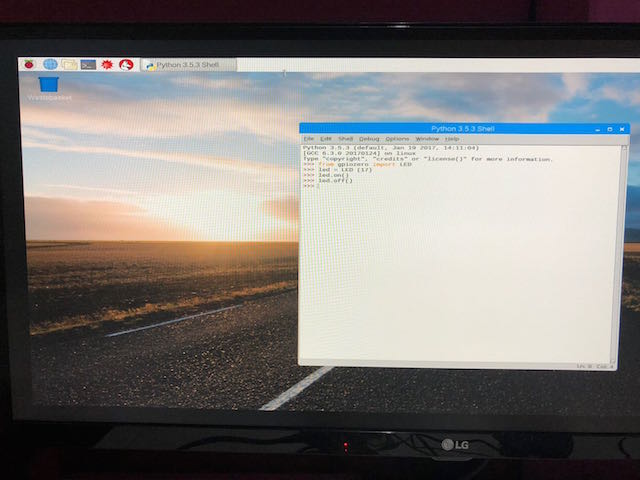
3. To make the LED switch of we typed the following and pressed Enter too:
led.off()
Now we have the first programm so we save as a file called : led.py
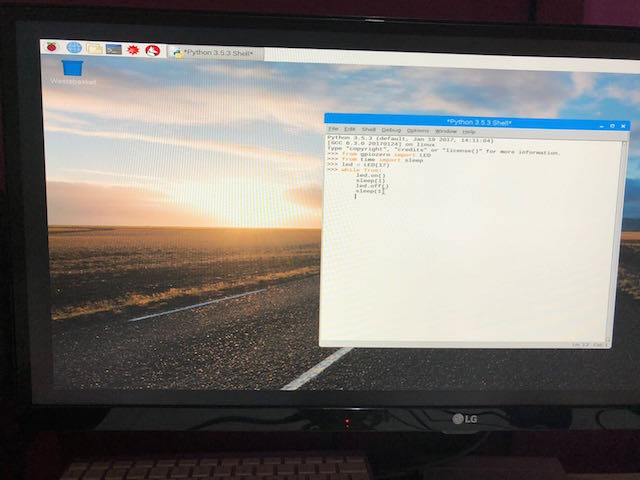
4th Exercise :
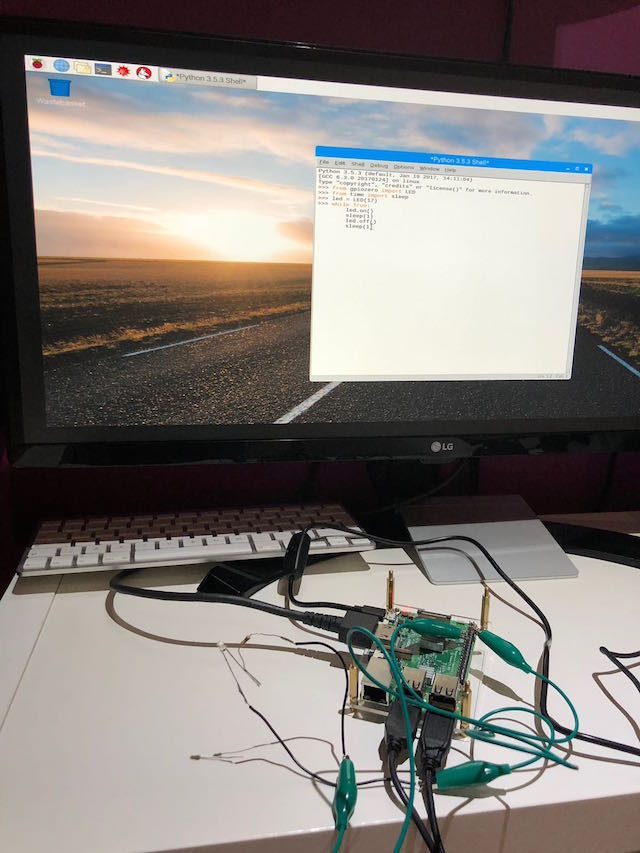
1. The idea is to make the basic blinking example present in any programming language so we wrote this :
from gpiozero import LED
from time import sleep

led = LED(27)

while True:
    led.on()
    sleep(1)
    led.off()
    sleep(1)
and of course we save as a new code
5th Exercise :
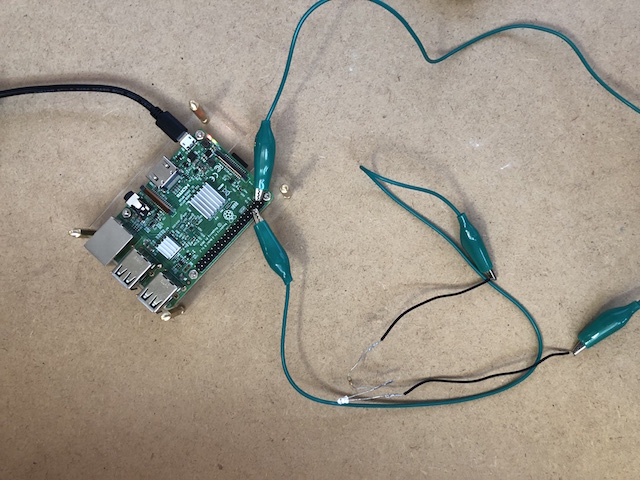
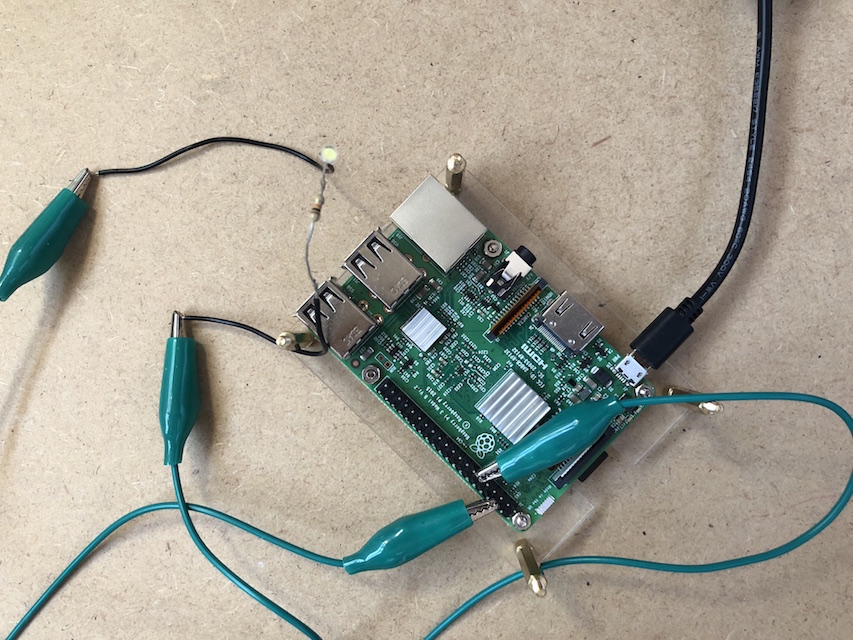
The last thing we decided to made with Python is the hello button, so we attached the led to the GPIO 27 and a push button to the GPIO 3 and creating a new file we wrote this program:
from gpiozero import LED, Button
from time import sleep

led = LED(27)
button = Button(3)

button.wait_for_press()
led.on()
sleep(3)
led.off()
6th Exercise :
With the idea to try the arquitecture with other languages, we decide to use Processing for blinking the LED there:
The other thing we made was used the same arquitecture with different language such as Processing for interface with the raspberry and create any graphics there can also be used for physical computing.
1. First step was to import the GPIO library in processing and declare the main variable for the led, his initial value or state 0 - LOW -false.
2. At the setup we declare the GPIO pin mode as an OUTPUT and where is attached as parameters.
3. Finally at the draw, we made a conditional for trigger the state of the led to the background when we clicked the mouse.
import processing.io.*; // use the GPIO library

// store the desired state of the LED in a variable
boolean ledOn = false;

void setup() {
  // set pin 27 as an output:
  GPIO.pinMode(27, GPIO.OUTPUT);
}

void draw() {
  if (ledOn == true) { // If the desired state is on, then:

  	// turn the LED on:
    GPIO.digitalWrite(27, GPIO.HIGH);

    // and set the background green:
    background(0,255, 0);
  }

  else { // otherwise:

  	// turn the LED off:
    GPIO.digitalWrite(27, GPIO.LOW);

    // and set the background black:
    background(0, 0, 0);
  }
}

void mouseClicked() {
  // When the mouse is clicked, store the opposite of
  // ledOn into ledOn, which toggles ledOn:
  ledOn = !ledOn;
}
7th Exercise :
For finnish, we decide to try another programming language present in Raspbian, is another open and fun tool from the MIT and Pilu use a lot with their childrens at the primary and secondary school : SCRATCH
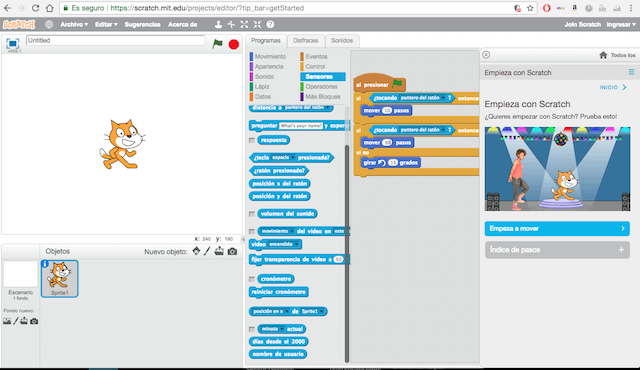
Raspberry Pi3 programming with Scratch from Pilu Caballero on Vimeo.
