Electronics design
Week 7
This week’s group assignment is to use the test equipment in our lab to observe the operation of a microcontroller circuit board.
The individual project is redraw the echo hello-world board.
Add (at least) a button and LED (with current-limiting resistor).
Check the design rules, make it and test it.
Group Assignment
We have not finished the group project. The documentation will be on our
group website.
Electronics Design
This is the first time I draw a circuit board.
Both Bas and Frosti recommended using Eagle.
Bas had a lesson on how to use Eagle and it was recorded but unfortunately the record is not open for everyone to see.
So I followed the instructions from bas and drew the circuit board.
First I download the newest version of
Eagle.
Then I go into the archive and download the fablab library.
Then in Eagle Go into Library and turn of all except for the fablab library, rcl and supply 1.
Start a new project and open in schematics.
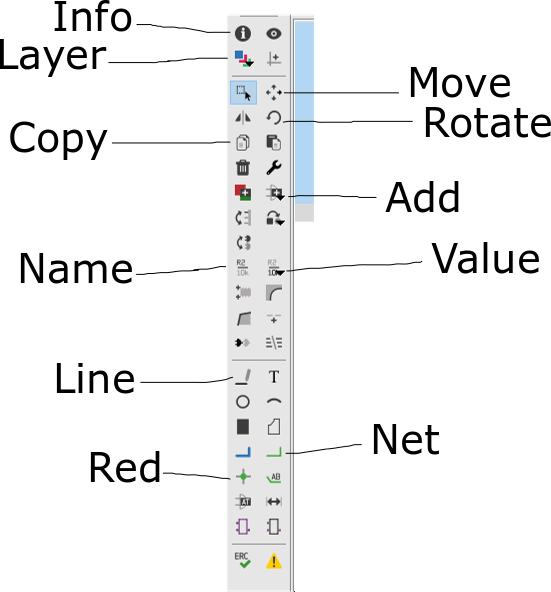
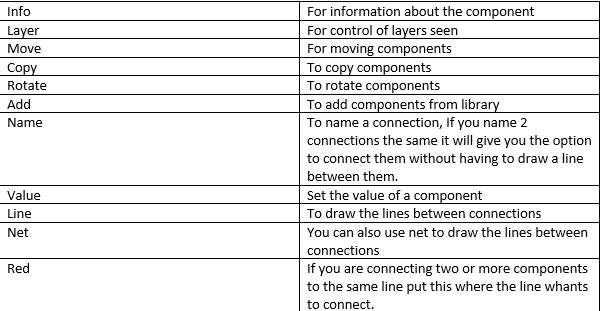
Then I just opened the picture of the board picture of the hello.ftdi.44.
Then in Eagle I pick out the components I need for my hello board.
To do that press add and find the component in the add window.
Then I found all the components and put them on the schematics.
Then connect all the components correctly together.
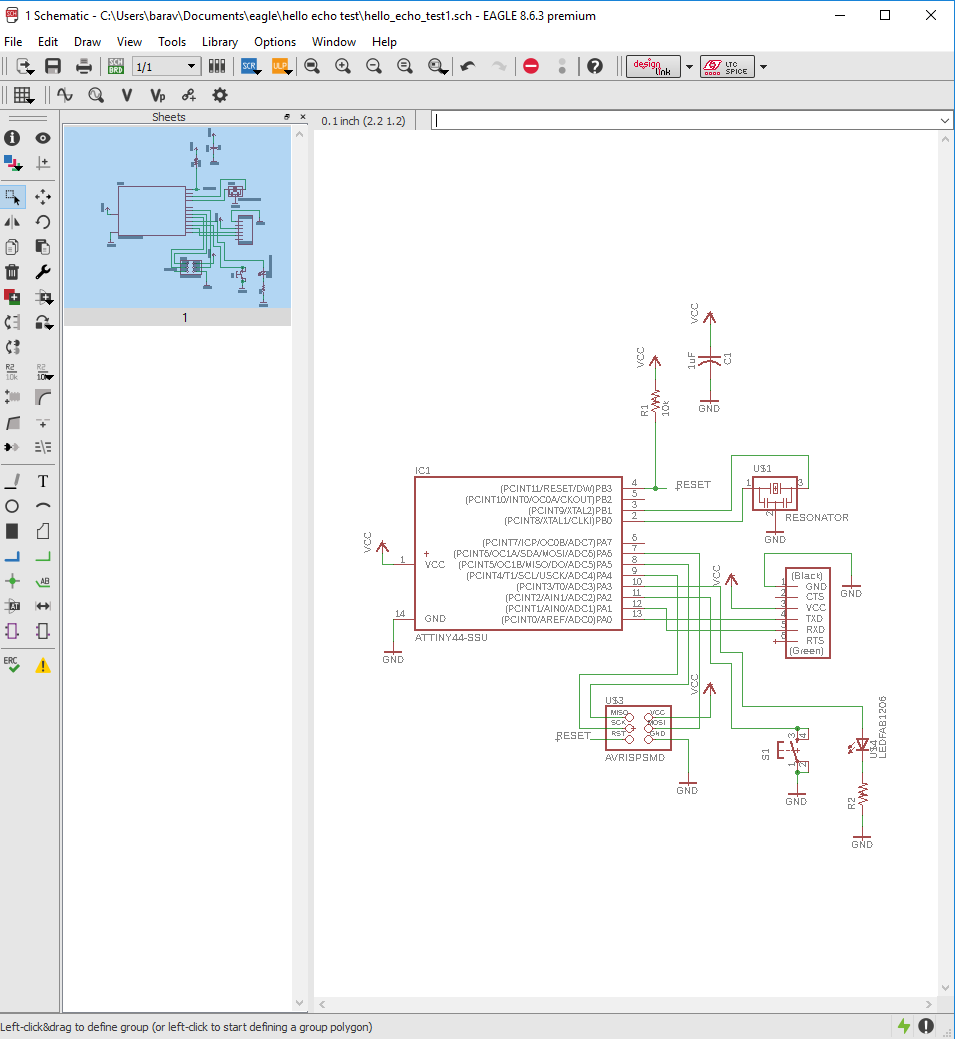
I started by looking at the ATTiny and pin 7 says mosi and the AVRISP has a pin called mosi so I connect them together.
Pin 8 says miso and the AVRISP also has a miso pin so I connect them together.
Then I just followed the instruction on what to connect where.
When everything is connected I go into the board mode.
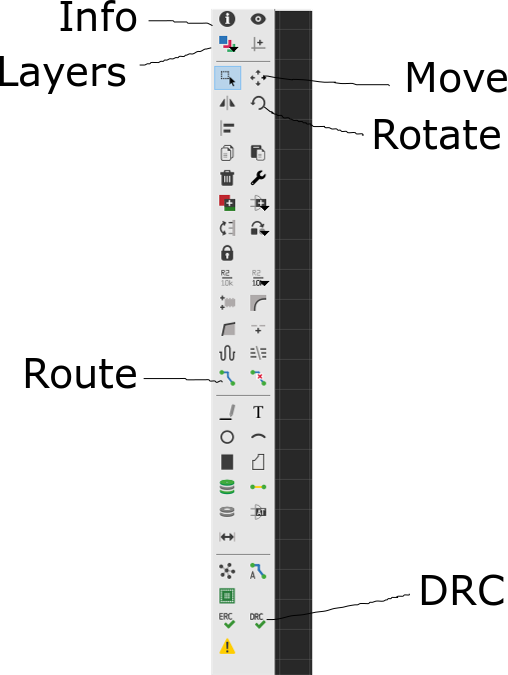

I go into tools – DRC and have the settings right for your milling machine.
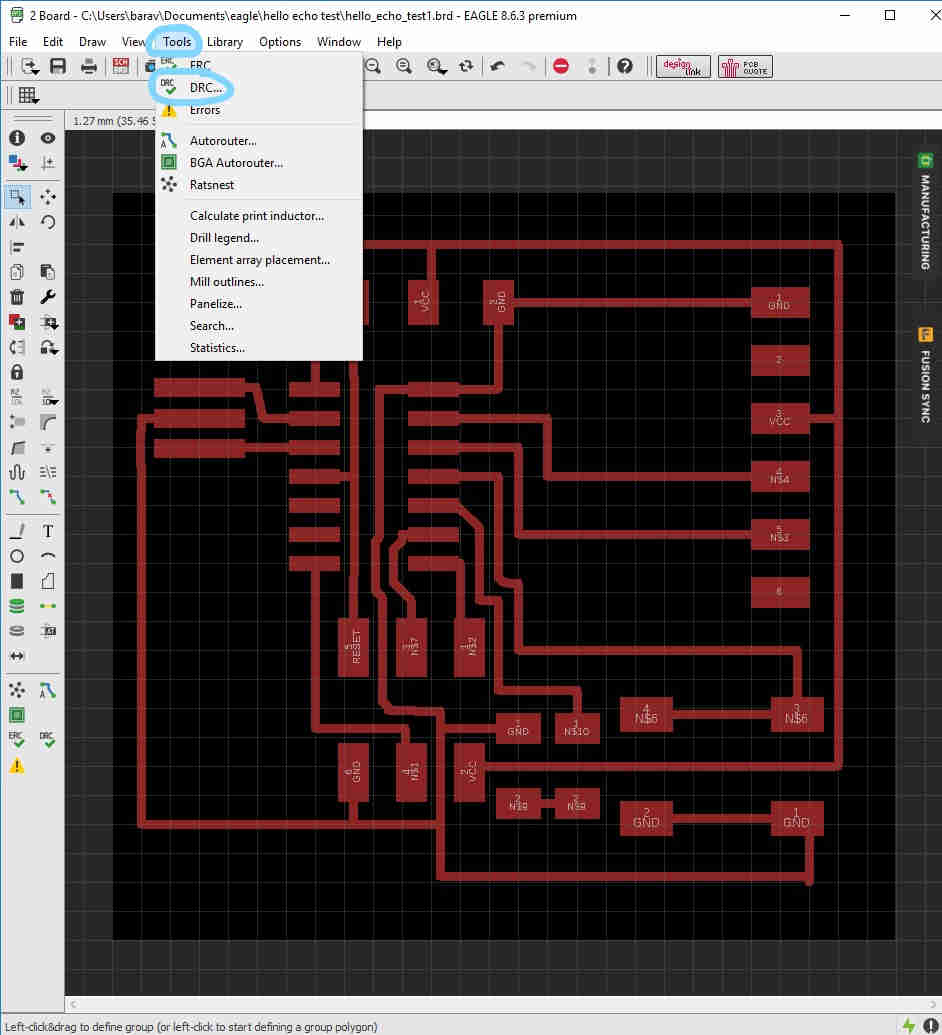
The DRC for our milling machine are like this:
.png)
.png)
.png)
After I make the settings right I followed the board from Niel and set the components in the right place and draw the lines as neatly as I could.
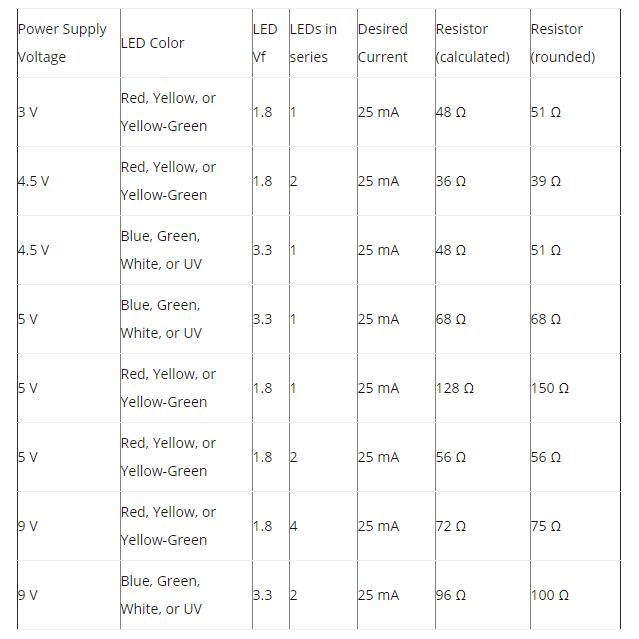
After I made the hello.ftdi.44 I added a button and a light (and a resistor with the light so it won´t blow) in the schematic.
Here is a photo of how to pick a resistor for the LED.
Then I connected them together in hopefully the right way, I just followed the instructions Bas made.
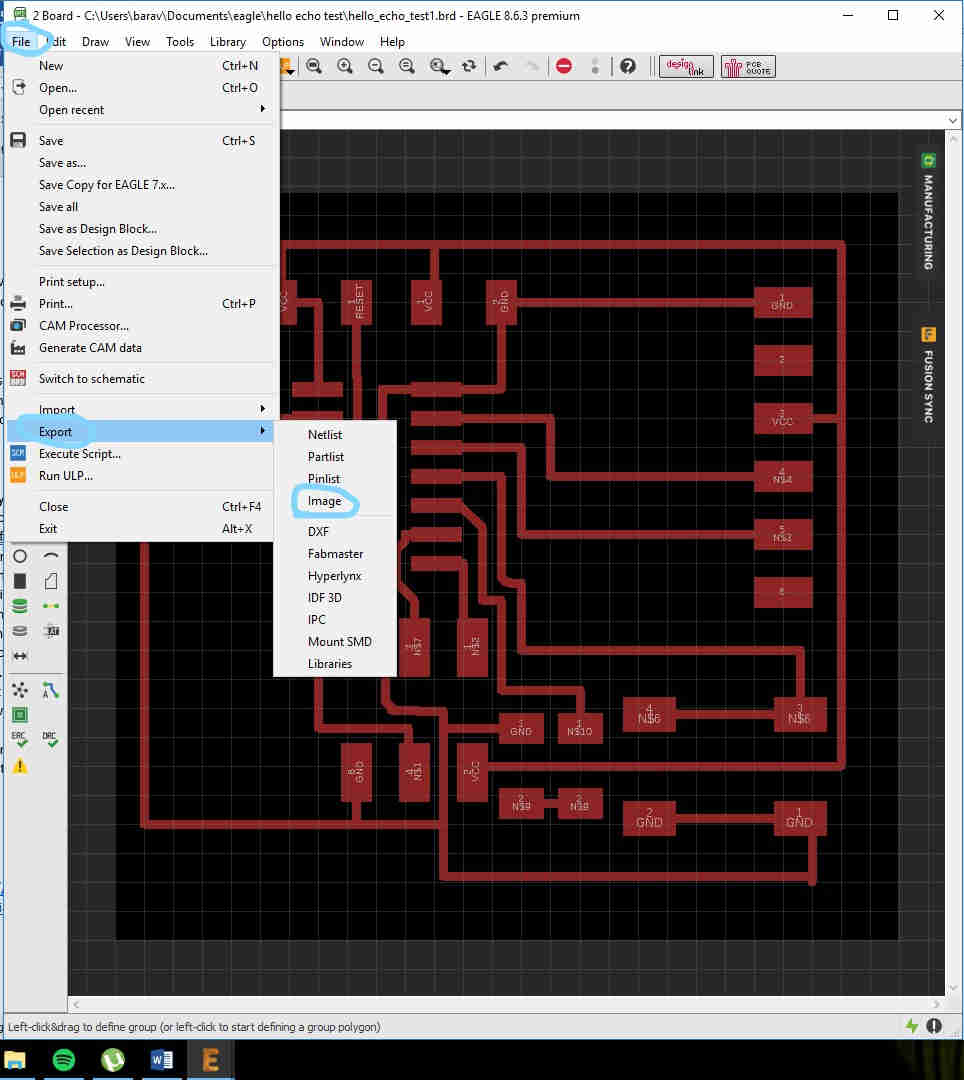
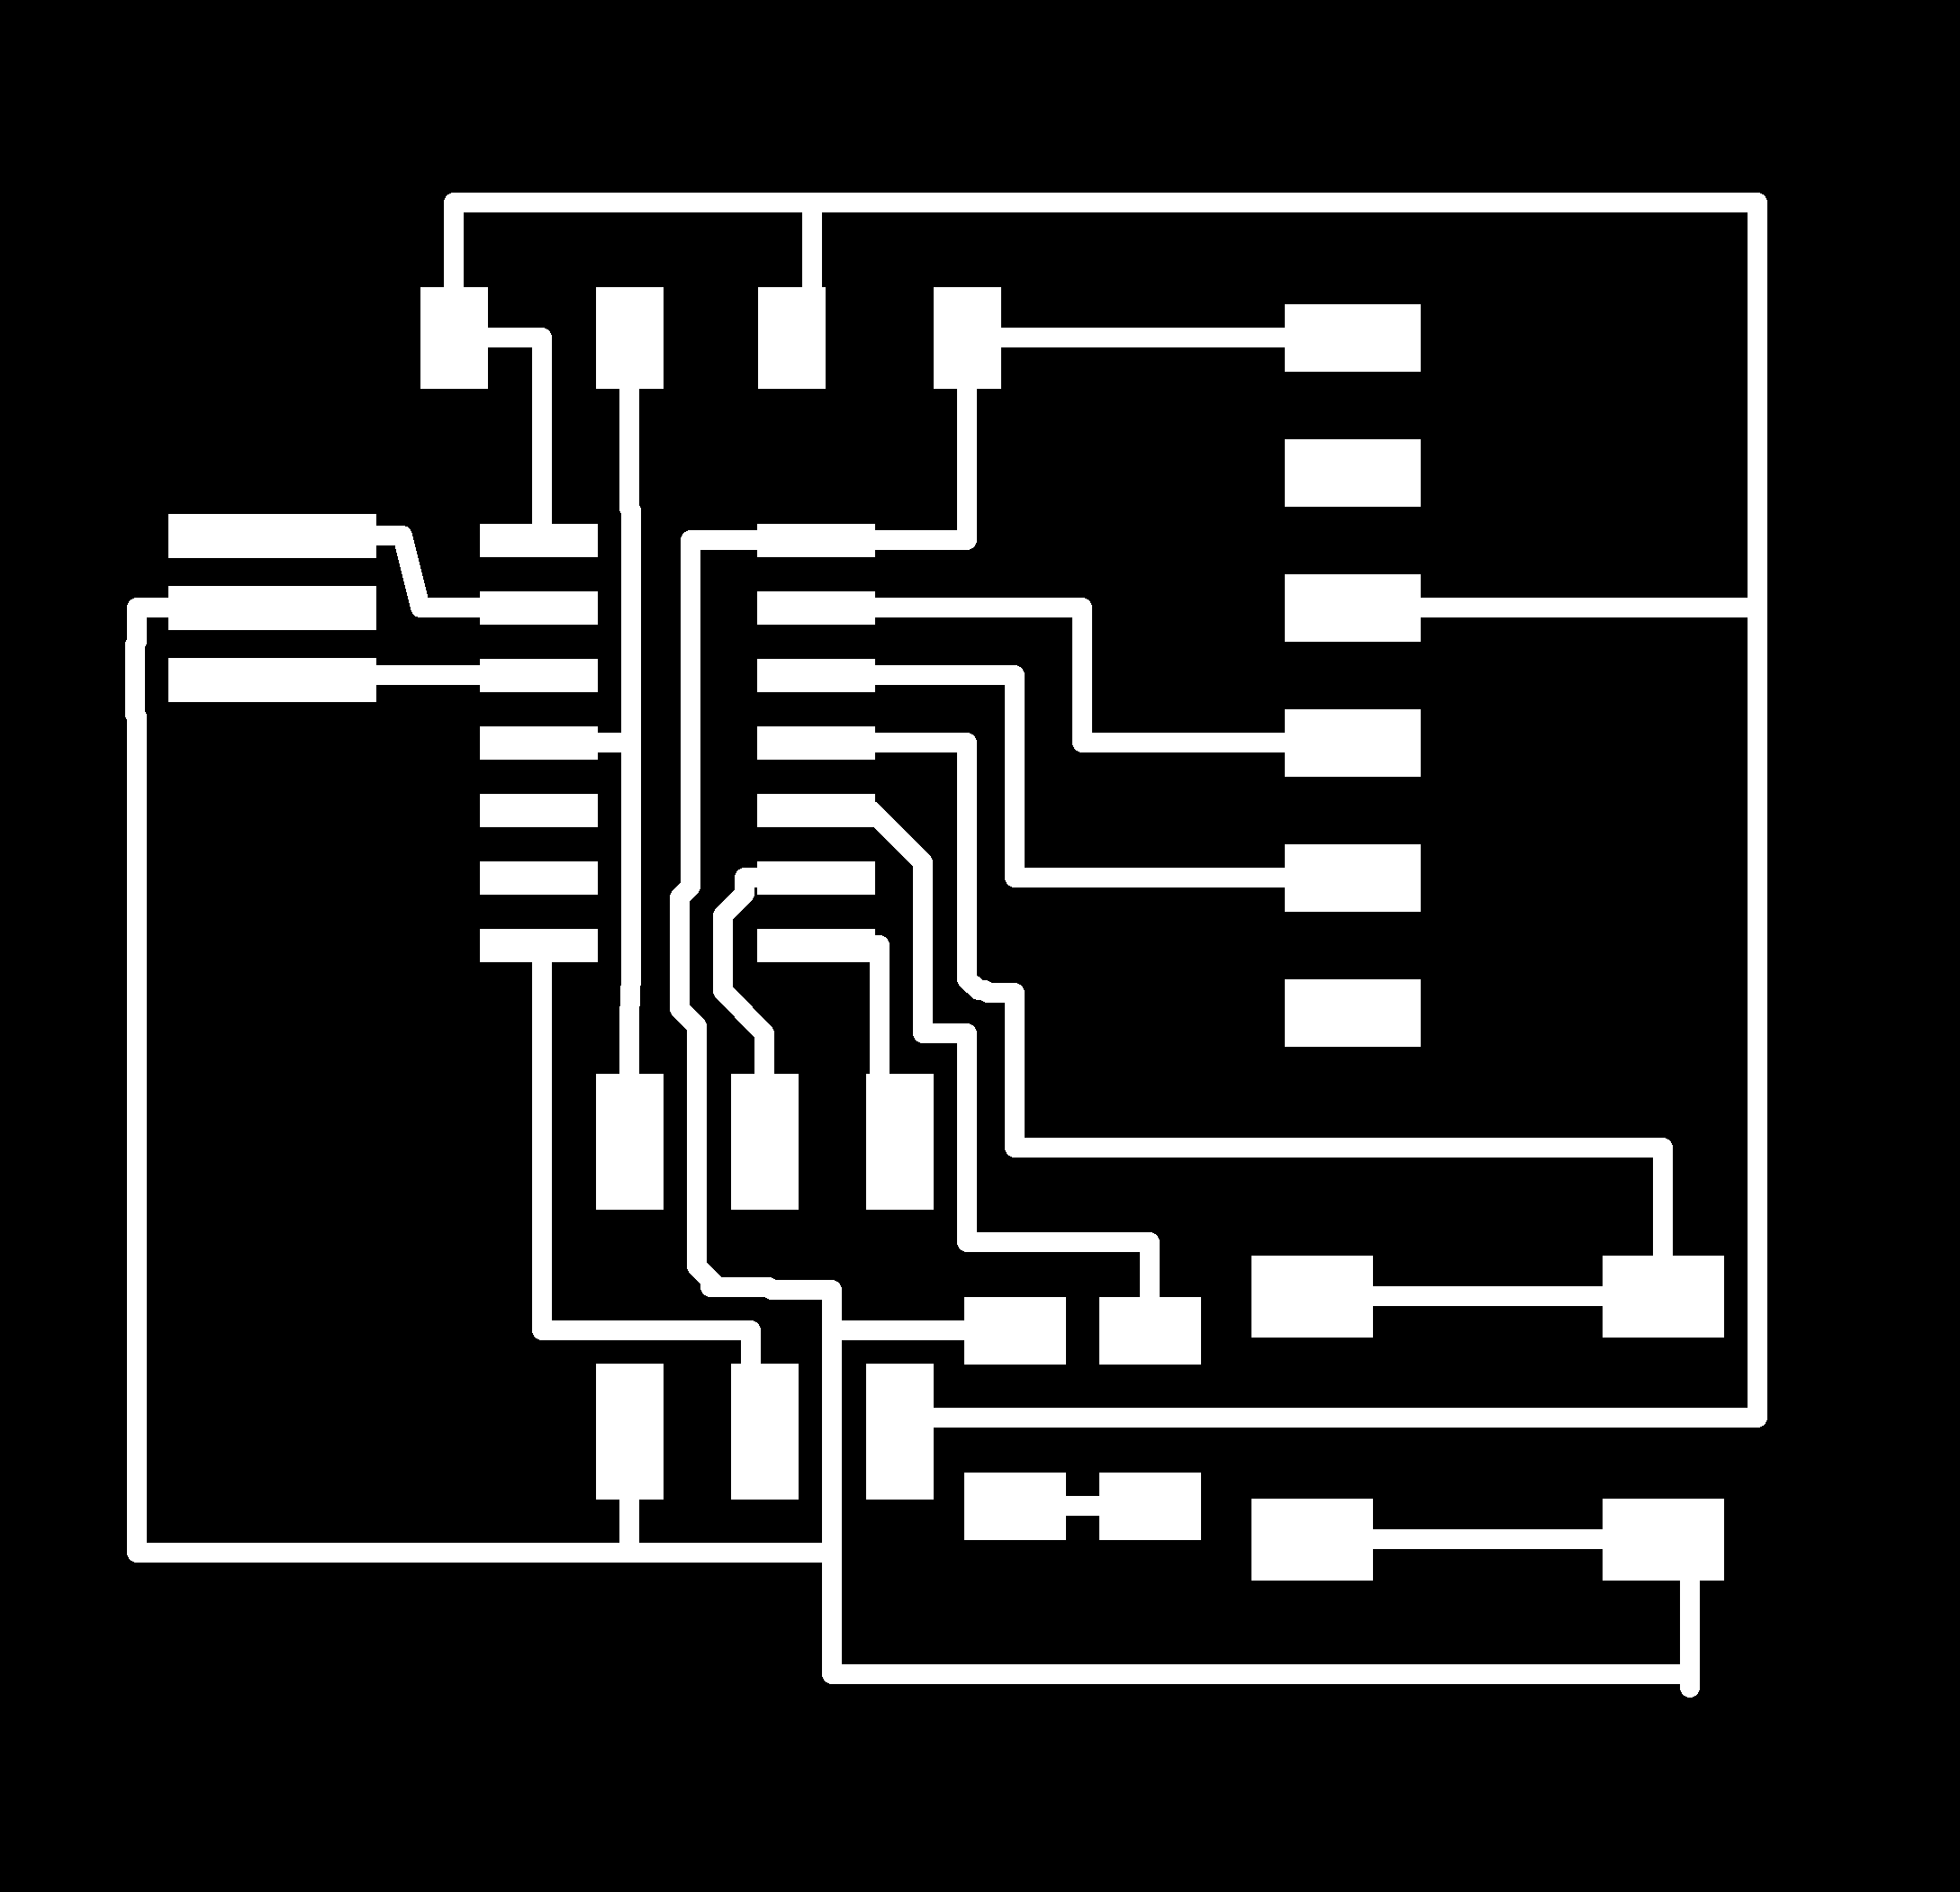
Then In board I draw the connection lines and try and make it fit in the best way.
Now to get a picture that the roland mill can understand.
I turn on the 200th layer and draw a square over your board.
Now turn off all layers except for top, pad and vias. Then go into file – export – image.
Pick the monochrome and make the resolution good enough for the roland mill to understand.
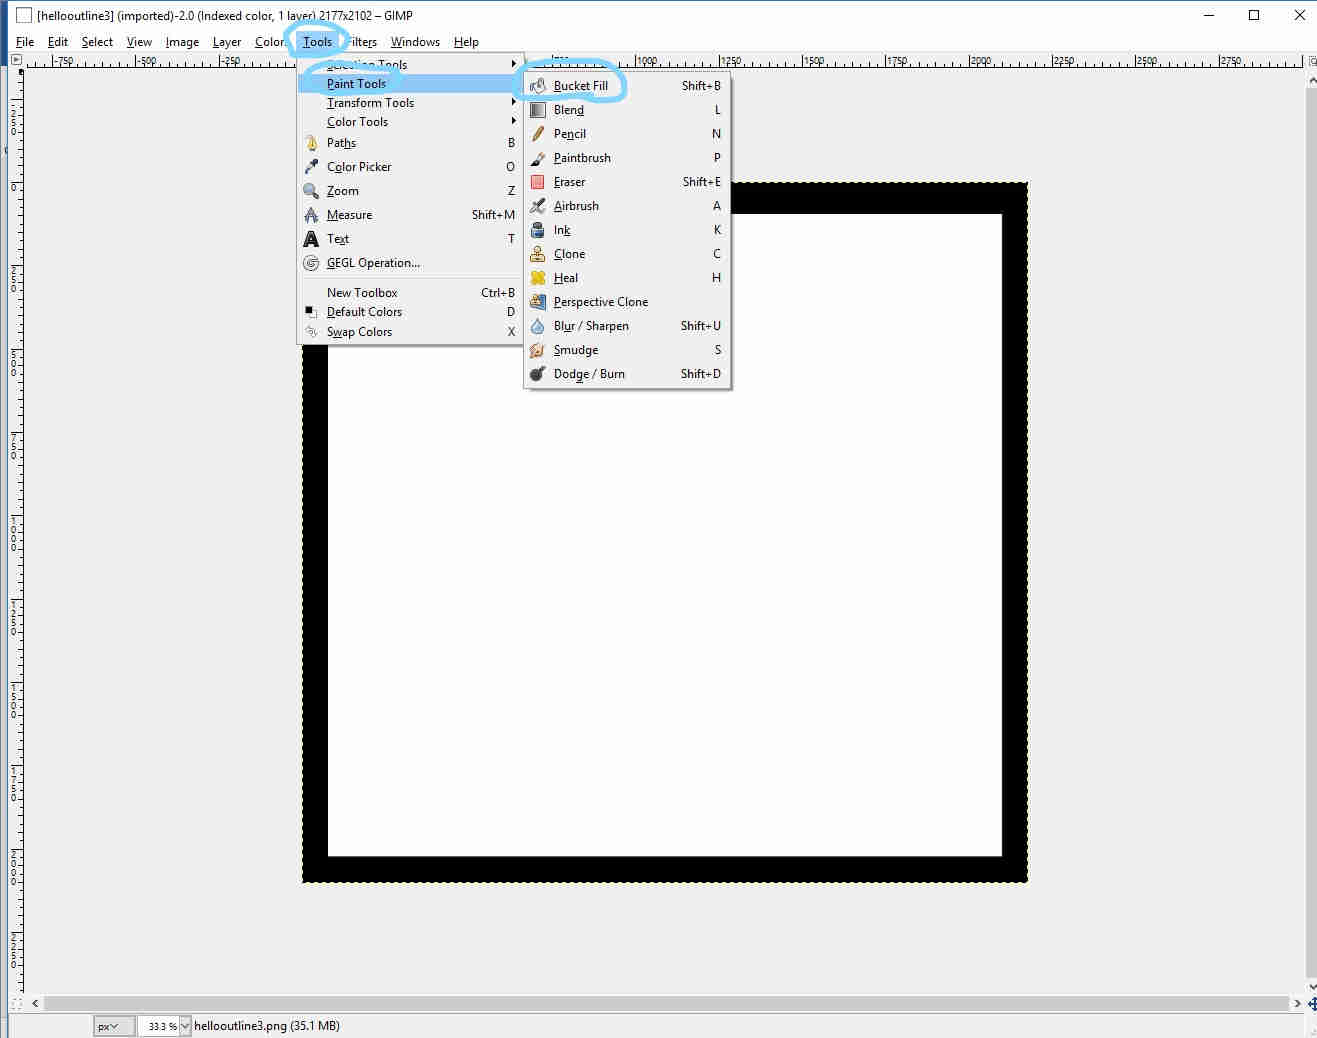
Then your traces are ready. Then to make the outline turn of all the layers except for dimension.
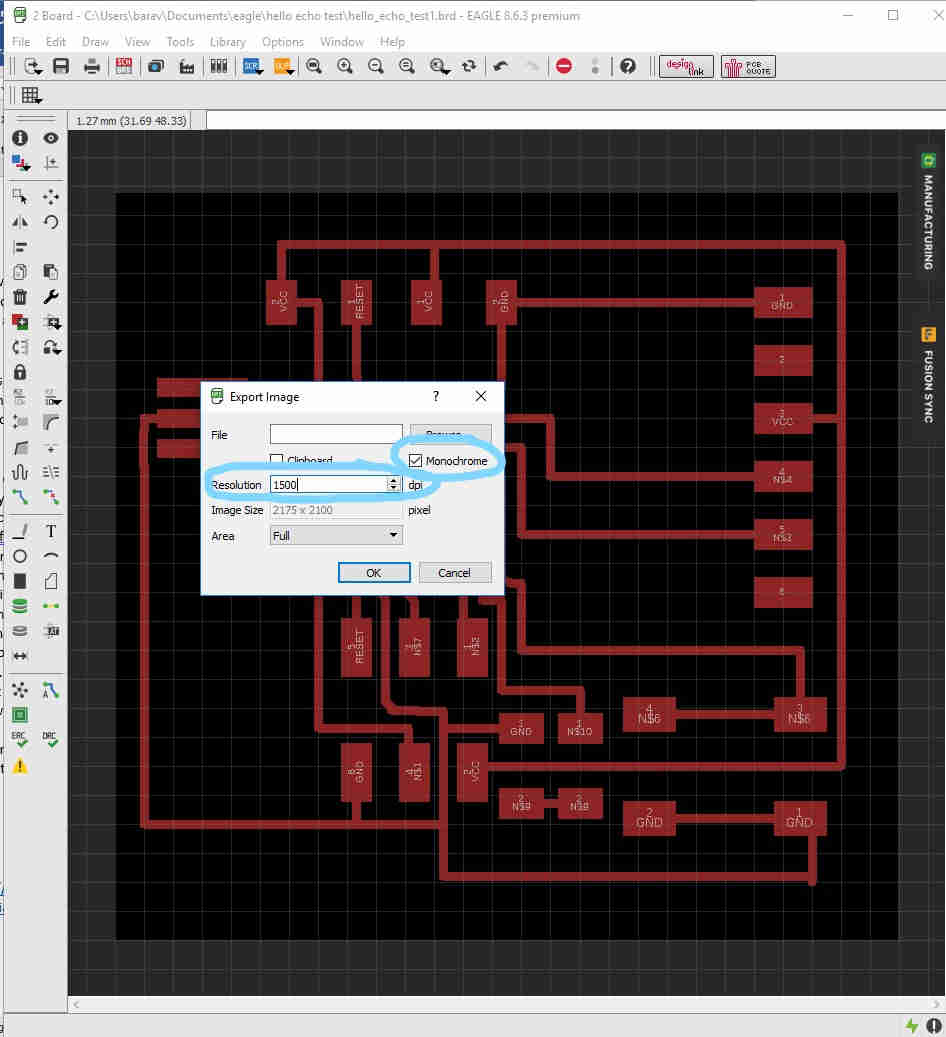
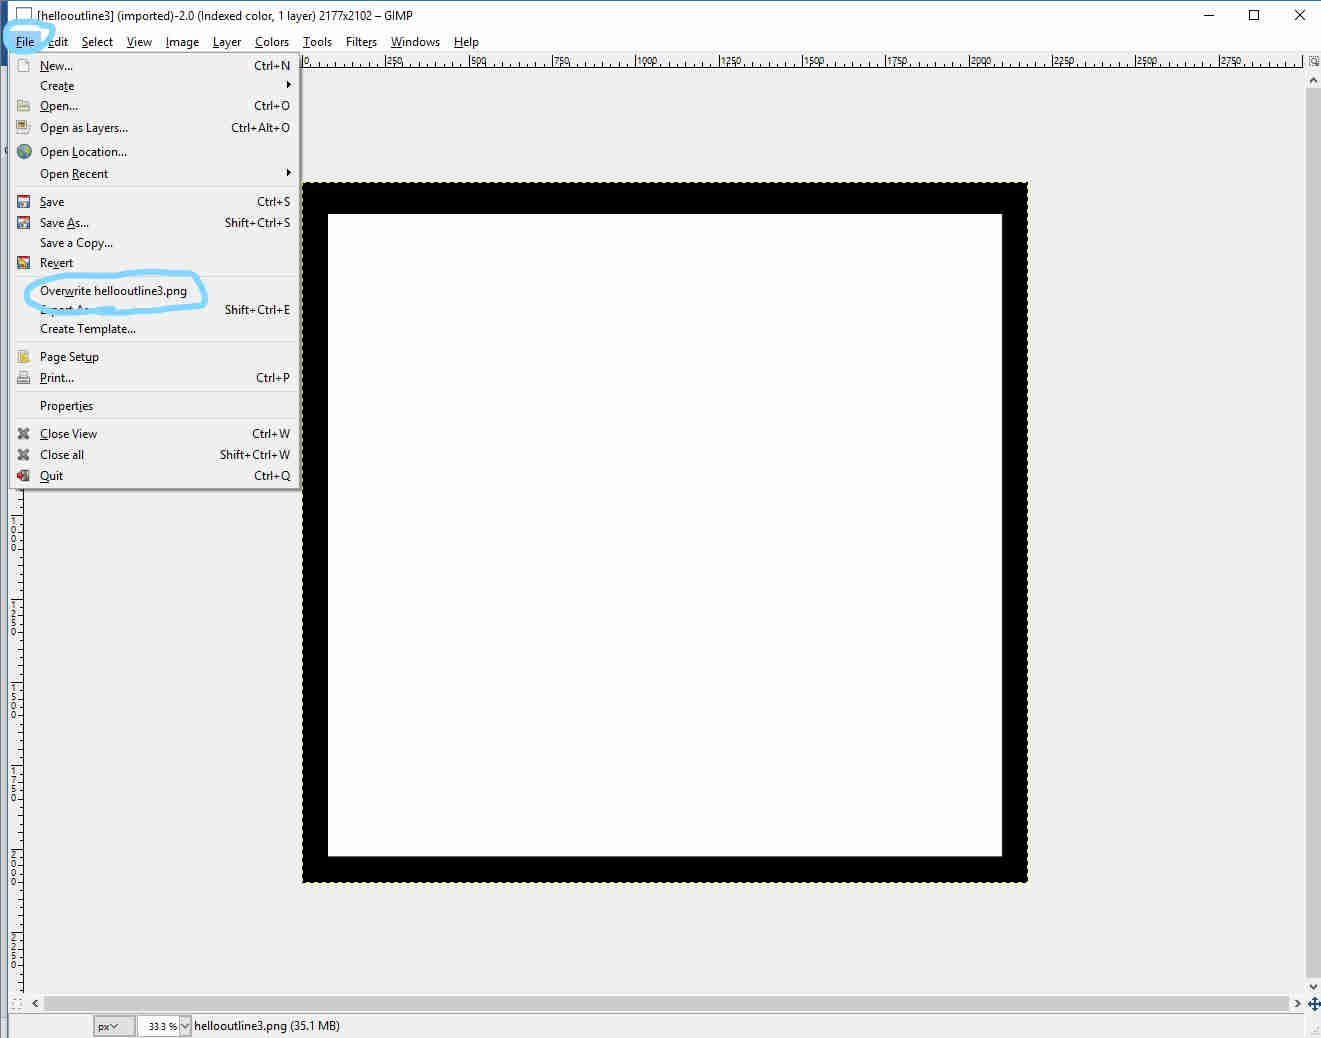
Then save the image in the same way you saved the traces. Then open the outline image in GIMP and fill the middle with white.
Then go to file-overwrite and the outline should be ready.
If you want to make this circuit board
here
is a good tutorial on how to make it in Eagle
Milling and soldering
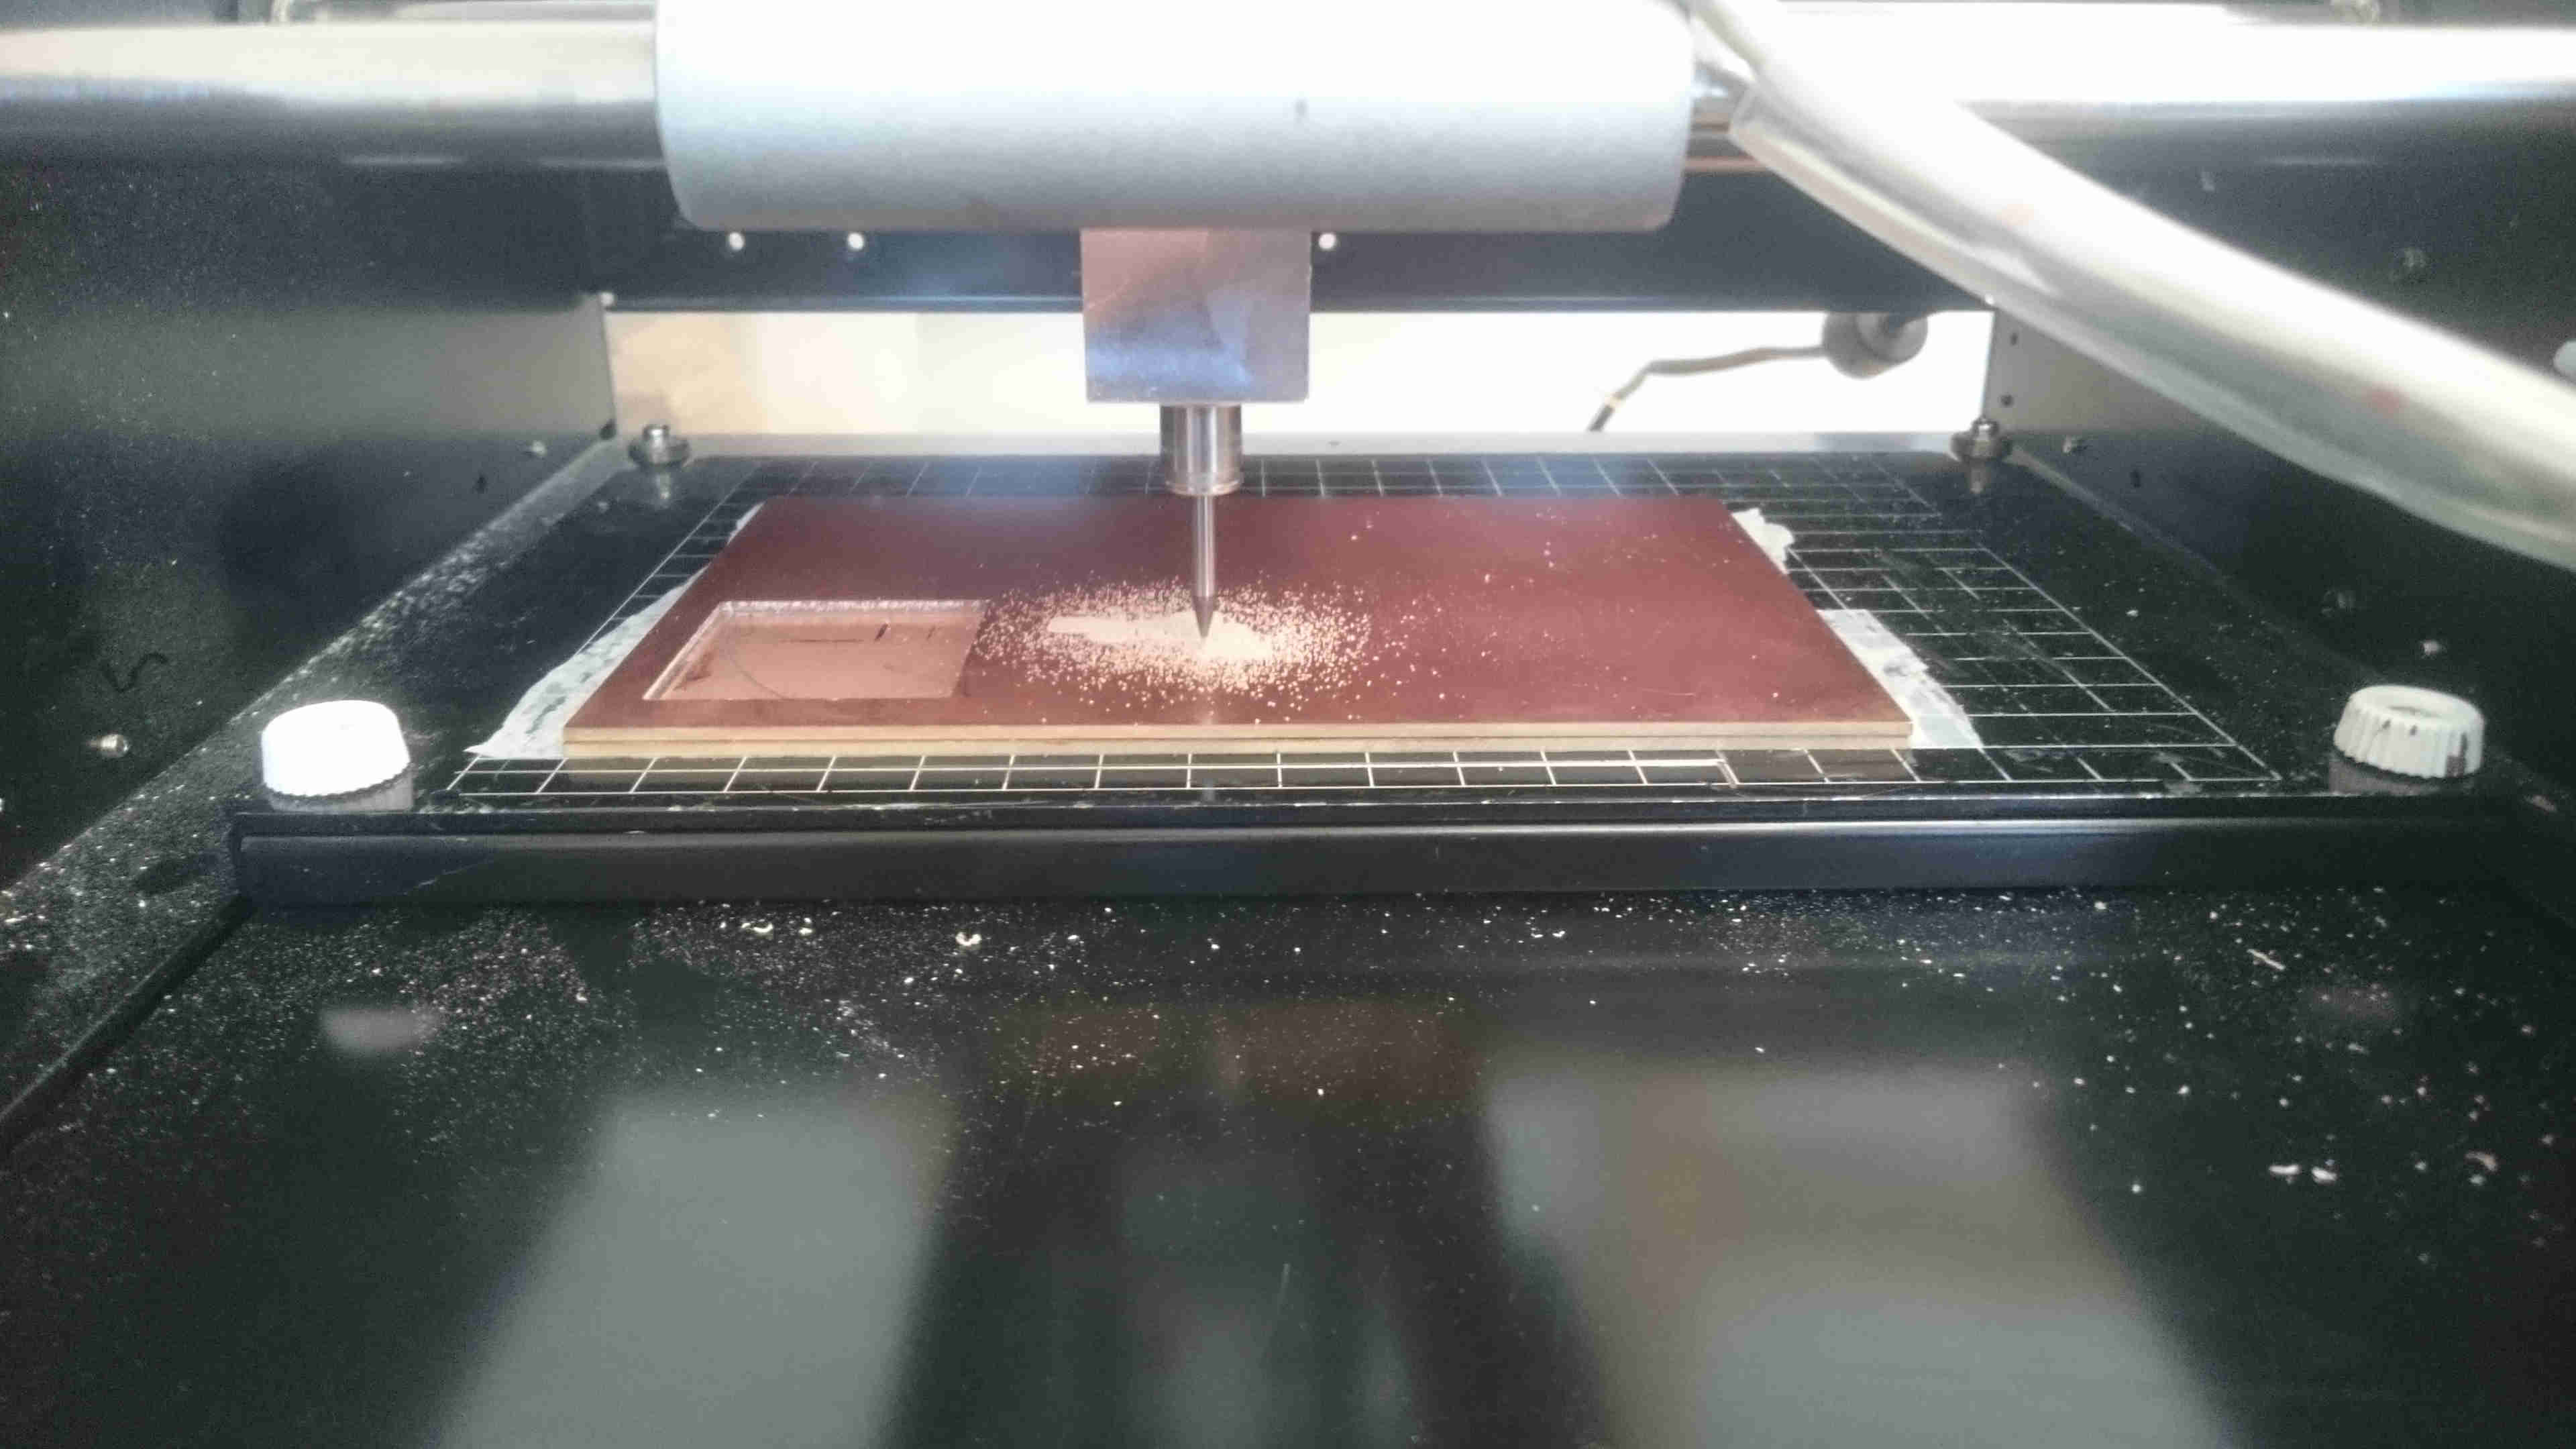
Now to cut it in the Rolland milling machine and to solder you can see how to do that in
week 5 when we did electronics production.
Programming
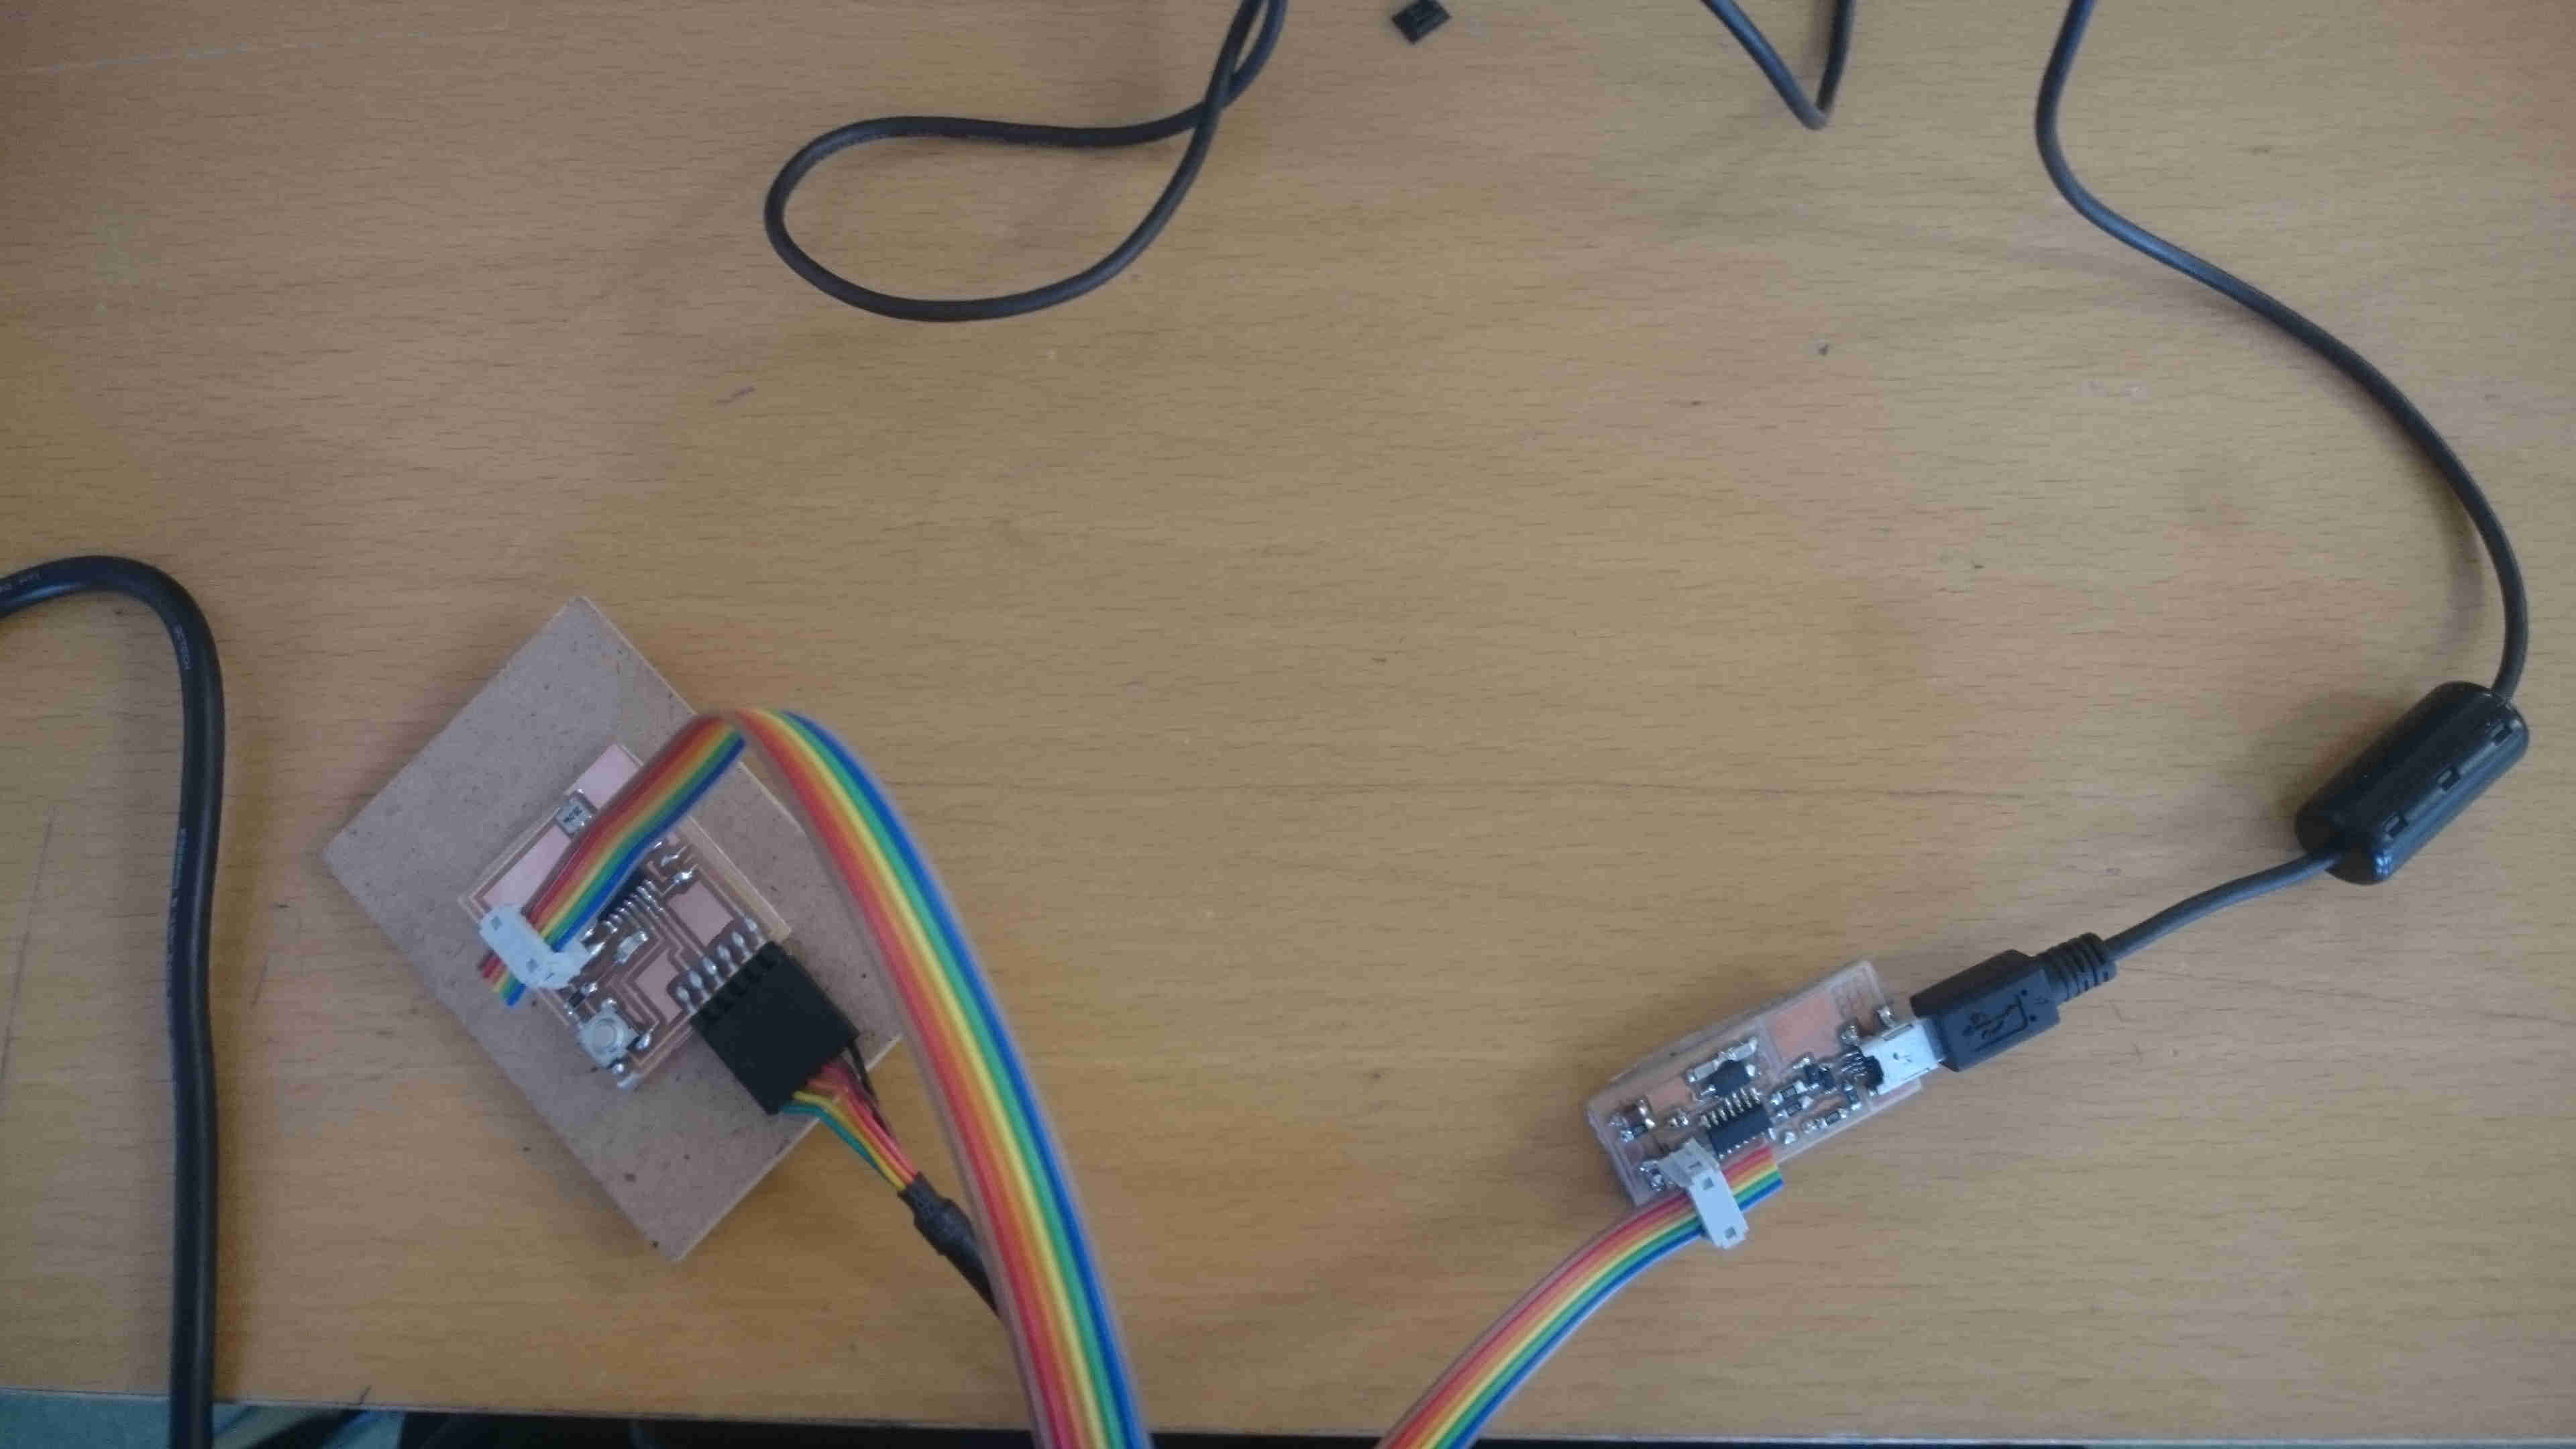
When I programmed it I followed
these instructions
First download the make file and the c file and if you whant to see it work download the python file. You can find them here.
Then open terminal in Linux and go into the folder where you saved all the files.
There write:
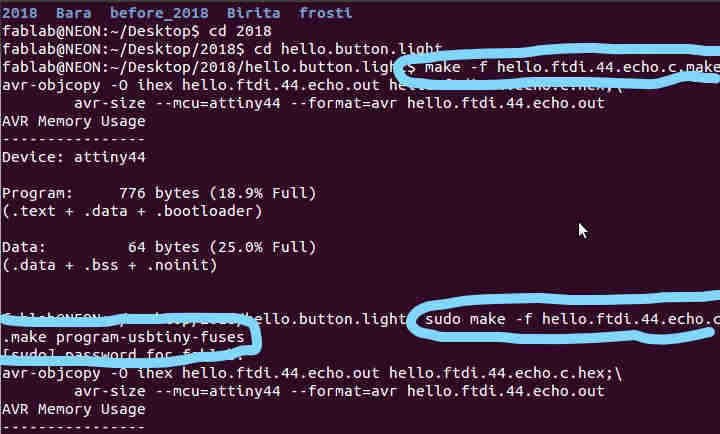
make -f hello.ftdi.44.echo.c.make
Then write:
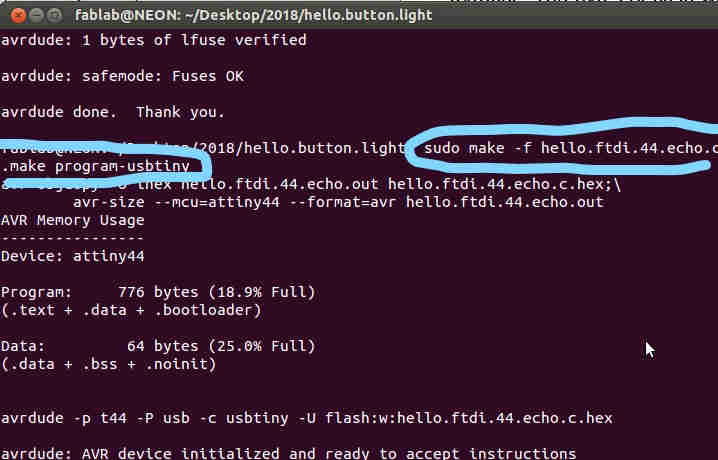
sudo make -f hello.ftdi.44.echo.c.make program-usbtiny-fuses
then:
sudo make -f hello.ftdi.44.echo.c.make program-usbtiny
Then to open the python program to see if it works write:
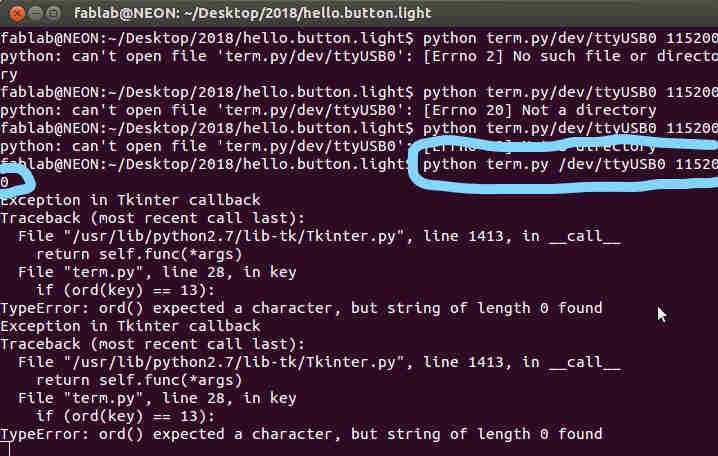
python term.py /dev/ttyUSB0 115200
Problems and solutions
The biggest problem this week is that I am a total beginner at drawing a circuit board
so it took a lot of time too understand and I do not really understand what I am doing.
A problem I had when I was in the schematic was that the lines did not always stick to the output line.
My solution is to use the net instead of the line.
It never failed when I used the net but the line command was failing a lot.
When I was programming the board there was one command that had a space but I did not see the space
so I kept on writing it wrong and it was not working
but then Frosti told me there should be a space inbetween the line and it worked fine after that.
And another thing I would do different next time is put in the value when drawing in Eagle.
I did not know that putting in the value was an option until I had already drawn the board.
Because this week was very pact I did not have time too go back and fix it
but next time I draw in Eagle I will remember to put in the value.
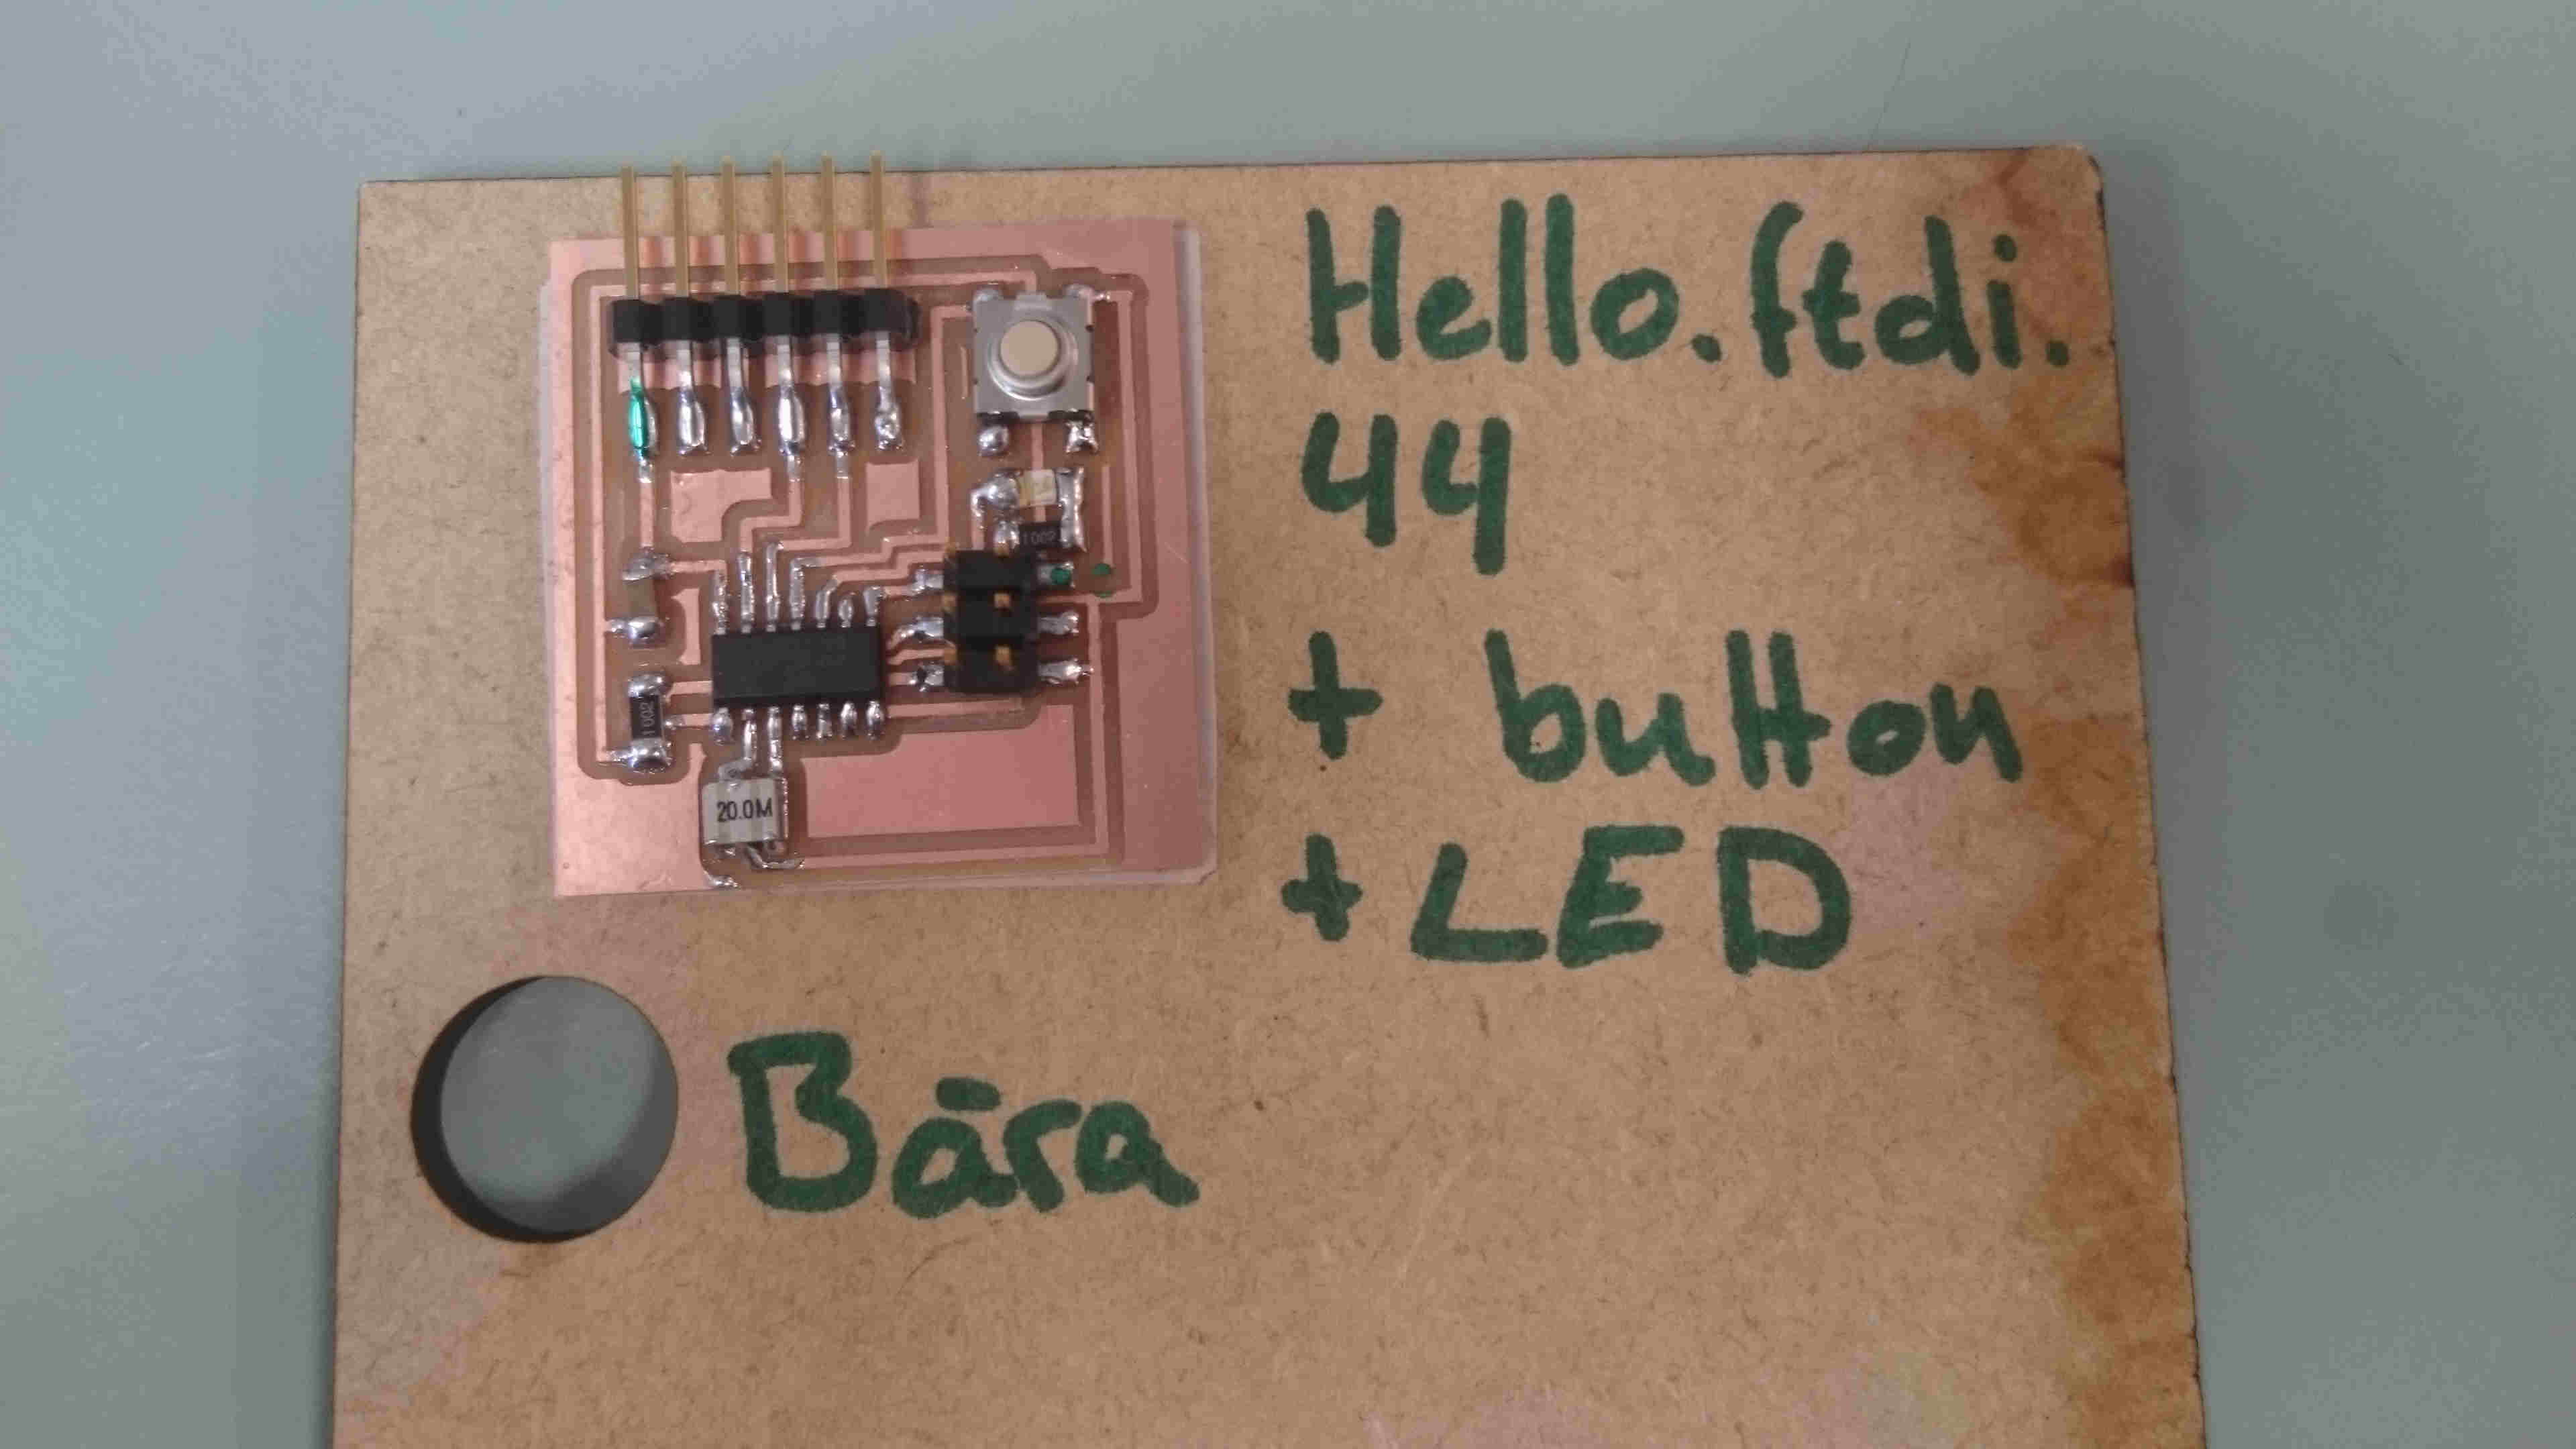
Soldering the resonator was also very hard and I hope the soldering is good enough but I have to practice more on soldering.
Software I used
Microsoft Photos
- For photo editing.
Gimp
-For photo editing and making the outline.
Eagle
-for drawing the circuit board
Inkscape
-For photo editing.
Files from this week
The schematic of the board
The board made in Eagle



.png)
.png)
.png)


