This week is different because you can choose what you want to do. You have to design and produce something with a digital fabrication process that has not been covered in another assignment, documenting requirements that the assignment meets, and include everything necessary to reproduce it.
Make a e-textile using atleast 2 different machines from the Fablab. Make it usable. Document the process.
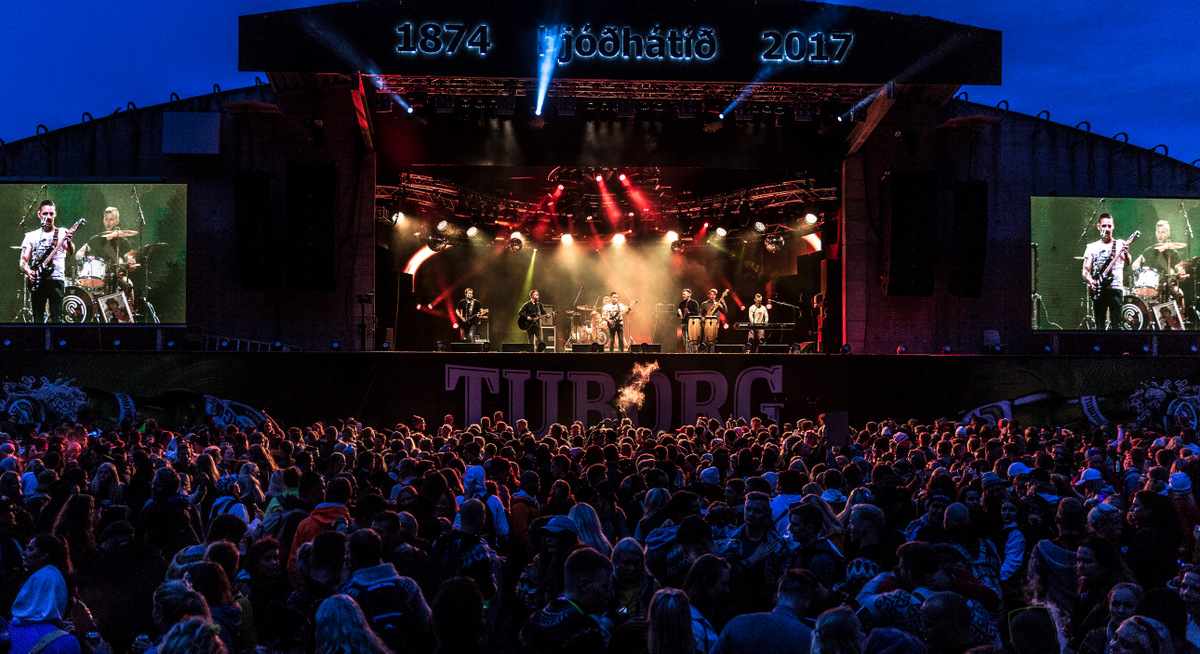
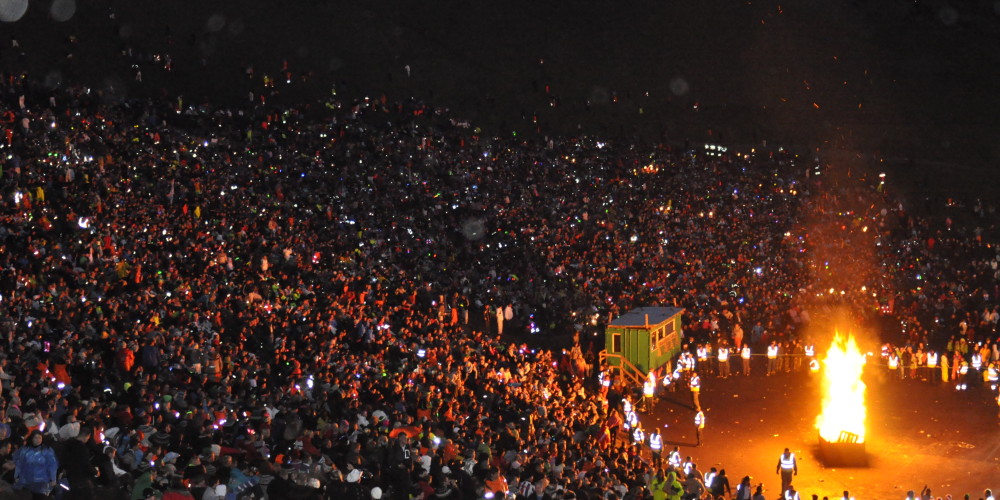
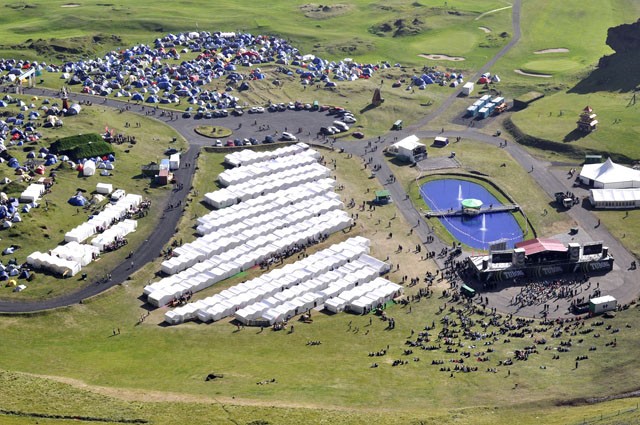
In the beginning of august we have a festival called Þjóðhátíð. It is a music festival and alot of people come to the island to take part. I want to make a cap using the 3D printer, the lasercutter and roland milling machine to make a festive cap.

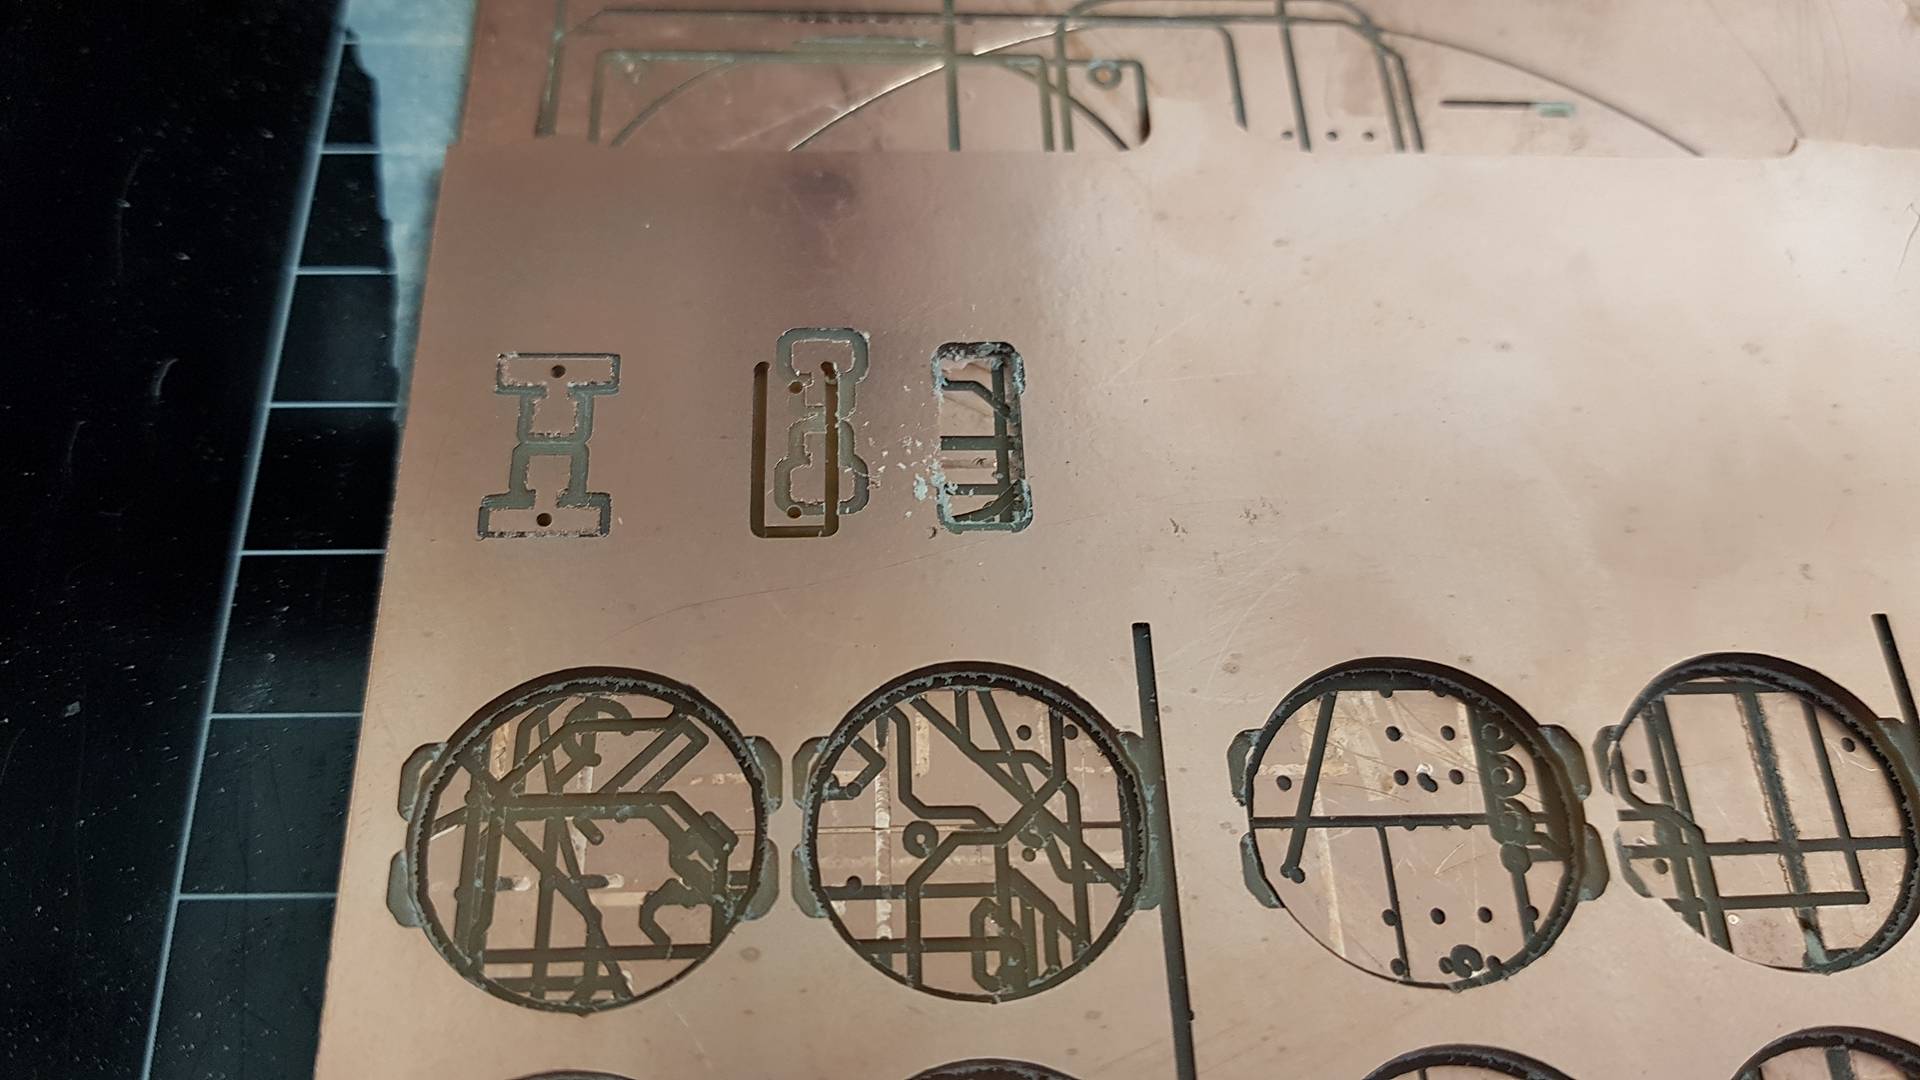
To get started I whanted to test the conductive thread. I made a little board that only has one led and holes connected to each end. I was having some problems with cutting the board because fab modules did not whant to cut the outside. I redisigned the board and after two tries it worked. I soldered the led to the board. I put the conductive thread through the holes and connected the tread to power. The lights lid up.
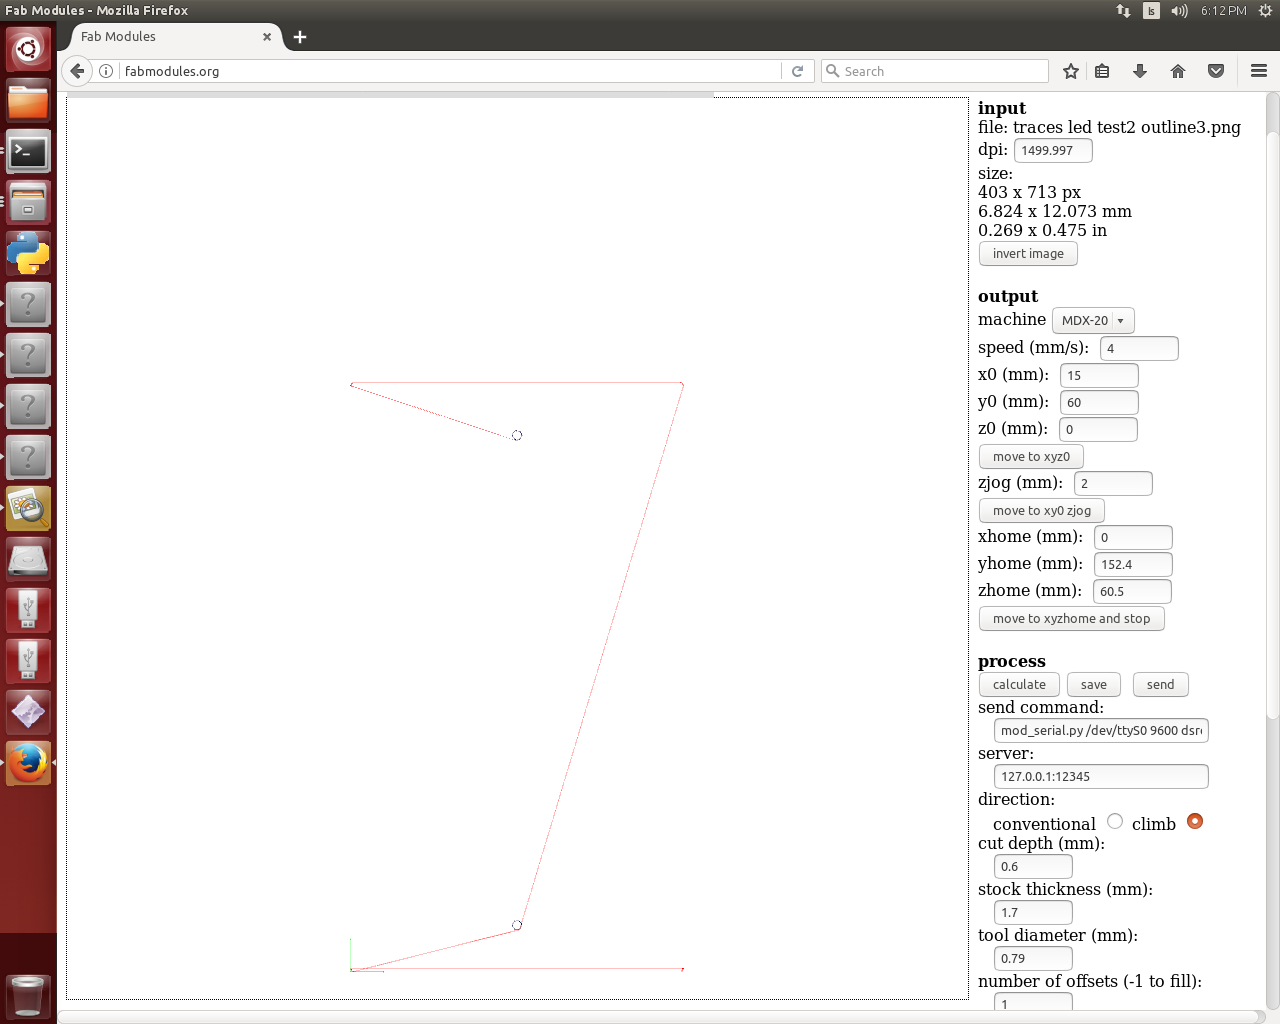
.png)

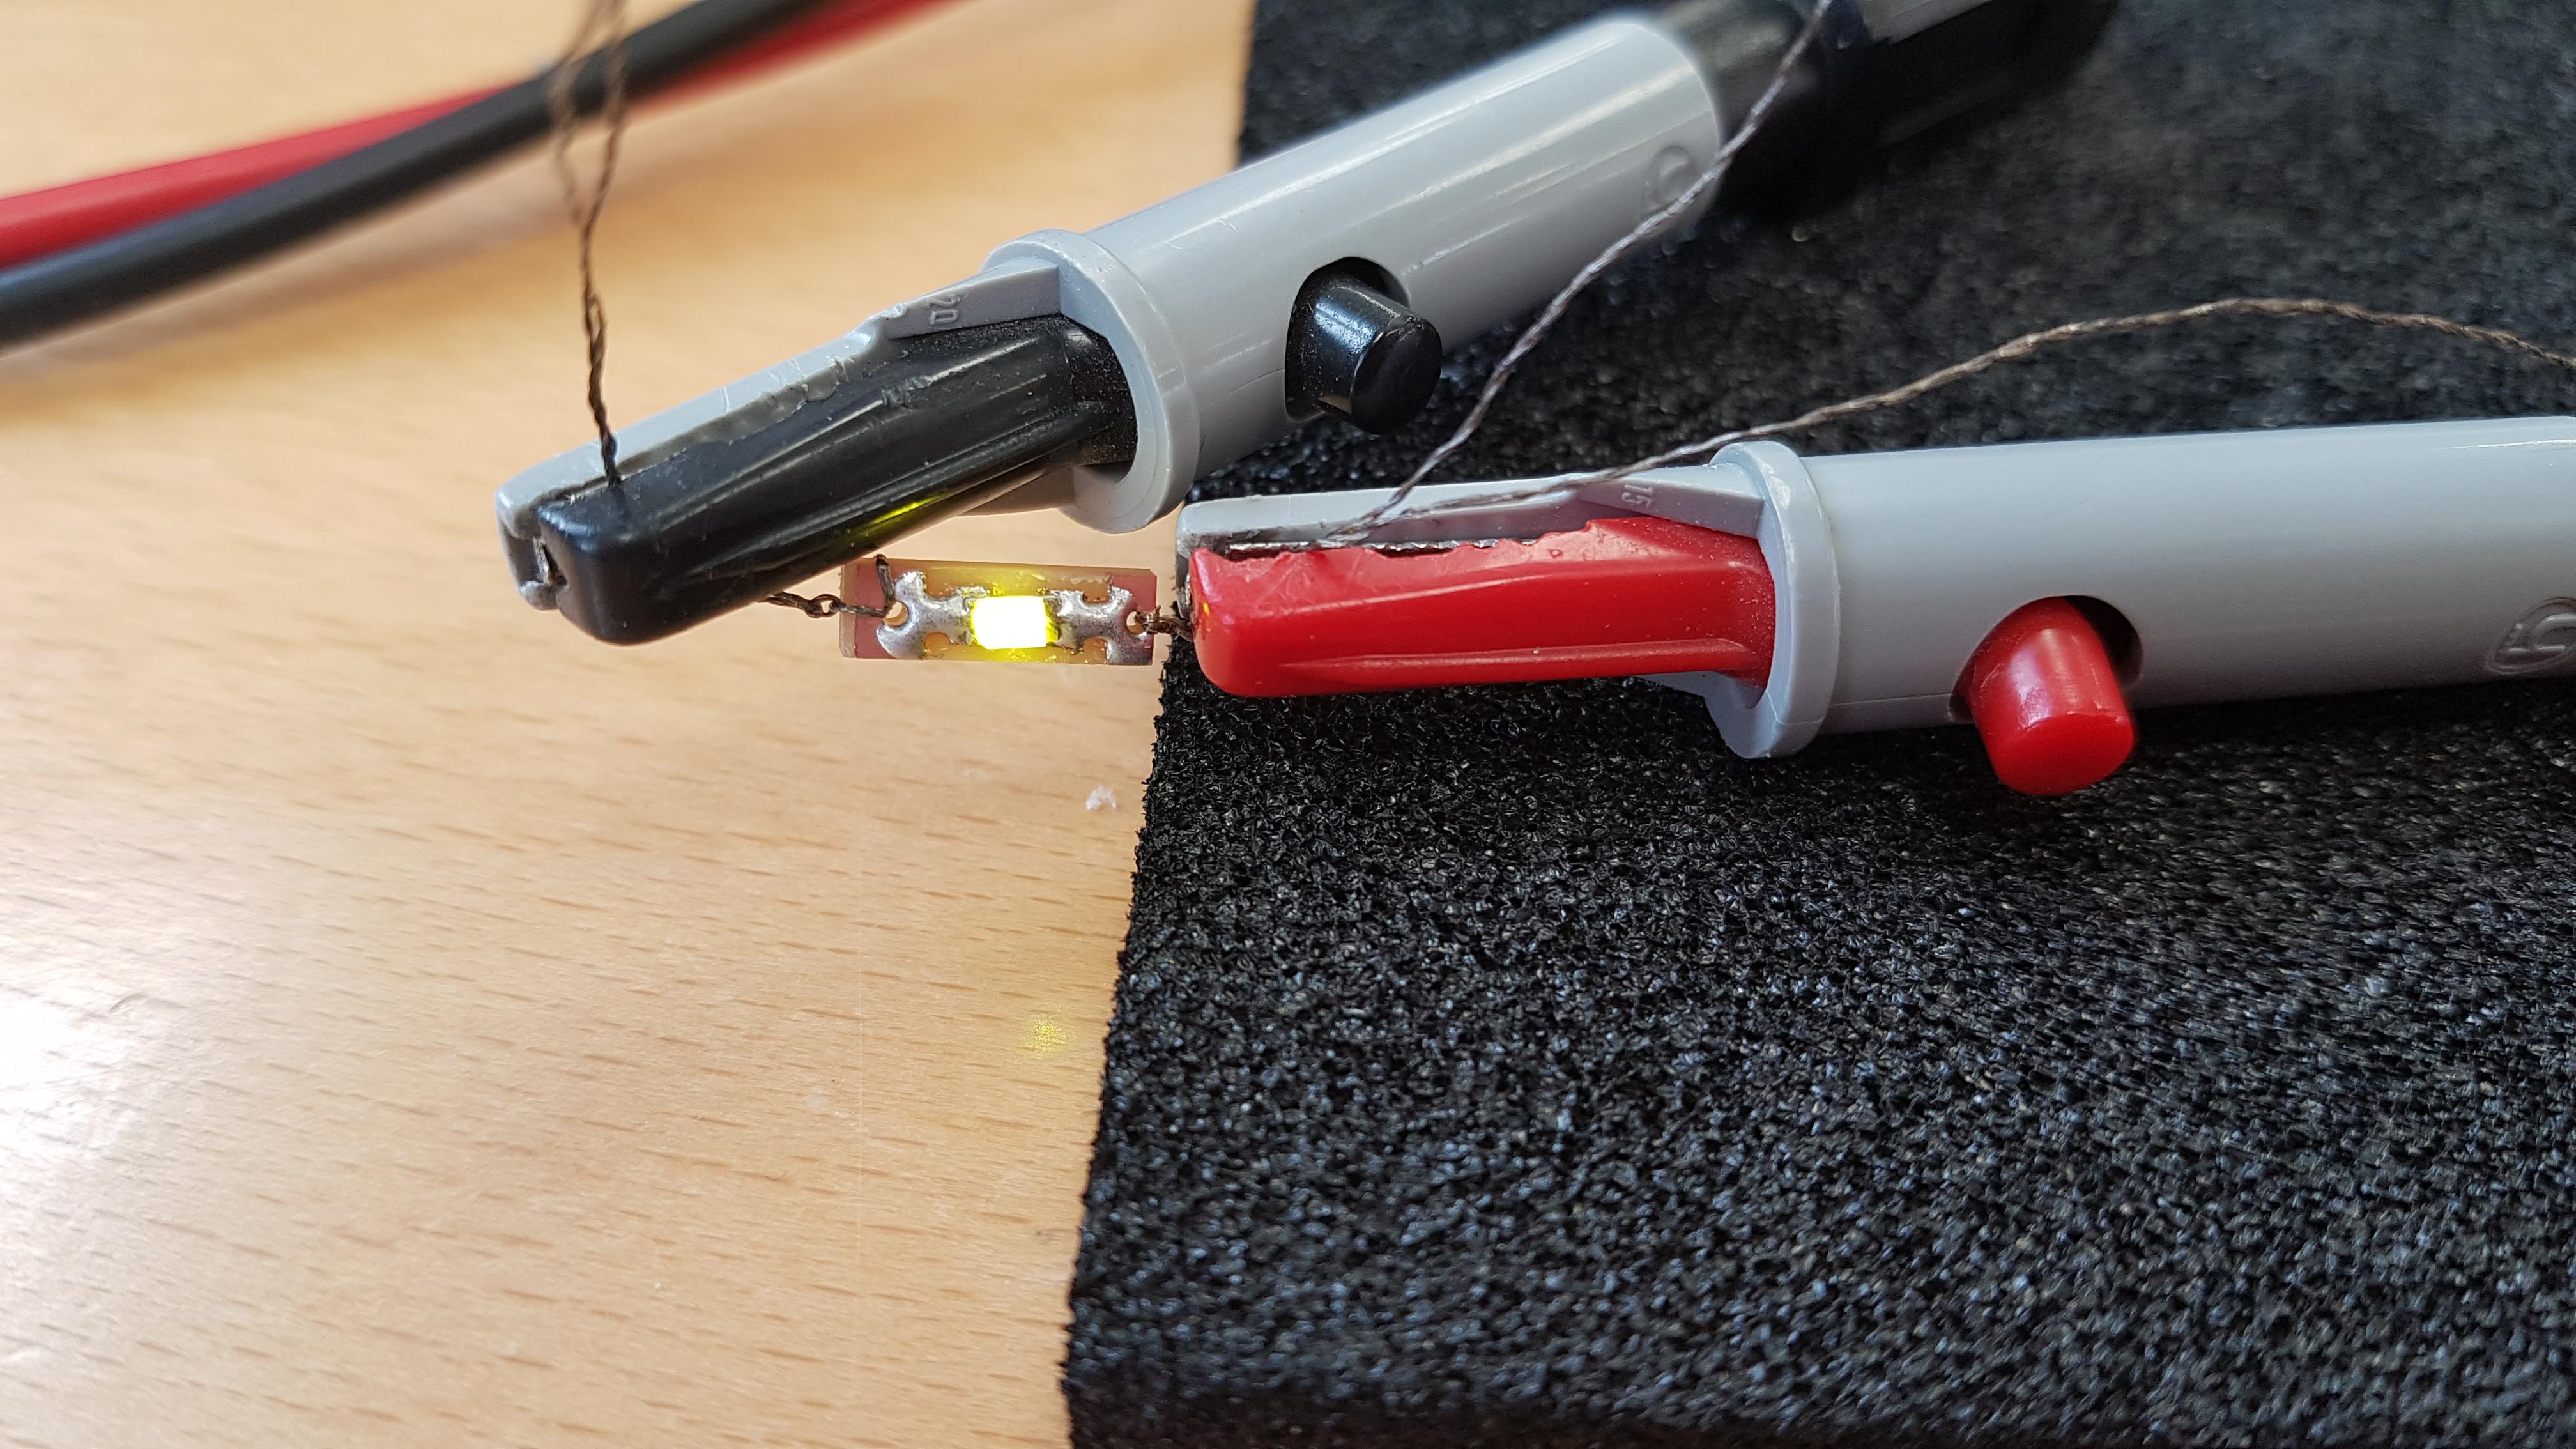
I also made a new one with a resistor and two lights in one. It also workes well.
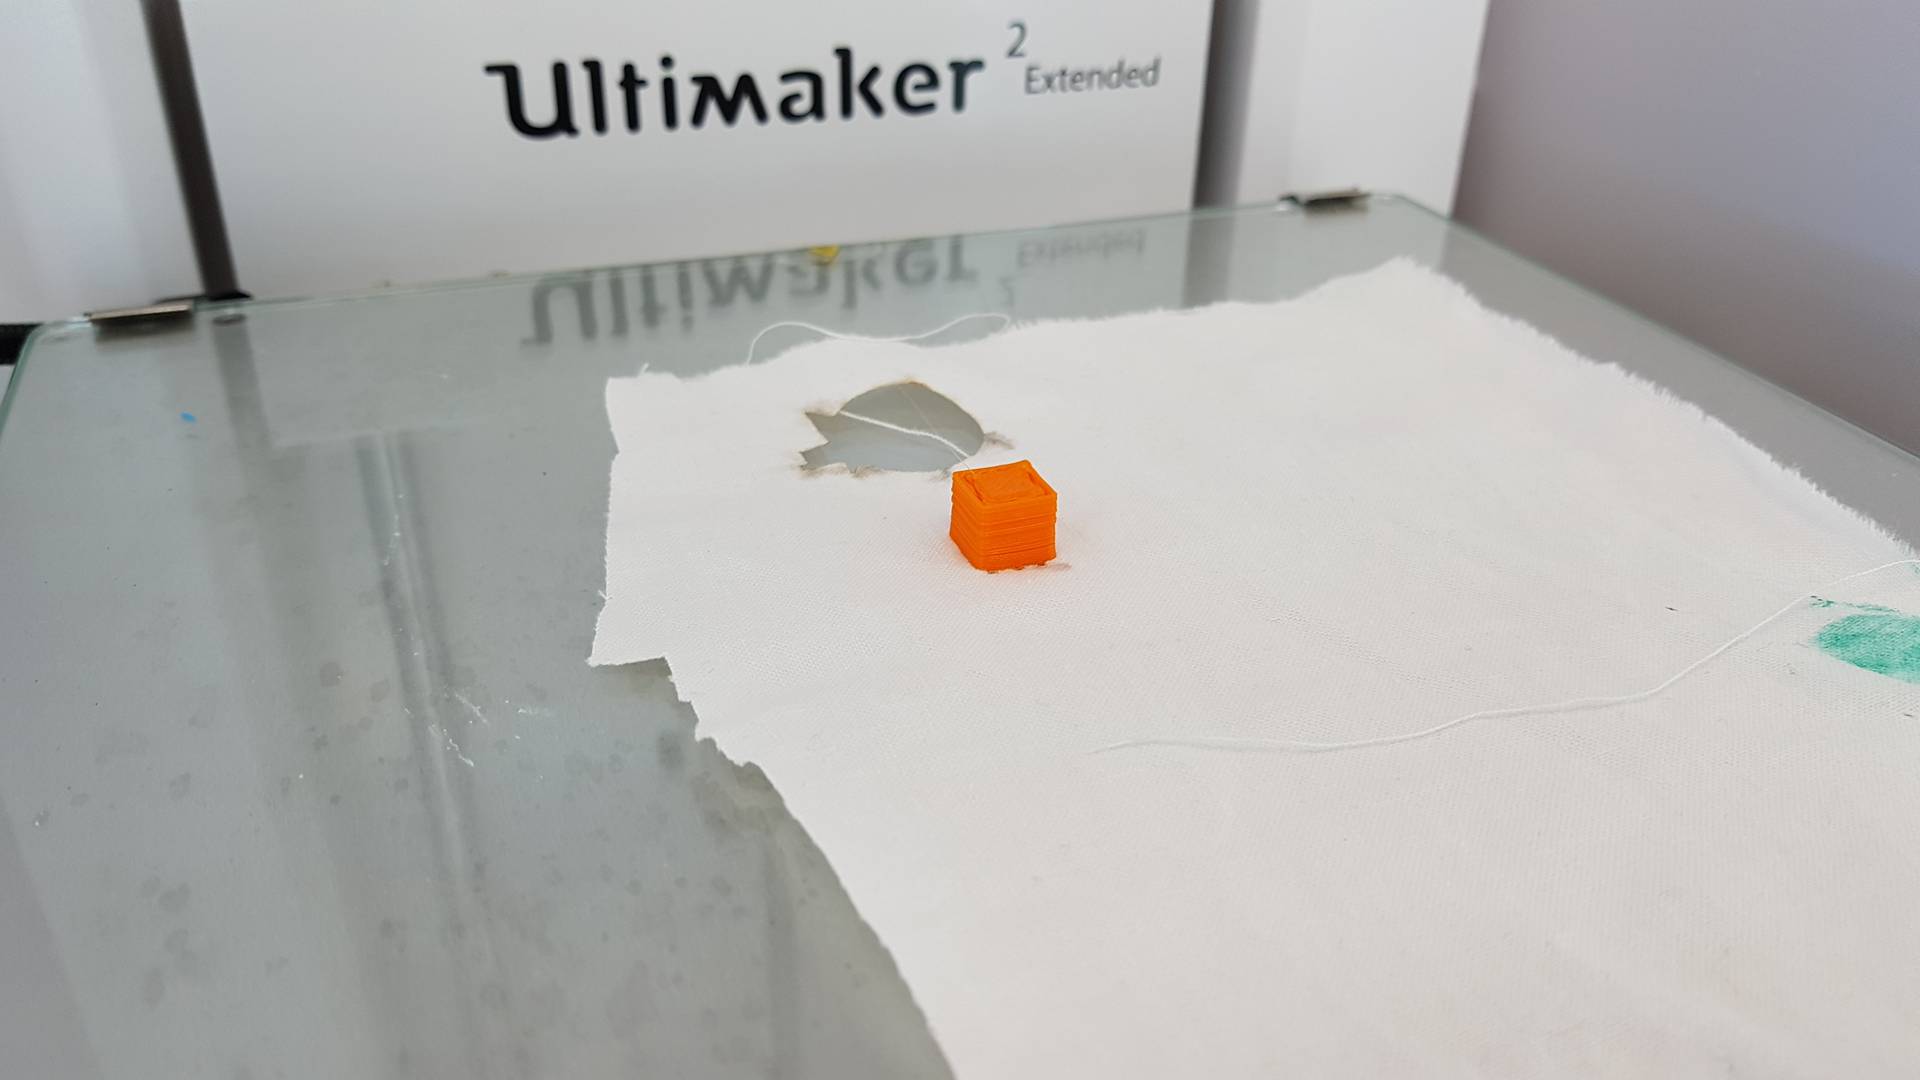
Then I made a test with 3D printing on material. I made alittle bit of reasearch and found out that the best way to print on material is to put holes in the material. I also saw this video that inspired me.
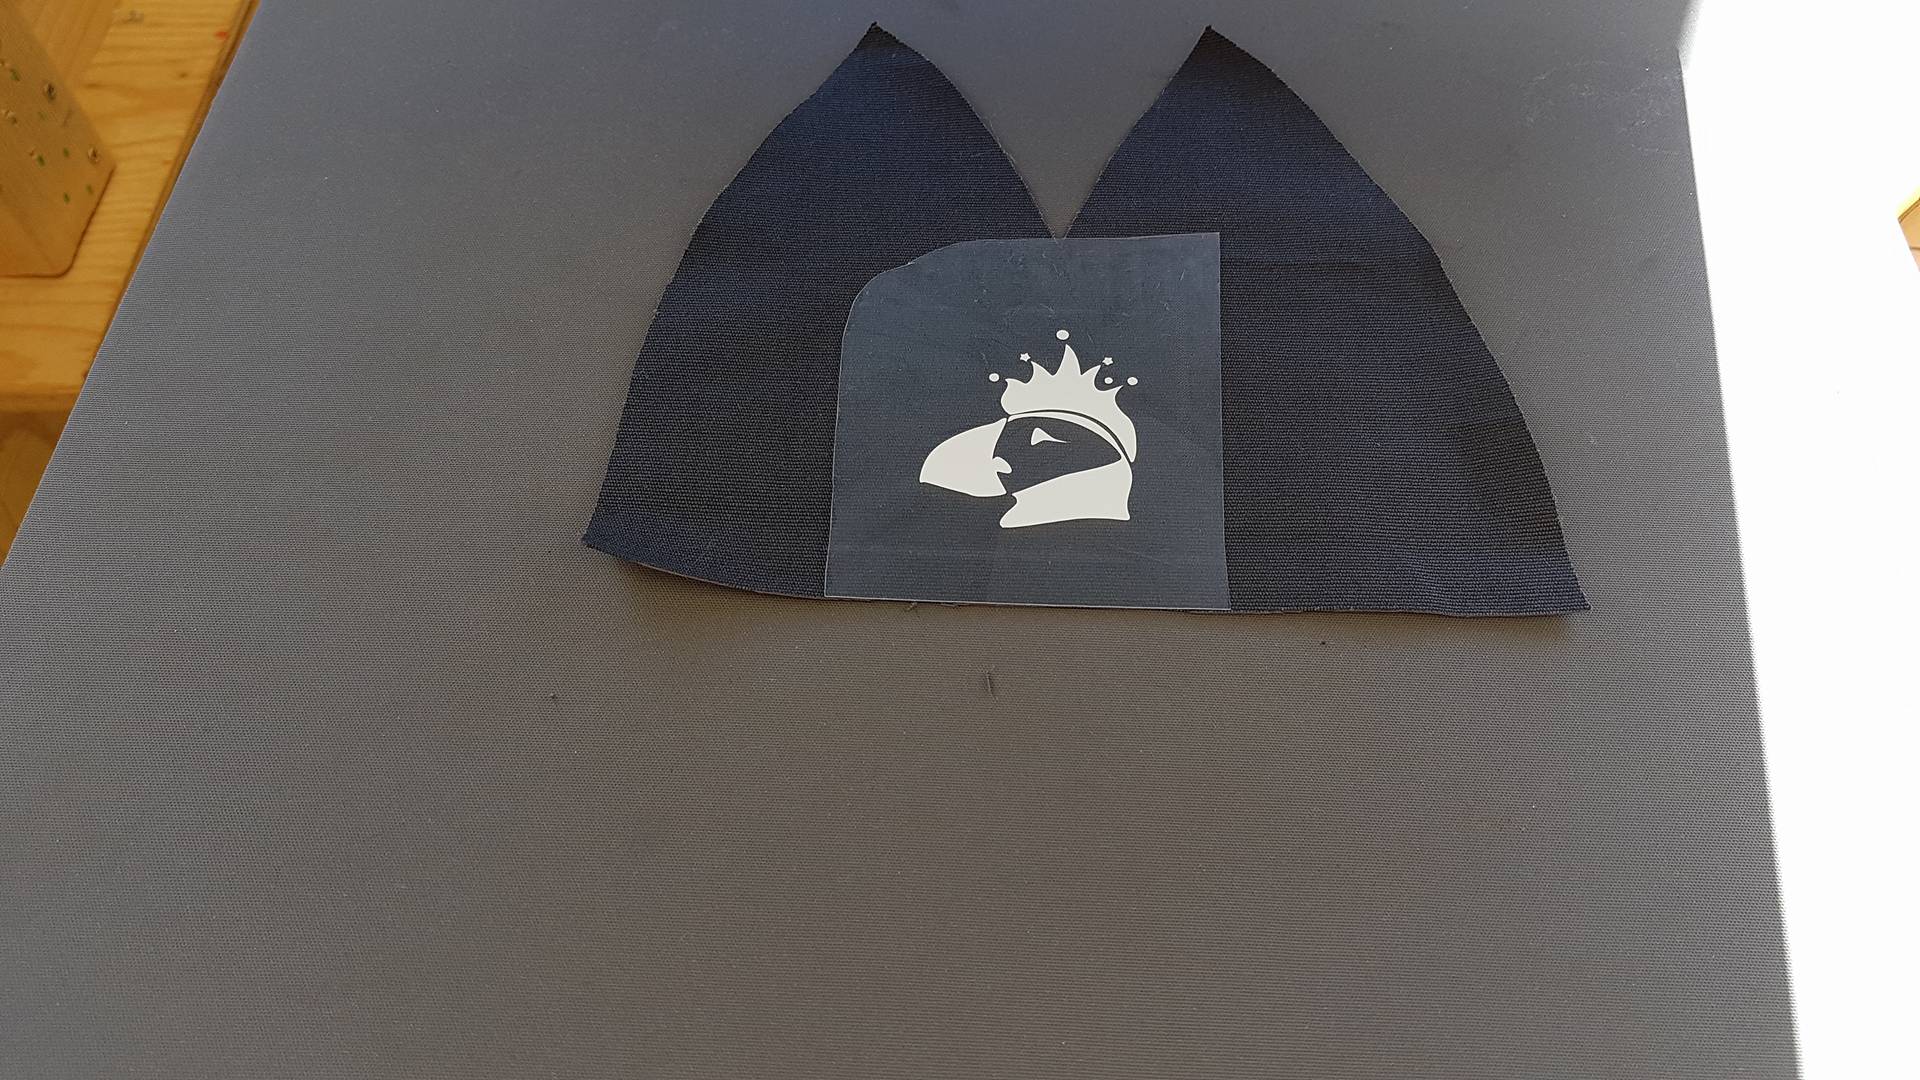
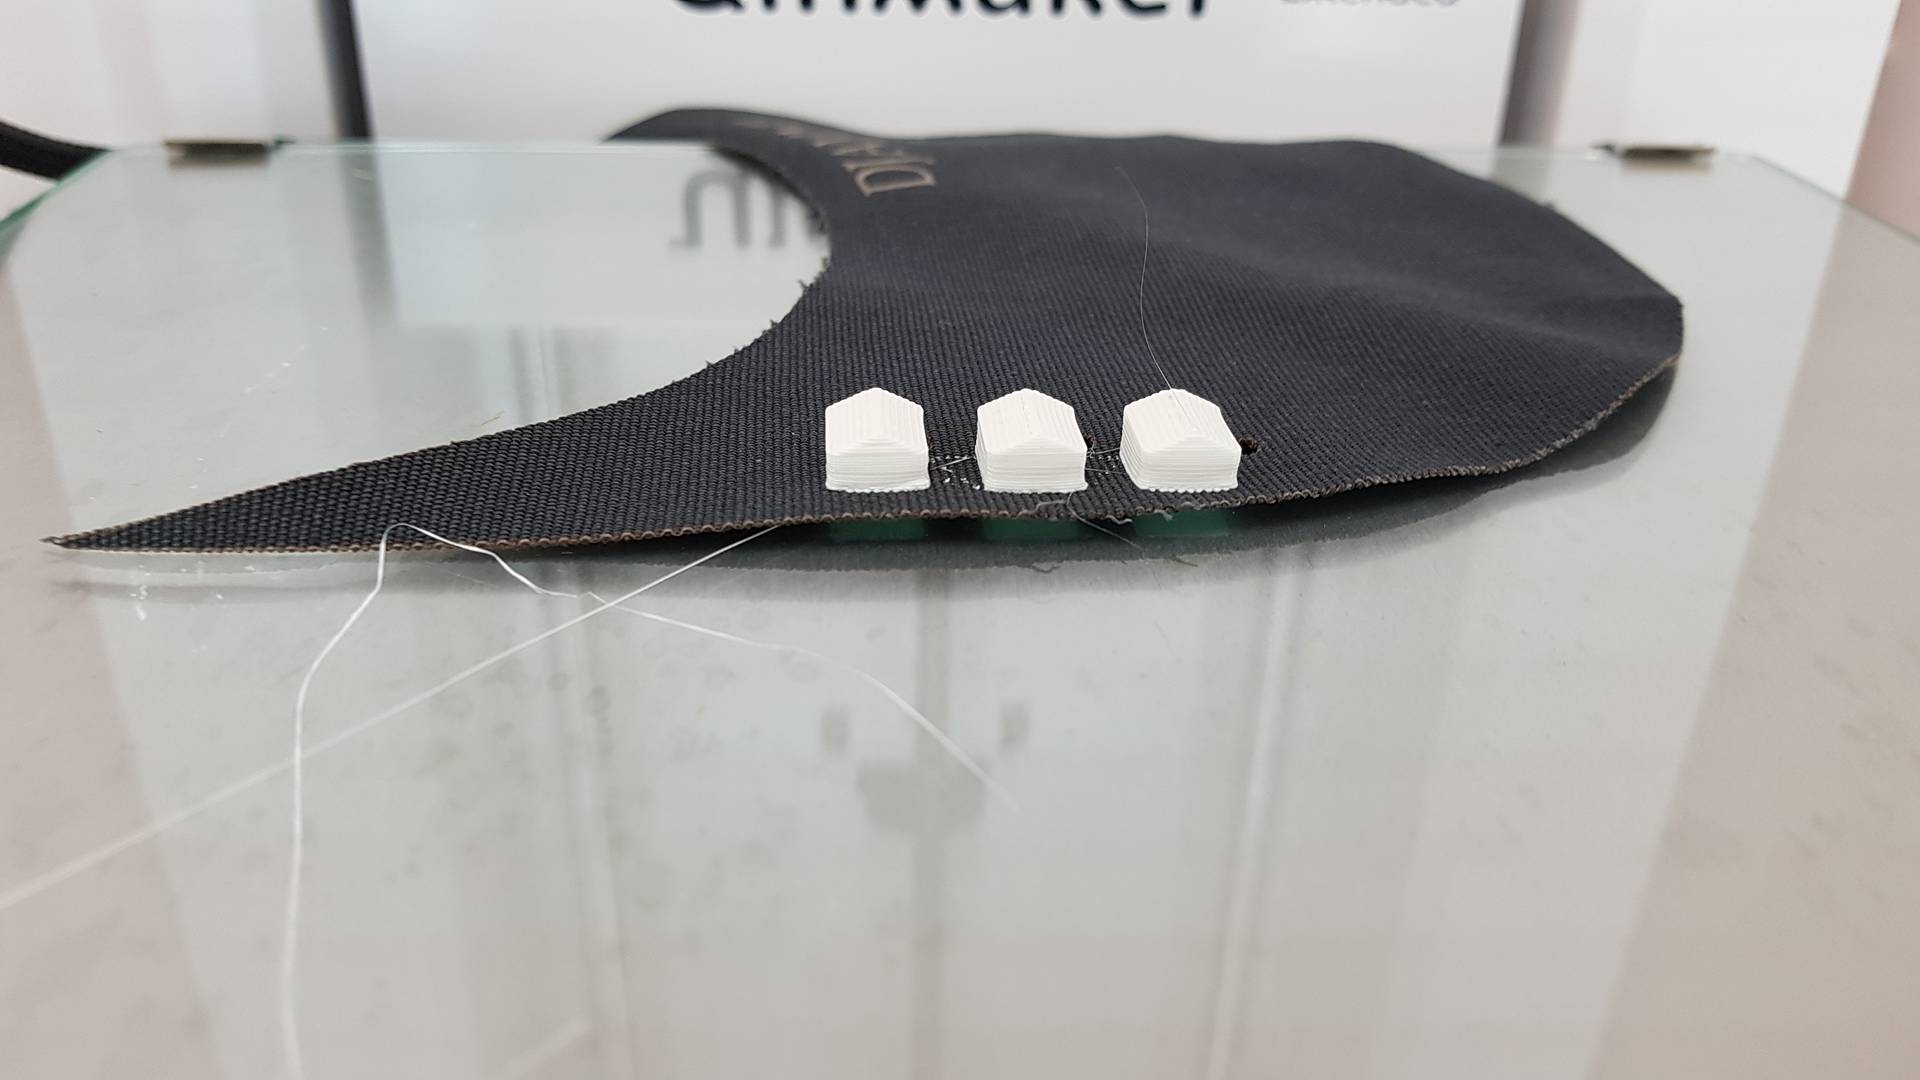
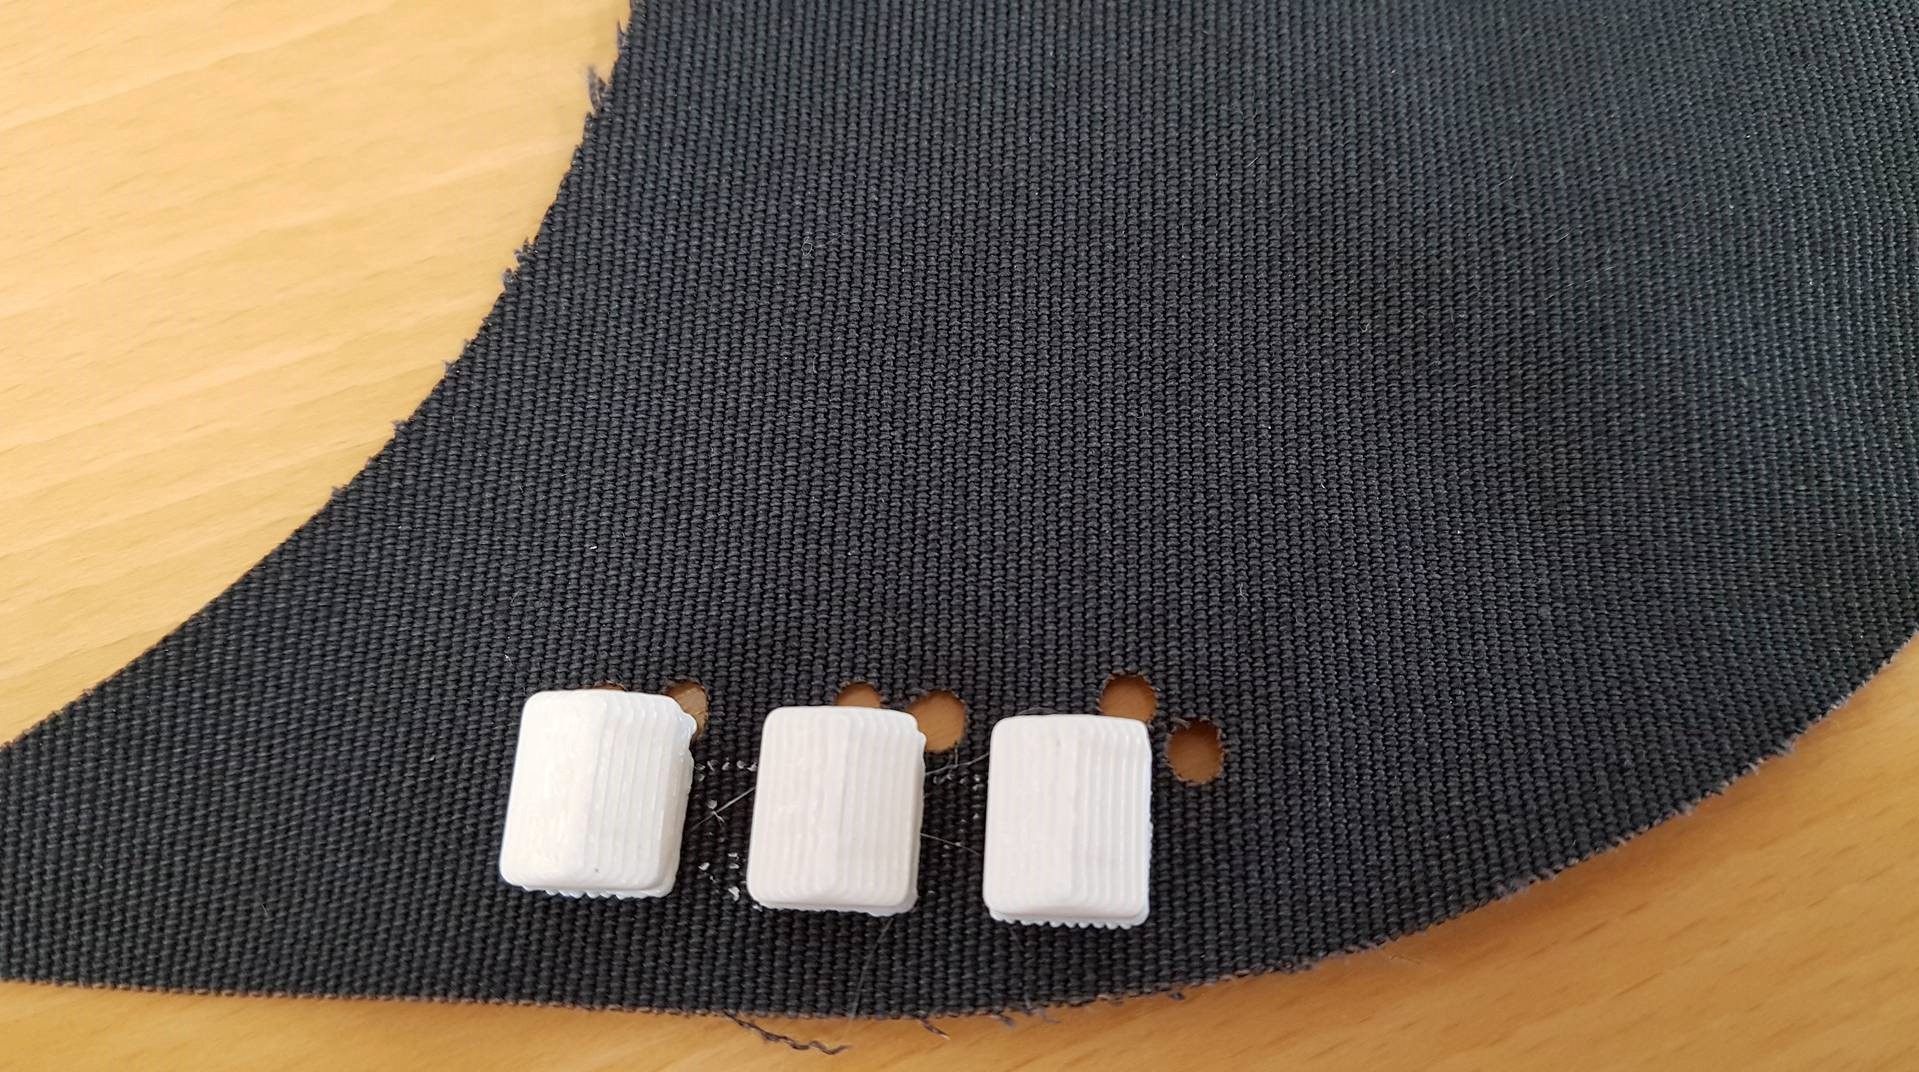
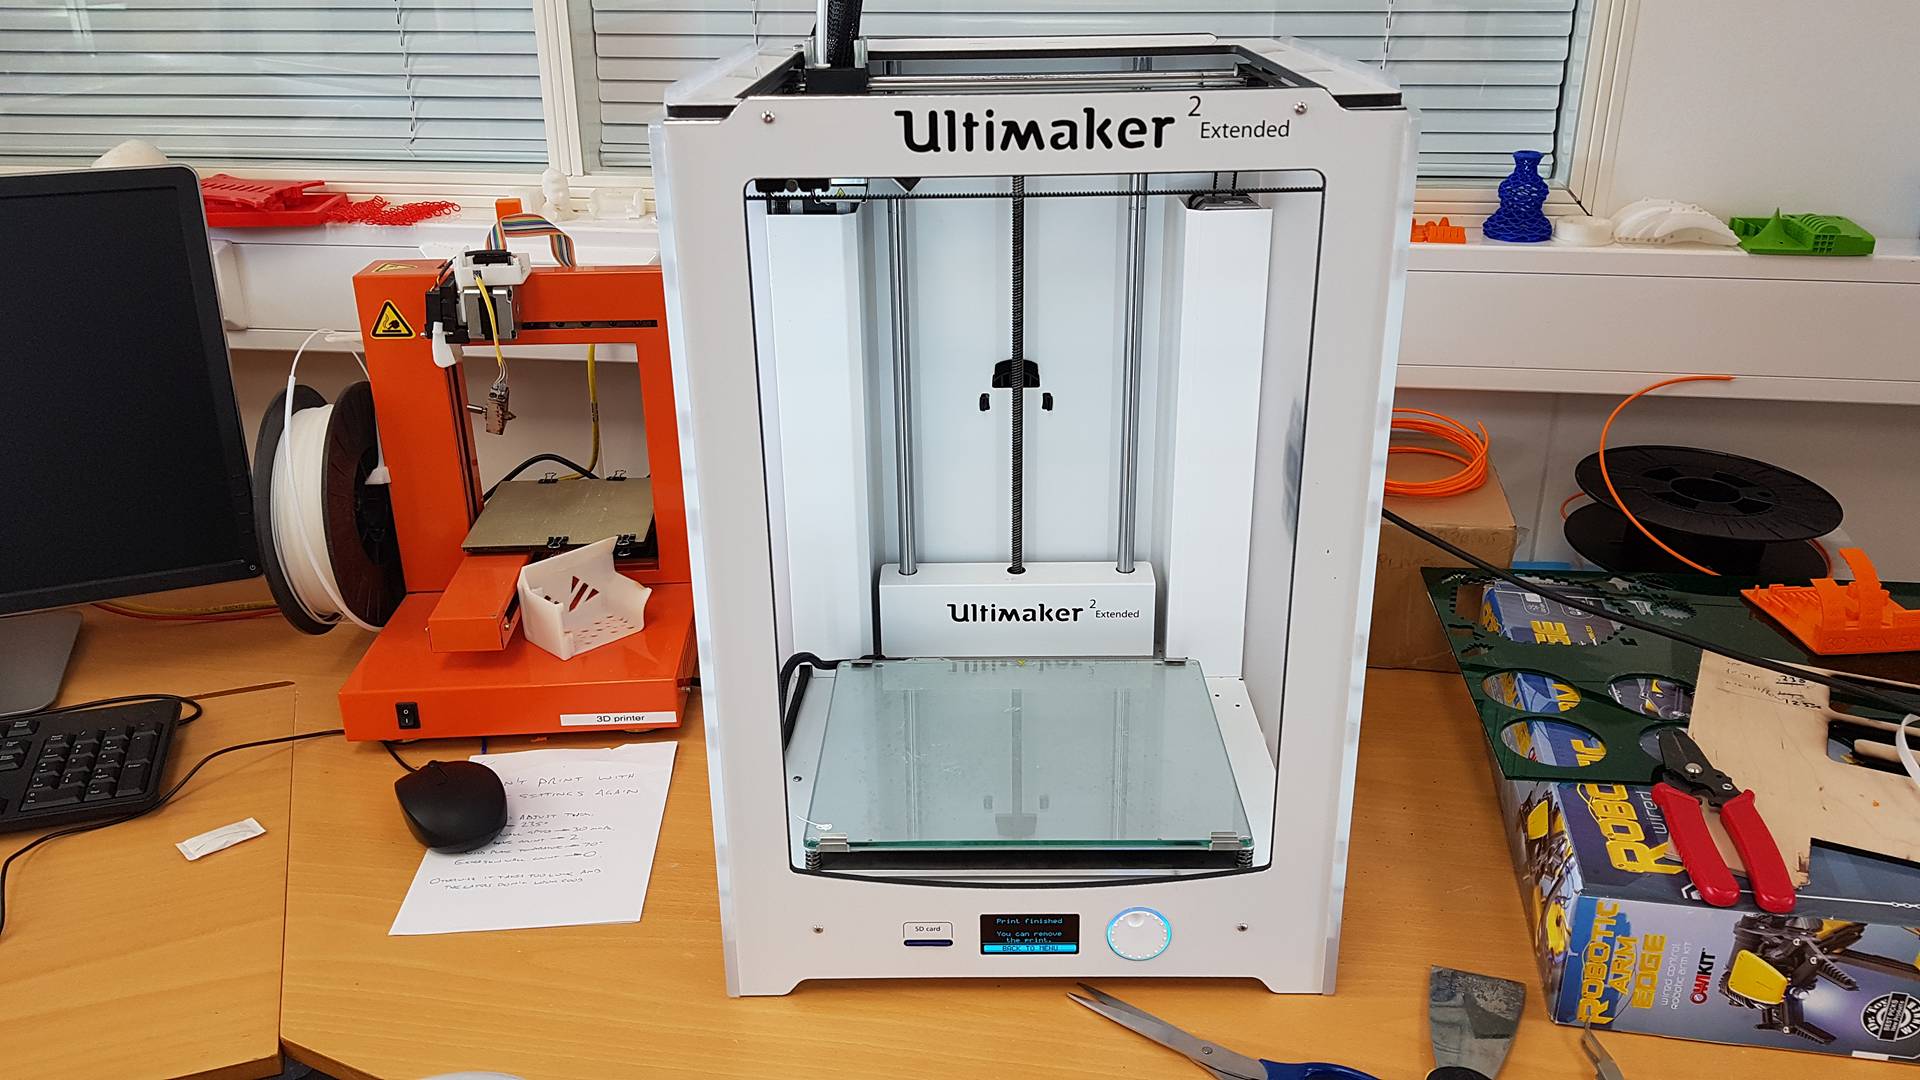
Then print the first layer. Pause the print and put the material over the print with the holes and then resume the print. I cut the holes in the lasercutter and then printed a little square on it using the method I described before. The print came out good exept for the top layer but I think that is because of the printer settings. Then I also tried printing straight on to the material. That did not work the material kept moving and stuck to the nozzle. However the part that did print did stick to the material.

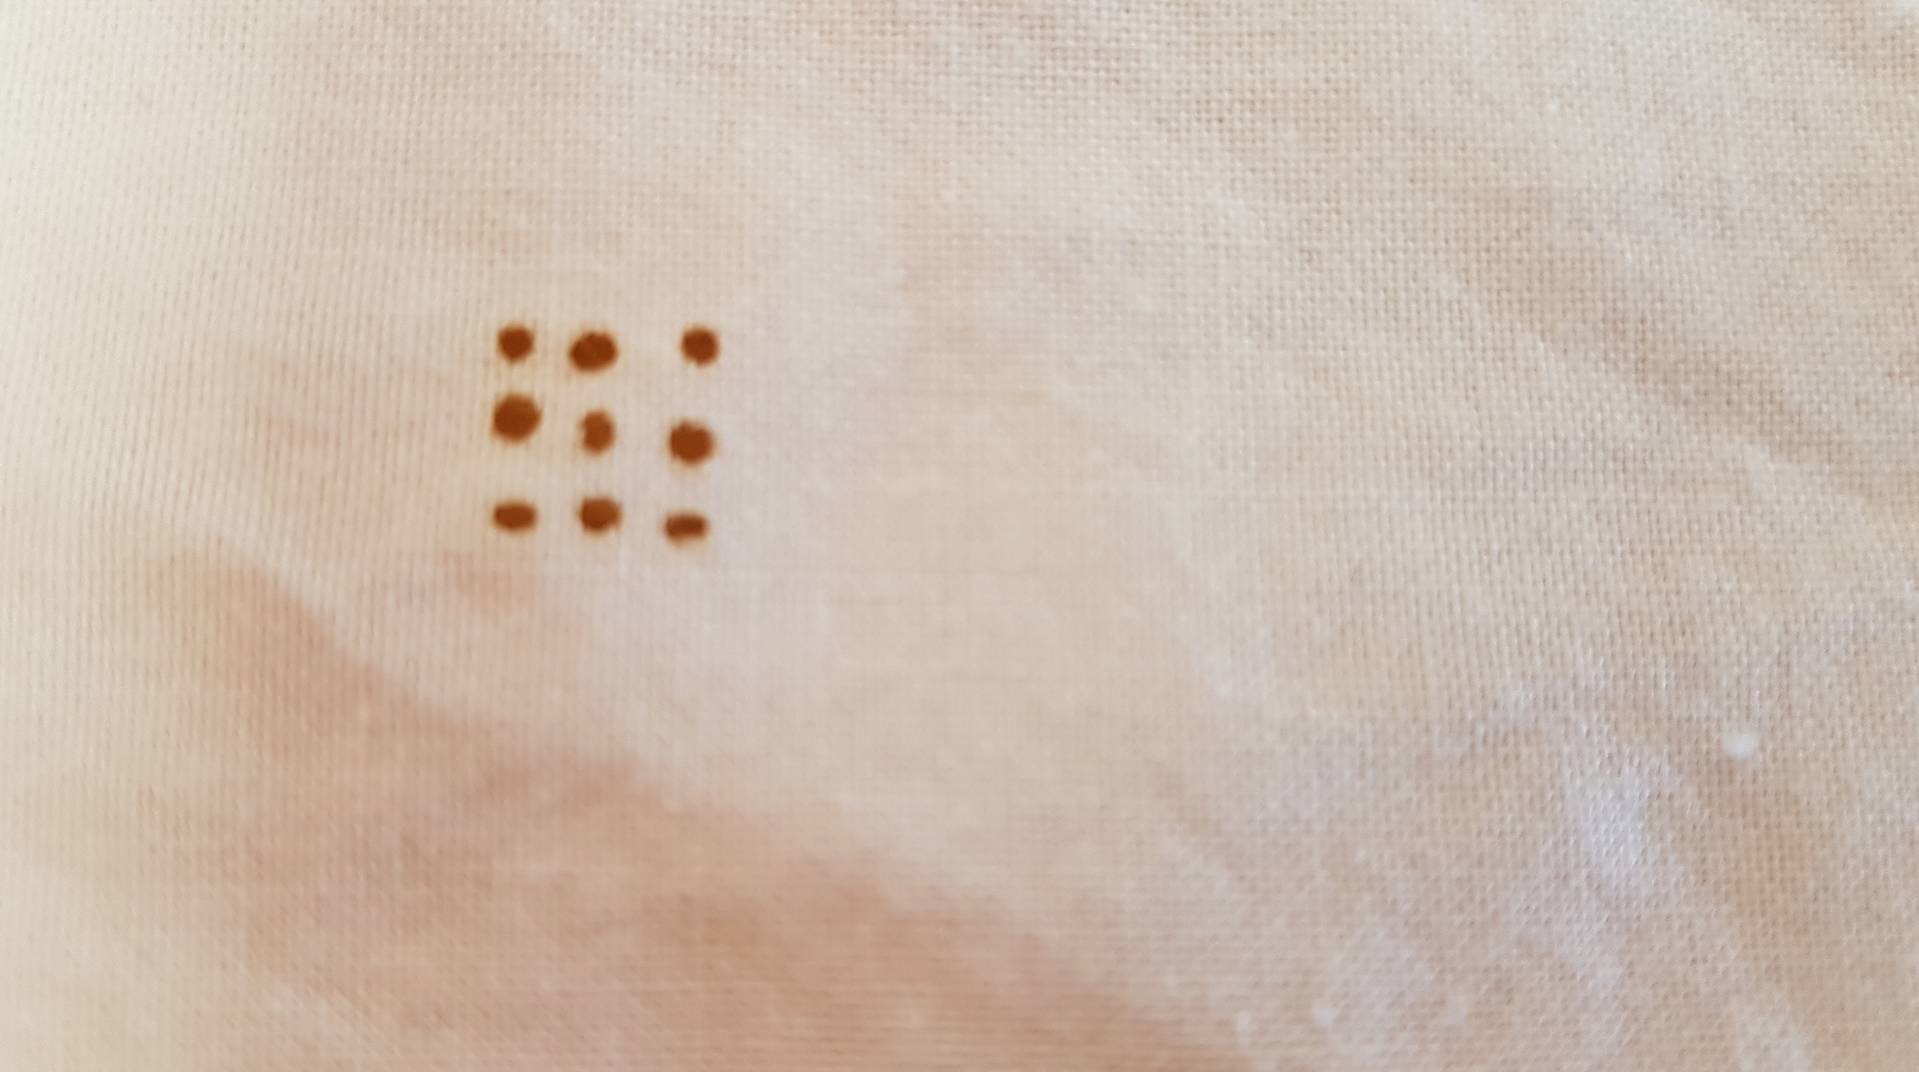

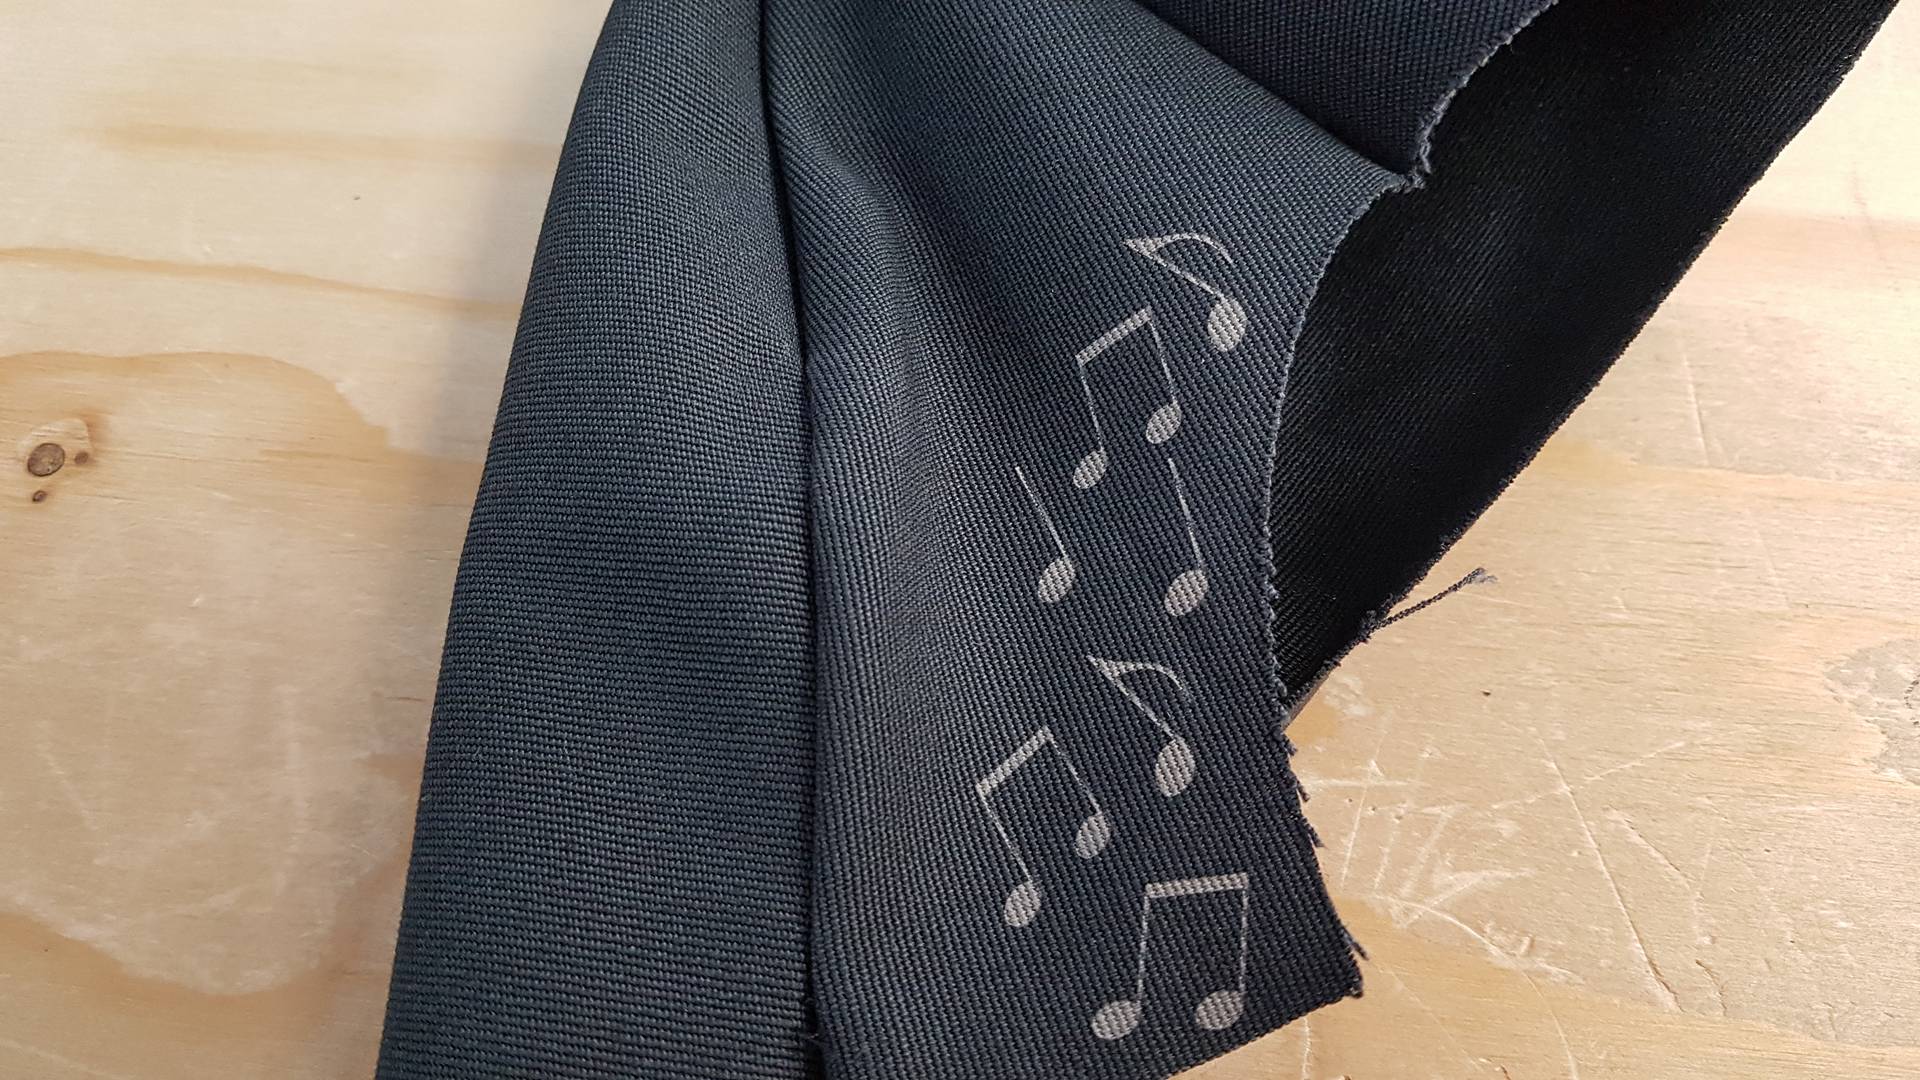
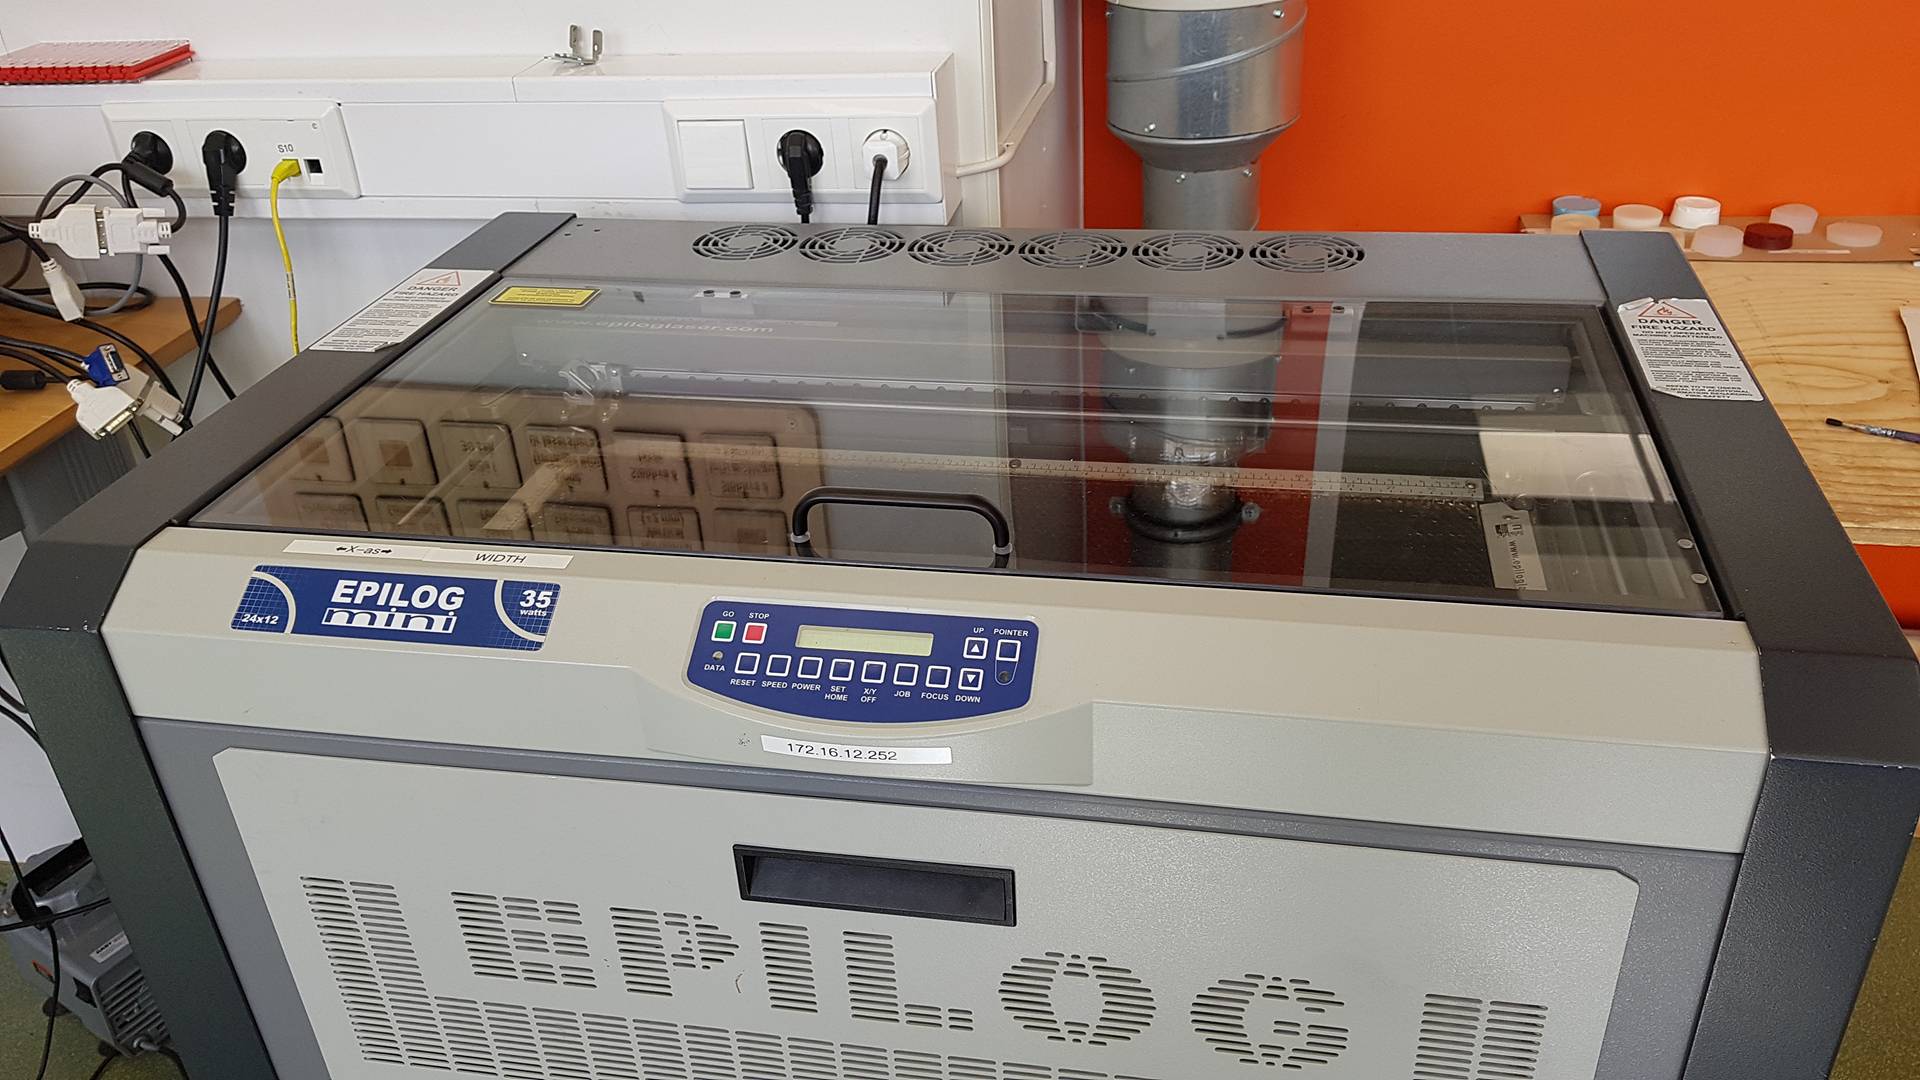
I tested rastering into material. I made music notes and tested the setting. I decided to make the speed 80% and the power 30%. It lookes good. I also tried with power 40% but it burned to far into the material and it was ripping.

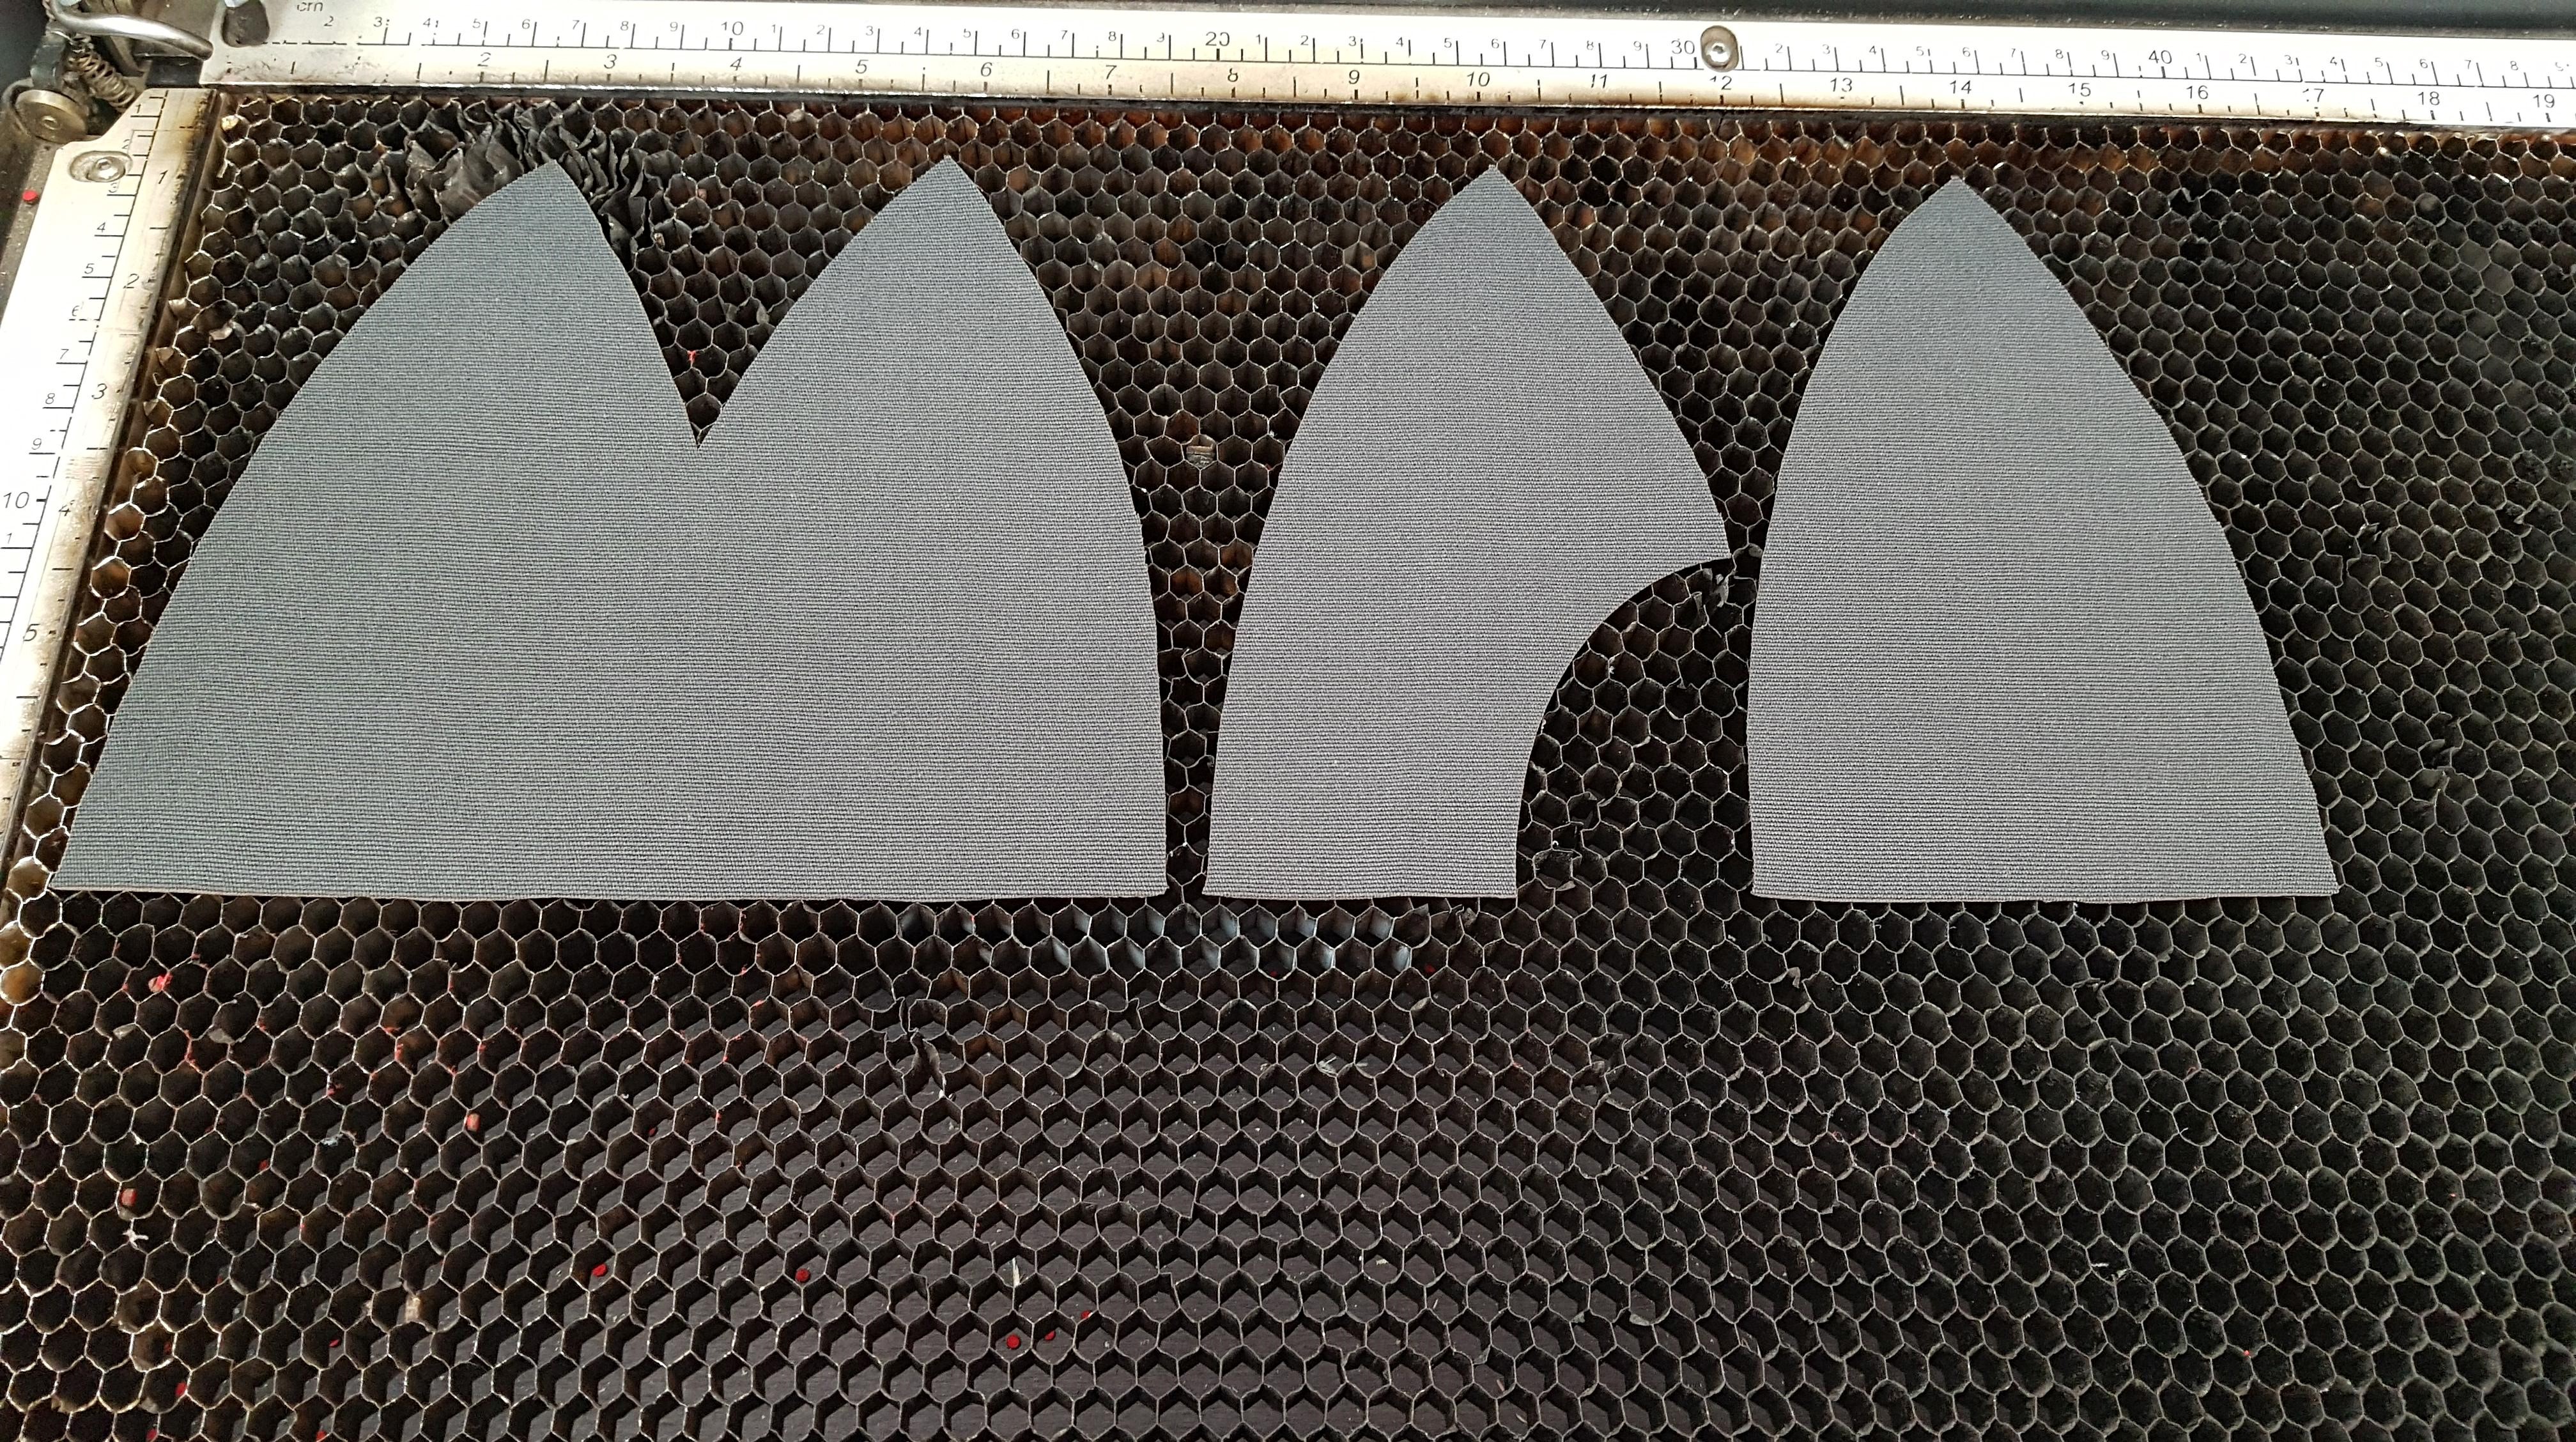
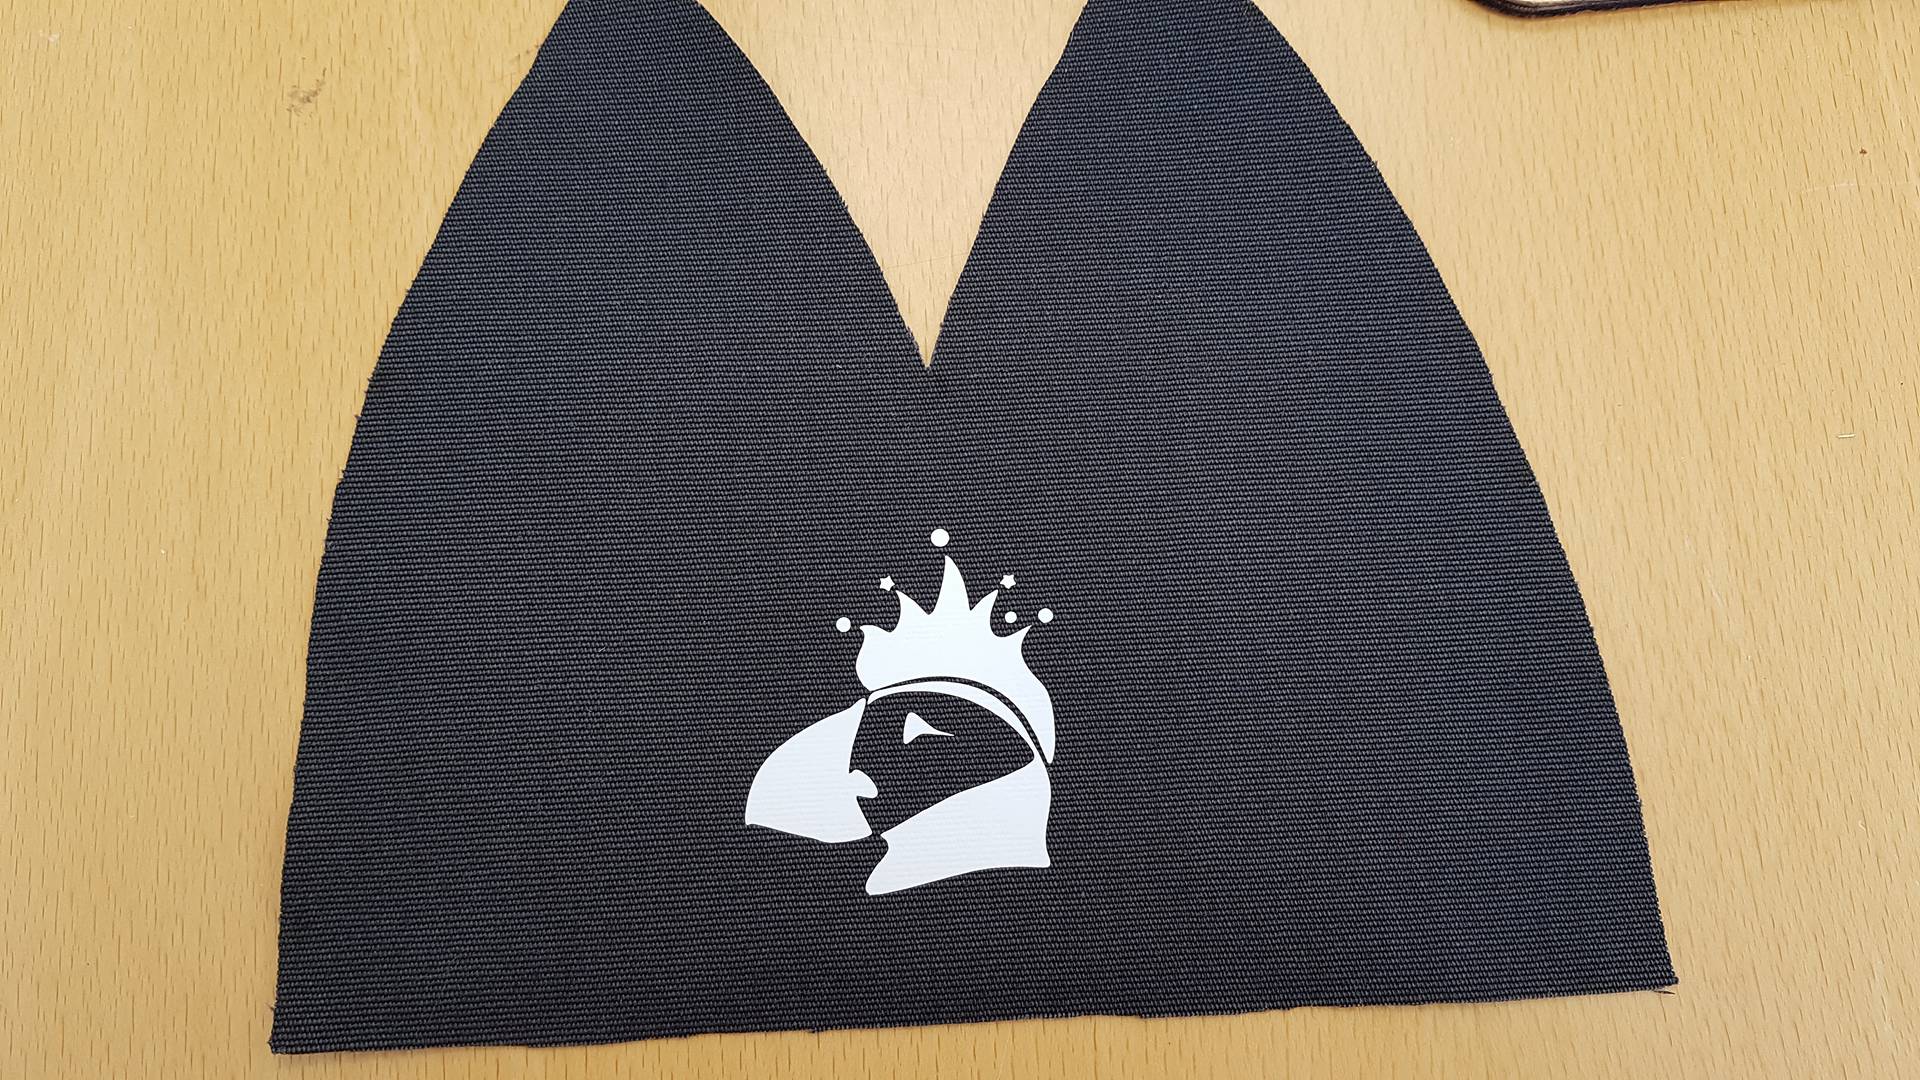
First think I did was design and cut the cap in the lasercutter. I found a picture (that was free to use) and made a vector to cut the fabric. On one side I rastered notes. My settings were like this:

The outcome is pretty good. I finished cutting all the parts.
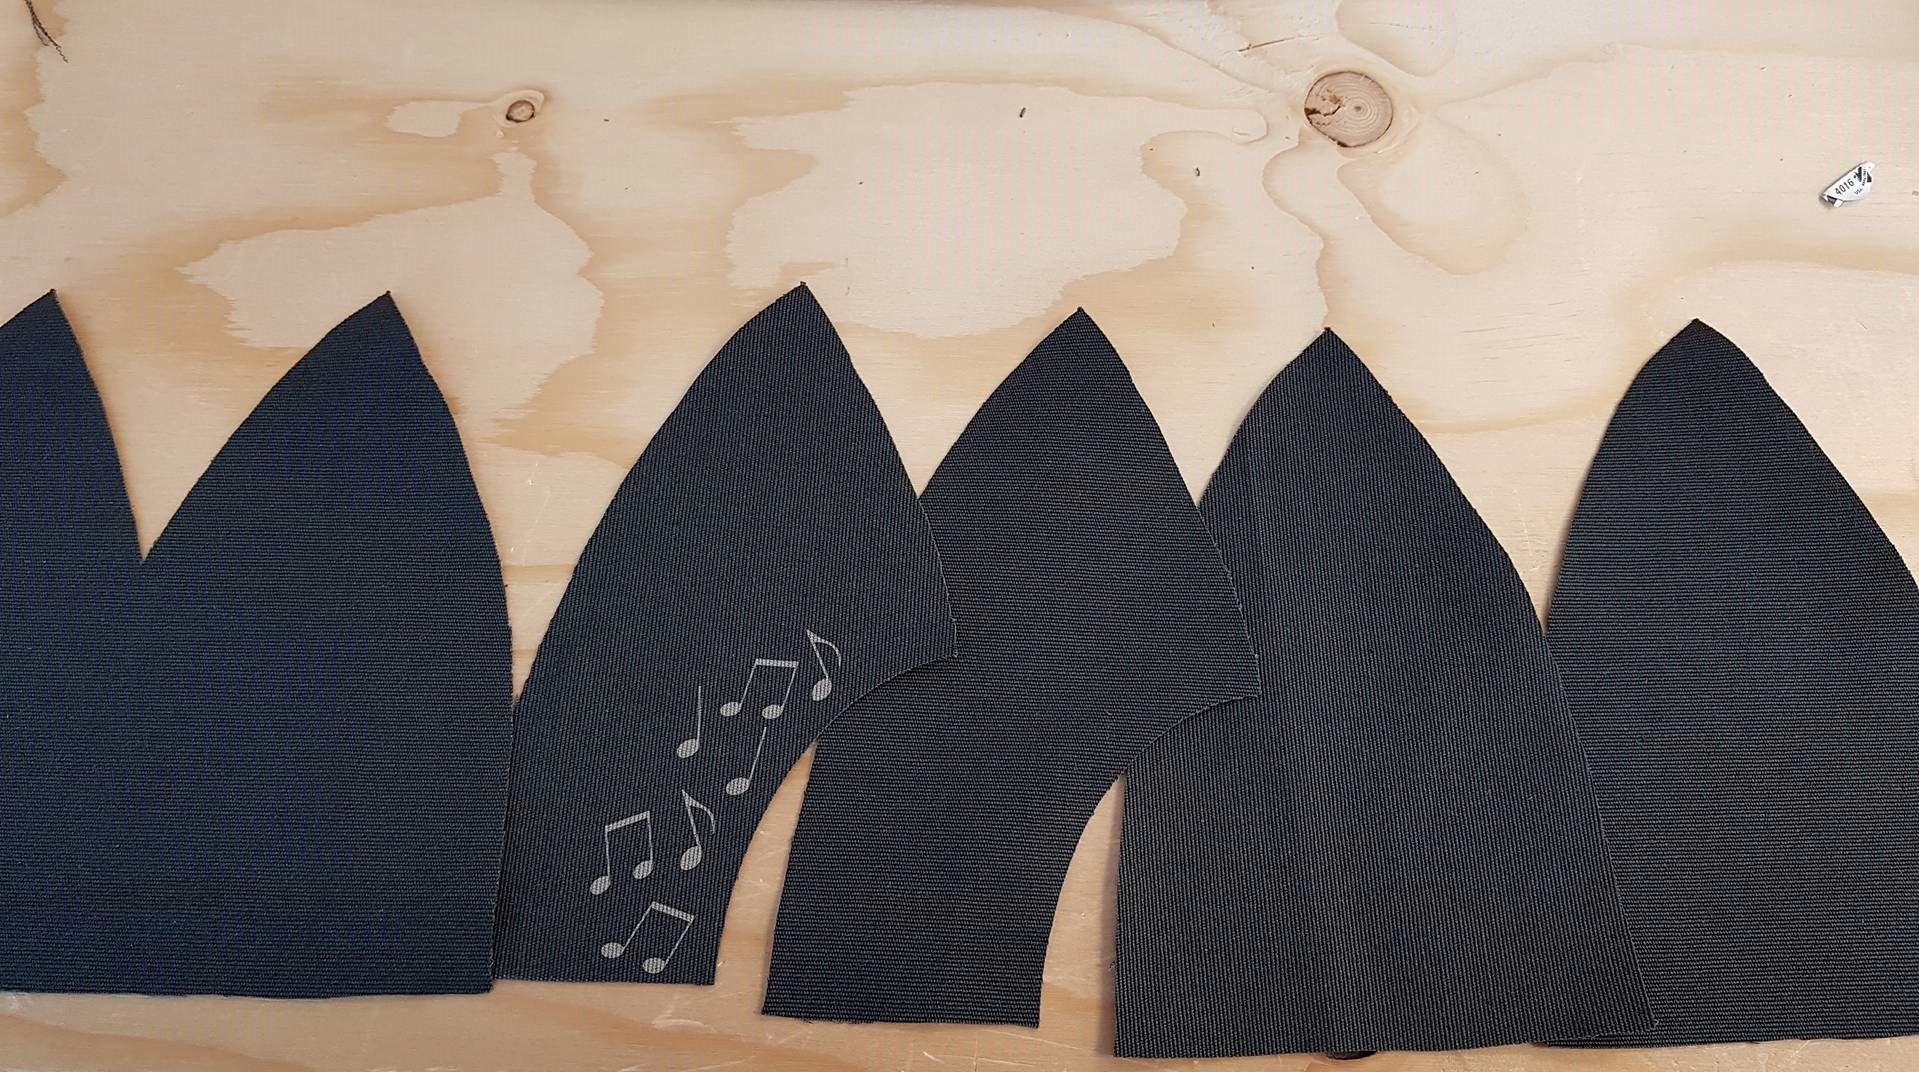
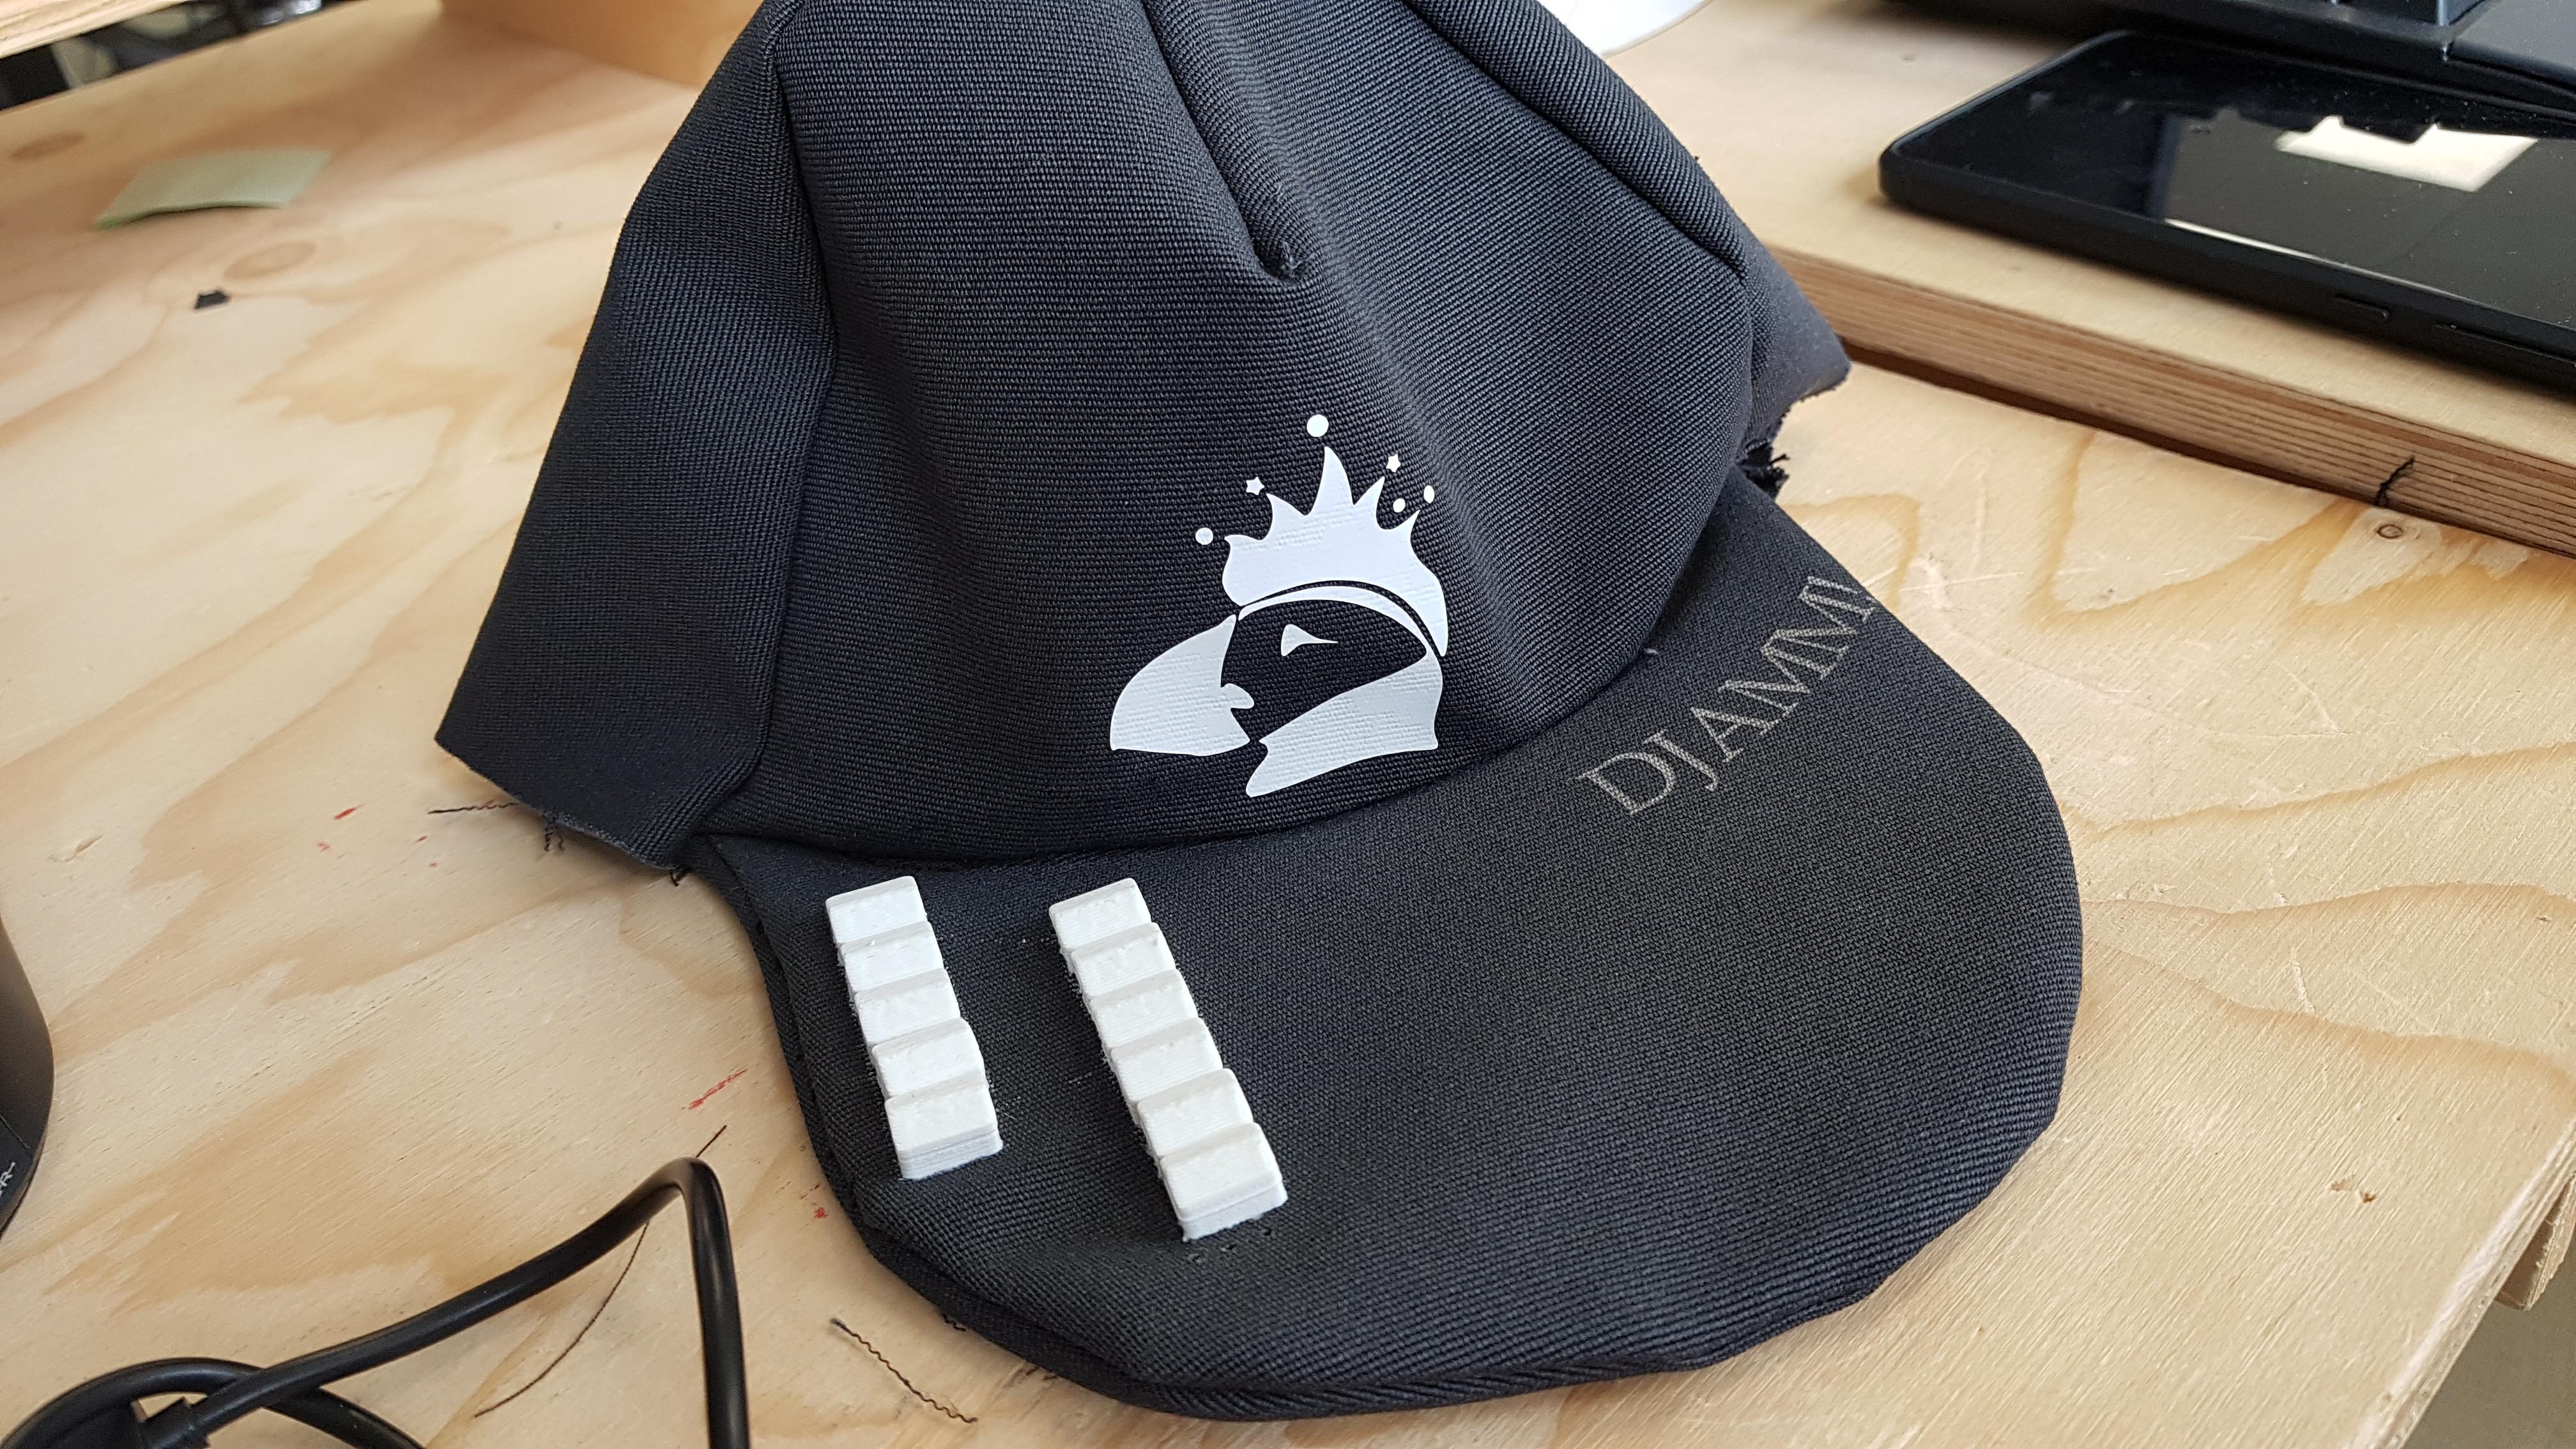
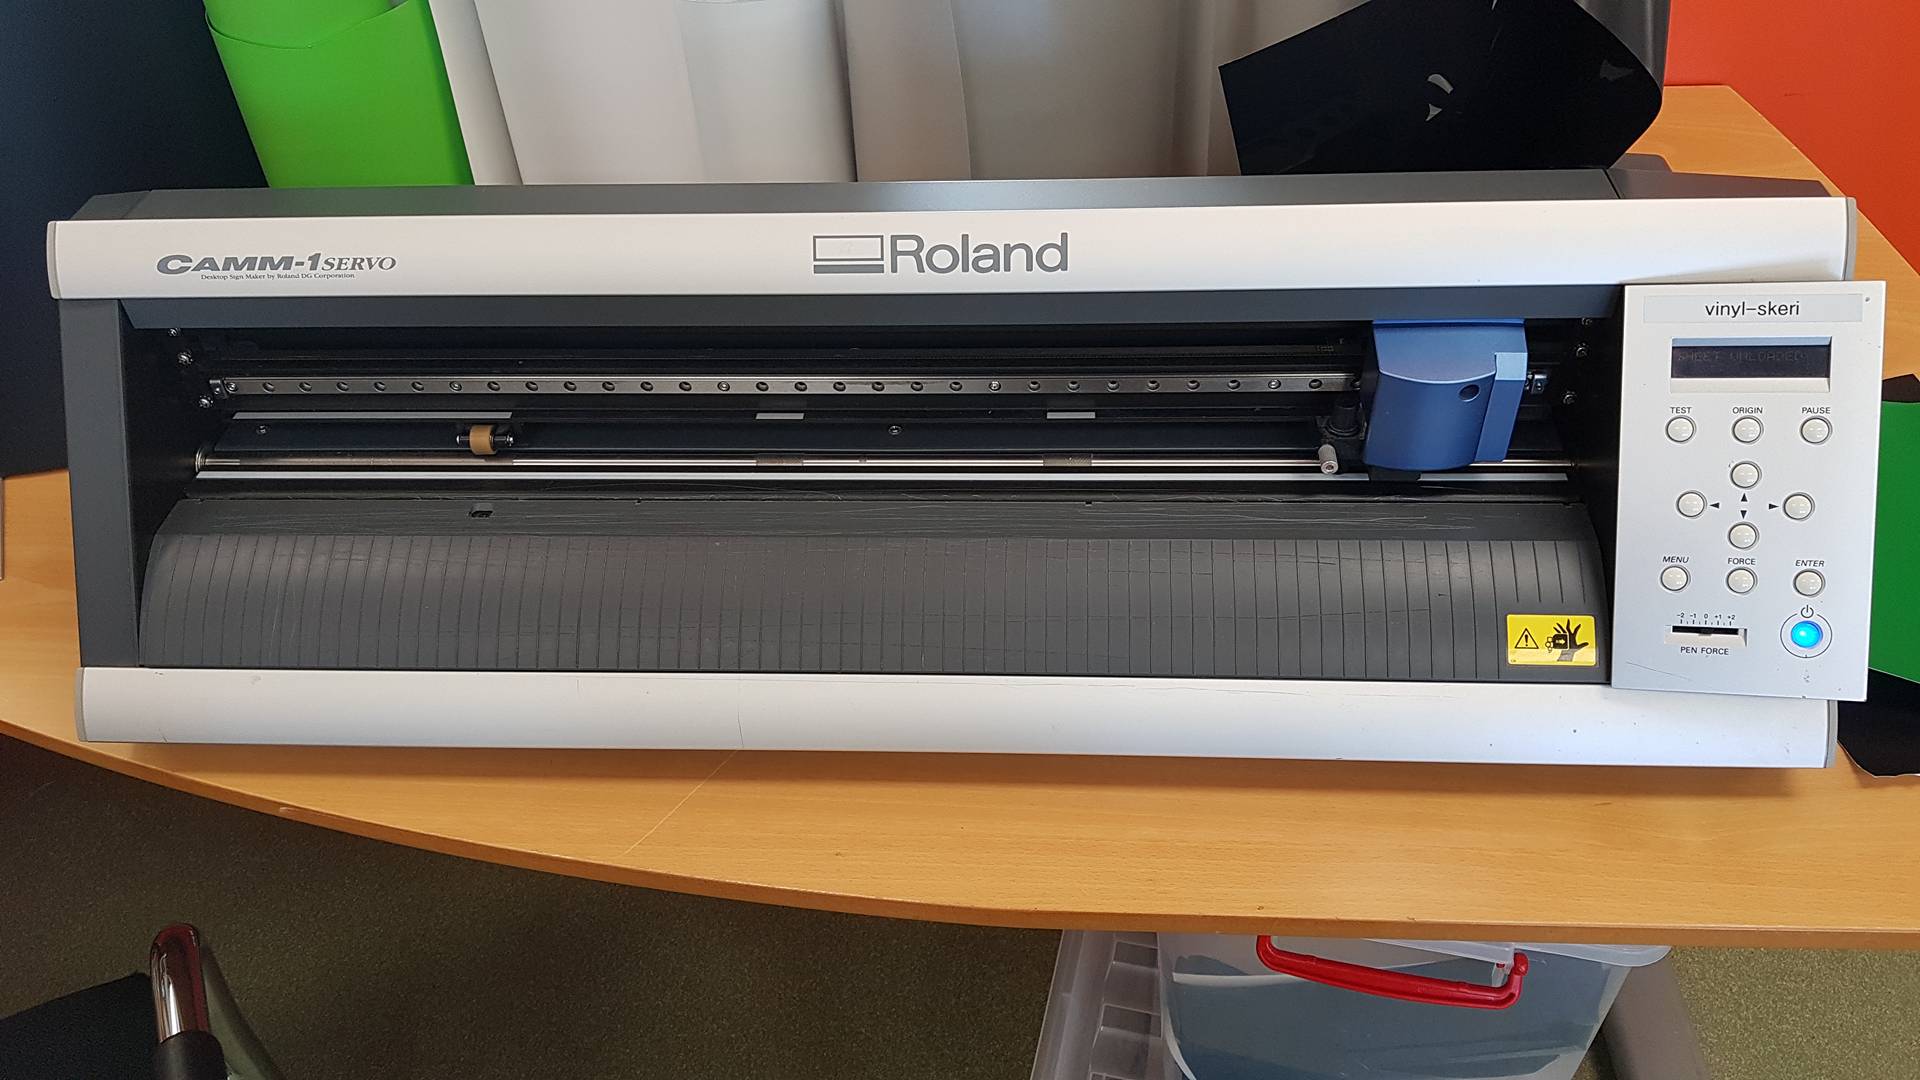
I finished cutting the parts of the cap. My plan was to 3D print on the front of the cap the logo for the festival but I decided to make a clothing sticker instead because I think it is fun to use more machines and I think it will be more comfortable. When you make a sticker on clothes using roland vinyl cutter you have to mirror the photo.
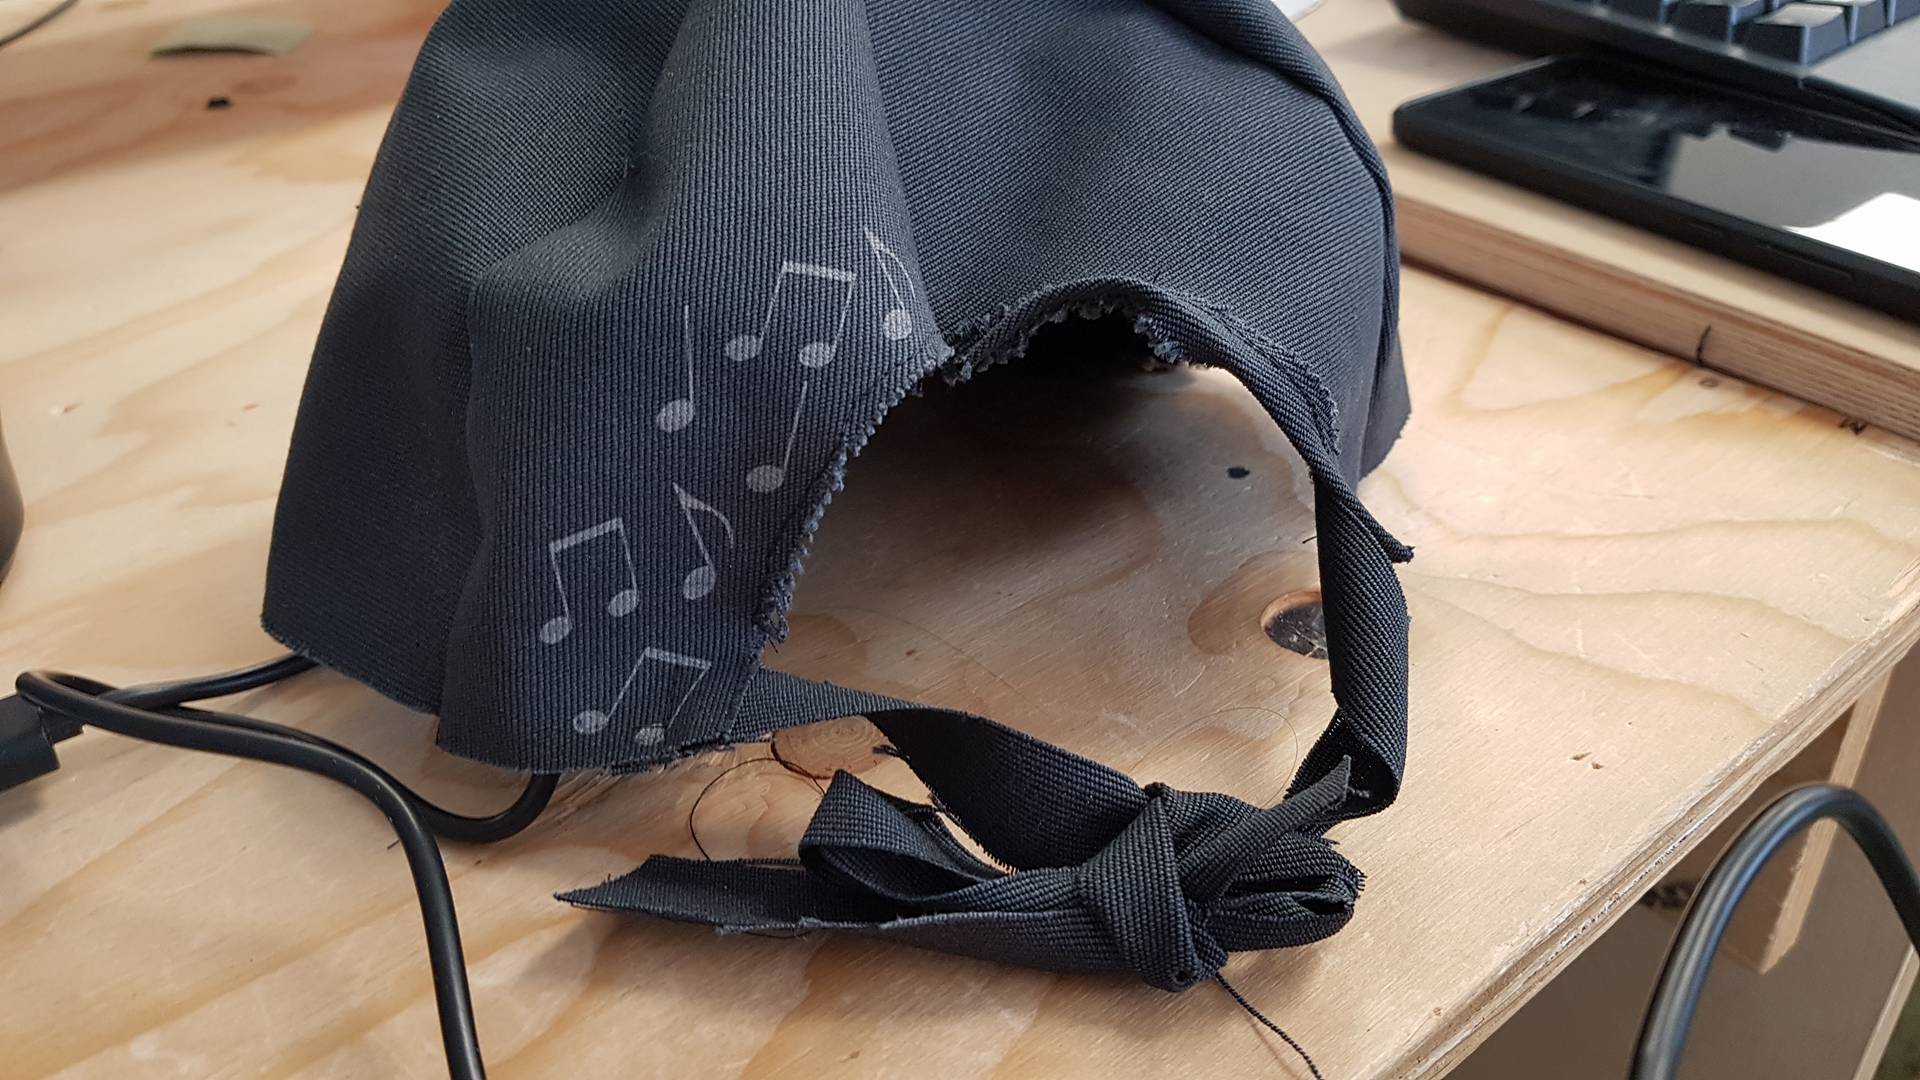
I also rastered some notes on the back of the cap. I really liked the way that looked so I also rastered some text on the top of the cap.
Then I finished sewing the cap. I watched this video too see how to sew it
but I have to admit that I did not spent time making look profecional I kind of quickly did it. I also already had experiance using the sewing machine beacause in school it is mandetory to take sewing classes. So here is a photo of me with the hat before I finished it but I think it lookes good.

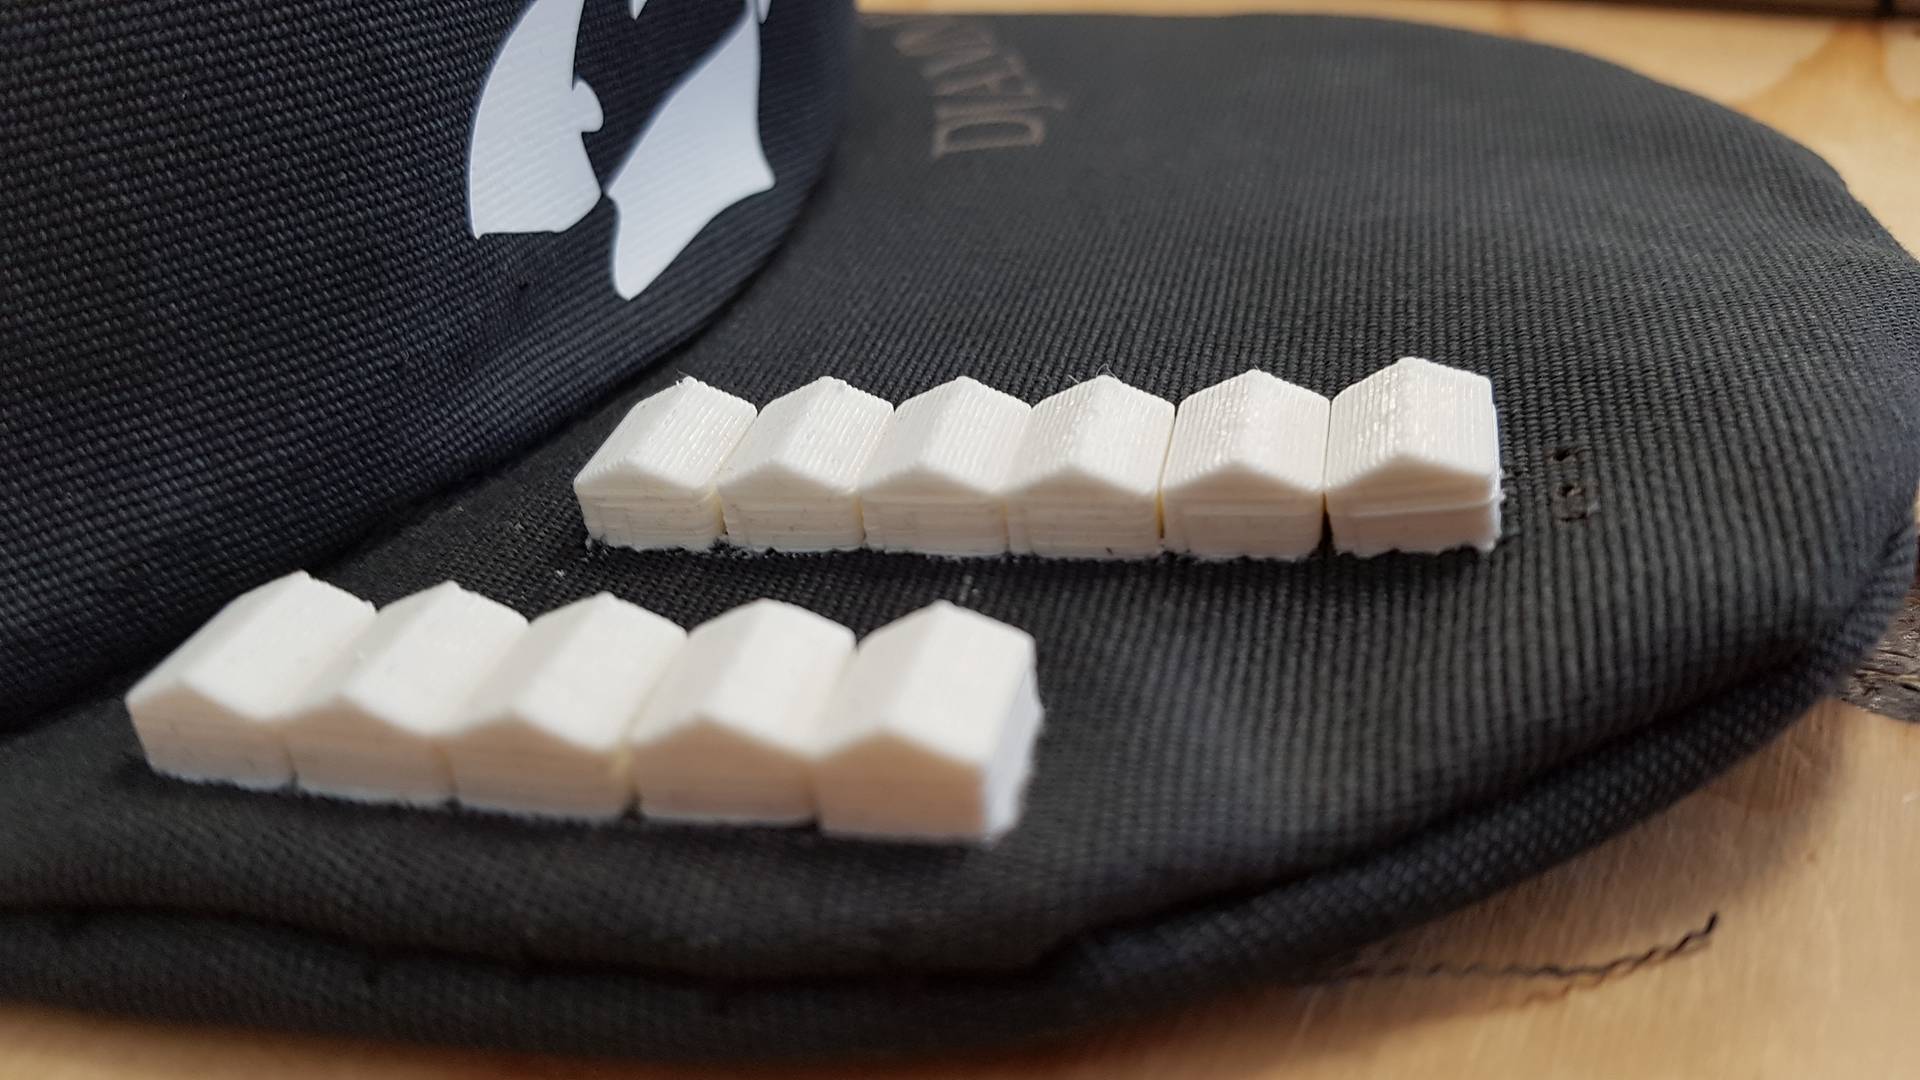
I 3D printed the tents on the cap.
But the material moved and my holes were to big. I aldo had to make a new one because my text was to high up so I could not sew it together without going into the text. I made a new part, moved the text, made the holes smaller but I also added more because I think it would look good having more tents or hvítutjöldin like we call it. Then I prited the tents on the cap.
Then I finished sewing it together and added little string on the back that you can tie it together. Now it is ready. I would not say it is the prettiest hat in the world and I would not by it in a store but I will wear it proudly during Þjóðhátíð.
My plan was to use conductive thread but because of time I could not finish the cap with lights, however I do like it the way it is but it would be fun to add lights to it.
Sewing is also not my best skill and fine work is also not something I do often so the cap is not looking to good but with practice I think that will not be a problem.
I used the lasercutter for cutting the material and rastering in it. I think it is very useful for cutting fabric and rastering into it lookes reeally good and I am surprised that I have not seen it done before because the outcome is soo pretty.
I used the 3D printer to 3D print on fabric. I think the outcome is fun but it takes some time doing it. I would love to use the 3D printer more with fabrics.
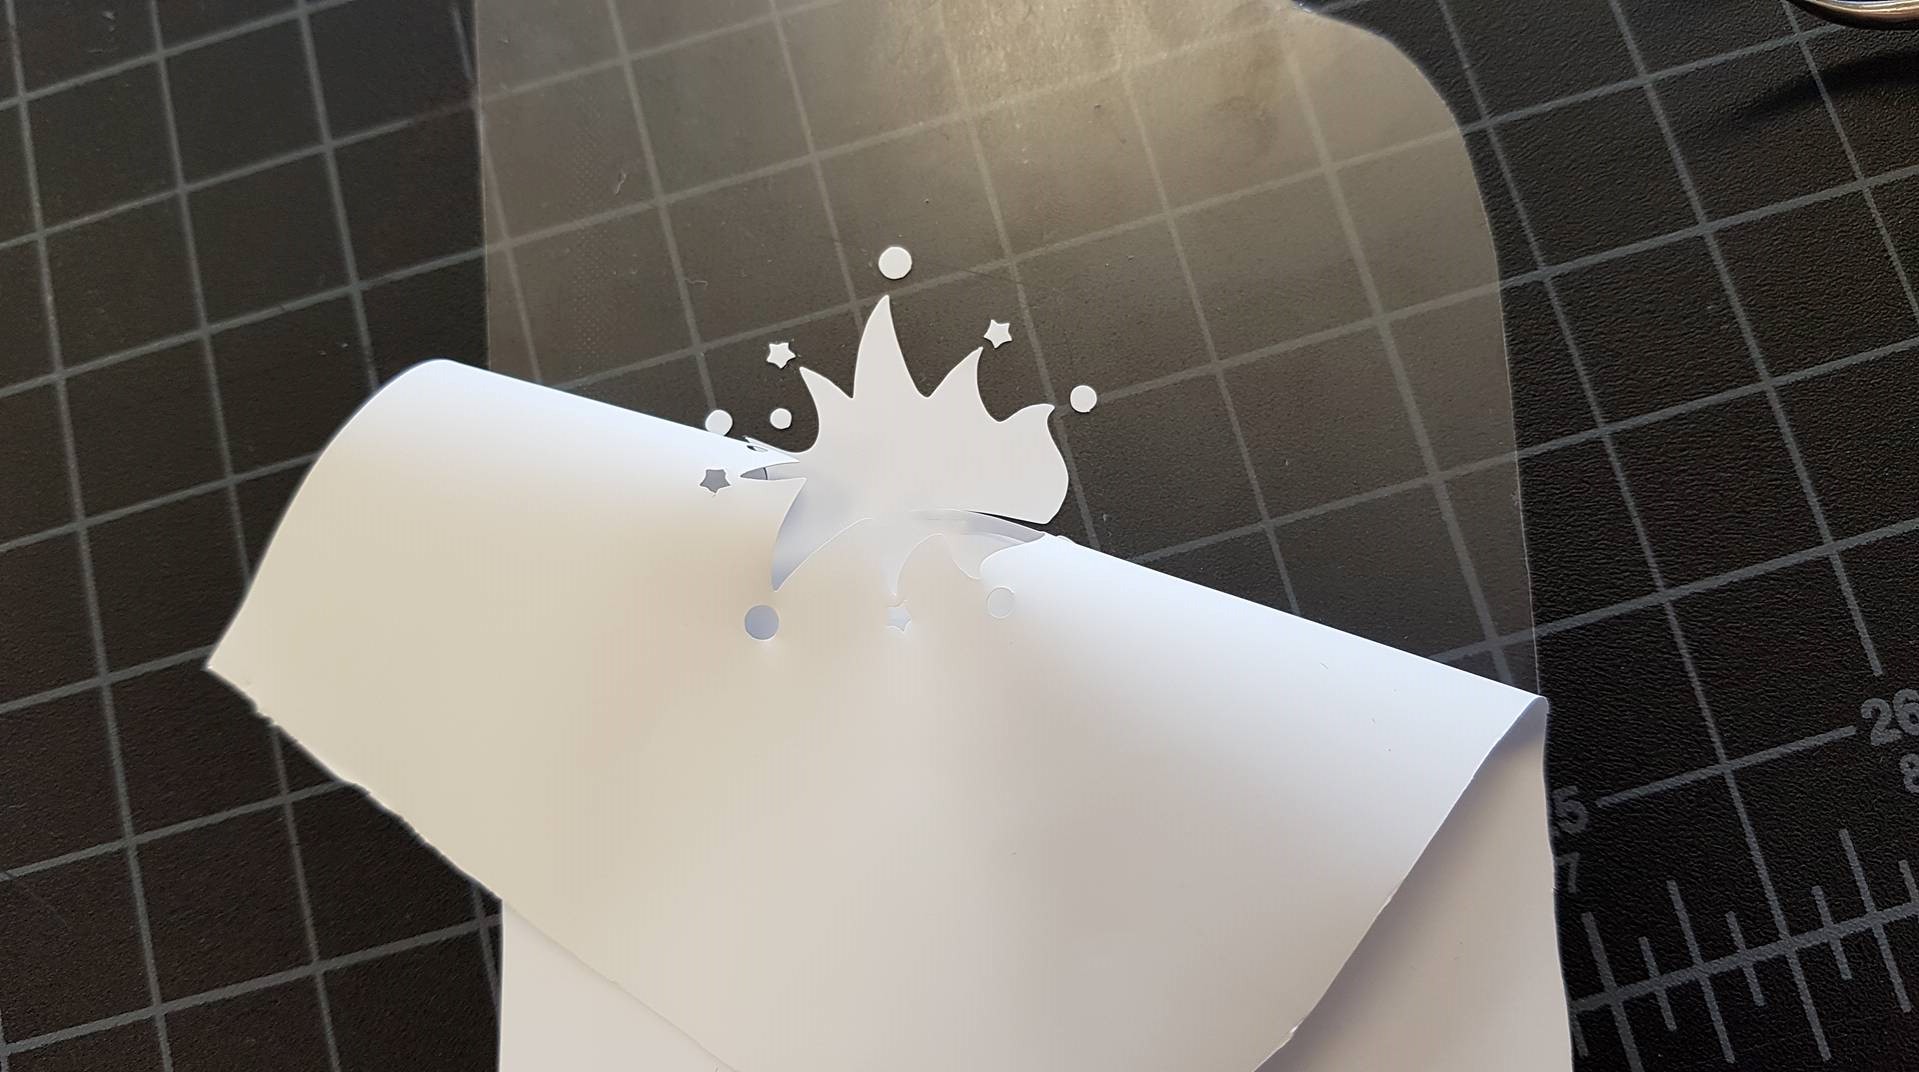
I used the vinylcutter to make a sticker to put on the cap. I have seen it used often before so I would not say it is something new but it is a fun and easy way to make clothings.
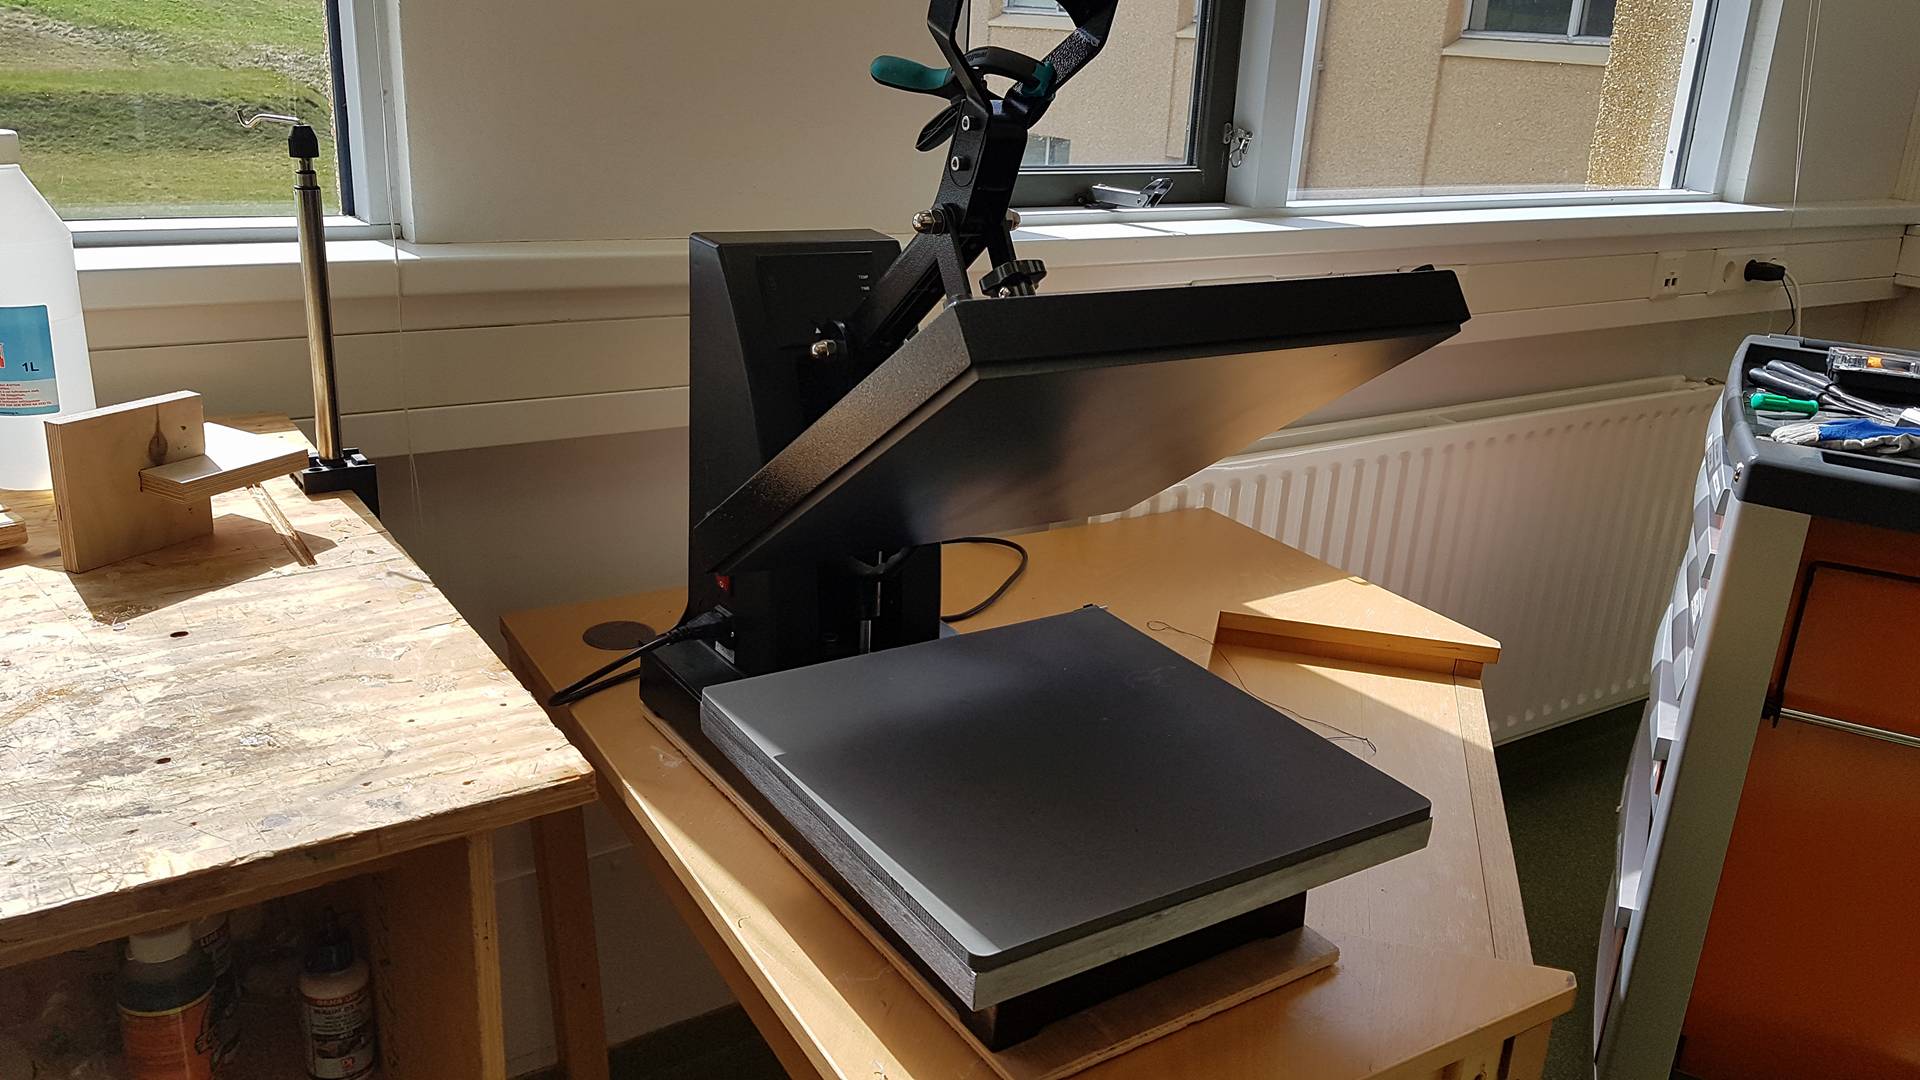
The heatpress is used so that the sticker sticks on the fabrick, it is really hot 160°c and you put the sticker on the material and close the press on it and in 15 seconds it is ready.
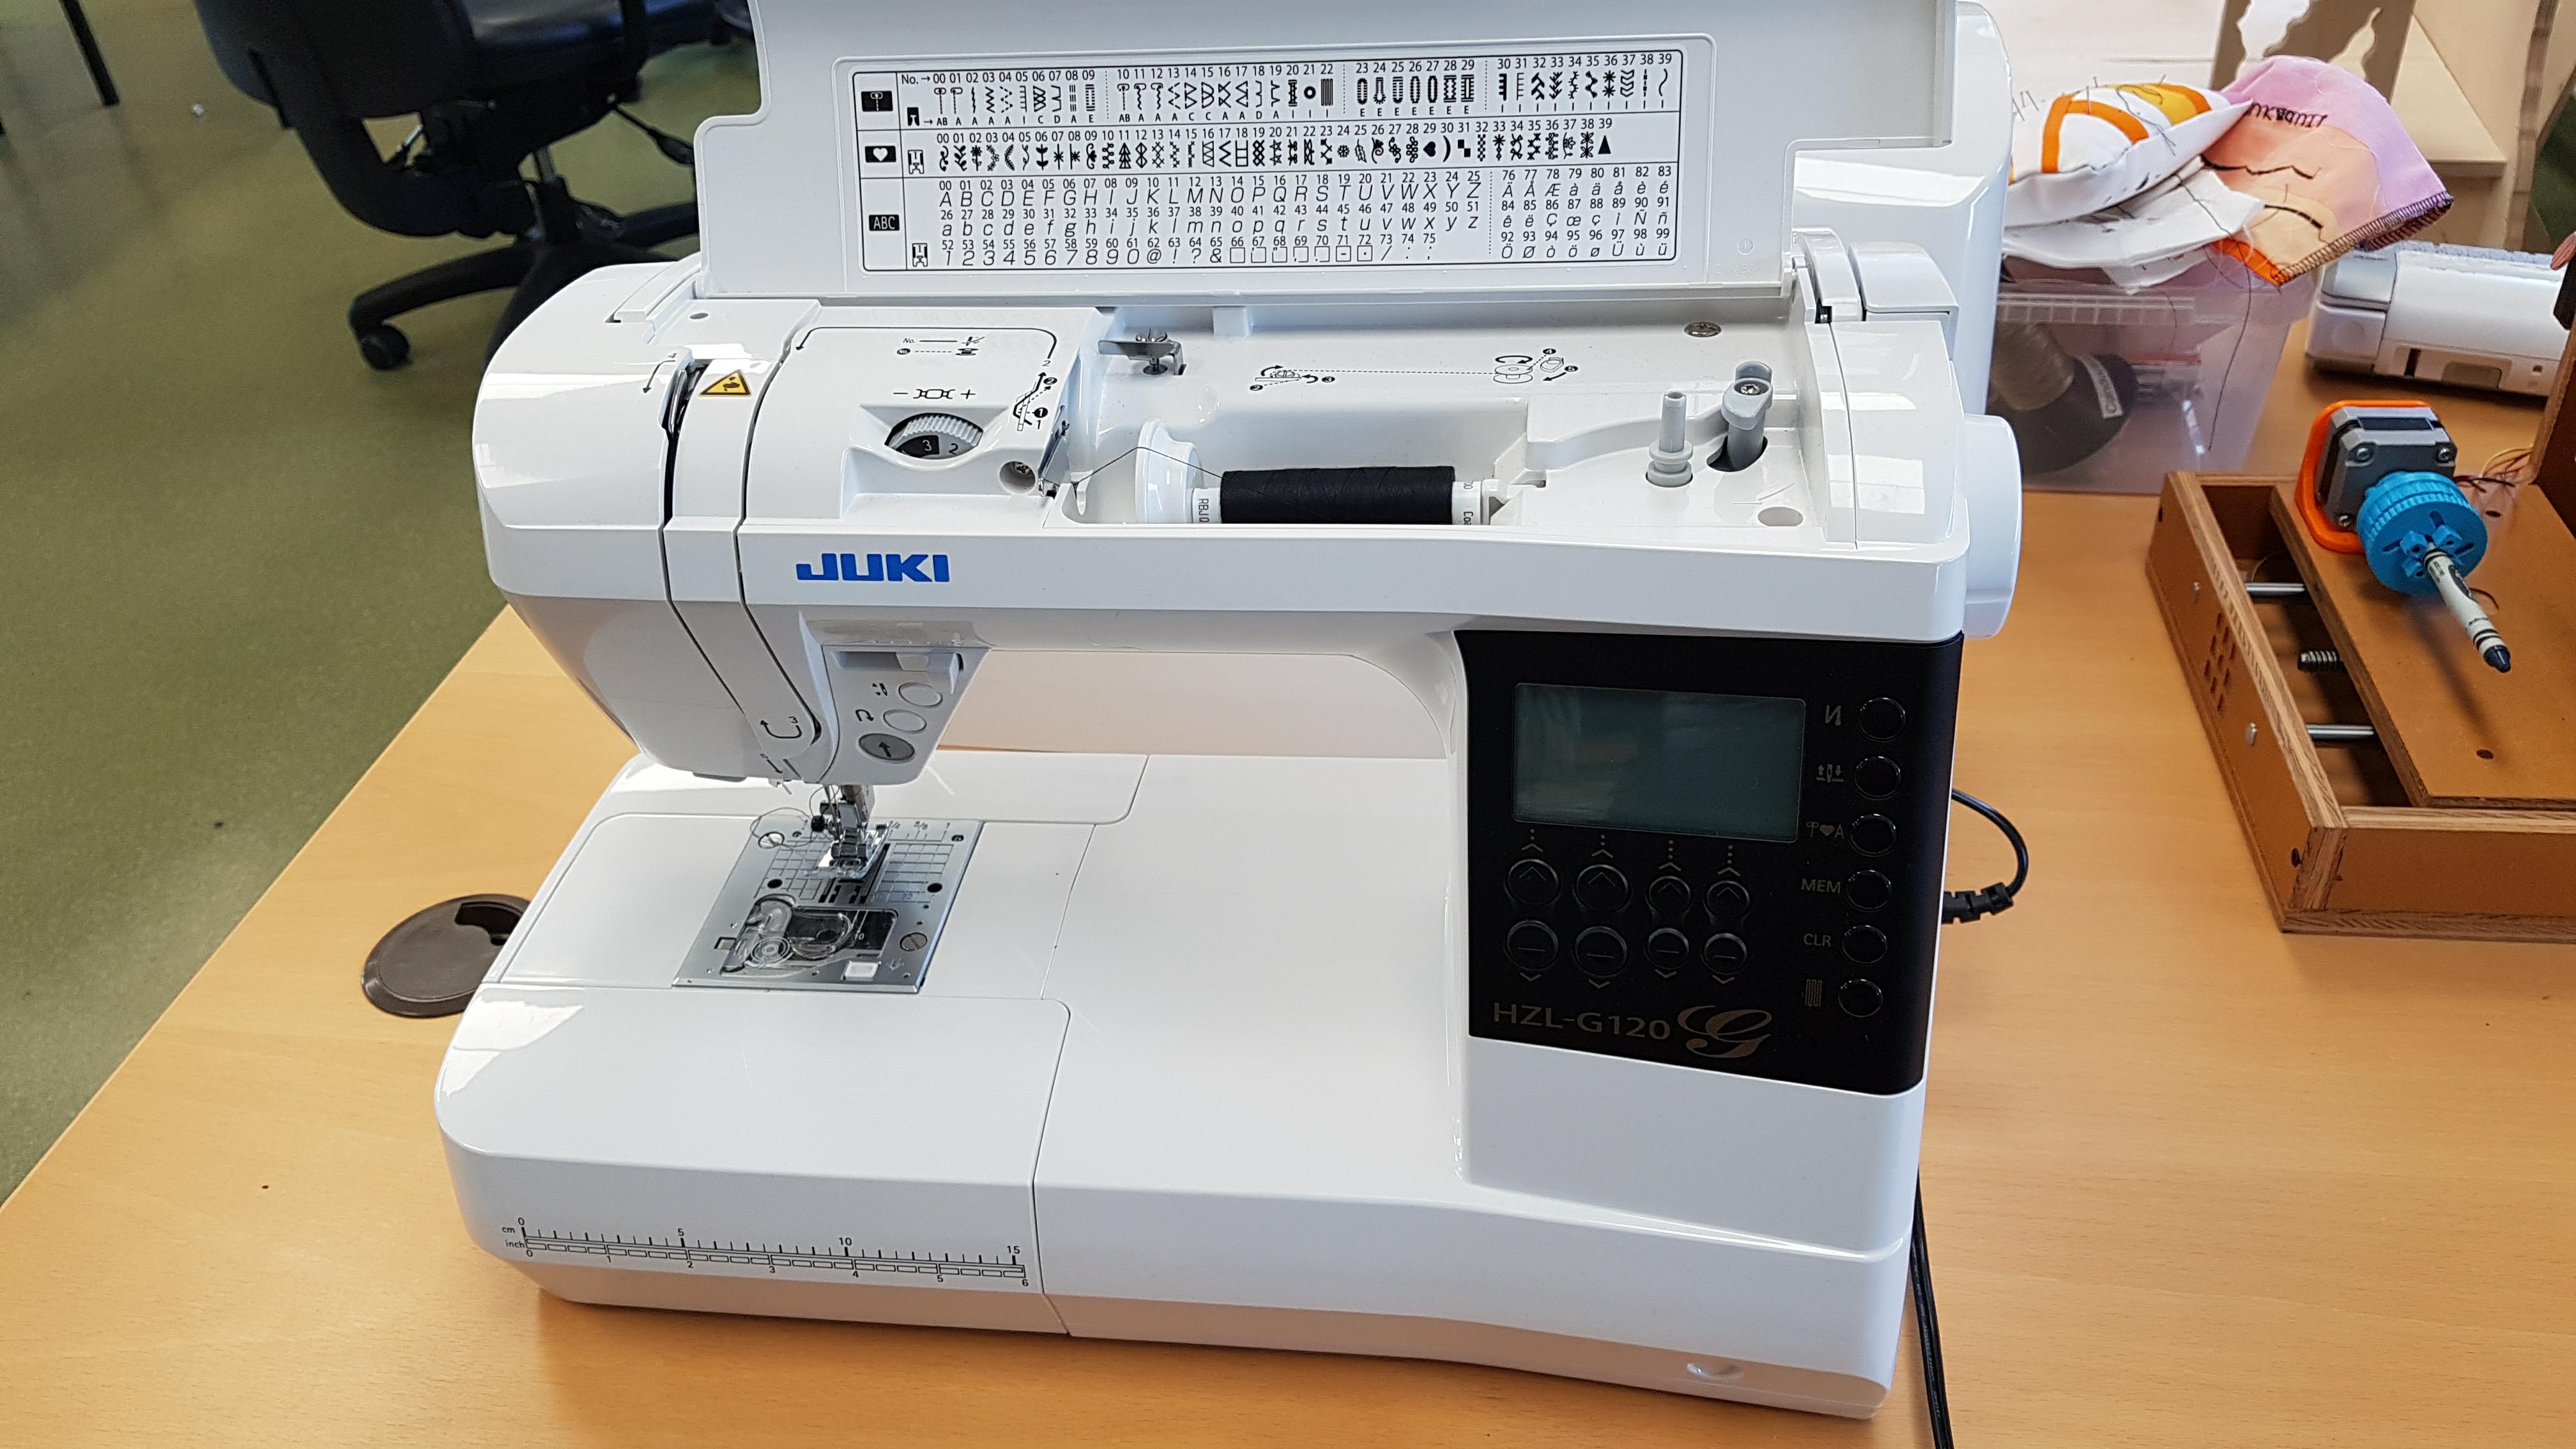
The sewing machine is a basic when using fabric but it is not often used in the fablab so it was fun using it.
Microsoft Photos
- For photo editing.
Gimp
-For photo editing and making the outline.
Eagle
-for drawing the circuit board
Inkscape
-For making the outlines for the lights, making vectors to cut the fabric and the cap, rastering text and notes and making the sticker.
Vector for cutting the hat using the lasercutter (Fabric).
Vector and raster for cutting the hat using the lasercutter (Fabric).
Vector and raster for cutting tha cap using the lasercutter (Fabric).
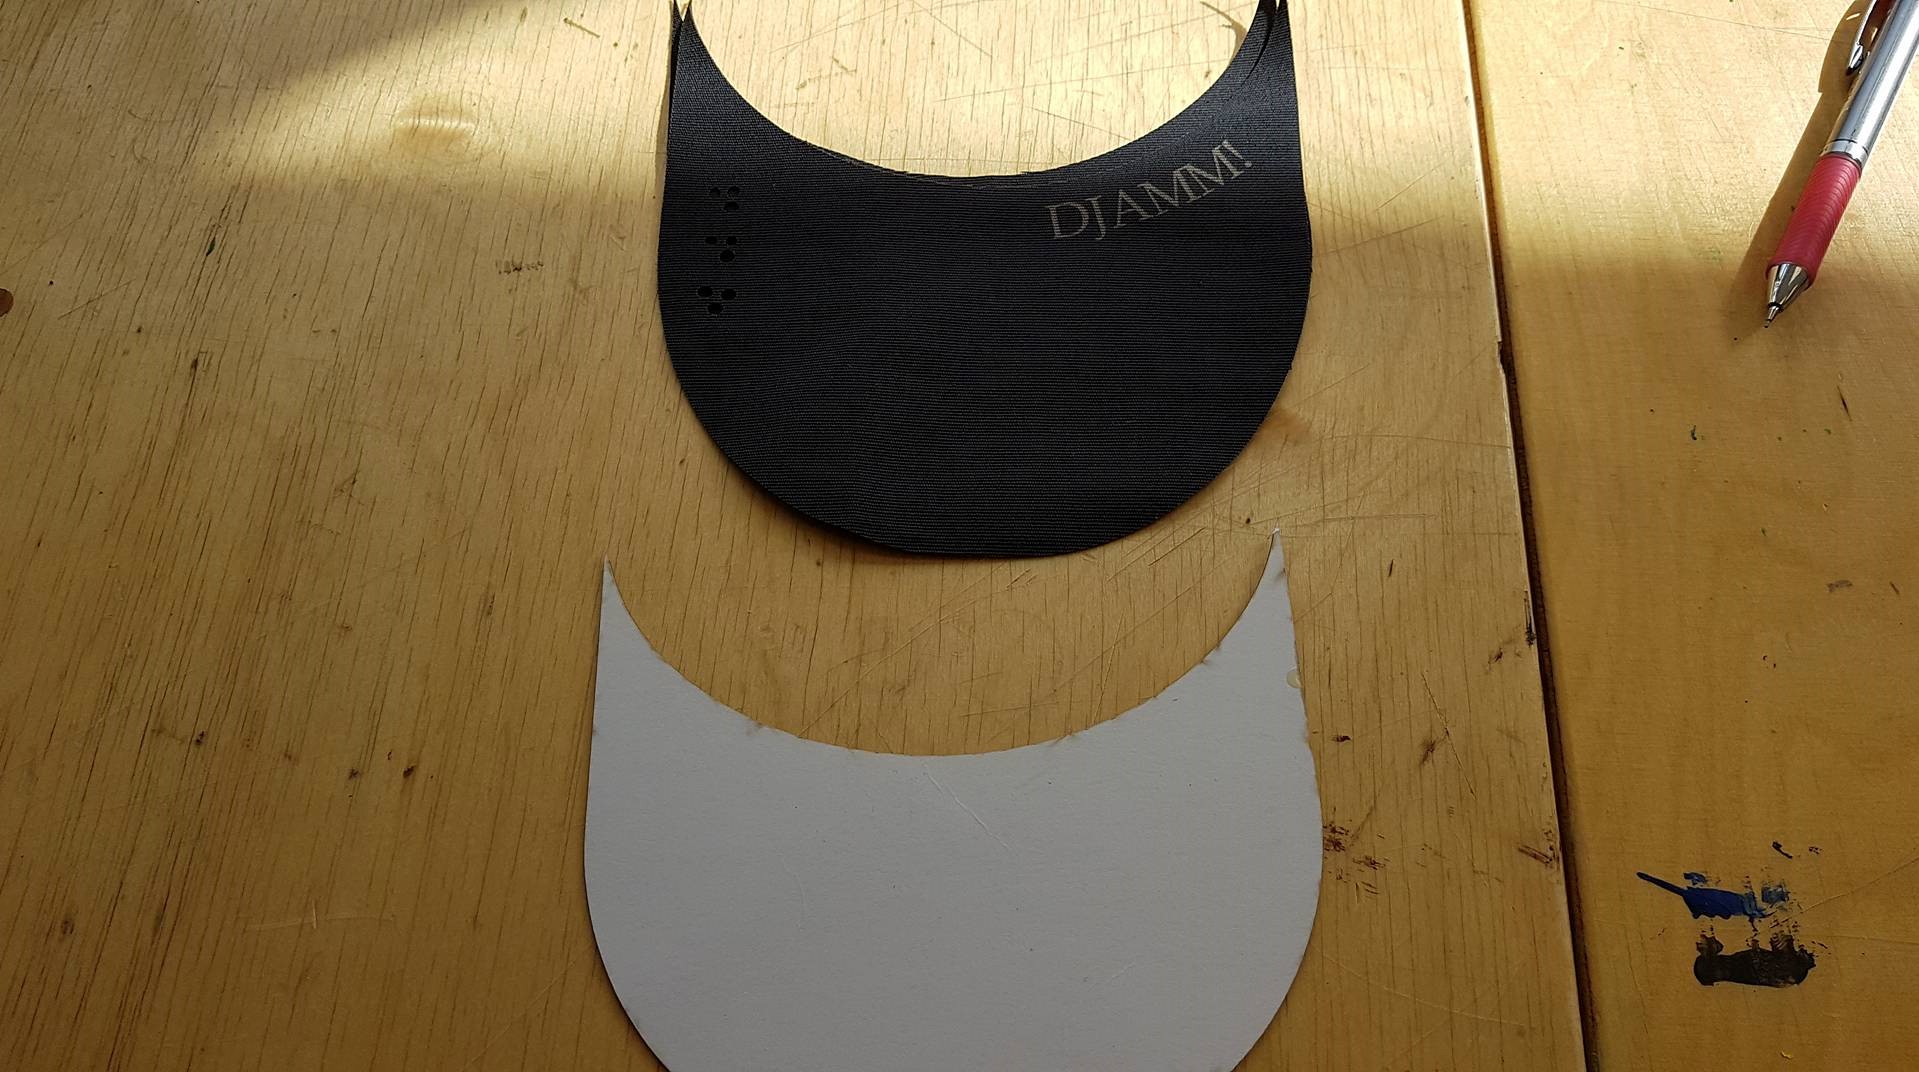
Vector for cutting the cap using the lasercutter (cardboard).
Stl file for 3D printing a tent.
Stl file for 3D printing a tent.
Vector for cutting the sticker using the vinylcutter.