Interface and application programming
Week 14
Assignment
Our assignment this weak is to write an application that interfaces with an input and/or an output device that I made and the group assignment is to compare as many tool options as possible.
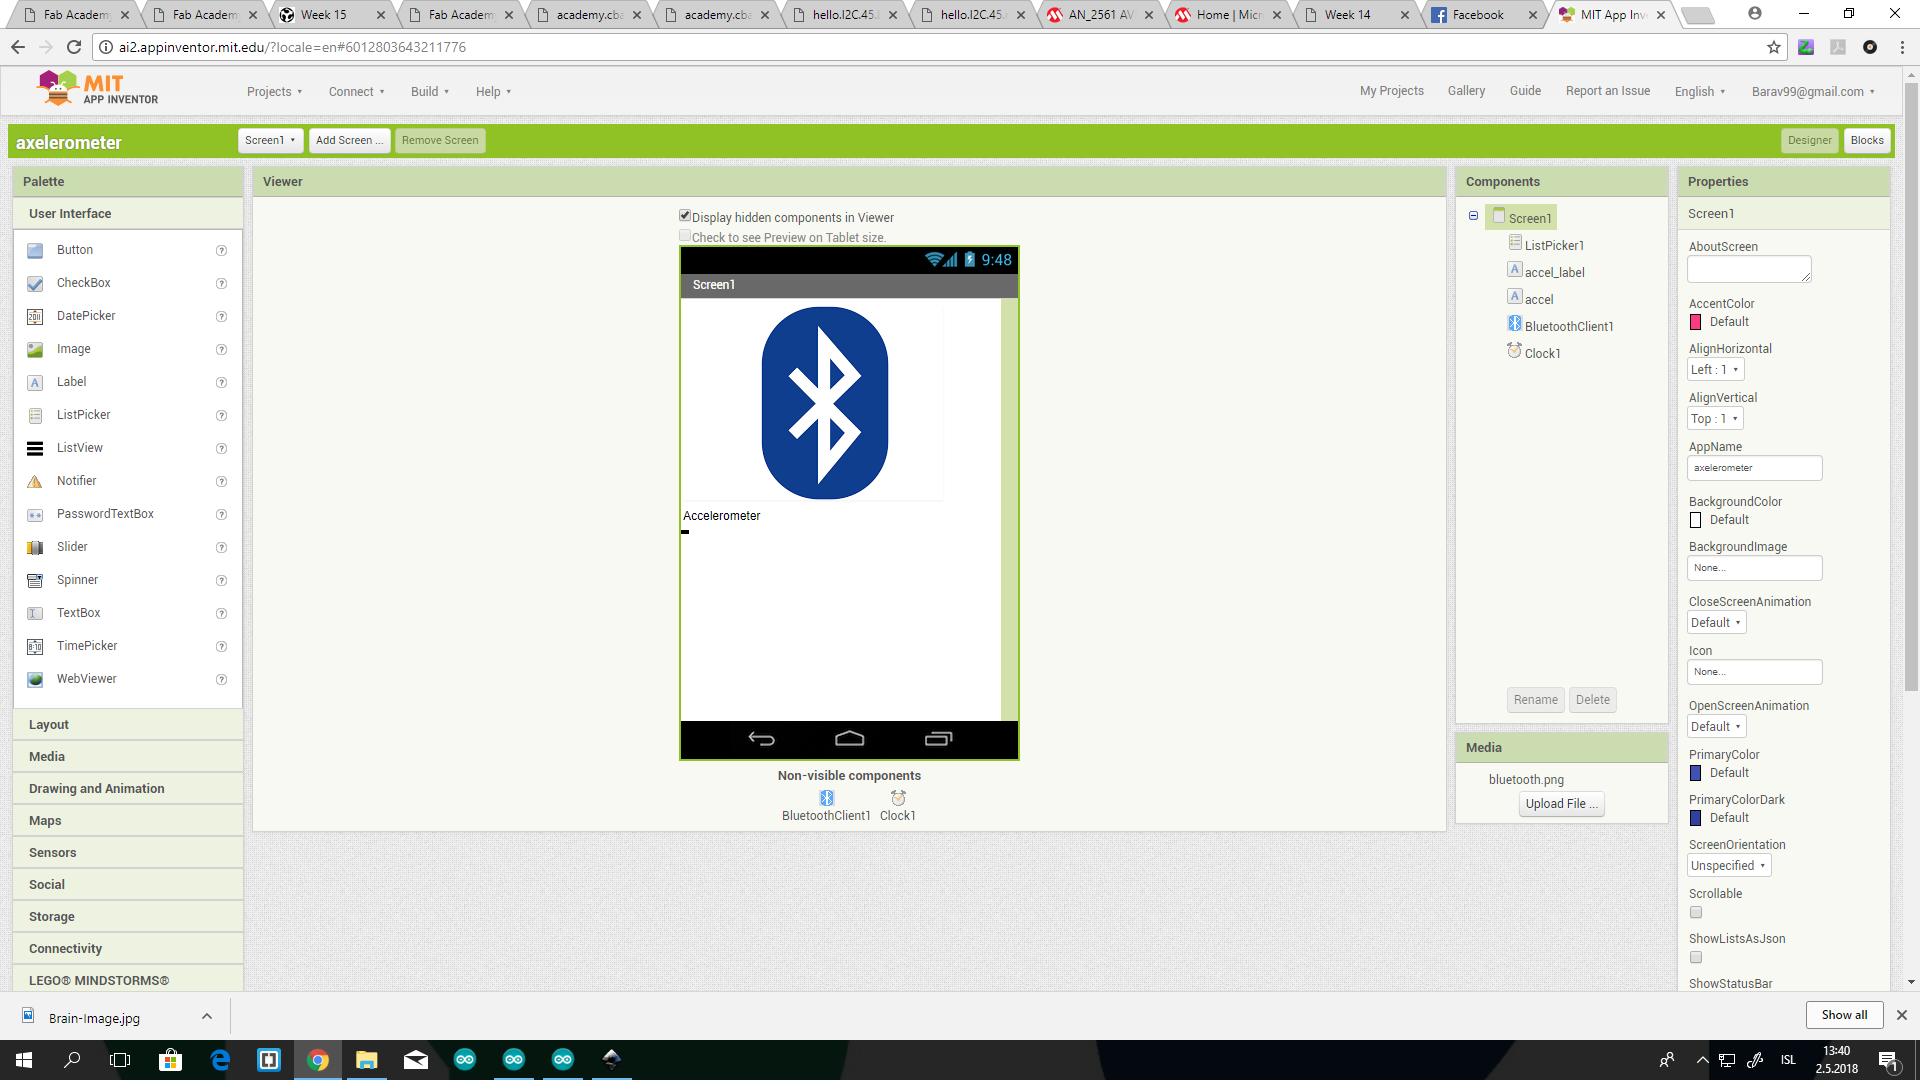
AppInventor
I decided to make an app using AppInventor. I have used microbit before and the block building was simular. So first I tried making a few test programs to get use to the program. Then I followed this tutorial on how to make an app that can read sensors. His app is reading a few sensor but I only want mine to read one sensor so I changed it for my needs. Then I changed the arduino code so it could work with my board.
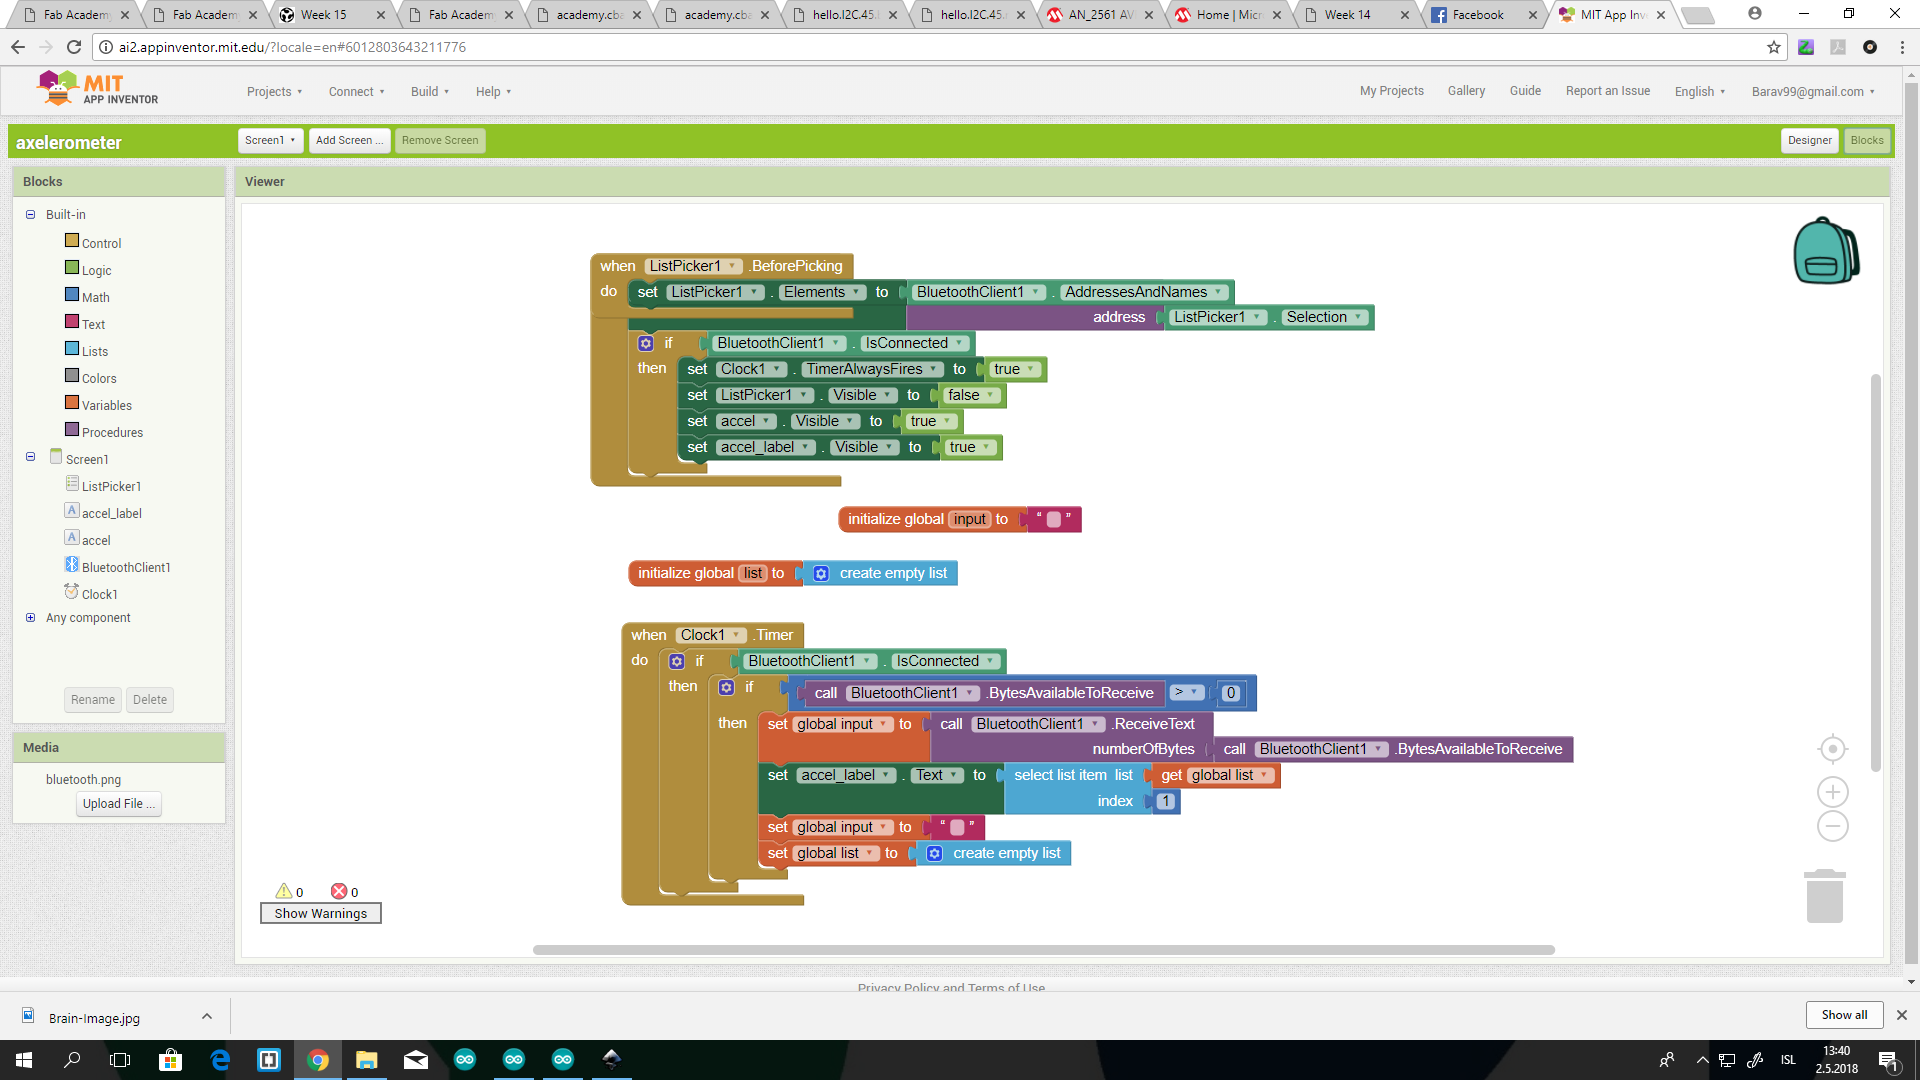
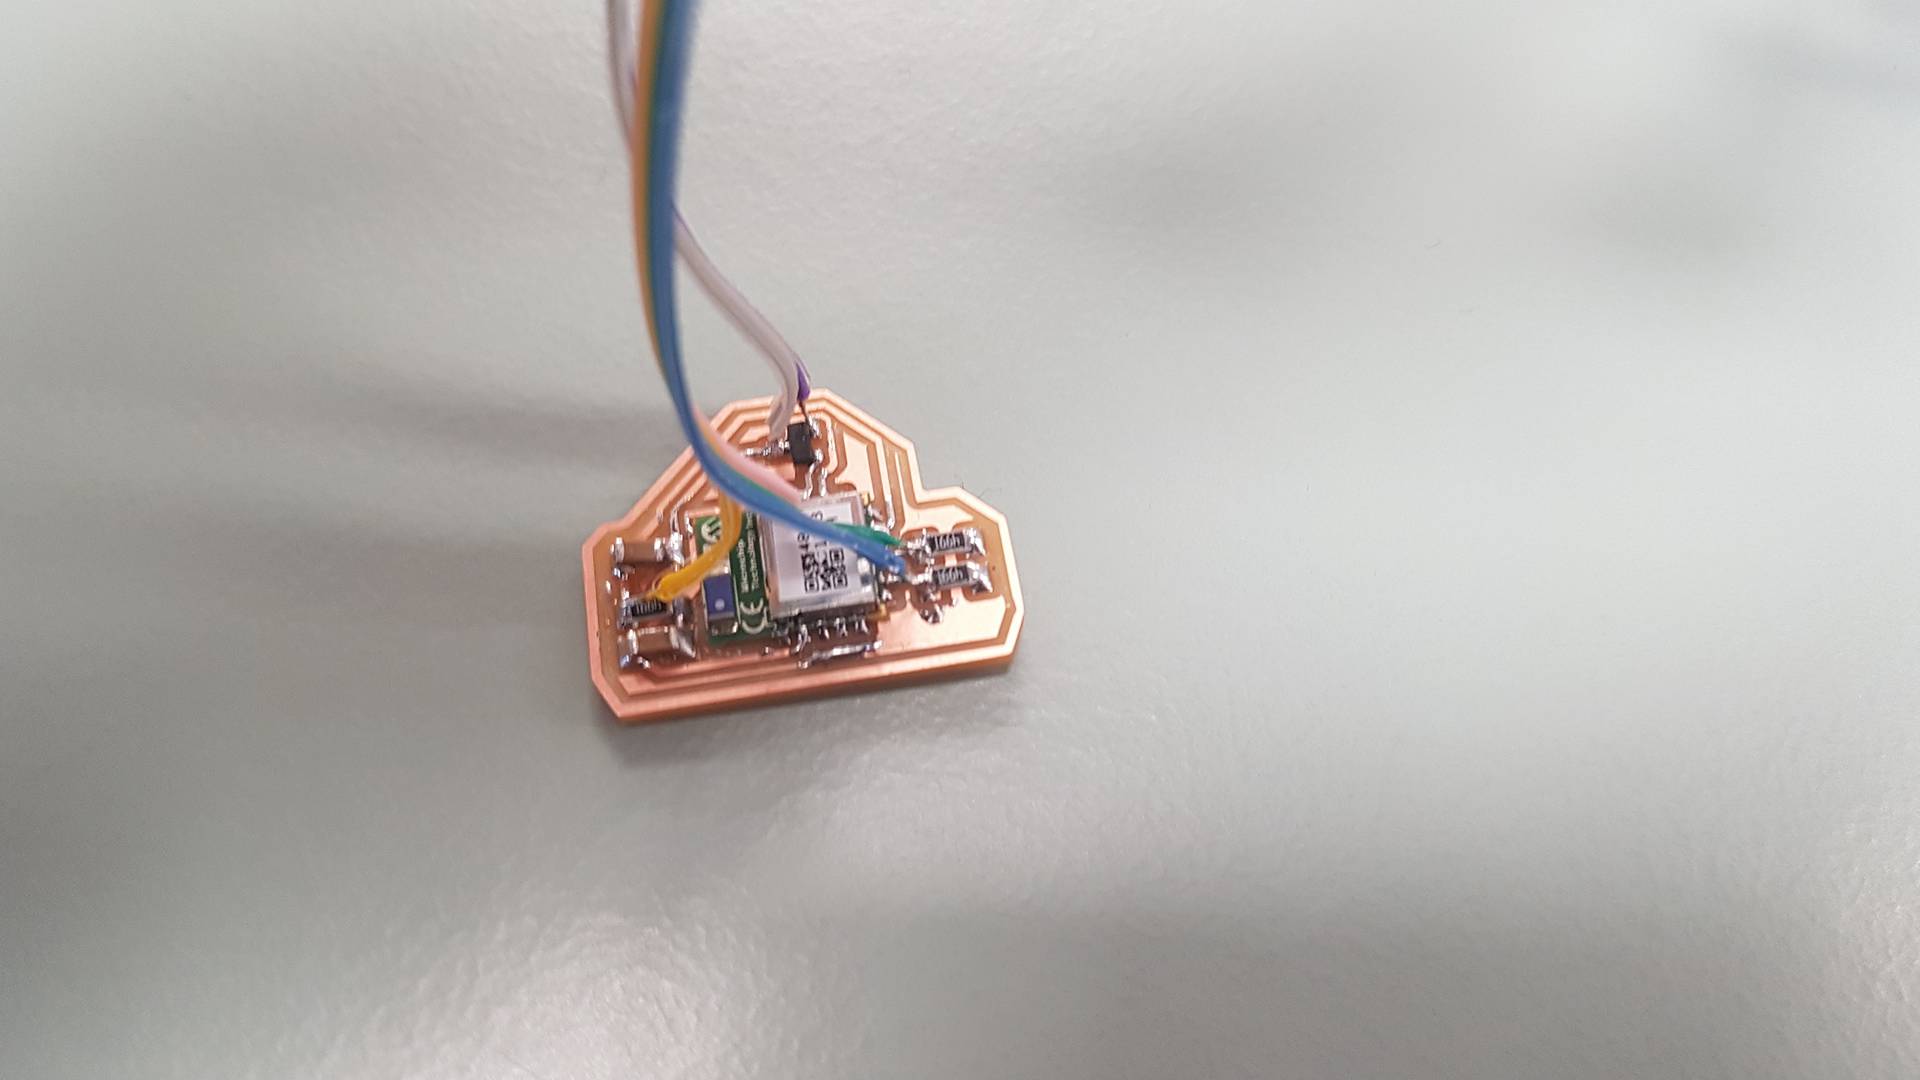
To connect the bluetooth Carl and Birita made a bluetooth chip that we can connect to our board.

The bluetooth chip is not working and alot of time has been spent trying to fix it so my plan is actualy to not do the app and instead change one of Niels python code. However I have not done so and will hopefully have time in the uppcoming week.
New plan
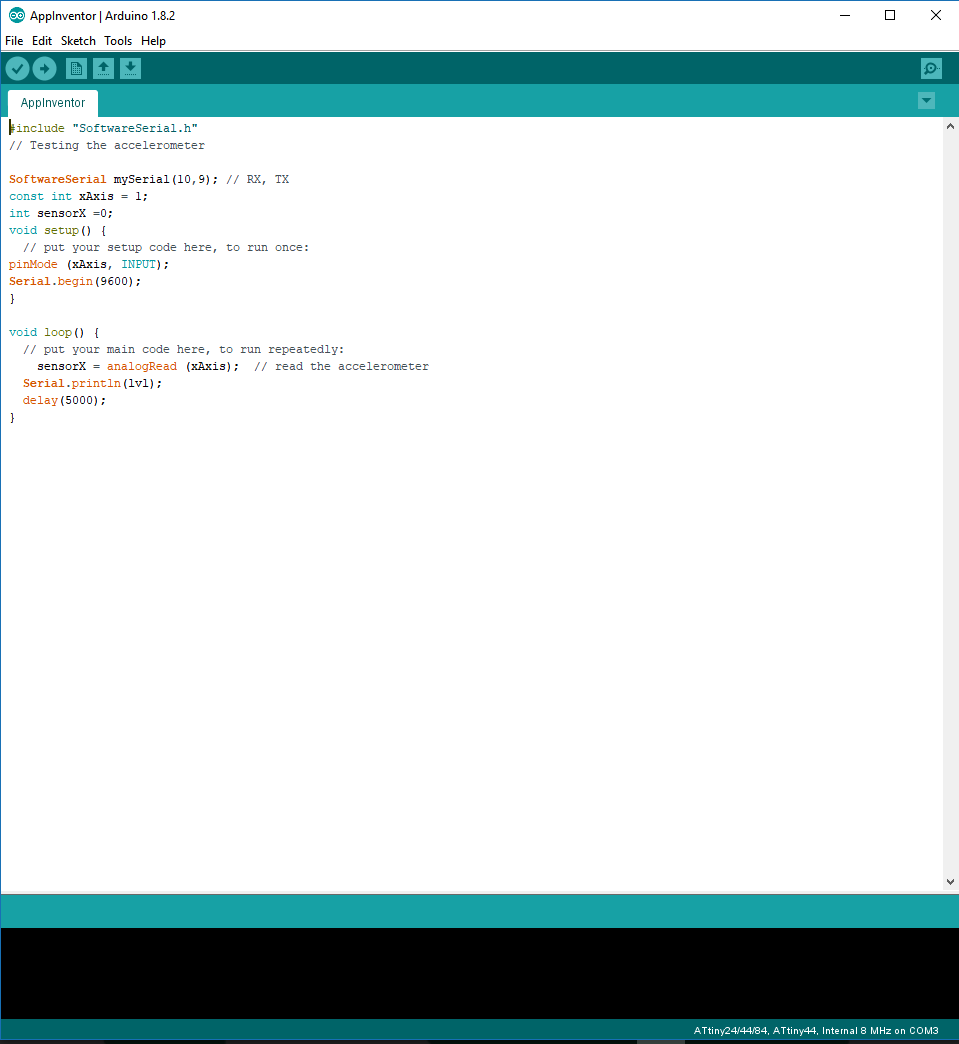
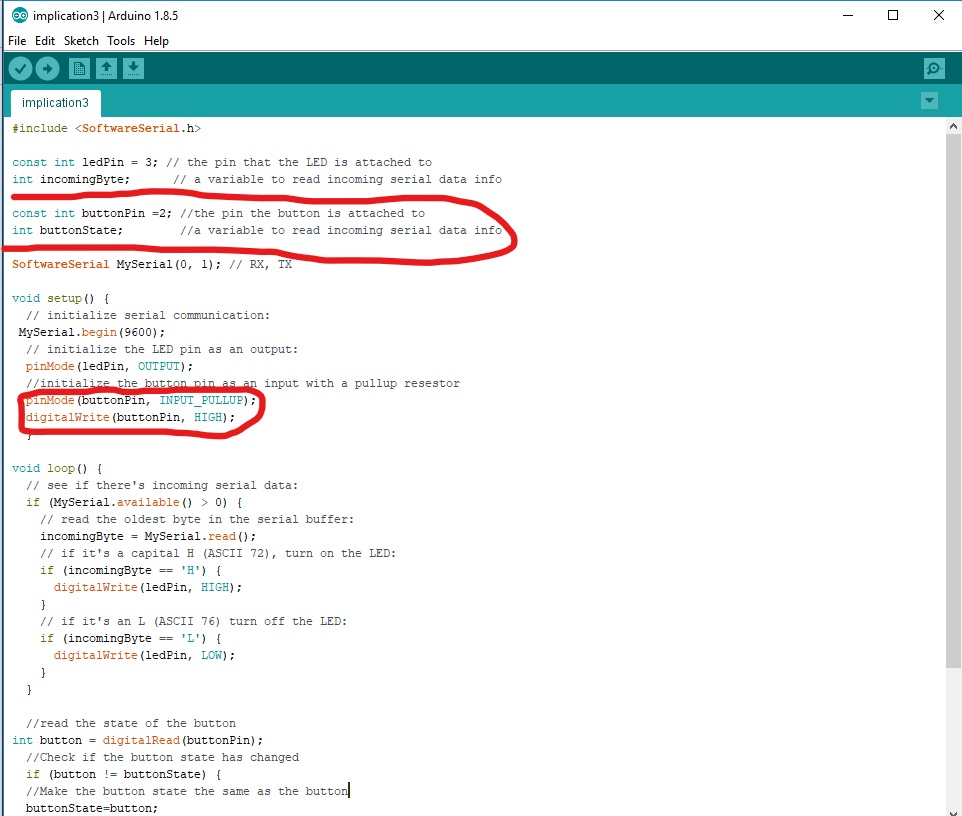
Since we could not get the bluetooth to work I decided to make an easy program. It is a button that turns on the LED when it is pressed. I looked online and found a program I tought would be nice to try. It uses arduino and processing or Max. First I had to change the code so it would work with my board. I changed the LED pin and added the softwareserial library.
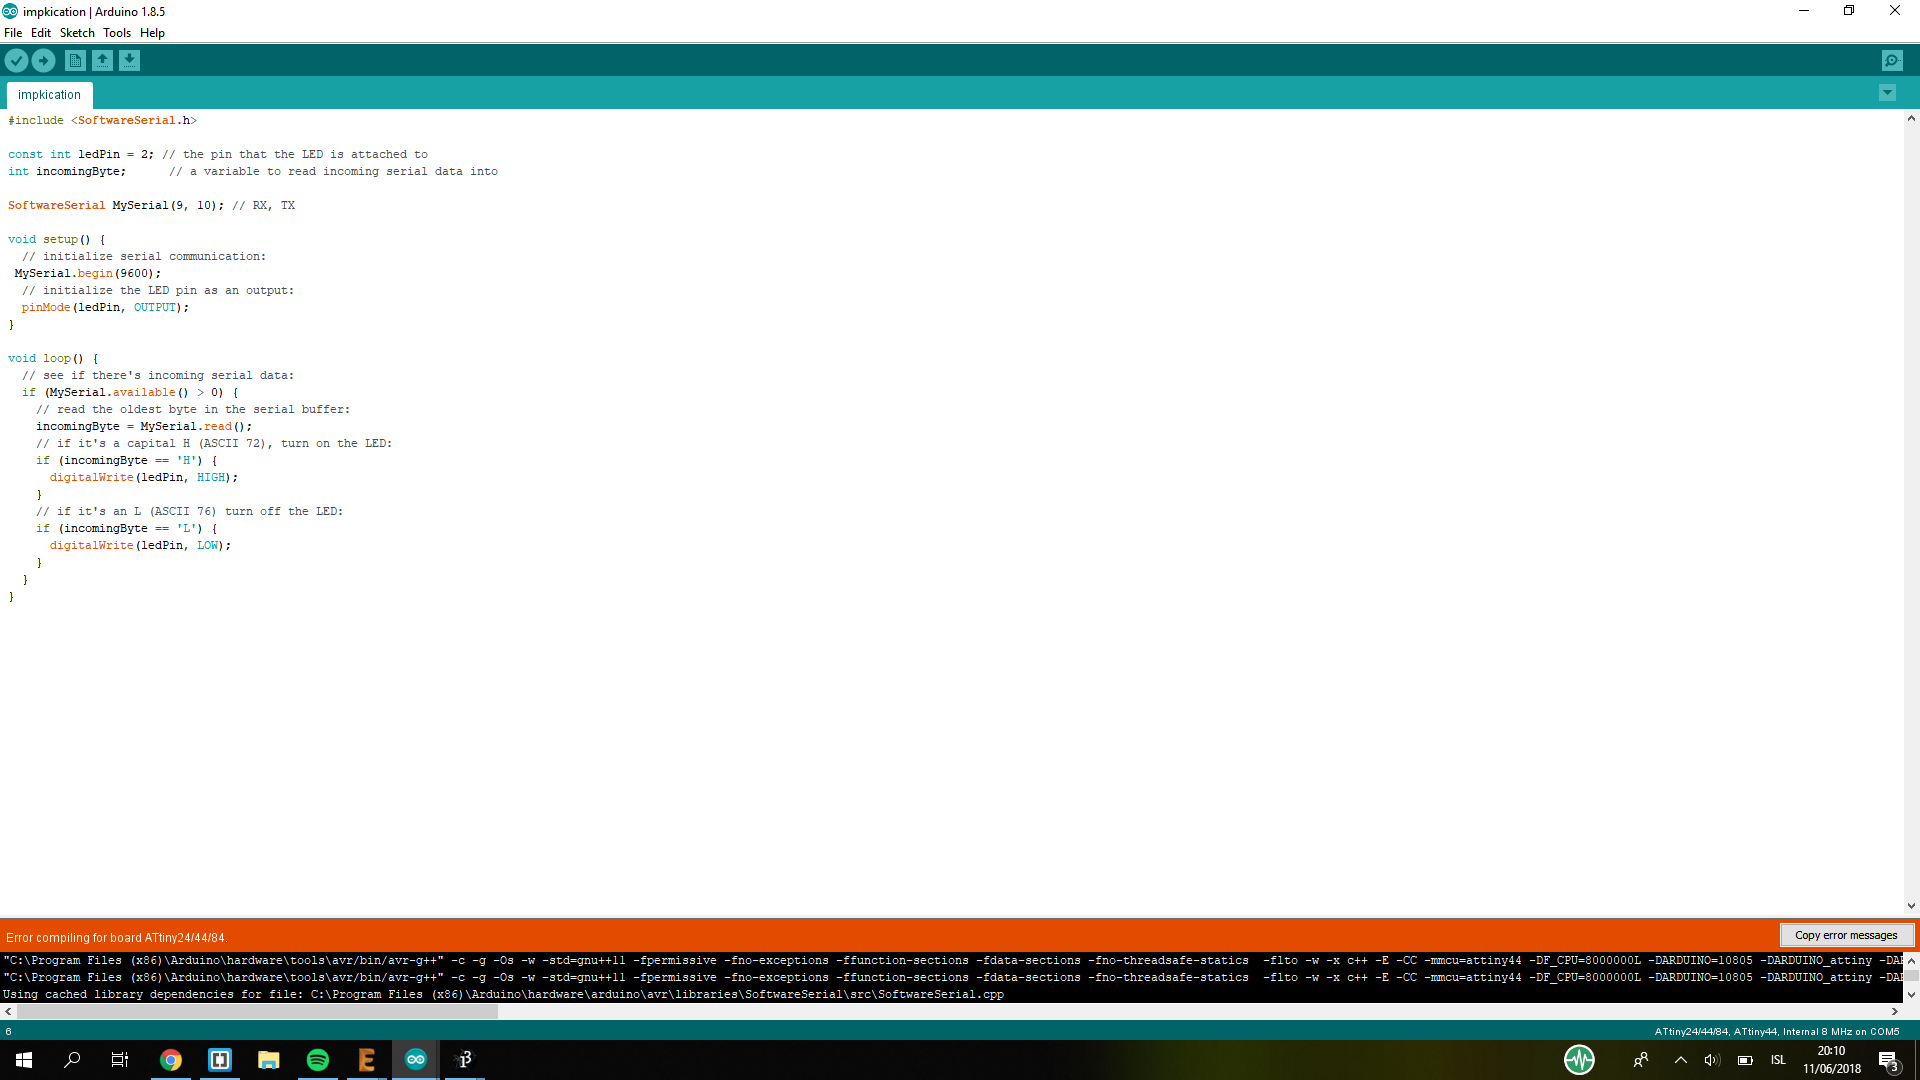
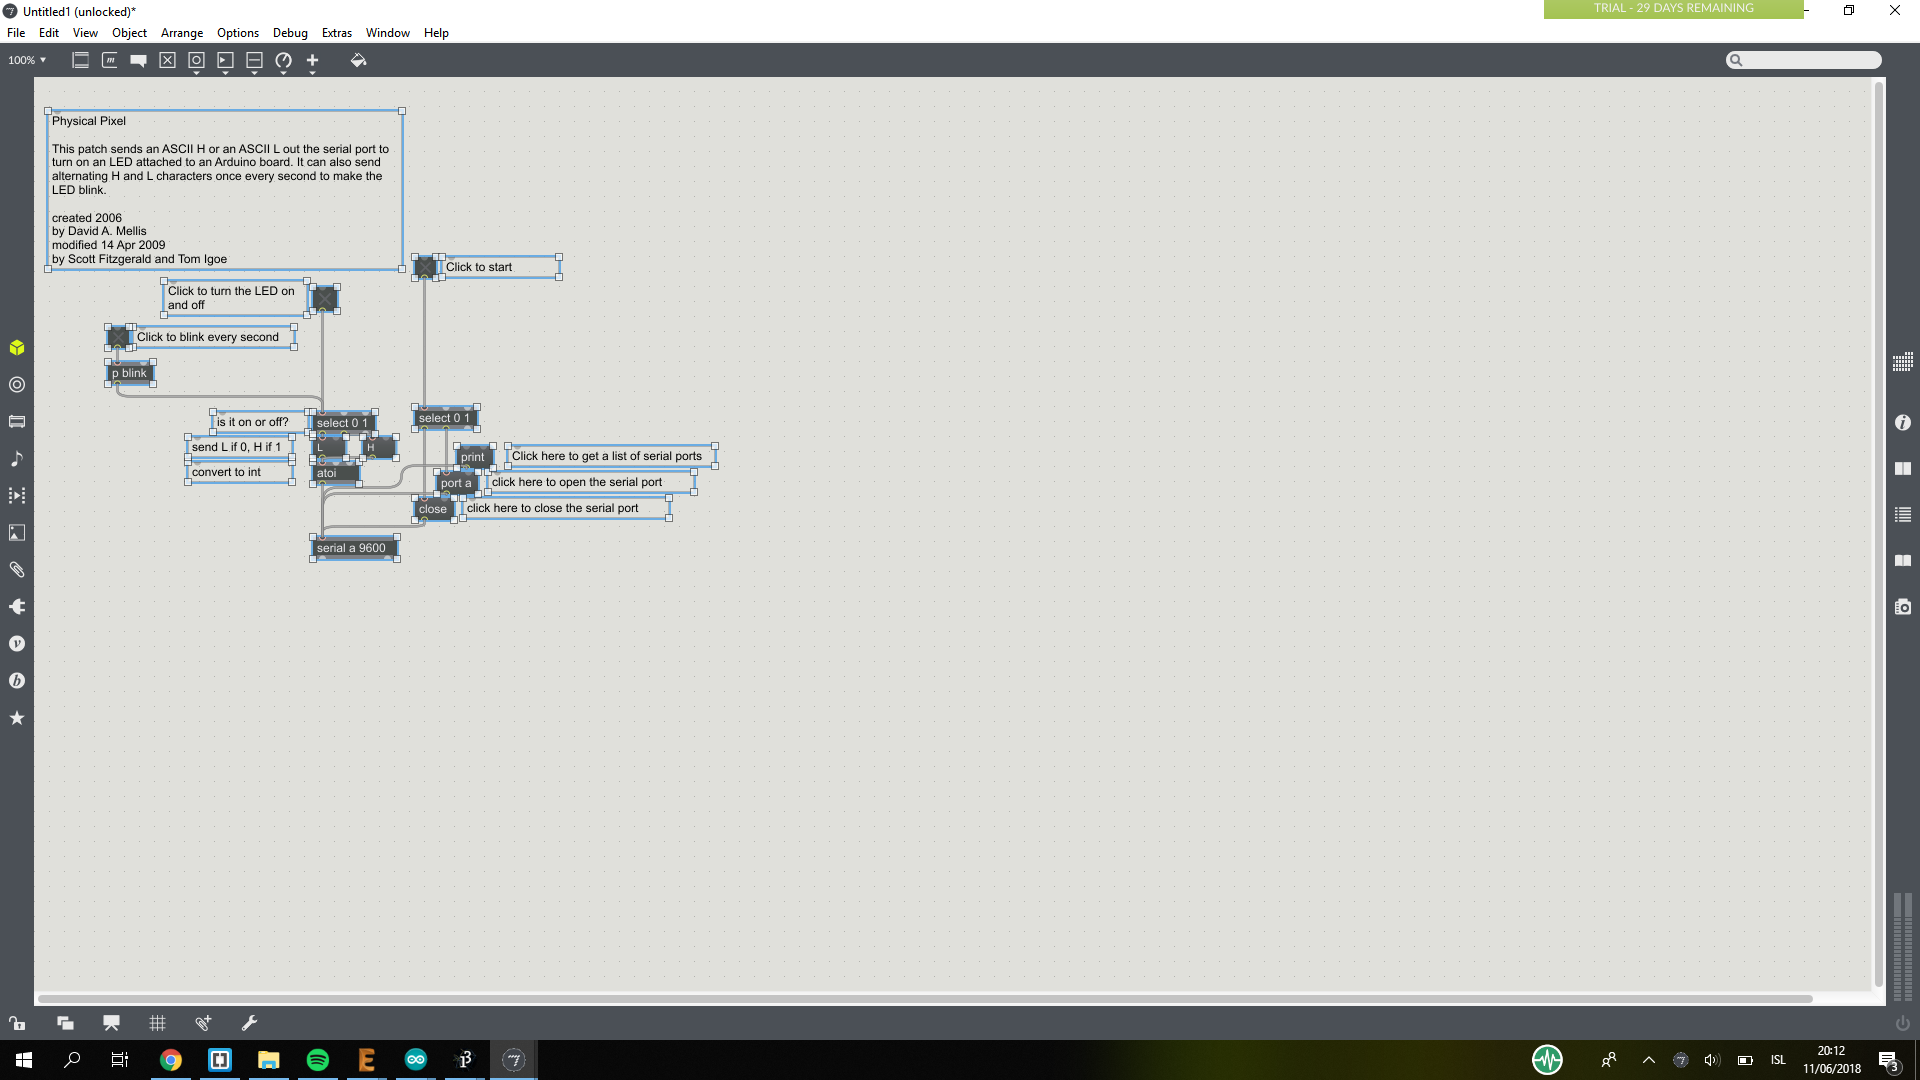
Then I tried using Max to interface with but for some reason it was not working and I can not figure it out.
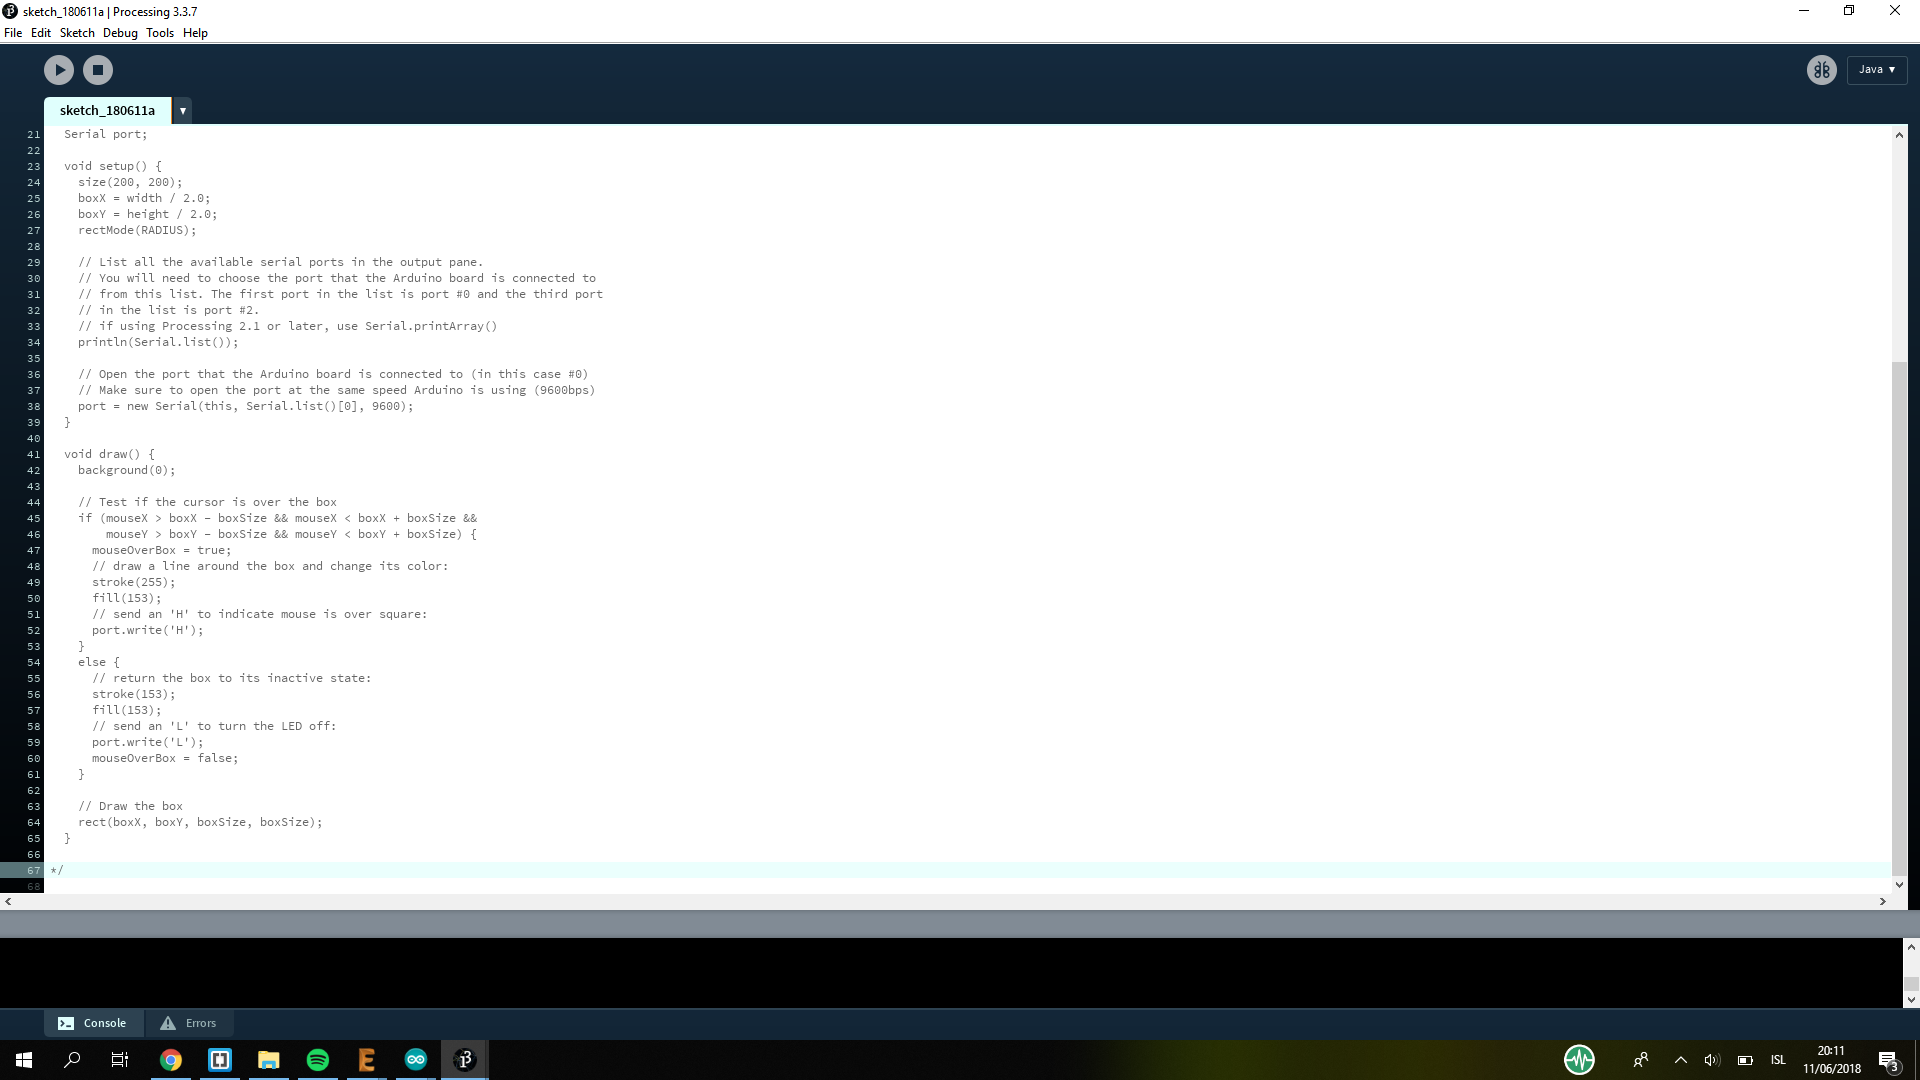
Then I tried using processing but that also was not working.
Finally
The board
I decided to use the board I made in the electronics design weeek.
Arduino
Now I got this to finally work. I used the same code as before but it did need some changing and I also added a function were the button on the screen changes colours when the button on the board is pressed. So I took the program from before, I had the same changes as before, changed the LED pin and added the softwareserial library. I also had to add MySerial in front of Serial so the code workes with my board.
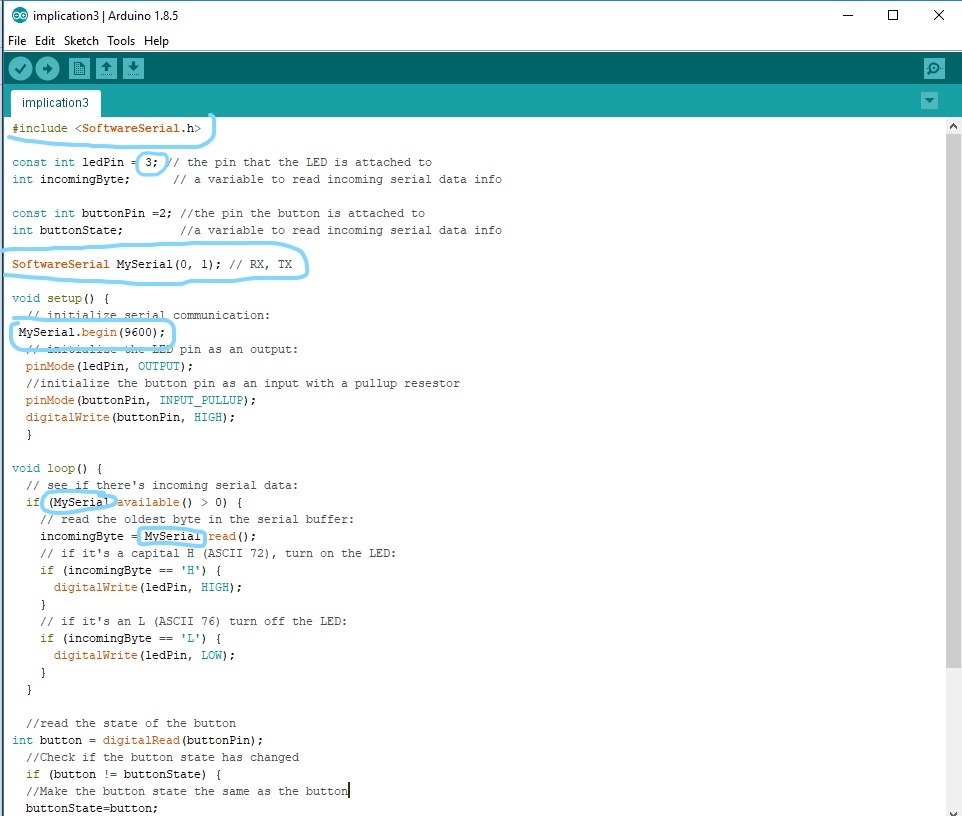
Then I had to make changes so the code would know where the button is located and that the code had to read the state of the button if there was a change it should check if it is high or low, then if the state is high it will send the letter b and if it is high it sends B.

Processing
I decided to use Processing instead of Max because it is more like arduino so I can understand better what I am doing. First I looked at a few examples both online and on the program you can see some example codes. One of the example code in the program called simpleread is a button that changes colour when a button on a board is changed. I just had to change so that it changes when it gets sent the value "b" instead of "0".
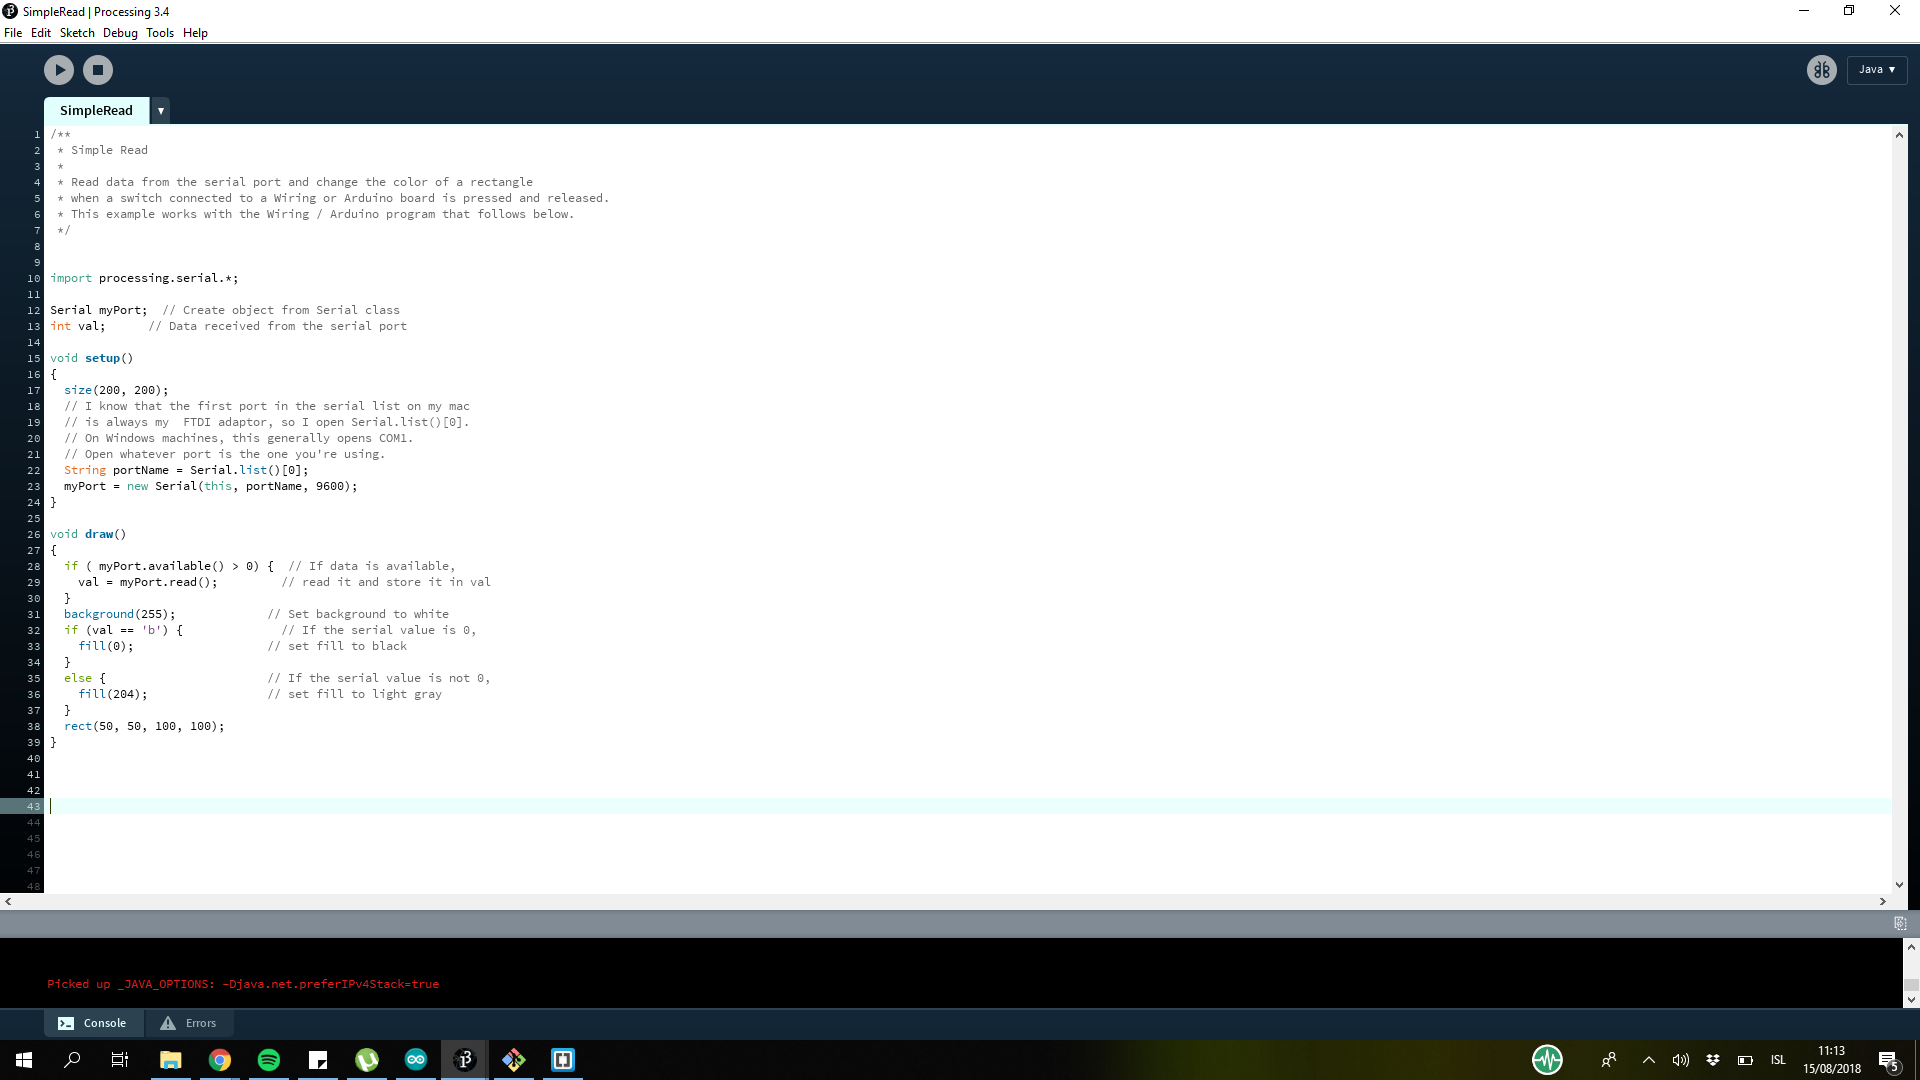 Then I took the example code from the side were I got the arduino example from. I took that and added some parts to the code. And it WORKS!!!!
Problems and solutions
Our biggest problem was making with the bluetooth it just was not working so I just decided to not spend more time on it and do something else.
Max and processing would not work with my board and I do not know why.
Software I used
Arduino
-For programming.
Microsoft Photos
- For photo editing.
Gimp
-For photo editing and making the outline.
Eagle
-for drawing the circuit board
Inkscape
-For making the outlines.
Files from this week
Arduino code.
Processing code.
The schematic of the board
The board made in Eagle