Molding and casting
Week 10
Assignment
In this week there is one group project and one individual assignment.
The group assignment is to review the safety data sheets for each of our molding and casting materials,
then make and compare test casts with each of them. The individual assignment is to design a 3D mold around the stock
and tooling that I will be using, machine it and use it to cast parts.
Group assignment
In the group assignment we read the safety sheets for all of our materials and tested them.
You can read more about it on group website.
Designing in Fusion
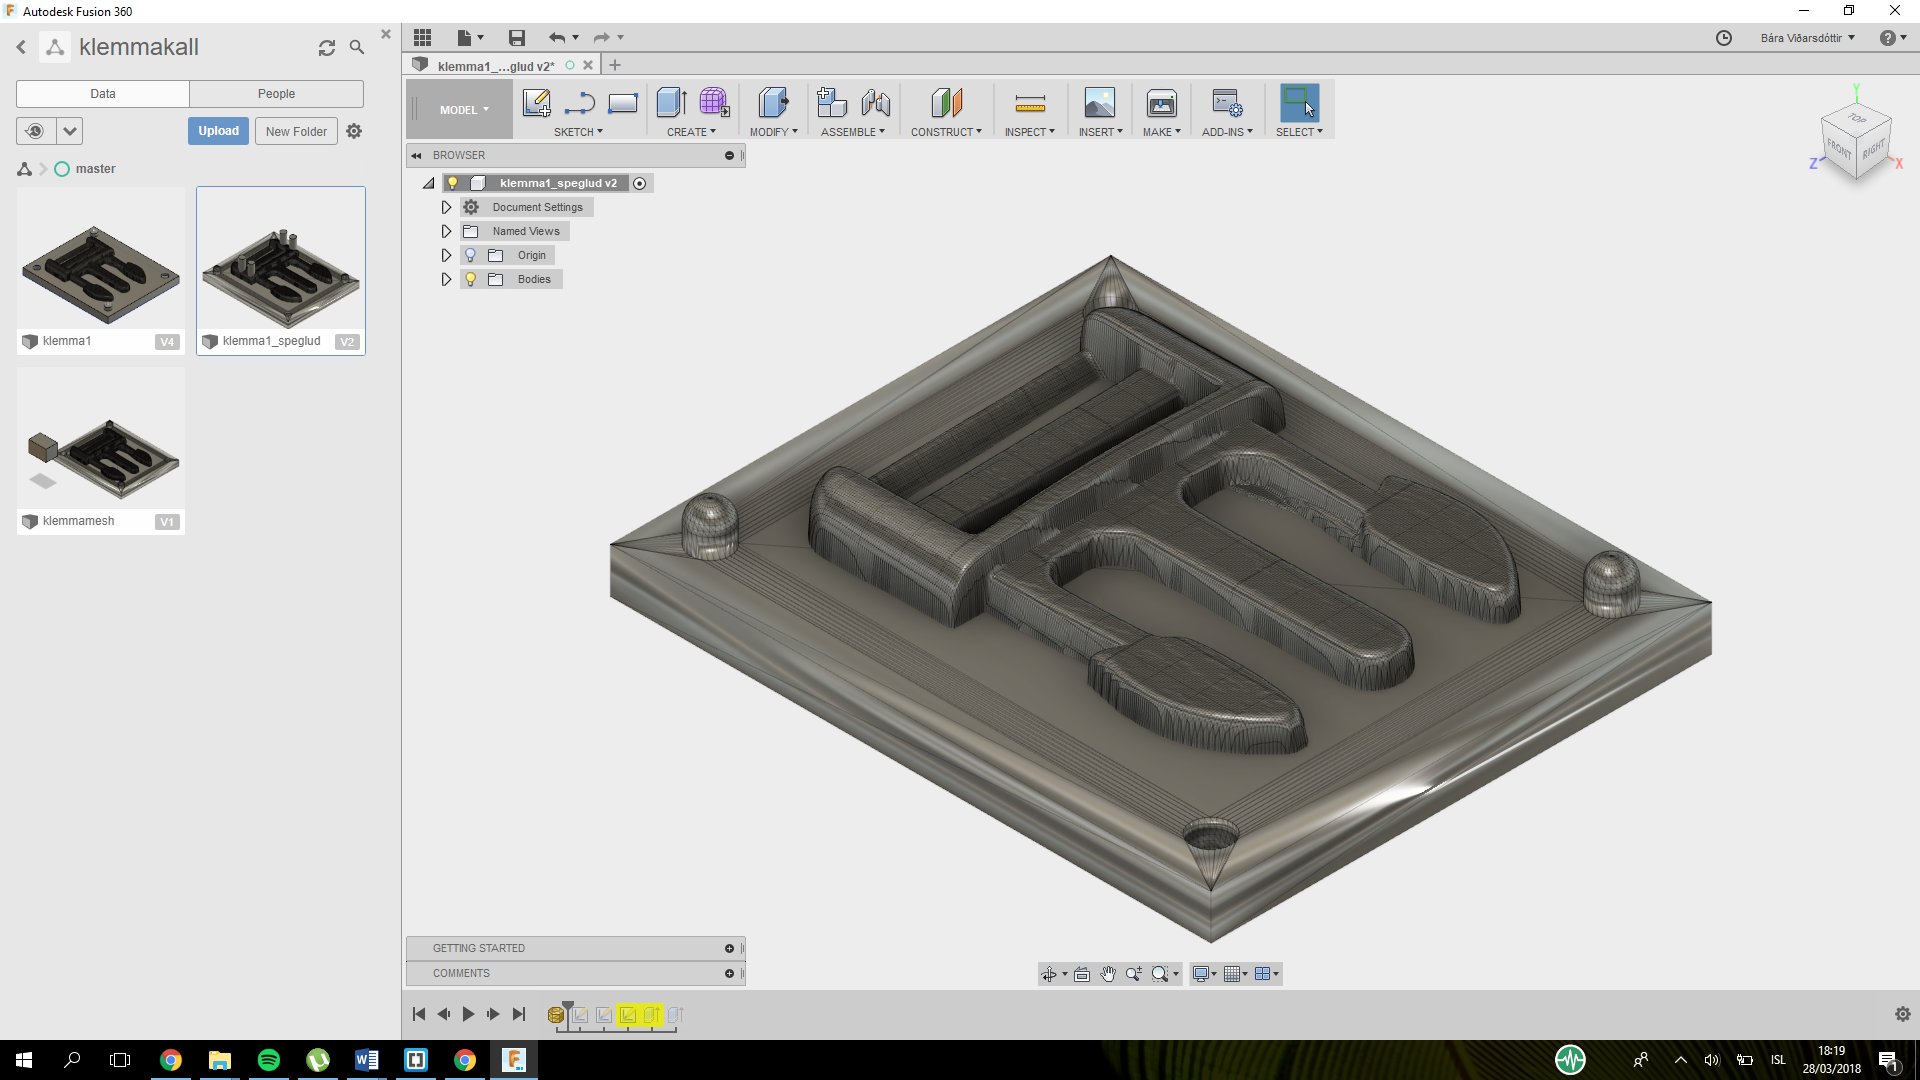
I decided to make the part of the clip that I scanned in the 3D printing and scanning week.
I imported the file into Fusion. In fusion I added a box that covered half the thickness of the clip
because when I put them together I do not want it to be double the size it should be.
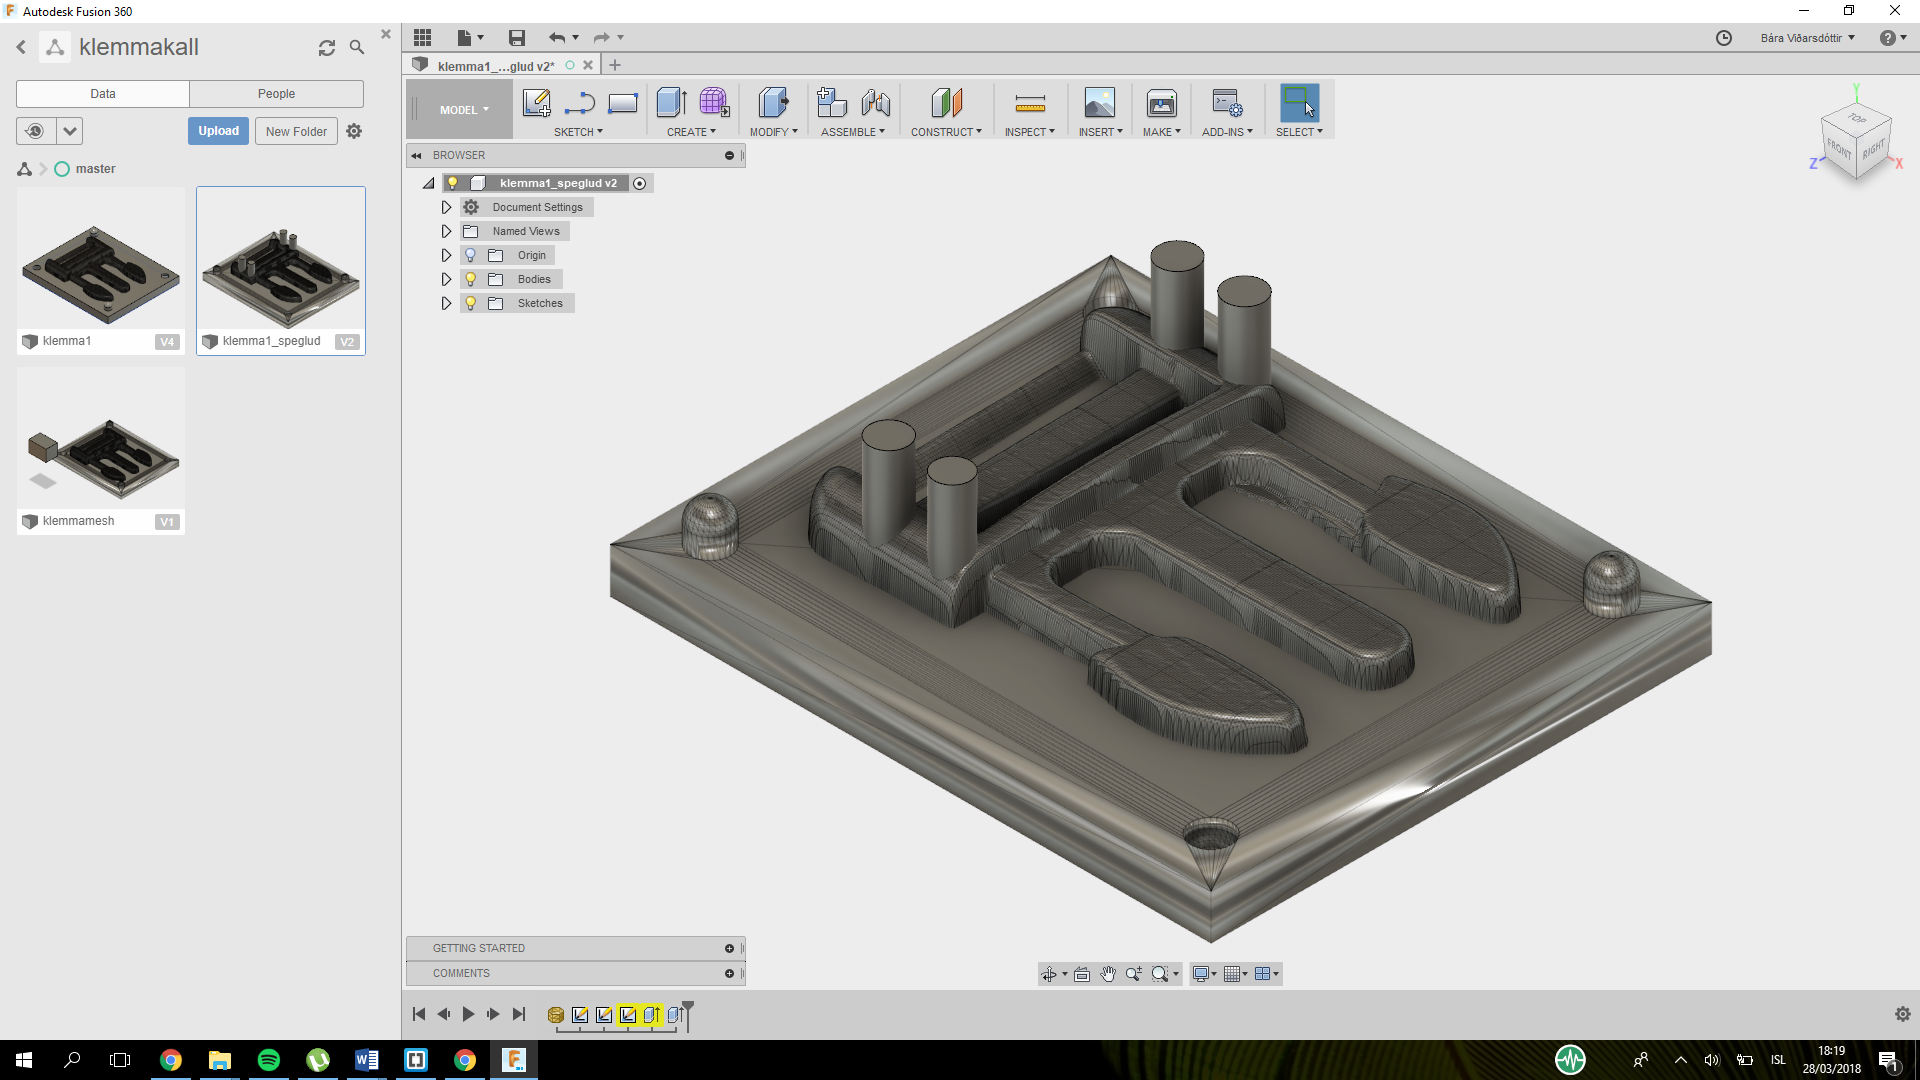
Then I added cylinders on the corners so when I put them together they will fit correctly.
I did not make a pour in hole or an air hole because me and Frosti decided to test making it without the holes at first.
Then I saved it as an STL file. To do that I had to Go into file -> share-> share public link.
Then open an internet browser copy the link and paste in the browser there choose download and an stl file.
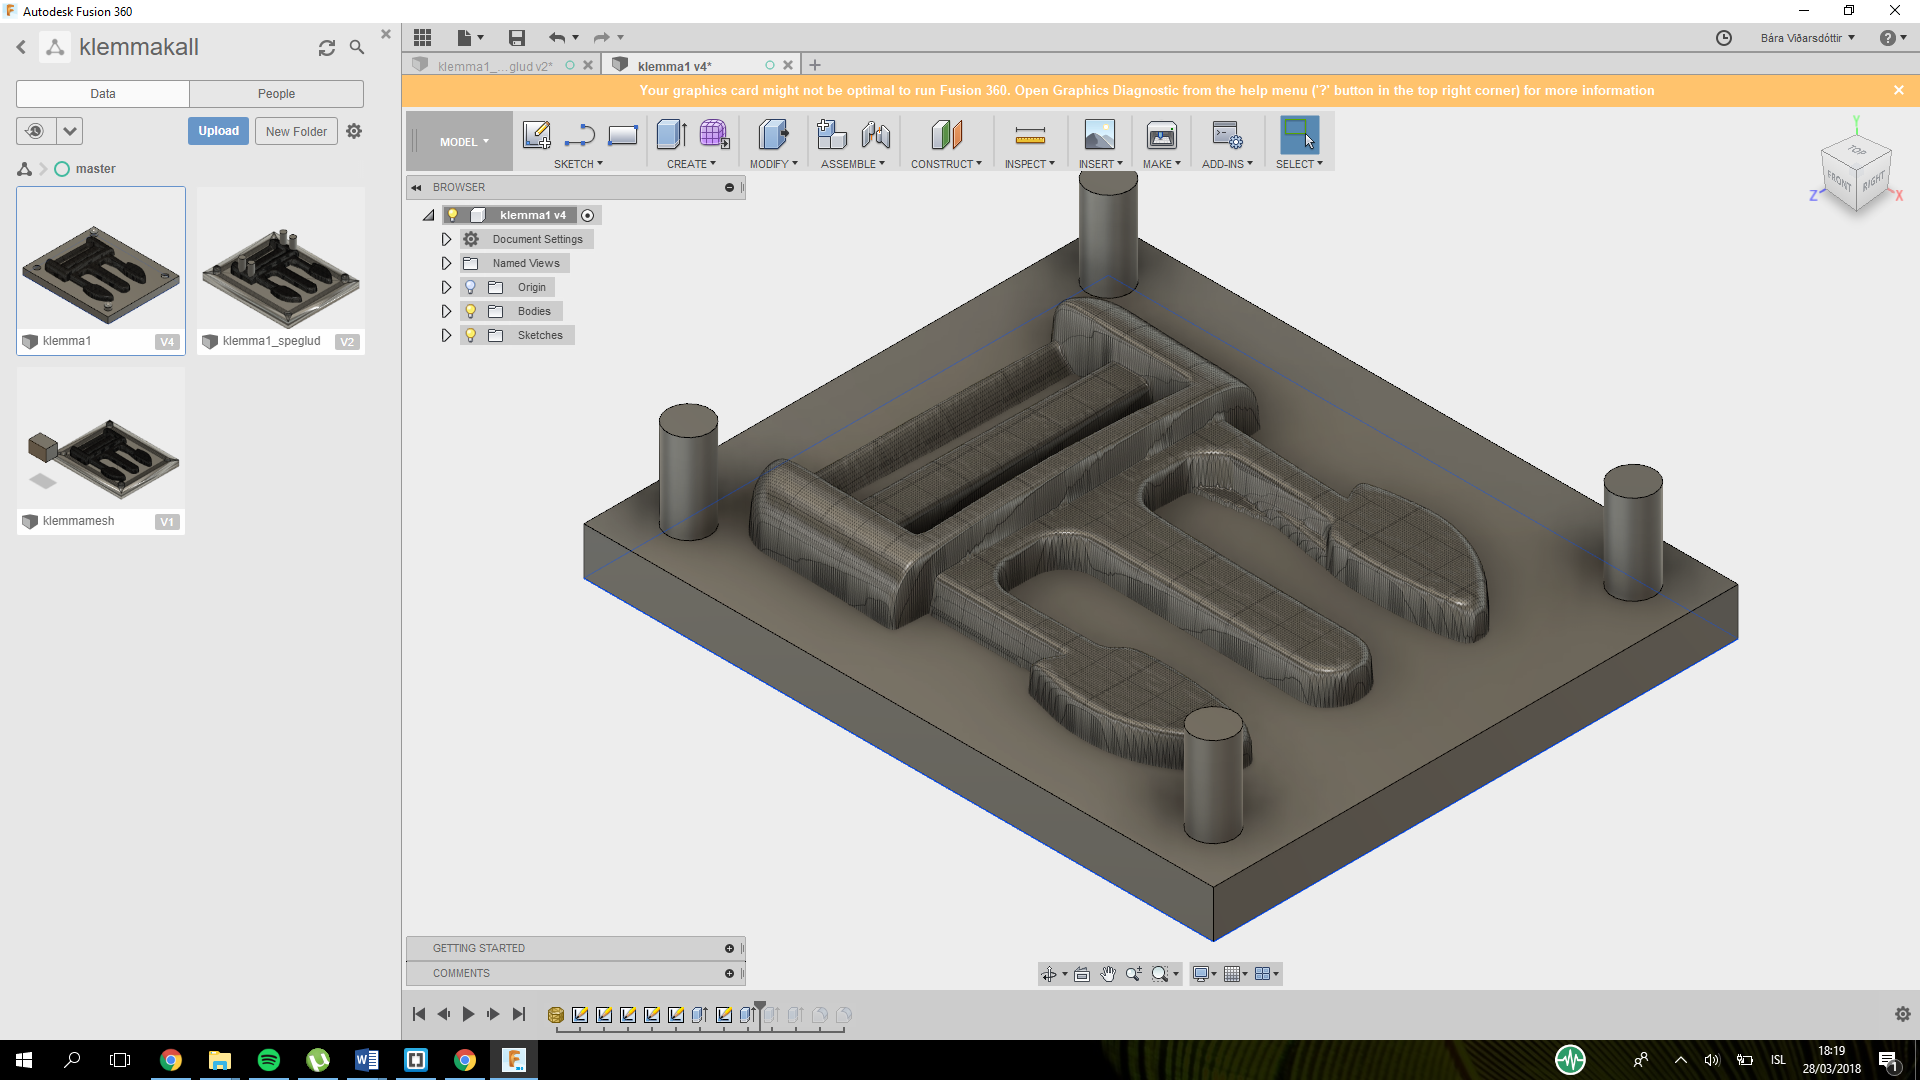
For the other side I had to mirror the design. I could not mirror it in Fusion because it was a mesh,
so I used Ultimaker Cura to mirror it. Then I moved it back into Fusion and added the air holes and the pour holes.
Then saved it as an stl file.


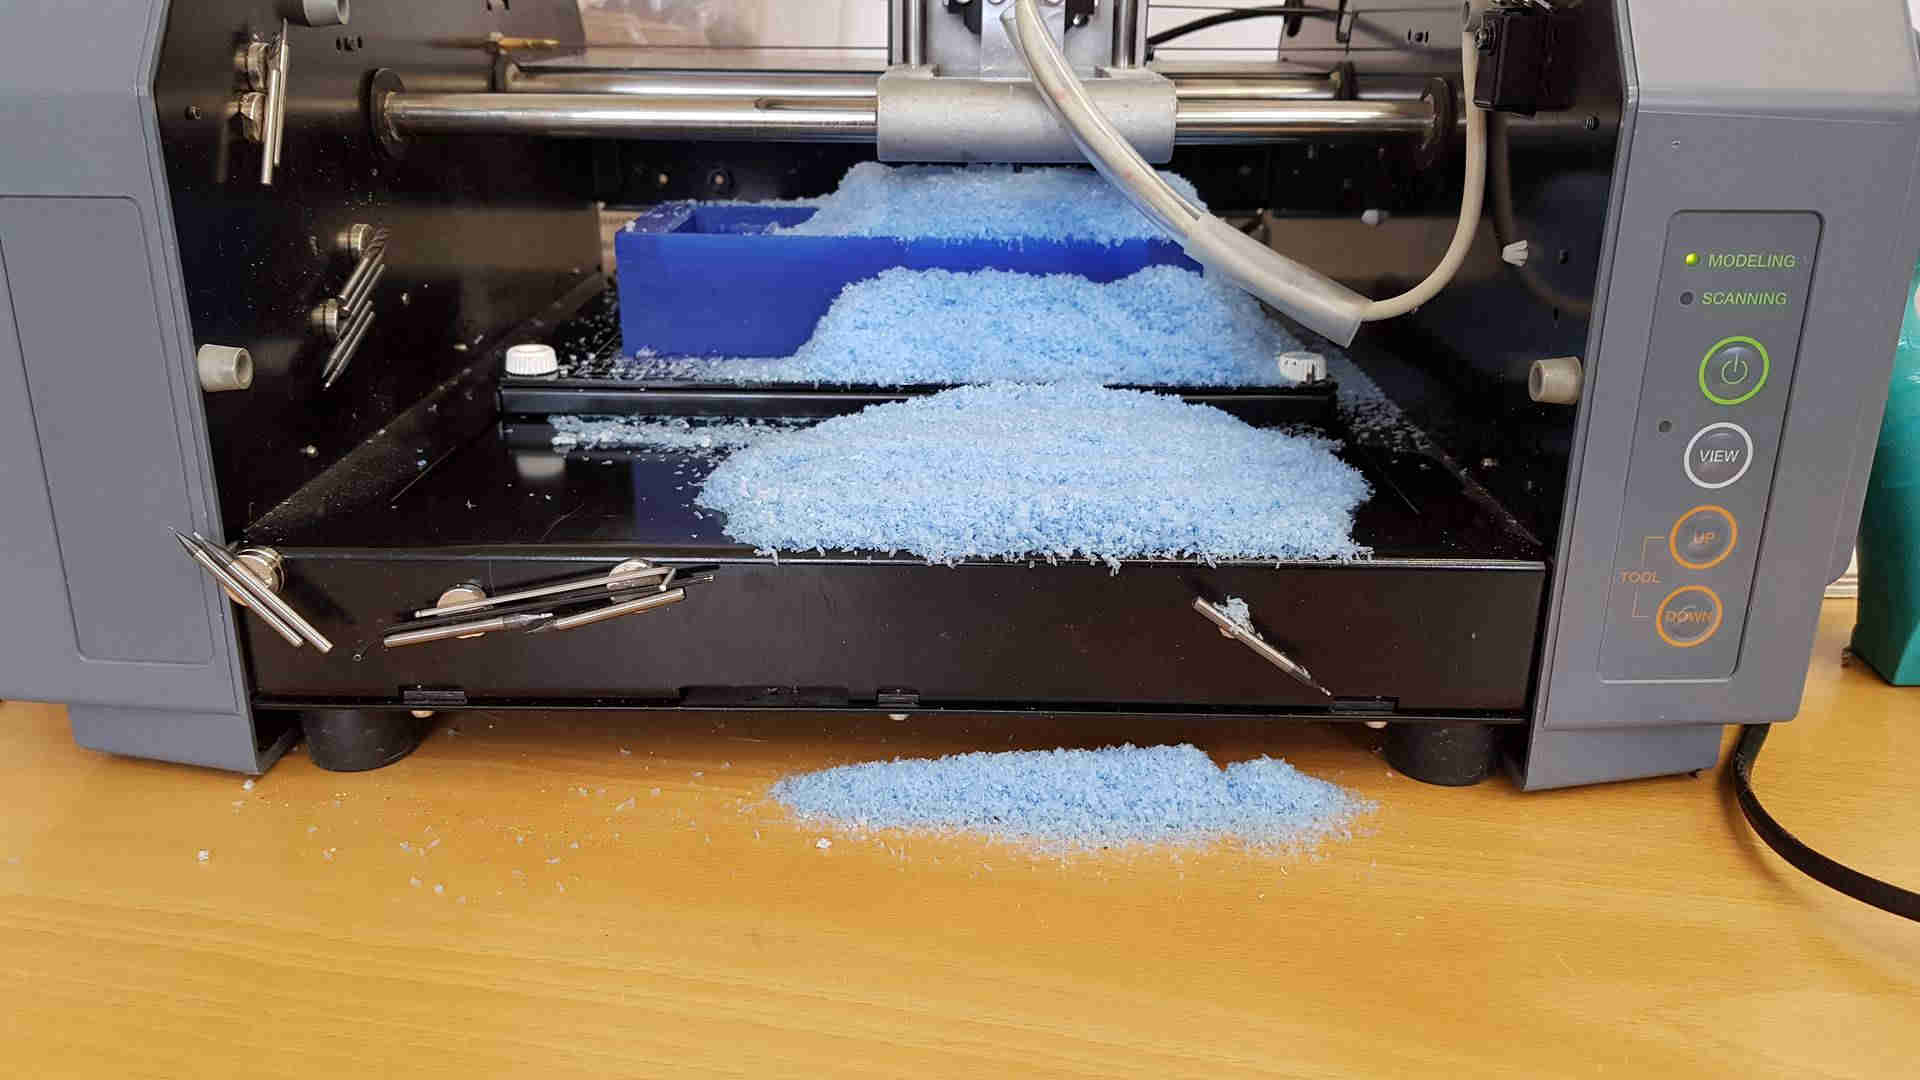
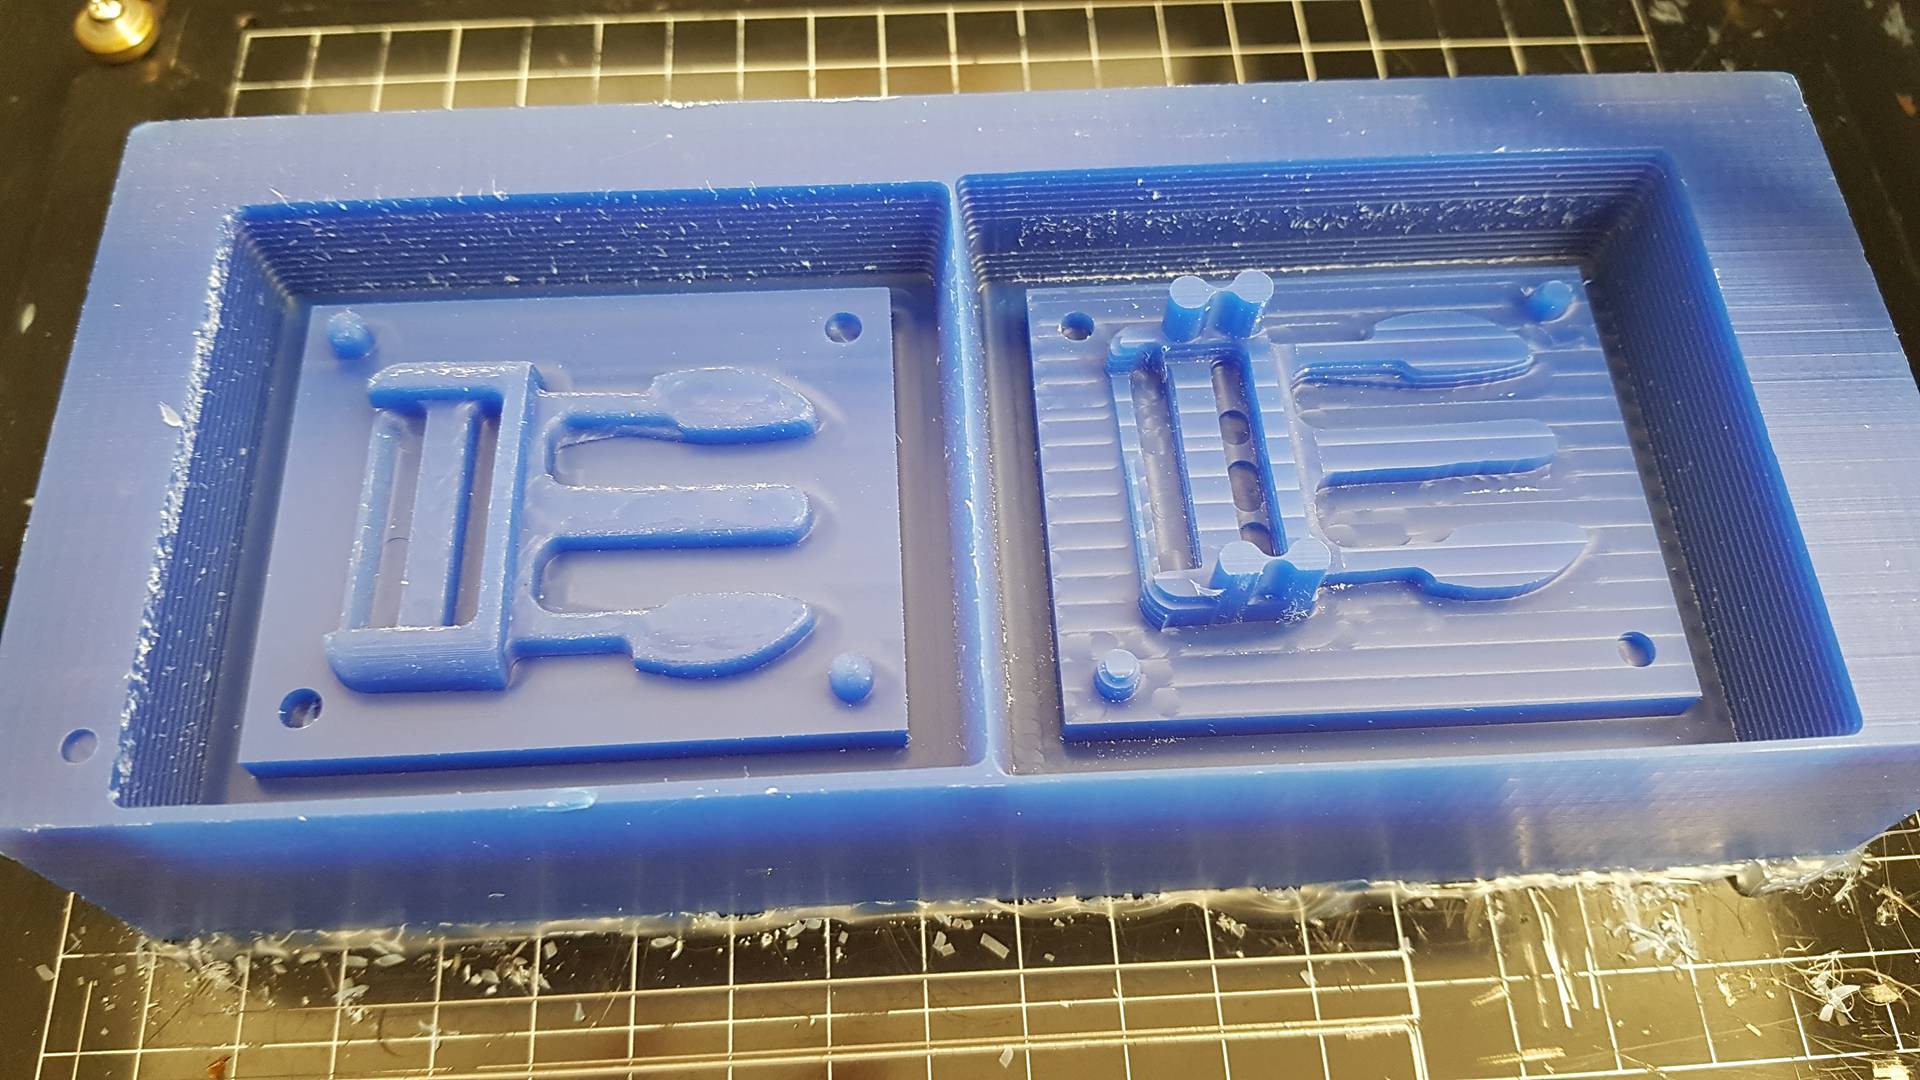
Cutting with Modela
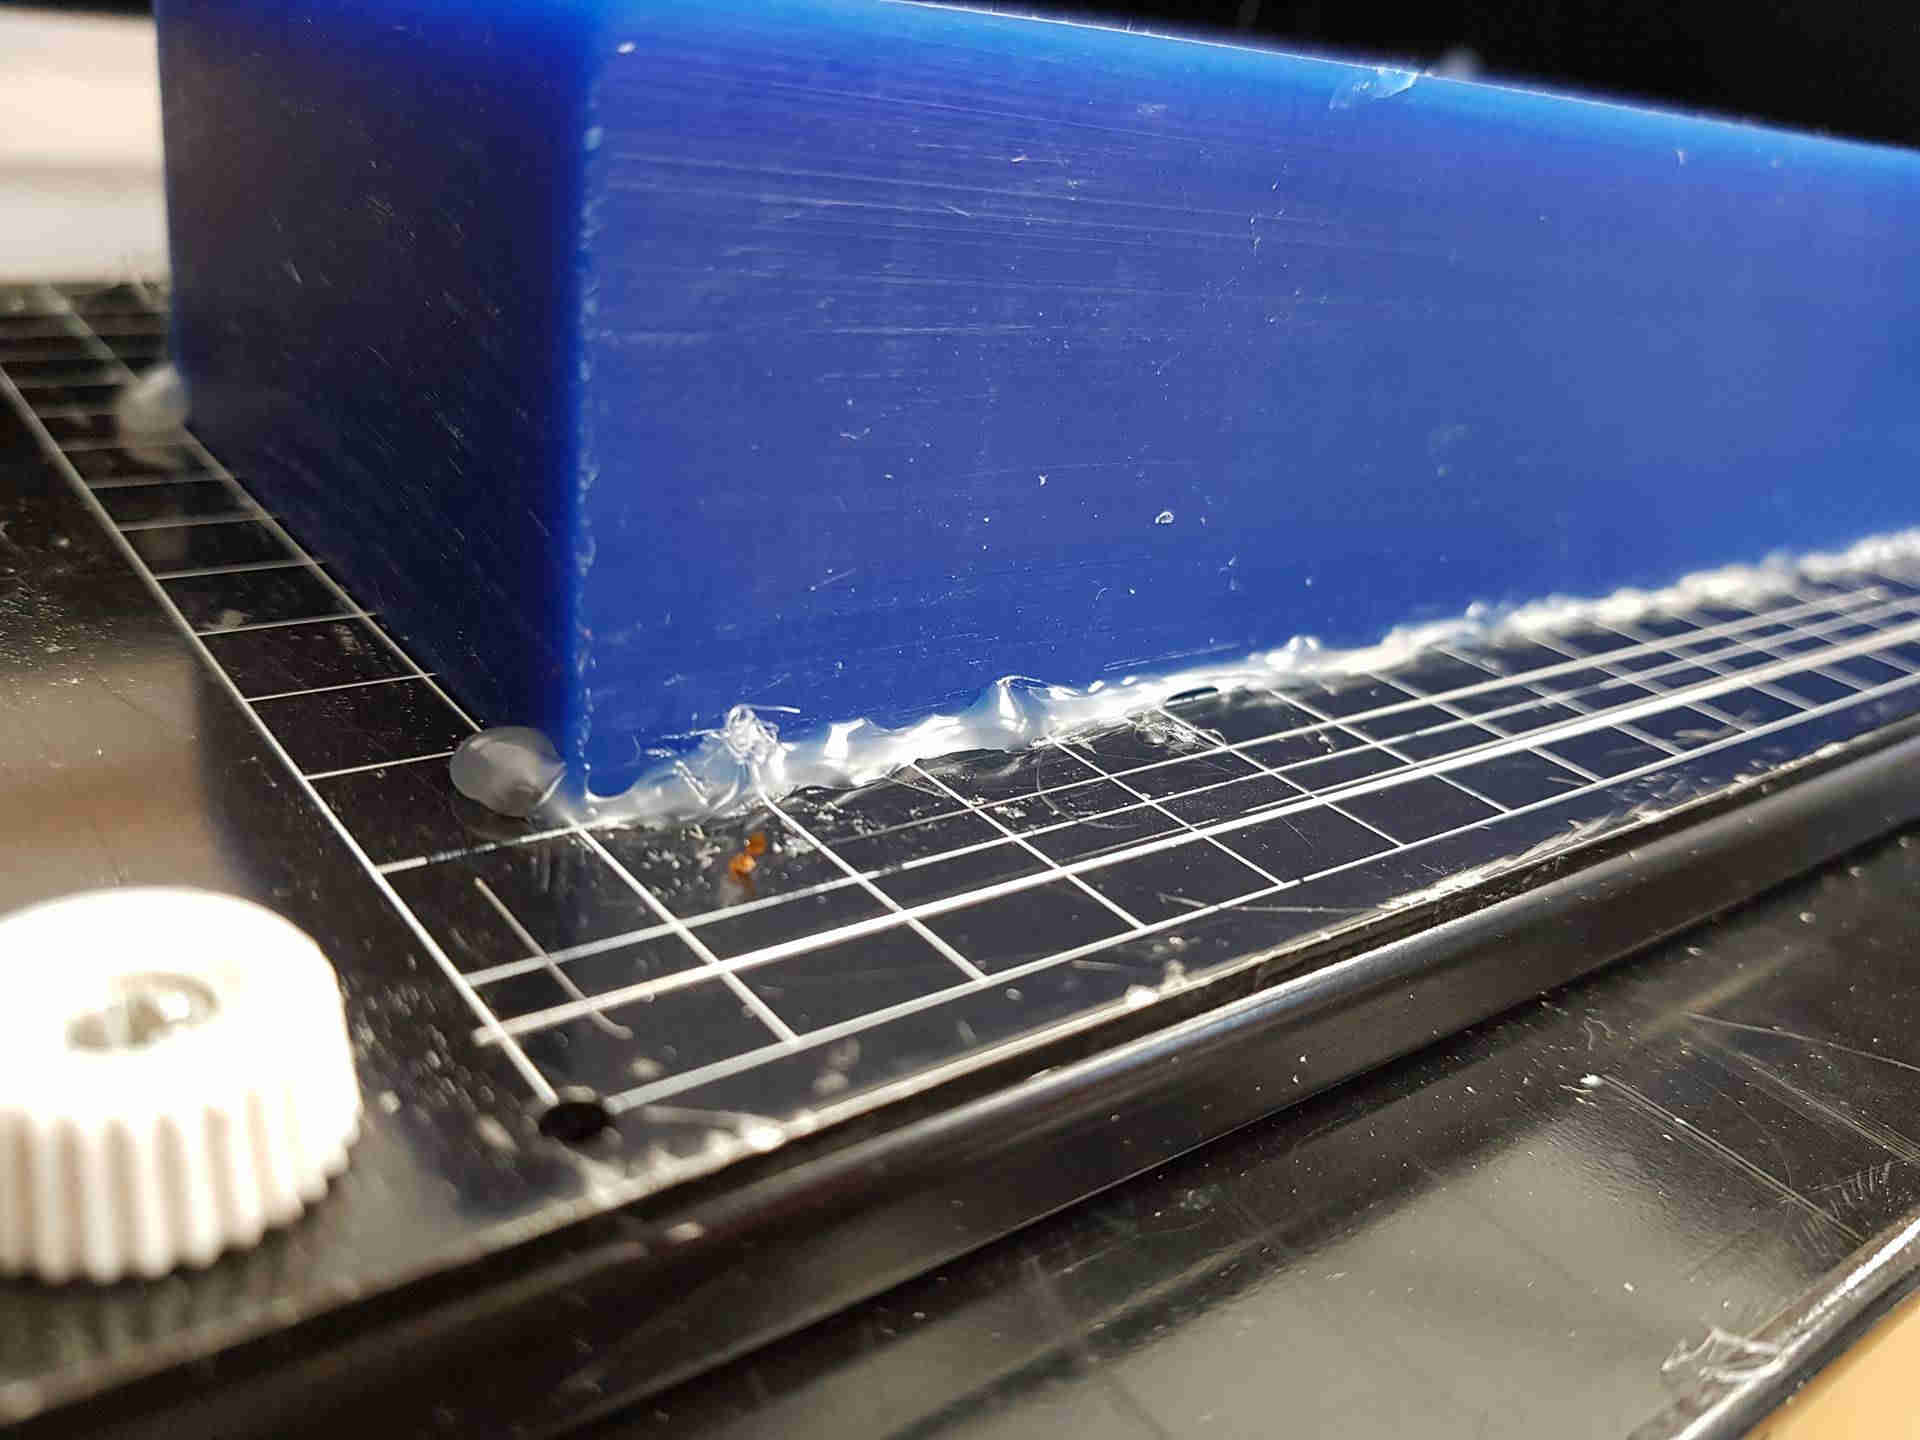
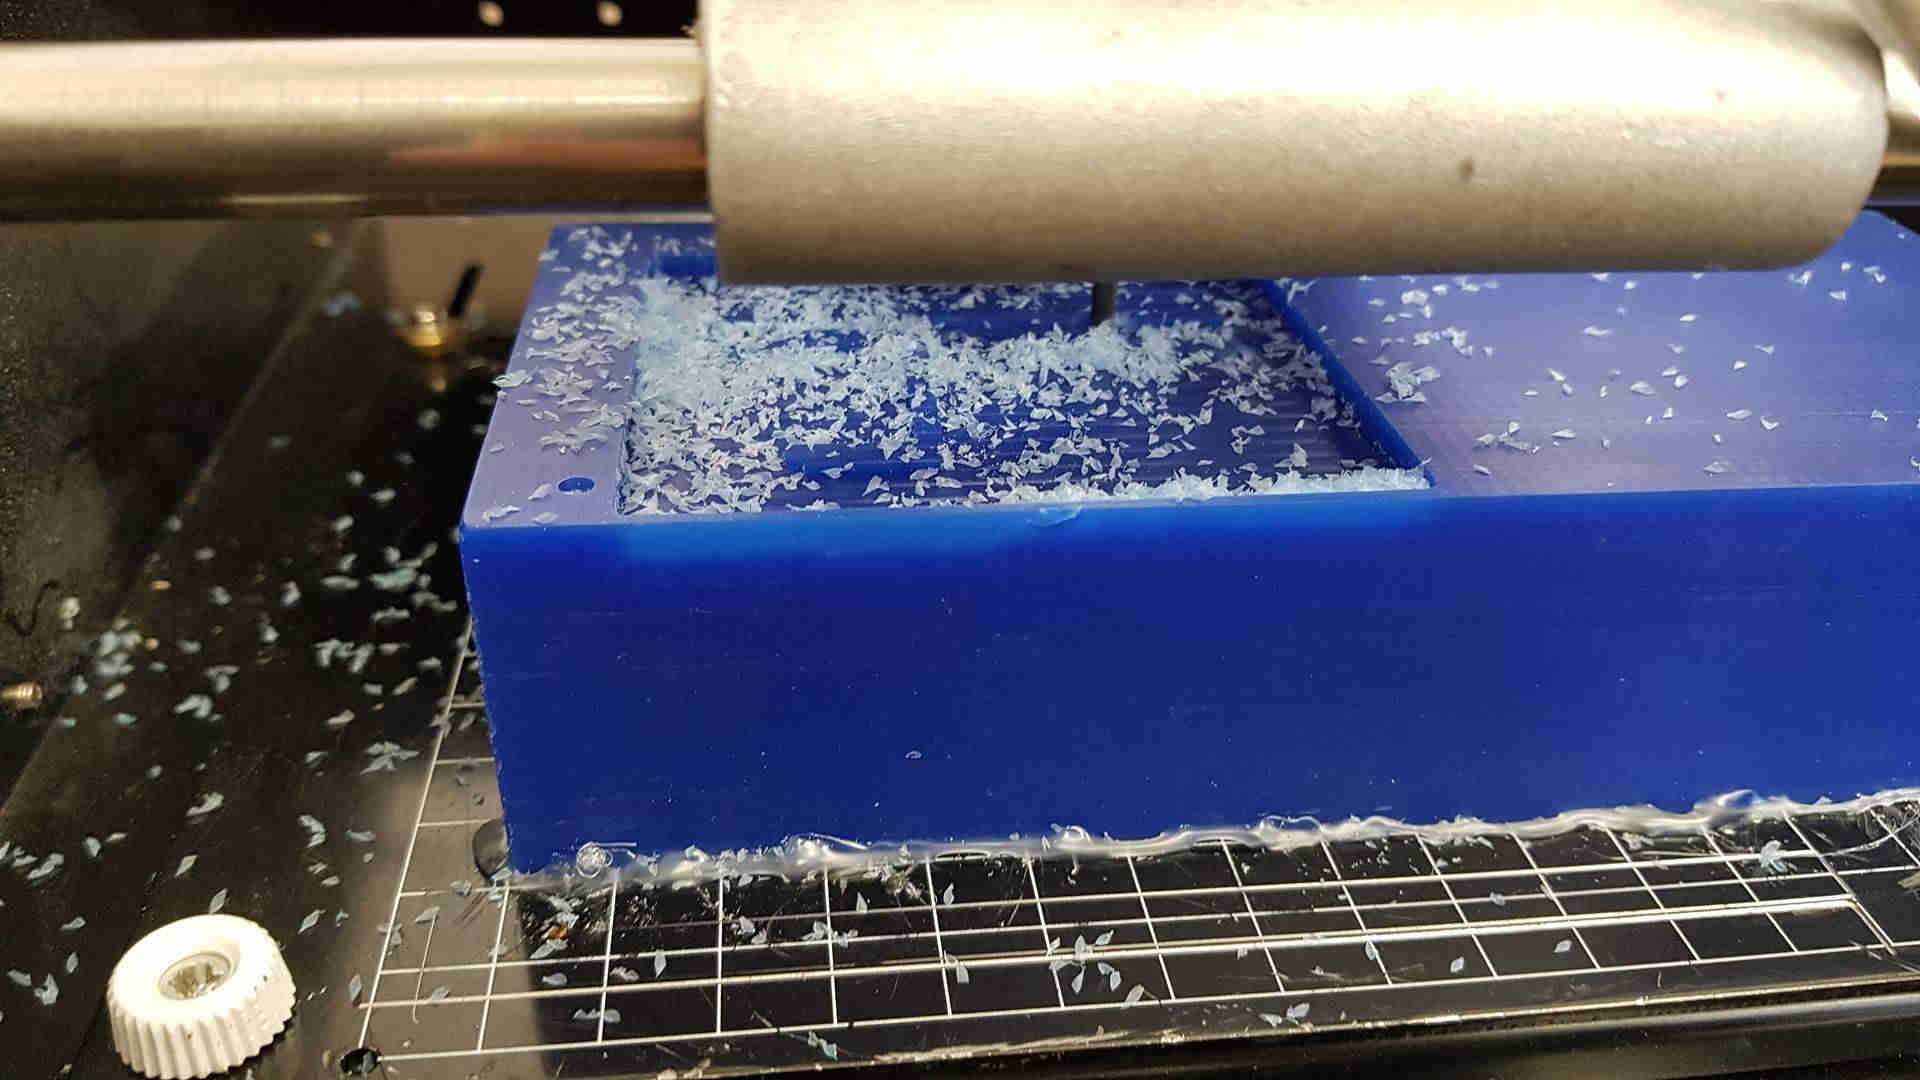
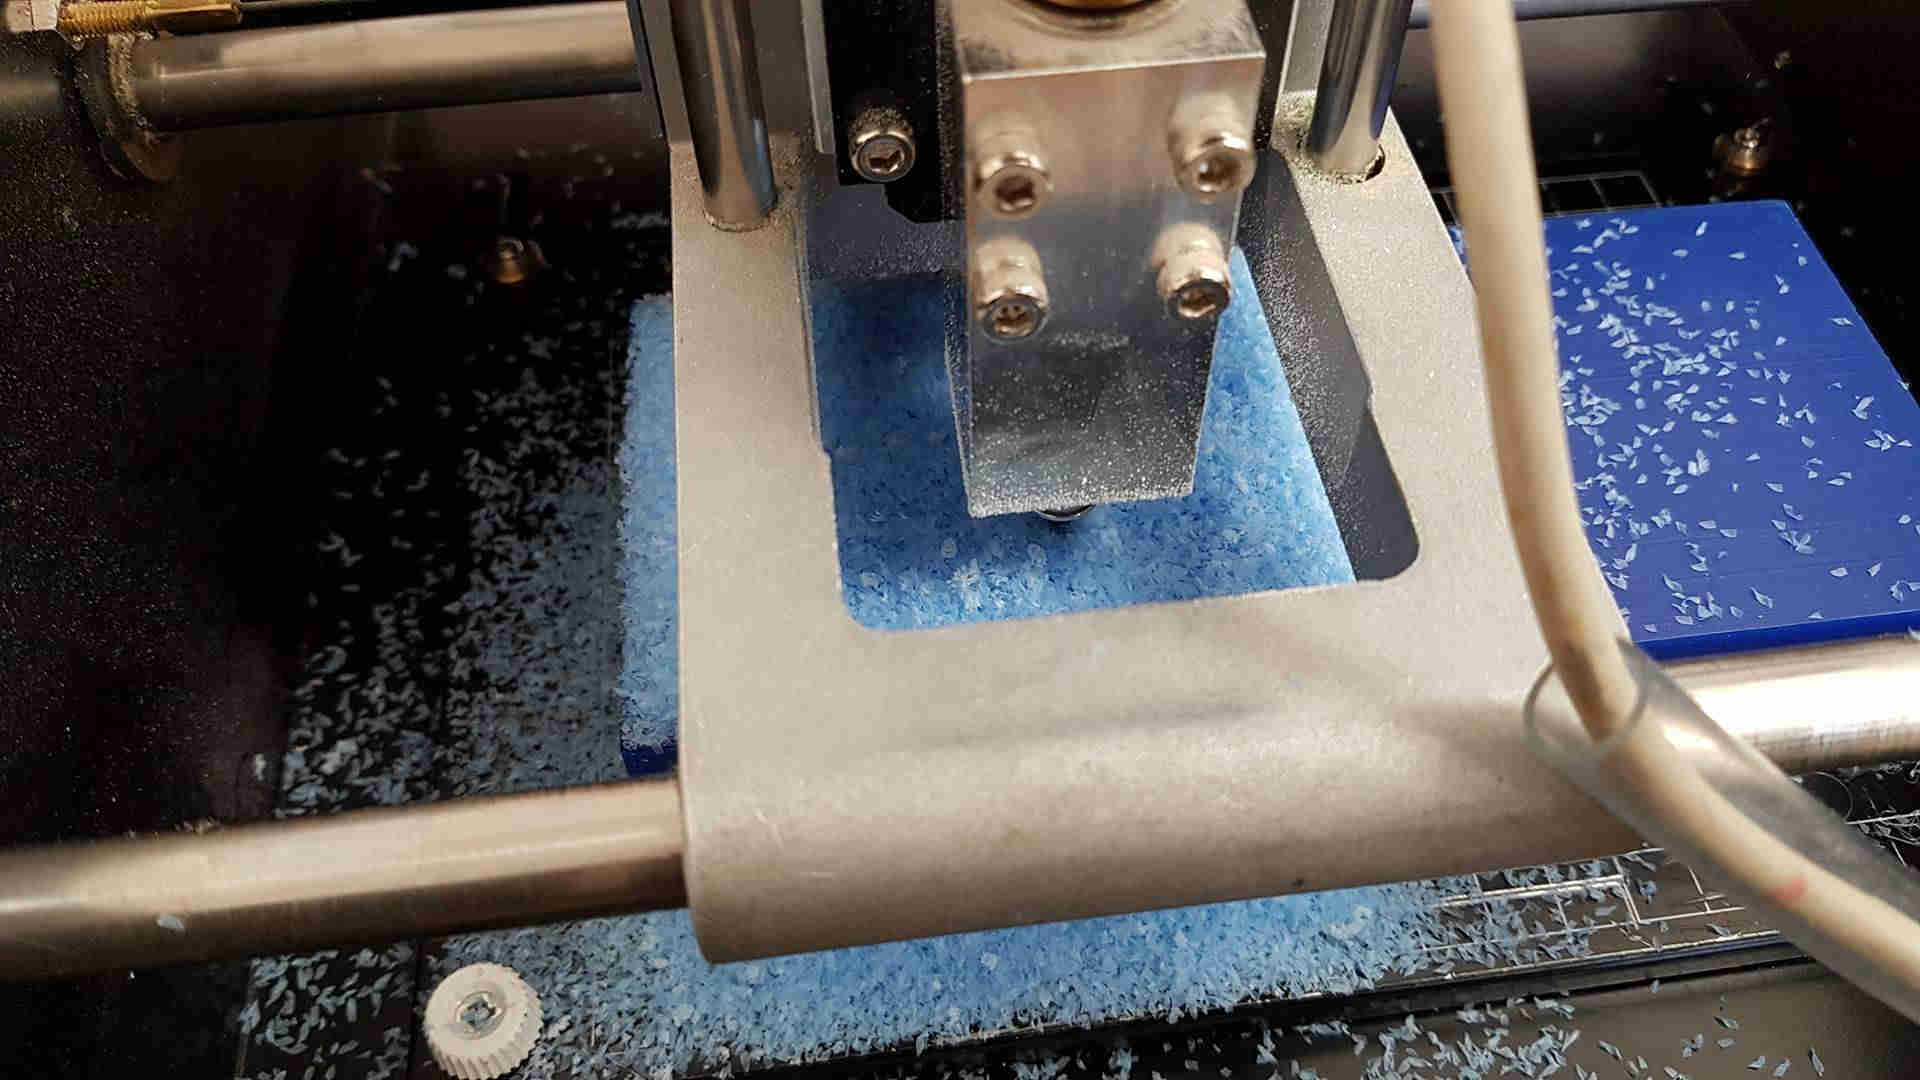
Now I make everything ready in the machine. I used the modela milling machine.
First I found the modelling wax I wanted to use and used a hot glue gun to stick it to the board.
Then I opened Modela player 4. I go into file and open the stl file.
Then I press the green guy next to material. There I make sure the machine will cut from the top.
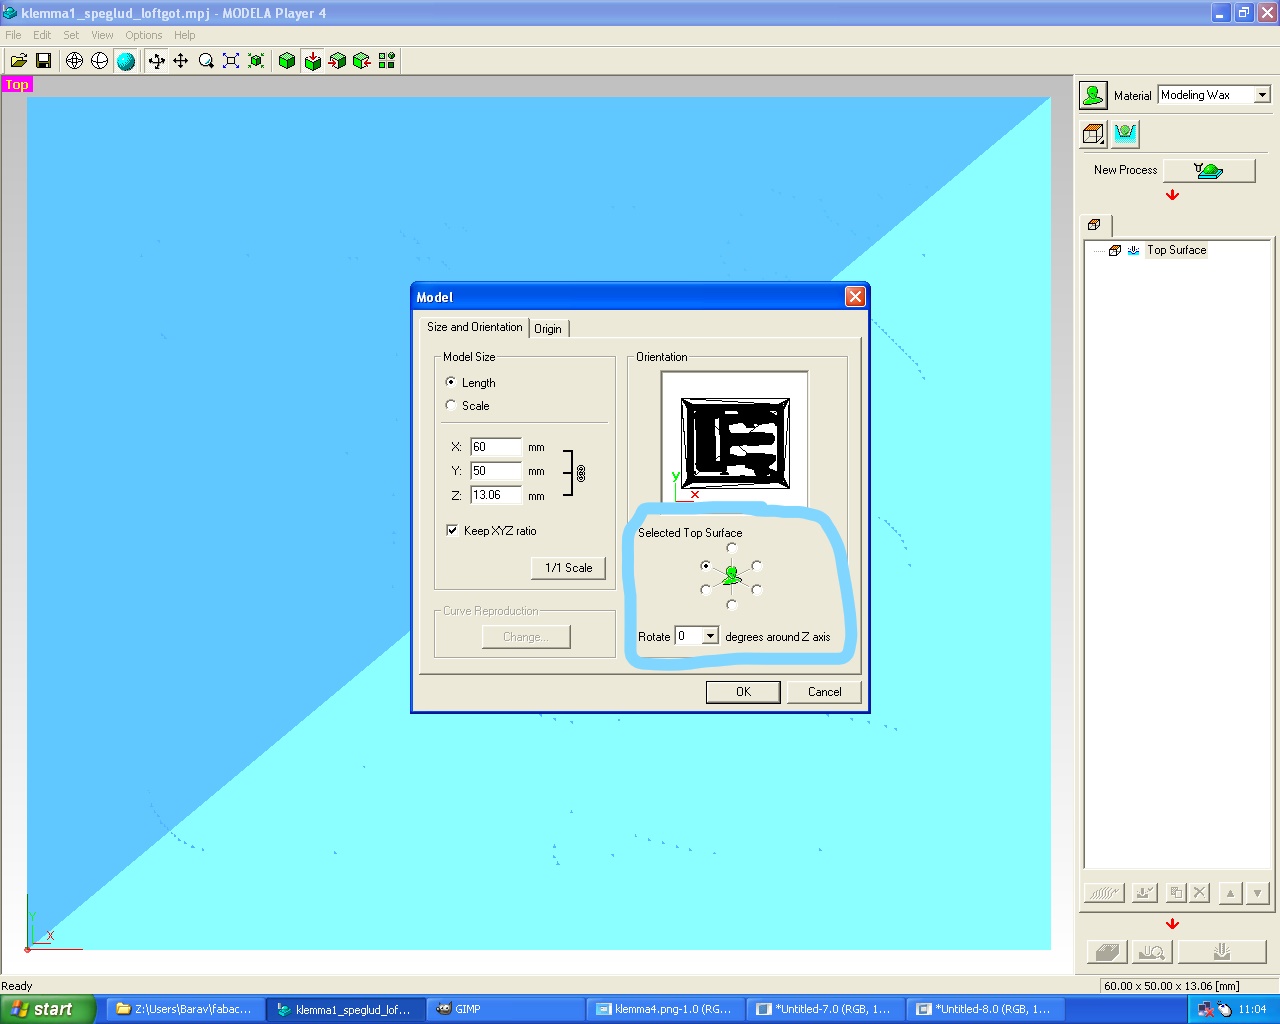
Then I chose the little box beneath him and choose that I am only cutting one side.
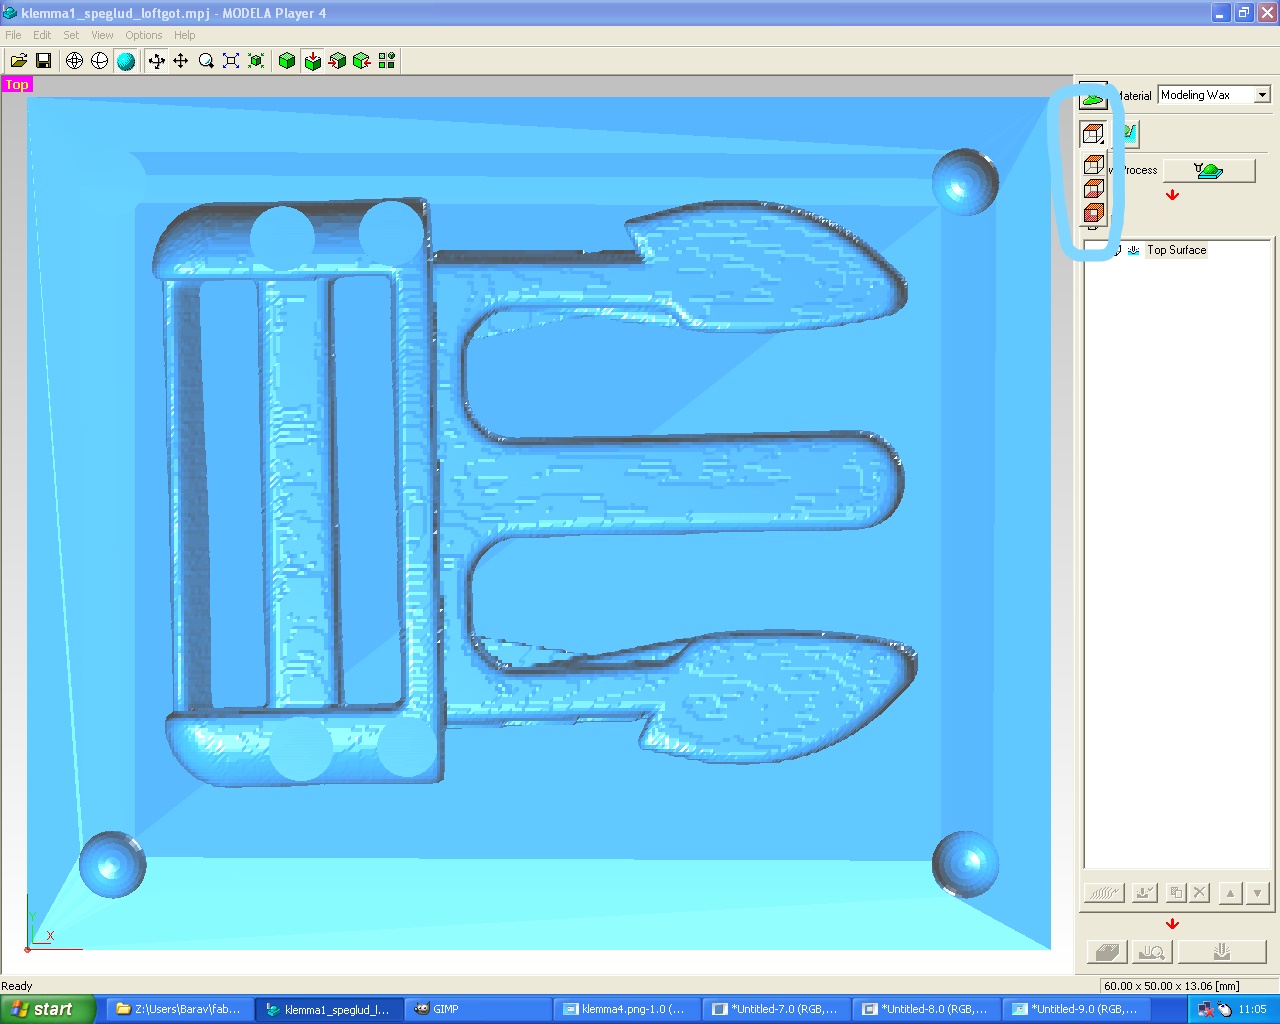
Then I click the button next to the box there I go into slope and press make slope.
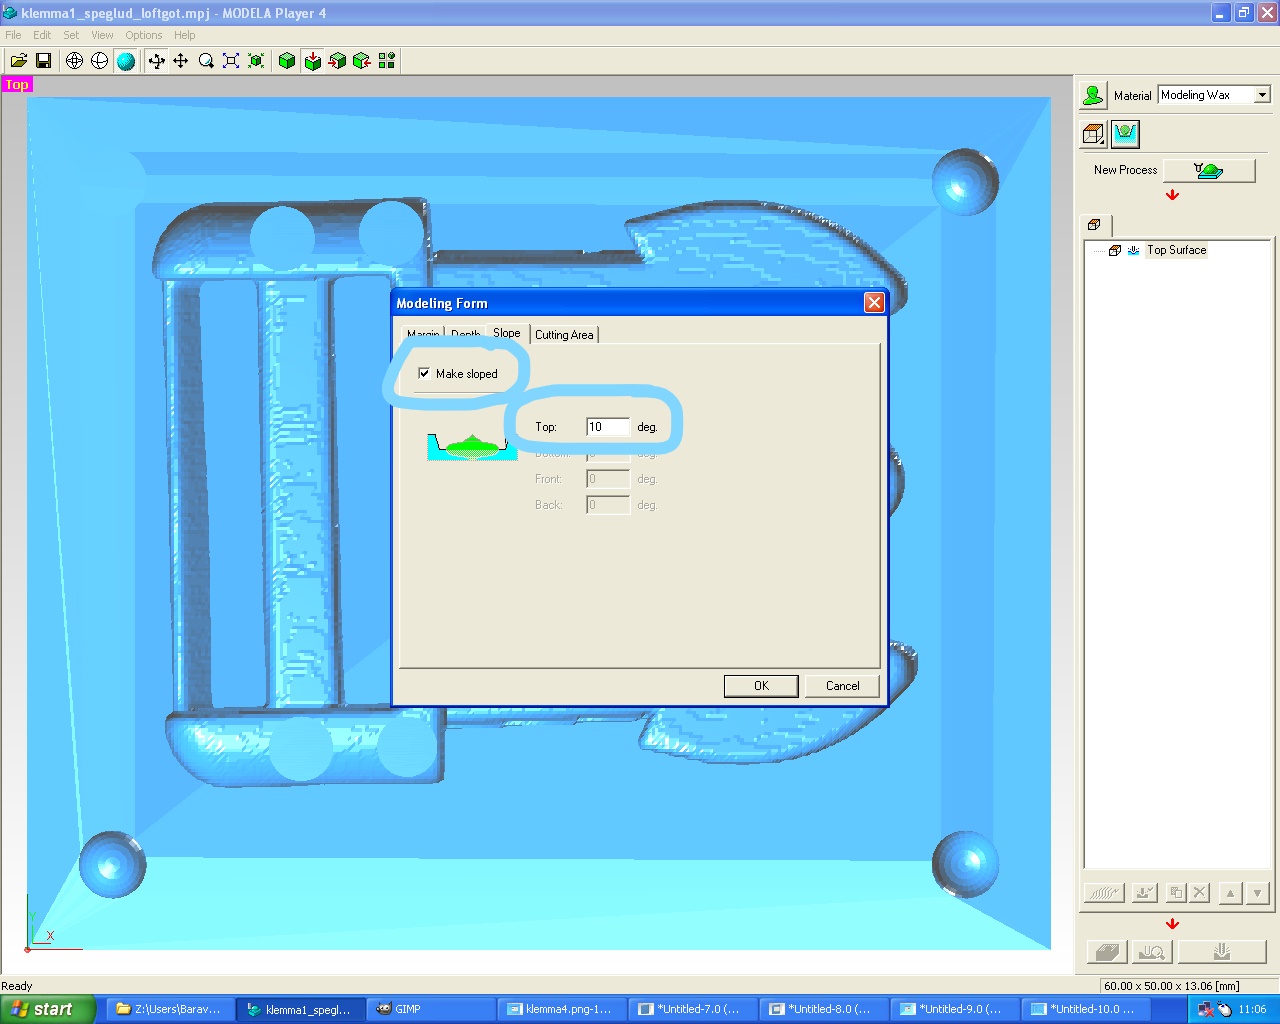
Then I go into New Process.
First I choose roughing, press next I did not change anything there,
then in the next box I pick the right tool.
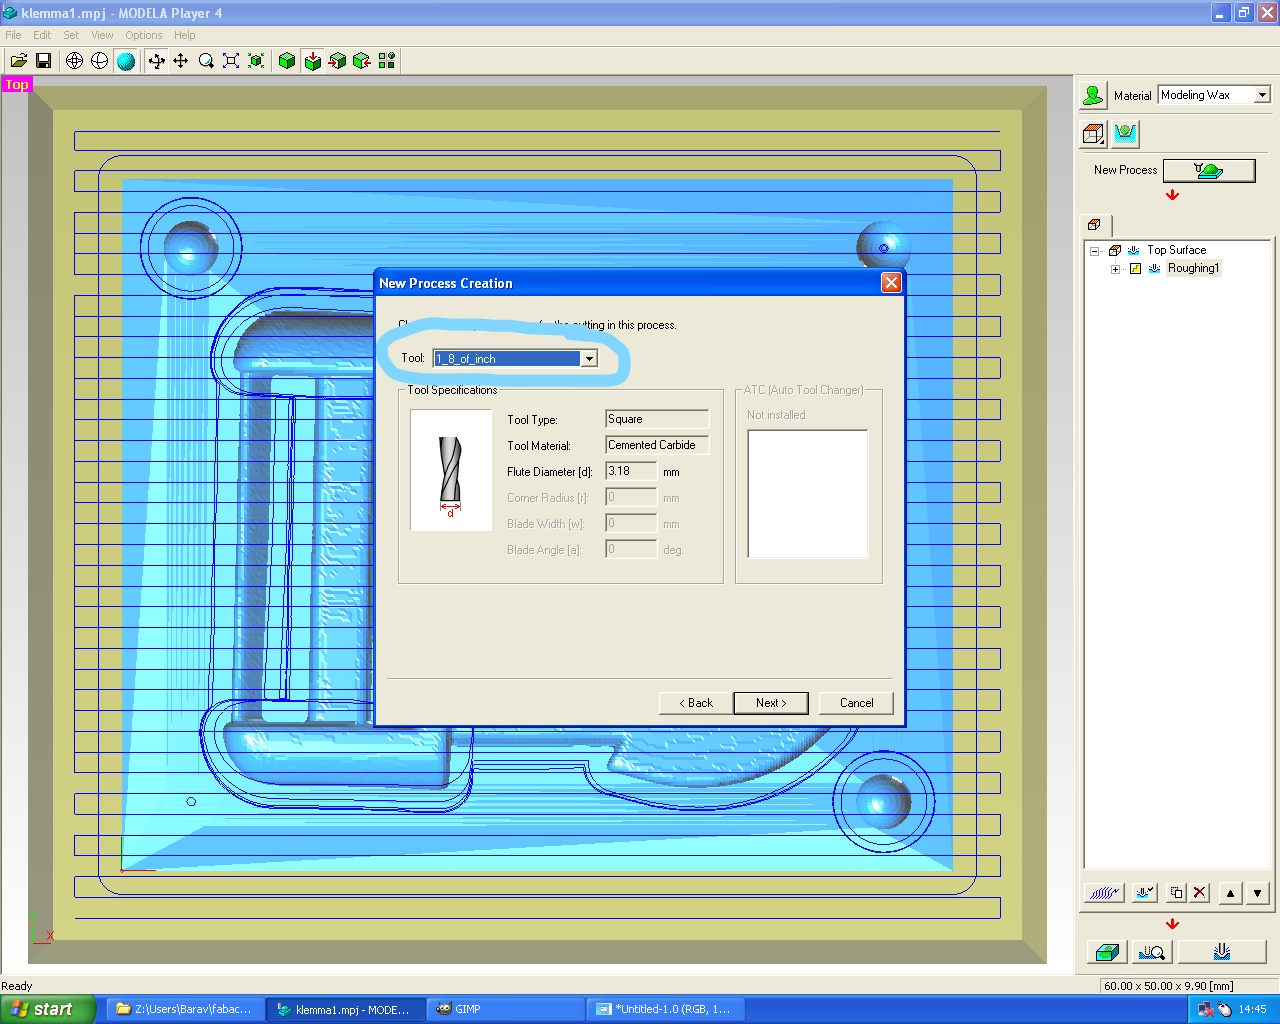
Then I did nothing in the next one. Then I choose contoure line and down cut
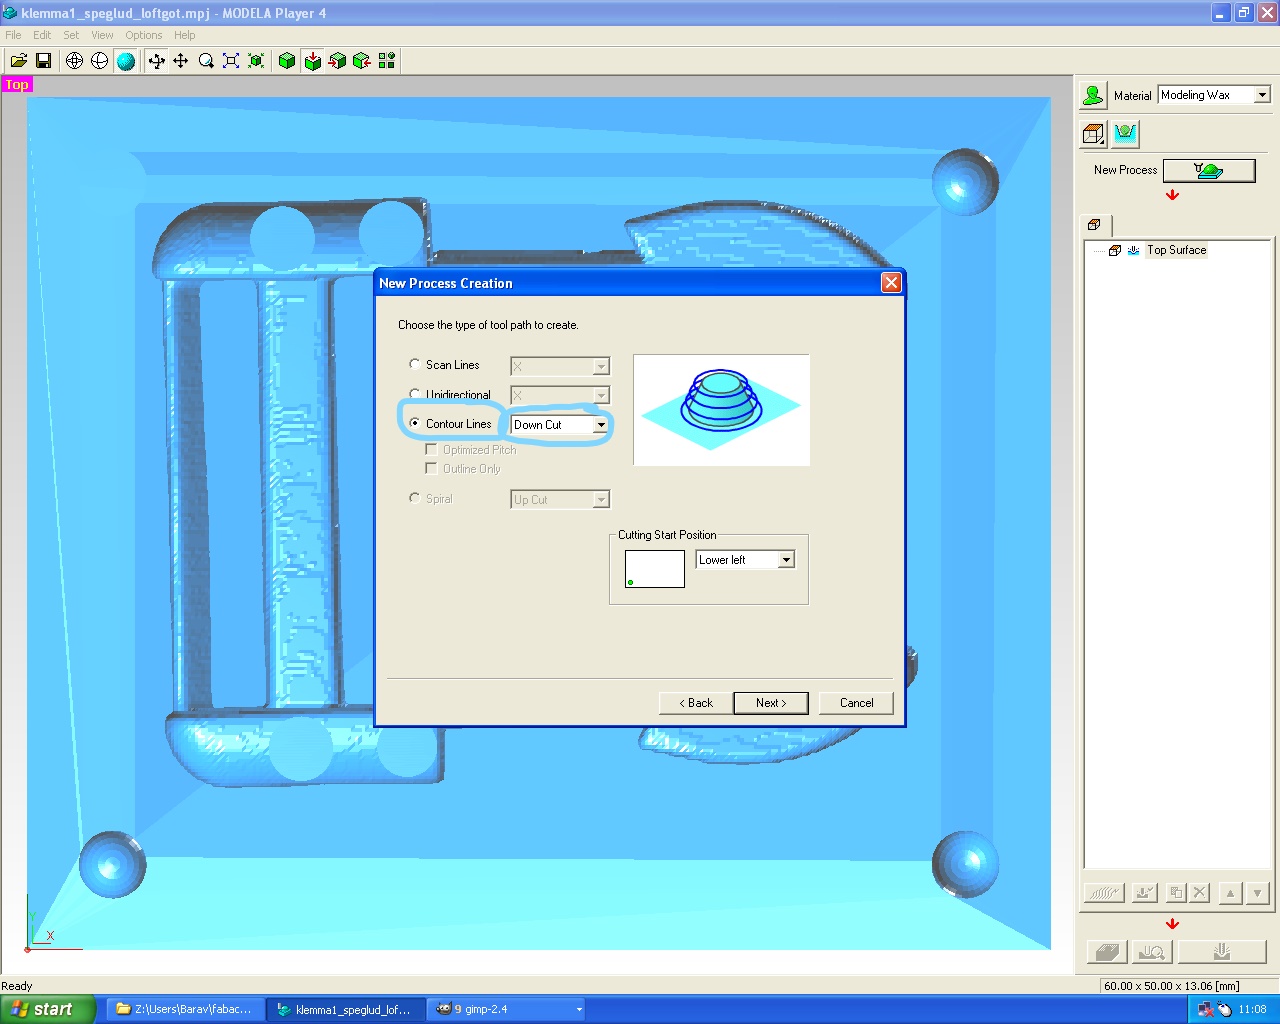
then I don’t change anything else.
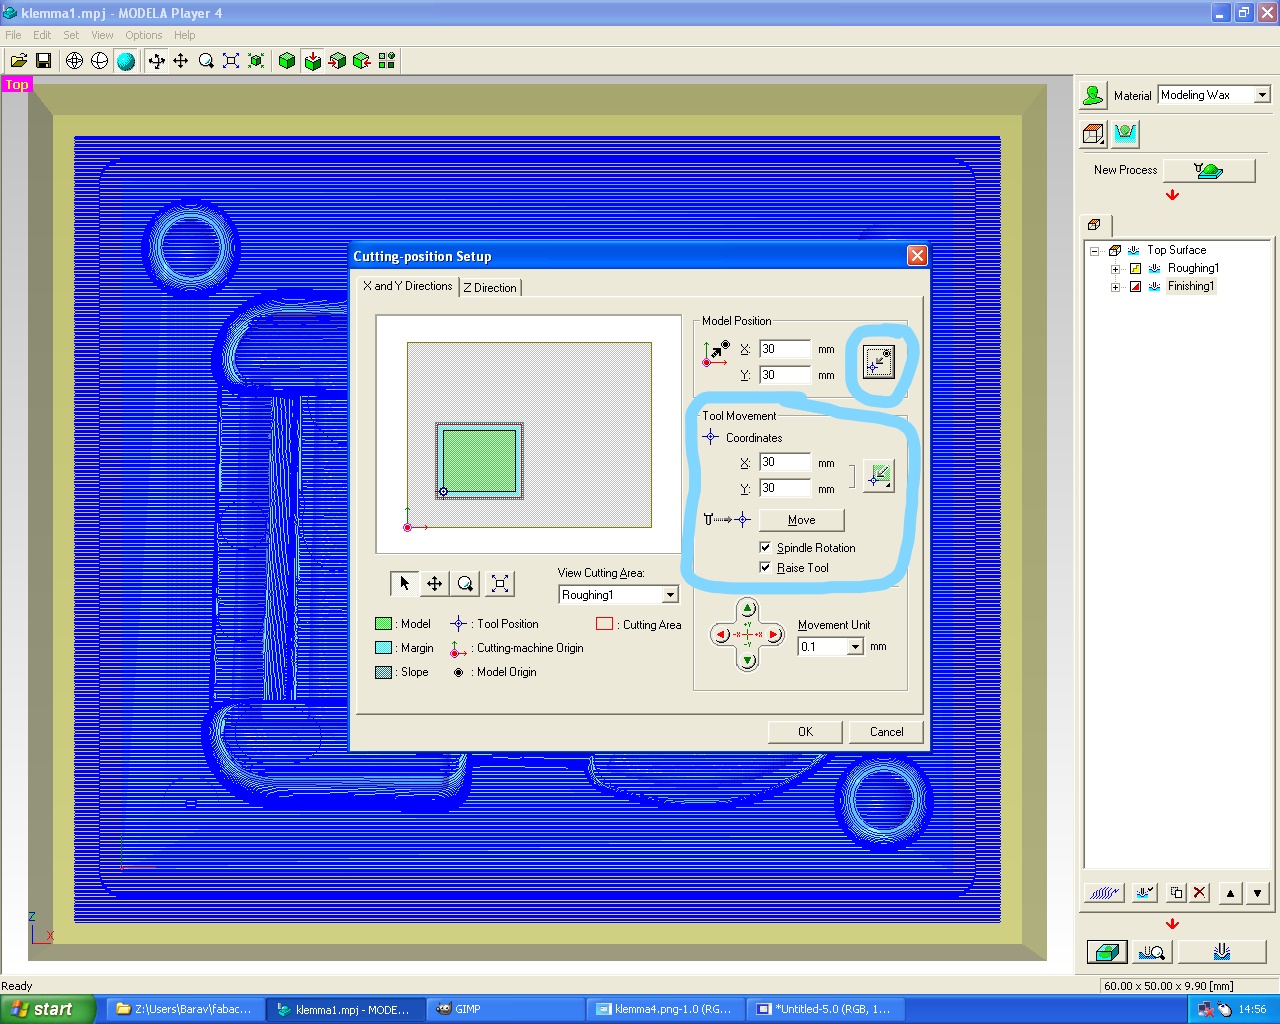
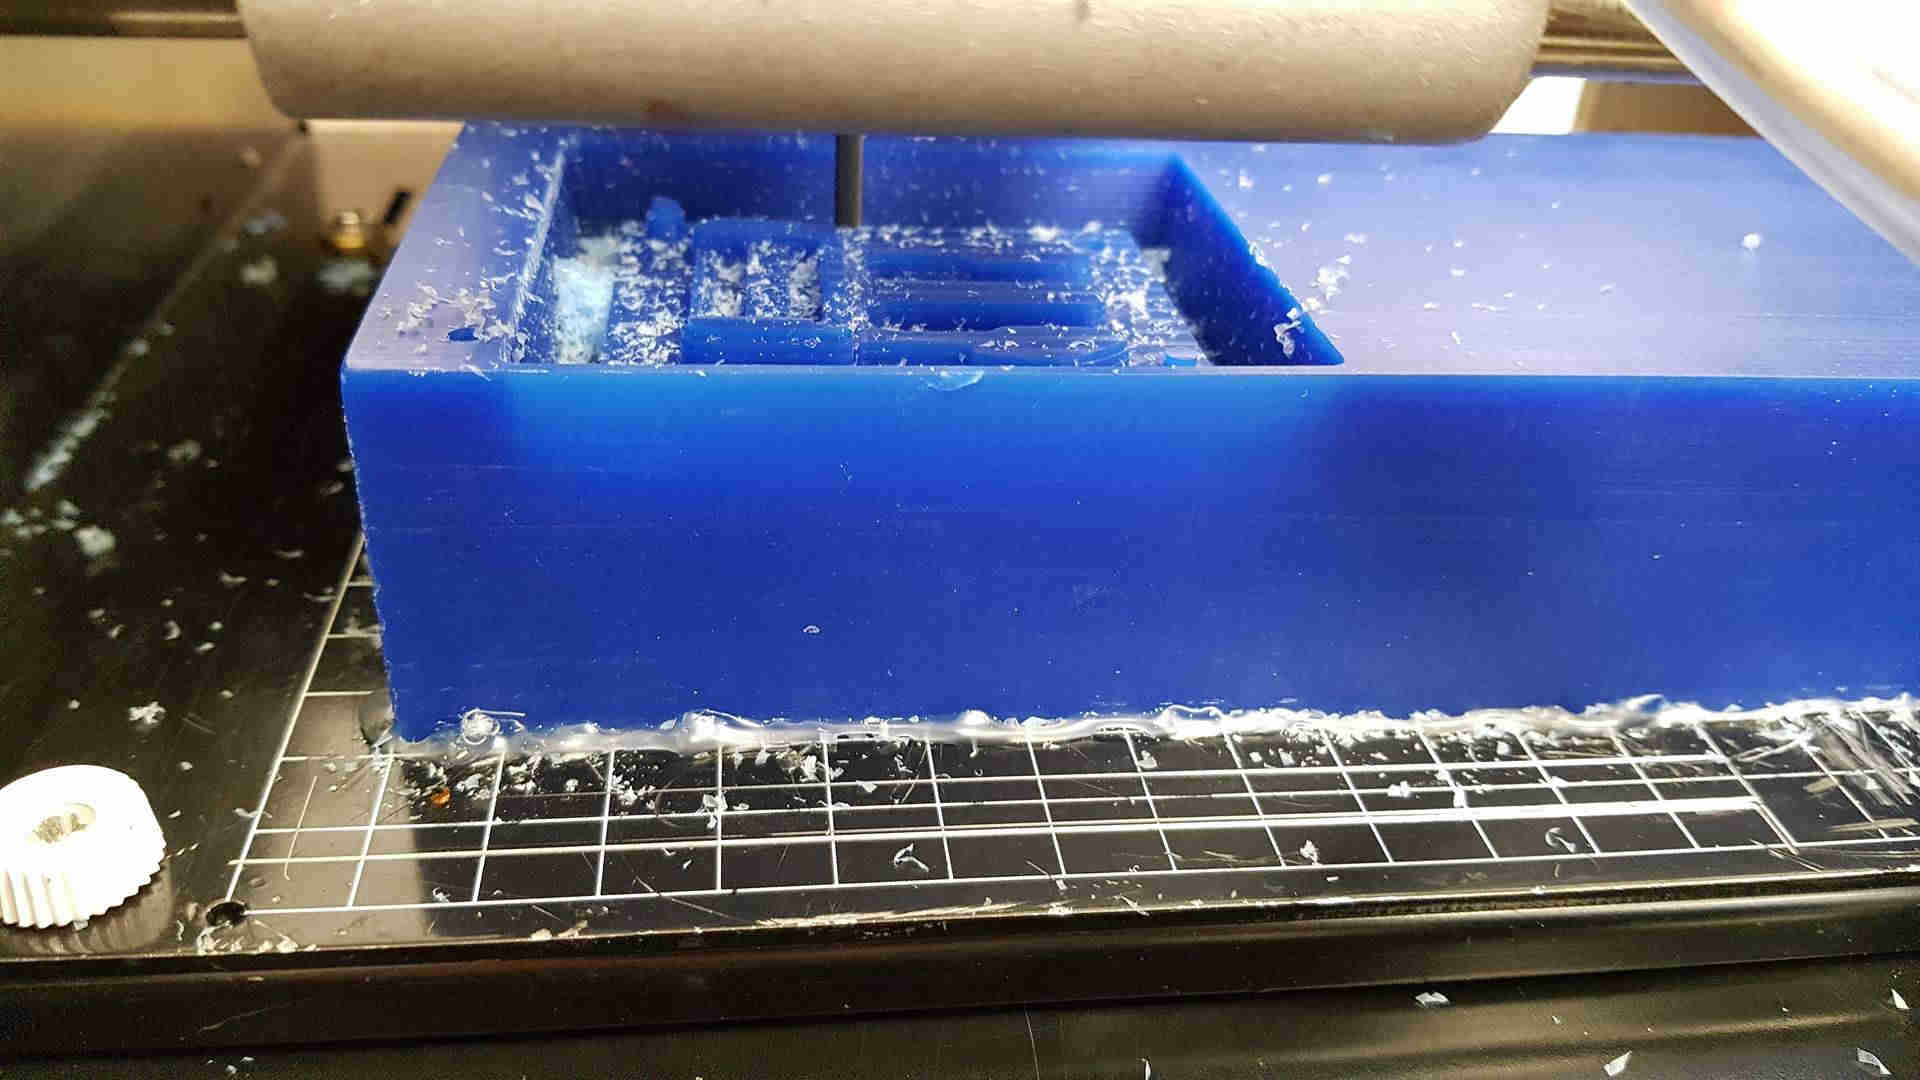
Then I do the same for finishing. Then I pick the blue box on the bottom and pick the position.
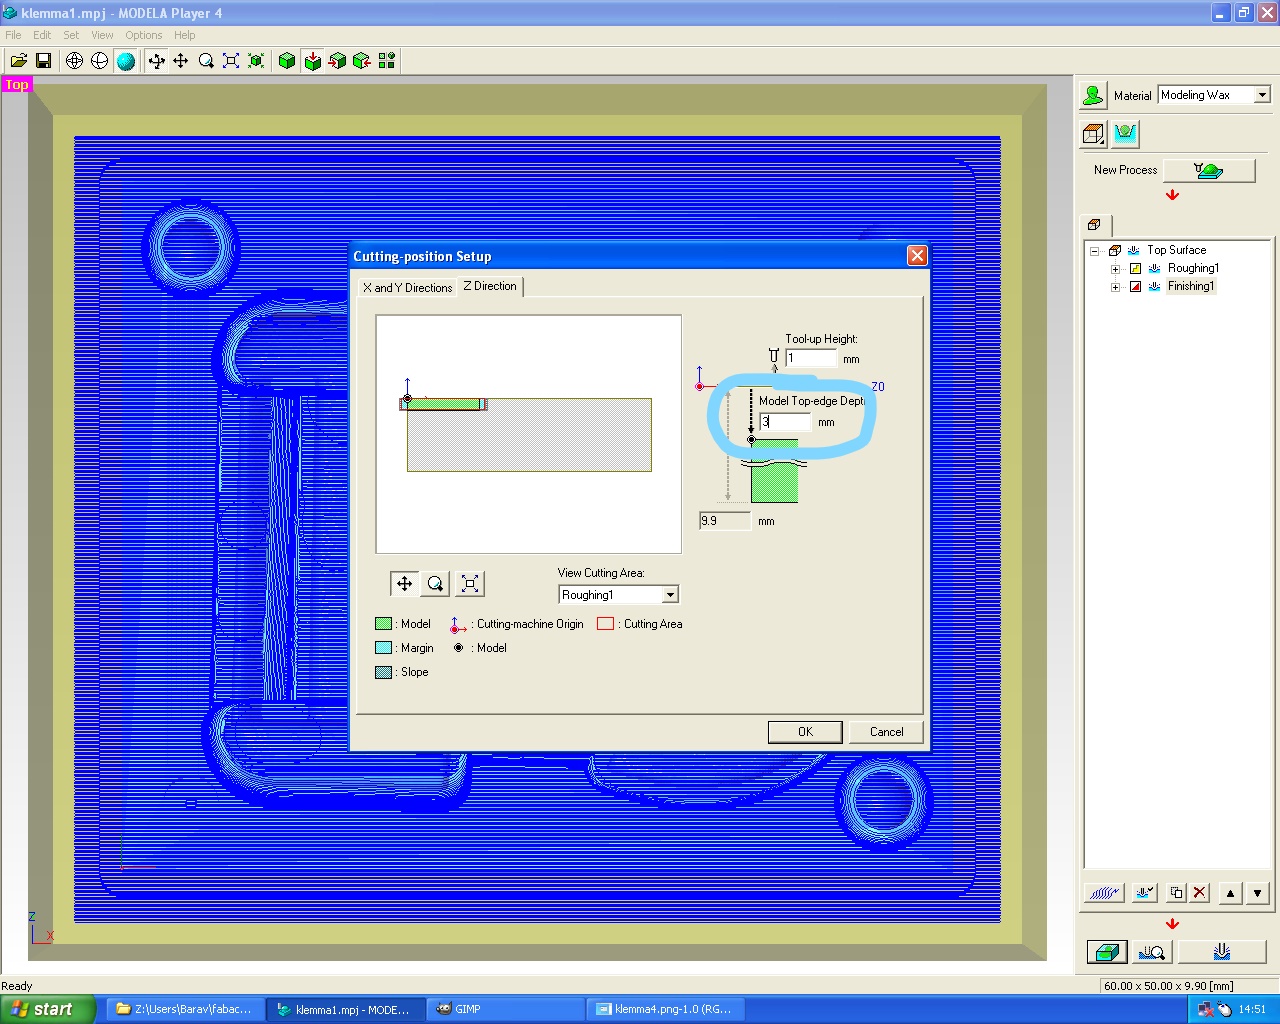
And for the Z direction I make it go 3mm down in Model Top-edge Depth.
Then I preview the cutting and cut it.
_LI.jpg)
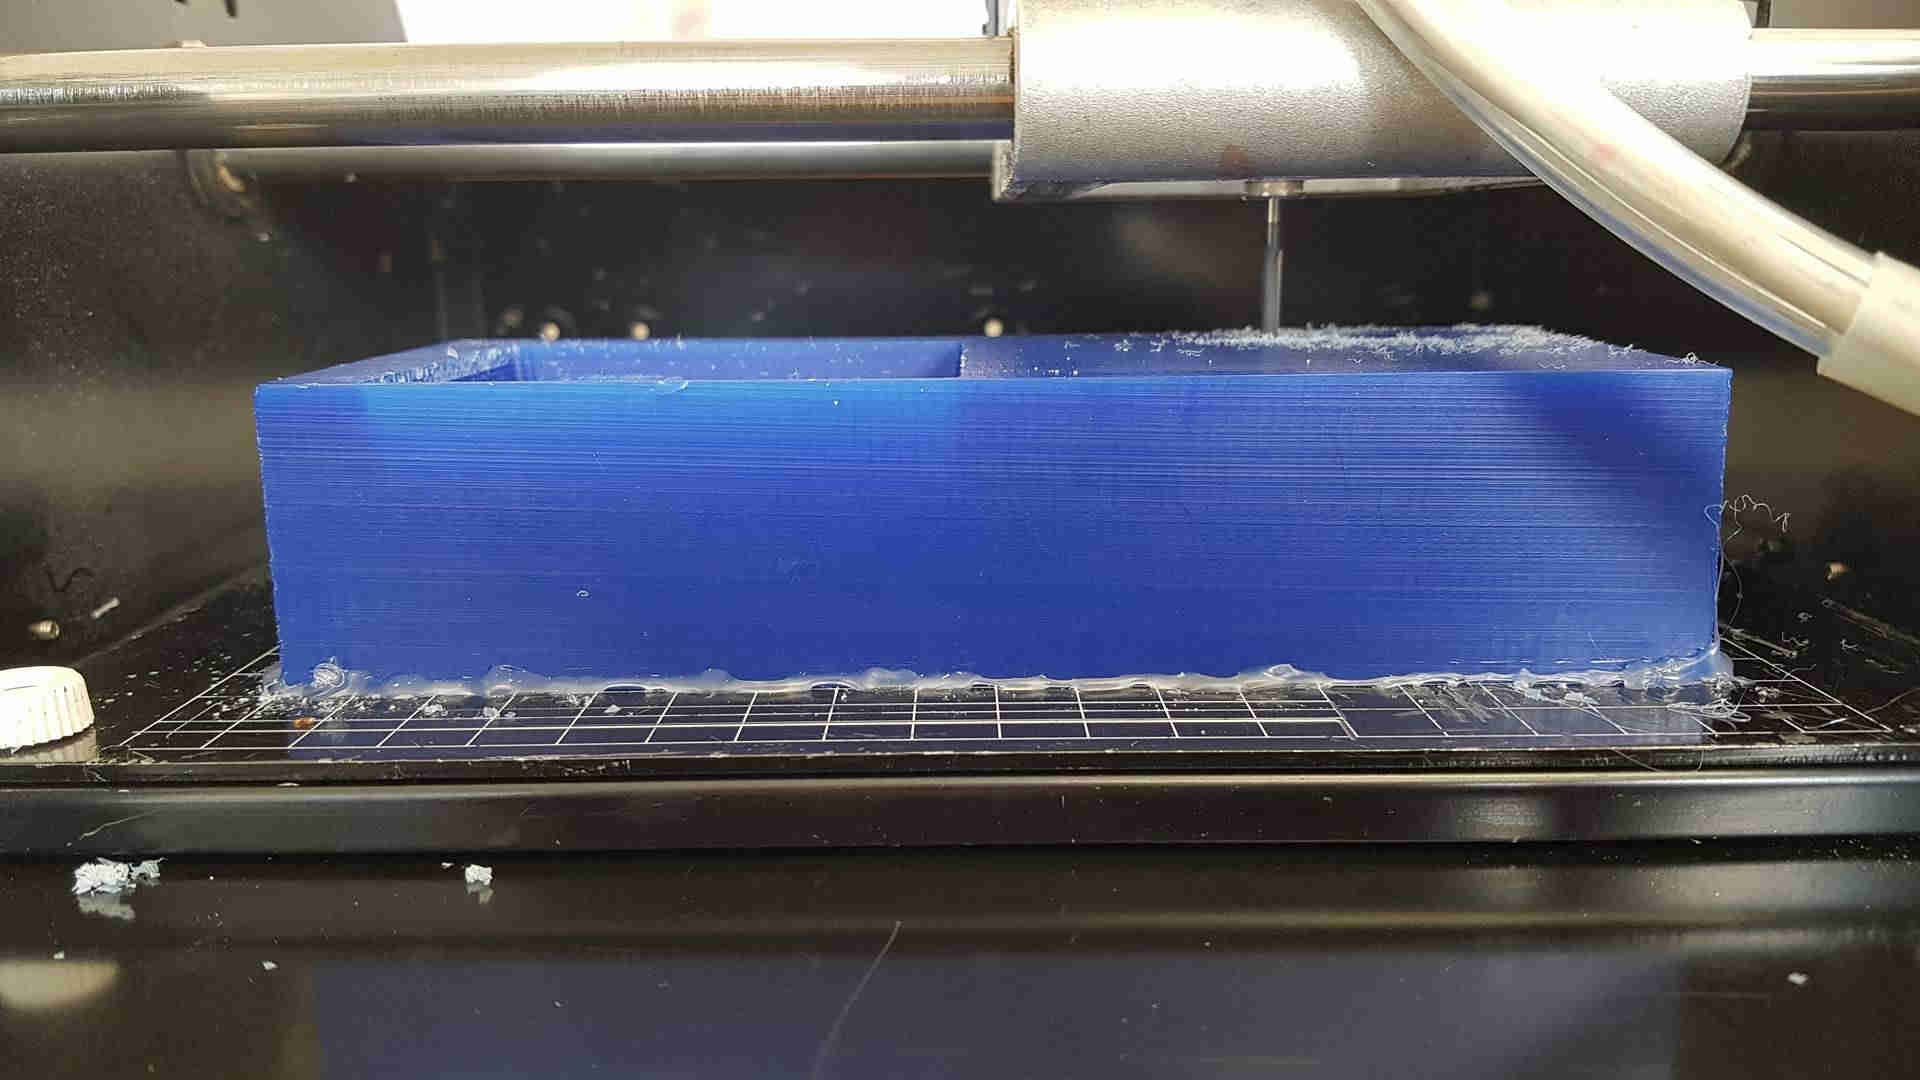
I do everything the same for the second part except I don´t make it go 3mm down in the z-direction
because I made the air and fill holes 3mm bigger so they would go all the way through.
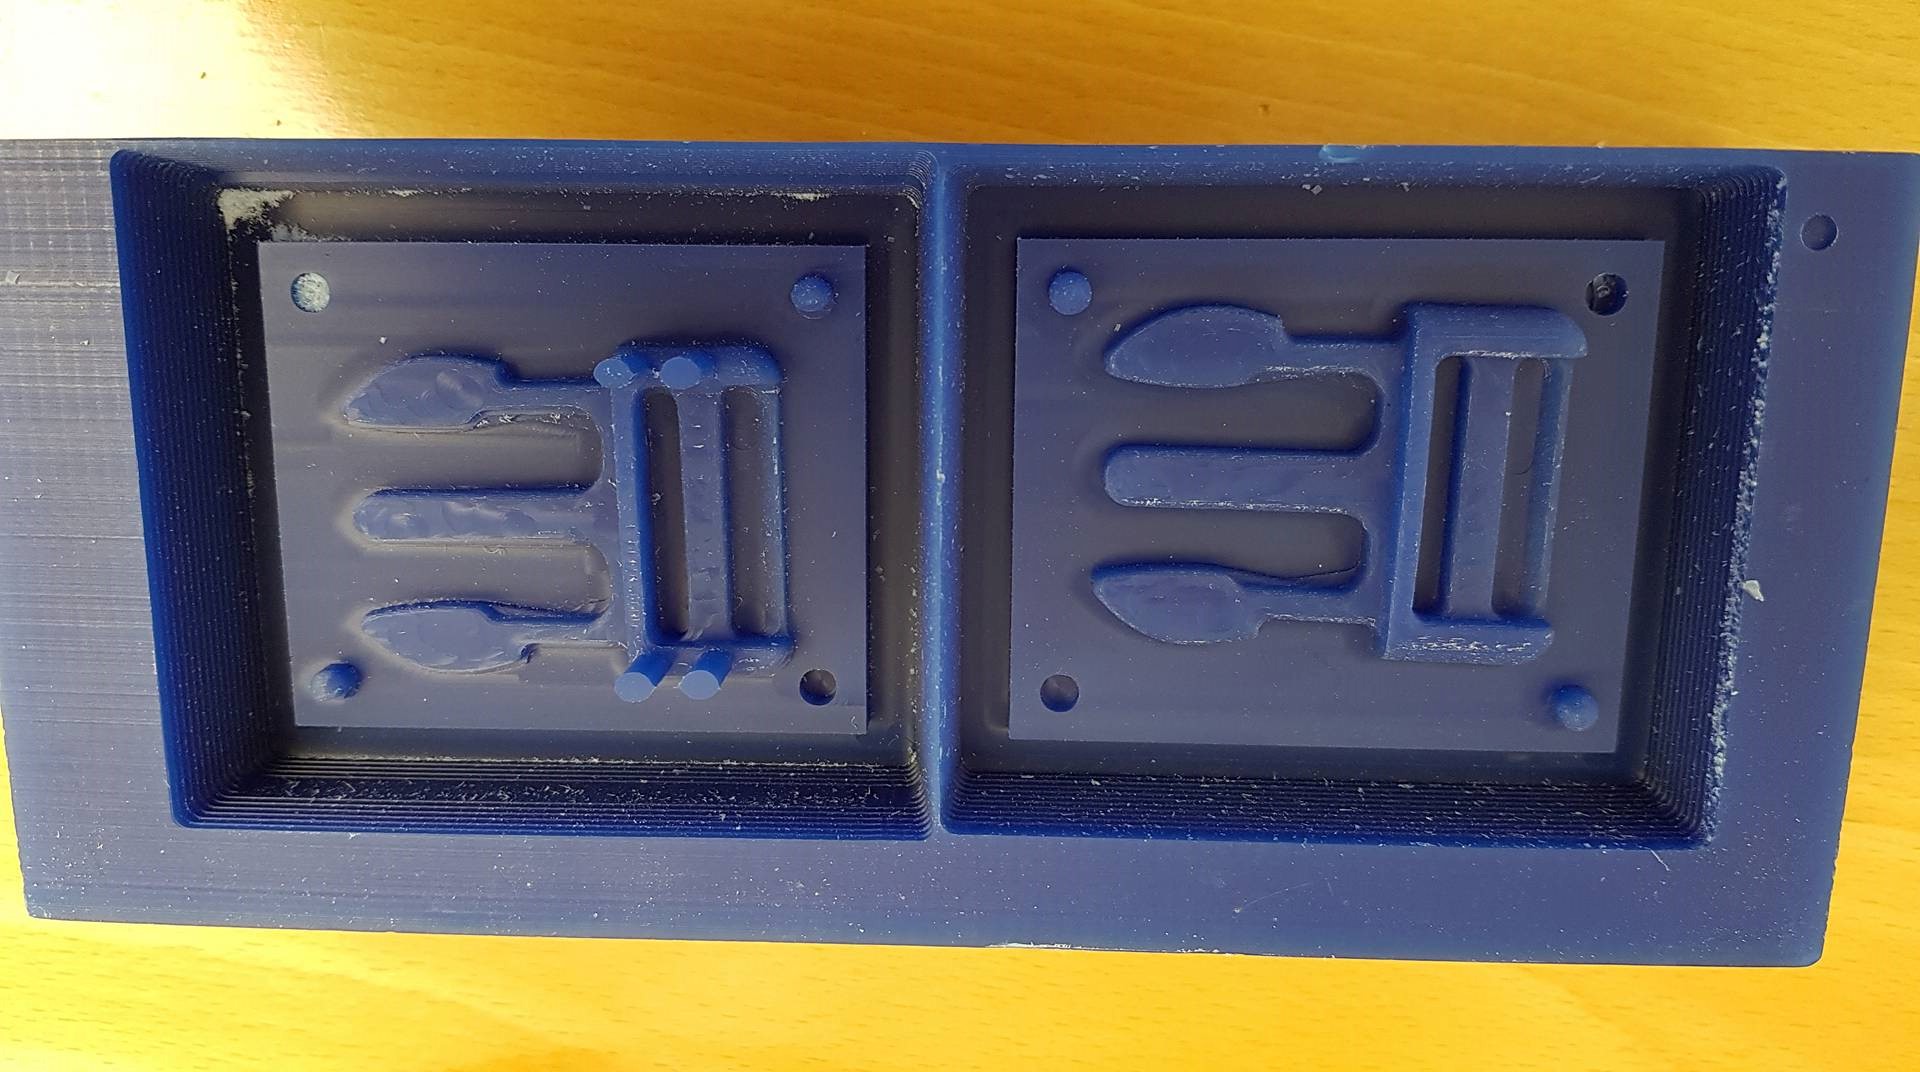
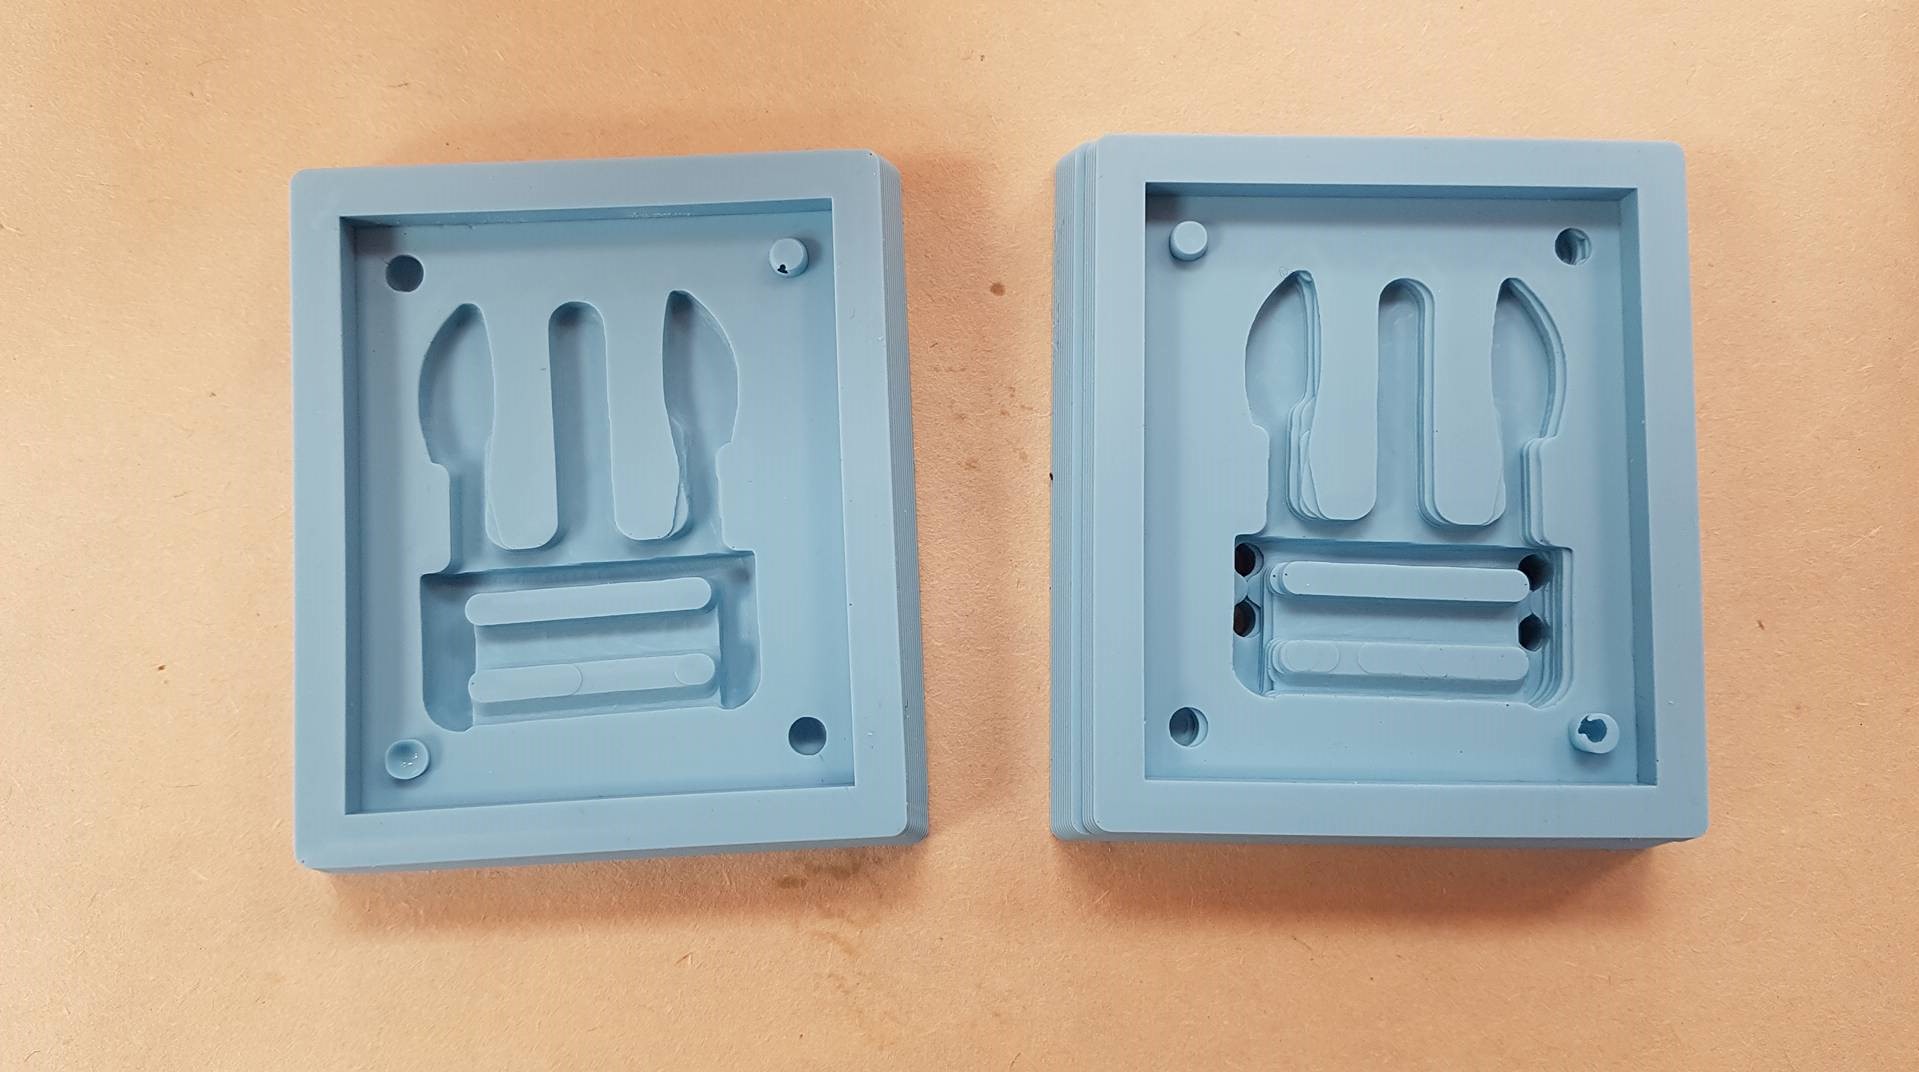
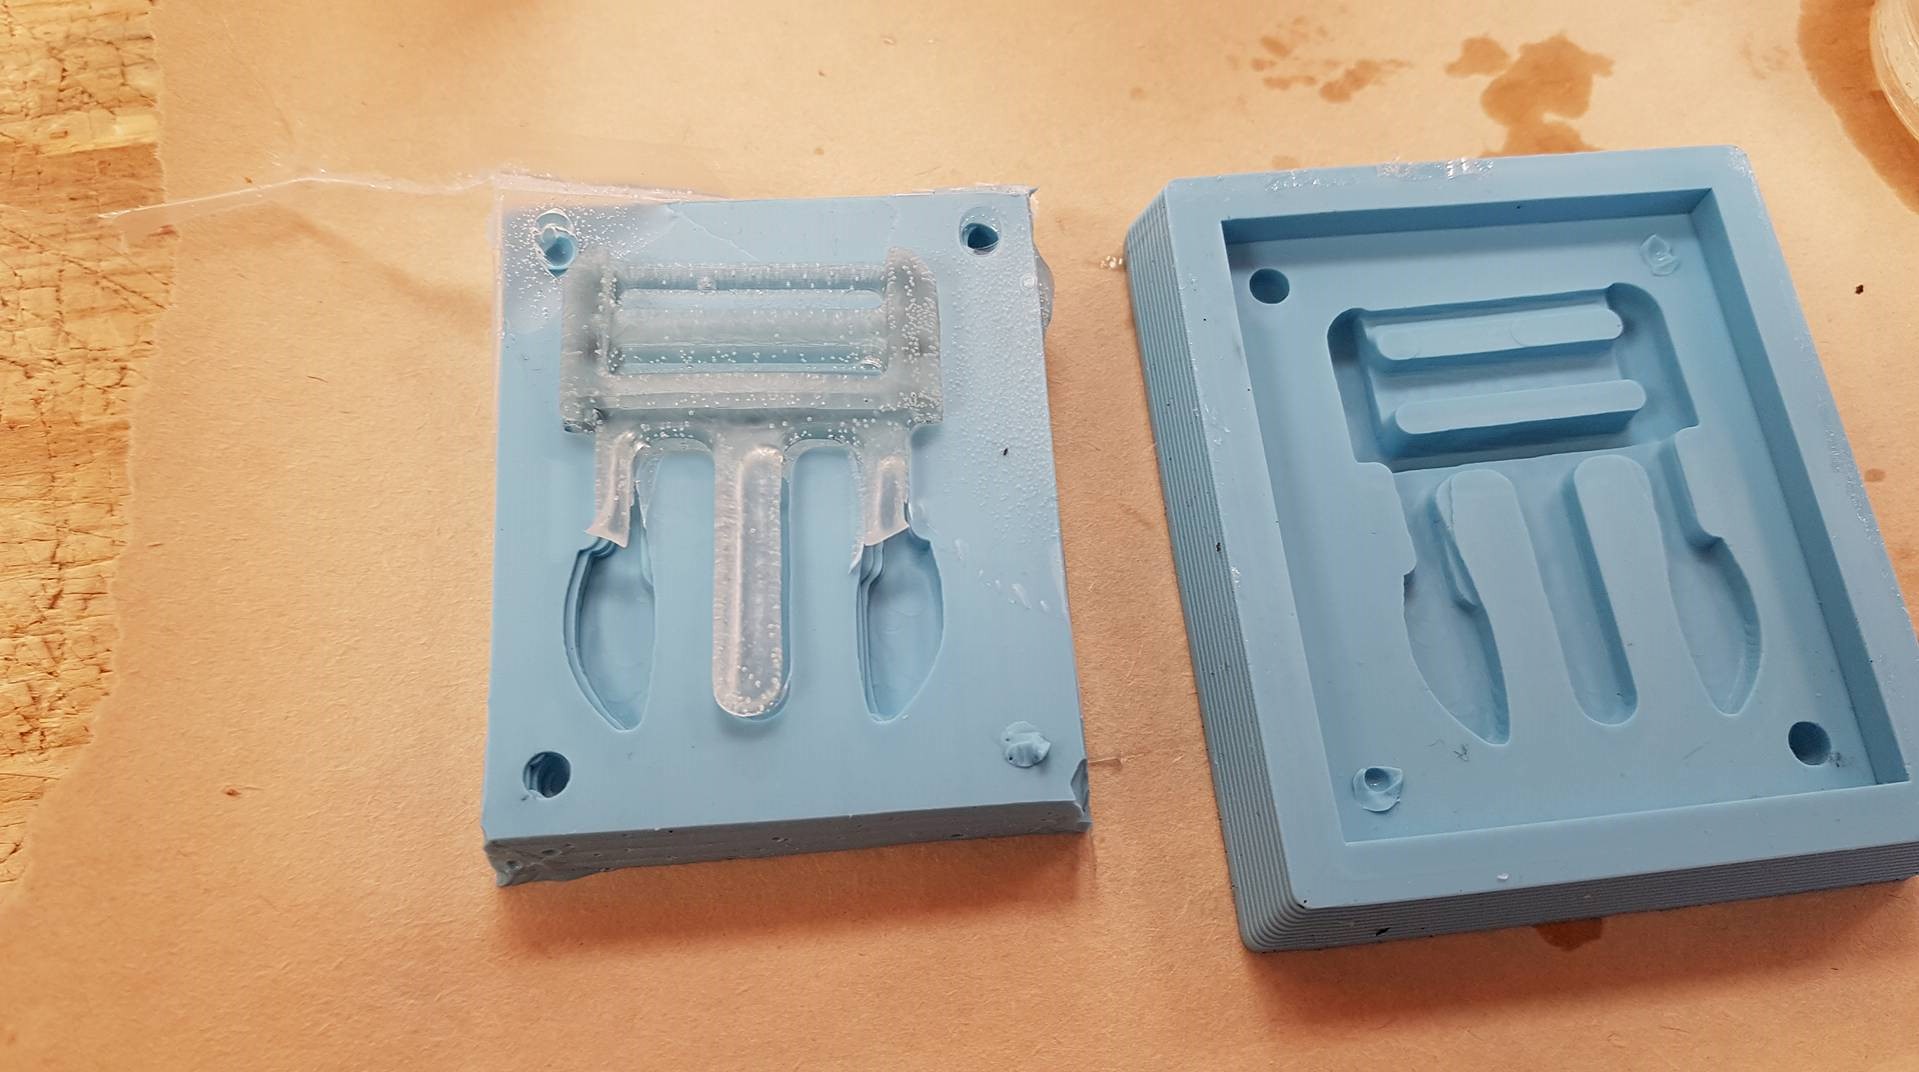
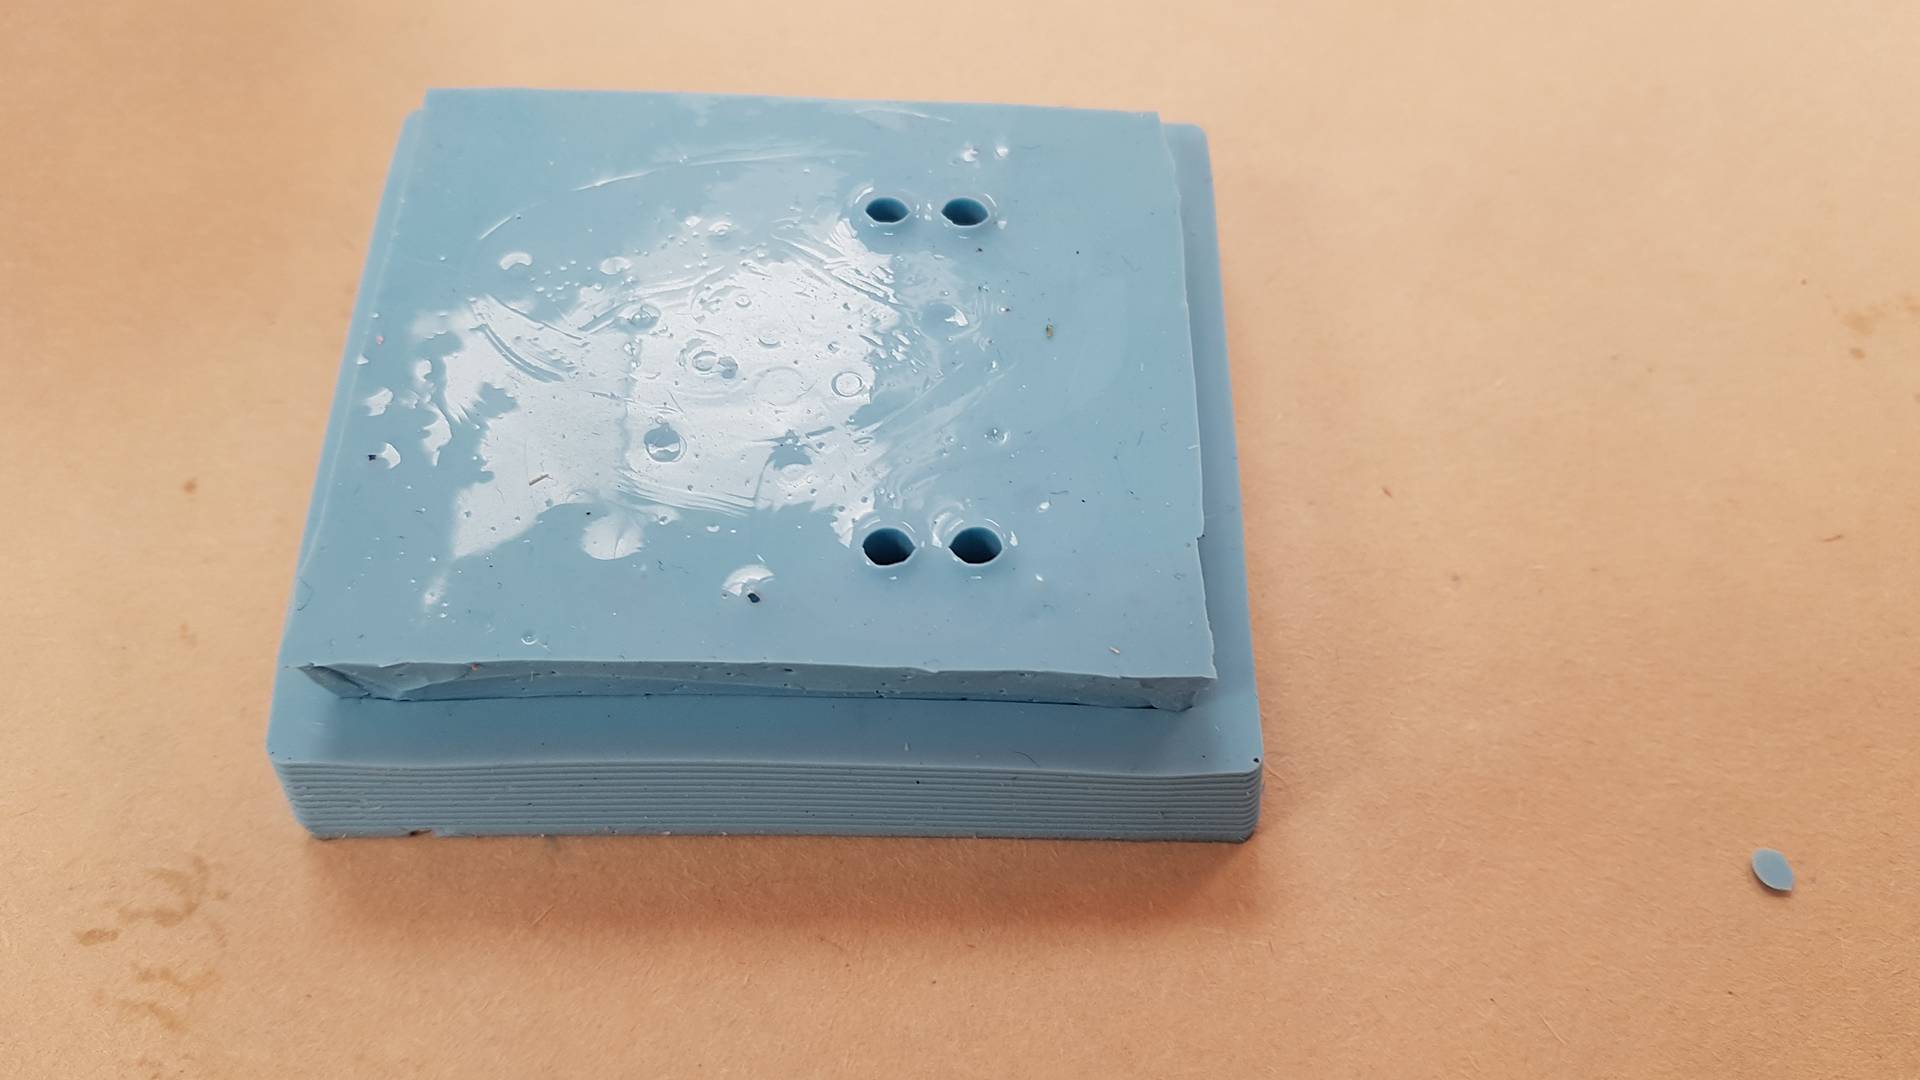
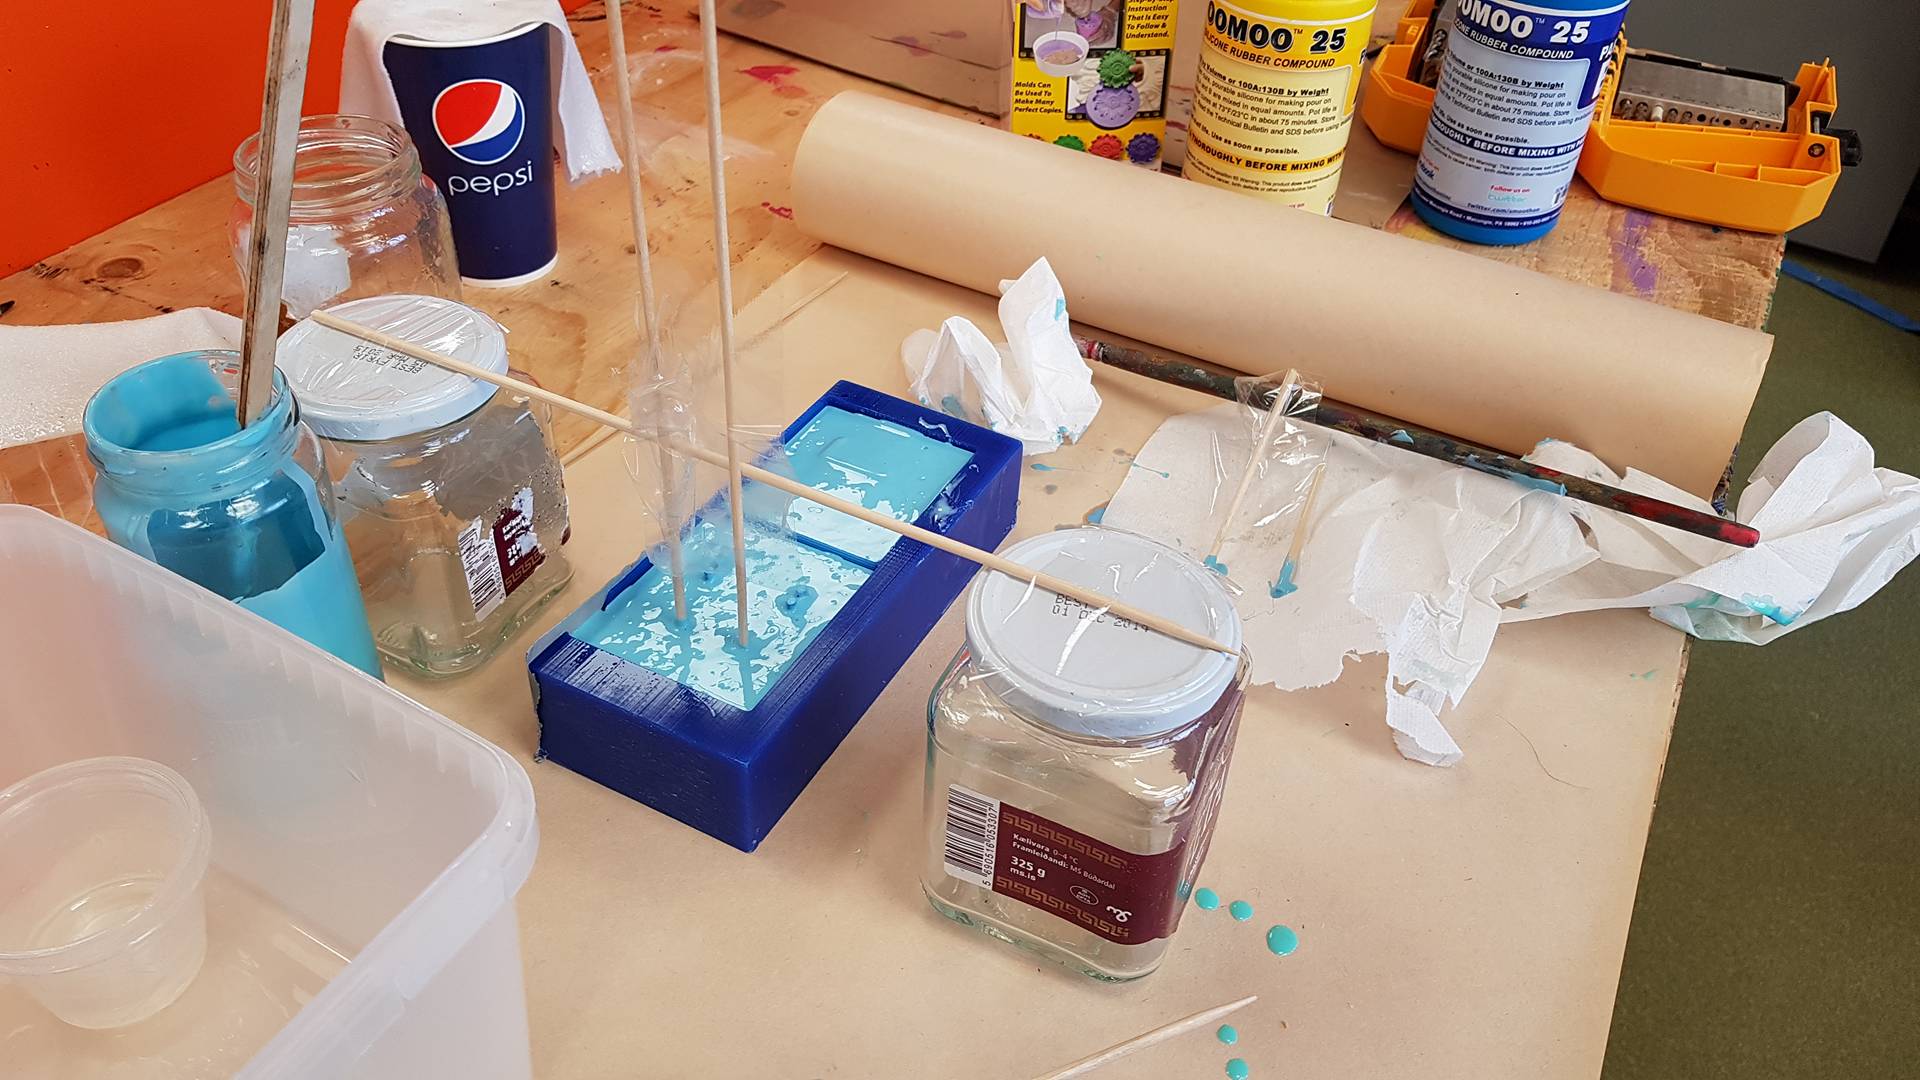
Making the negative
I used oomoo to make the negative mold.
Here you can read the safety data sheet and
here is the technical data sheet. .
When you work with oomoo wear gloves and safety glasses.
Also wear closed shoes and if you are wearing clothes you do not whant to ruin it is better to wear a rope over them.
You can read more about the safety for all the materials on our group website.
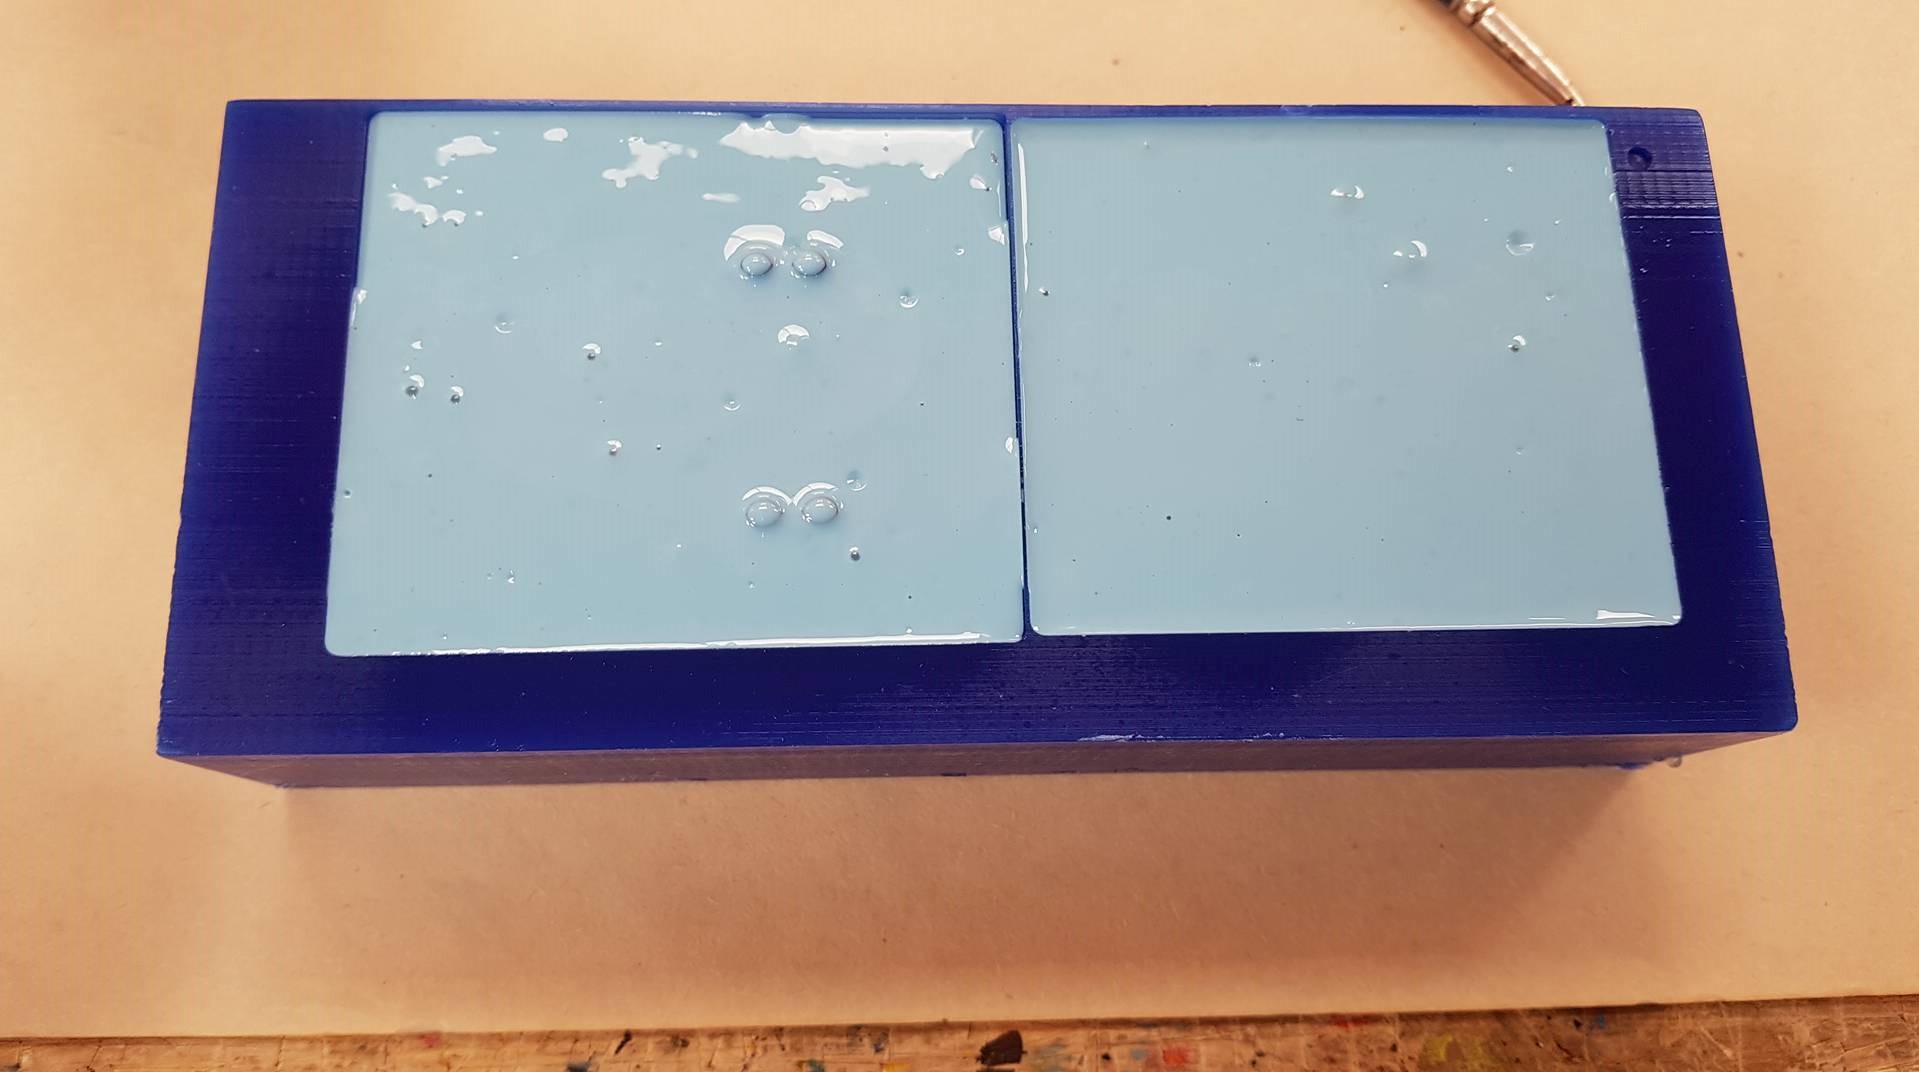
Oomoo is mixed 1:1 part A and part B. Stir them well before mixing together and stir again when you have mixed them together.
Try to get all the air bubbles out of the material.
Then I pour it into the mold and let it sit overnight but 75 minutes should be enough.
Making the positive
First try
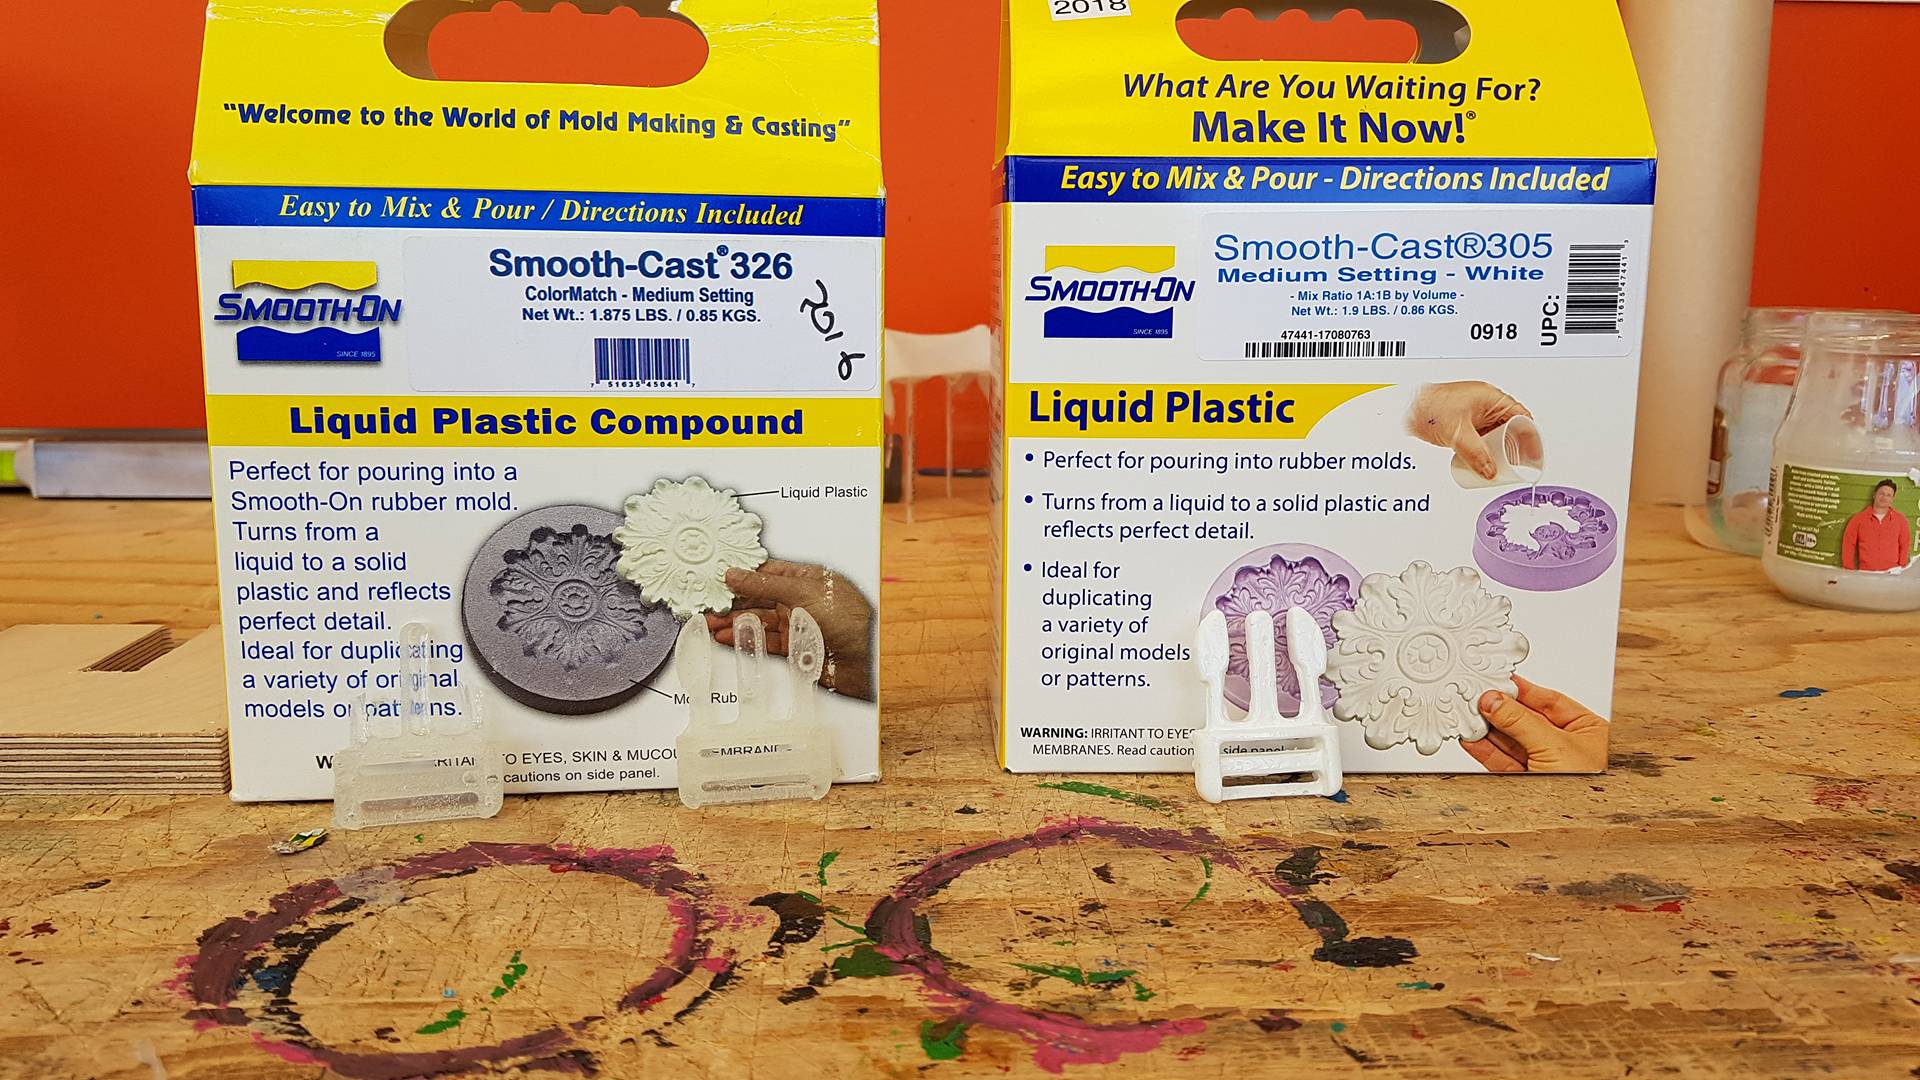
I am using the smooth-cast 326.
Here is the safety data sheet and
here is the TDS.
Part A in the smooth-cast is a little bit toxic so I was very carefull when I was working with it.
I opend the windows and was wearing gloves and safety glasses.
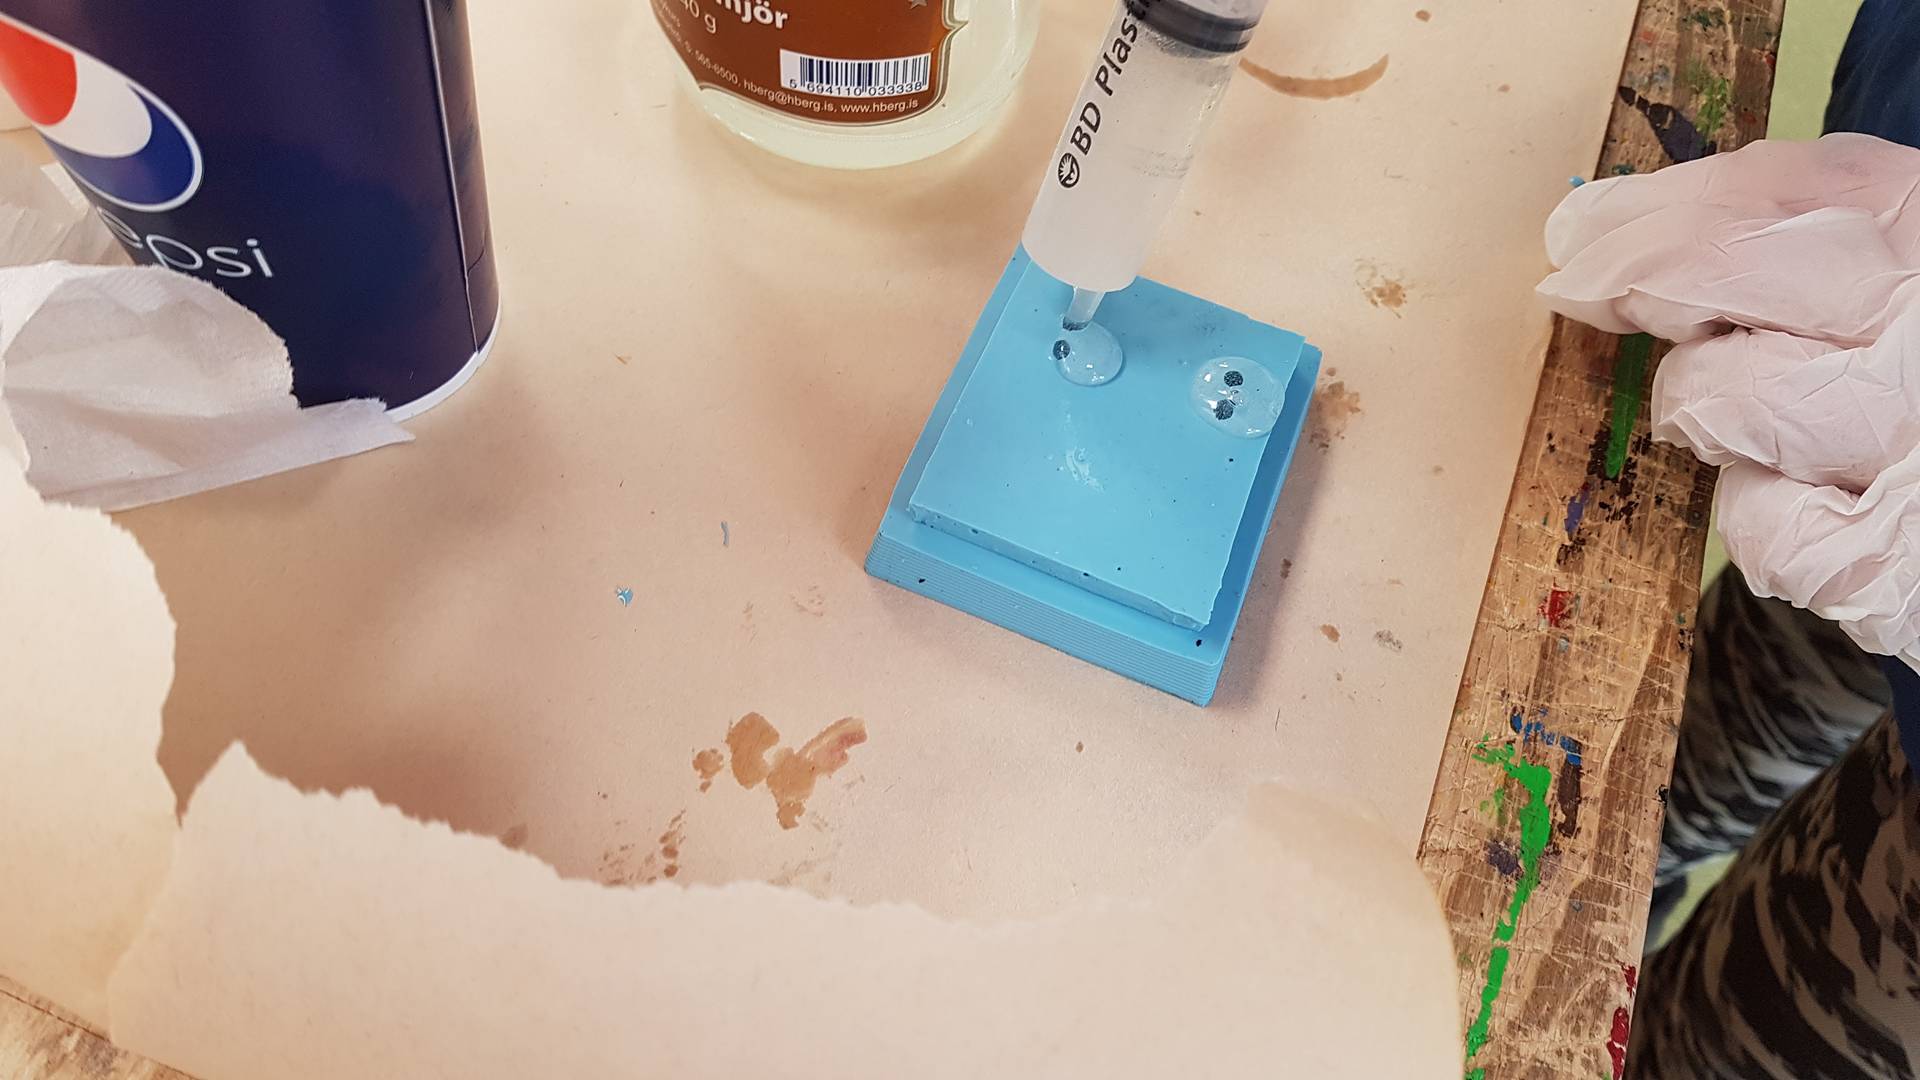
First shake both of the containers well. Then stir part B before mixing. Mix it 1:1 and stir.
Try to get most of the bubbles out. Me and Frosti decided to use indjection to put it into the mold.
Spray a mold release before injecting it into the hole.Then I waited for 90 minutes to find out if it was good.
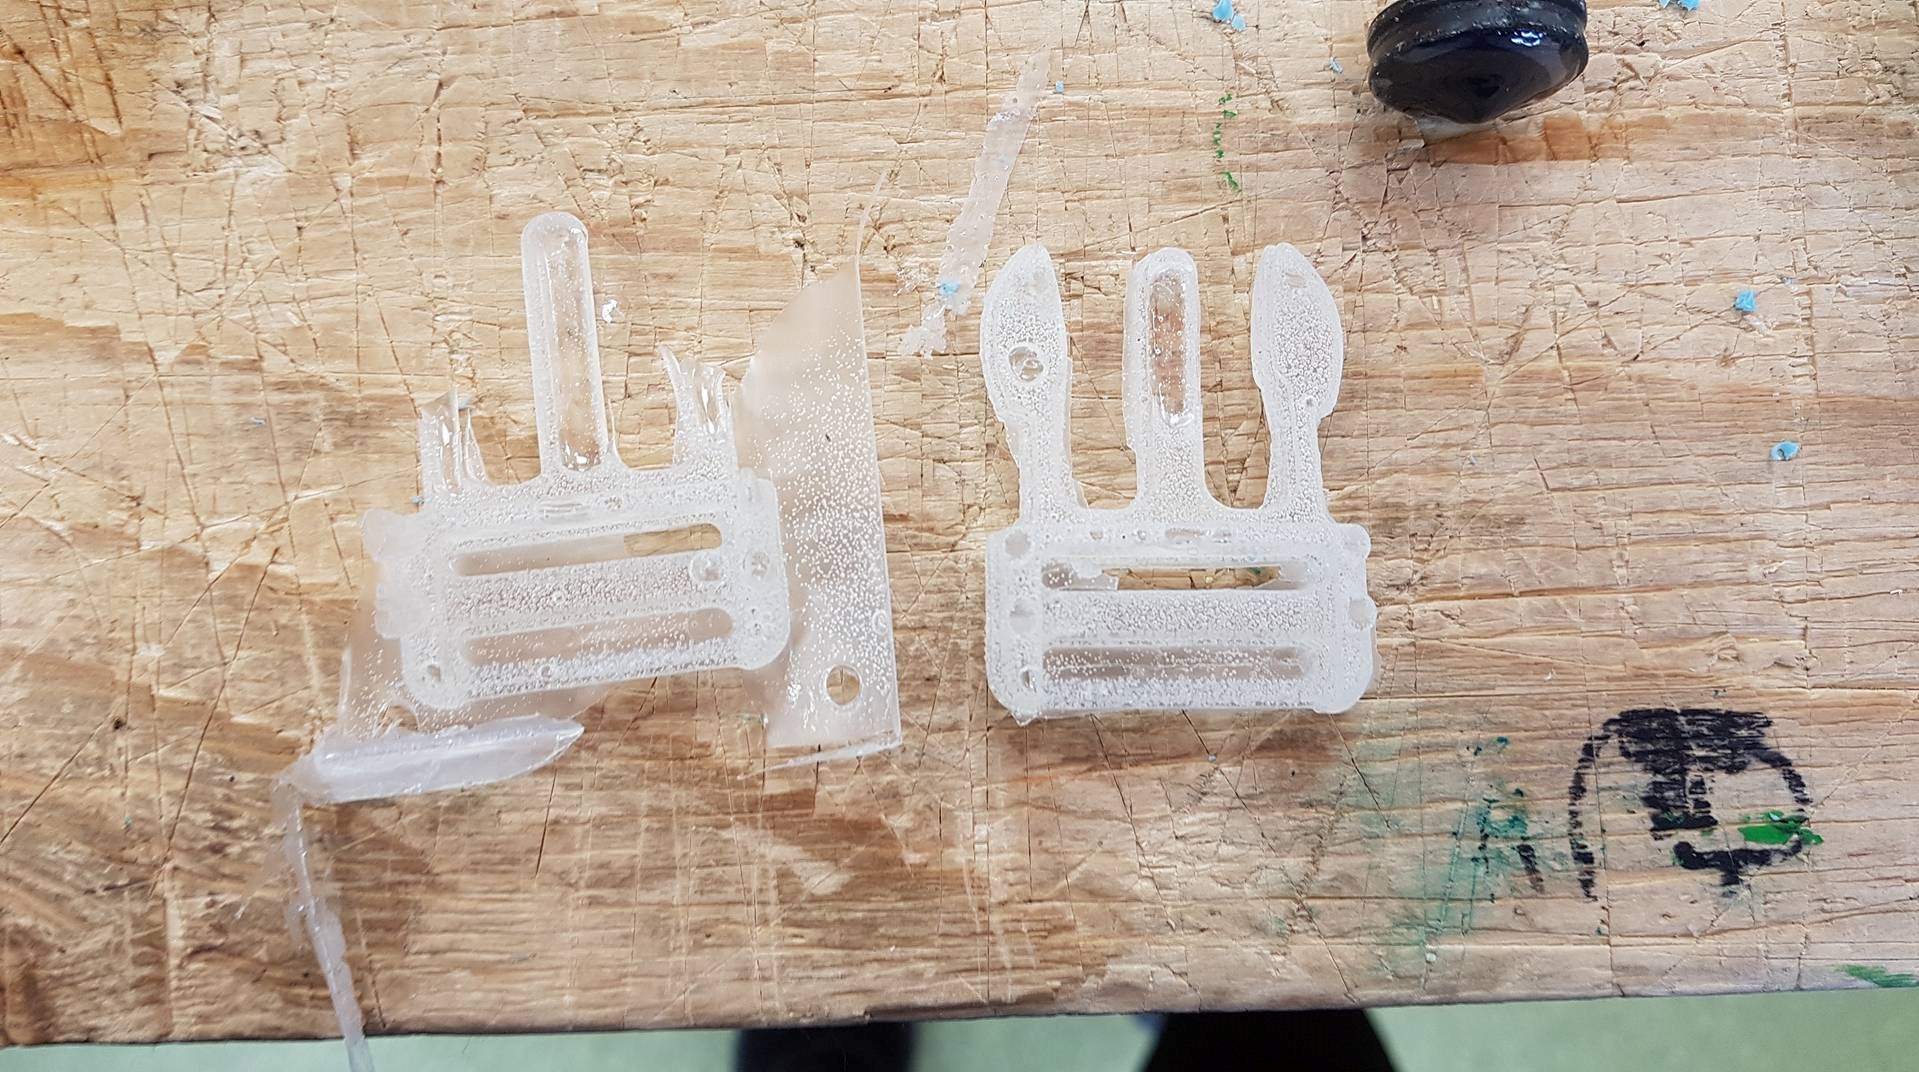
The outcome was not good enough and two of the pins where just half way done.
We tought it might be because there were no air holes on the pins.

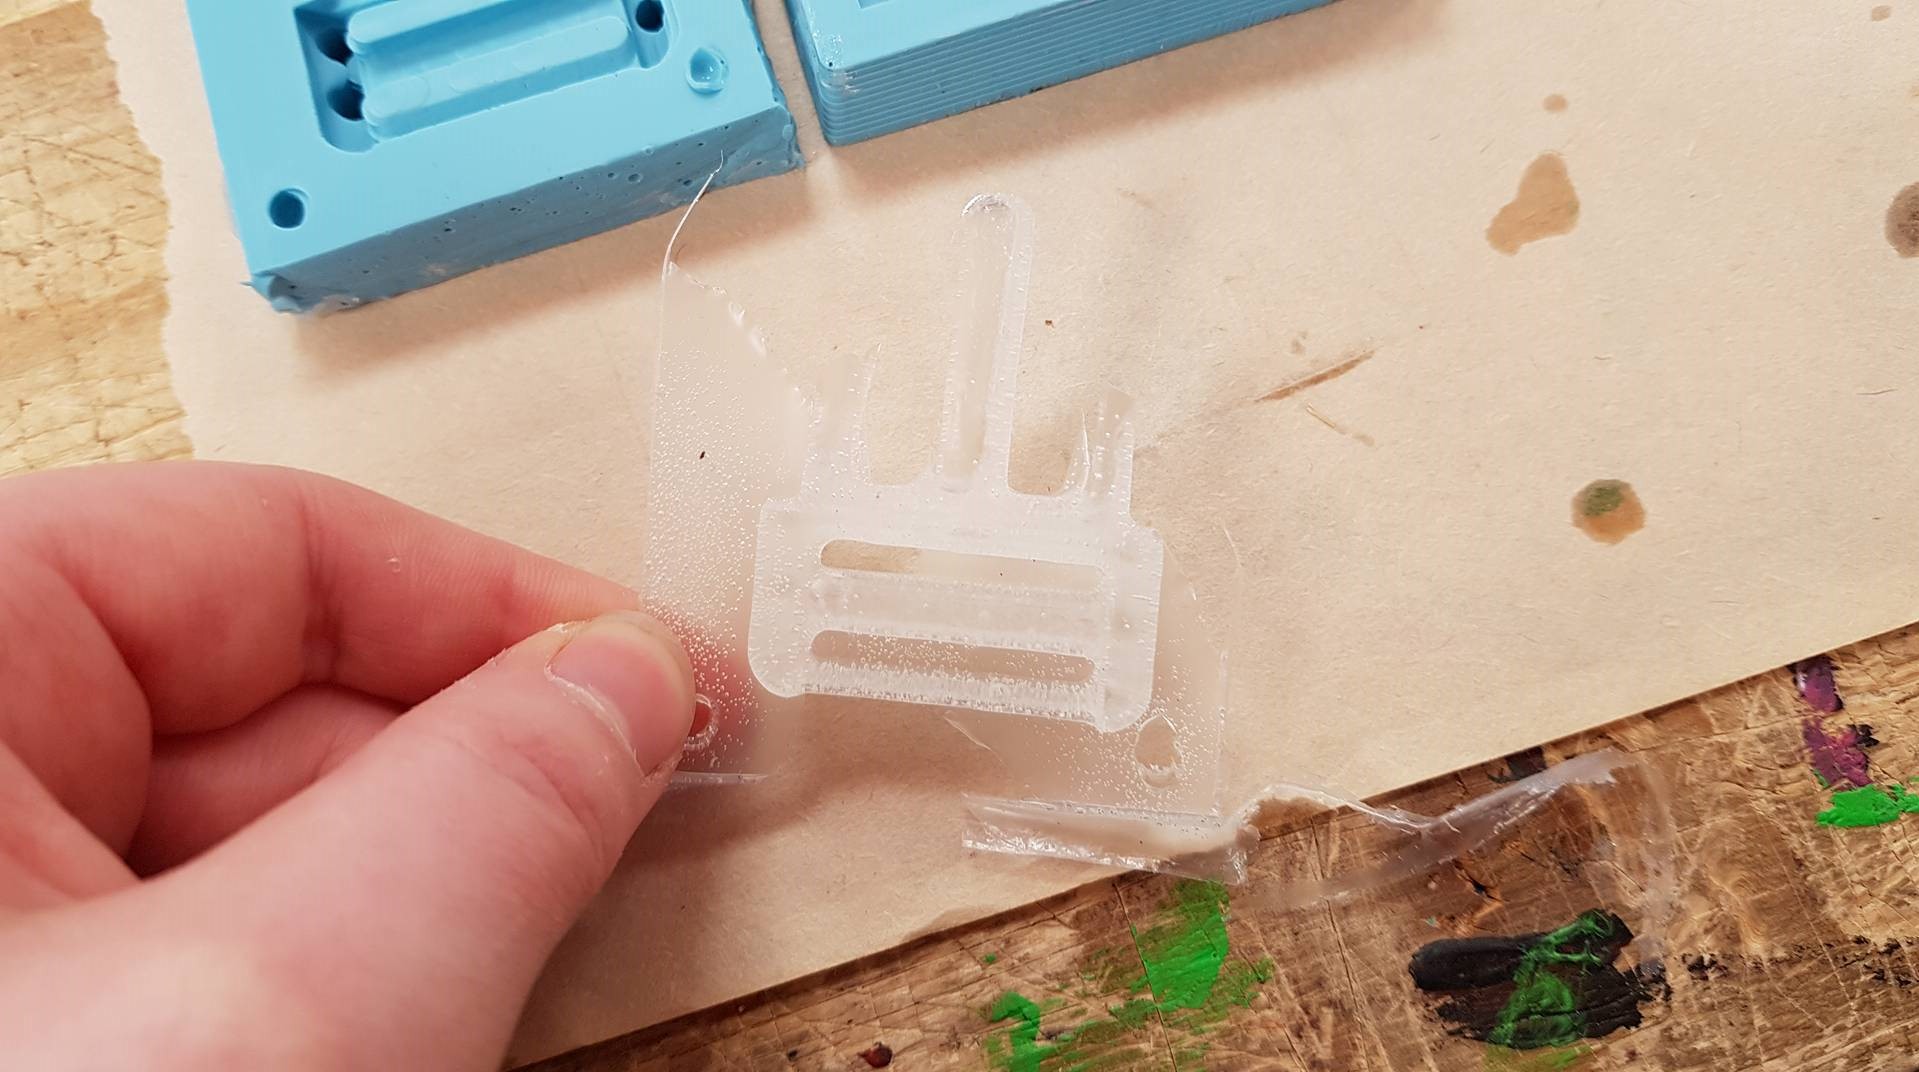
Second try
We drilled air holes into the two pins and did everything over again.
This time the pins came out as a whole. The material a little too loose for the purpose it was meant for so I will make it in a tougher material.

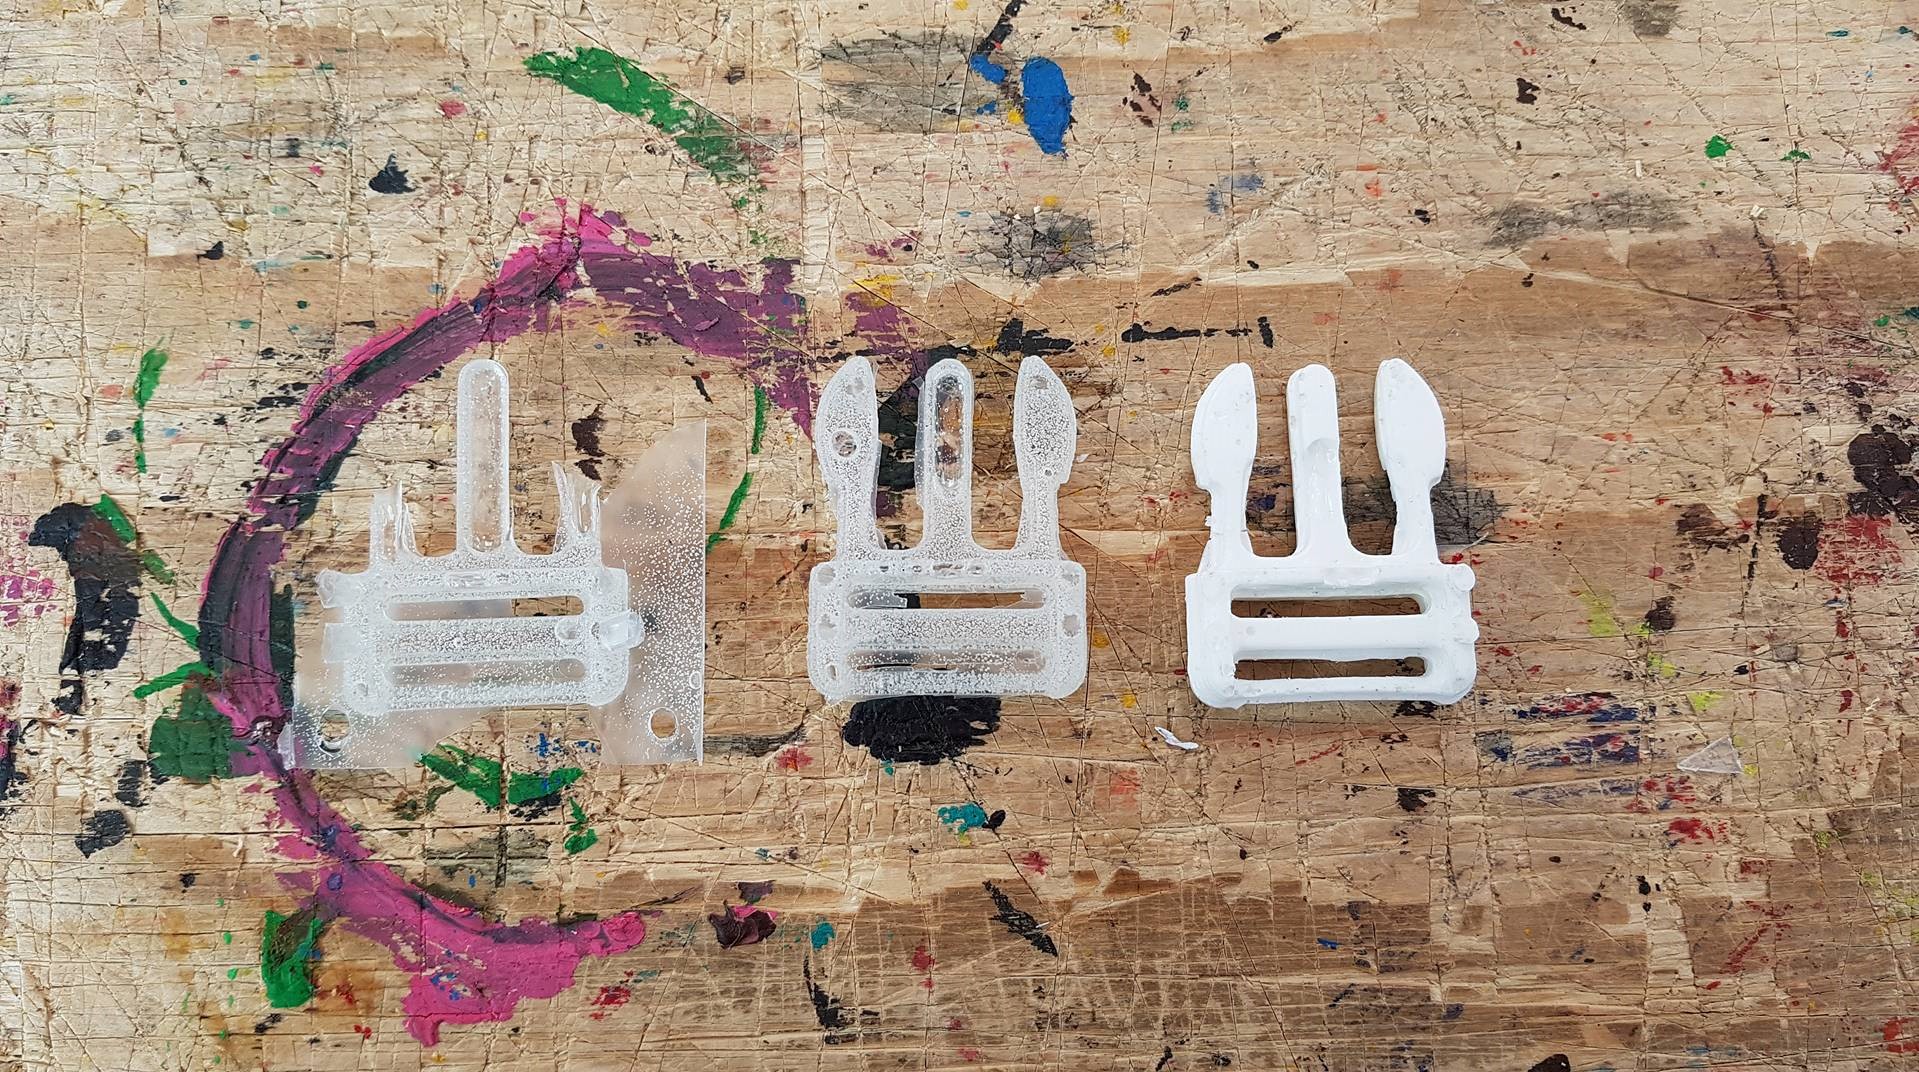
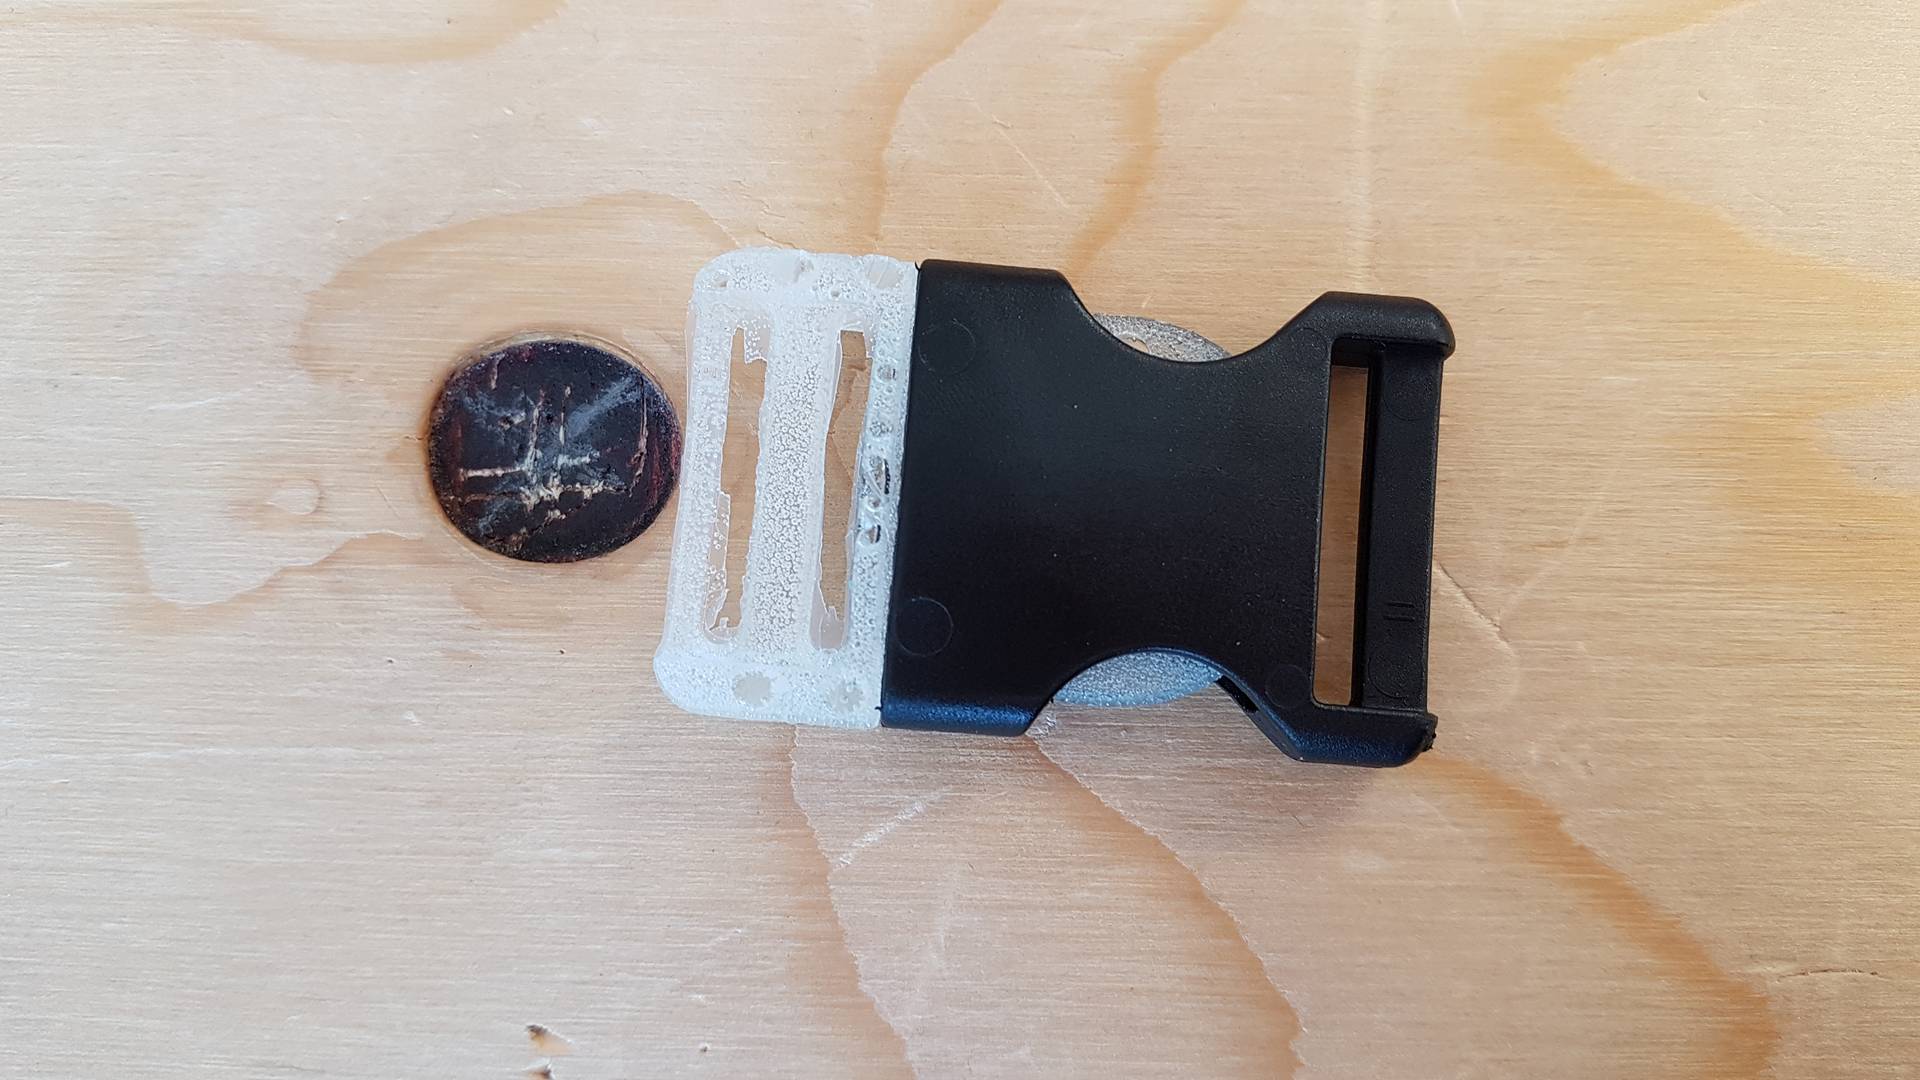
Third try
Now I tried using the smooth-cast 305.
Here is the safety data sheet
and
here is the TDS.
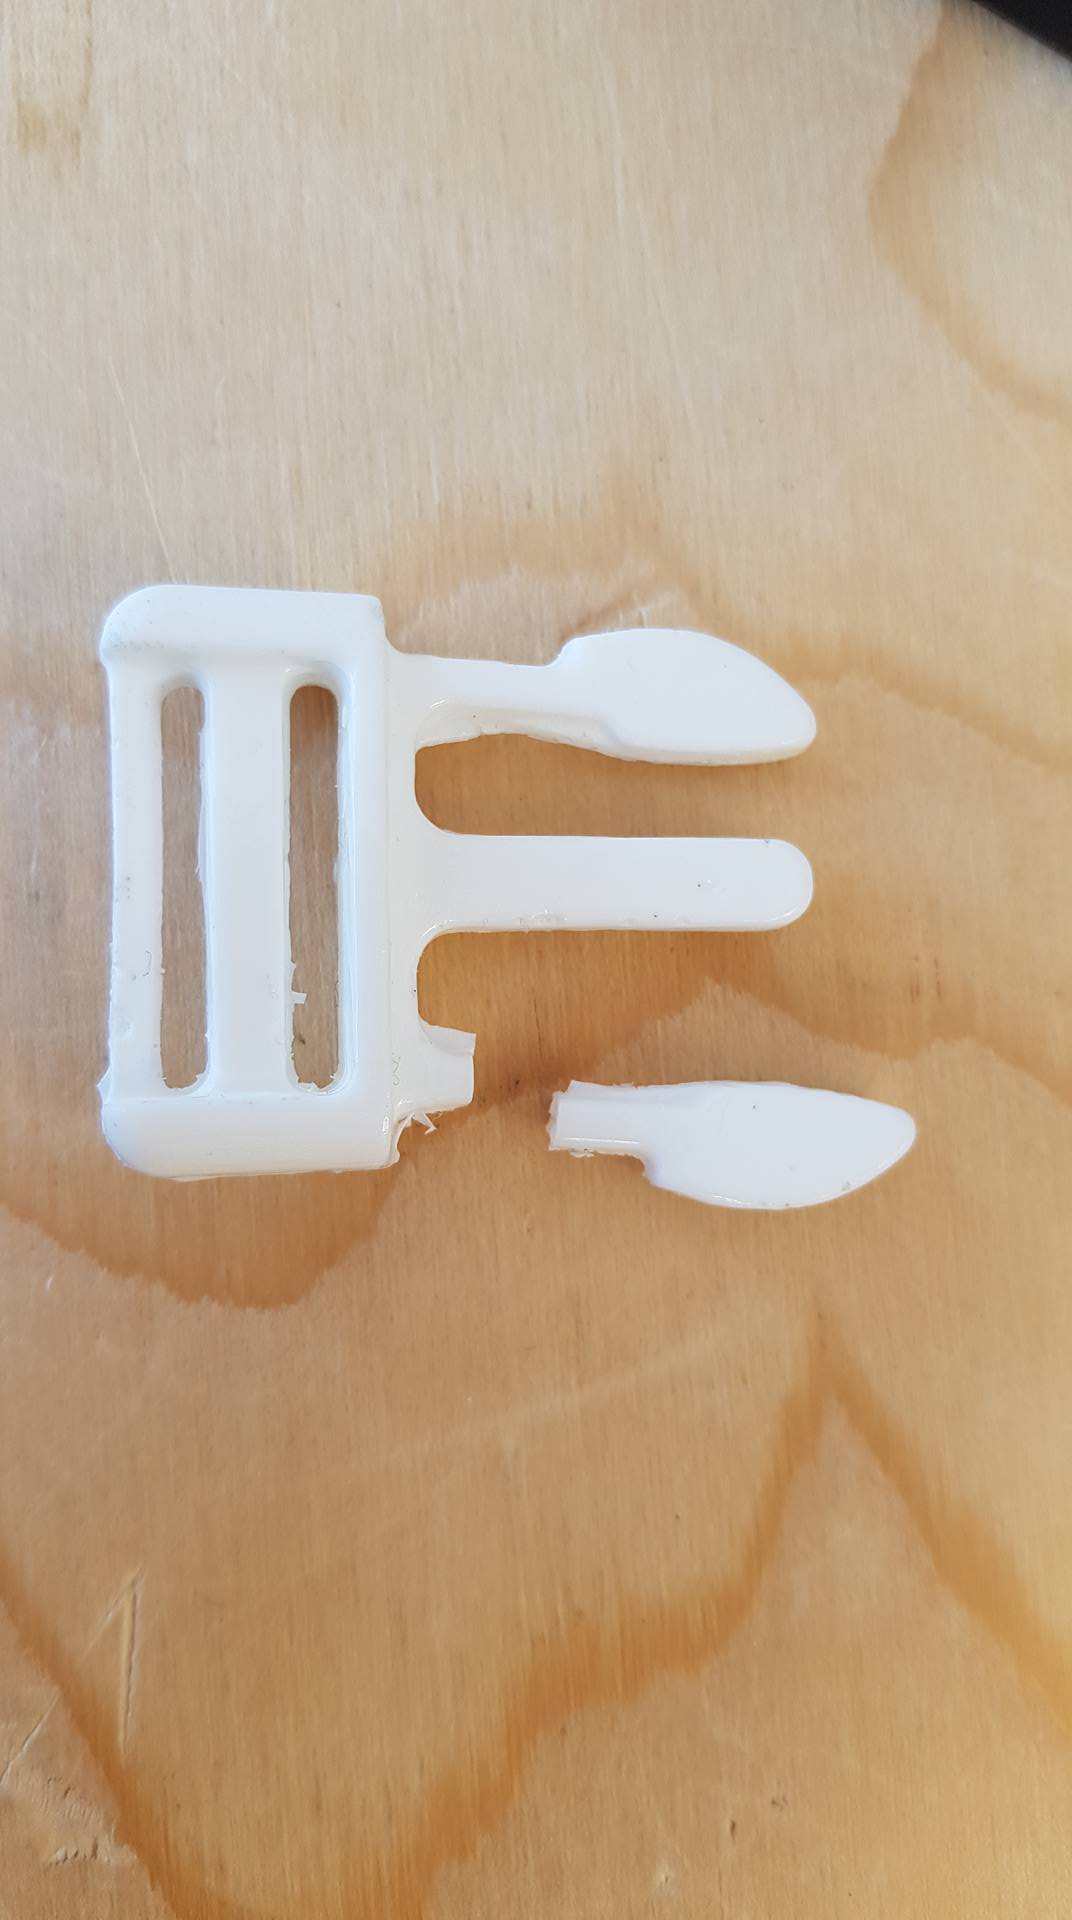
I did everything the same way as before and it came out fine but one pin broke of after using the clip a few times.
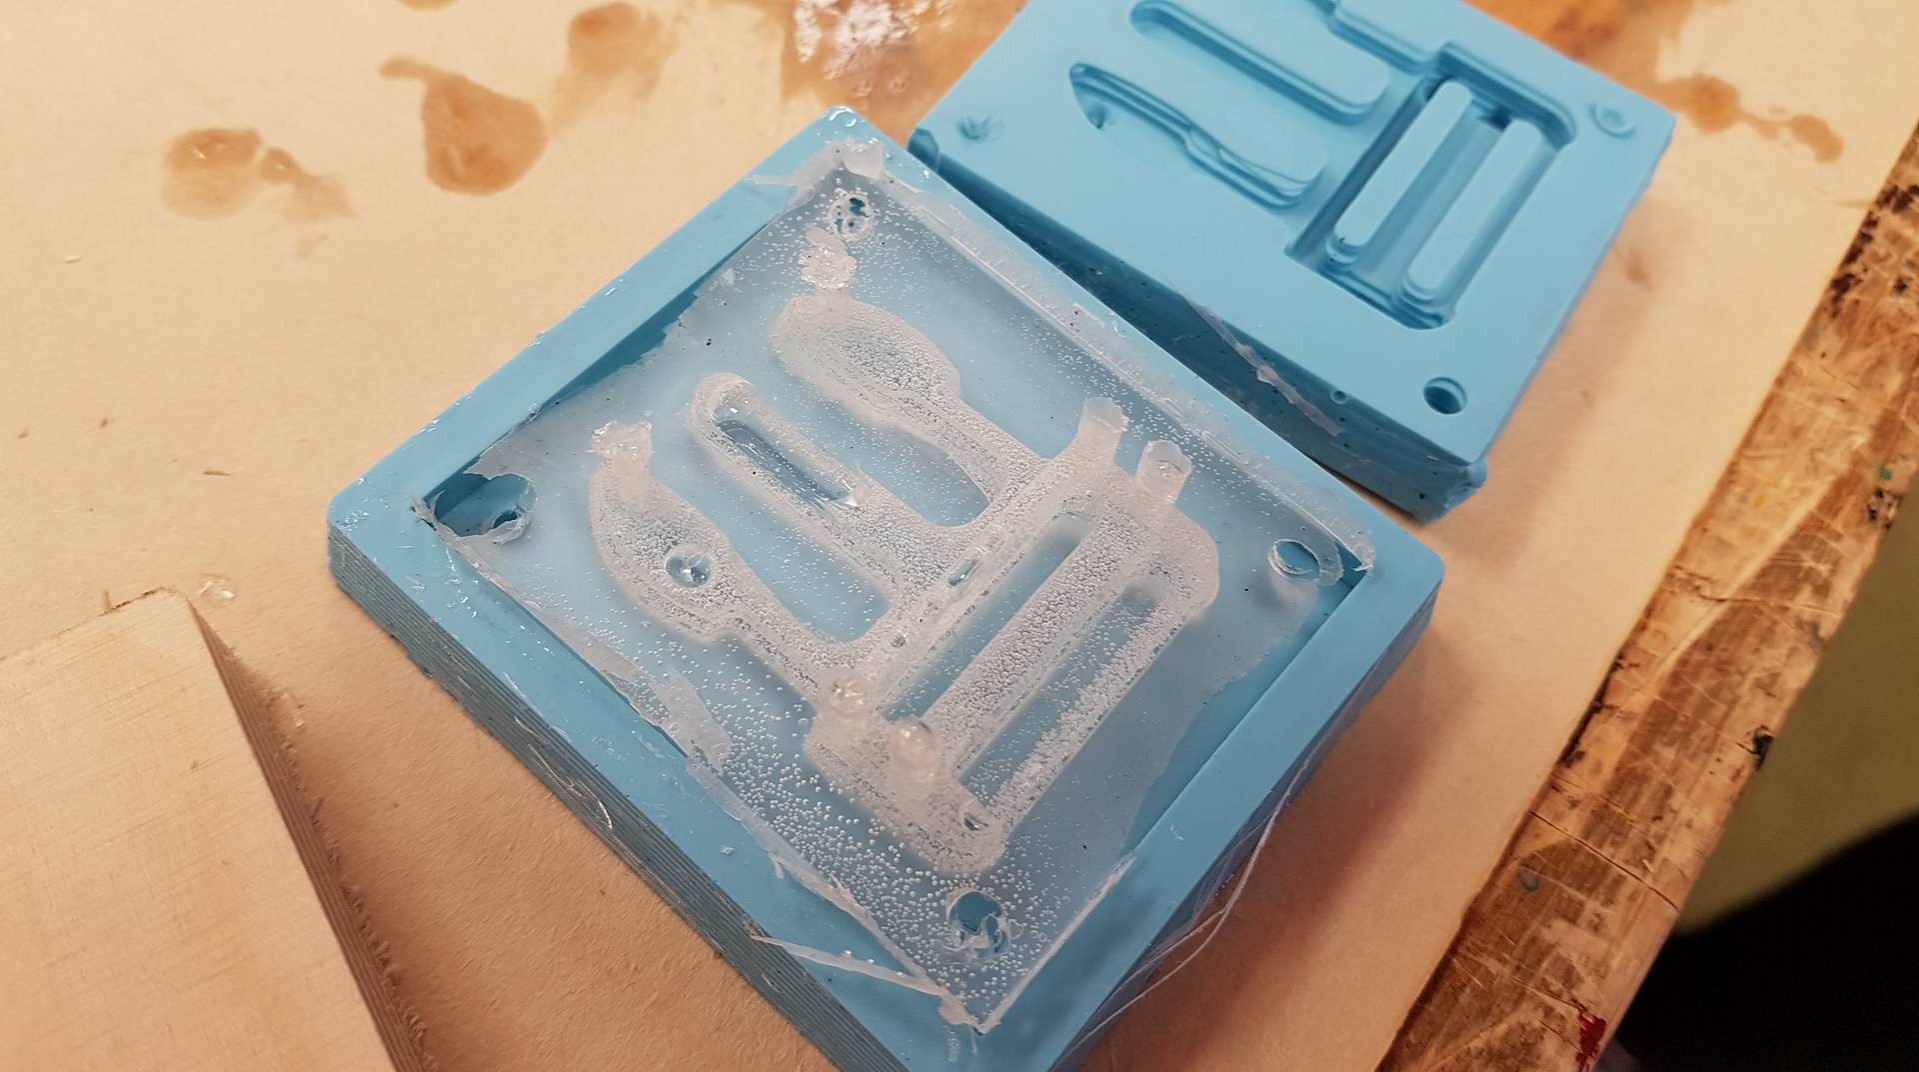
Problems and solutions
I made pins and holes to hold the moldes together but somewhere in the designing I miscalculated and the pins sticked out on eachother and the holes were together.
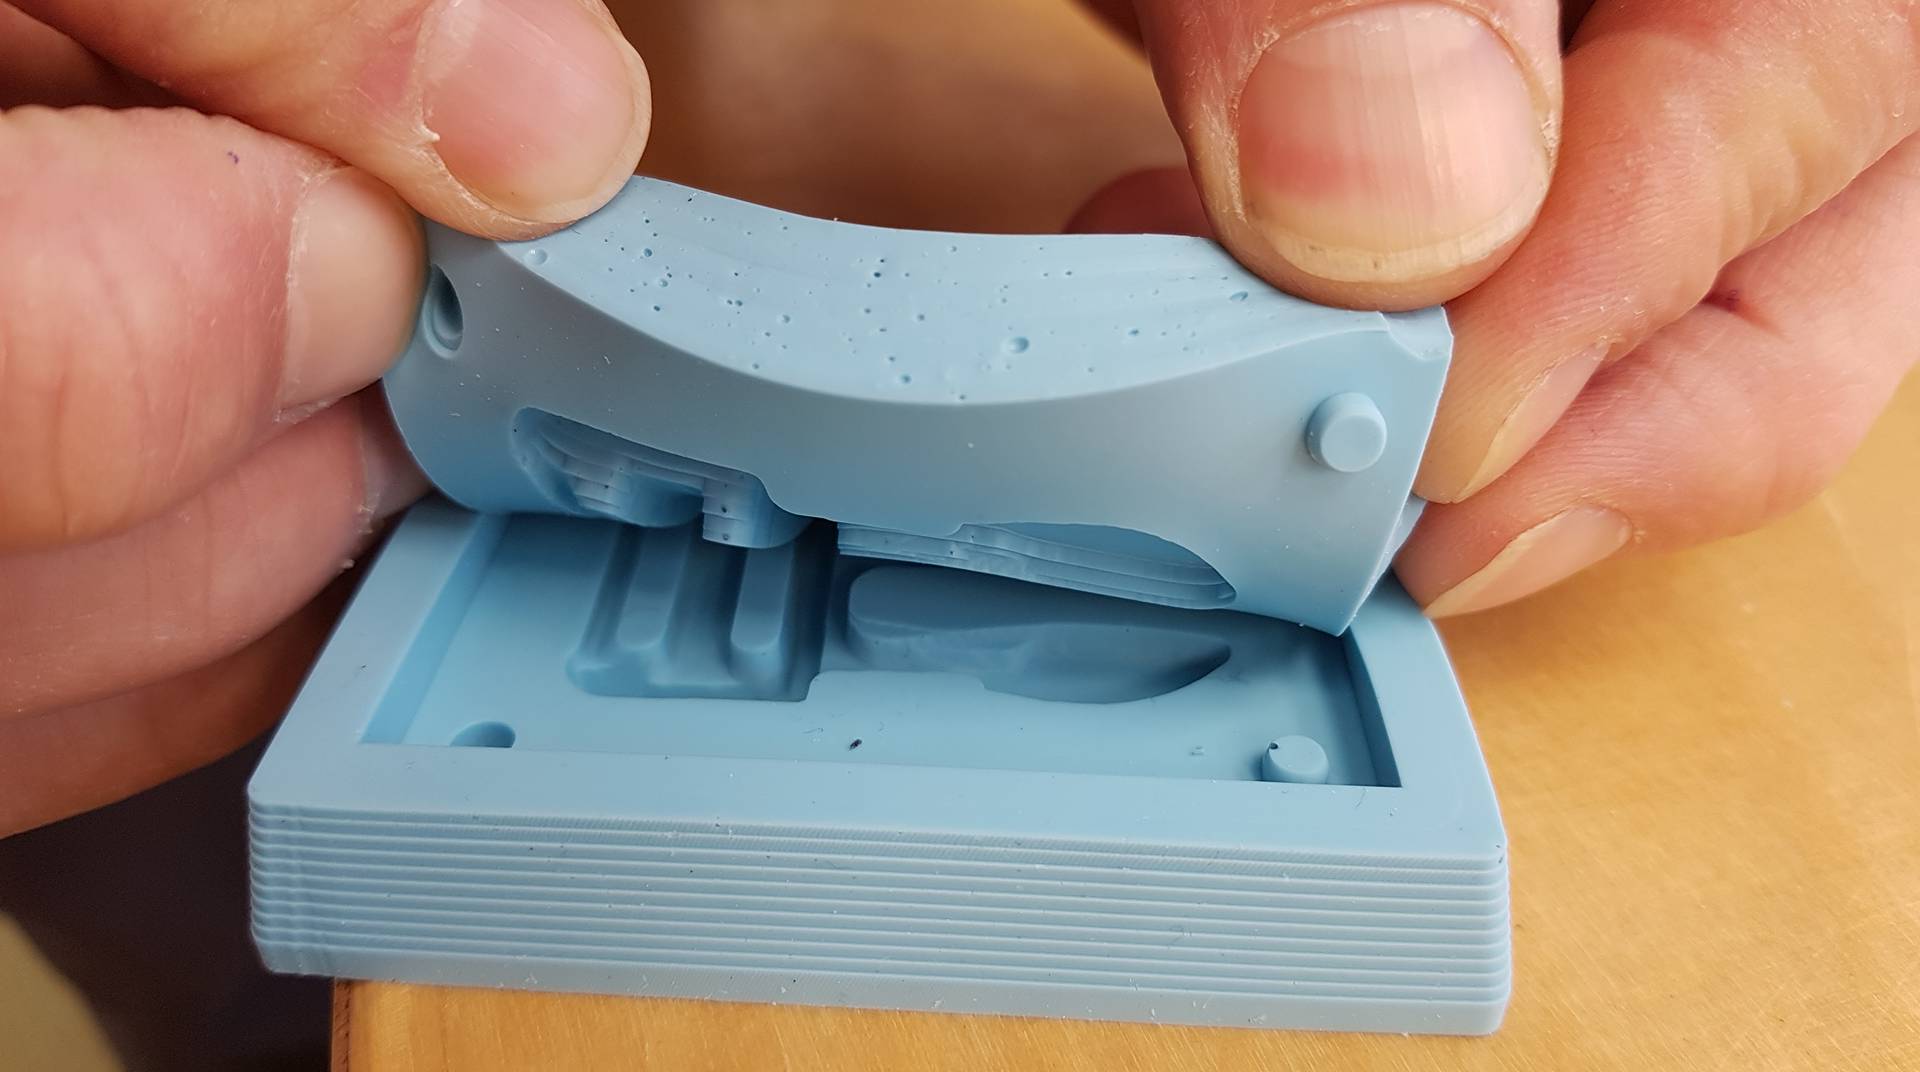
My solution was to cut the pins off. I also made a ________ around the mold so I cut it off one mold and then the fit in to eachother.

The first time I did the positive I had not made air holes into the pins so the pins did not come out correctly.
To fix that I drilled holes into the negative. After that it worked fine so I made a new negative with air holes.
I did not whant to spent alot of hours making a new wax model so I made this little station to make the air holes.
It worked and the model fits in the clip.
Software I used
Microsoft Photos
- For photo editing.
Gimp
-For photo editing.
Fusion 360
- For 3D modeling.
Modela player 4
- For cutting in the Modela milling machine.
Ultimaker Cura - For mirroring the design.
Files from this week
One part of the clip. STL file, ready to mill.
The other part of the clip with air holes,
I recomend adding air holes on the pins before milling it. Stl file, ready to mill.