Exercise 16. WILDCARD WEEK
After the lesson on Wednesday 16th May, the assignment for this week was:
		INDIVIDUAL ASSIGNMENT:
			_ Design and produce something with a digital fabrication process (incorporating
			computer-aided design and manufacturing) not covered  in another assignment,
			documenting the requirements that your assignment meets, and including
			everything necessary to reproduce   it. Possibilities include (but are not
			limited to) composites, textiles, biotechnology, robotics, and cooking.

		As I have selected to play with COMPOSITES(Javi has selected this fabrication process too):
			_ read the safety data sheet (SDS) and technical data sheet (TDS)
				for the resins that you're using, design and fabricate a 3D mold
				and produce a fiber composite part in it,with resin infusion and compaction.
Learning outcomes for this week:
		_ Demonstrate workflows used in the chosen process.
		_ Select and apply suitable materials and processes to create your project.
INSPIRATION
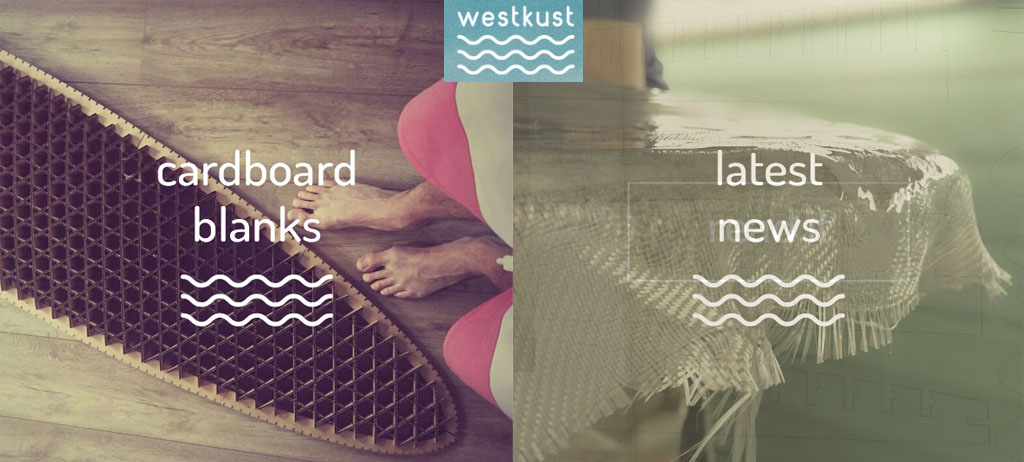
Neil showed us, while reviewing the theory of Composites, WESTKUST OPEN SOURCE SURF BOARDS webpage.
I really would like to test this kind of cardboard structures, its hardness and lightness, and how in conbination with Composites we can reach to have a product like a Sufboard in a faster way comparing with mold-making in a CNC machine.
I have decided to do it on a small scale and with a more natural fiber, just to test. I will make a small skateboard for my nephew.
COMPOSITES MATERIALS USED
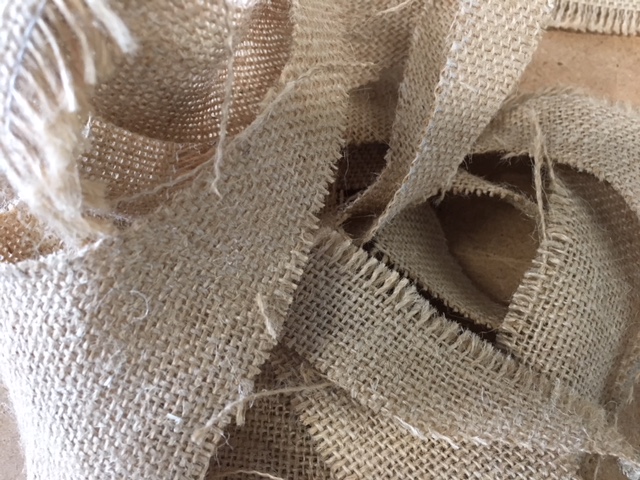
As fiber layer, for the composite, I used Burlap-Fabric (we had it in Deusto FabLab):
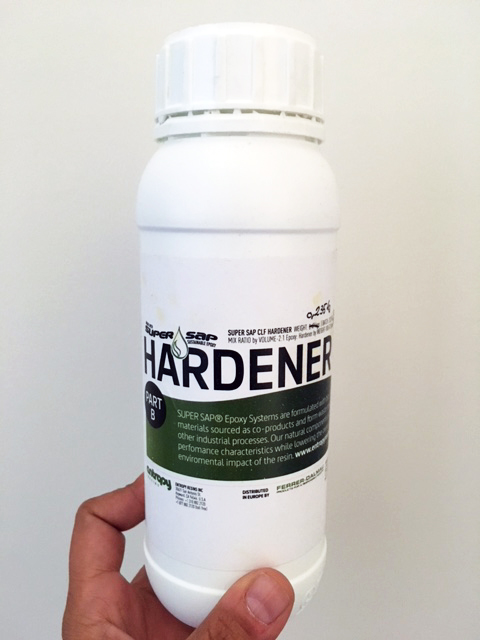
And as resine, for the composite, I used Epoxy. Specifically SUPER SAP two-part epoxy resin kits comprised of SuperSap CLR Epoxy and CLF (FAST)Hardener.
INDIVIDUAL ASSIGNMENT
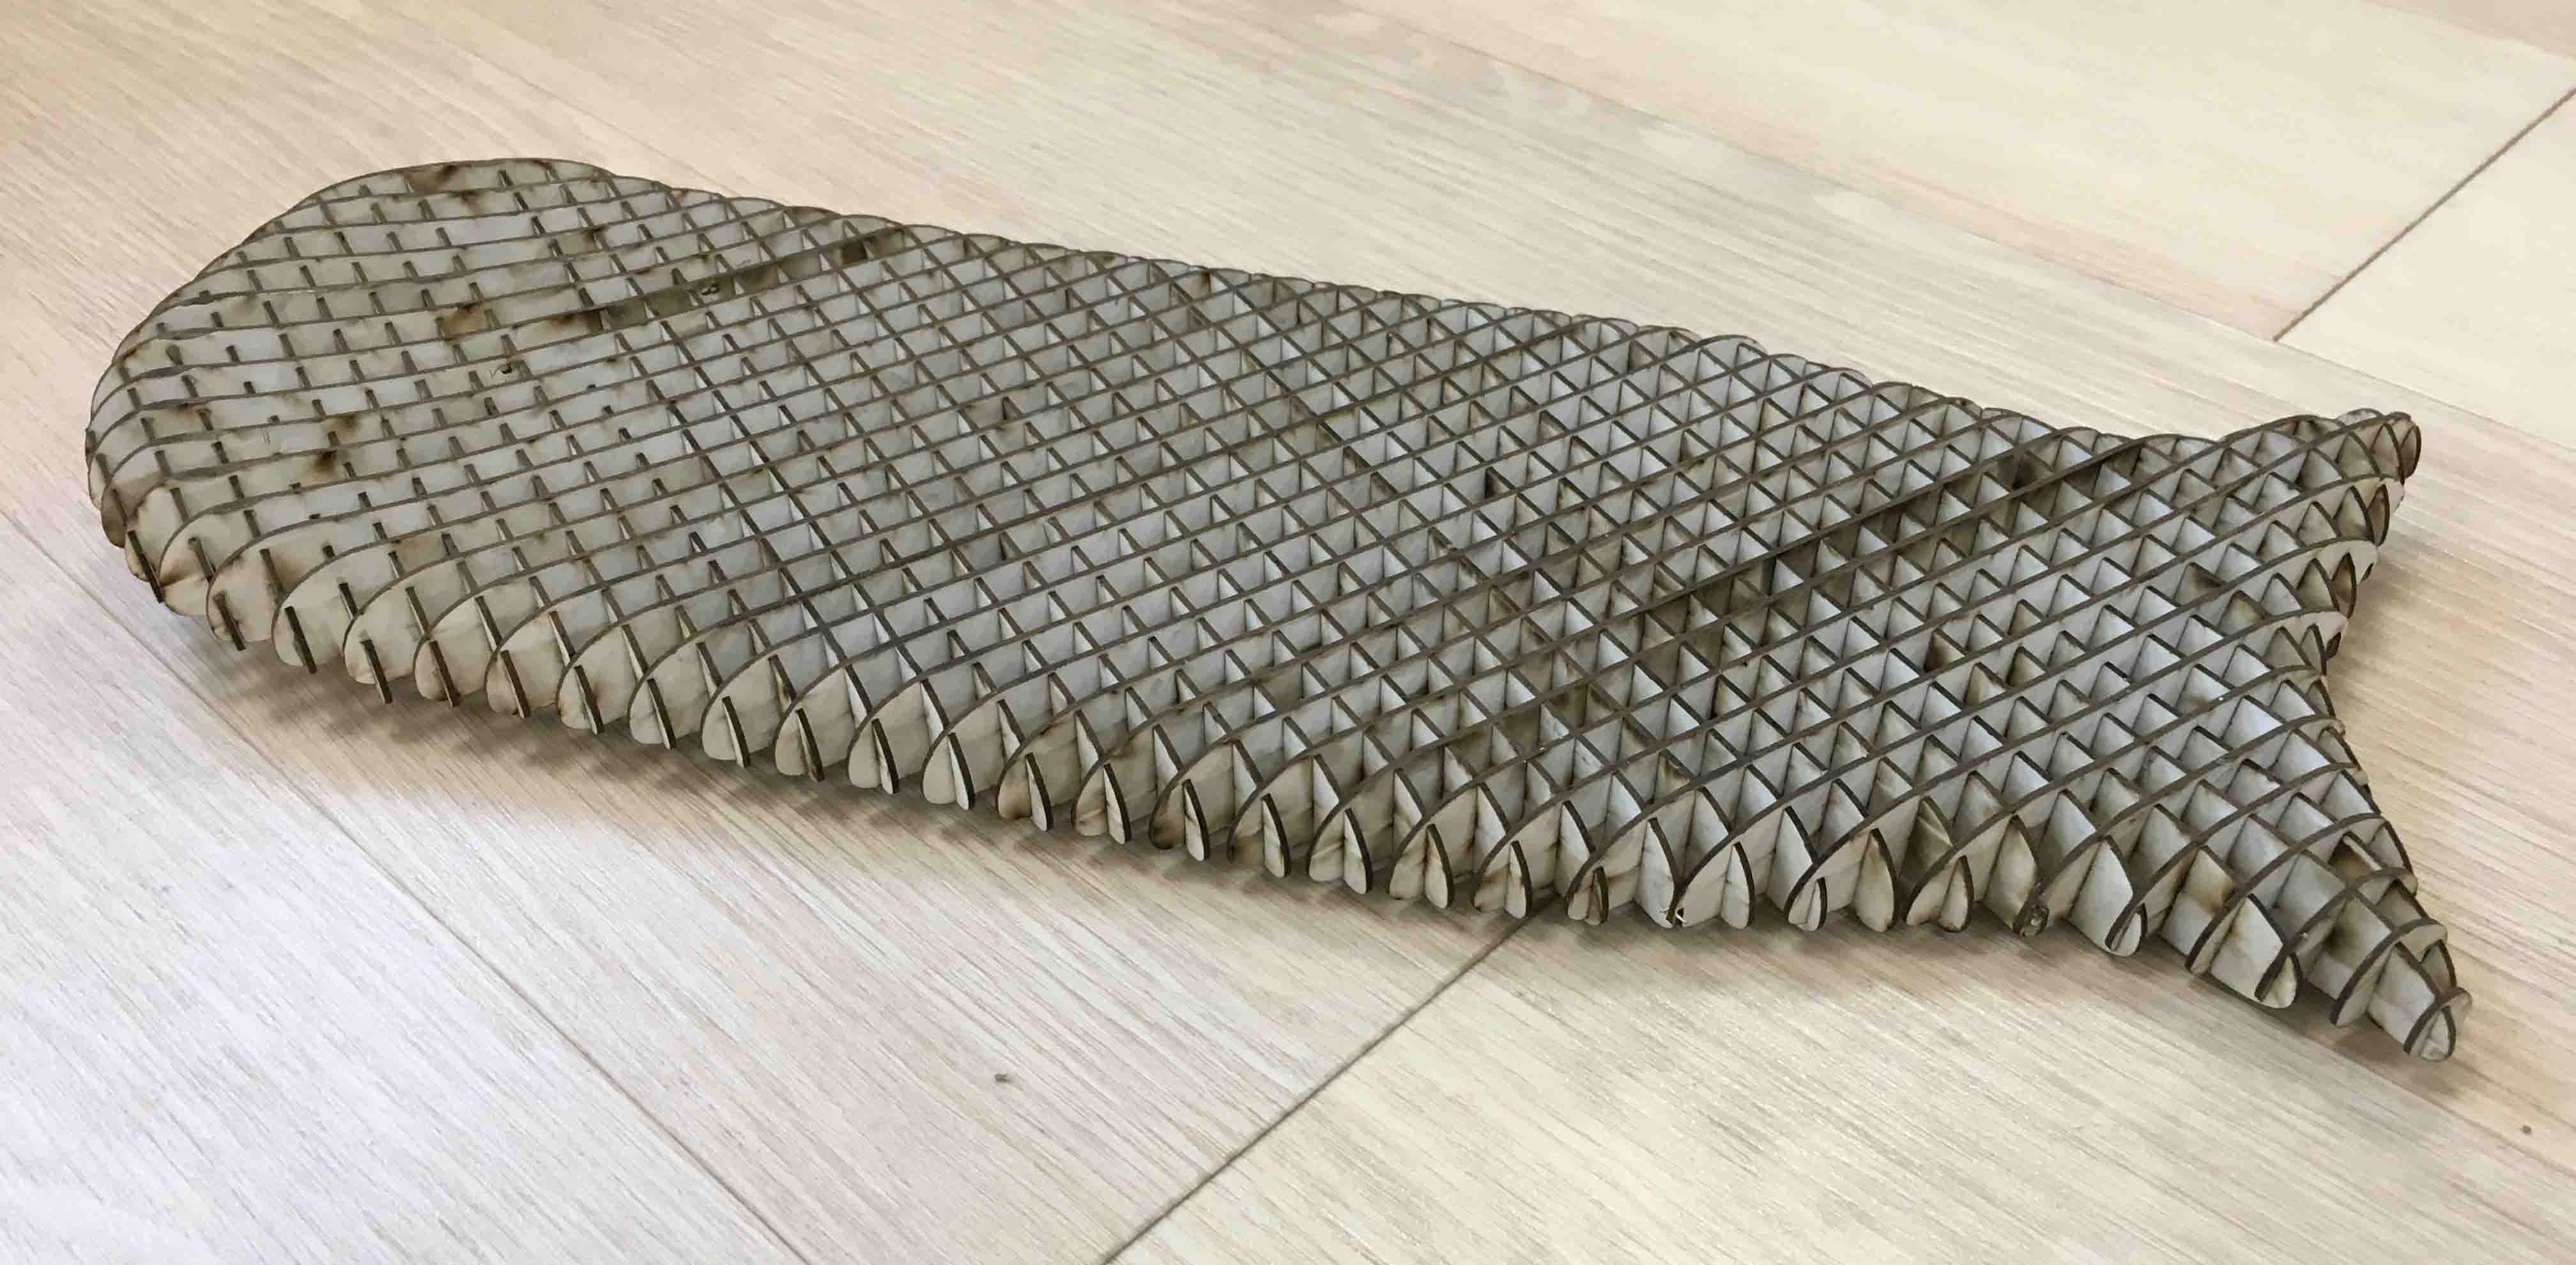
First of all was to design the Skateboard, and to become it in slices for laser-cutting and mounting them later.
I had 123D-Make software installed, from Autodesk, long time ago, but whitout time to test it. When, for this assignment, I tried to use it I realized that it was obsolete and I began to investigate. Autodesk has changed the program to be an extension for Fusion, and now its name is SlicerforFusion360.
So I installed Fusion and SlicerforFusion360, from Autodesk App Store, and I took the opportunity to play with other 3D software.
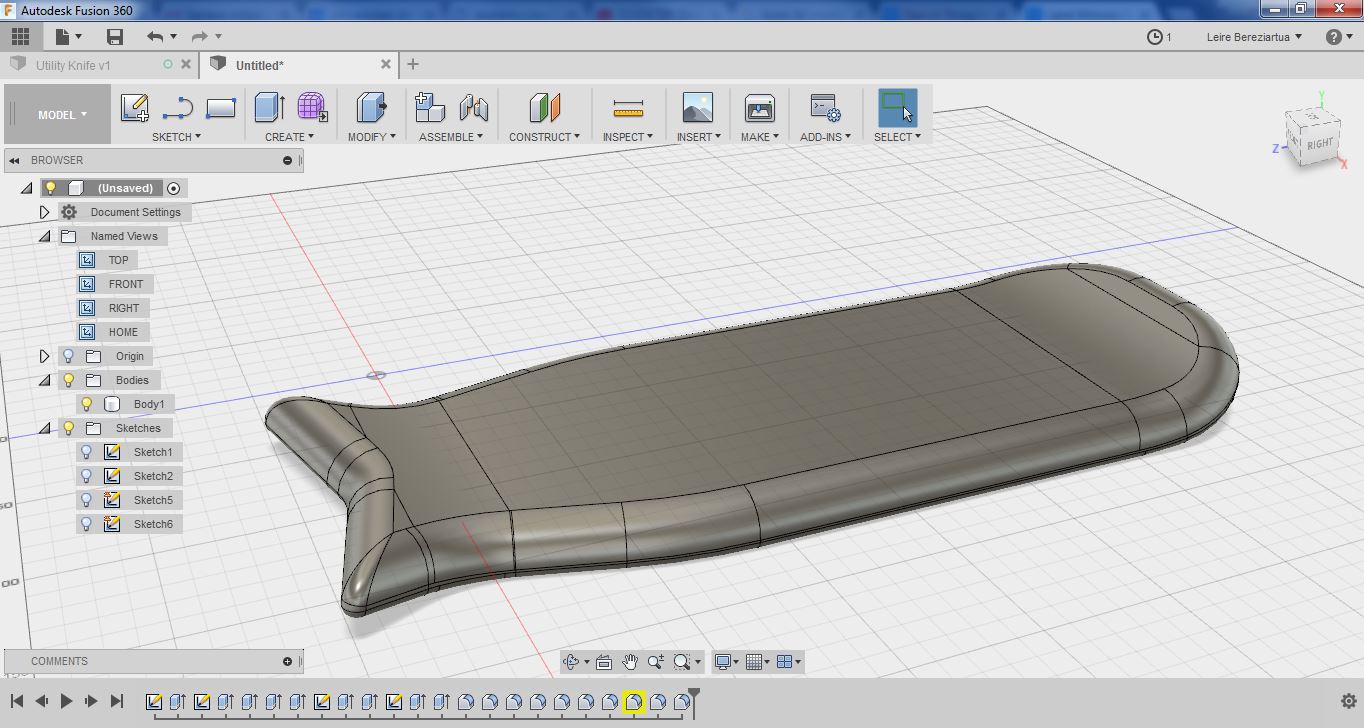
It was first time for me using Fusion, and I really found it quite easy and intuitive to use:
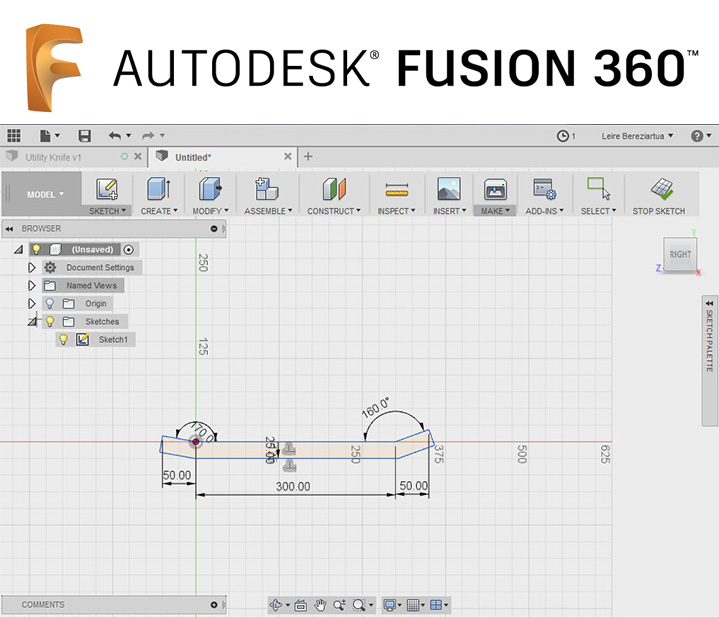
I create a "fish-shape" Skateboard (family stories):
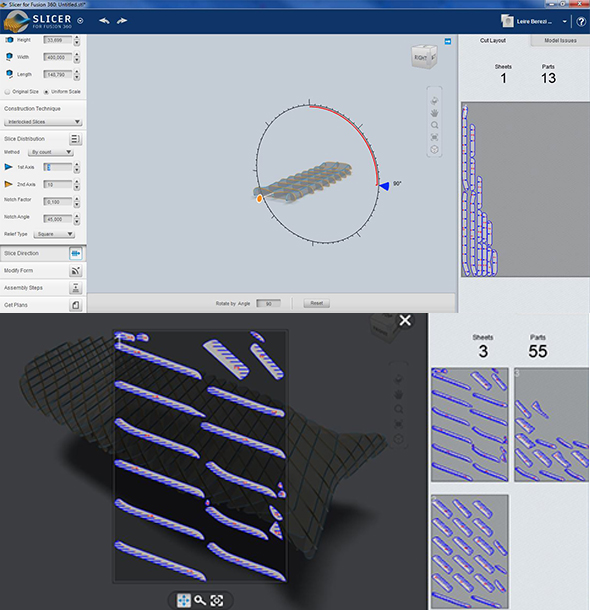
And with Make button I import it in SlicerforFusion360 software and I sliced it.
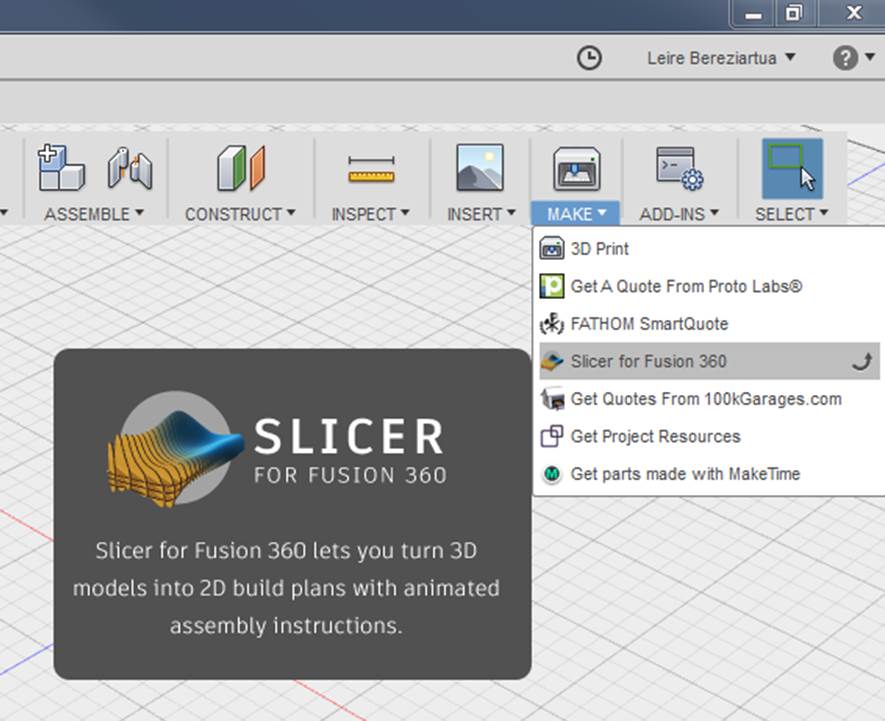
It is very easy to use, intuitive, and and also prepares directly the press-fit and the planes to be sent by machine, taking in account users configuration.
For example, I used 1,25 mm cardboard, 750x520mm, so I configured it with that area, but with a thickness of 1 mm to have 1mm press-fits.
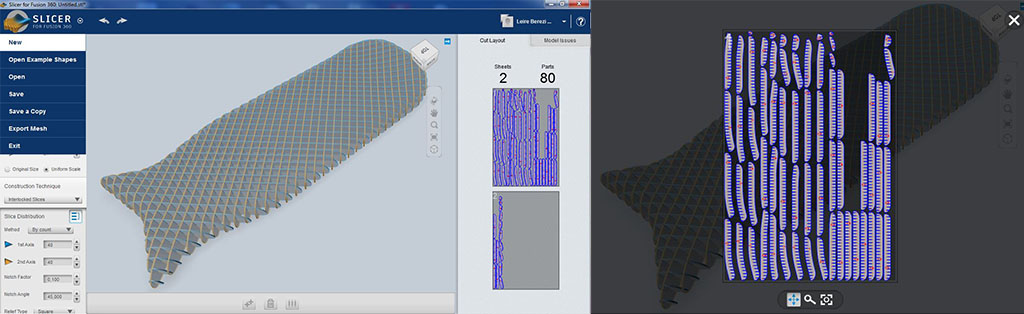
Then, I export DXF format files, I opened them in Rhino, and I prepared the configuration to send them to our Laser-cutter.
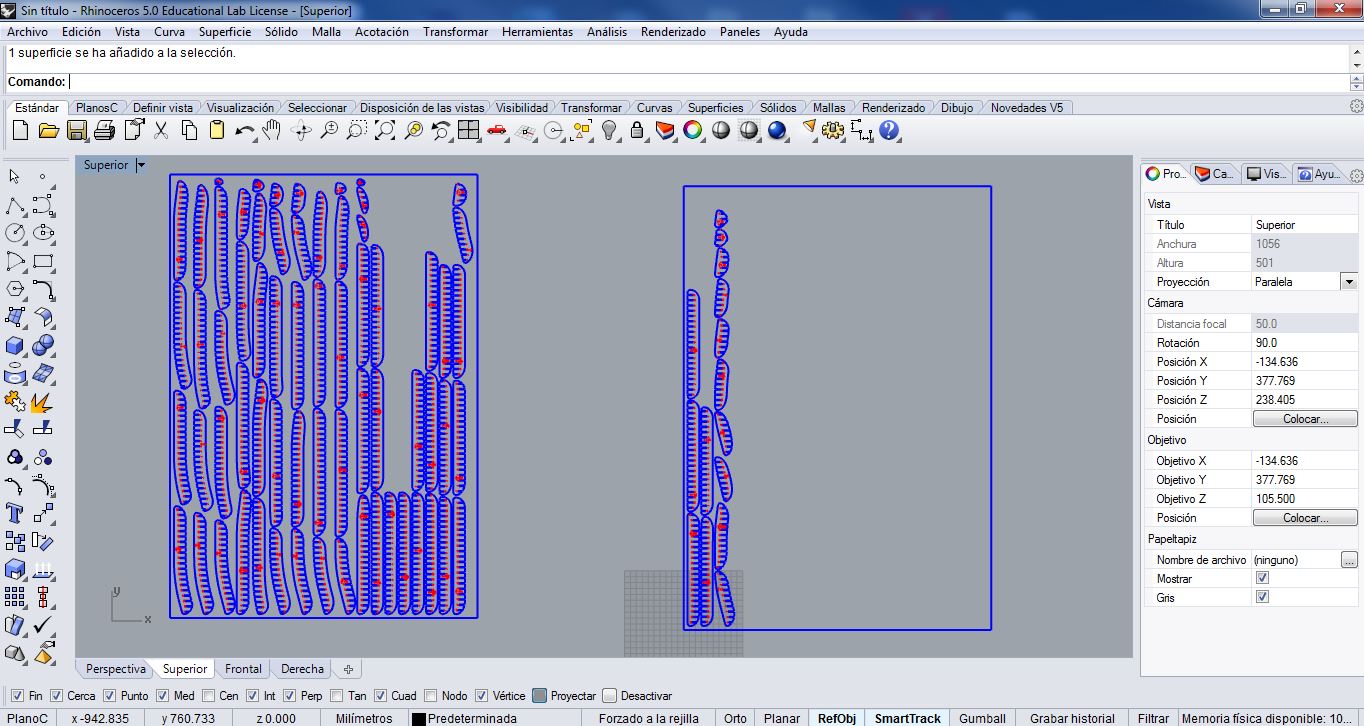
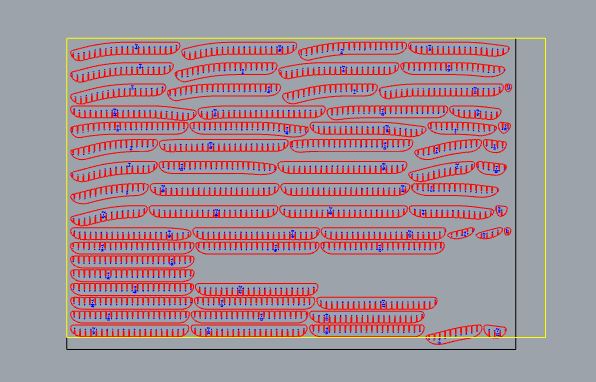
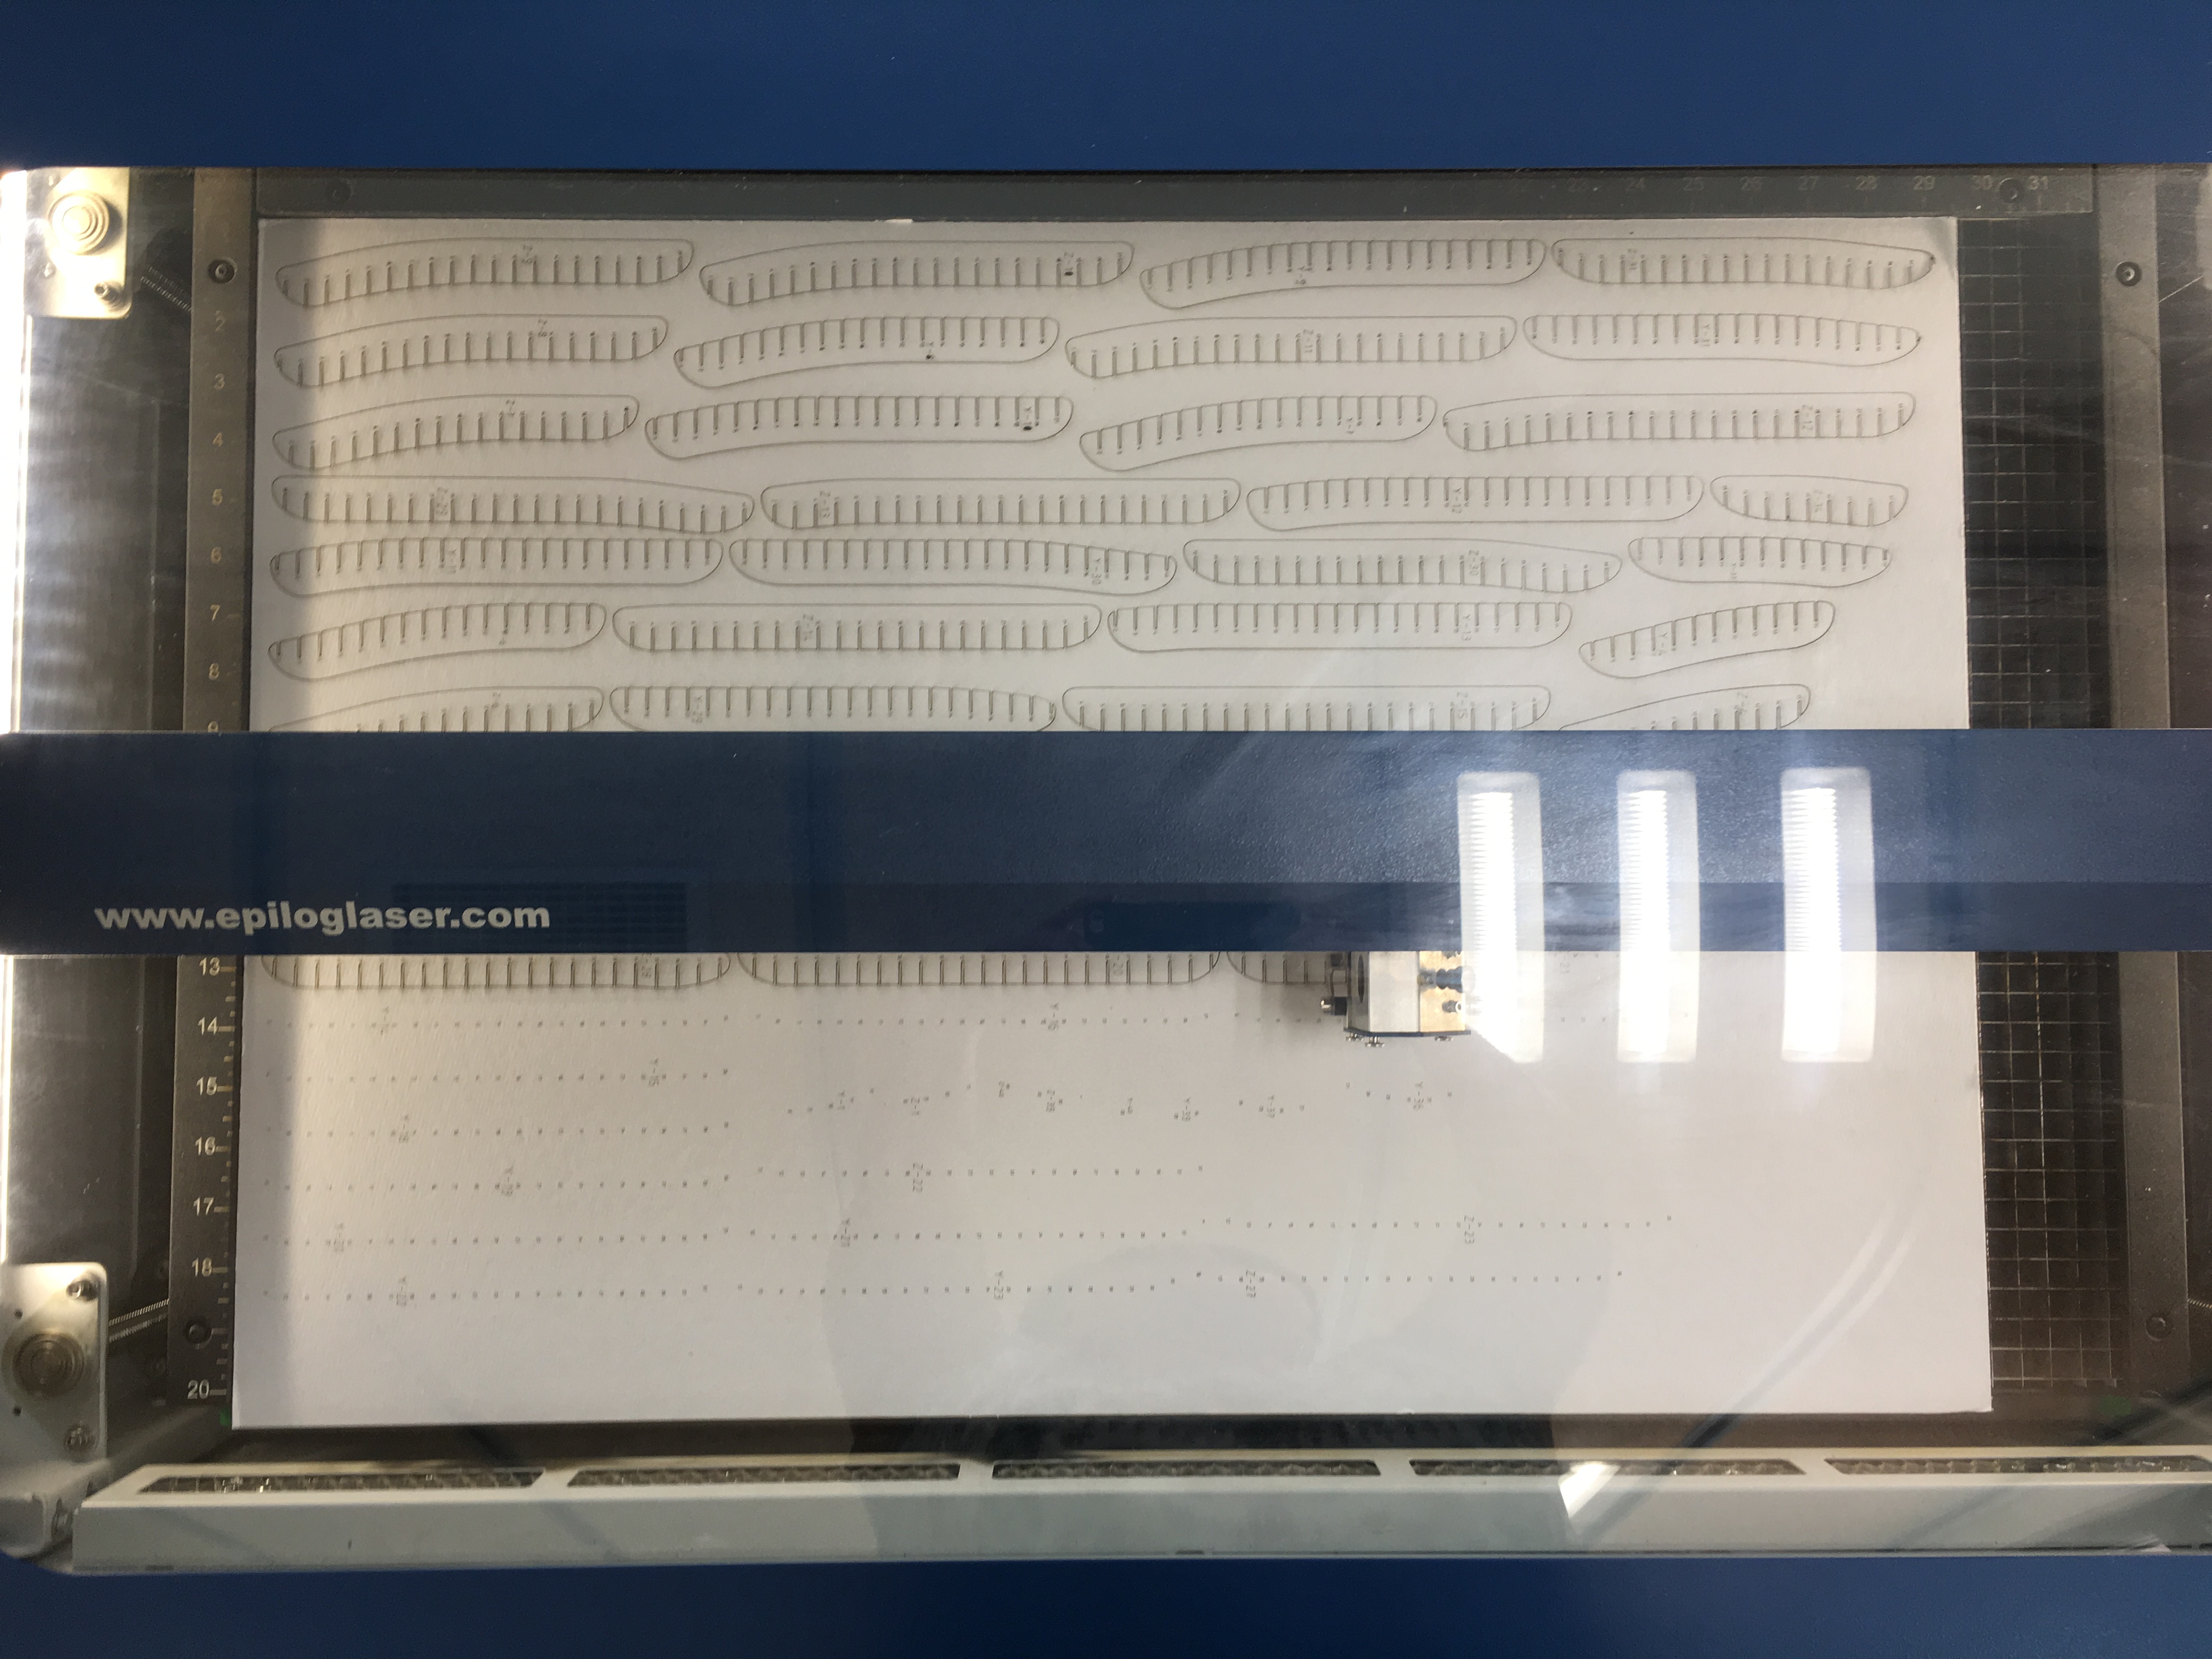
I laser-cut all the pieces:
		Partial-cut: 80-15-85
		Cut: 10-20-85
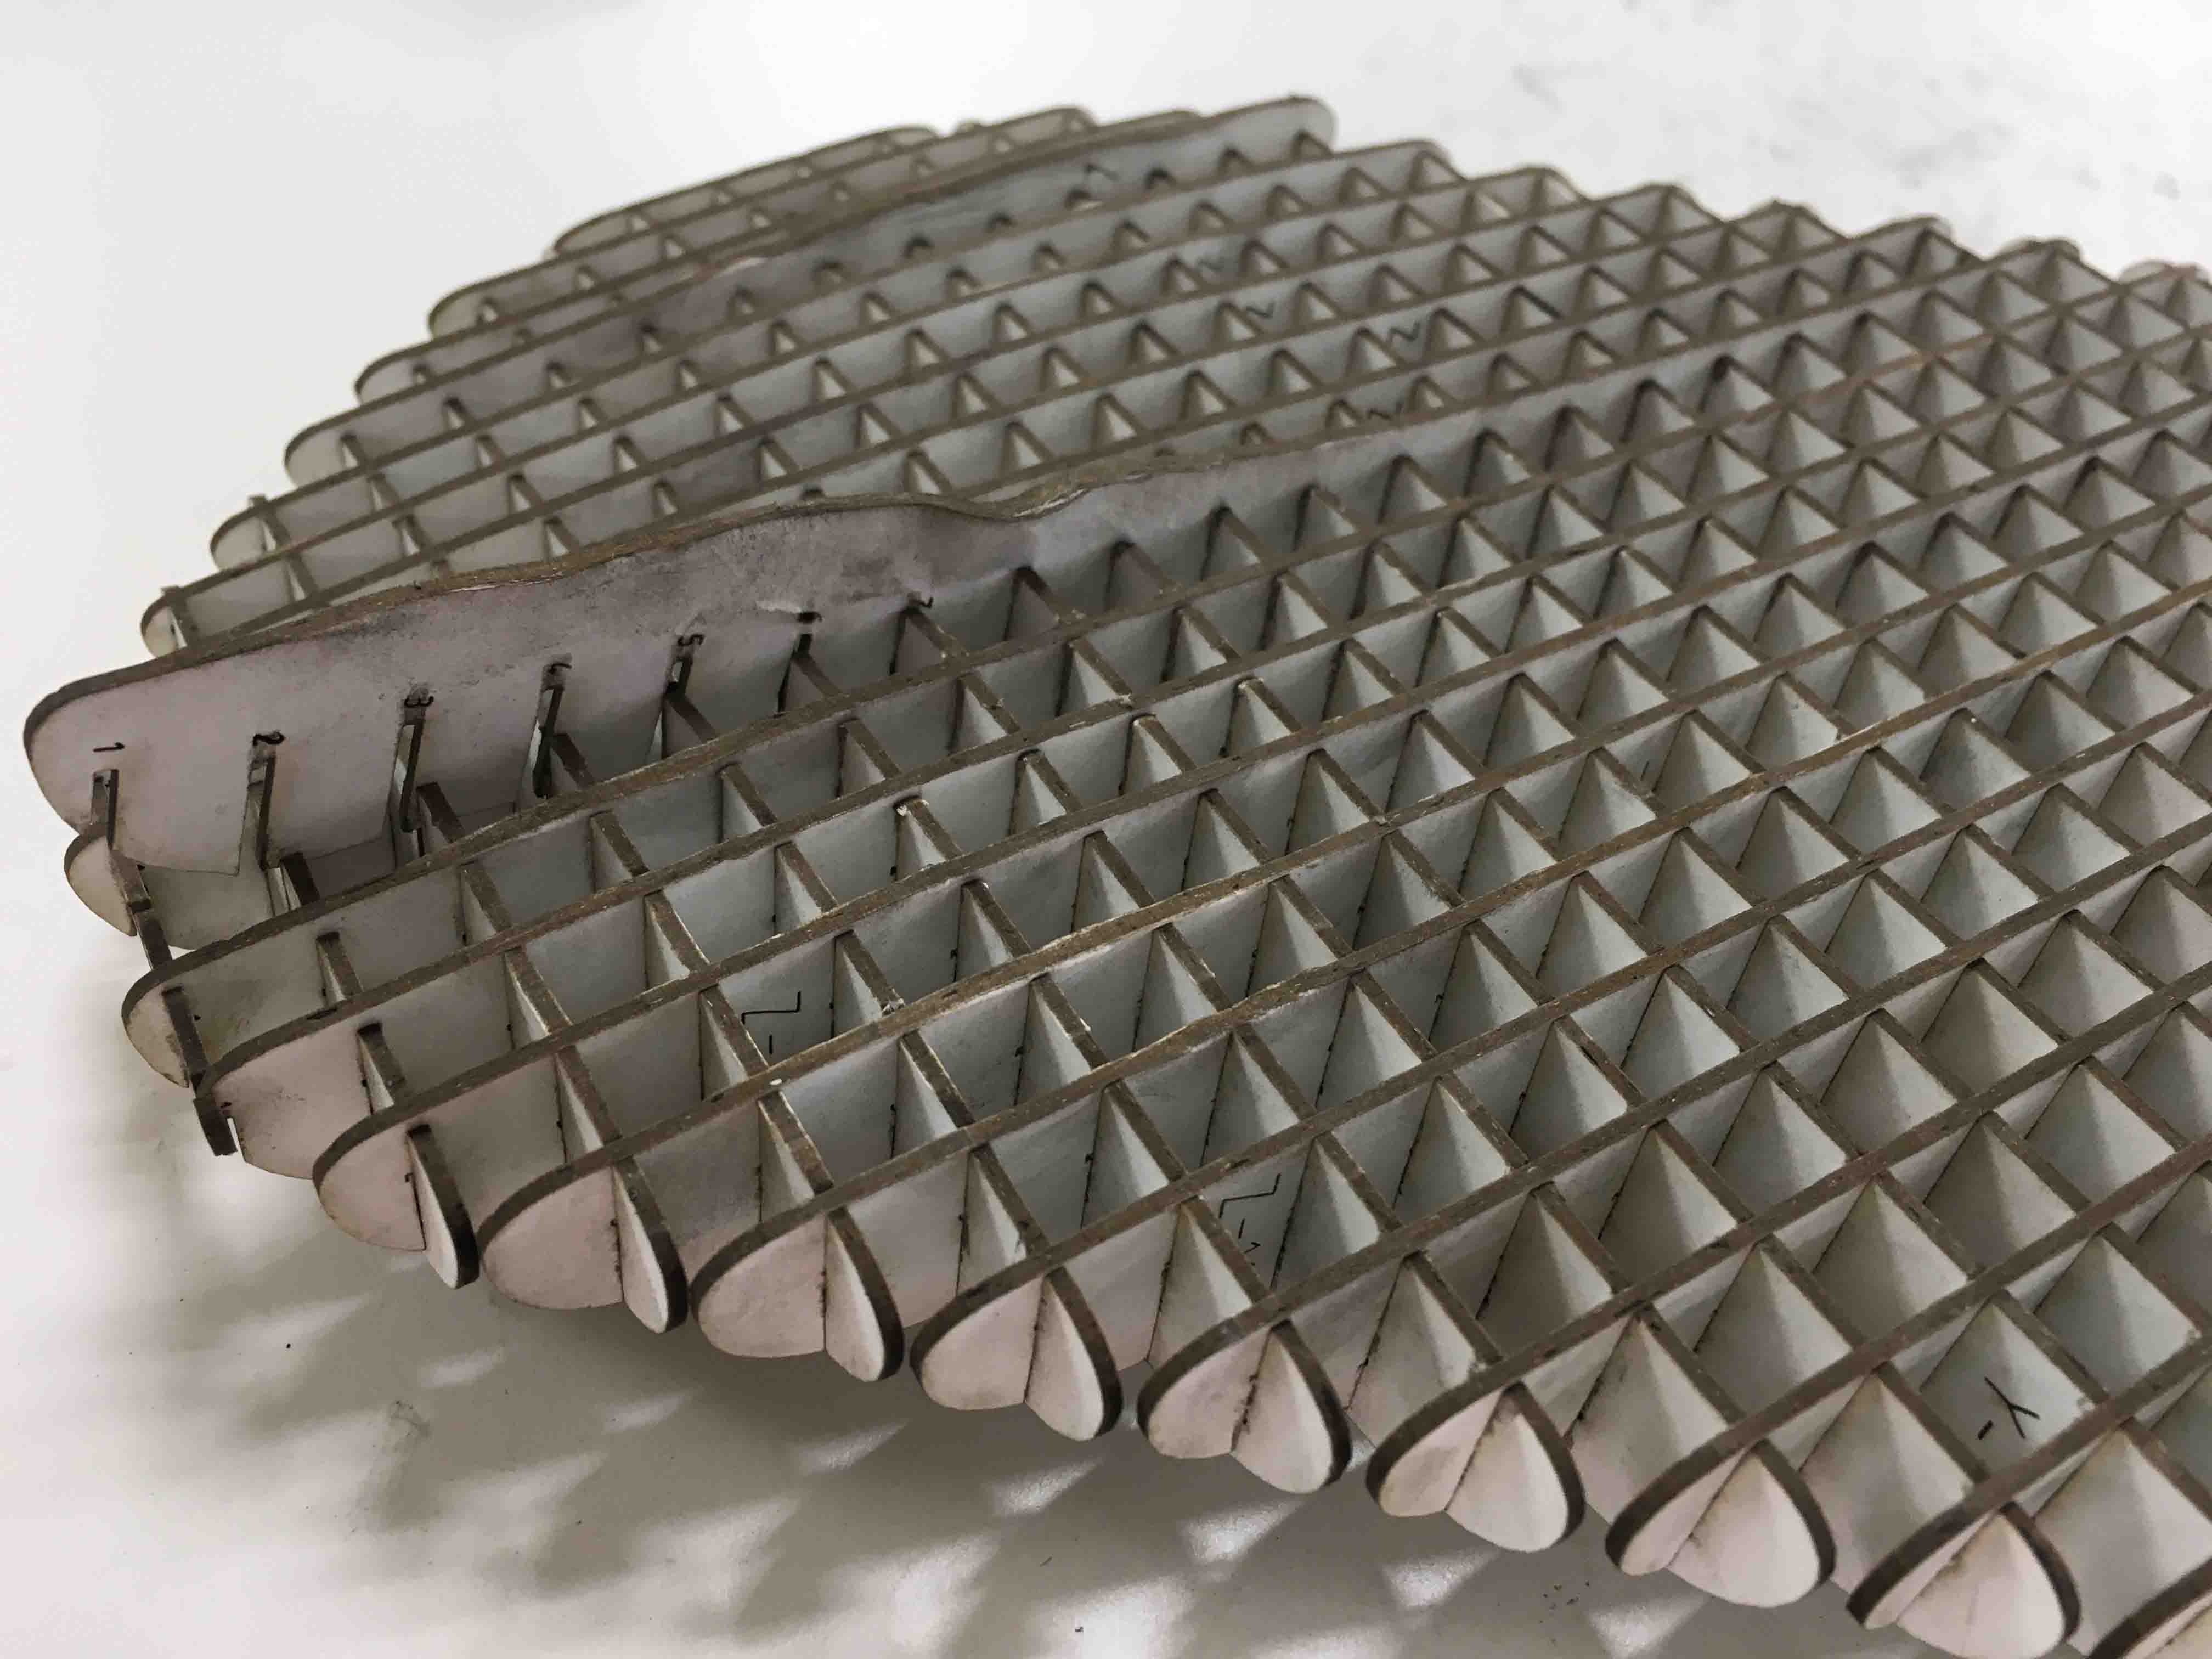
And I mounted all of them, one by one, with specifications given by SlicerforFusion360:
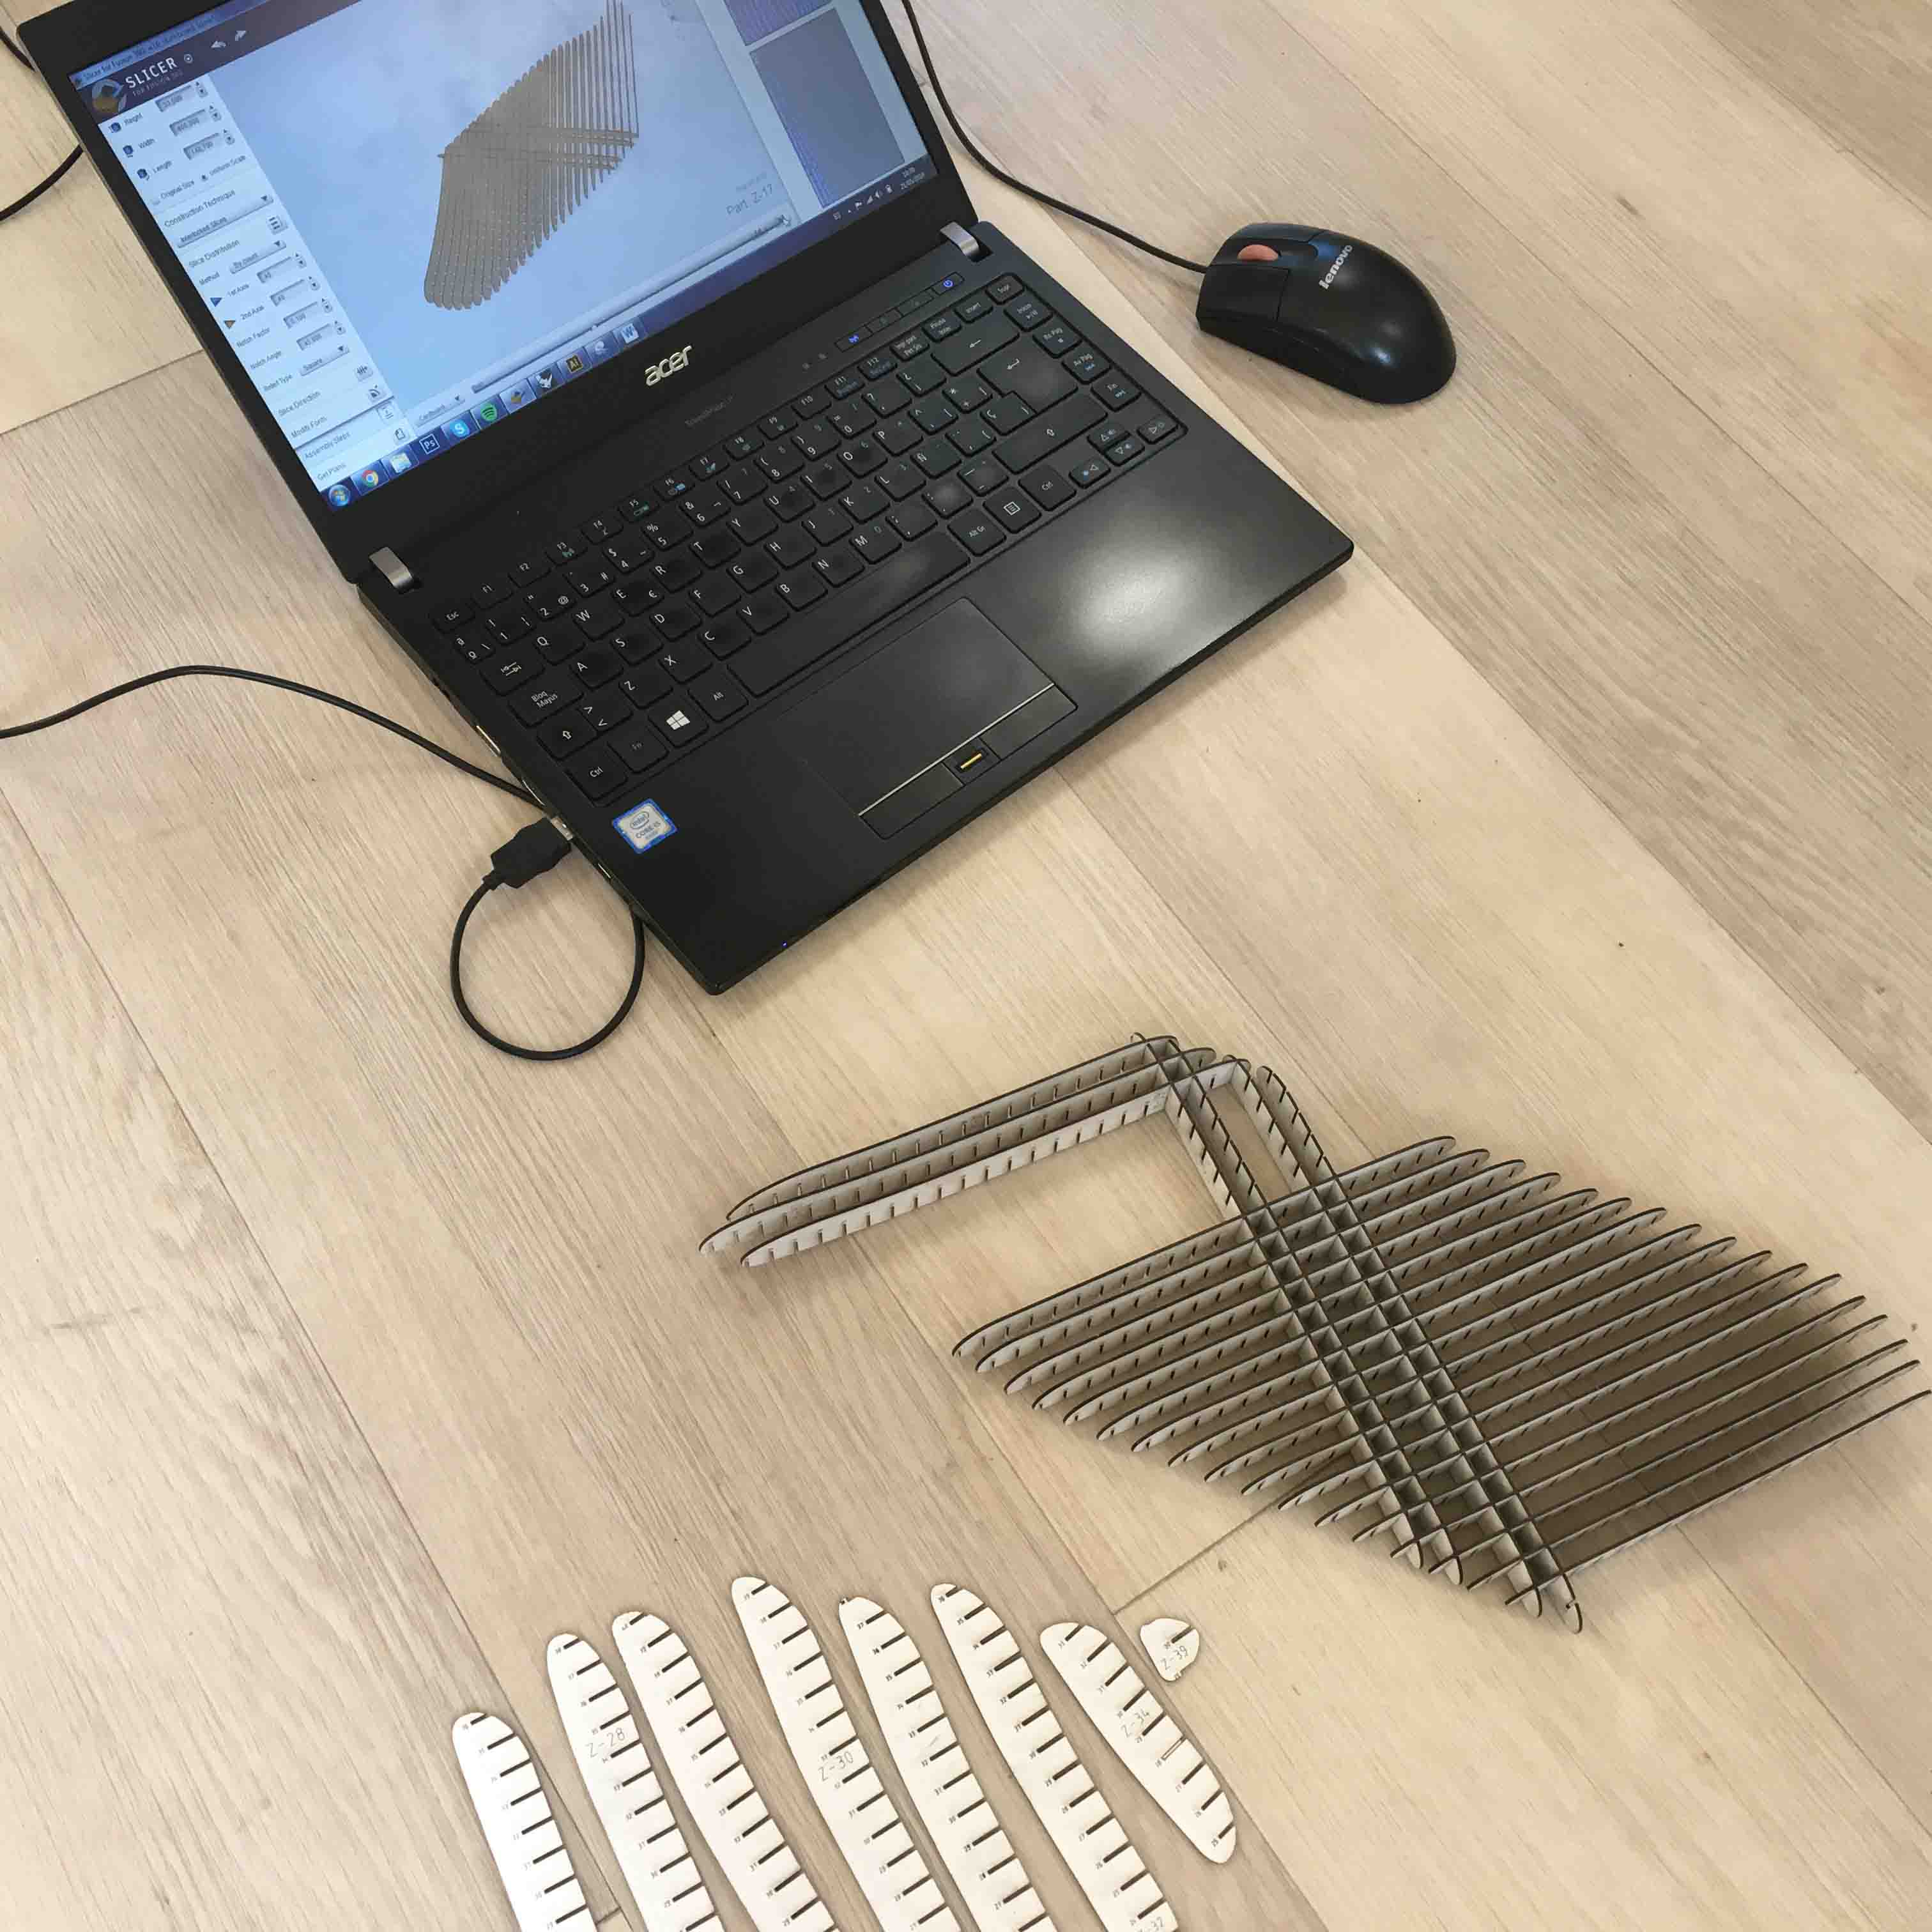
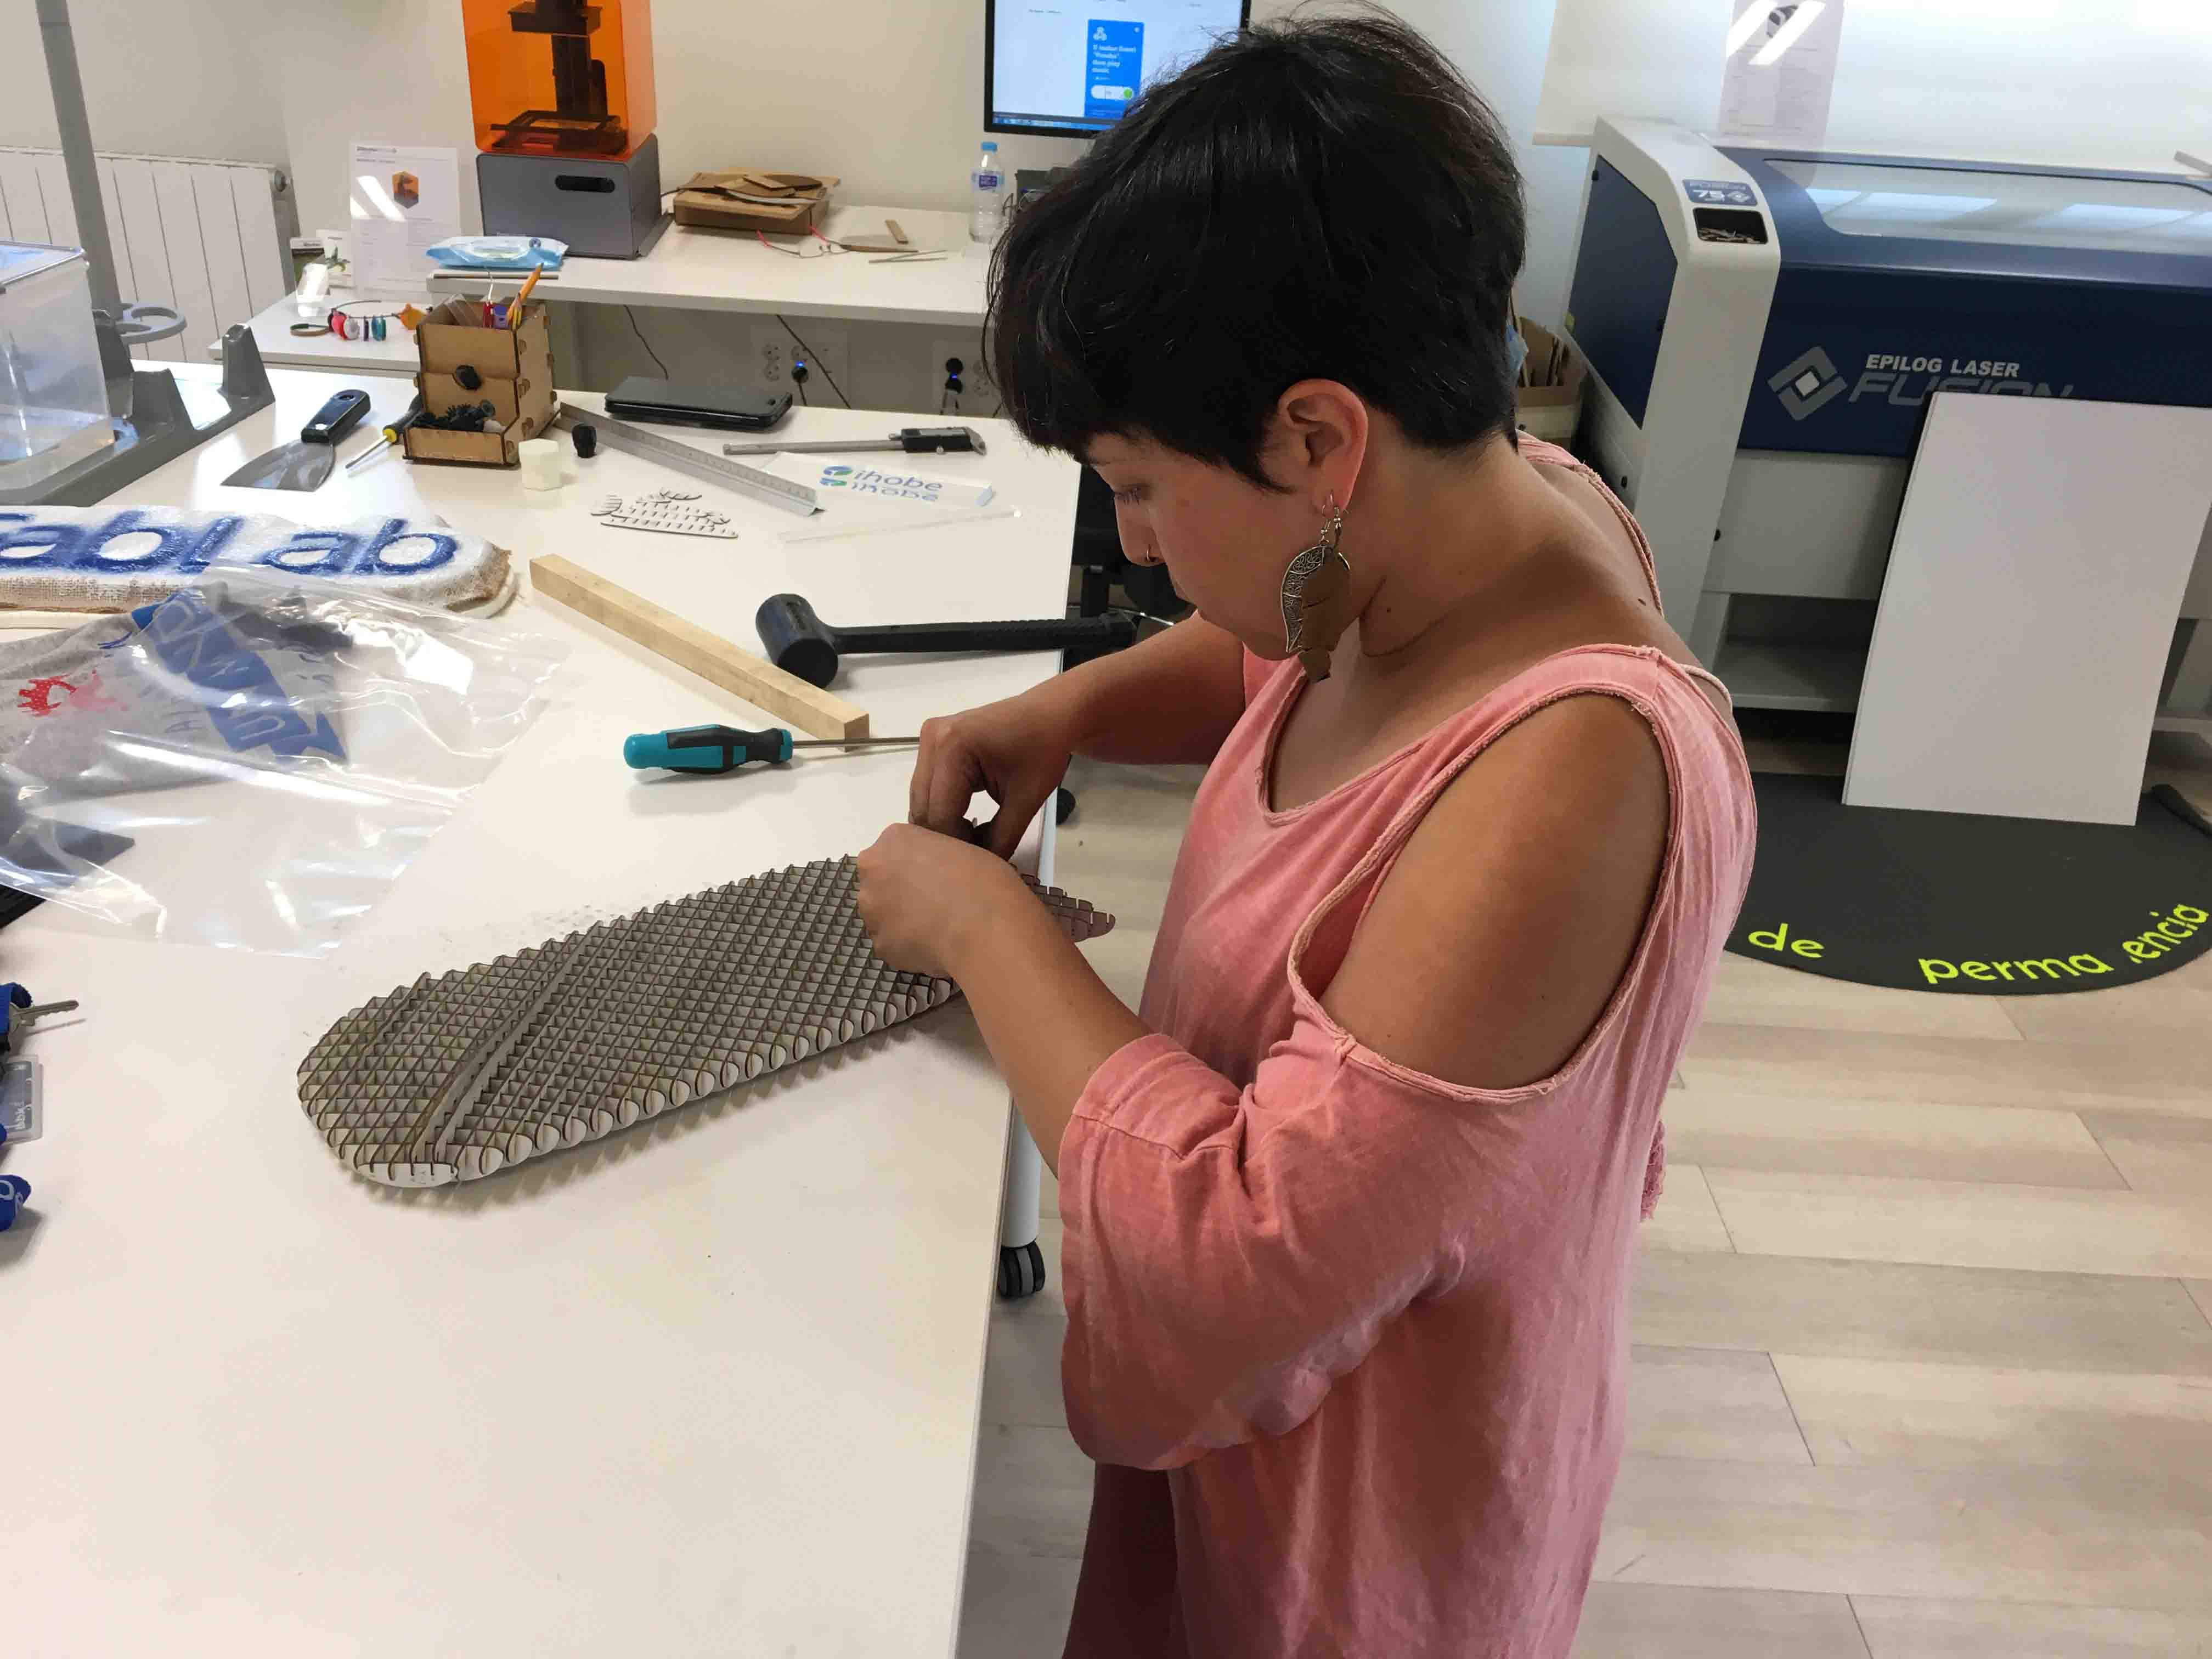
I have had some problems, as I designed it very "closed", some of final slices were very difficult or imposible to be assembled totally, so, after some proofs I decided to cut the excess with scisors manually.
Then, we prepared all Composites working elements and components, after understanding how it must be and taking in account we would use Vacuum Bagging Technology. See scheme in the image below:
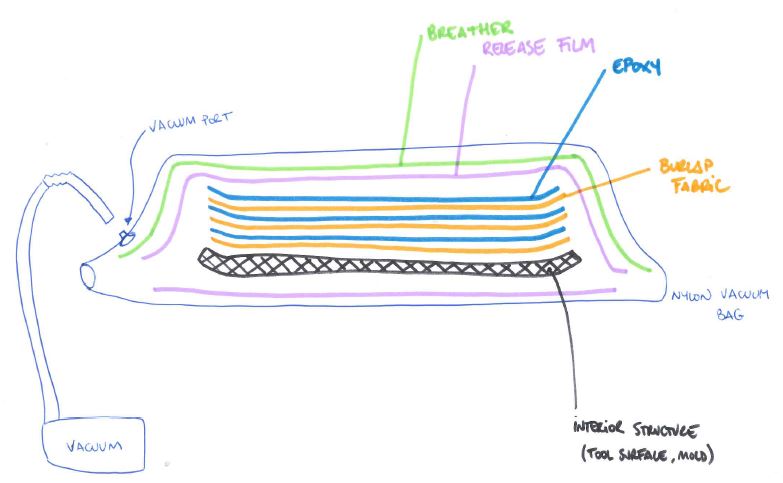
We are going to work with vacuum suction, so we need Release Film in order to not to be attached to vaccum bag, and a breather in order to allow vacuum to suction better the air inside the bag.
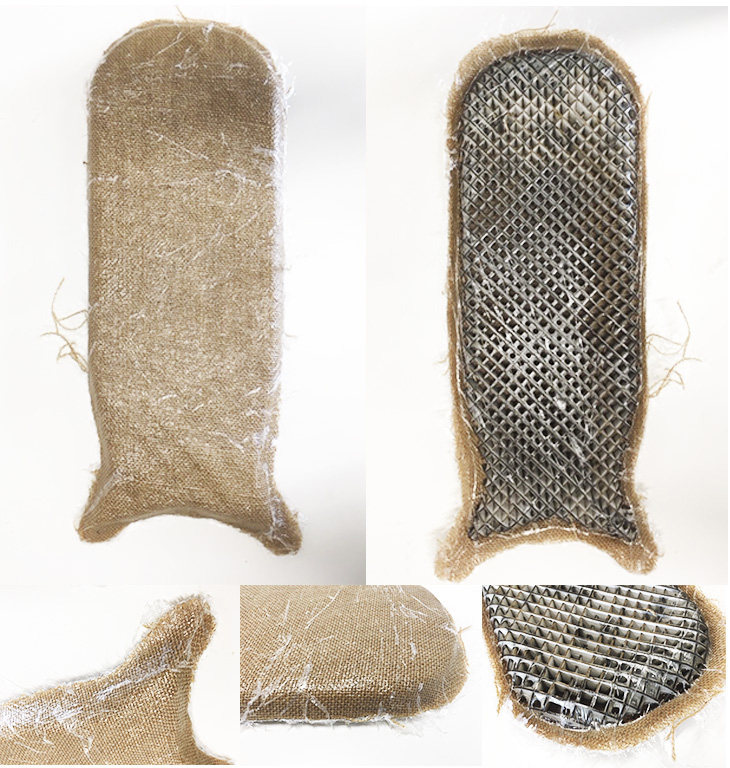
I prepared manually 3 Burlap-Fabric shapes for my Skateboard:
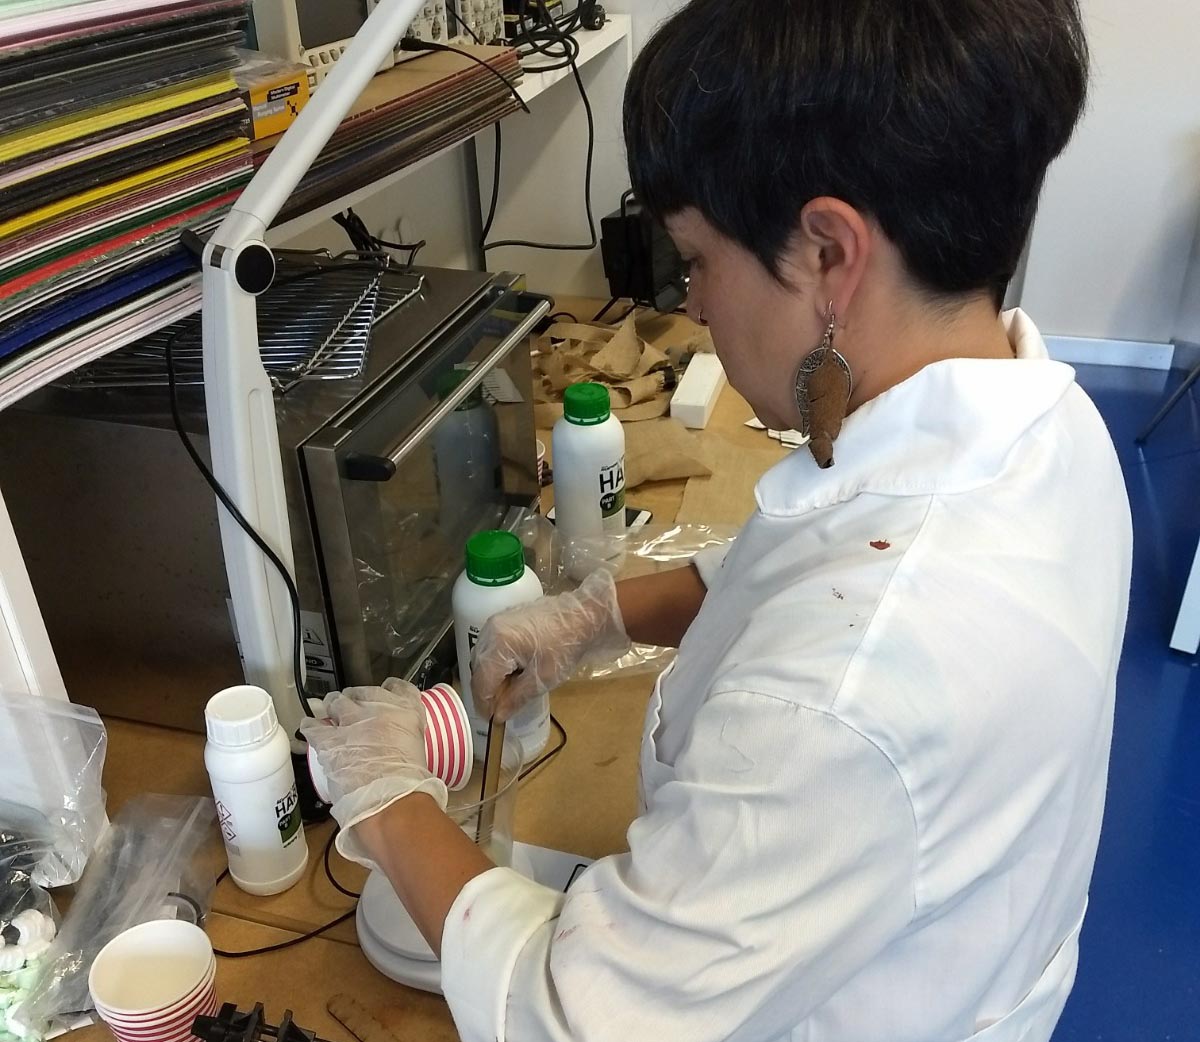
And when everything was prepared, we began to work with Epoxy and selected Burlap-Fabric fiber.
For mixing, Epoxy with its catalyzer, proportions are: 100/47. So we measured each one in a glass and then we mixed both until having a visible uniform liquid.
It is important to understand material lifetime, we have a limited time of use of this mixtures. In this case, we have 30 minutes until it becomes unusable.
So we mixed it:
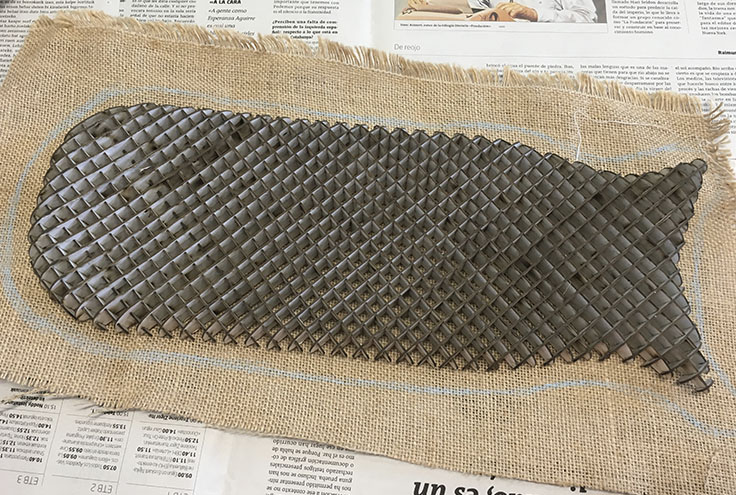
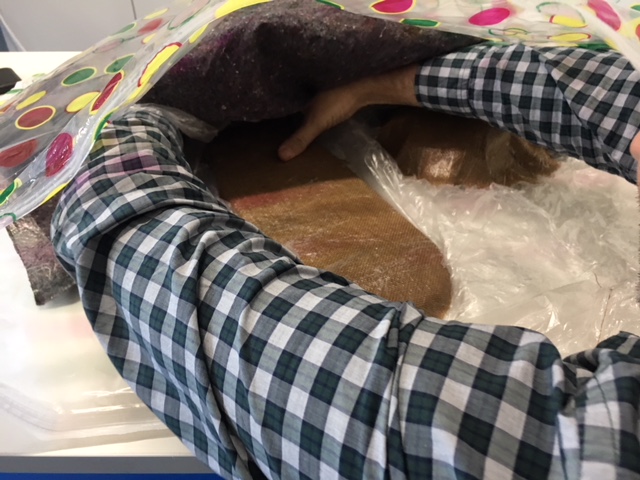
We applied it as in the scheme (in my case 3 times Epoxy+fiber(fabric)) and we introduced it in the Nylon Vacuum Bag we have prepared with Release film and Breather. Release film is the peel ply, and the breather can be the felt as well. It is not exactly the felt but it can be used like that.

This is the result after vacuuning the bag system:
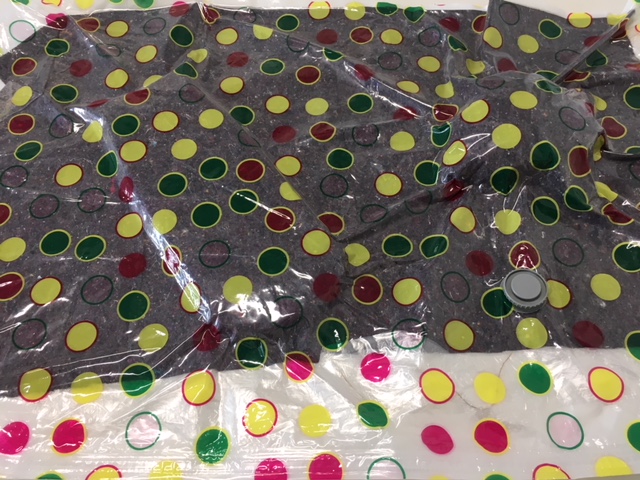
As I made it manually, It can be seen that I have so much resin, but this fabric is not easy to soak, and it was a little bit difficult to control it.
Next steps for me:
		_ Try to control better resin and fabric cuantities.
		_ Apply Composites in the other side of the Skateboard.
		_ Work in the surface finish, especially in the corners and
		in the union of the two processes.
		_ Maybe it will need another epoxy layer for unifying everything well.
		_ Make the assembly with wheels and see if it works.