Exercise 15. MTM

After Neil's recitation on Wednesday 2th and 9th May, the assignment for this 2 weeks was to:
		W15 GROUP ASSIGNMENT:
			- design a machine that includes mechanism+actuation+automation
			- build the mechanical parts and operate it manually
			- document the group project and your individual contribution
		W16 GROUP ASSIGNMENT:
			- actuate and automate your machine
			- document the group project and your individual contribution
Learning outcomes for this week:
		_ Work and communicate effectively in a team and independently
		_ Design, plan and build a system
		_ Analyse and solve technical problems
		_ Recognise opportunities for improvements in the design
My individual contribution to this project has been, as we explained in Deusto FabLab site MTM assignment, the mechanical/fabrication part of the machine we have built.

We divided the process in 3 parts:
			1.Electronics and programming >> JAVI
			2.Design, make and mount it >> LEIRE
			3.Test it >> BOTH
Even so, I have to say, we've worked as a team all the time, and we have been toghether in all process parts.
I copy here my documentation part, but you can see the whole process in Deusto FabLab site MTM assignment.
2_ UNDERSTAND EACH COMPONENT NEED > DESIGN STRUCTURE
Javi has been the responsible for electronic/programming part, but we have worked toghether everytime.
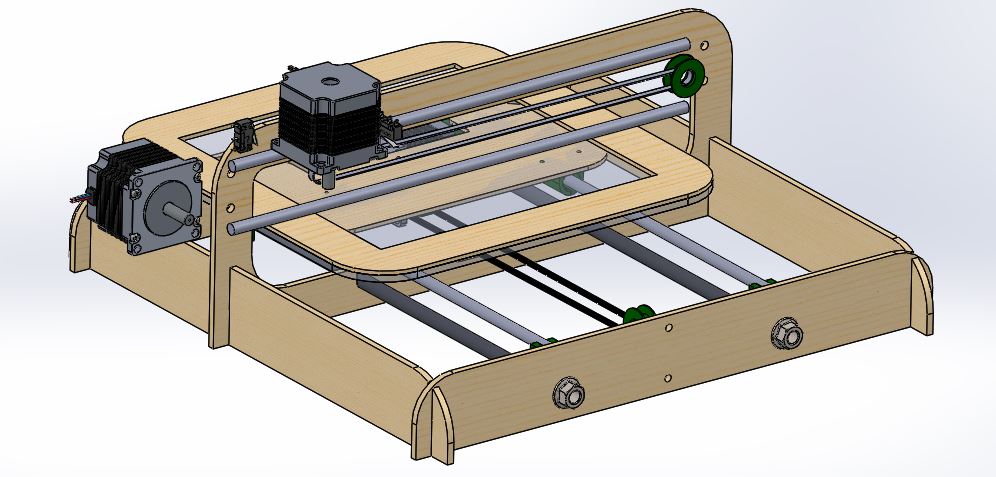
Once we had a clear vision about electronics and components (motors, switches), we began to gather mechanical parts we need for the structure and movements transmisions.
We were inspired by the Prusa since we had leftover components from an assembly kit.
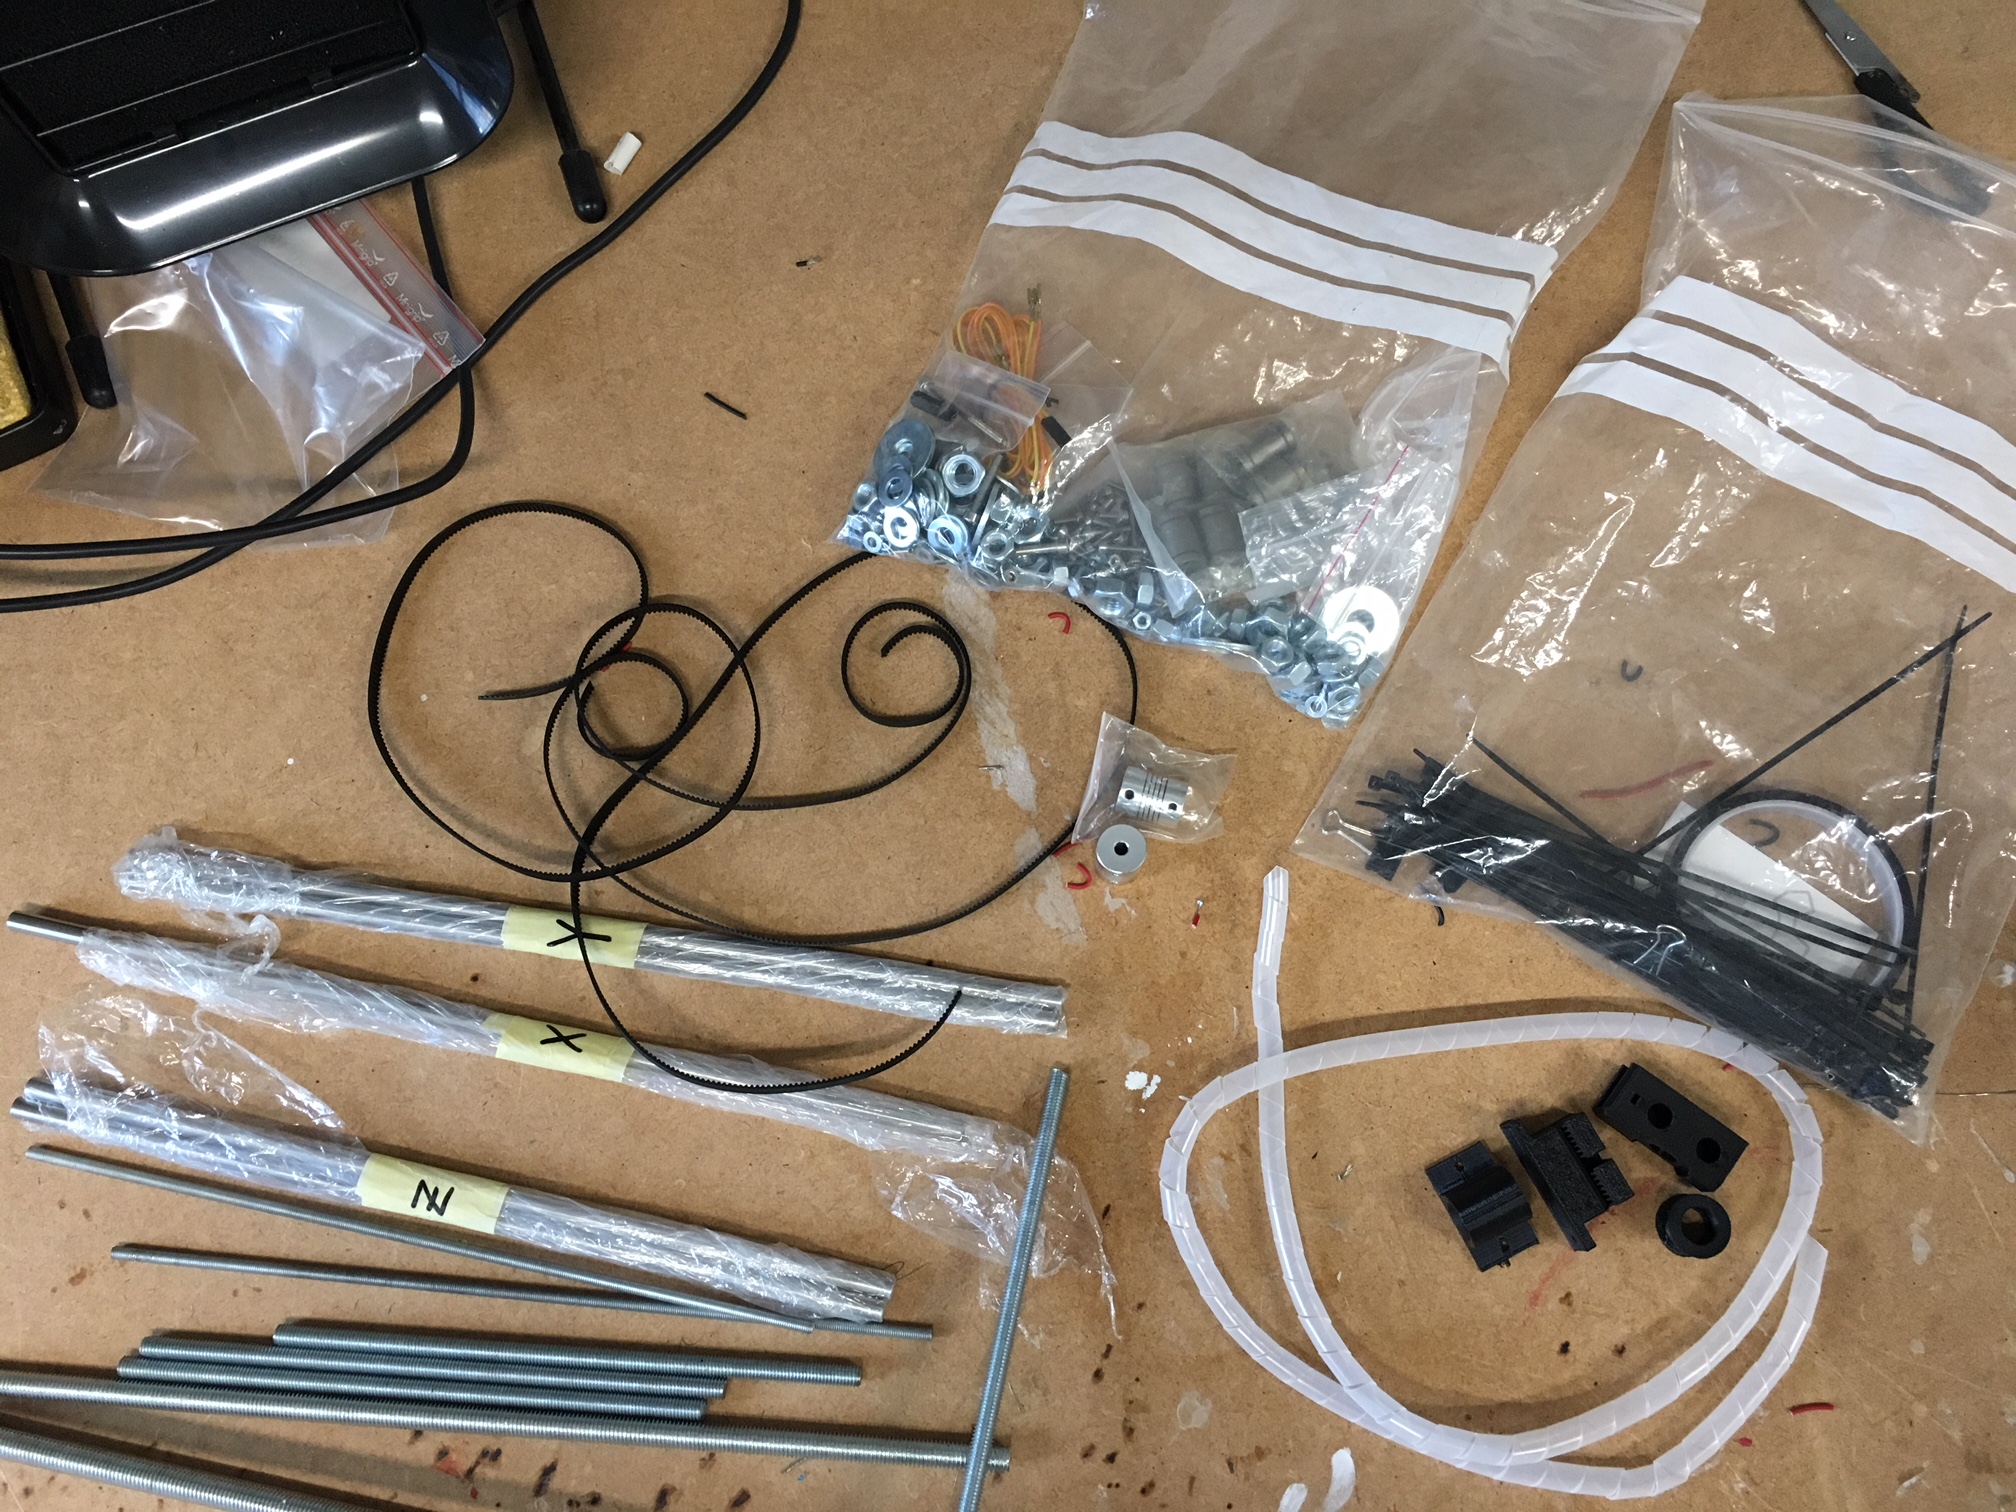
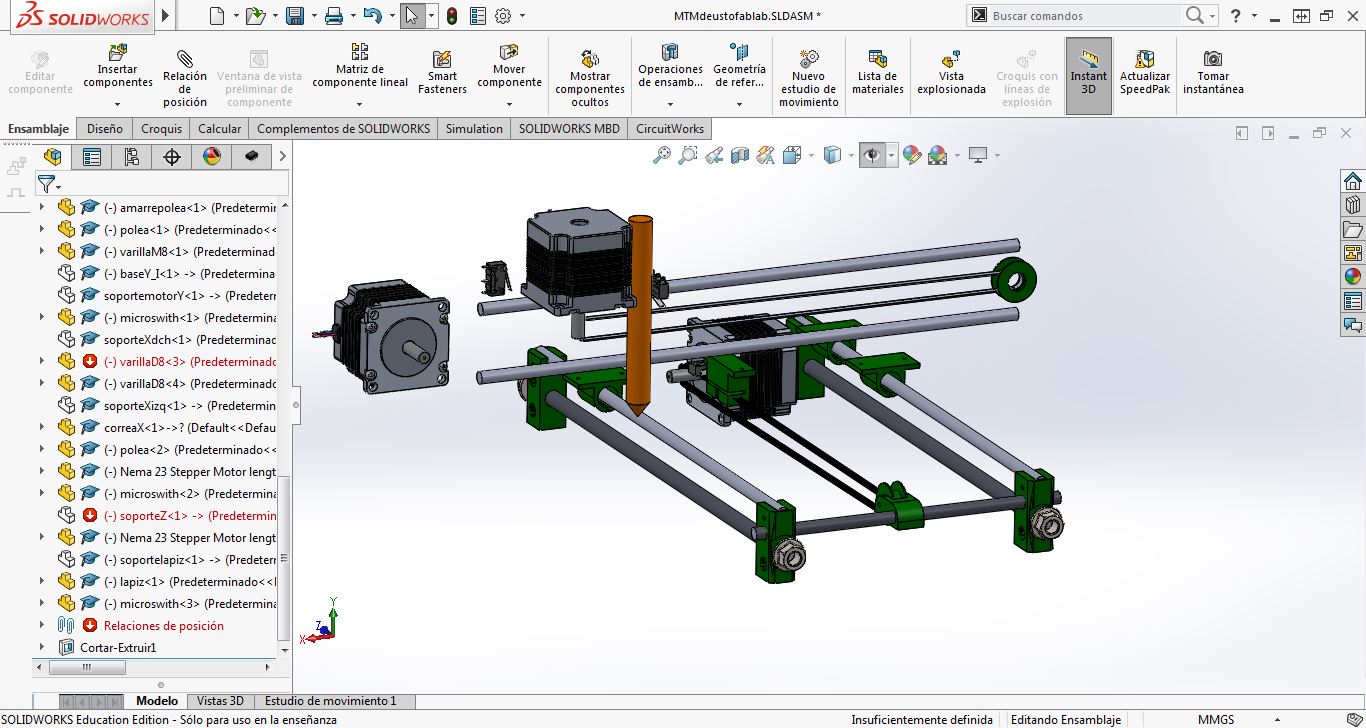
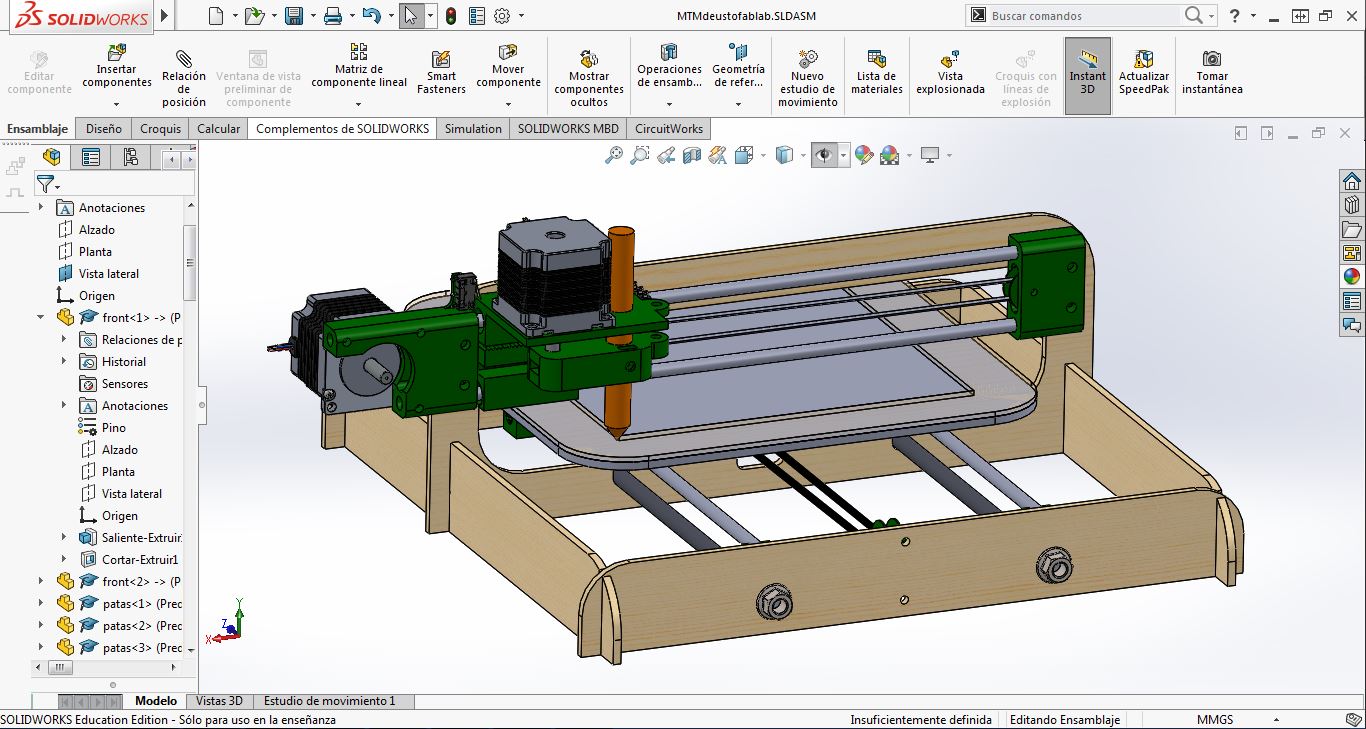
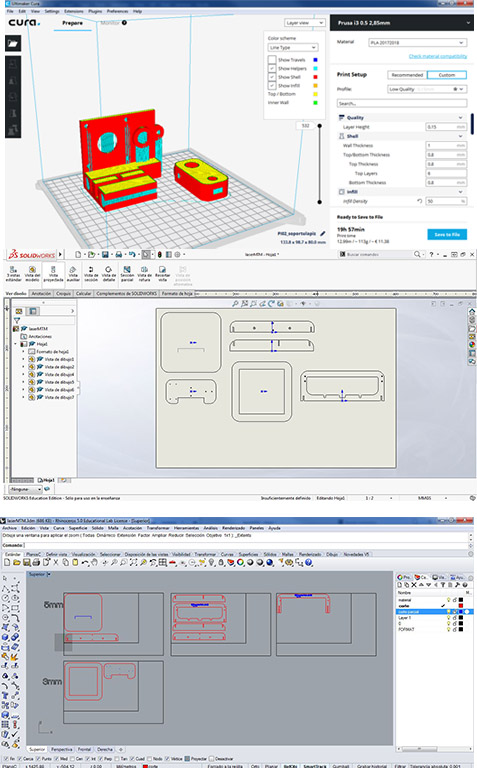
So, using SolidWorks, we began to assembly its different parts like rods, shafts, belts, screws, nuts, etc. Some of them downloaded from web repositories, some of them reproduced by us taking general dimmensions.
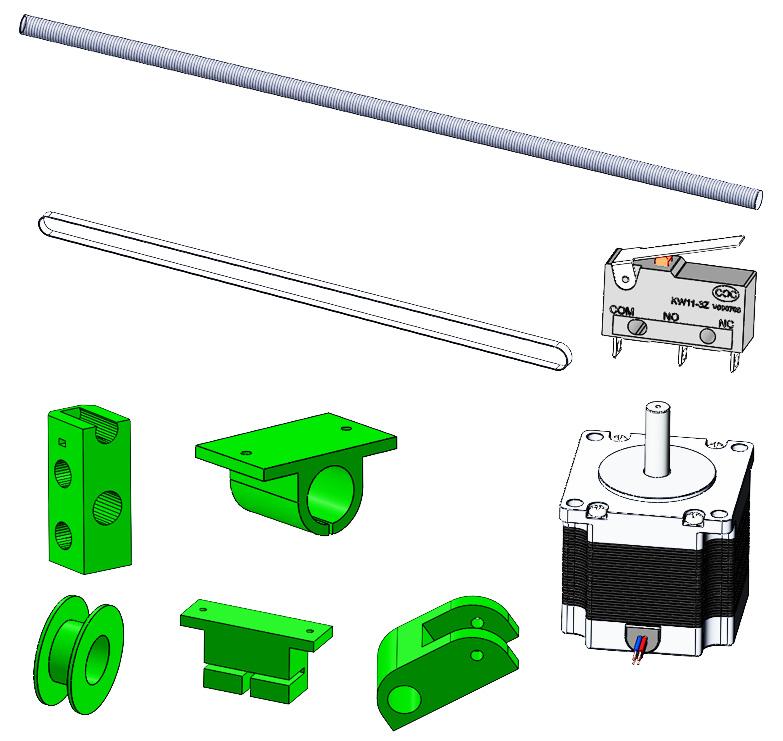
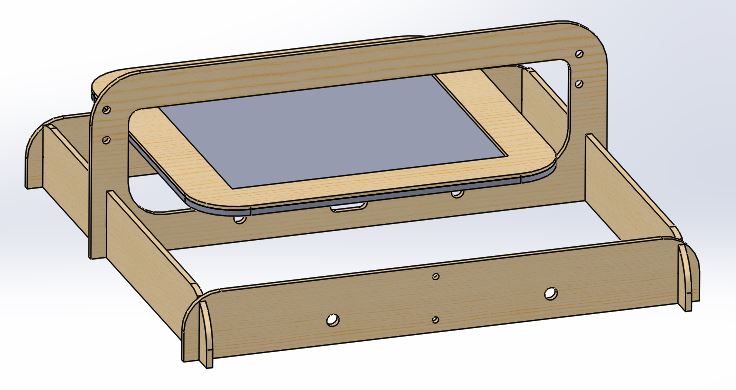
After that, we designed parts we later made by Laser Cut:
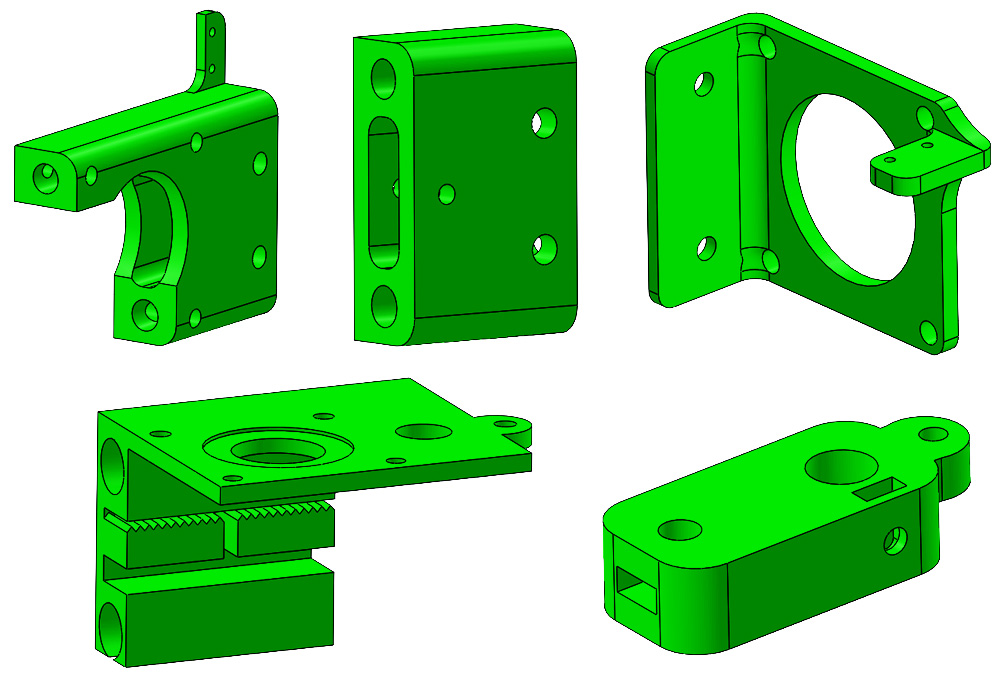
And finally parts we needed to finish the assembly of the 3 axis with the structure. These ones for 3D printing.
3_ MAKE IT > MOUNT IT
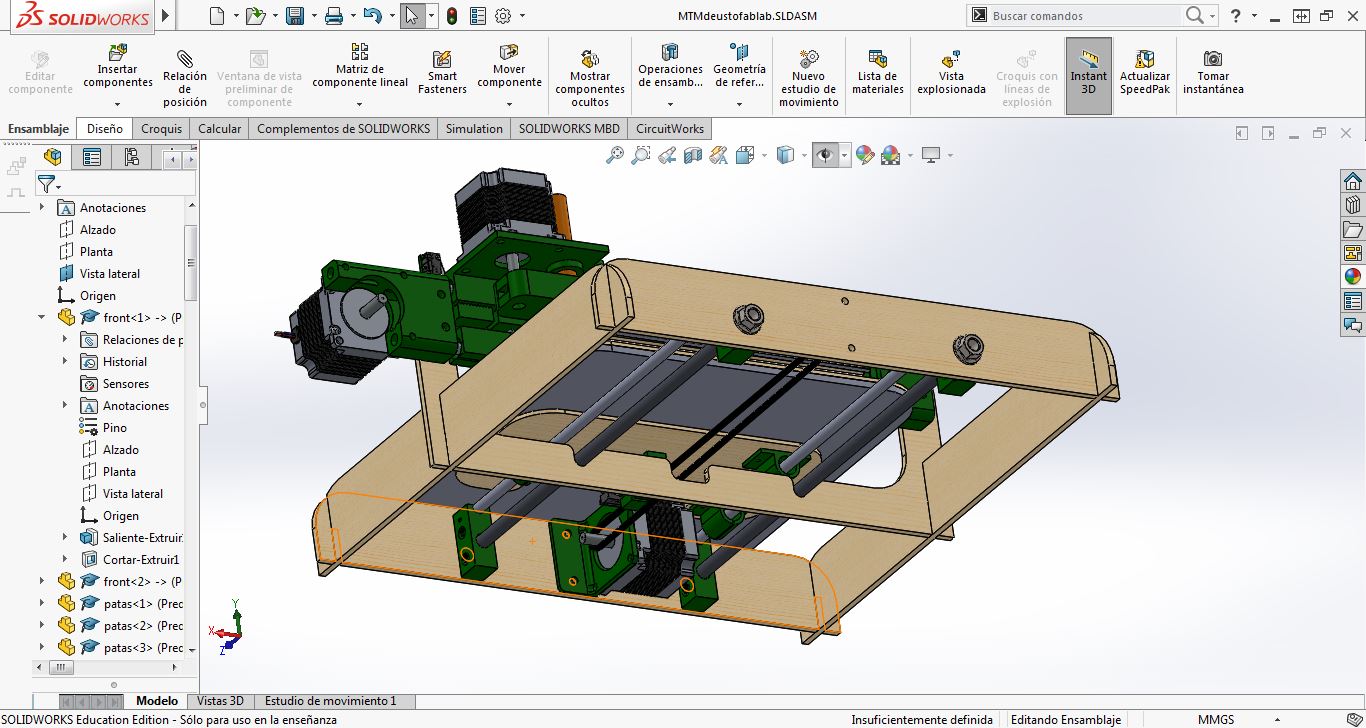
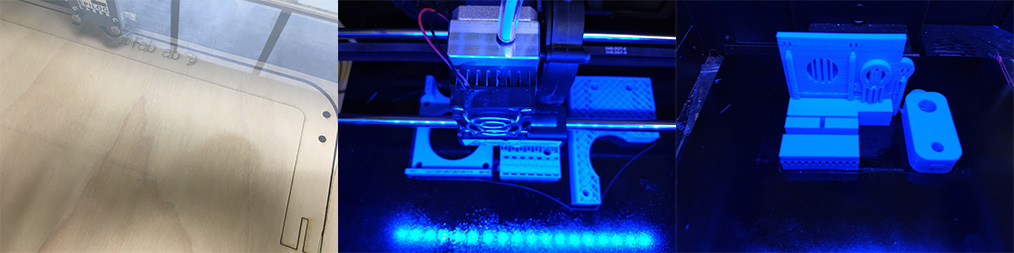
With the 3D design theoretically finished, we made LaserCut and 3D printing parts:
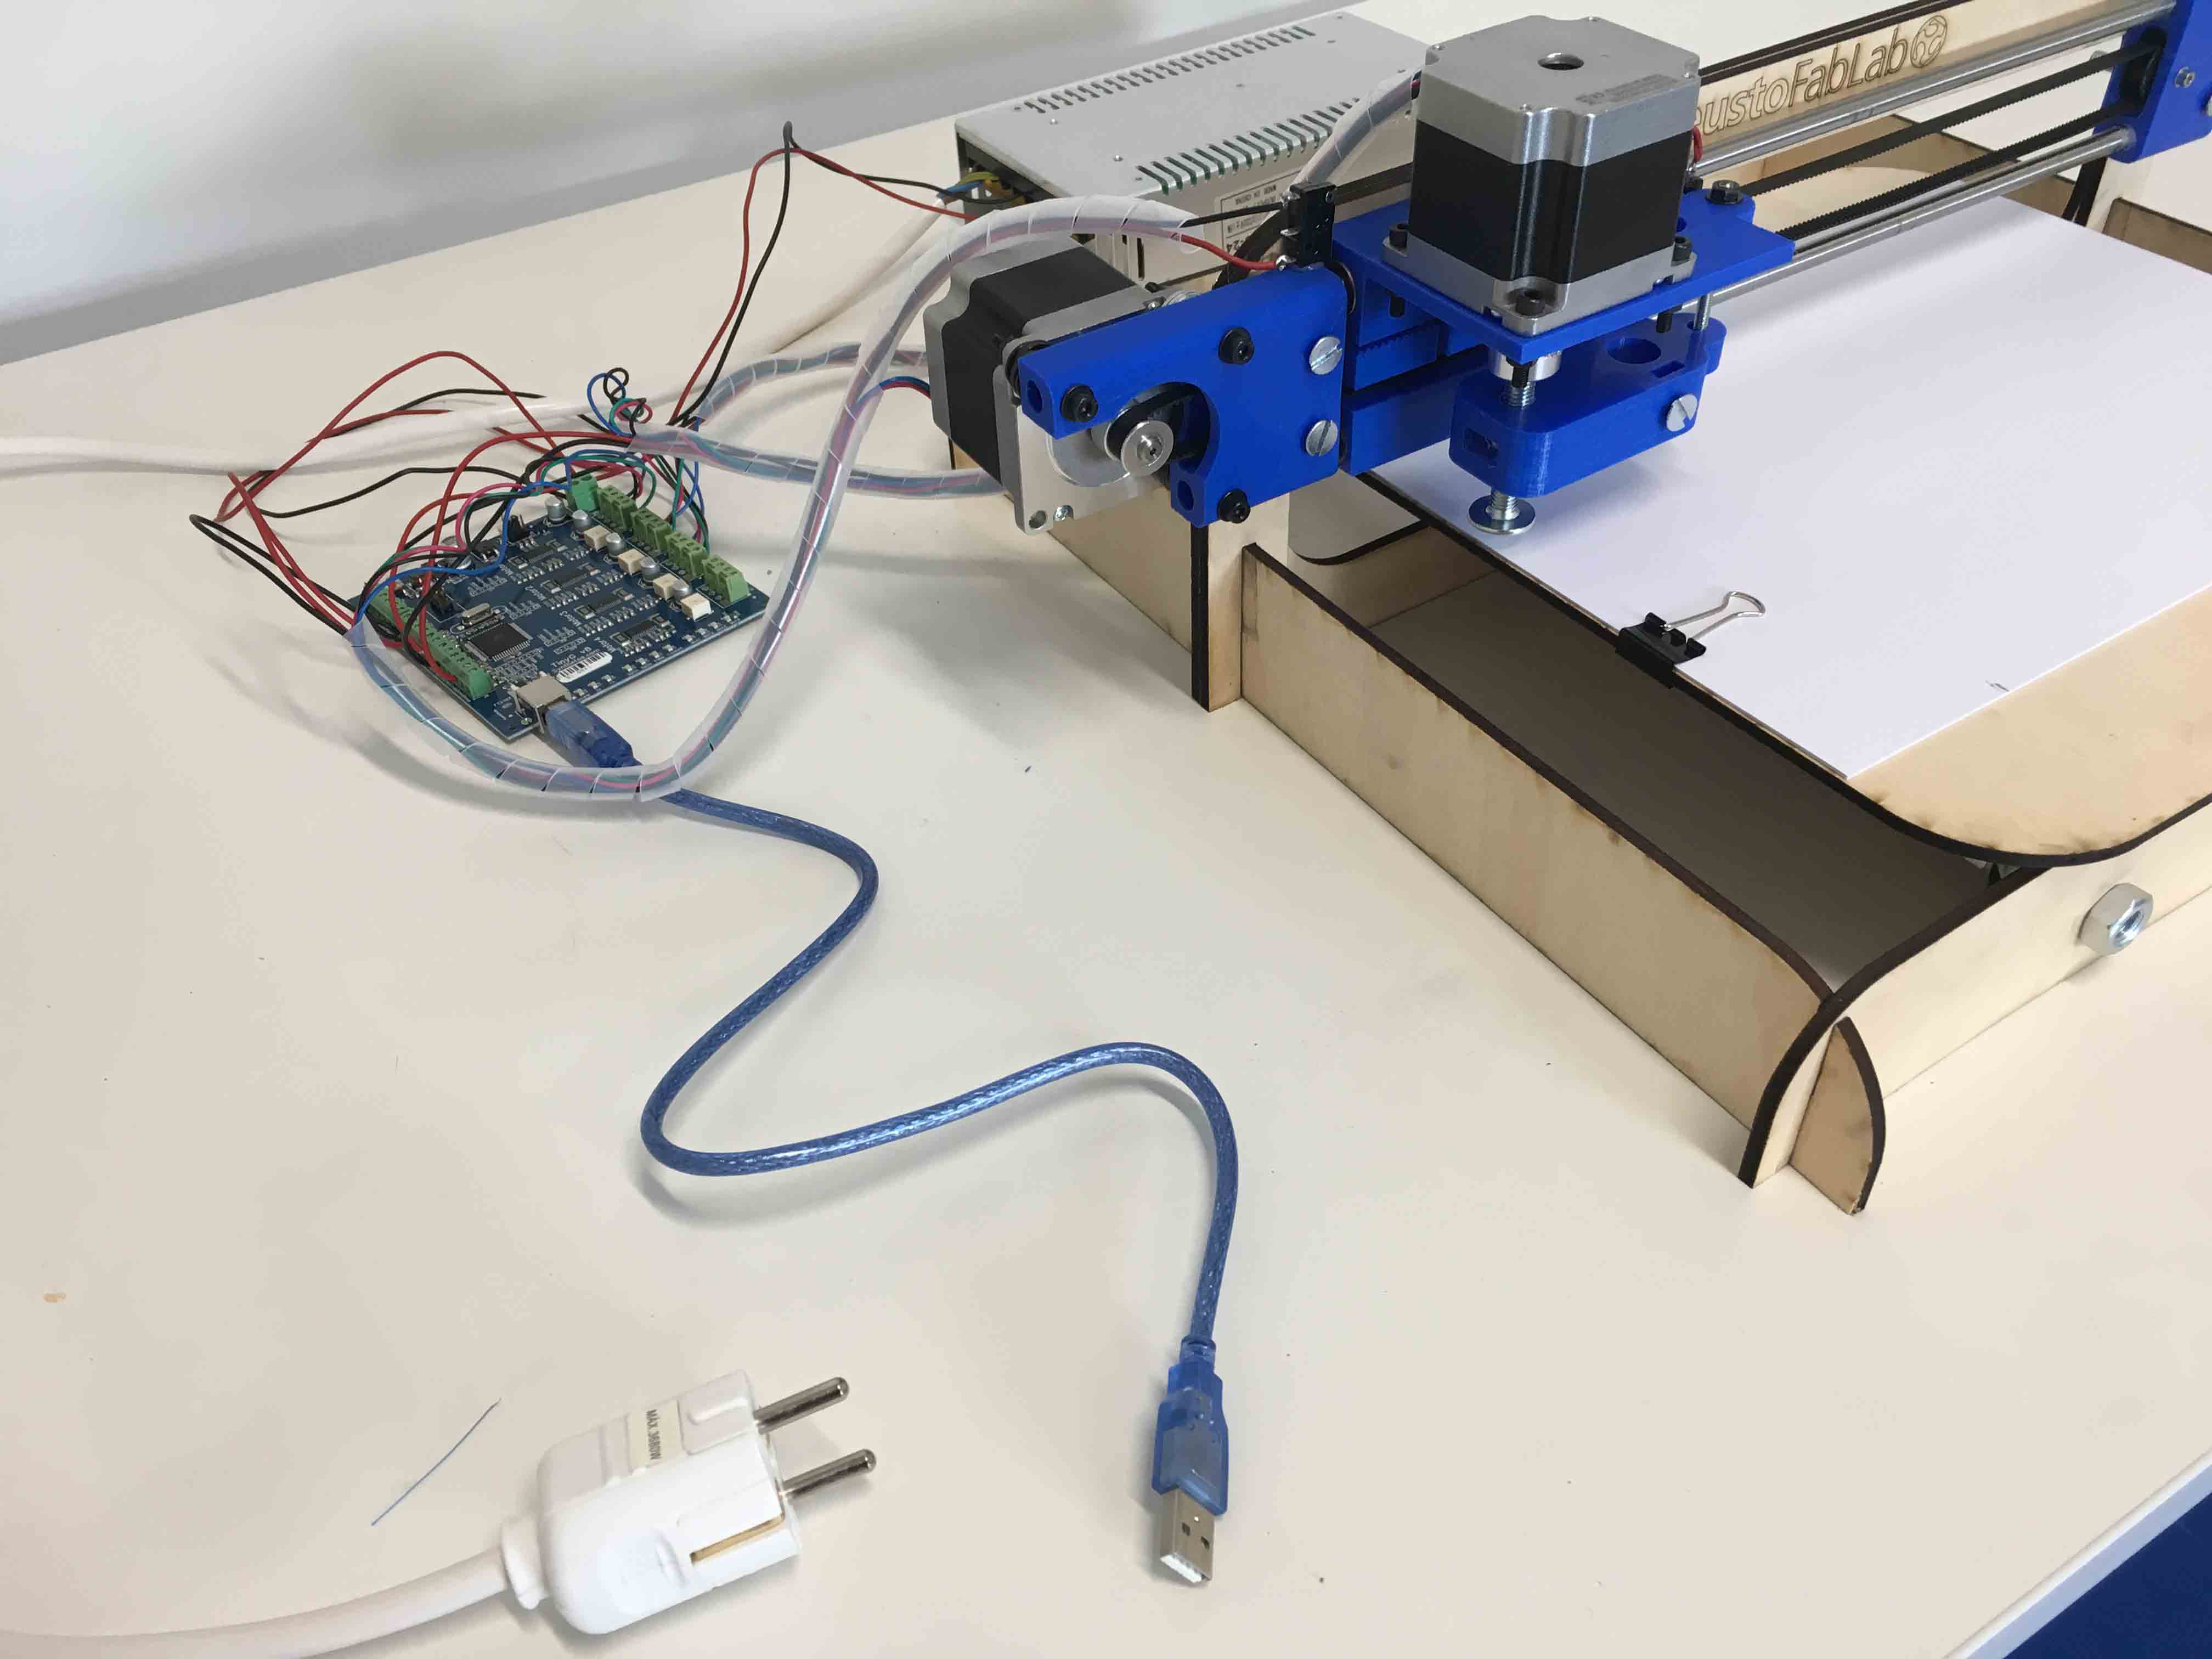
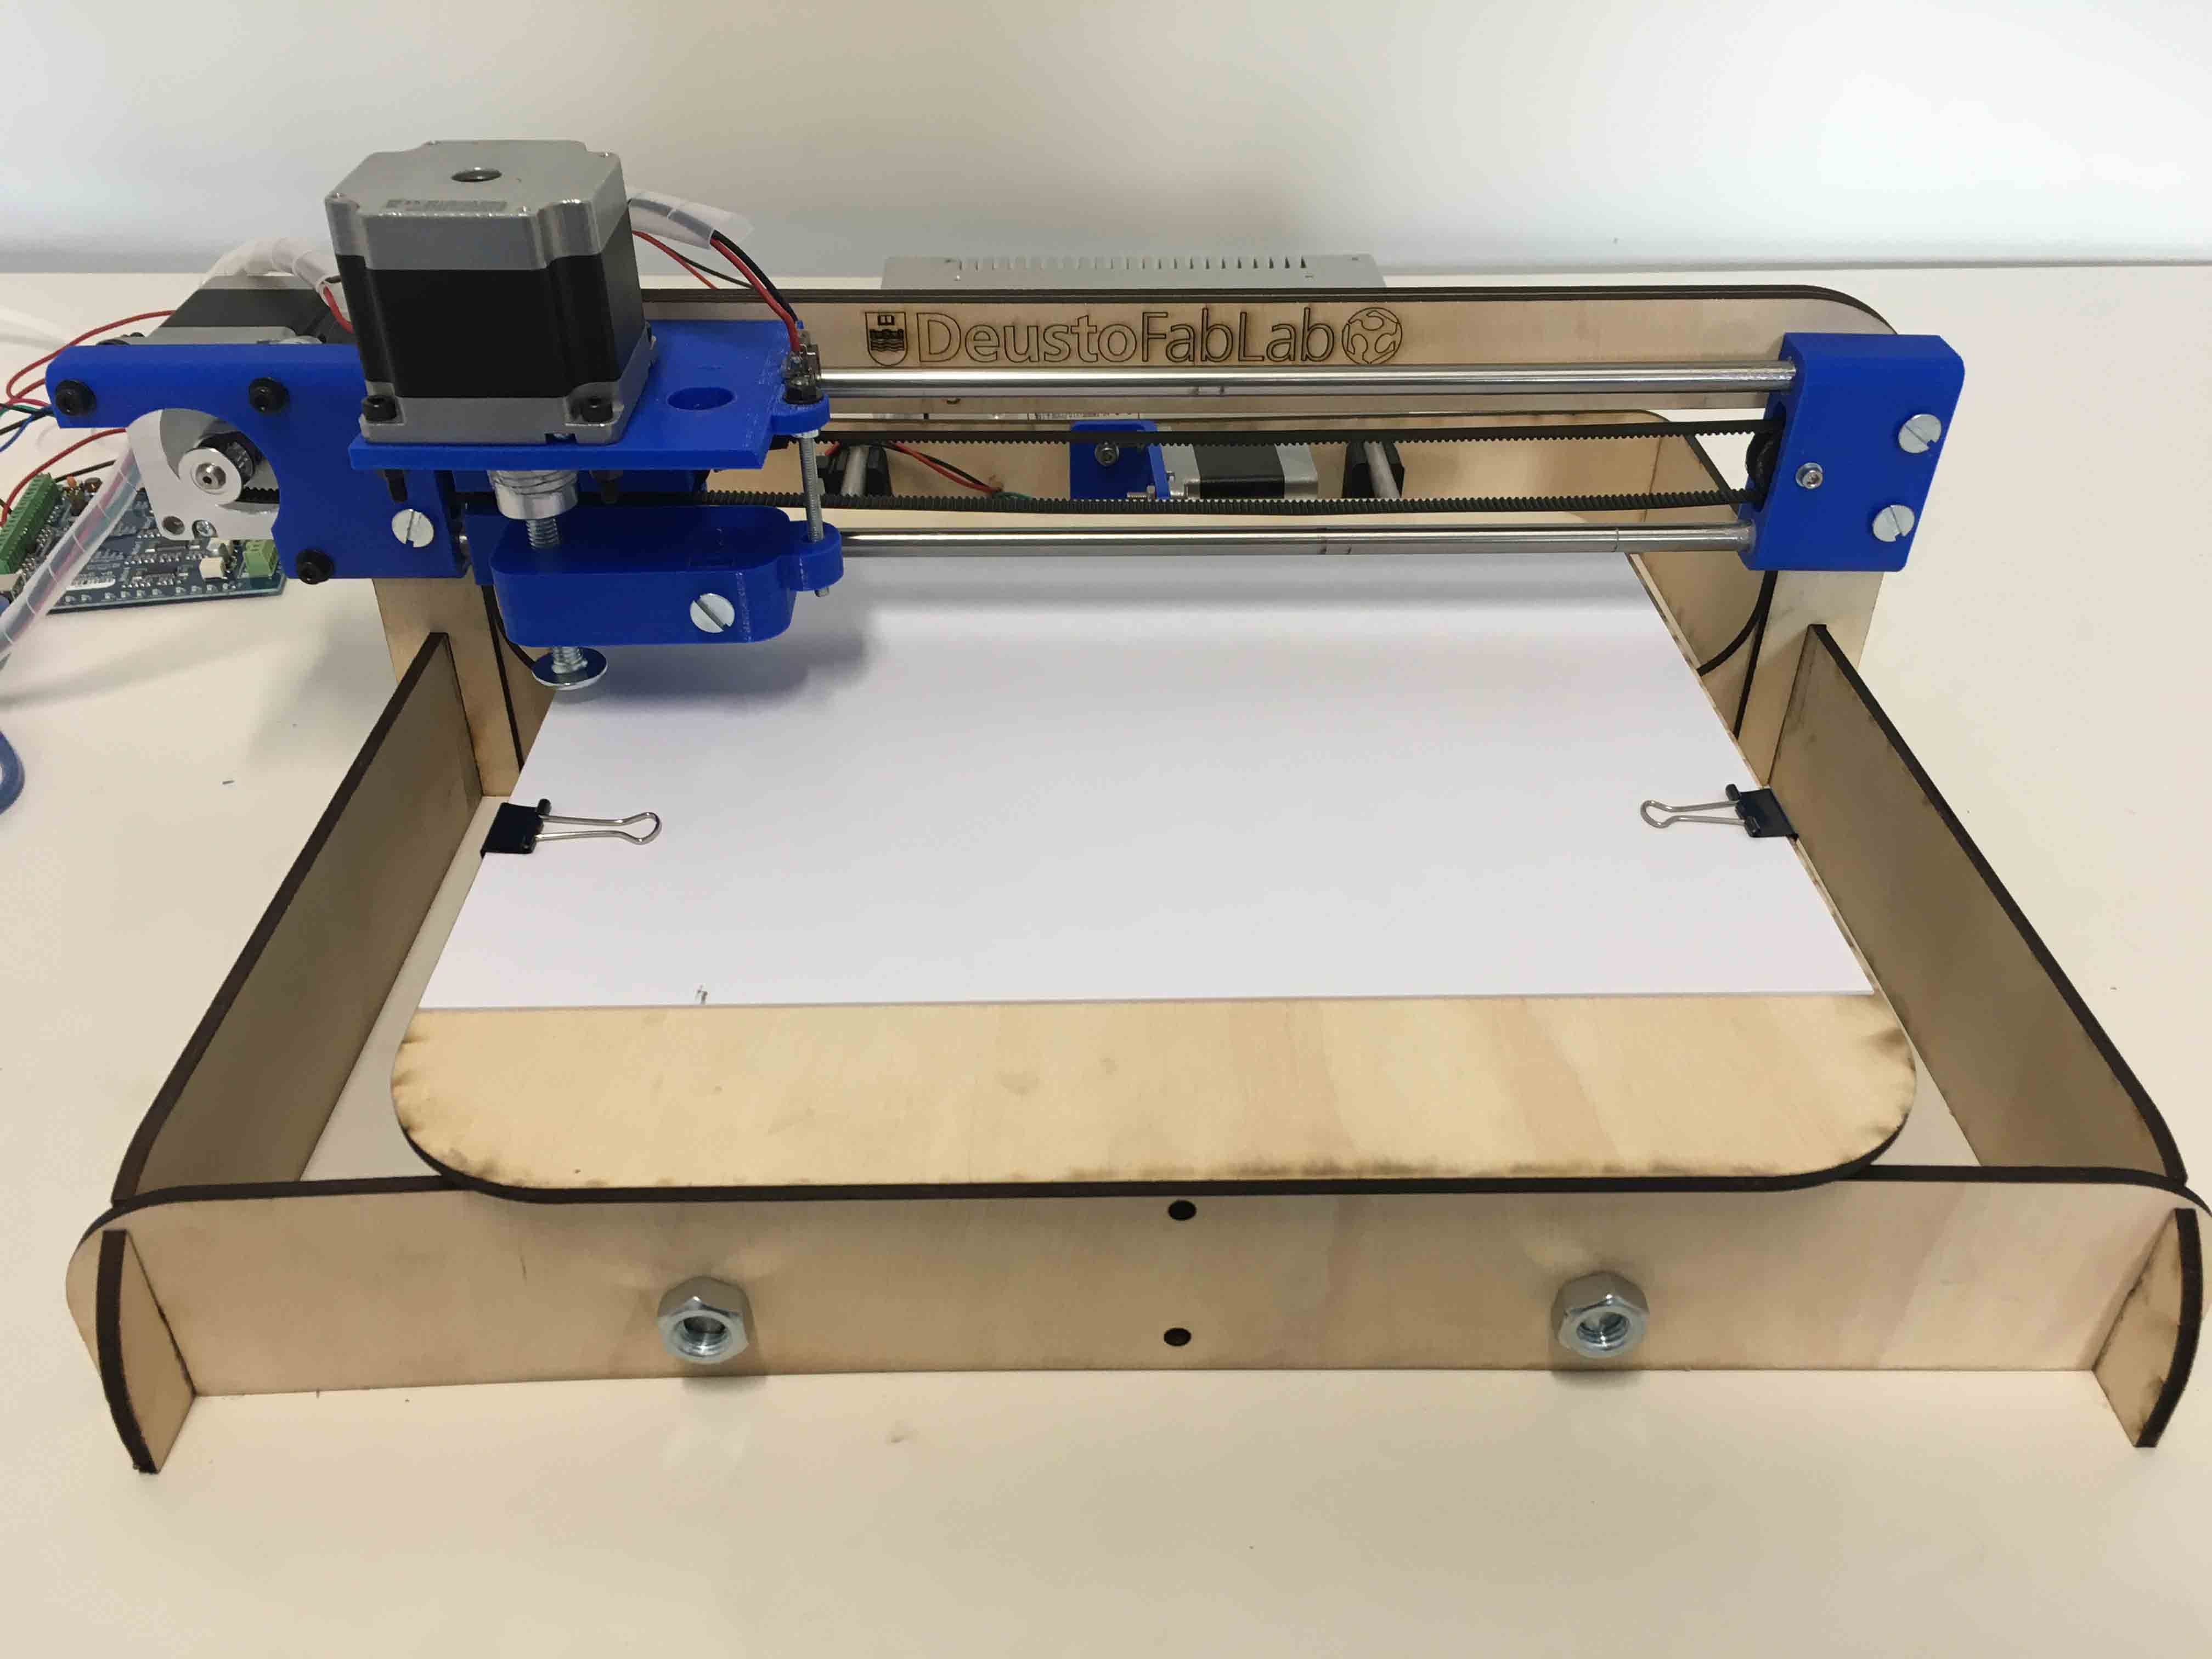
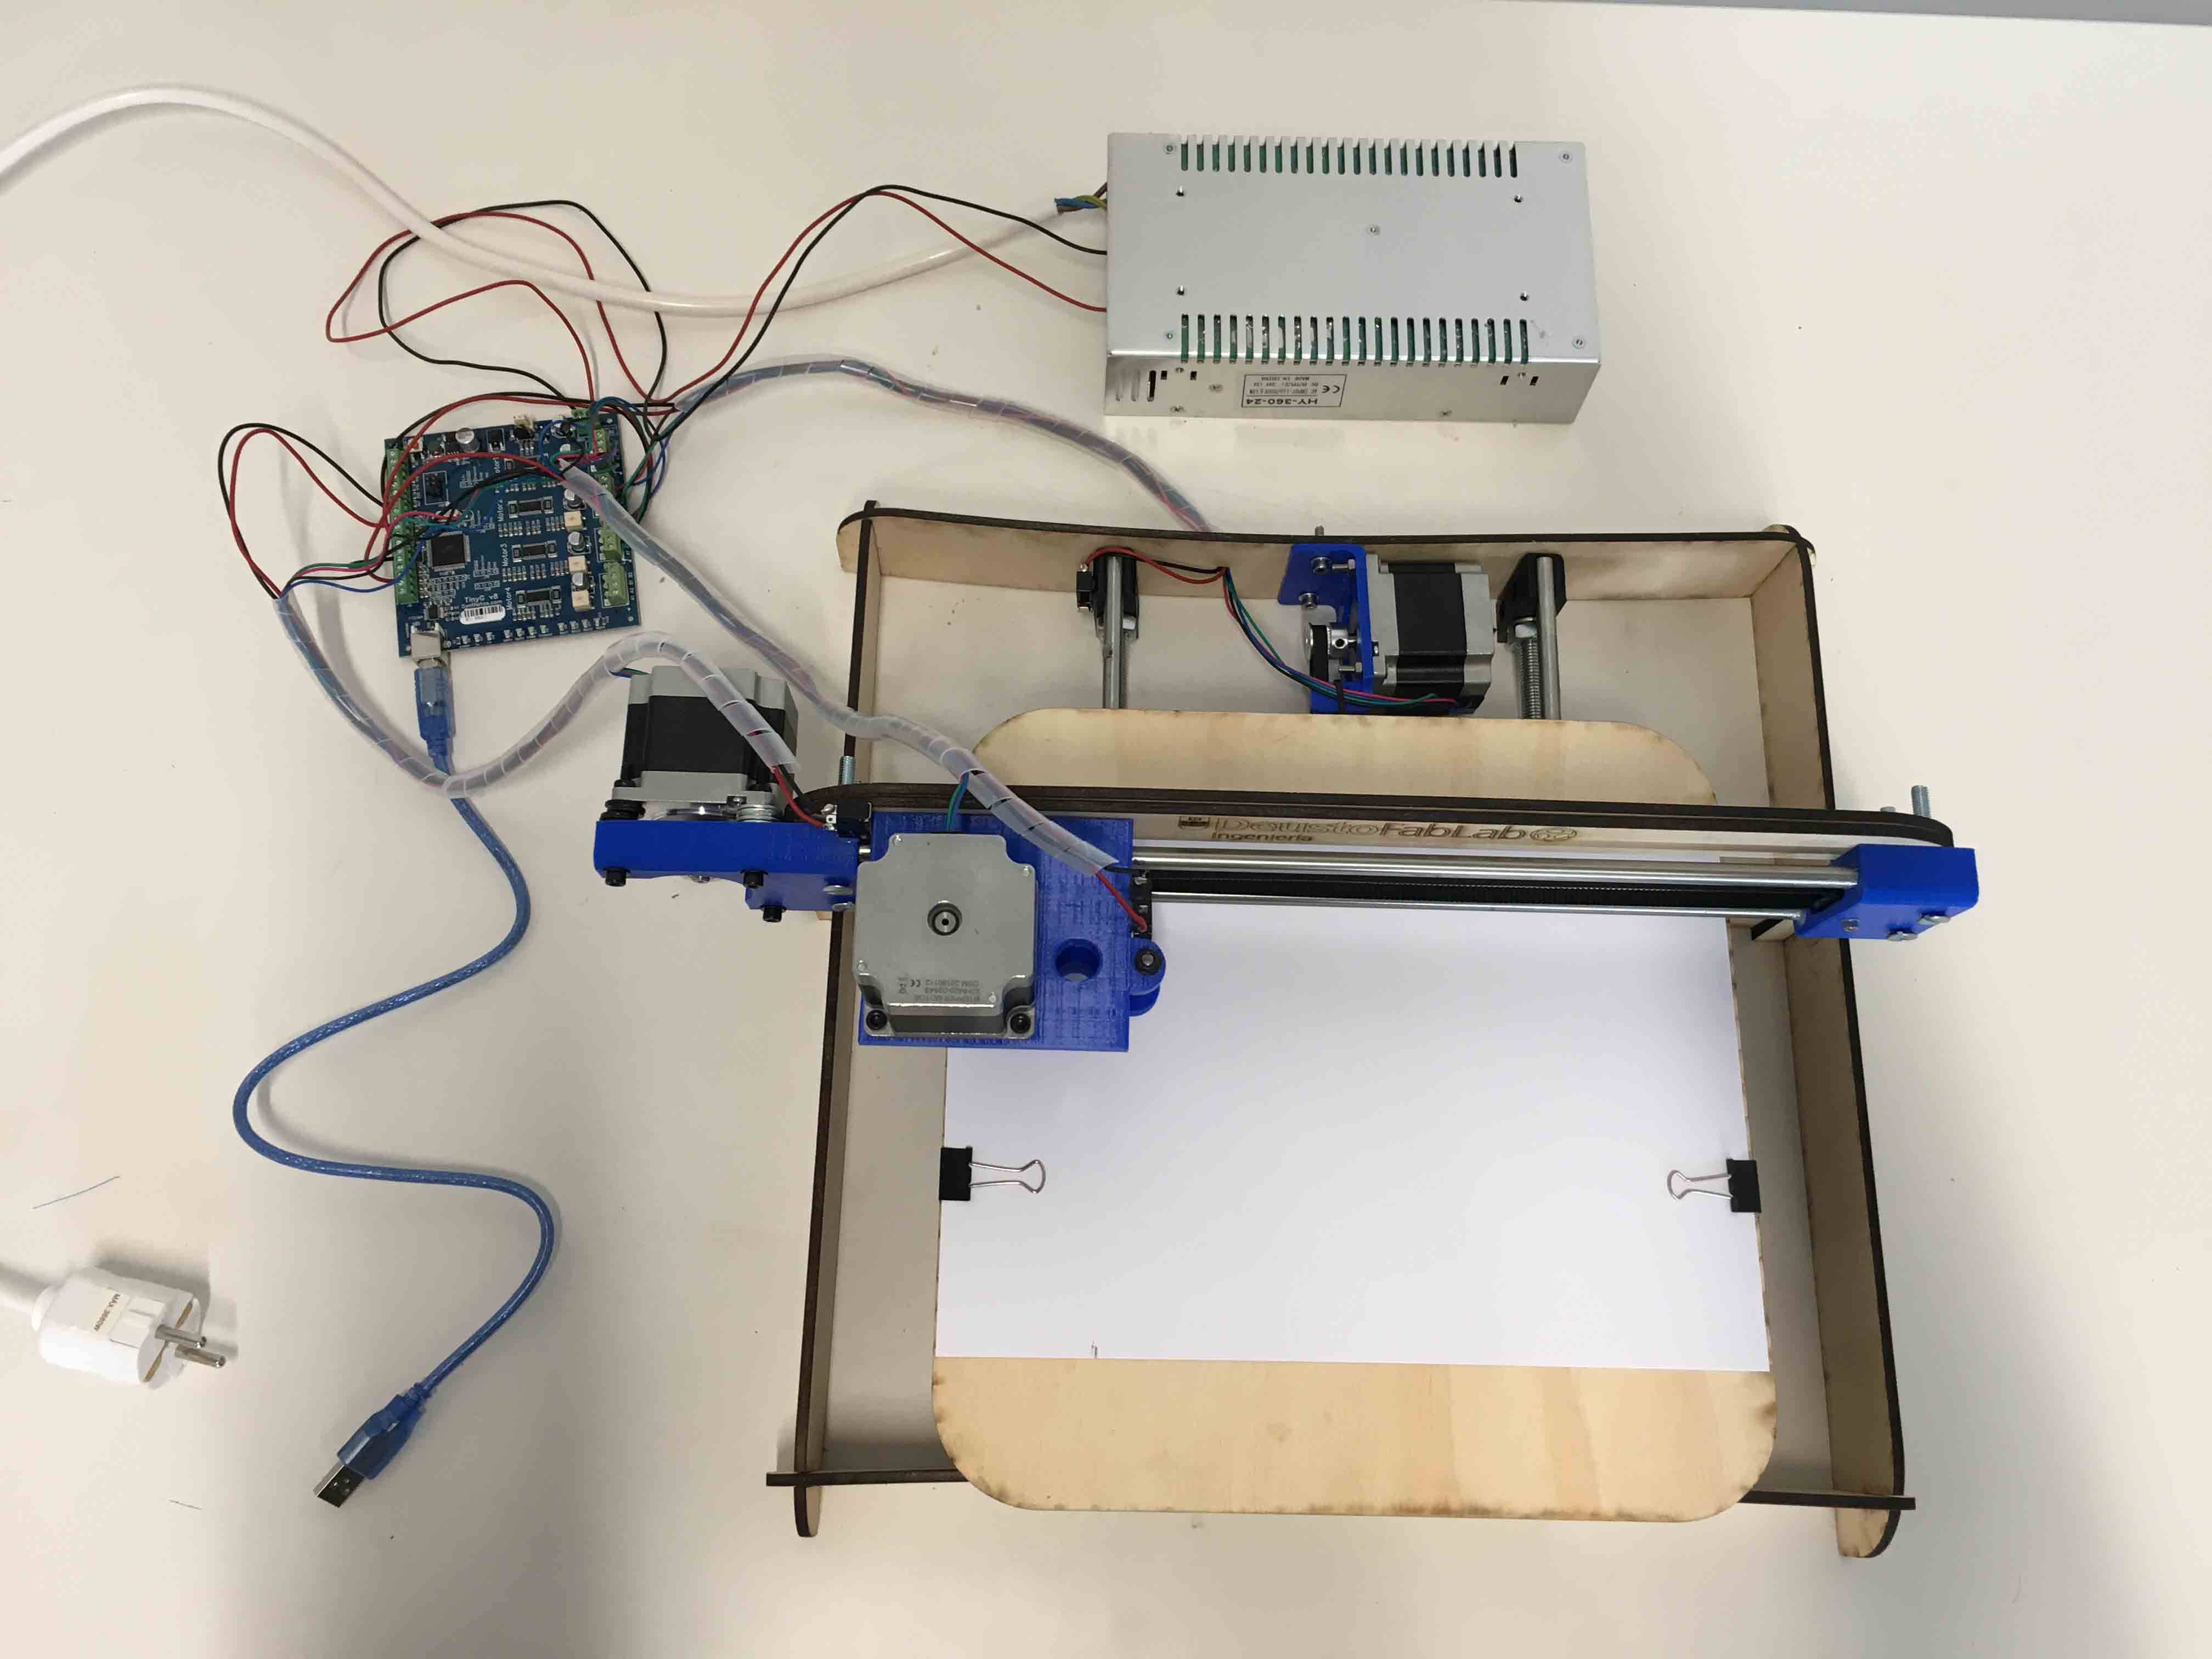
And we assembled everything:
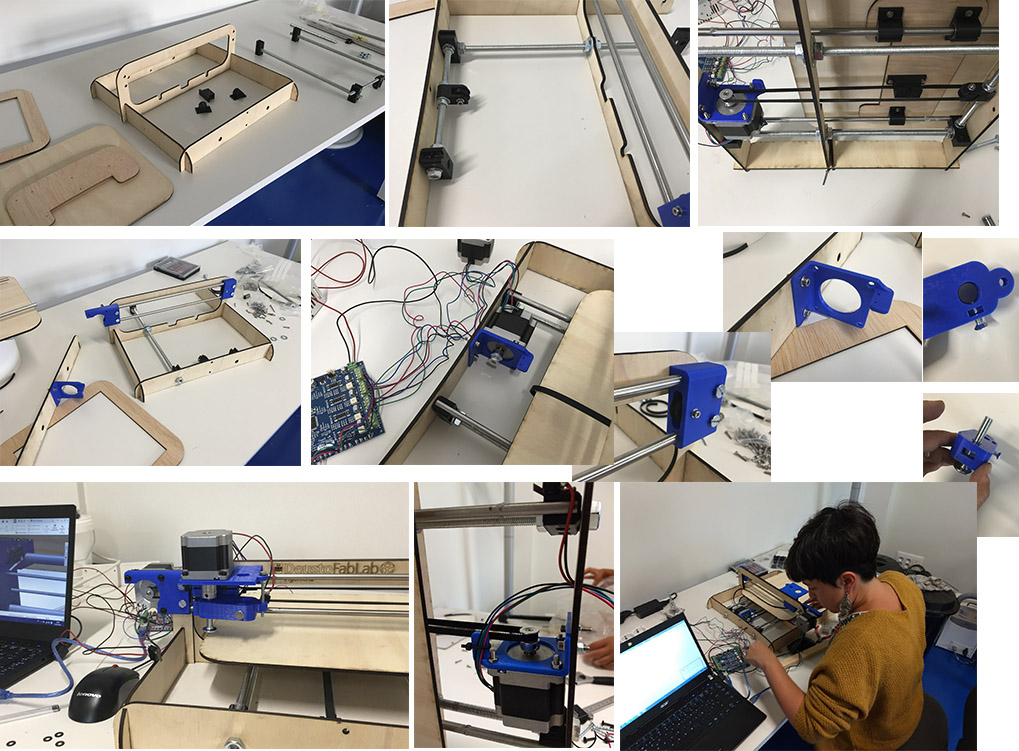
We had have some problems while we were assembling: some threaded rod had to be readjusted, we had to change washers because they collided with other elements, we had to make holes with a drill to pass cables, add washers to equal heights, etc.:
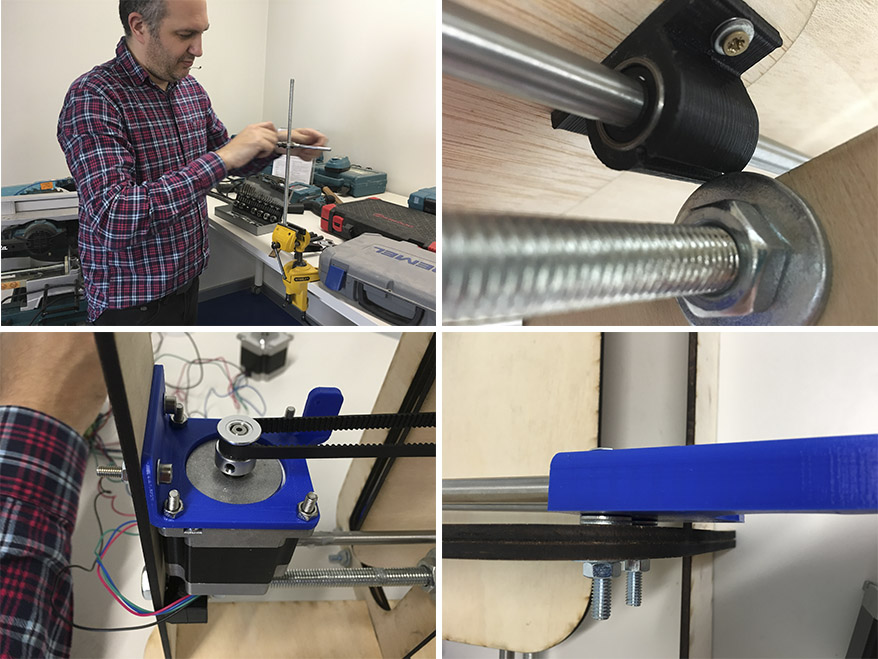
But as it can be seen below, after all we realized to mount it right well, and now, as we said before, we only had to connect it to ChillyPeppr, send the job to draw and pray :)
DOWNLOADS
_ STL of ALL COMPONENTS from the 3D assembly