Exercise 02. Project Management
Situation
The asssigment for the second week is to create our personal website.
The platform we have to use is GitLab (the FabAcademy team created a user site, for each one of us, in this platform, where we can see what we are uploading each week), and in the next lines and images I make a resume about my site development.
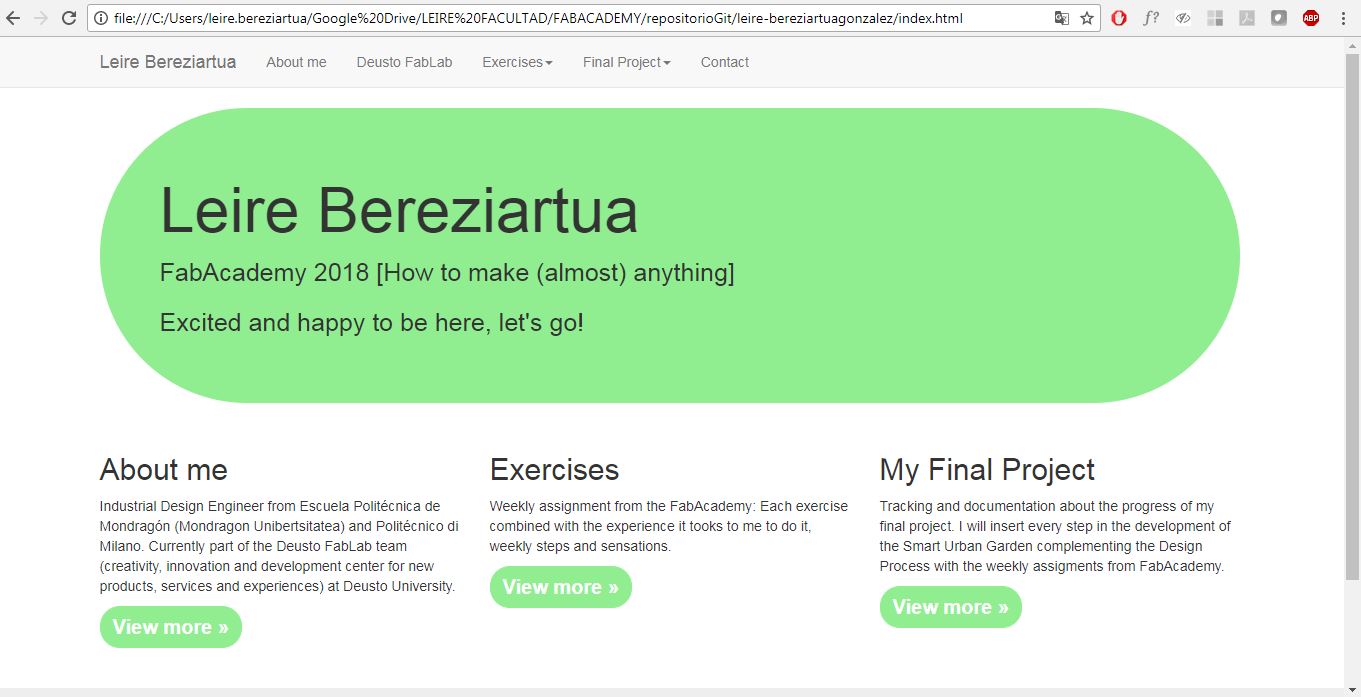
For my website I decided to use FabAcademy template, made by Massimo Menichinelli.
My knowledge in html and css is basic, and I thought it was the best way. I am going to learn more and more about it during the course, I hope.
So I took this template and, step by step, I have been modifying the buttons, color and menus. And, moreover, I have added the first week assignment, personal information and final project concept development during this second week.
I created a windows explorer folder with all files repository, and I have shared it with my instructor, Szilard, using Google Drive. He will review and control the contain and weight of my posts, before I push them on the website.
I have installed GIT and TortoiseGit in my computer, in addition to Notepad ++, which is the best way to modify the different html and css files I am using to create my site.
Git is a “free and open source distributed version control system designed to handle everything”.
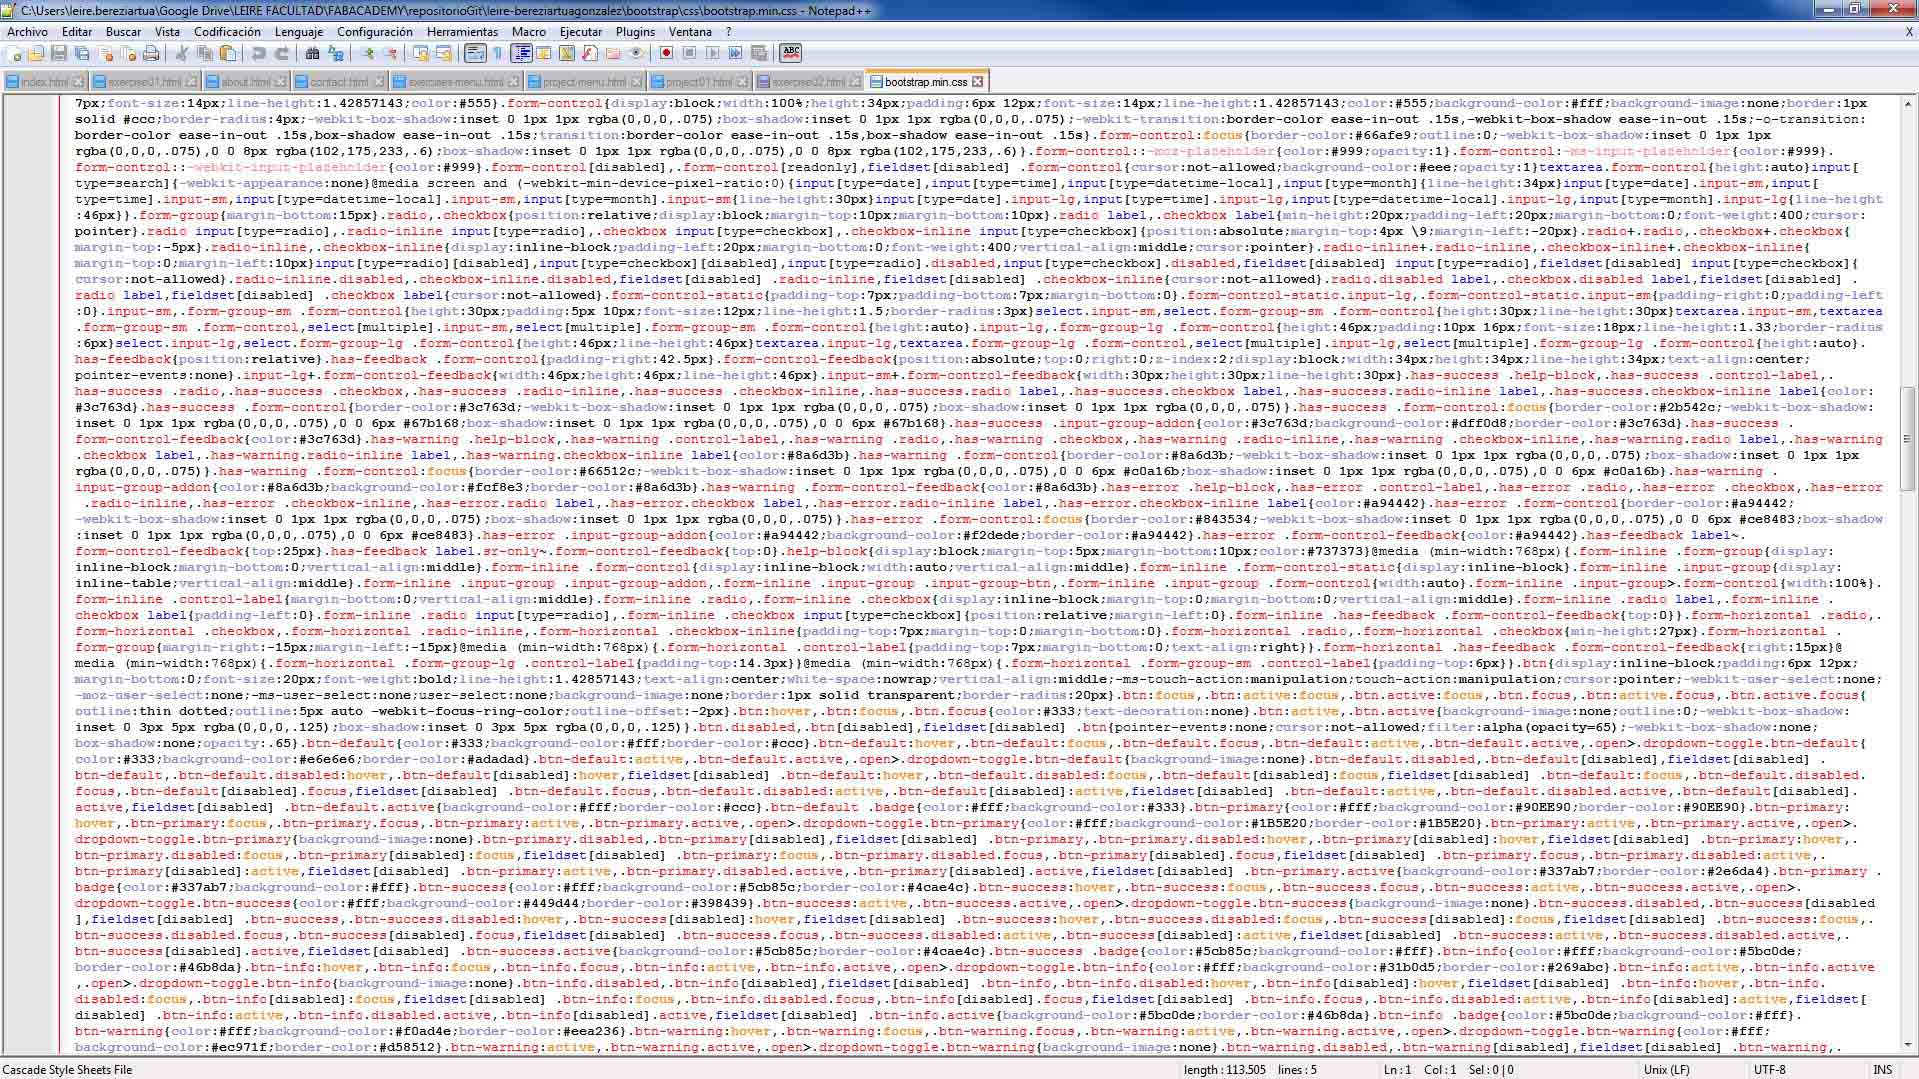
So first of all, in local, I have modified the code in index.html and bootstrap.min.css to have a first look of how I want to show my information.
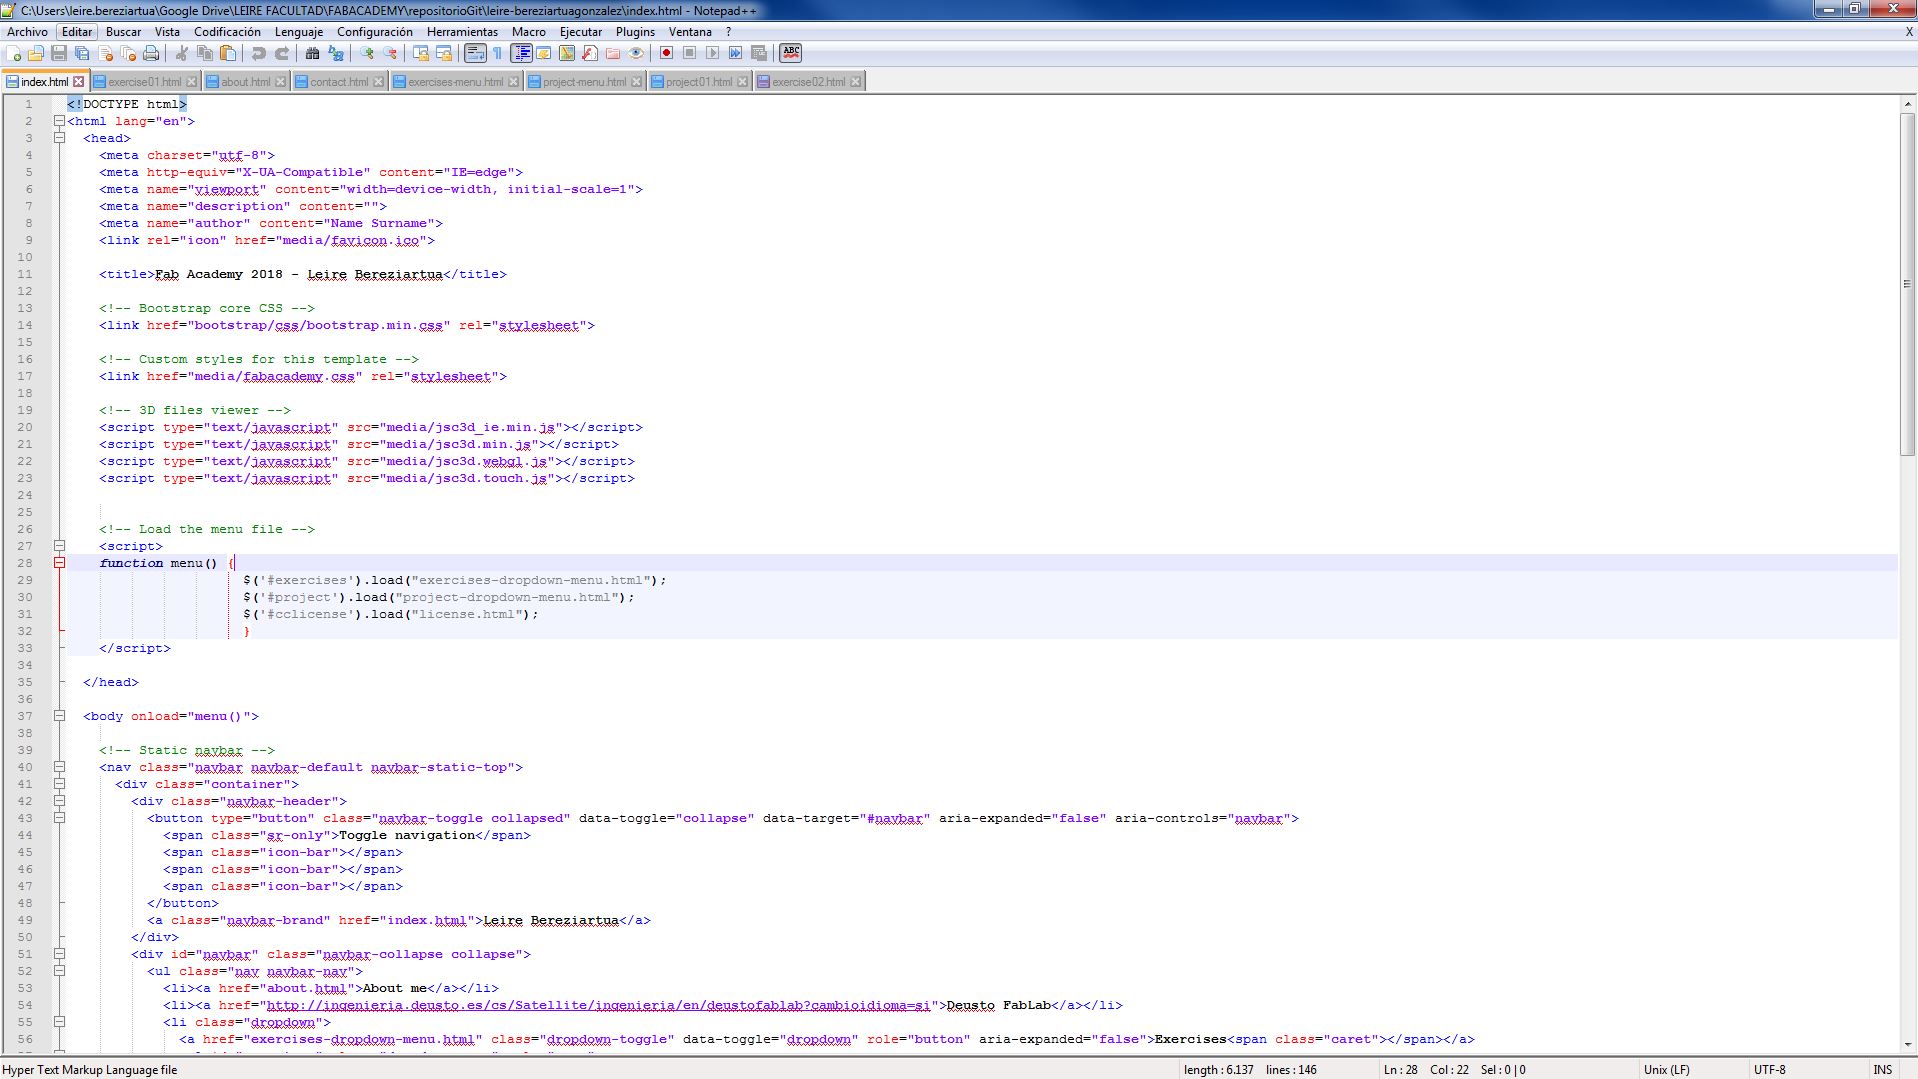
The most common tags I have used in NOTEPAD++ are:
	 _ p >> To write text, lineal, html format.
	 _ pre >> To write text with specific formats, or write CODE format.
	 _ h1, h2, h3... >> to headings
	 _ img >> to visualize images.
	 _ a href >> to link other documents, files or sites.
	 _ video >> to visualize videos.
	 _ iframe >> to link youtube videos.
	 _ script >> to visualize 3D files.
	 _ b, or strong>> to make text bold.
	 _ em >> to make text italics.
I have modified also some attribute from the CSS files this template has, for example: button or links colours. For it, I took Colours codes from a webpage which allows to choose a colour and it gives its code.
After modifying the files with Notepad++, and after being revised, I needed to upload them to GitLab.
As I said before, to to upload them to GitLab I have installed Git and Tortoise in my computer, Szilard and Javi recommended me this tools due to they are easy to use.
First of uploading the first files, I had to create a SSH key in GitLab User Settings site. SSH key allows you to establish a secure connection between your computer and GitLab. To create this Key I used PuTTygen. PuTTY is an SSH and telnet client, developed originally for the Windows platform. PuTTY is open source software that is available with source code and is developed and supported by a group of volunteers.
After adding the key to my GitLab site I proceed to upload my first web site "sketch".
To do it, I have only to click with the right button on my mouse above repository folder, and say to "Git commit -> "master"...", after that, the TortoiseGit shows me the files I am going to Commit and upload (if it is the first time all files, but if it is after the first time it shows me only the modified files). It is important to write a message in each uploading, it will helps us knowing why we have made this new upload.
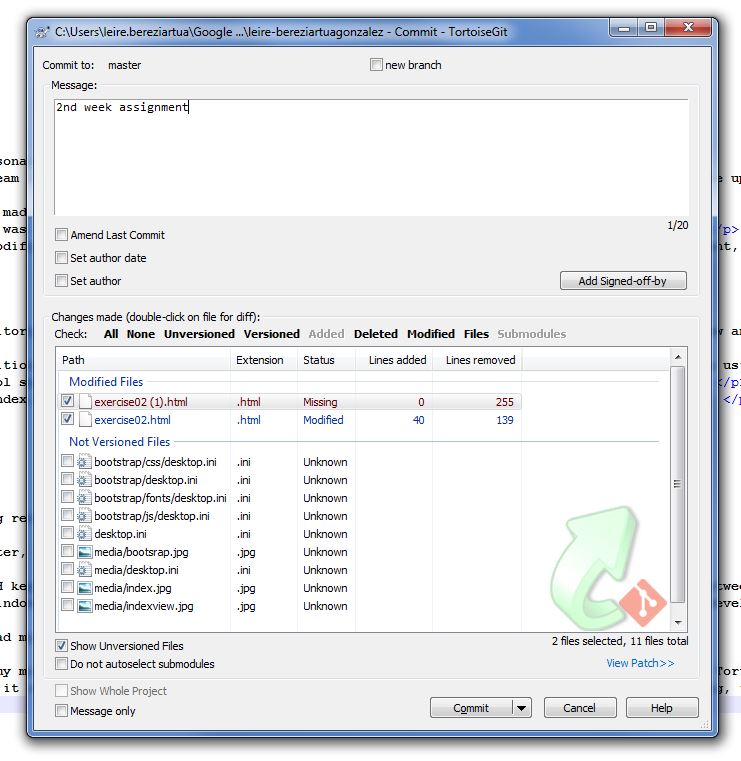
After being sure that those are the correct files and writting the message we have to click in Commit and when it finishes in Push.
We can go to our webpage and see the post and changes now! :)
 AS PERSONAL PROTOCOL:
	_ It is important to go also to our own GITLAB site and to overview how uploads to our page are going and how much files weight:
		>> jpg or any other image must be lower than 1 Mb.
		>> Files must be compressed always (.rar, .zip)
		>> After uploading a file or image, we can not modify its name, because in the next PUSH it would be duplicated.
	_ Control very well that everyfile in my repository folder is ordered in its site (all kind of images or videos in MEDIA folder, files in FILES folder, HTML files in the main folder, etc.)
NOTES
Some important changes I has done in weeks after:
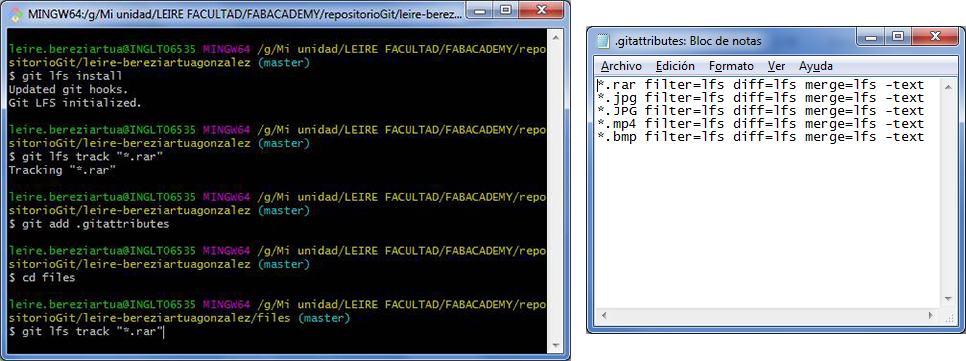
> [Feb2018] LFS: - Install LFS to Git for large files as .RAR, .MP4 and else.* Since Week 5 assignment. >[March2018] BIG FILES OUT: - Seeing that LFS is not enough to not uploading a lot of Megas, the decision has been: - To link every large file (BMP, RAR or MP4) outside GitSite, temporately. - In the LAST Push (all assignments finished and Final Project, June 2018) link every-file IN to include them all into my Git page. * In this way we push each file only once and we avoid to accumulate them all weeks. * Since Week 10 assignment.