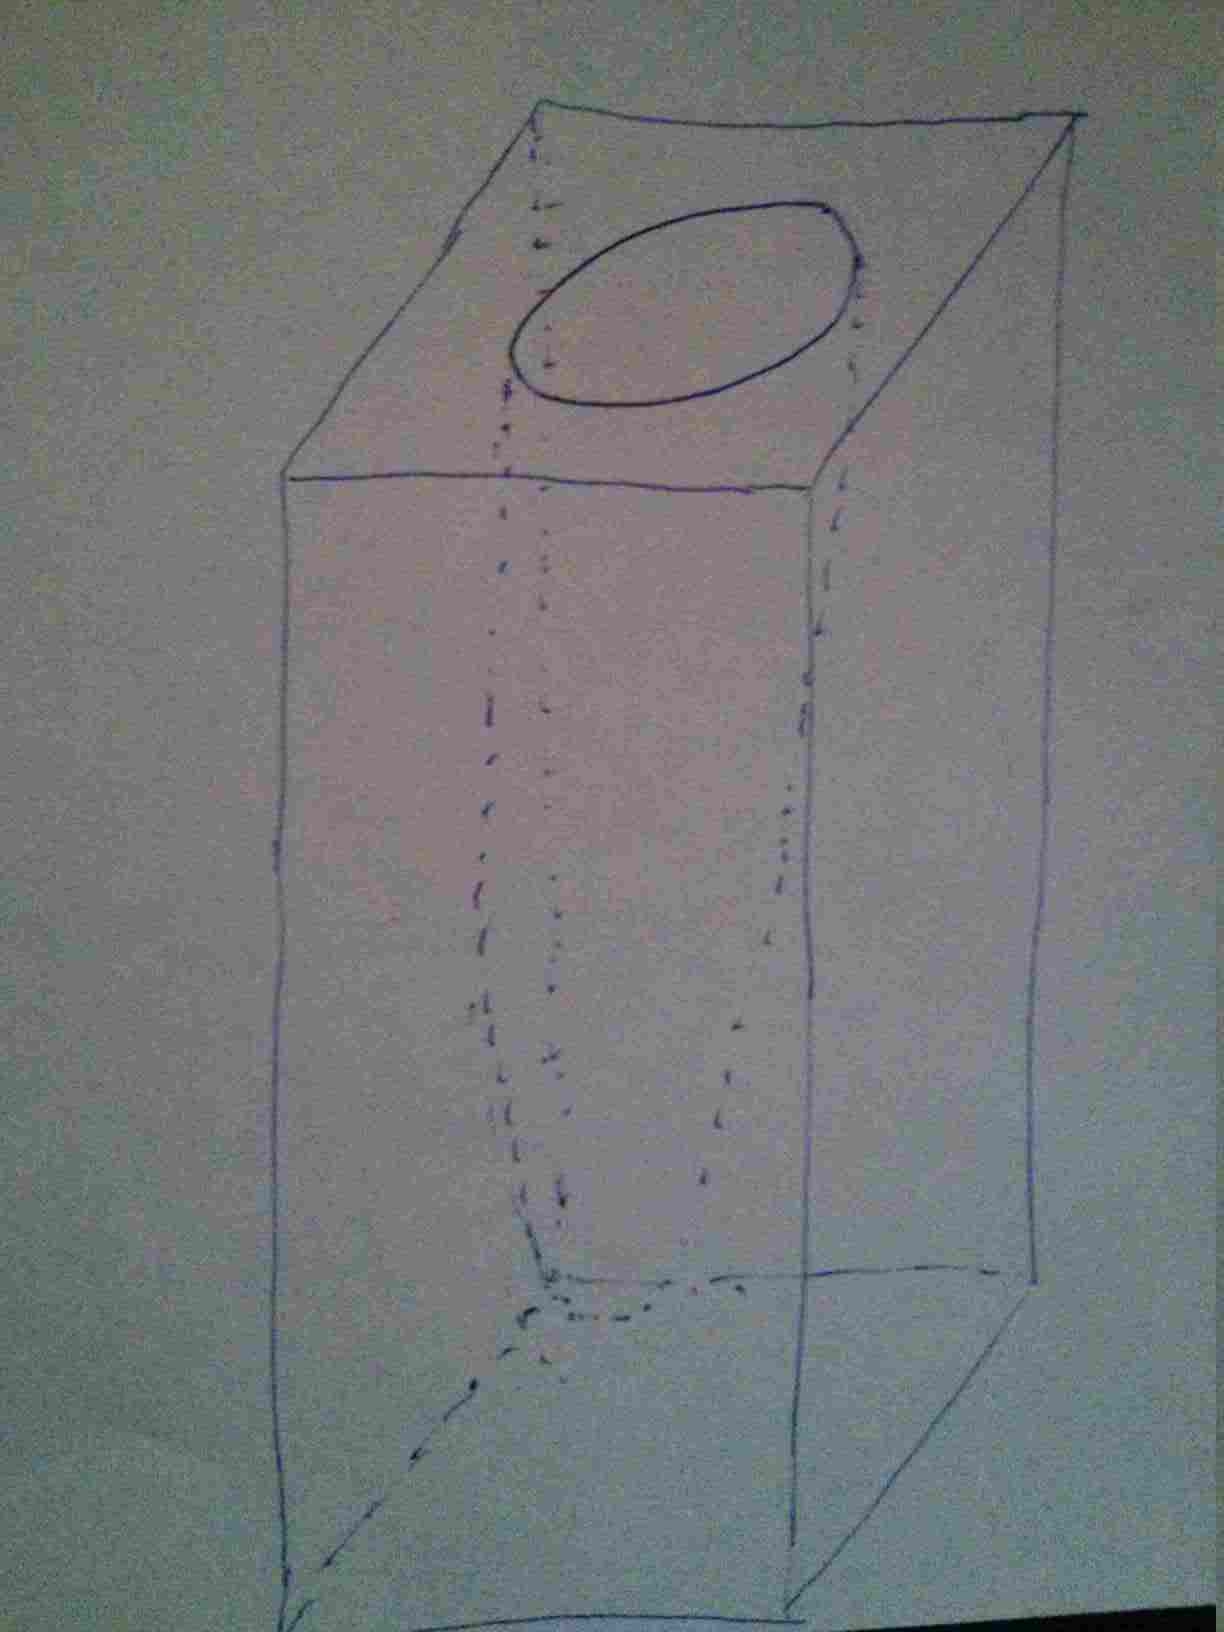
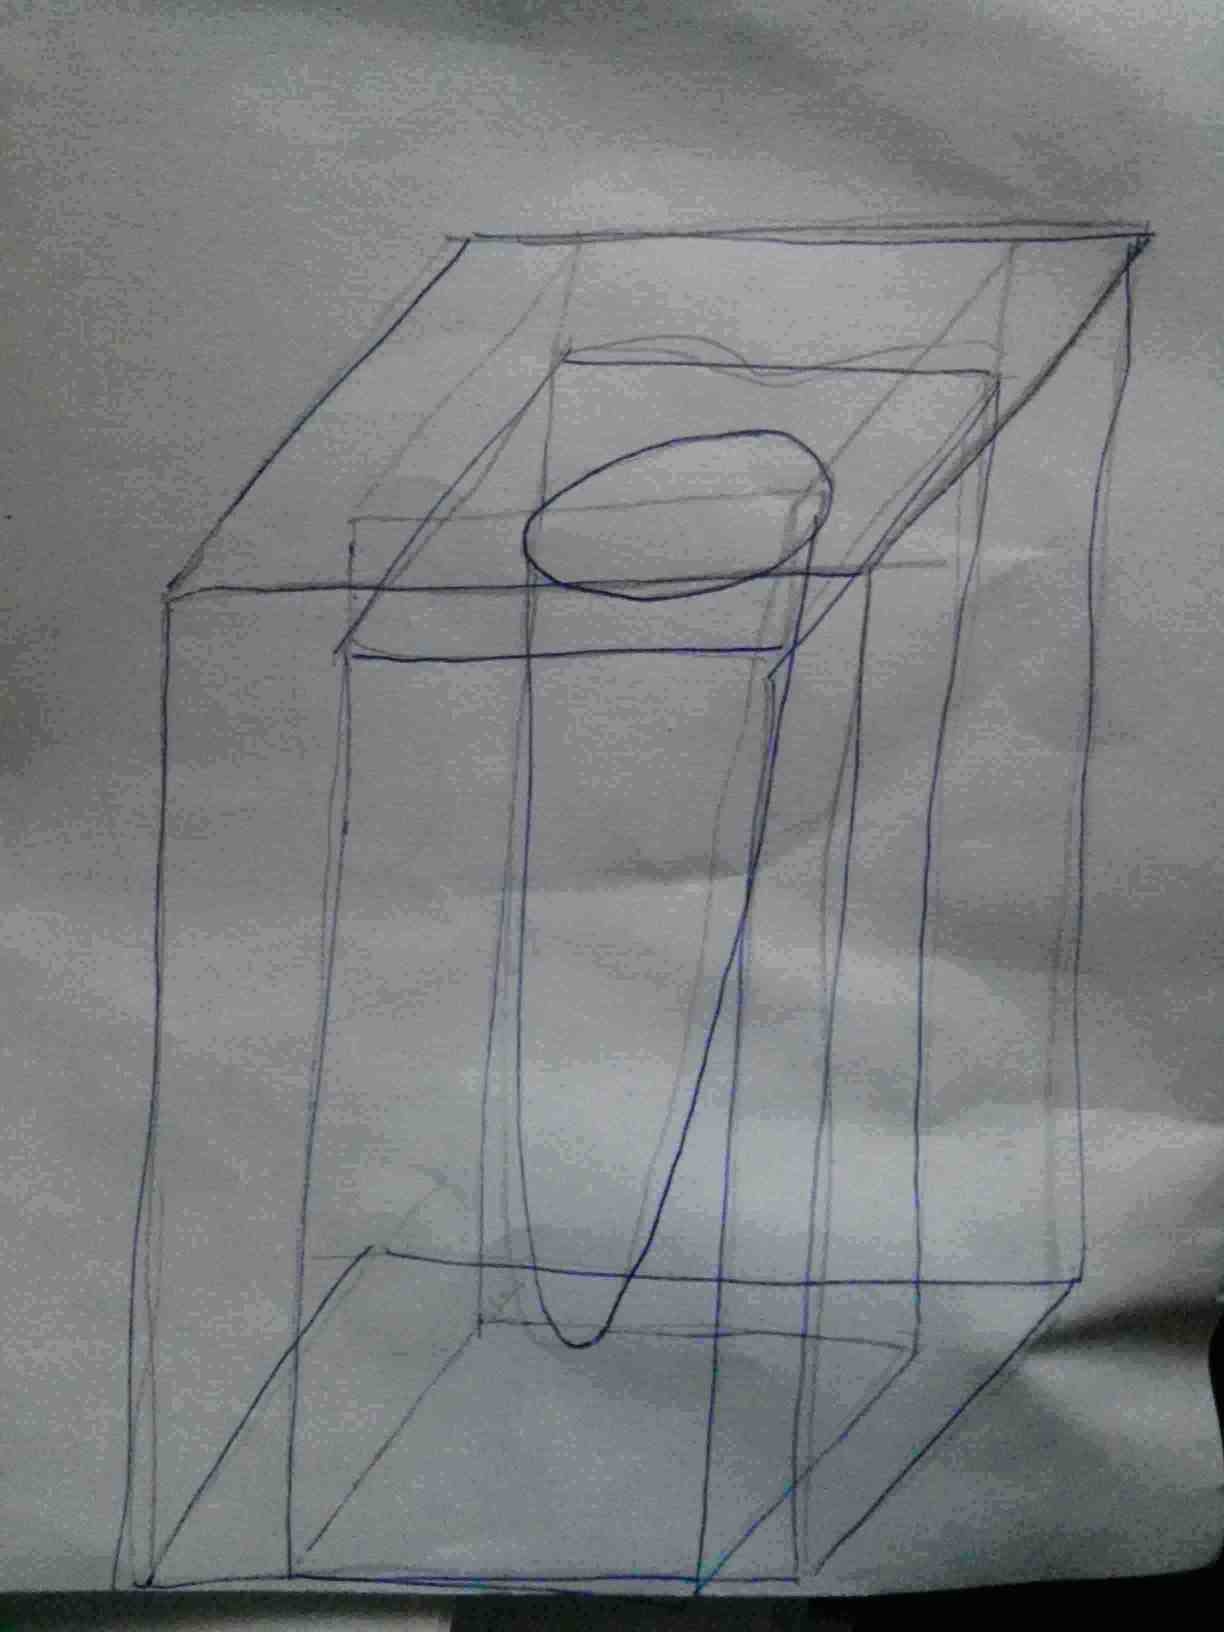
For my assignment I designed a matrix in 3D software in order to mill it in the CNC milling machine. It is used for casting the mould that itself casts a cylinder with an inner pocket. This pocket is in the form of a paraboloid. The positive paraboidal piece which is produced by this mould reflects light from the LED on the transmitter side or to the phototransistor on the receiver side. This paraboidal shape is used in order for light which sends the data travels in a fixed linear path between them transmitter and receiver.
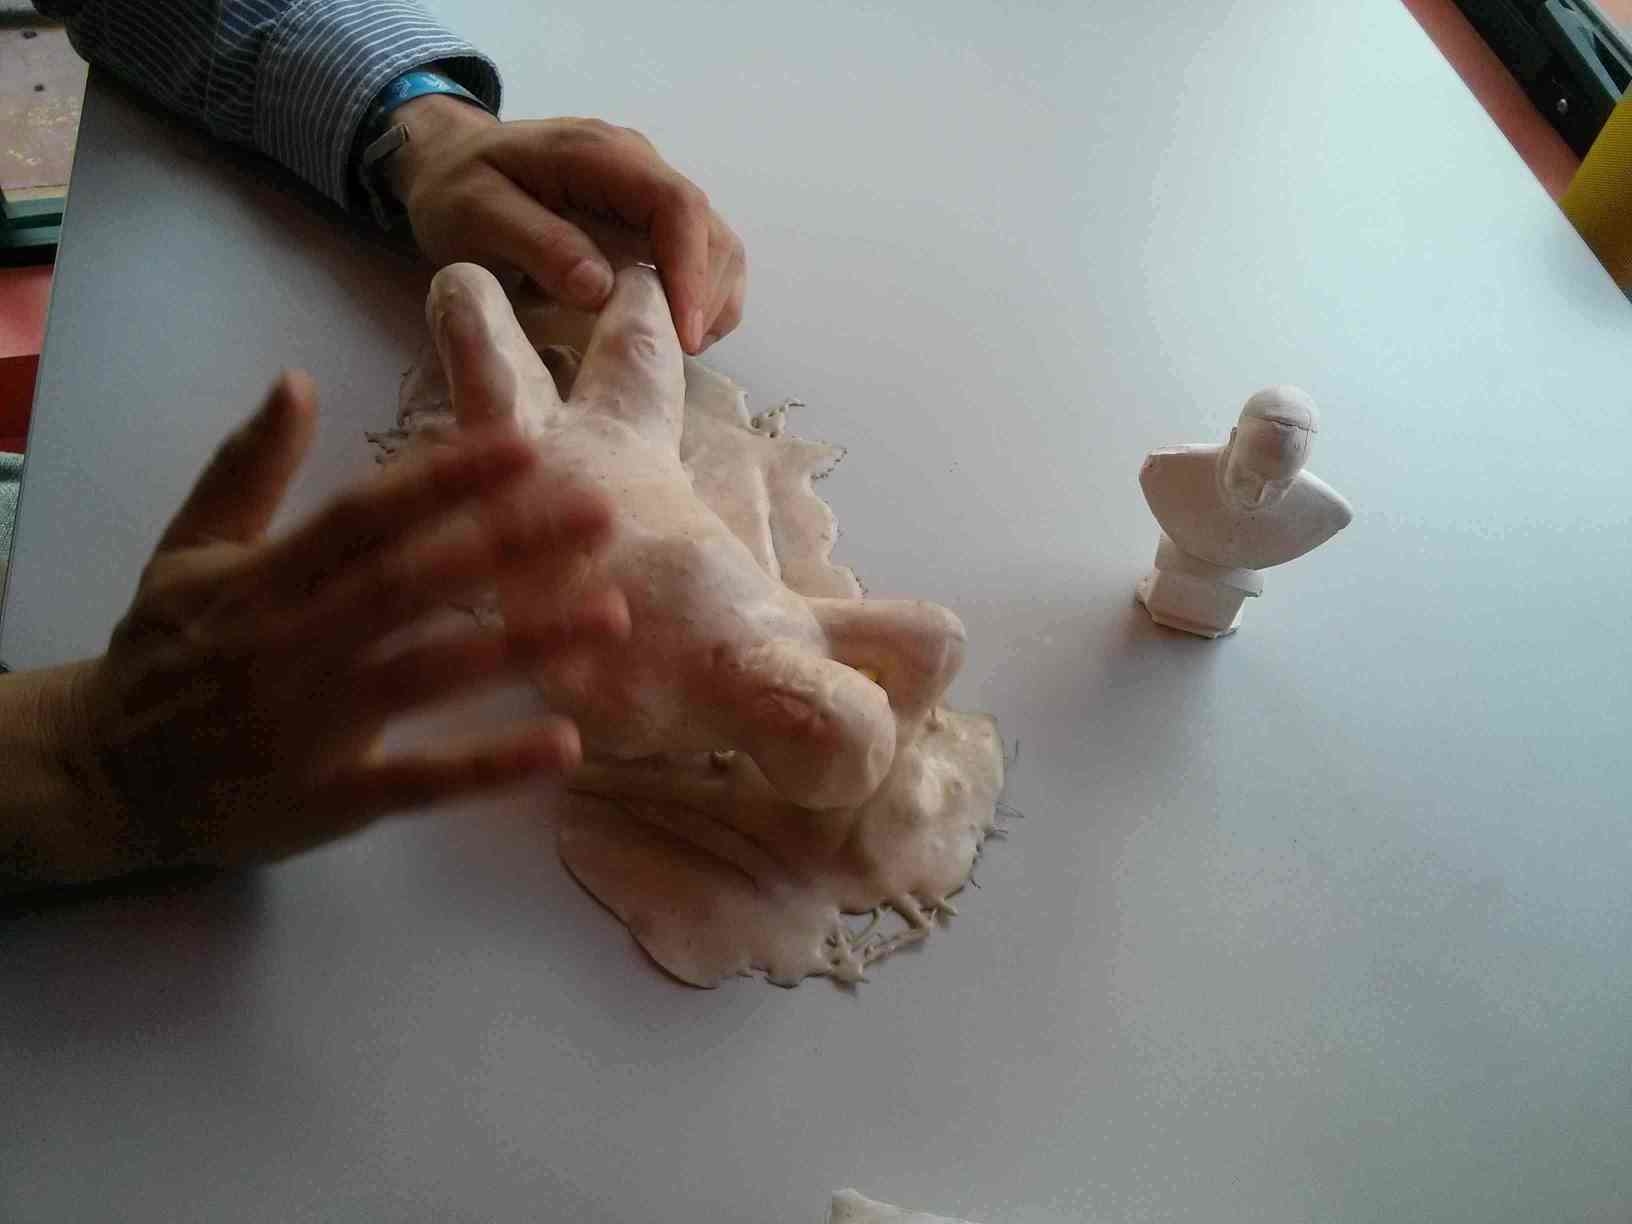
It is always good to take safety measures
...even if they are kinky!
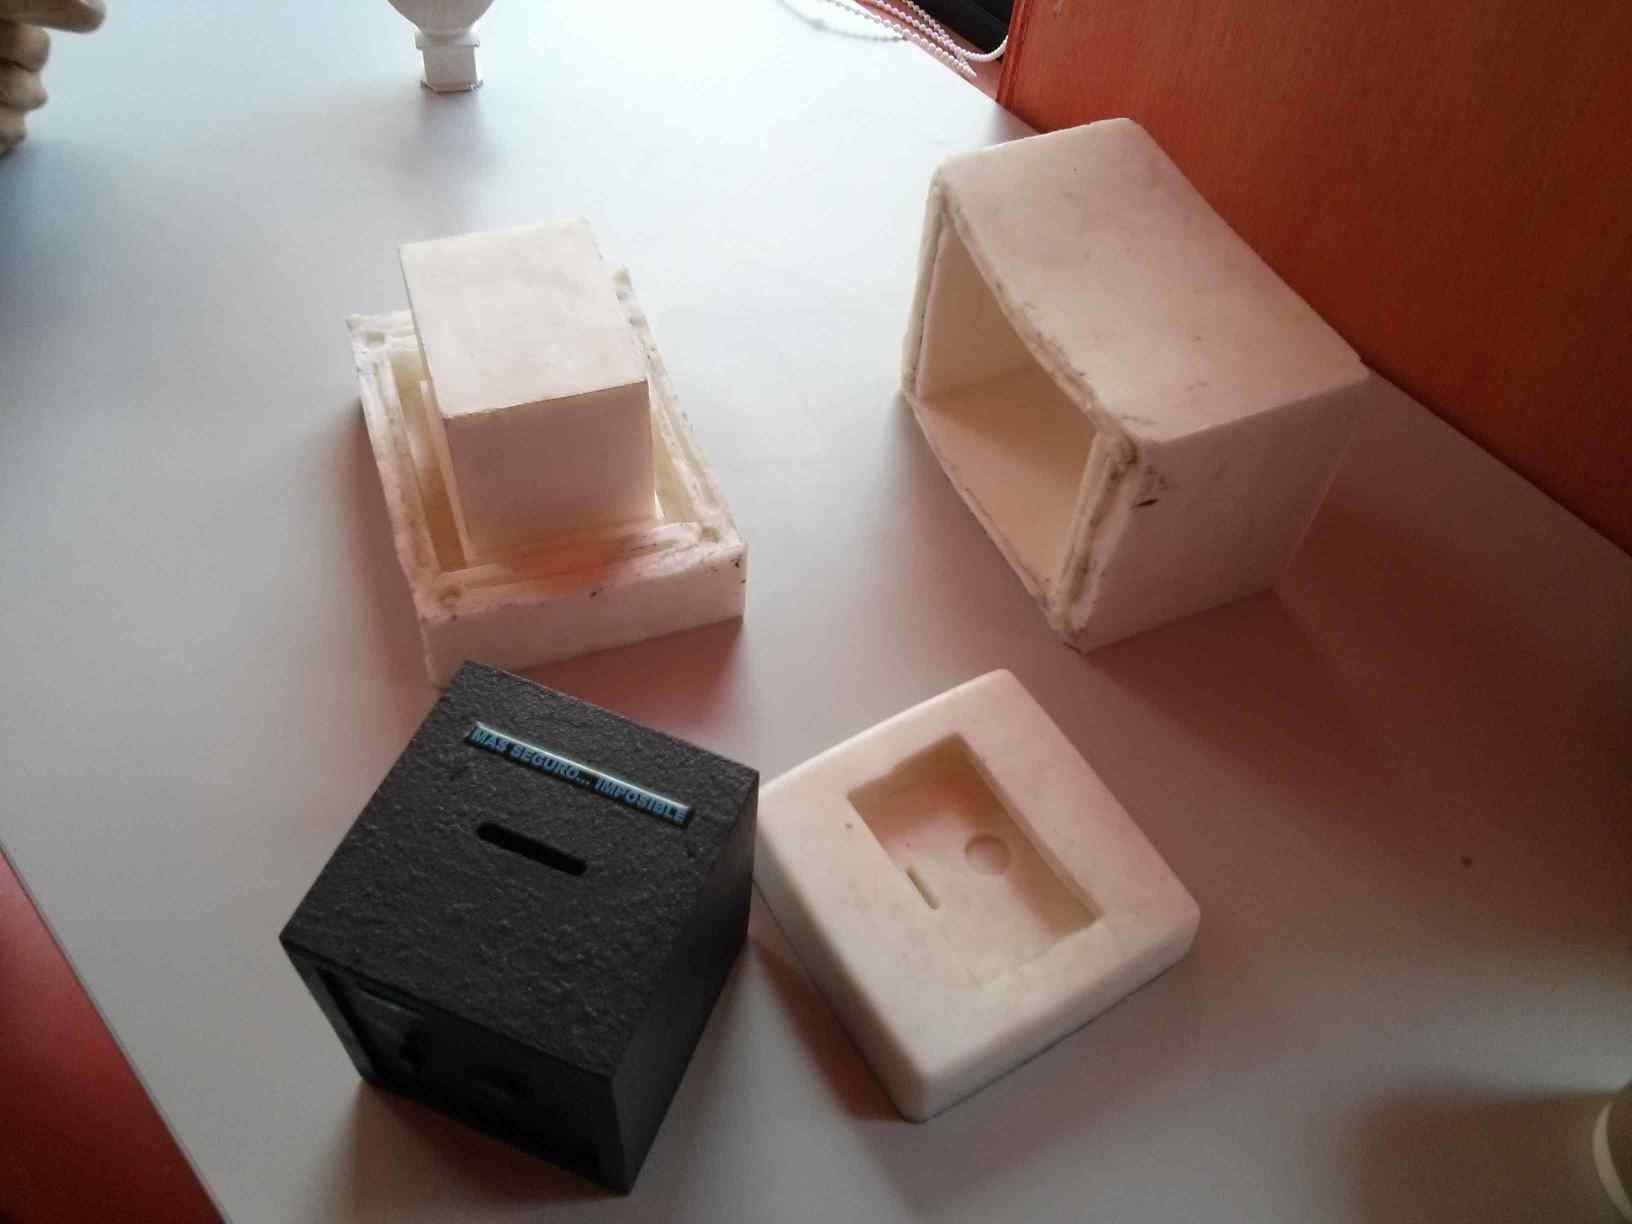
These are good examples of what can be made with moulding and casting.
Resins
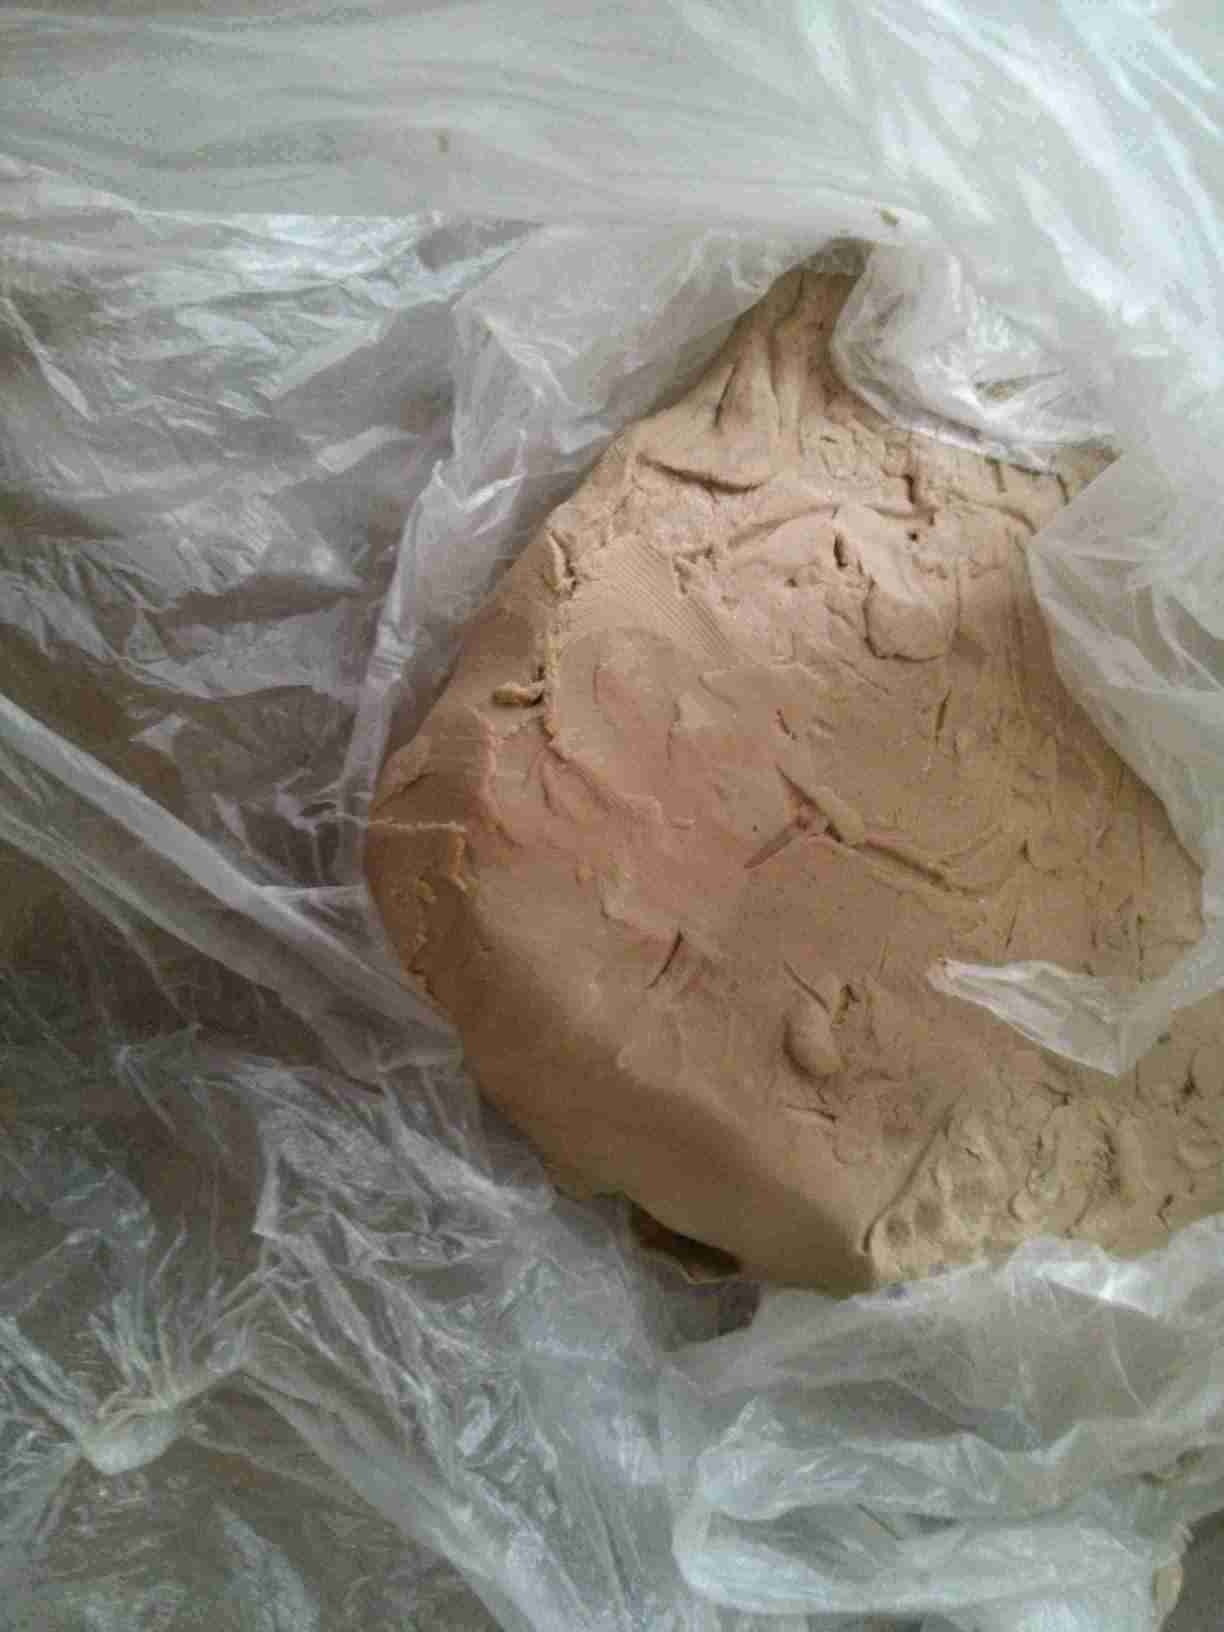
Moulding clay for a button.
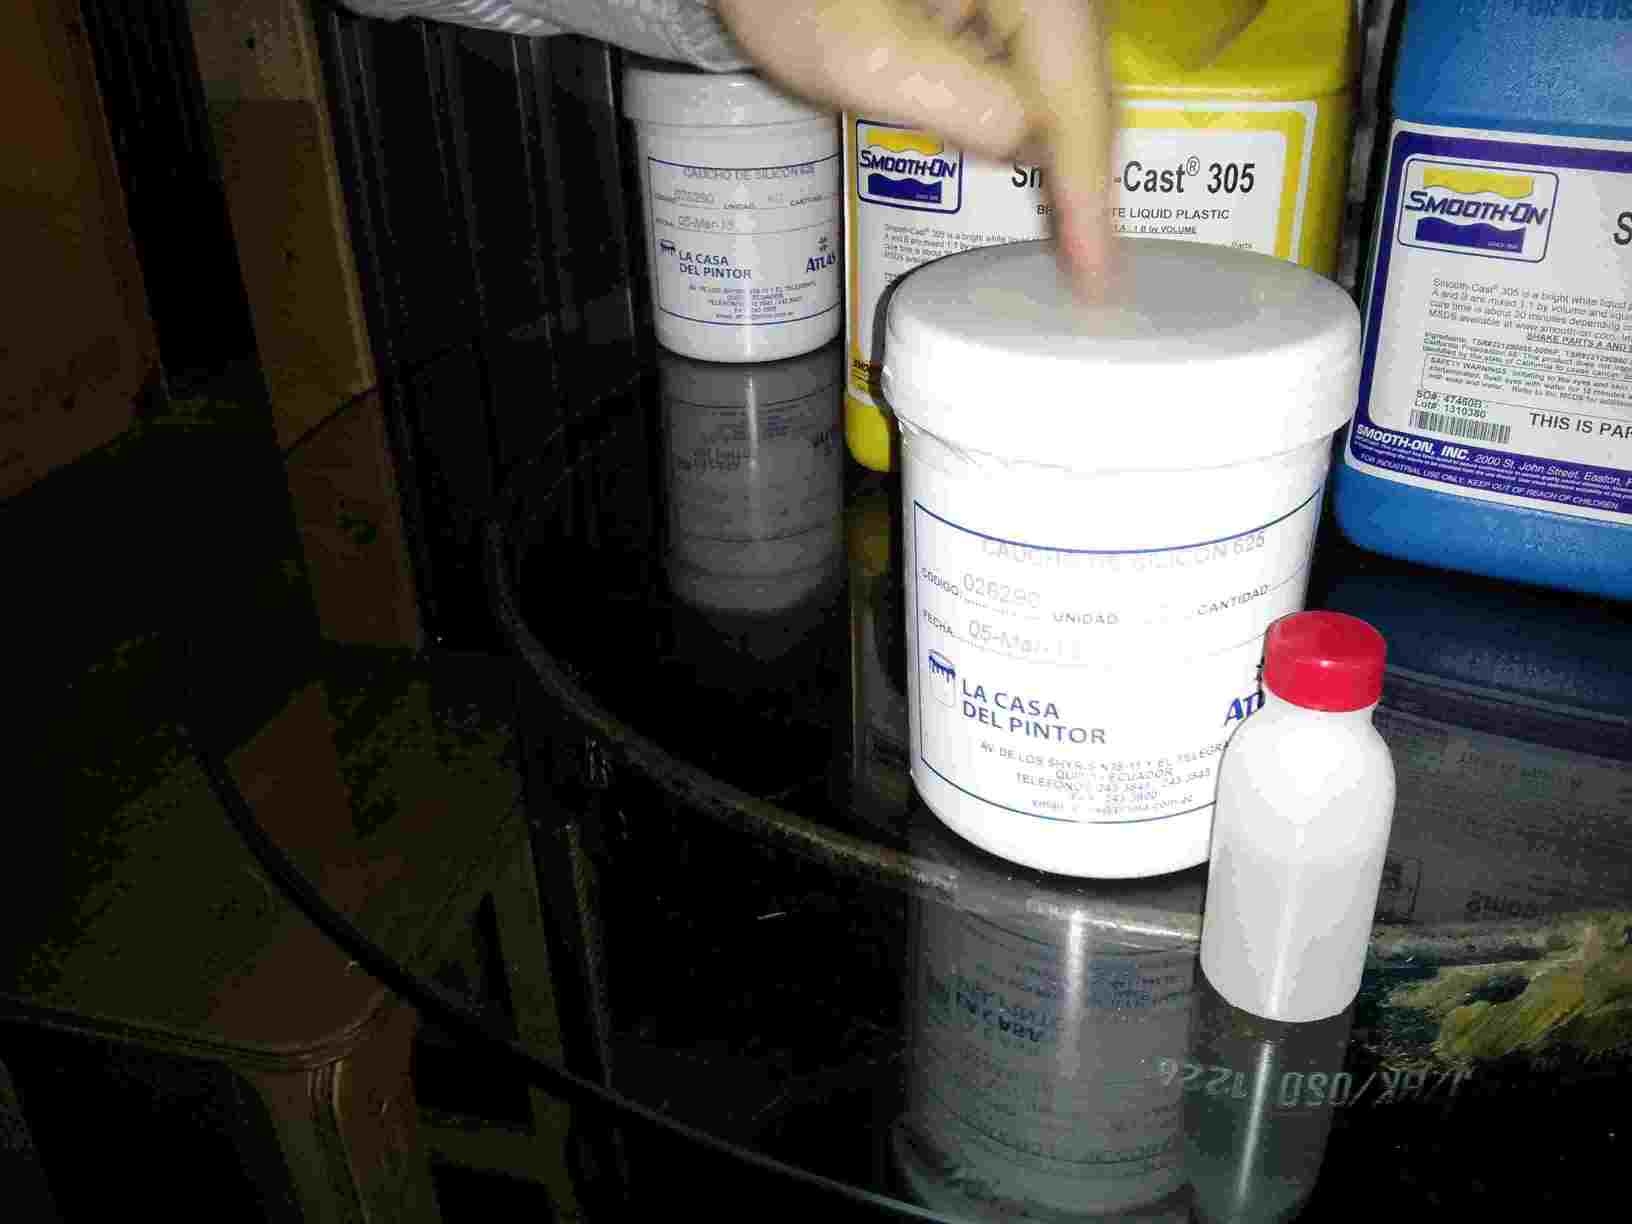
Preparing the epoxy resin.
Pouring into a syringe...or better, directly to the cast until the piece is completely covered.
The difference in the process for making a piece with the traditional method and the digital method.
The piece that I want to produce and its mould.
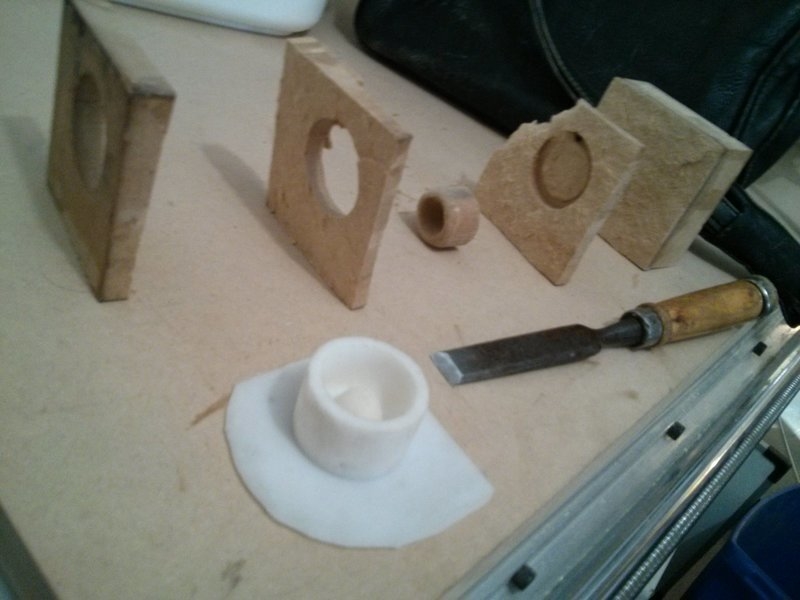
Below, left to right: the piece, the mould, and the machined part to produce the mould.
This is the image of the FreeCAD design.

Screenshot of Fabmodules creating the Gcode file for the machinable piece.
I was not able to machine the piece because LinuxCNC would not accept the FabModules-generated Gcode.
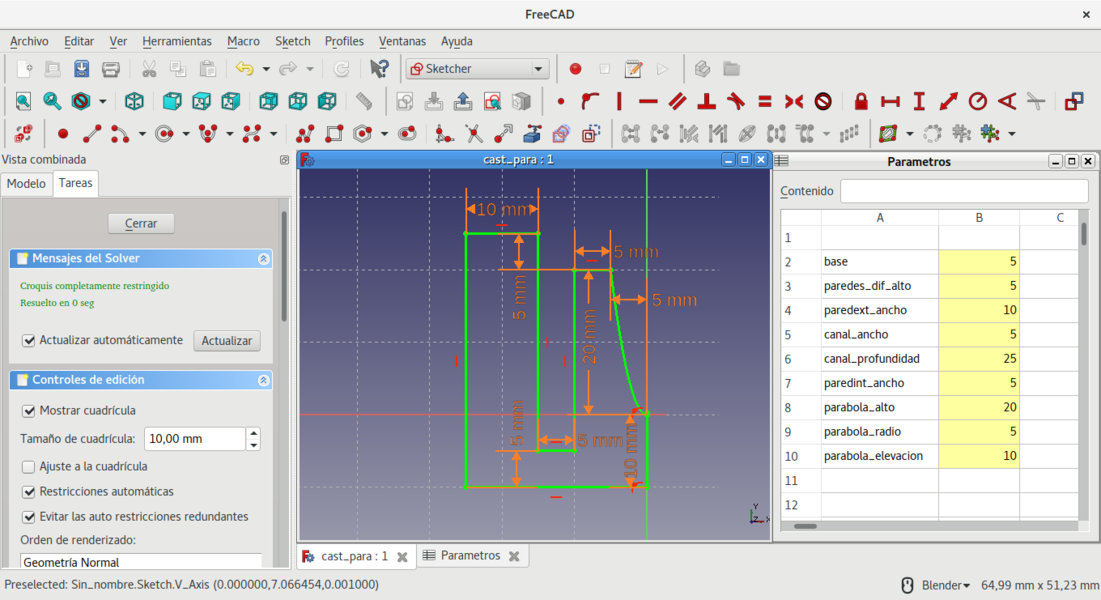
I designed a parametrized sketch of the matrix.
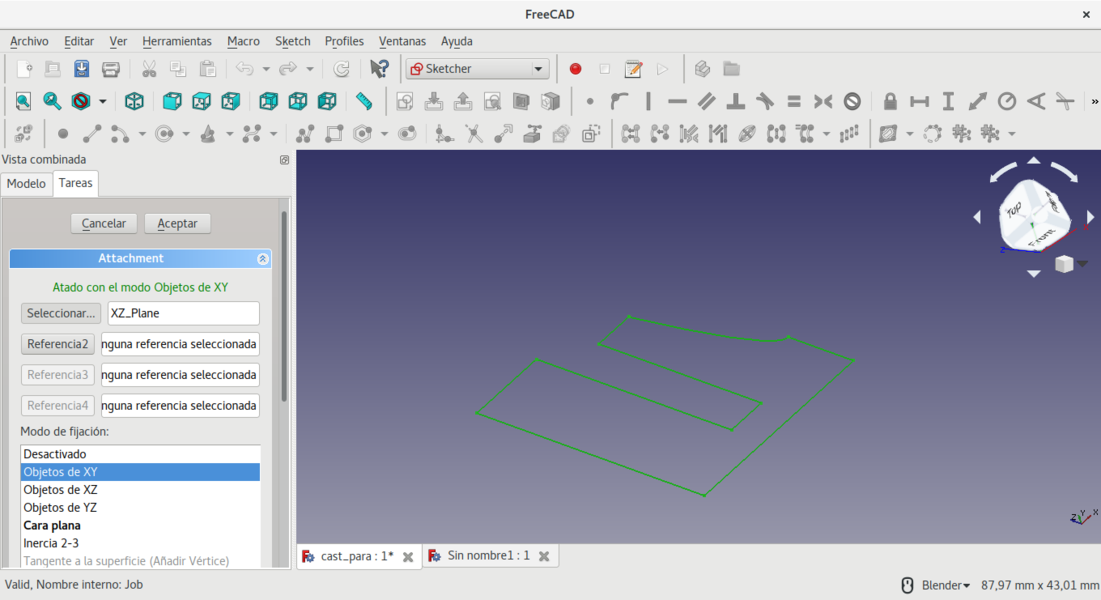
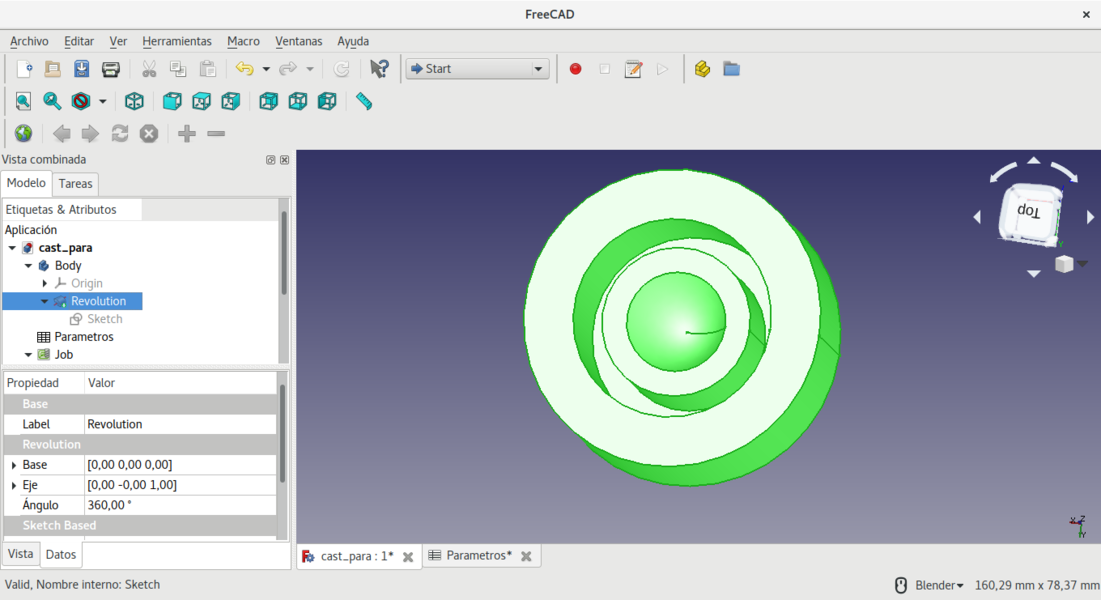
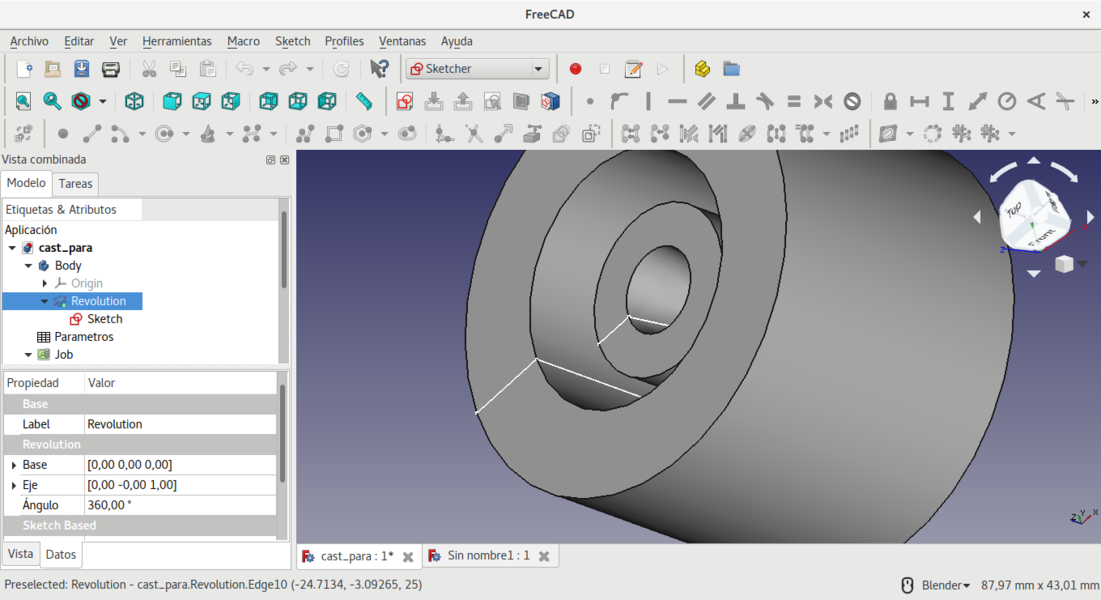
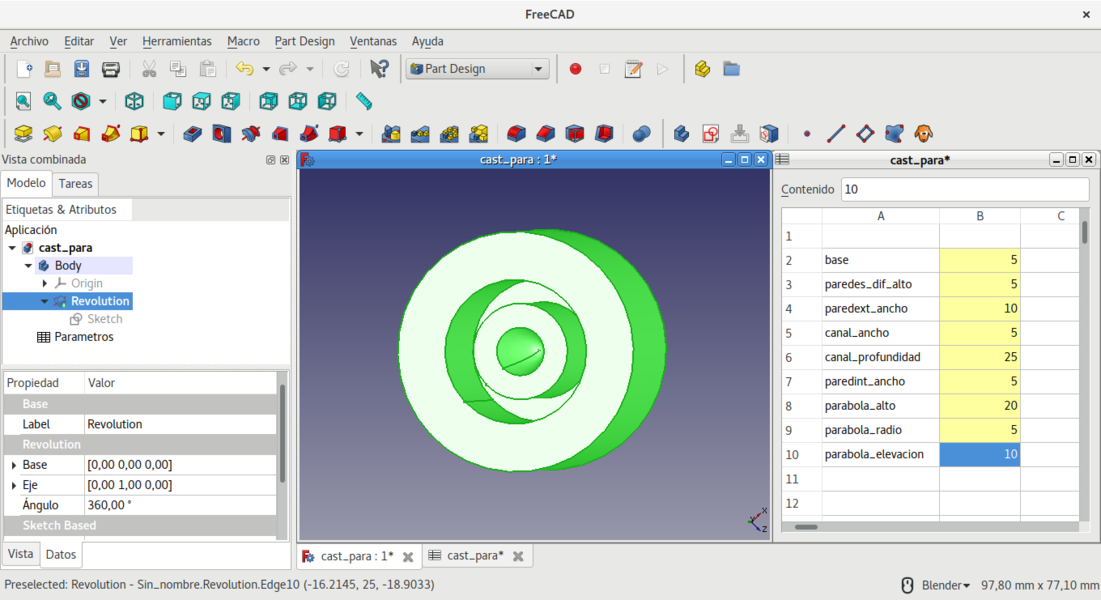
Then I revolved the piece on the vertical axis (Z).


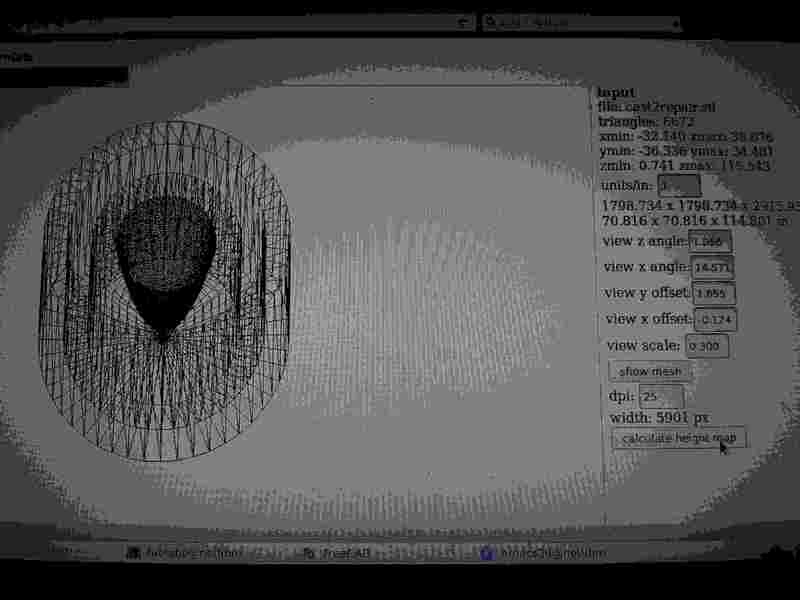
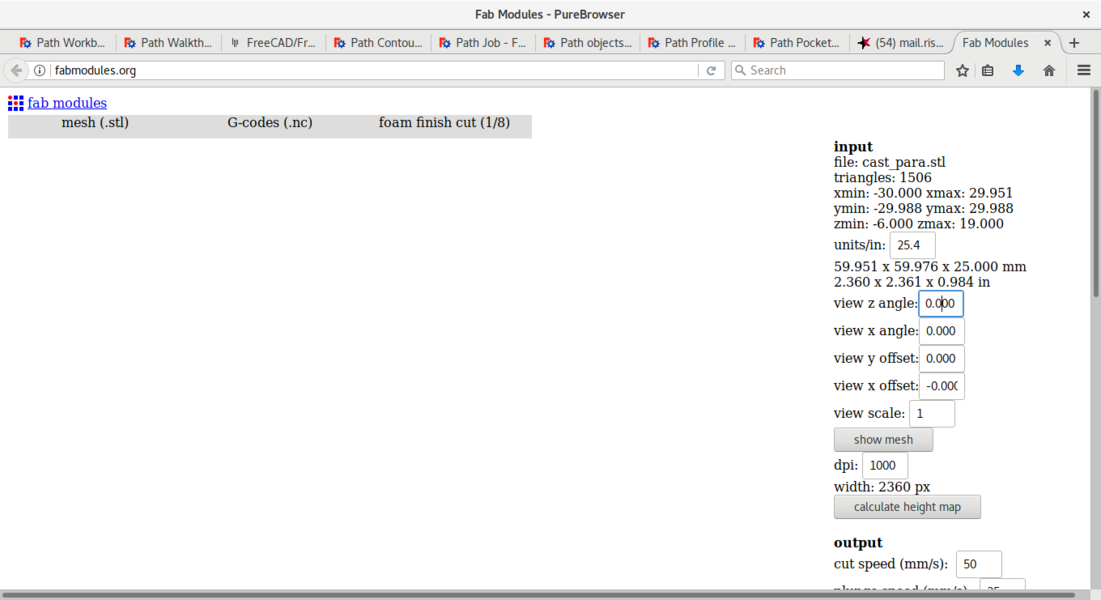
So I exported it as a Stereolithography image (.stl) and fed it into Fabmodules.
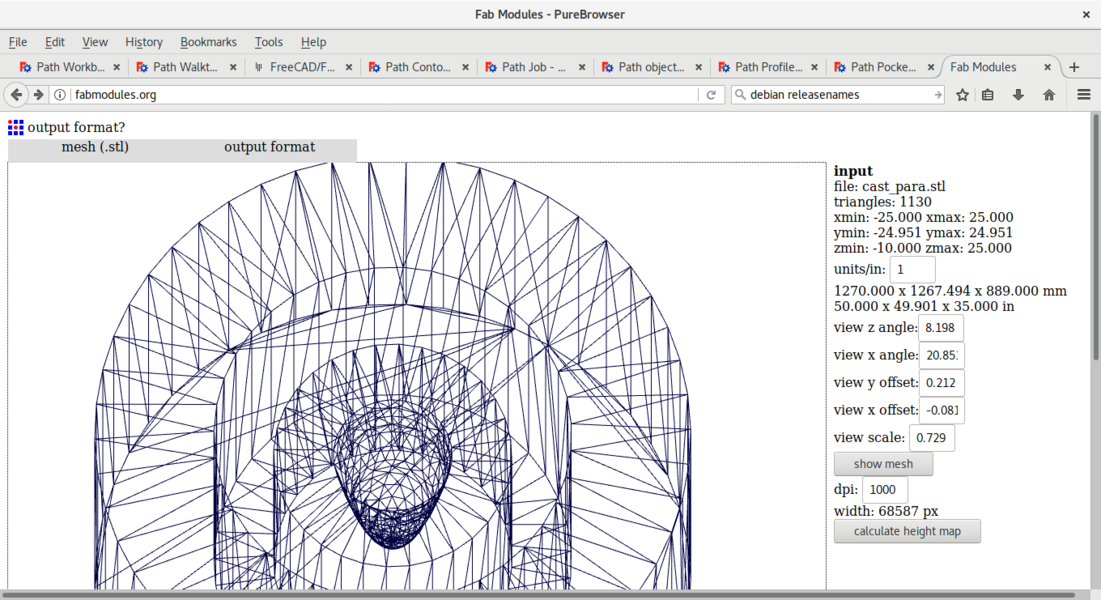
I set the units
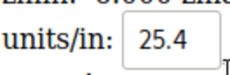
as millimeters with 25.4.
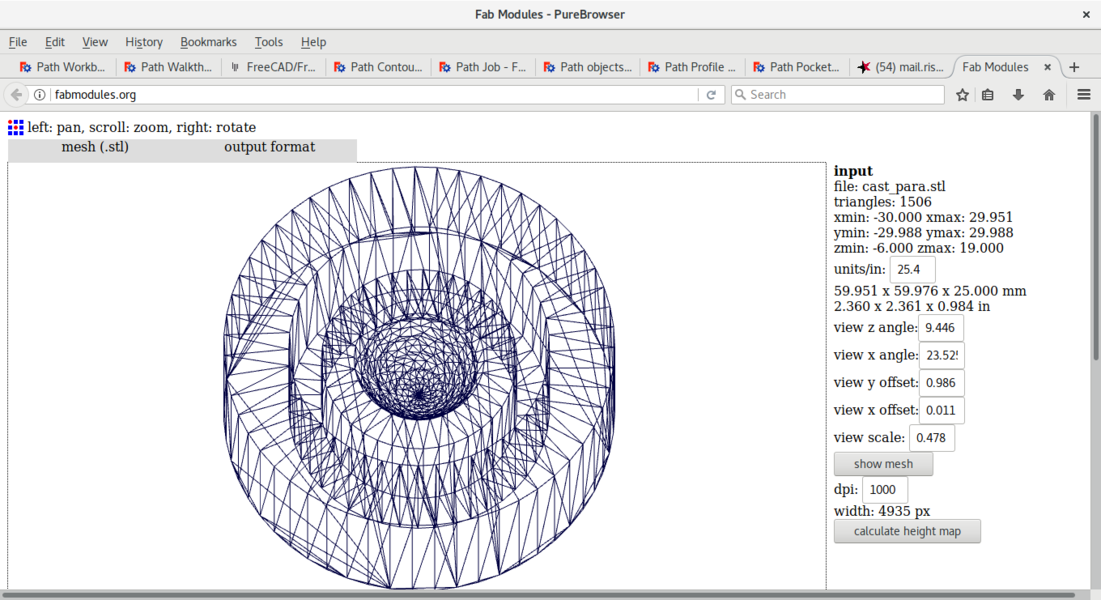
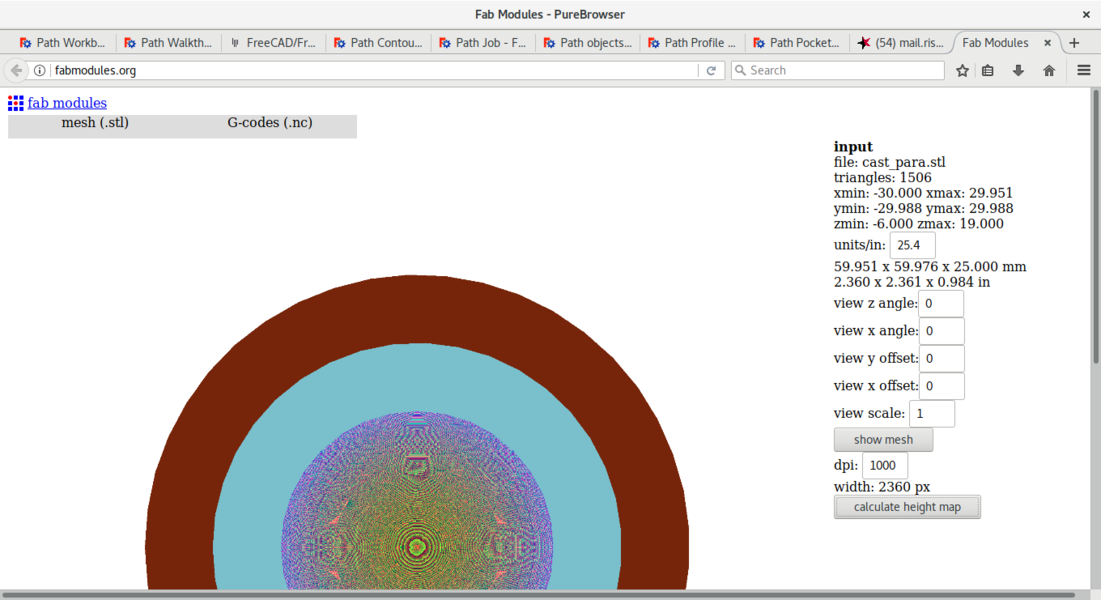
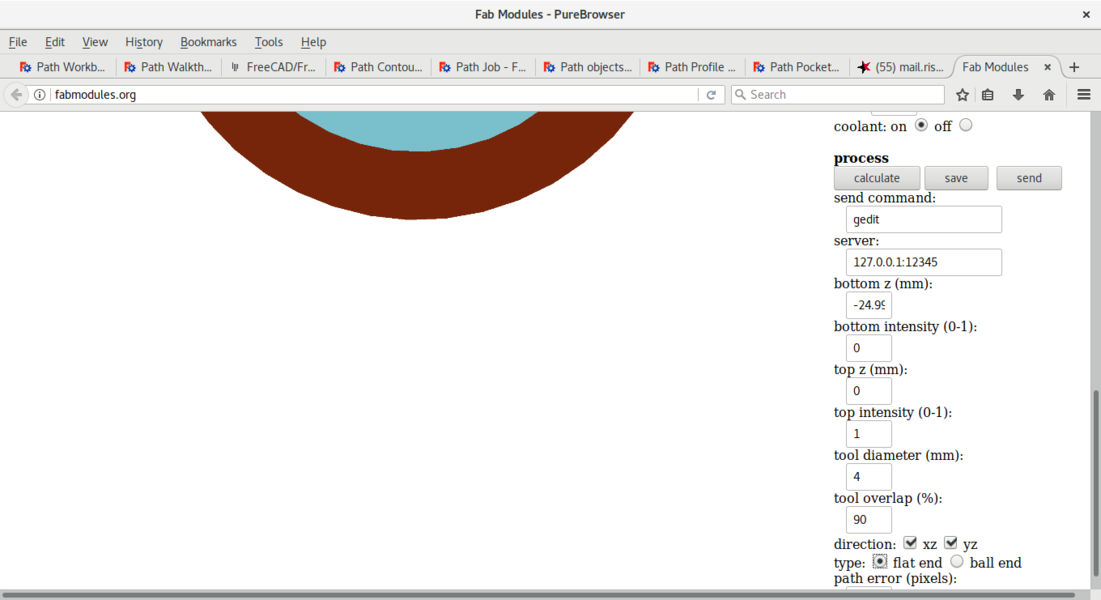
I selected the output to be Gcode as the output format and clicked on the calculate height map button.
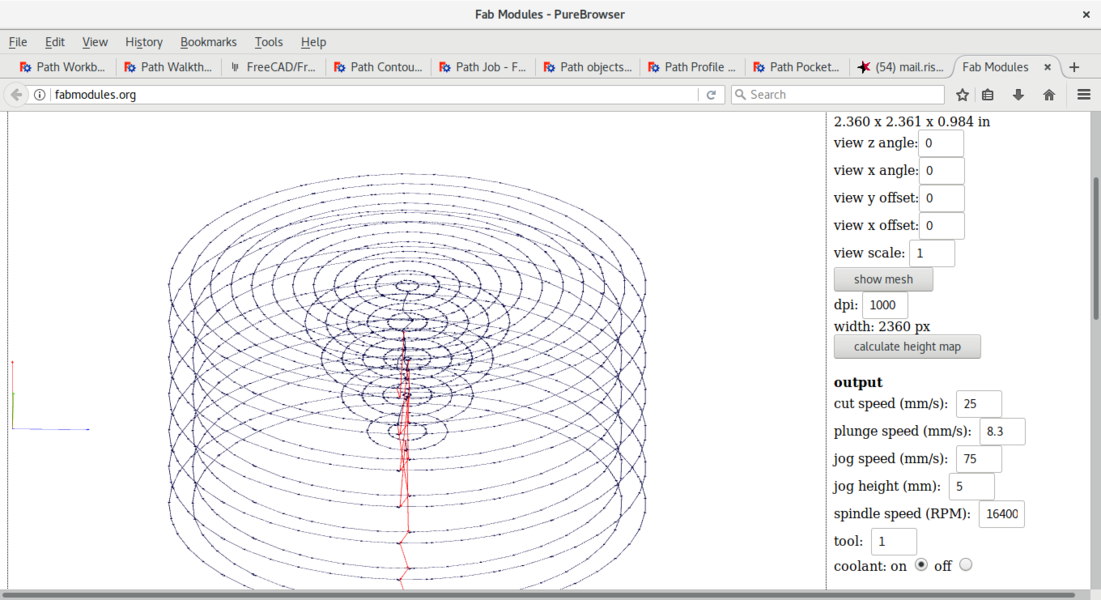
I set the path to foam rough cut.

with tool diameter 6 mm

and tool type as flat end.

When I pressed the process calculate button, I got a path trace and then pressed the save button to save it on disk.
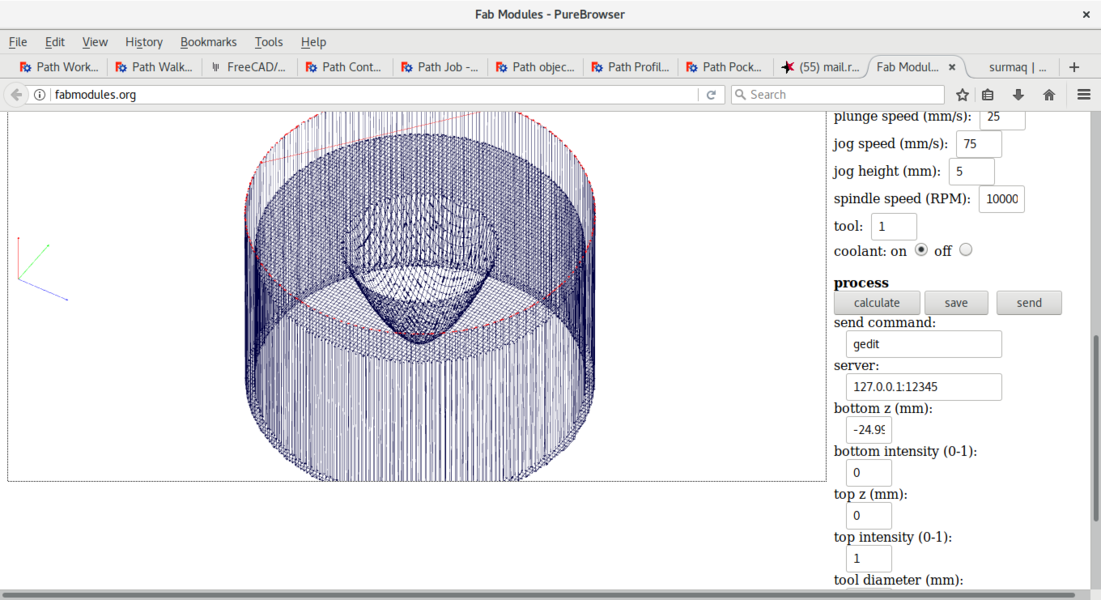
Then I selected the path to foam finish cut.
I calculated the height map
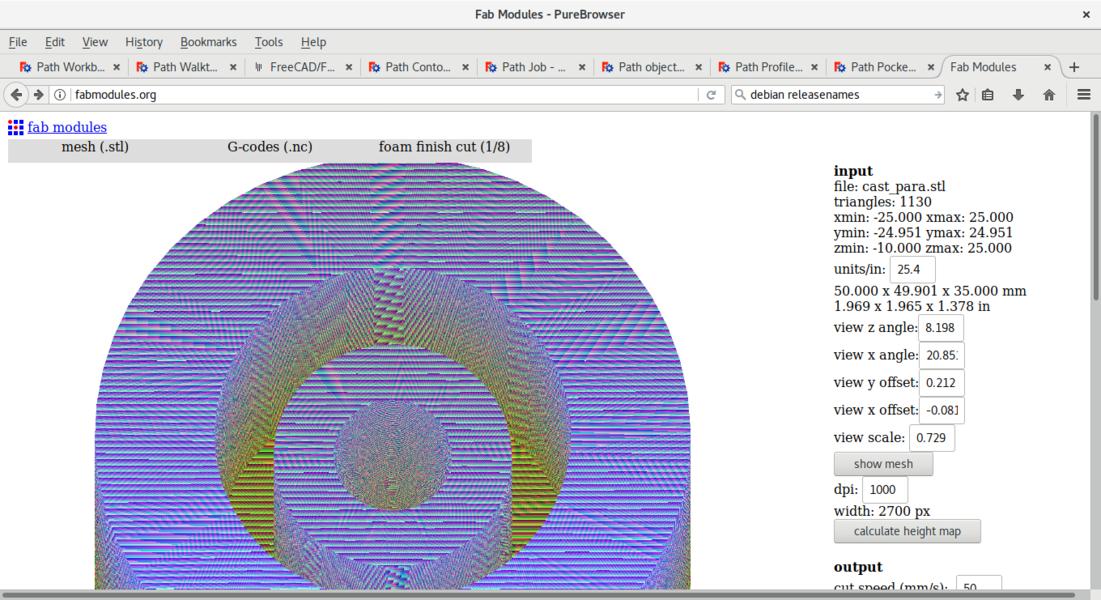
and set the units to millimeters again.
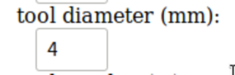
Set the tool diameter to 4 mm
and should have set the tool type as ball end.

But I left it as flat end.
Anyway, I calculated and saved the traces.
Zeroing the 3 axes.
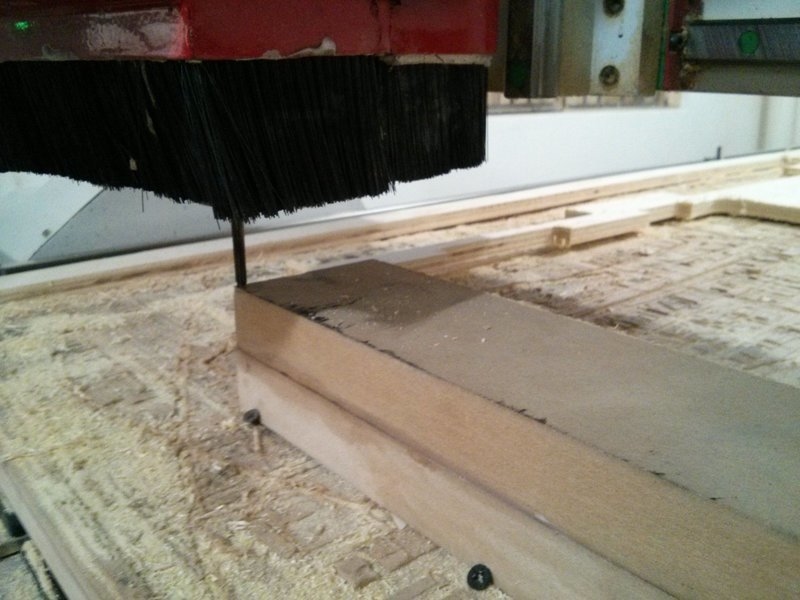
Milled the rough cut.
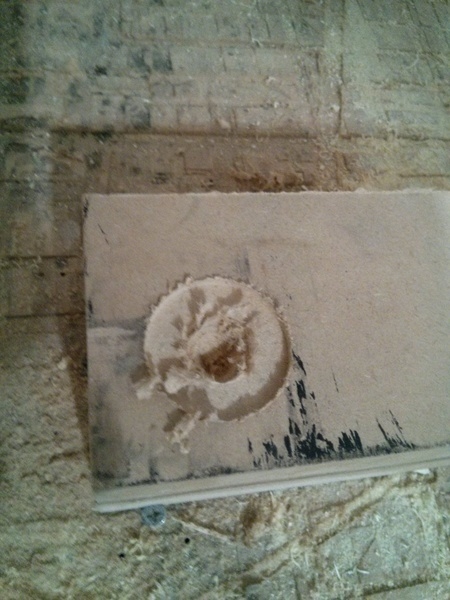
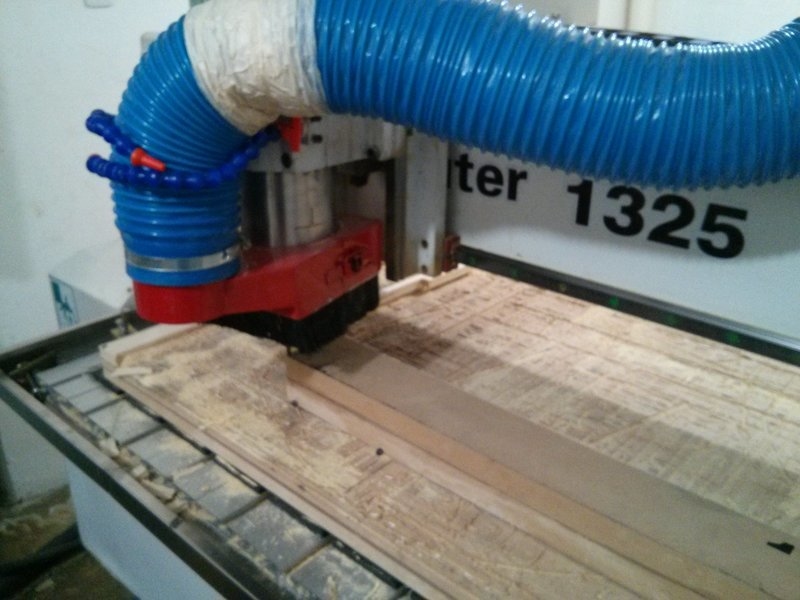
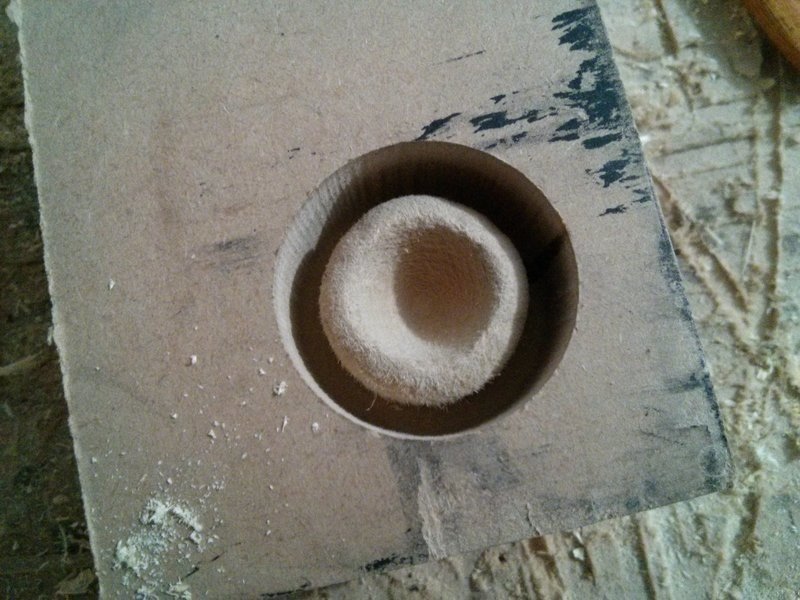
Milled the fine cut. The cut was filled with the sawdust which had to be removed carefully with a piece of wood.
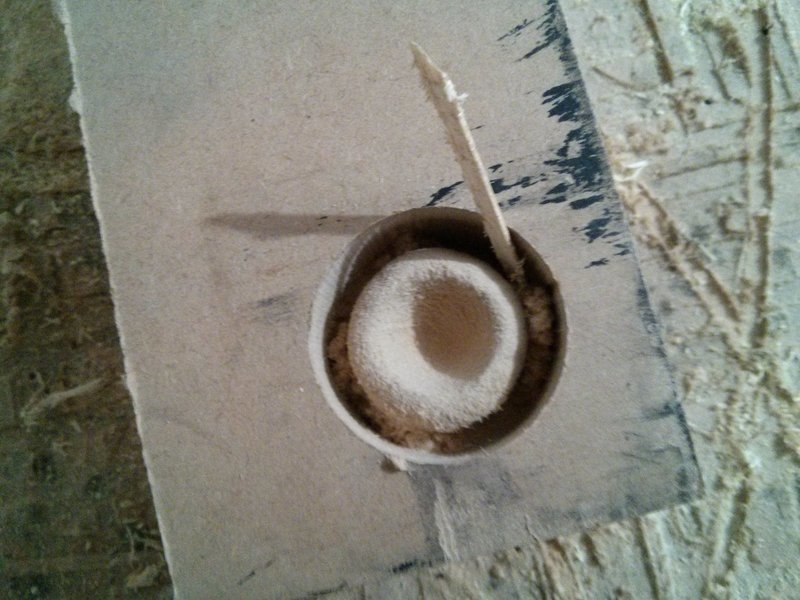
This was the final appearance of the matrix. Notice the border is round. Presumably it is because I used a round
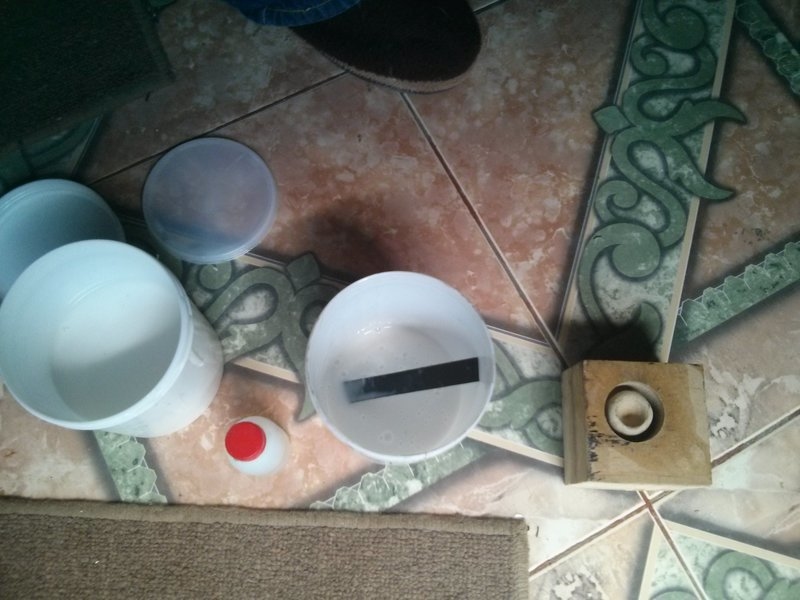
I devised a plan to avoid making decisions at the moment when the resins are drying.
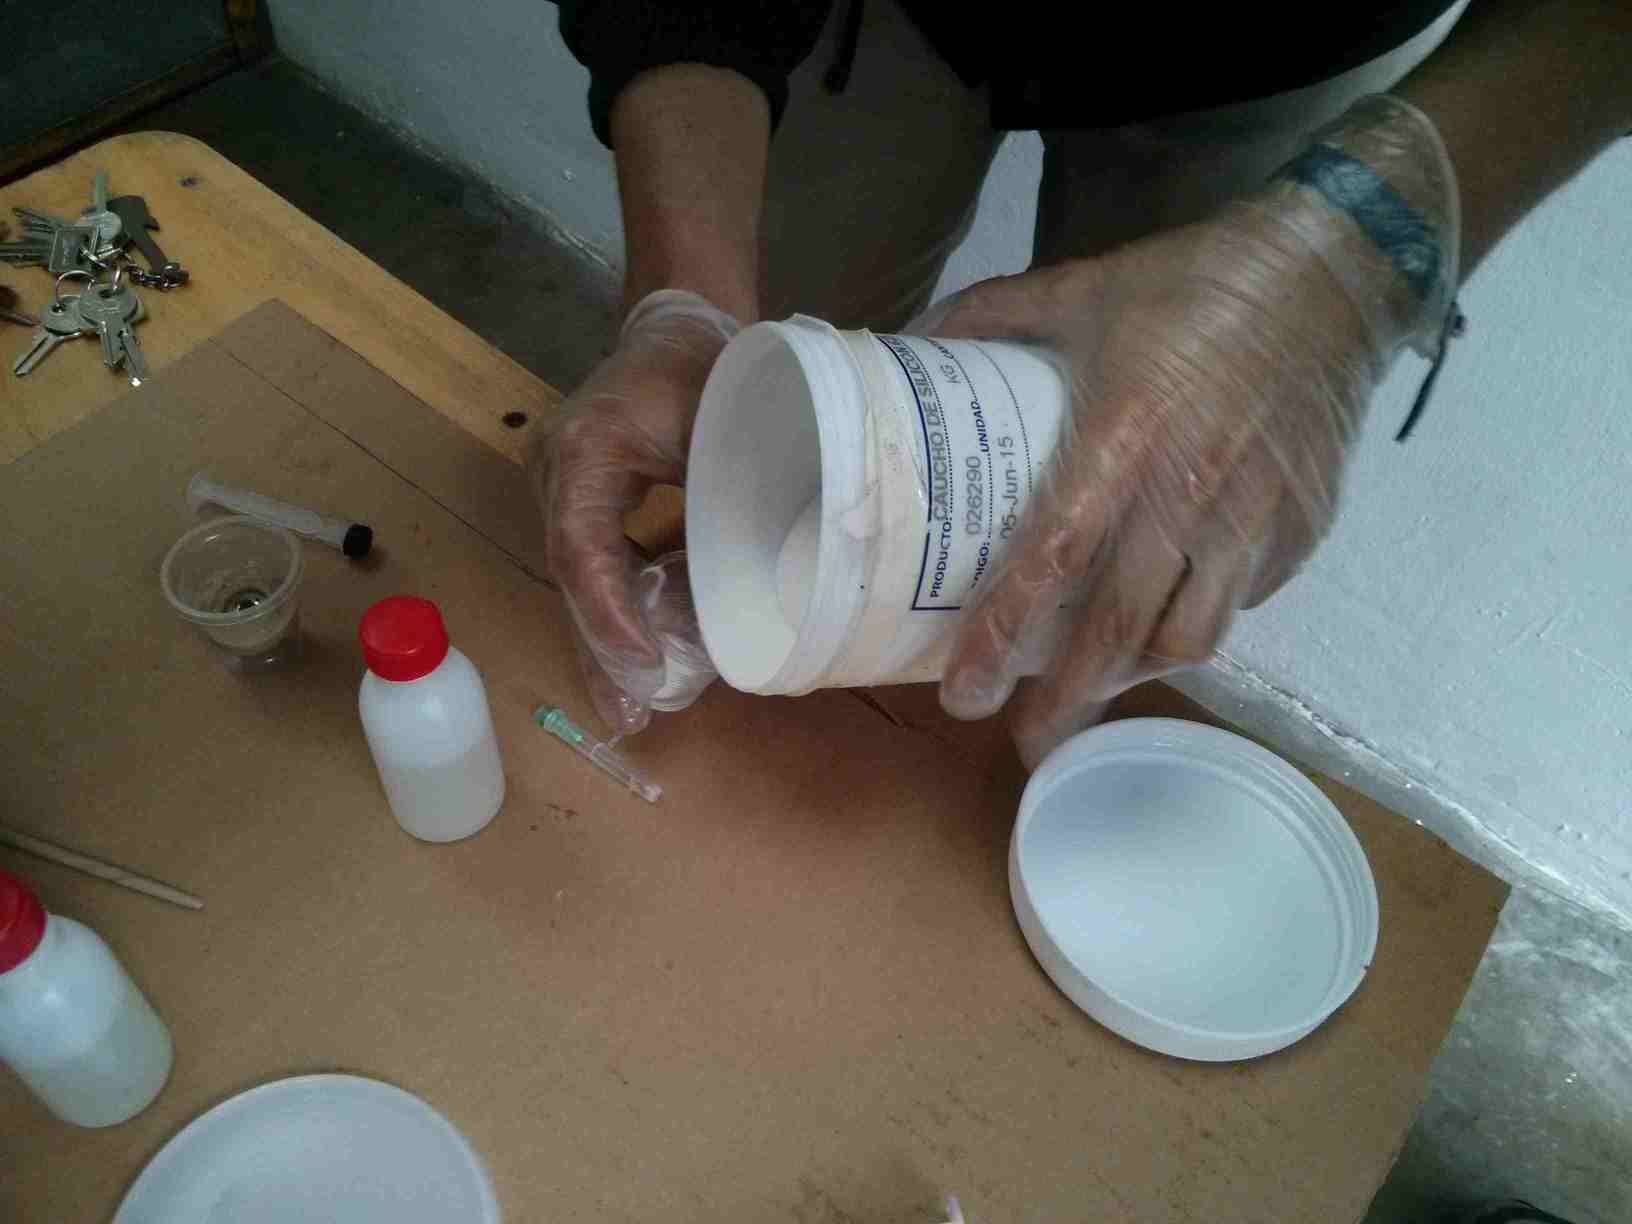
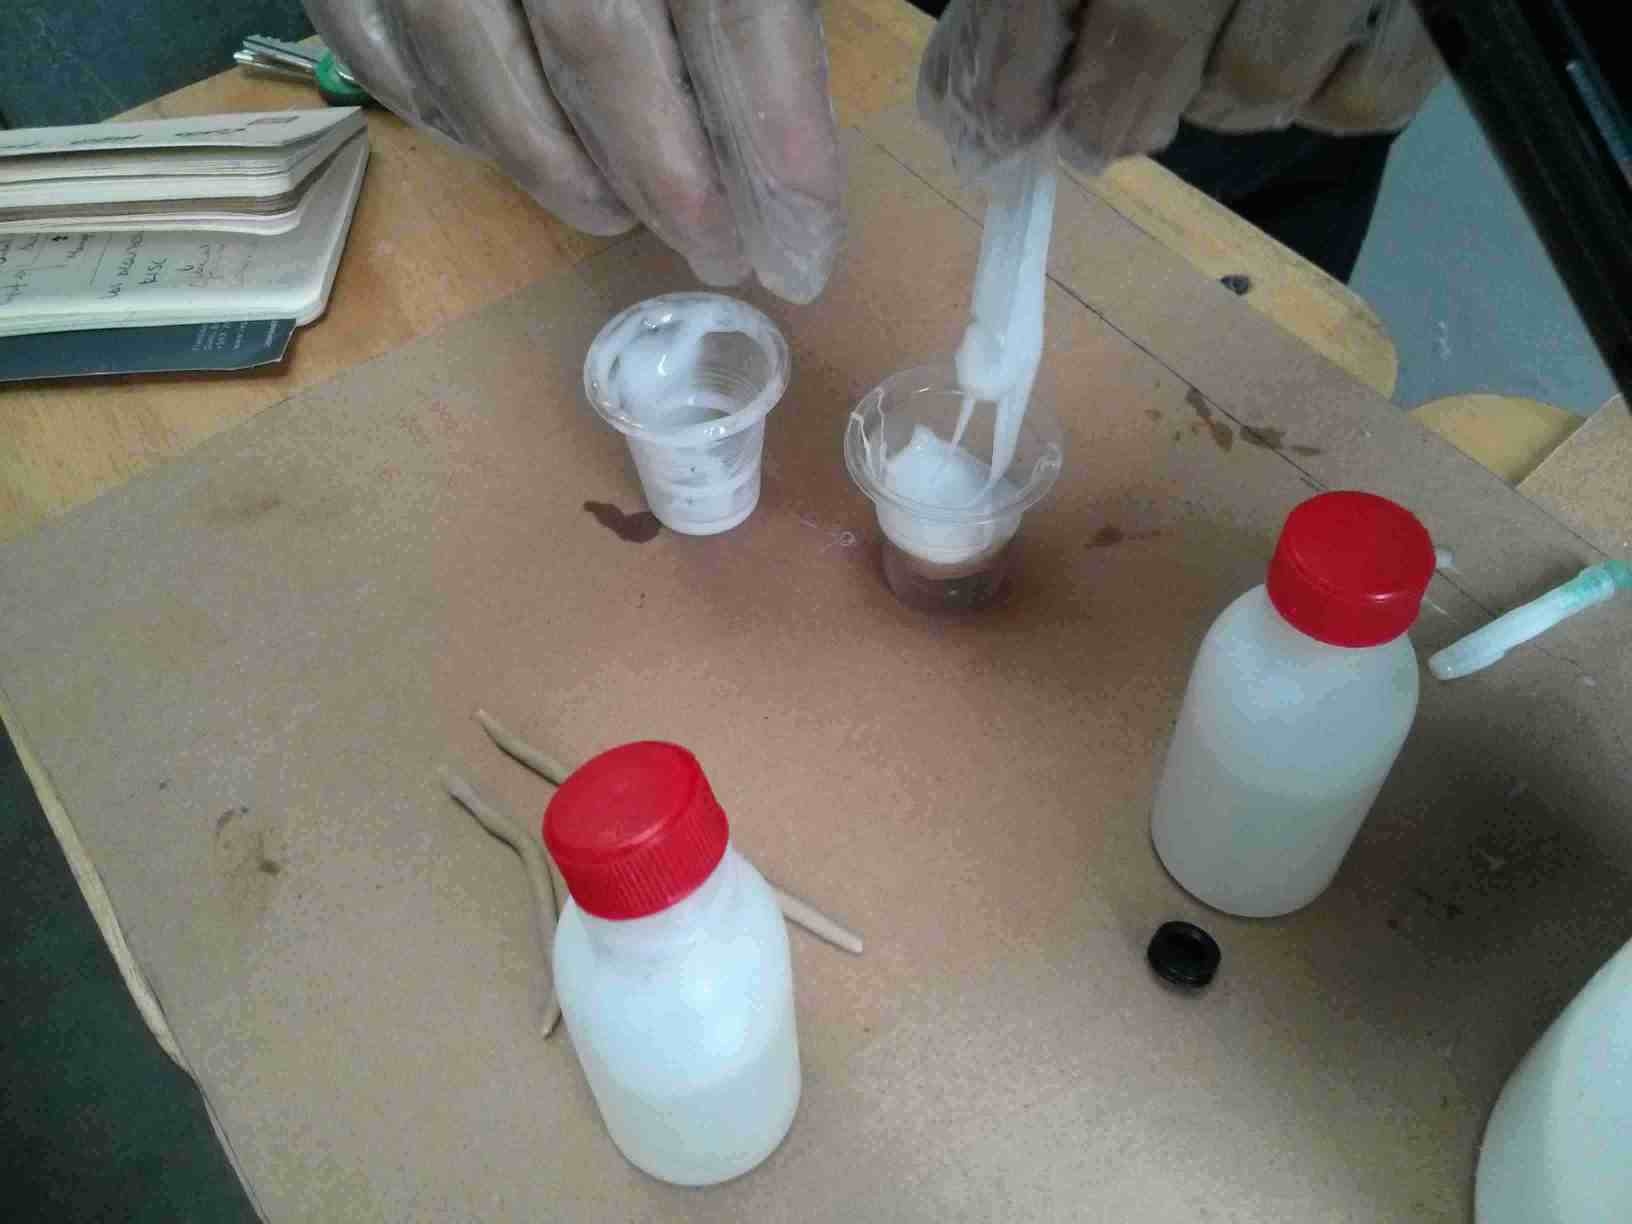
I filled the matrix with the cathalatic sealing lacker. It did not have a supplier datasheet. But I found a similar rubber silicone datasheet. The proportion was not measured. But I tryed to make it about 1:20.
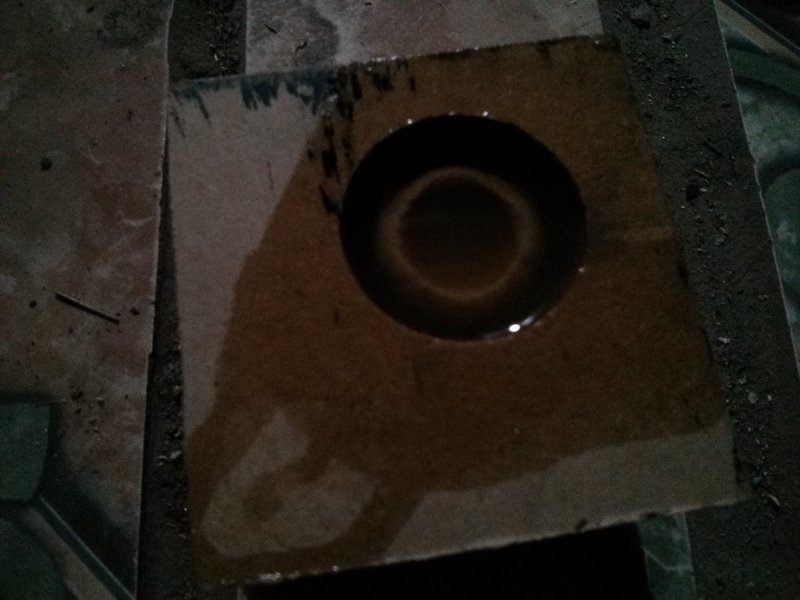
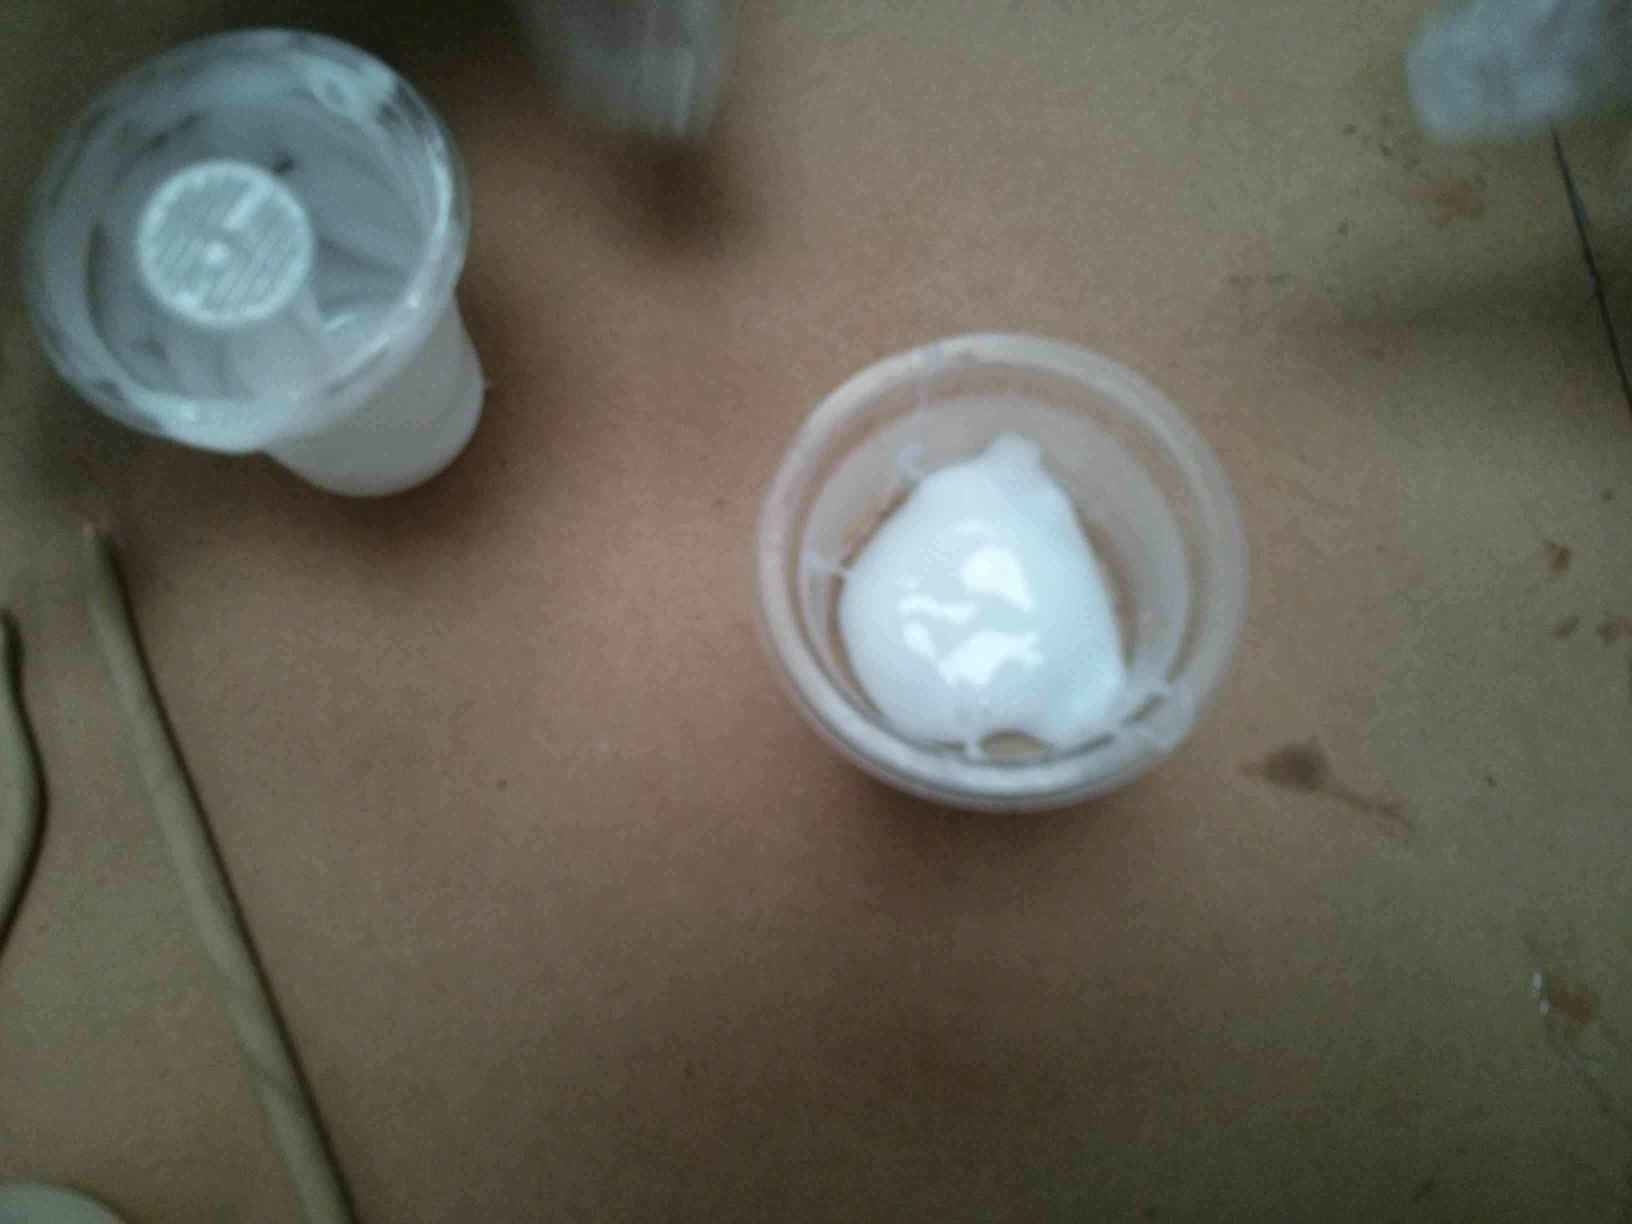
And then emptied the excess. I did this several times.
After about 8 hours I sanded the matrix.
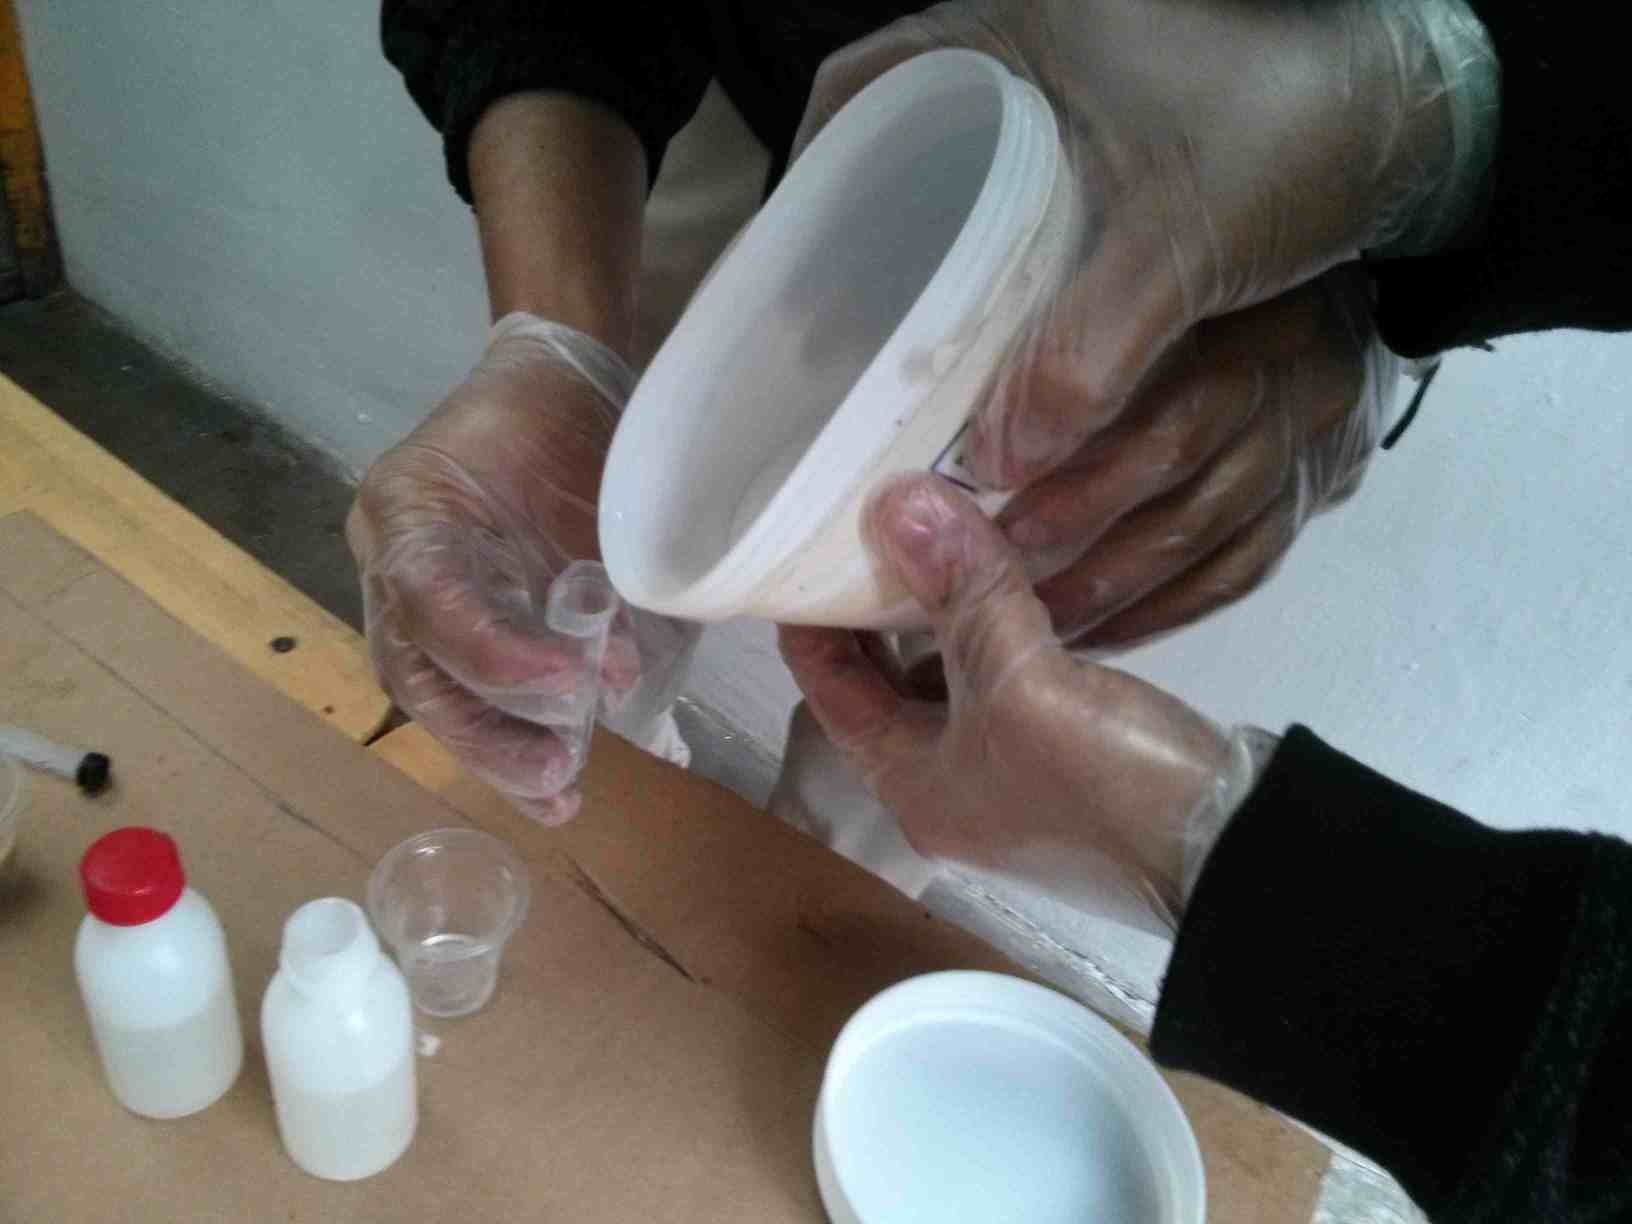
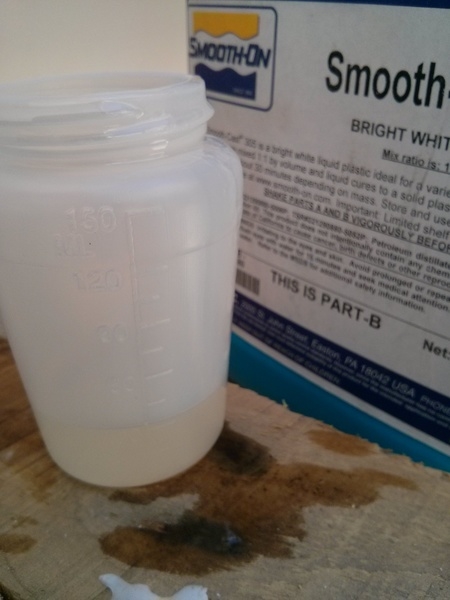
I reviewed the Smooth-on datasheet. Then I prepared the rubber silicone resin withe the two components from the containers at the left. I used about 1:20.
which I filled into the matrix and cleaned the material which spilled on the edges.
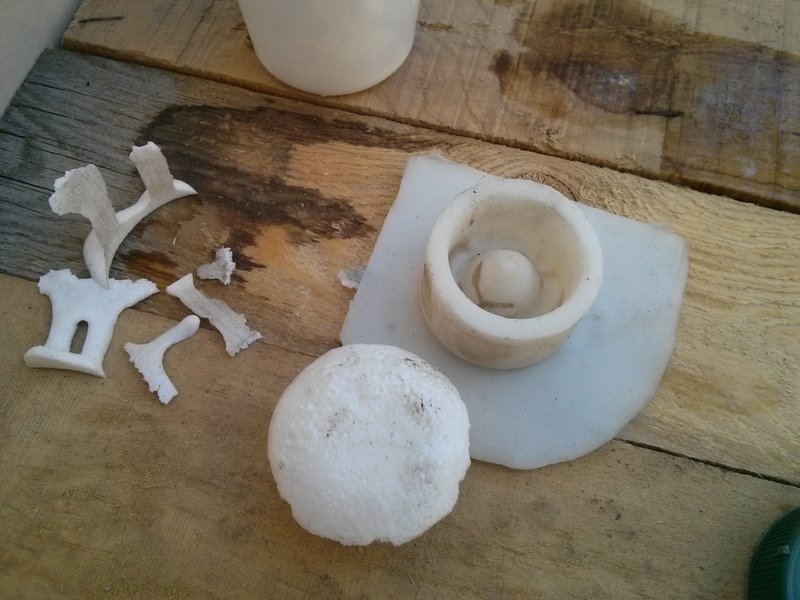
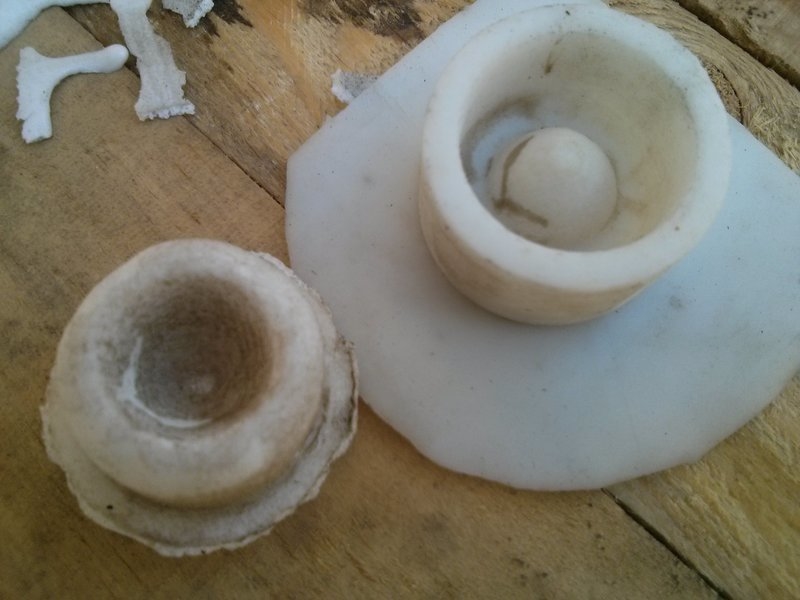
After about 12 hours I broke the matrix apart since I could not remove the rubber mould from the MDF matrix.
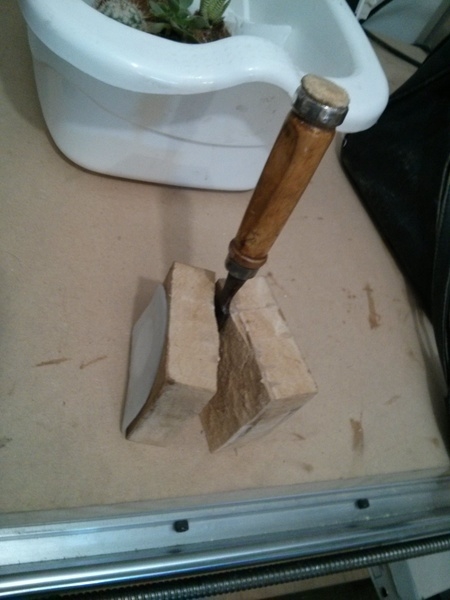
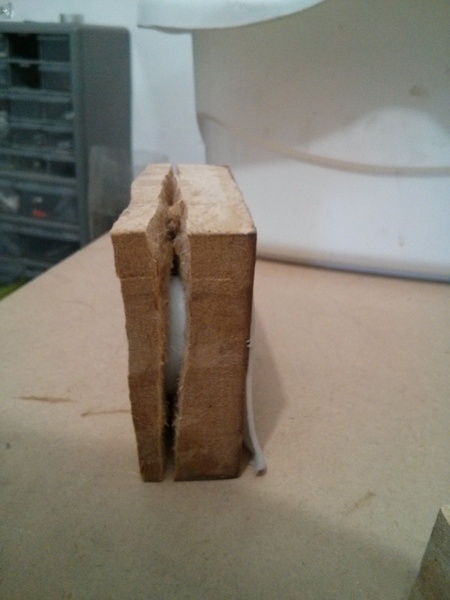
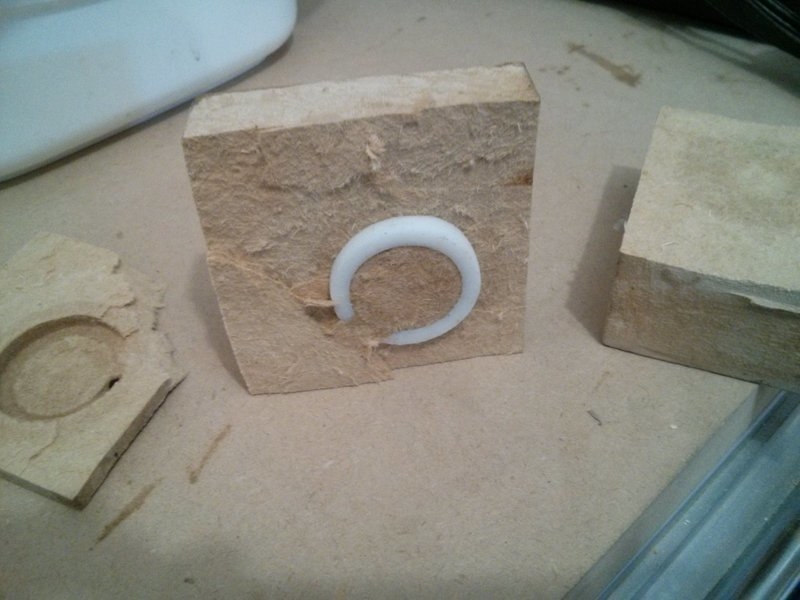
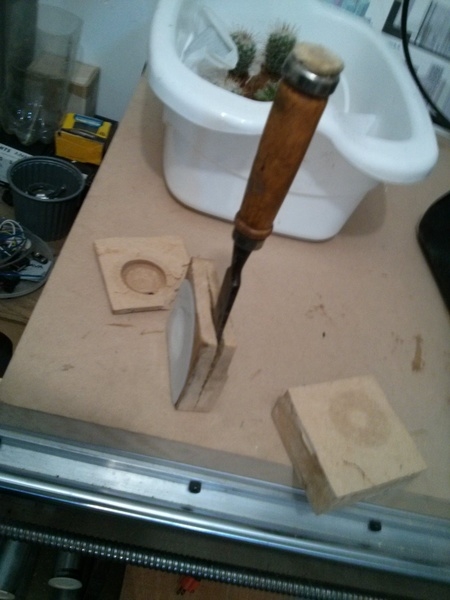
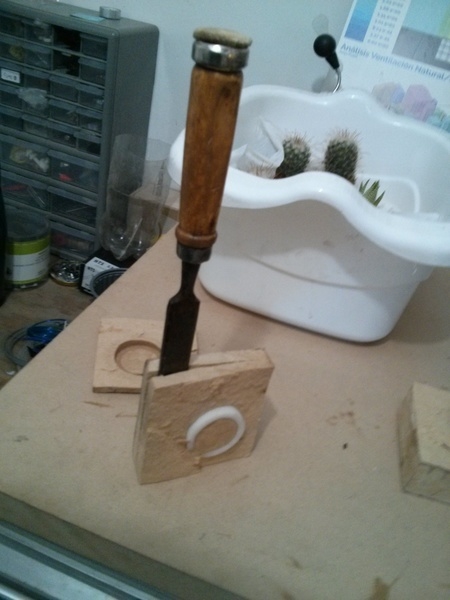
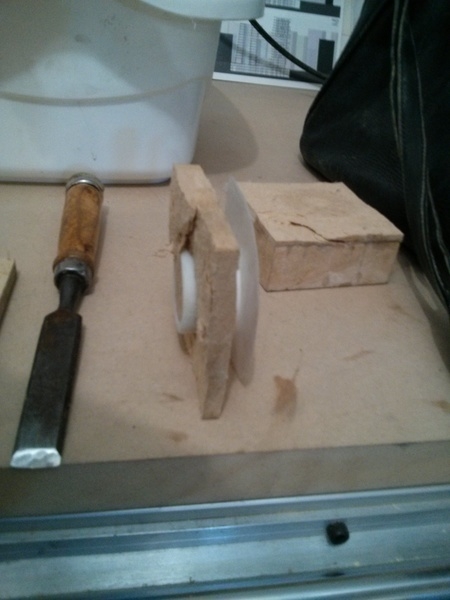
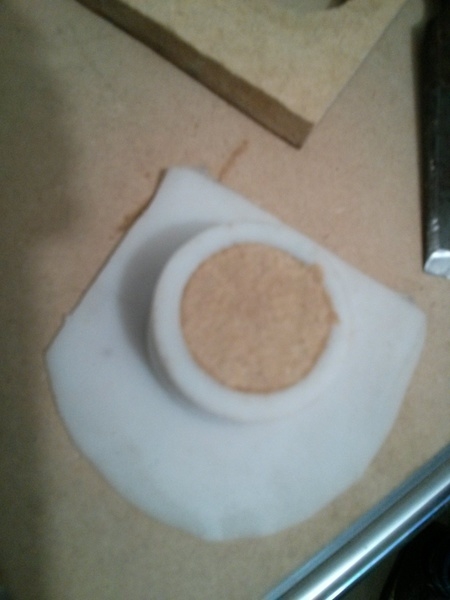
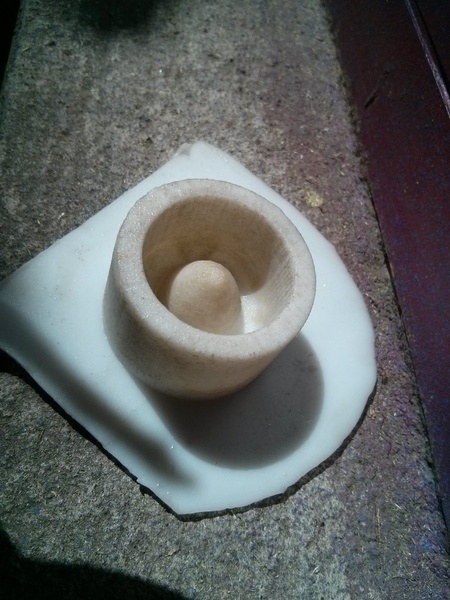
And the mould came out very well.
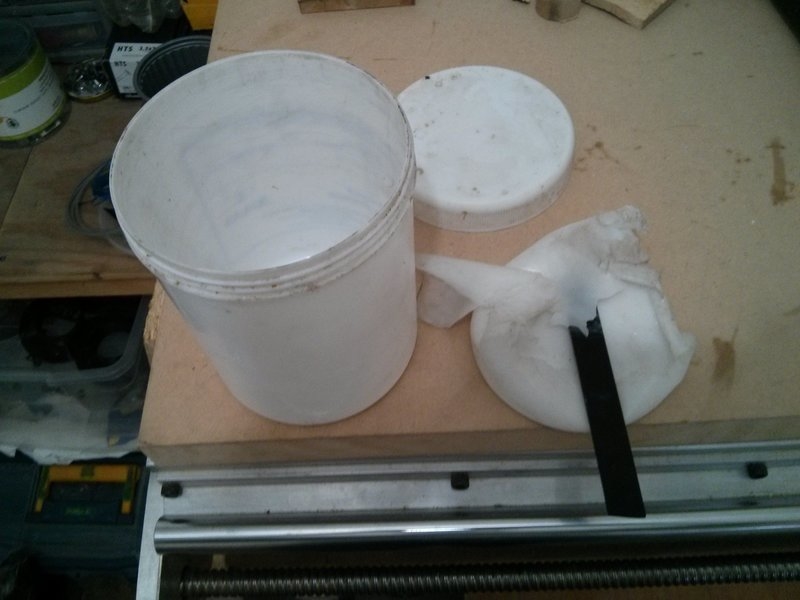
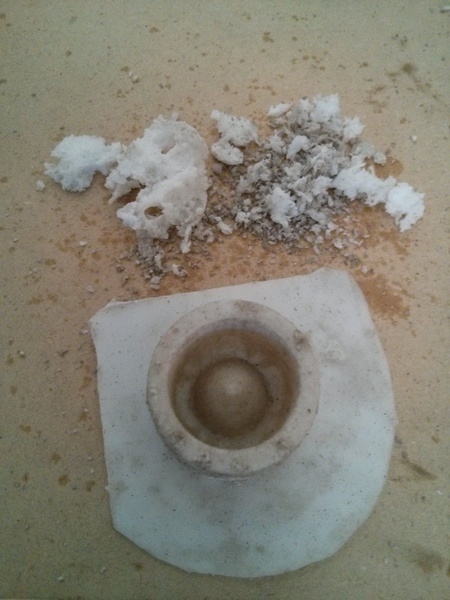
The remaining rubber resin was still a little wet since it was inside a closed jar.
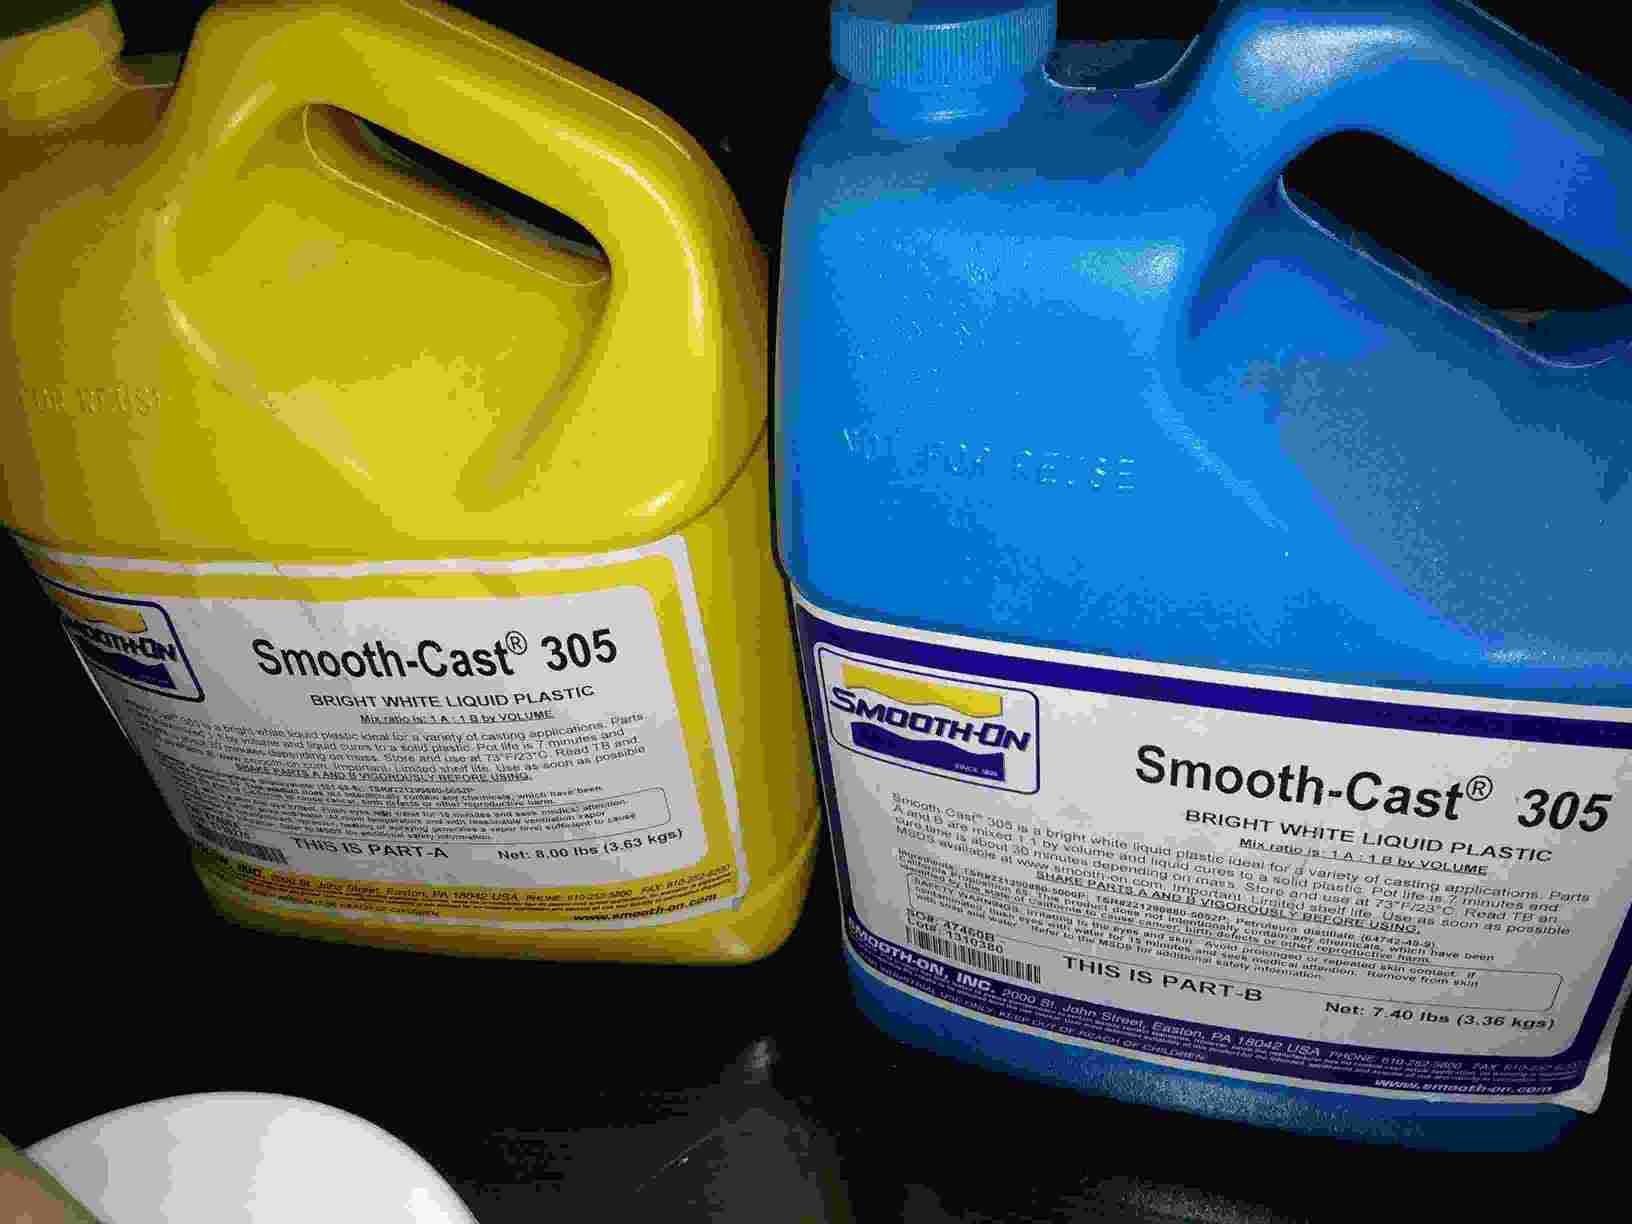
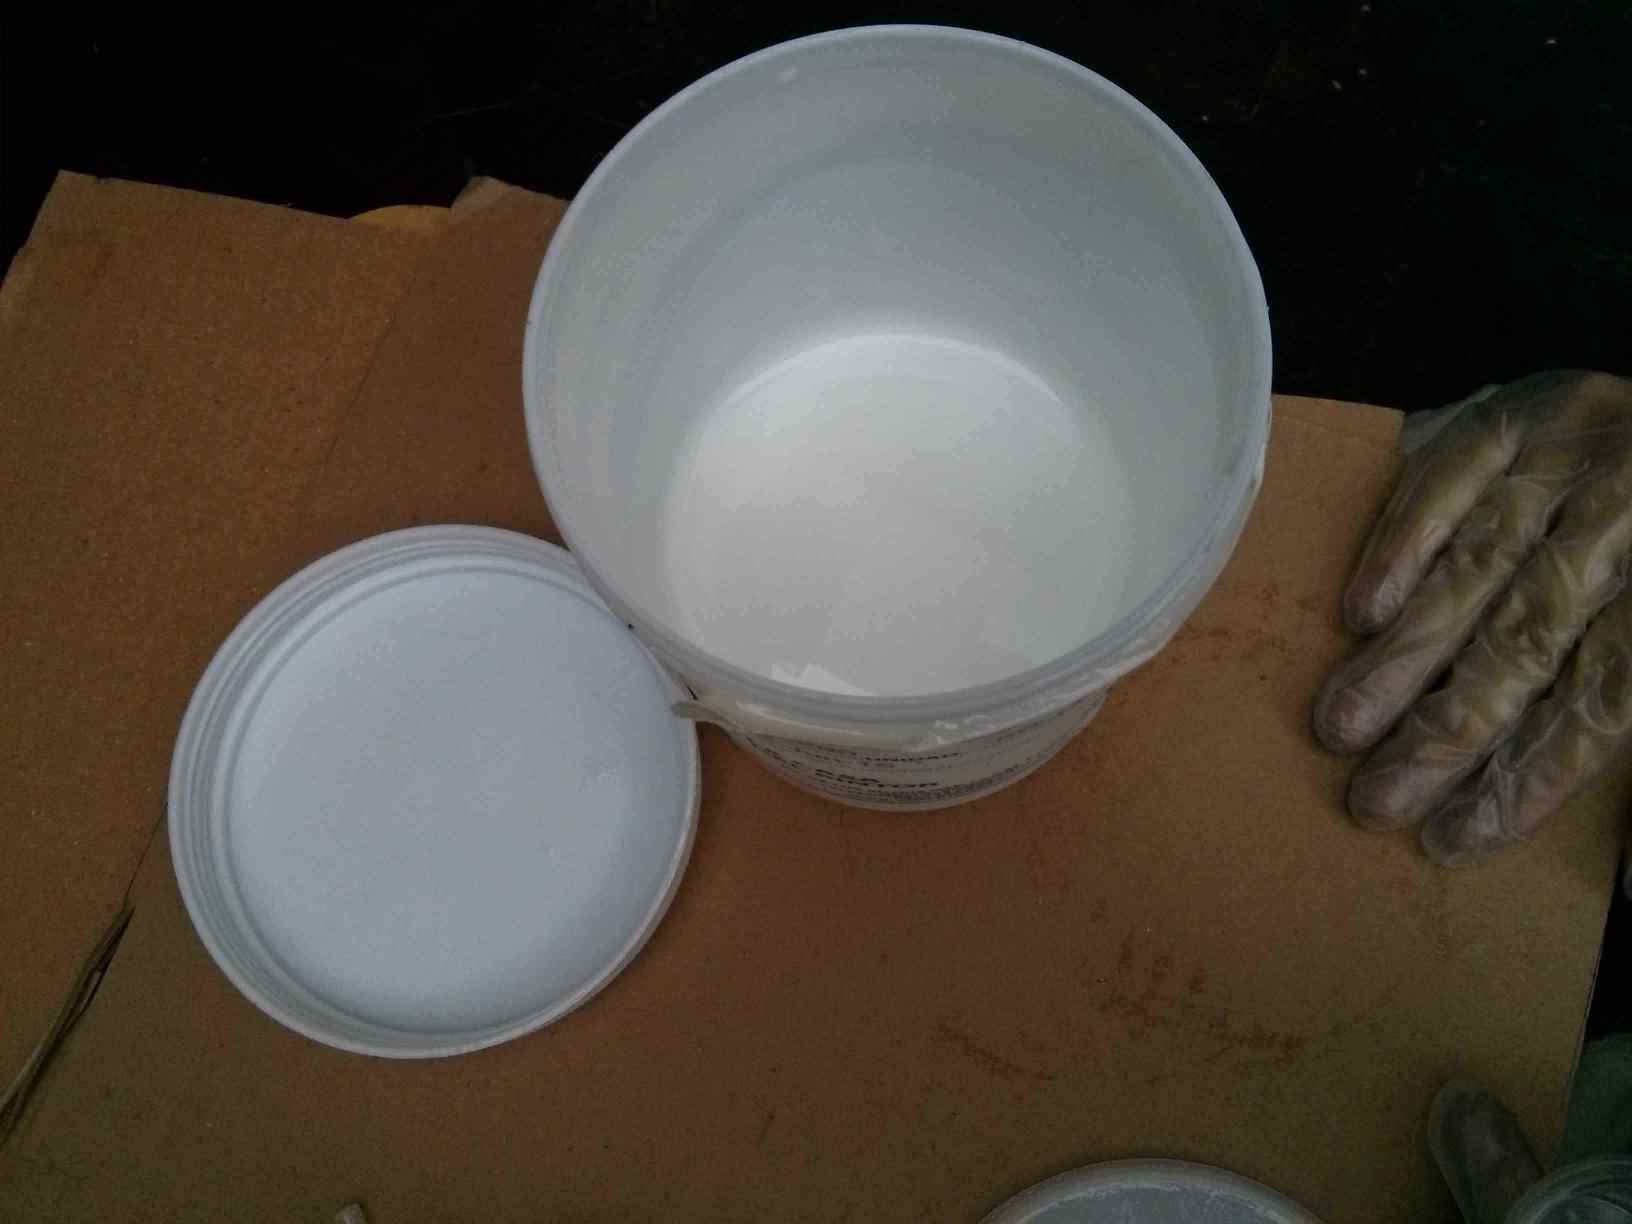
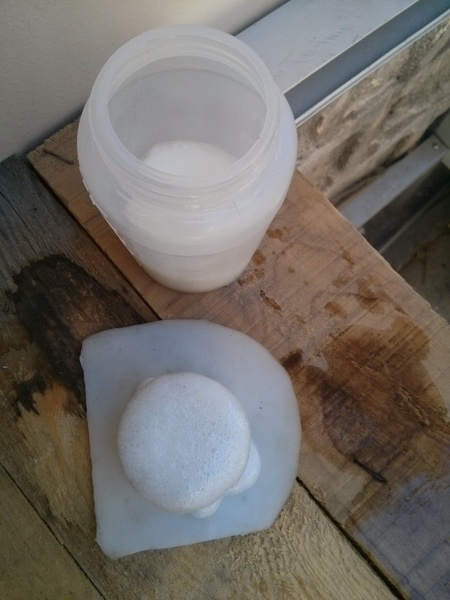
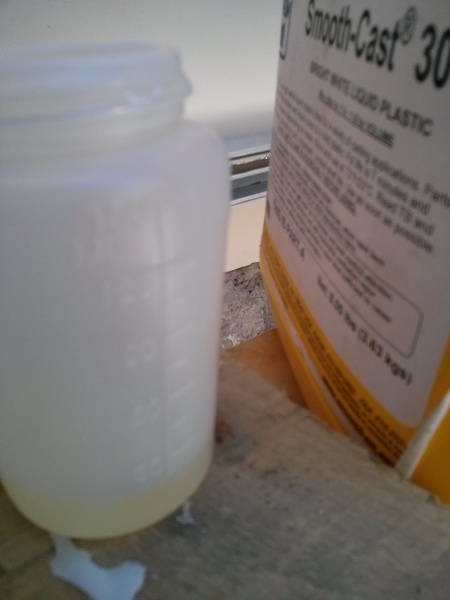
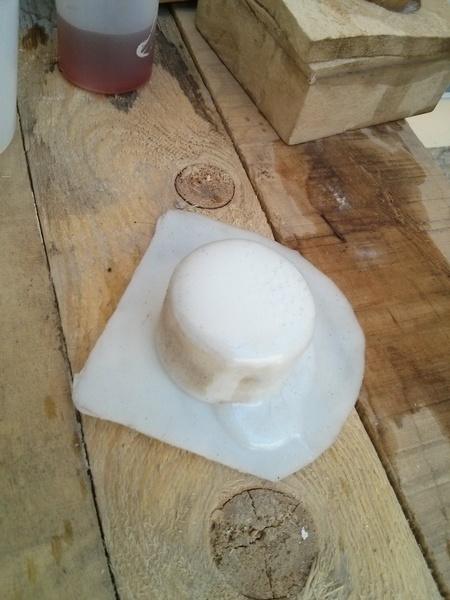
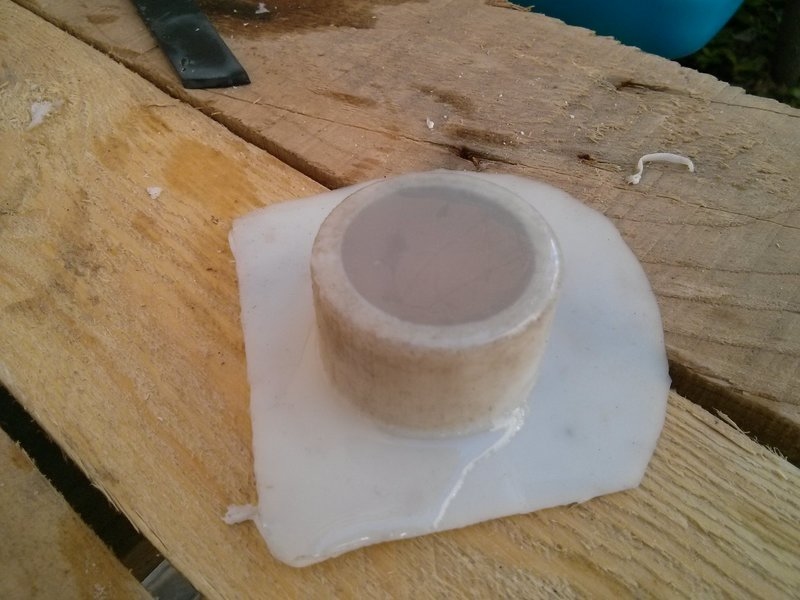
For casting the part I used Smooth-On Smooth-Cast 305.
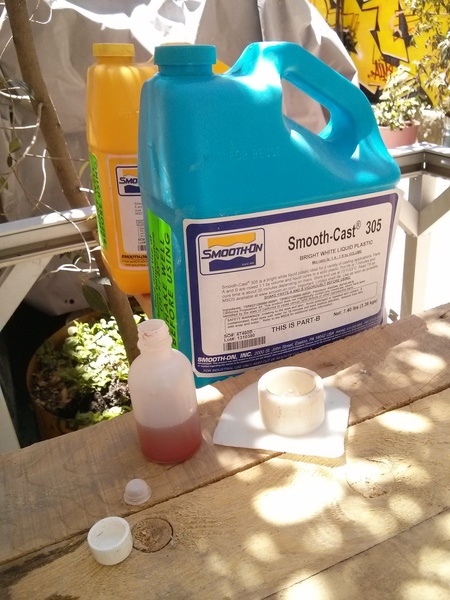
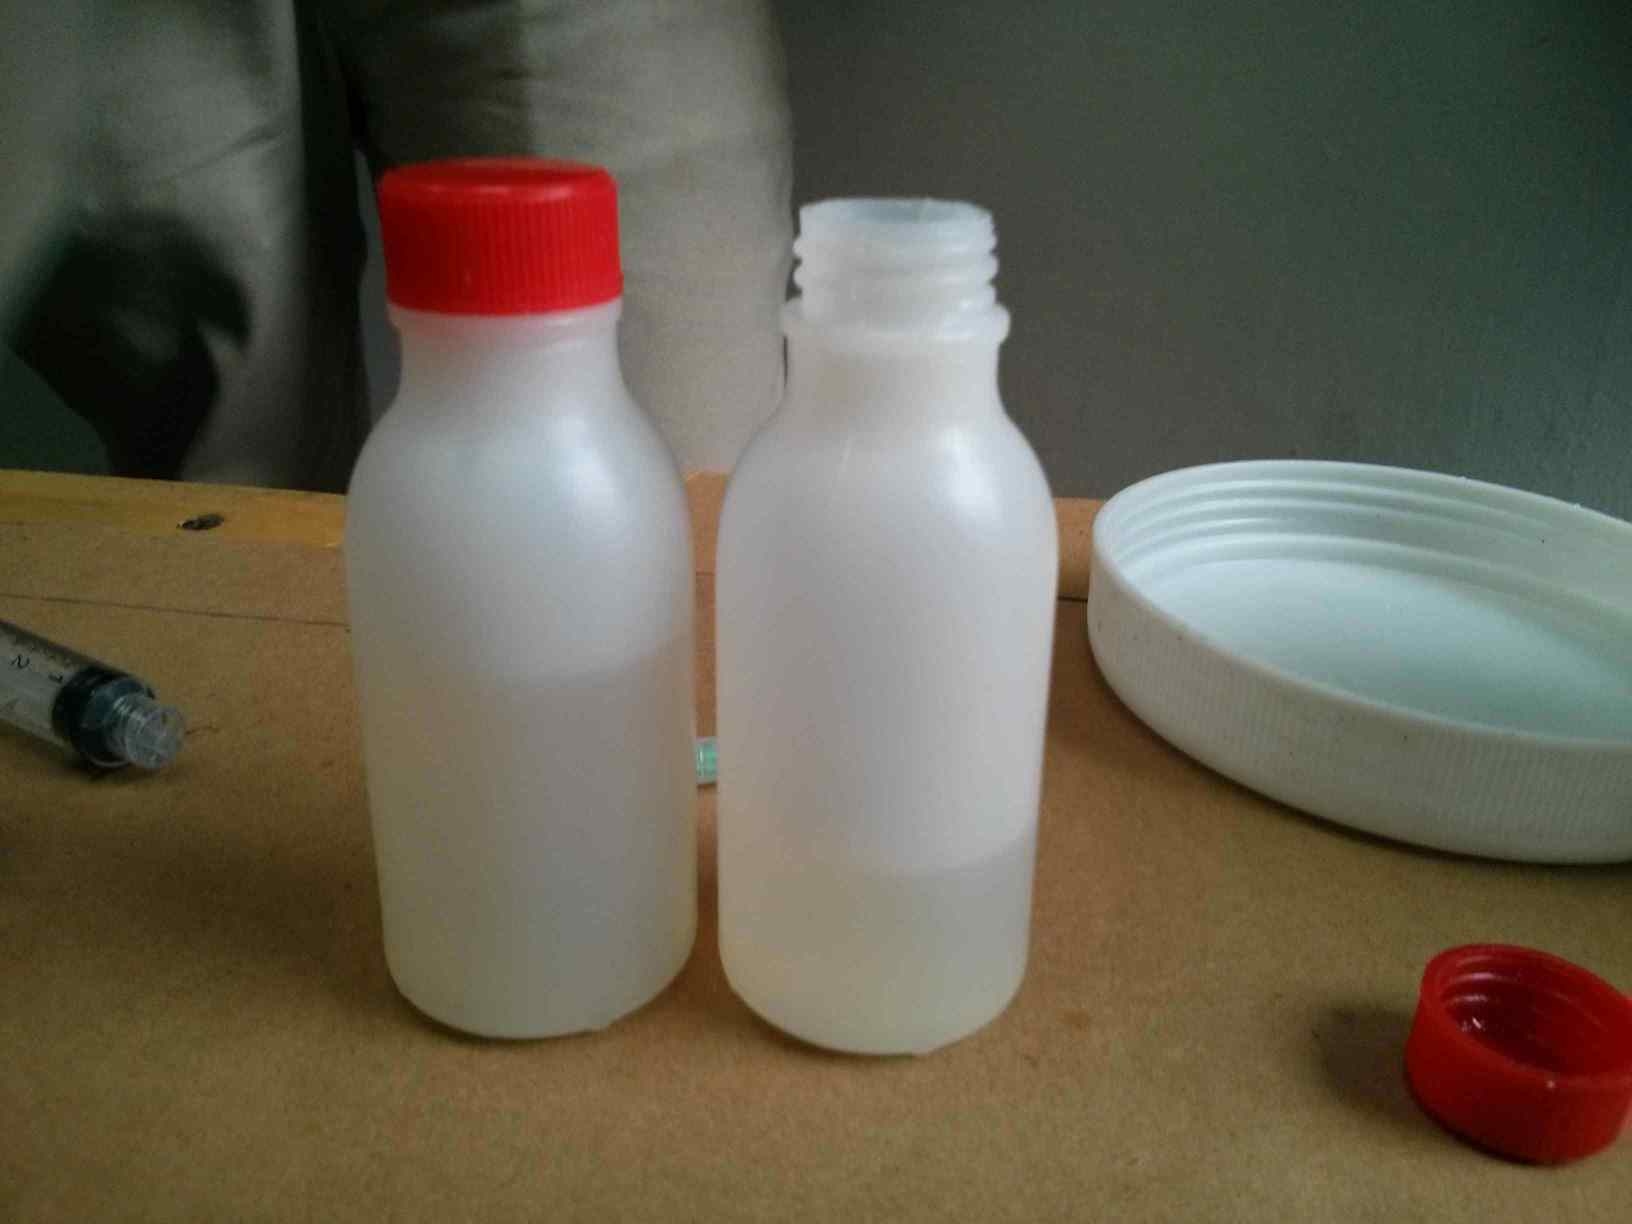
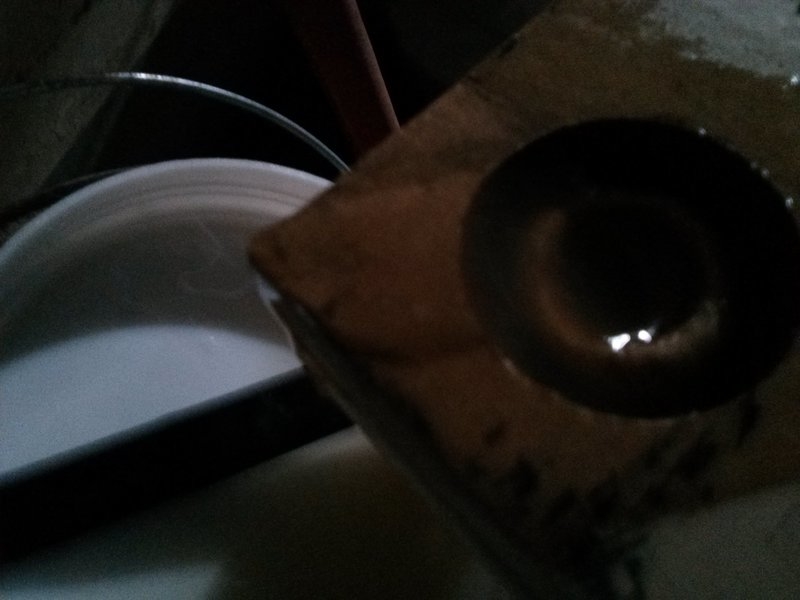
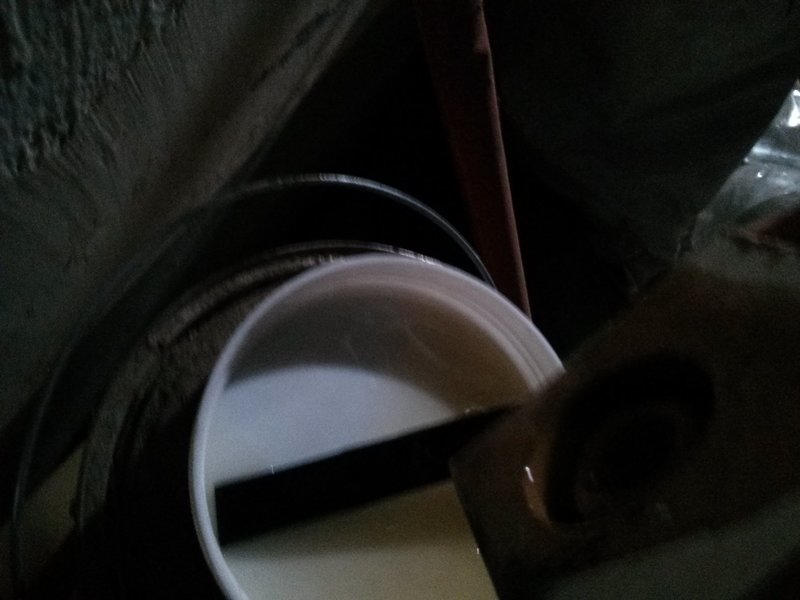
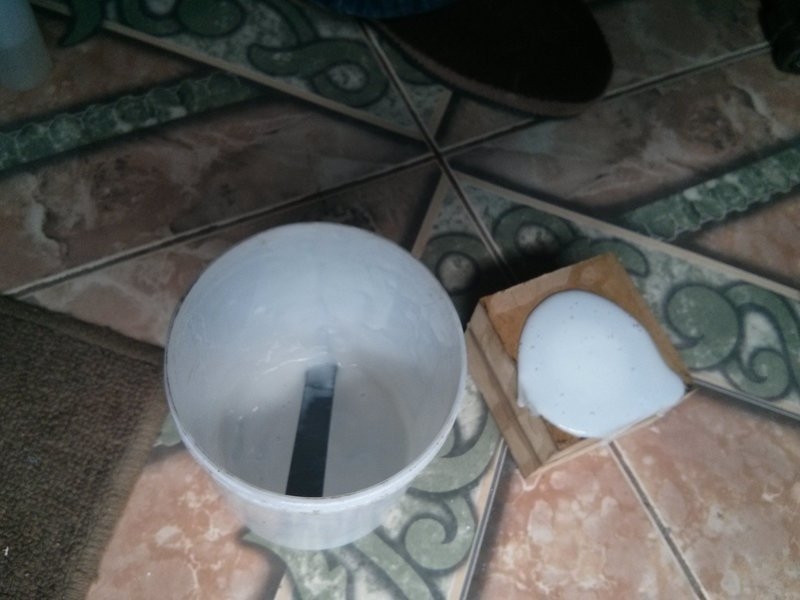
I poured 30 ml of part B (blue container) into a urine sample container. It is free of impurities and will not react with the components.
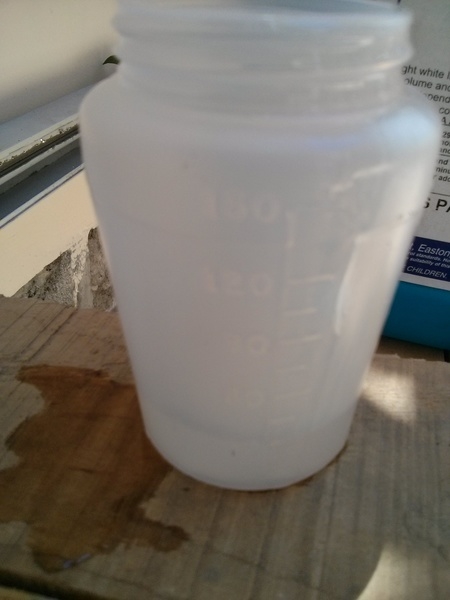
and 30 ml of part A (yellow container).
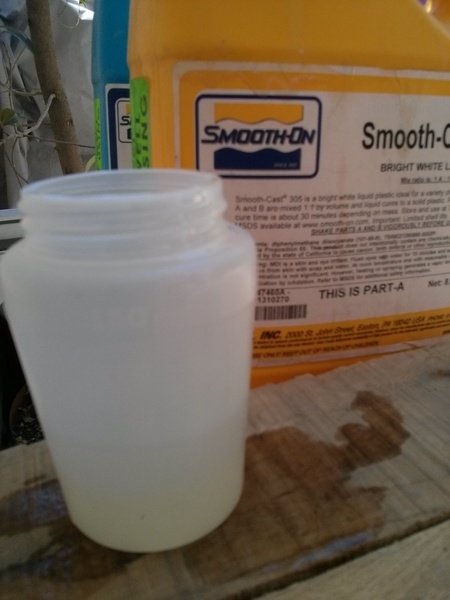
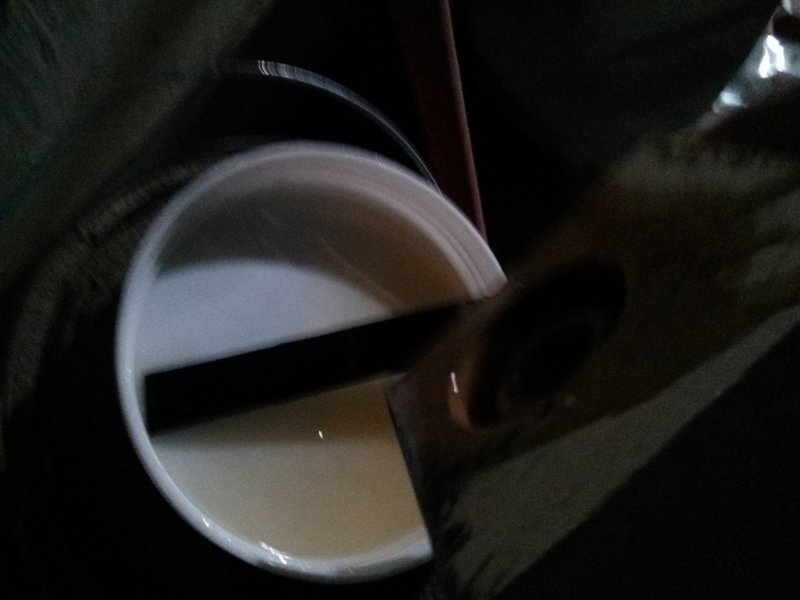
Then I mixed the components with a piece of acrylic.

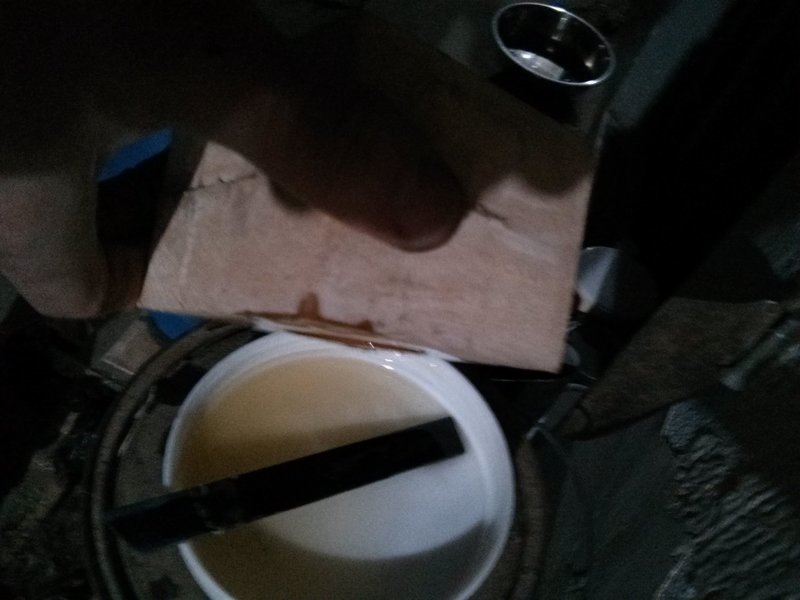
First I used dentist prothesis unmolding liquid on the surface of the mould. Perhaps I should have done this before preparing the resin!
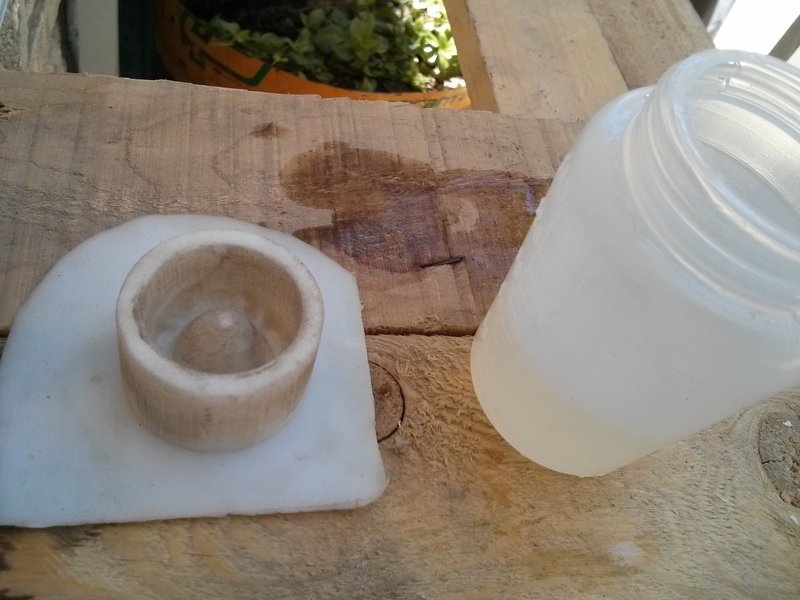
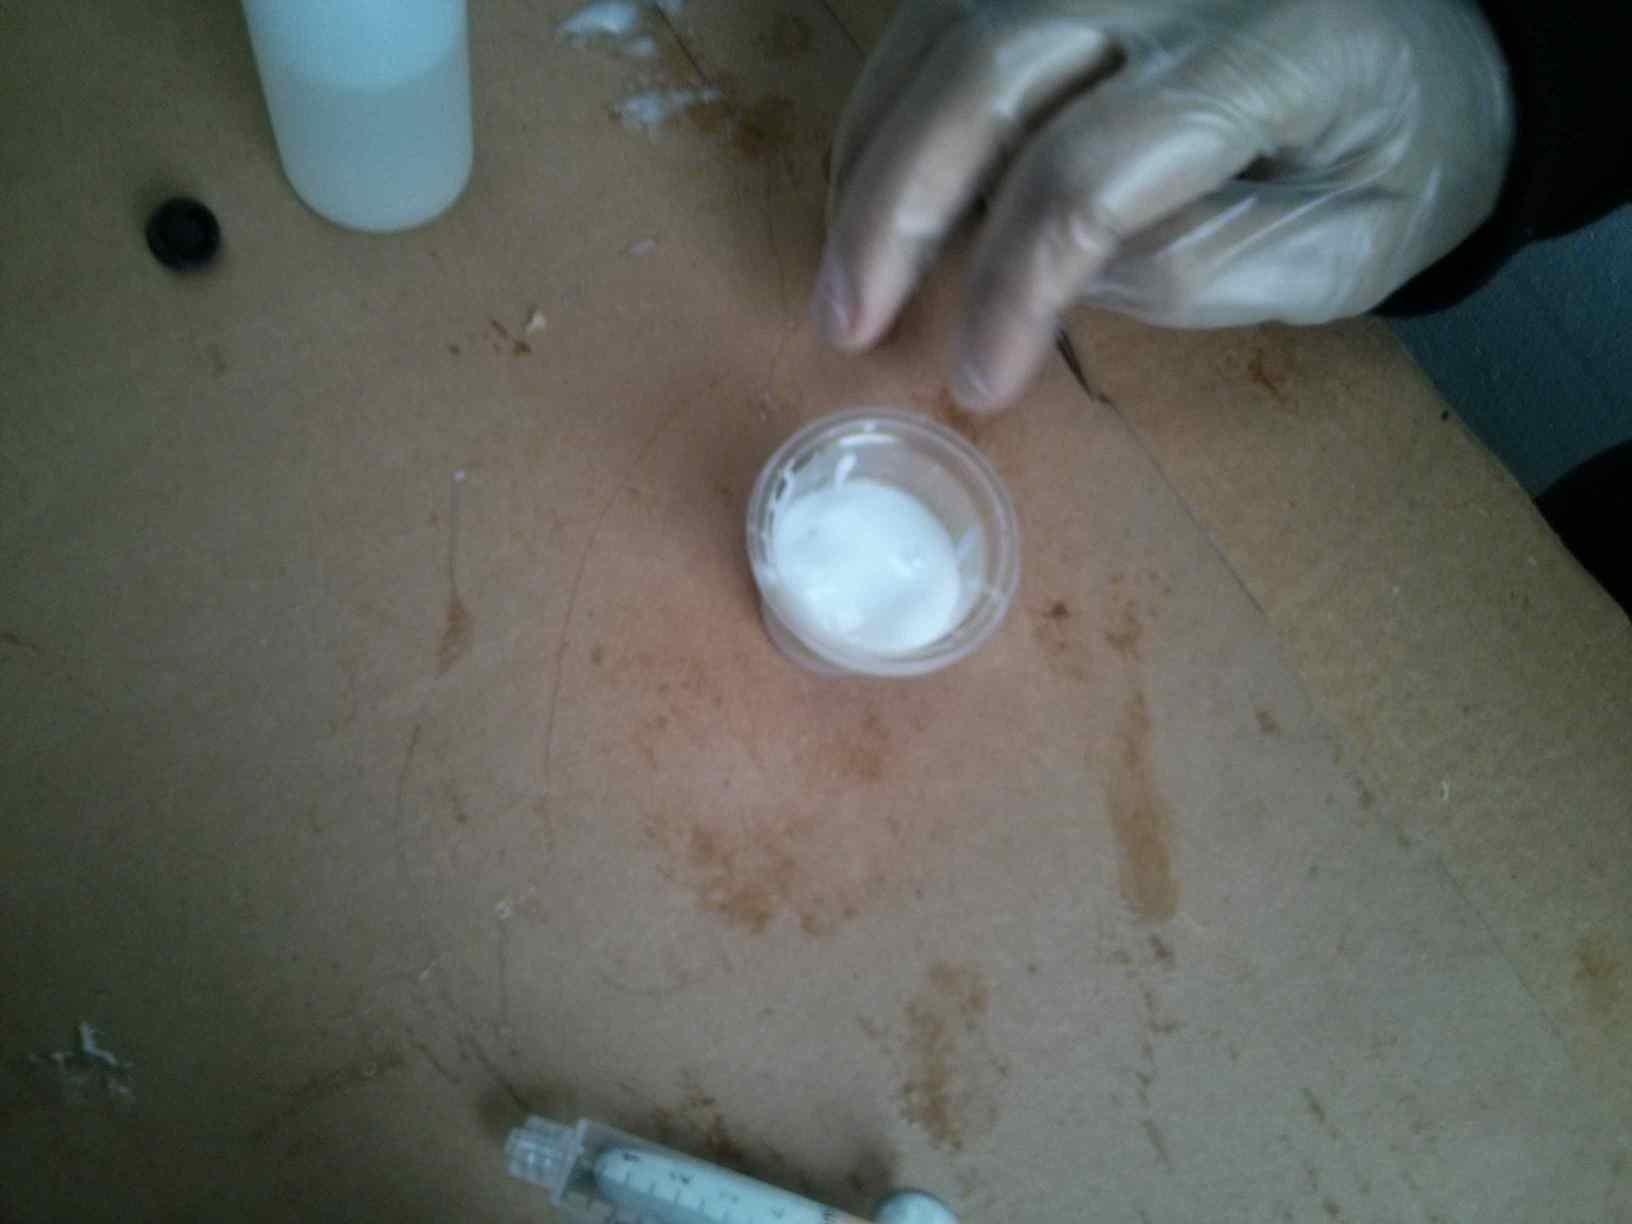
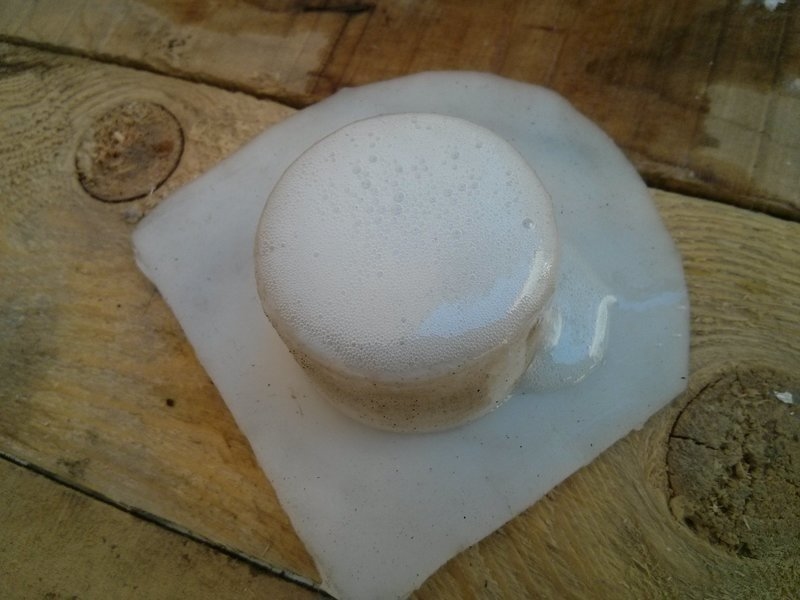
Then I carefully poured the mixture.
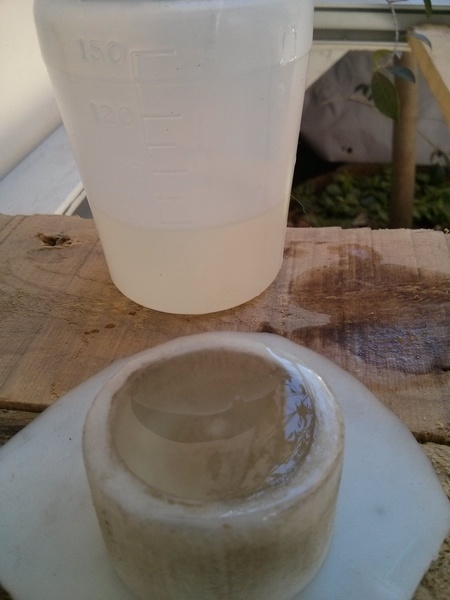
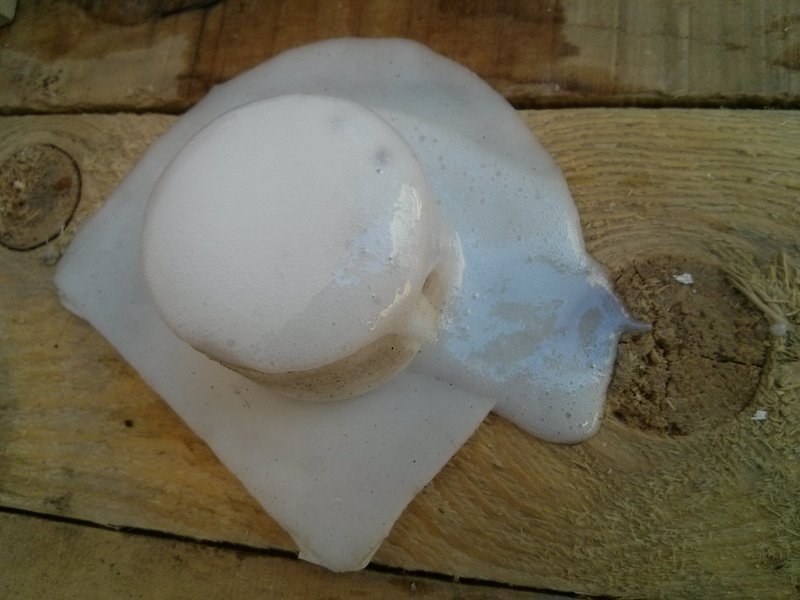
It propmtly started to react with a hot temperature
and solidify even on the excess mixture.
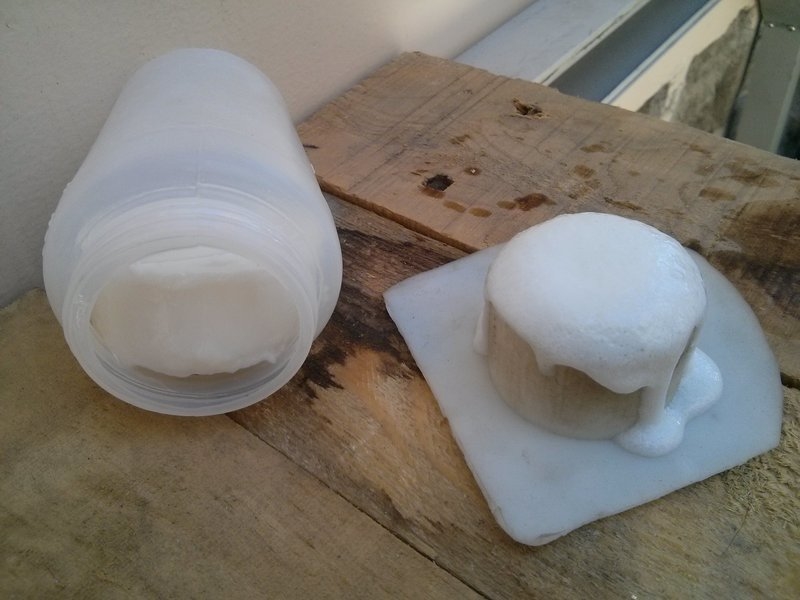
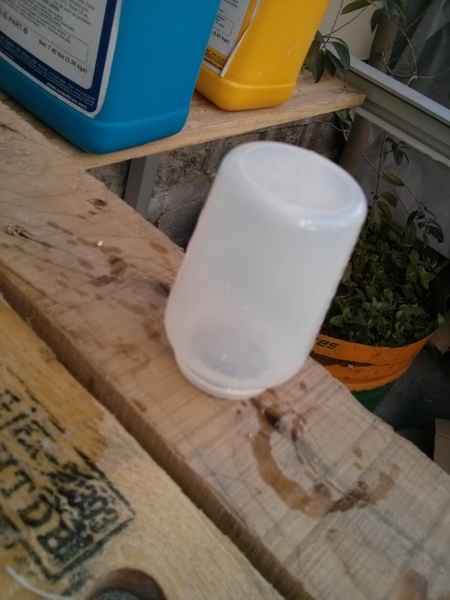
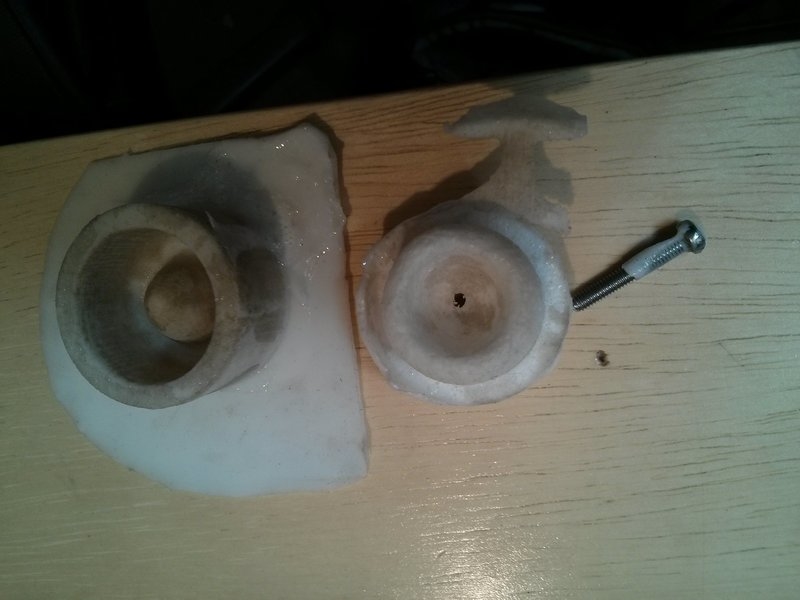
It was easy to remove since the mould is flexible.
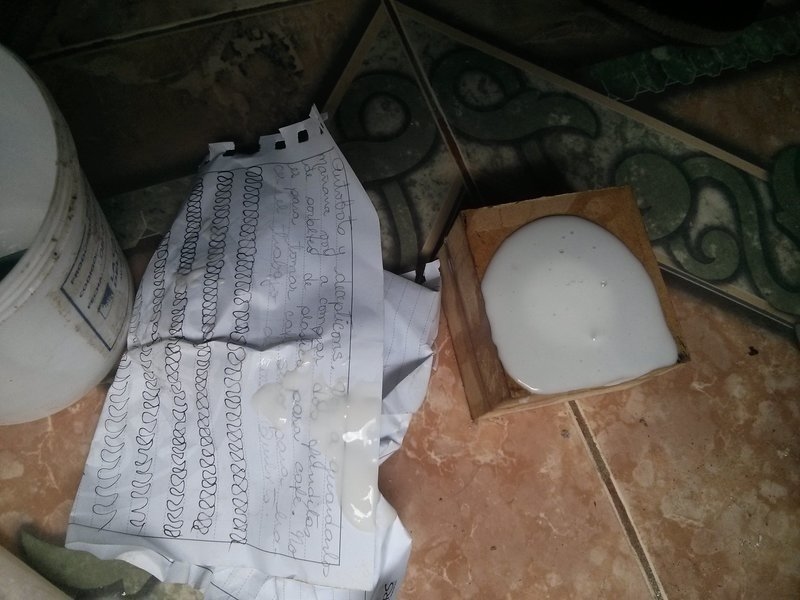
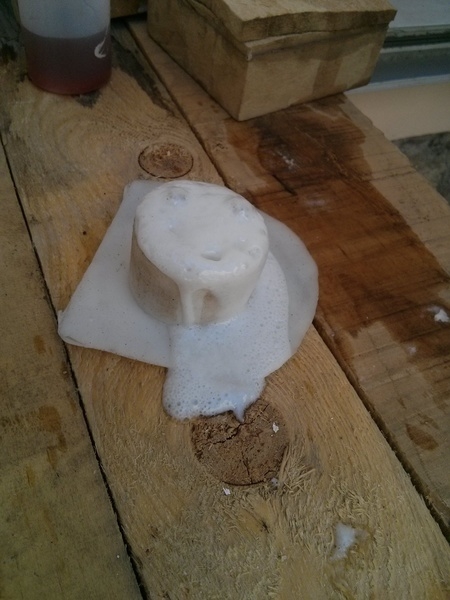
I made two more tests by mixing only 15 ml of each part.
And even poured the resin on parts of the original matrix.
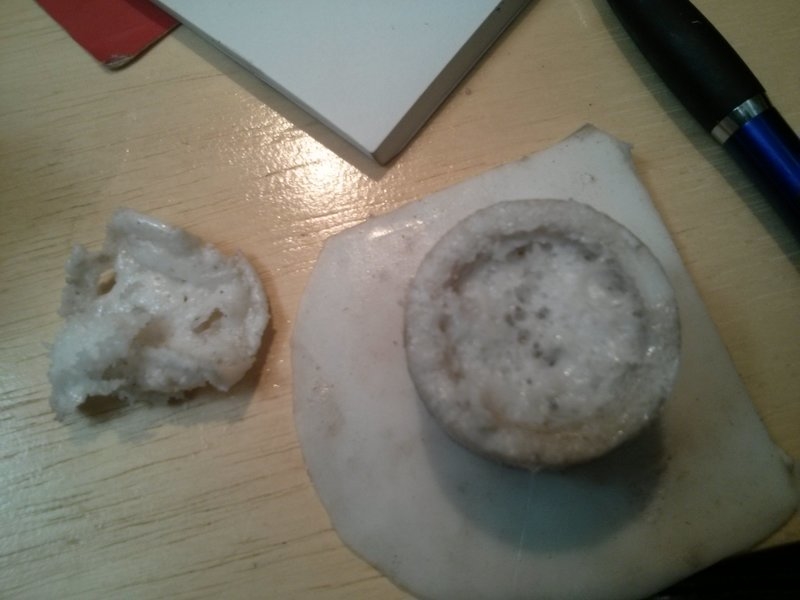
But the second test was not successful. Perhaps it was afected by the fact that I shook the mixture in order to remove the bubbles.
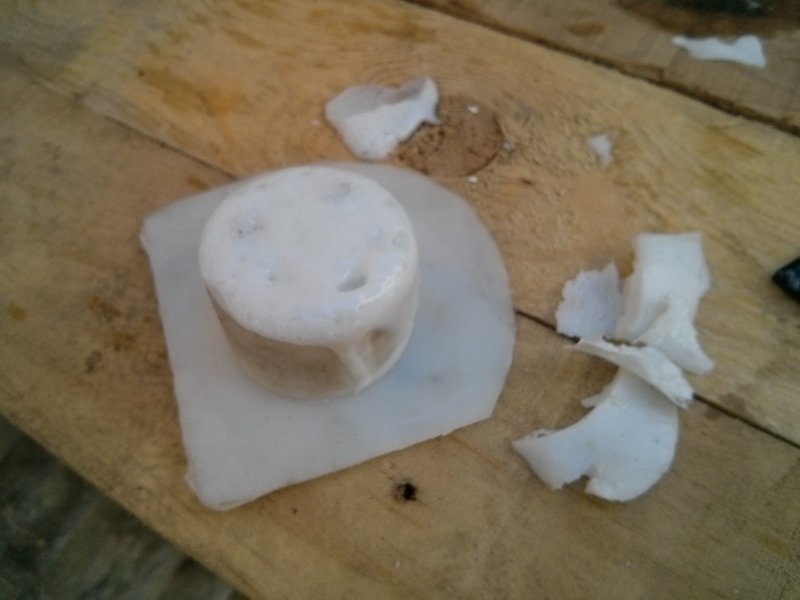
My last test.
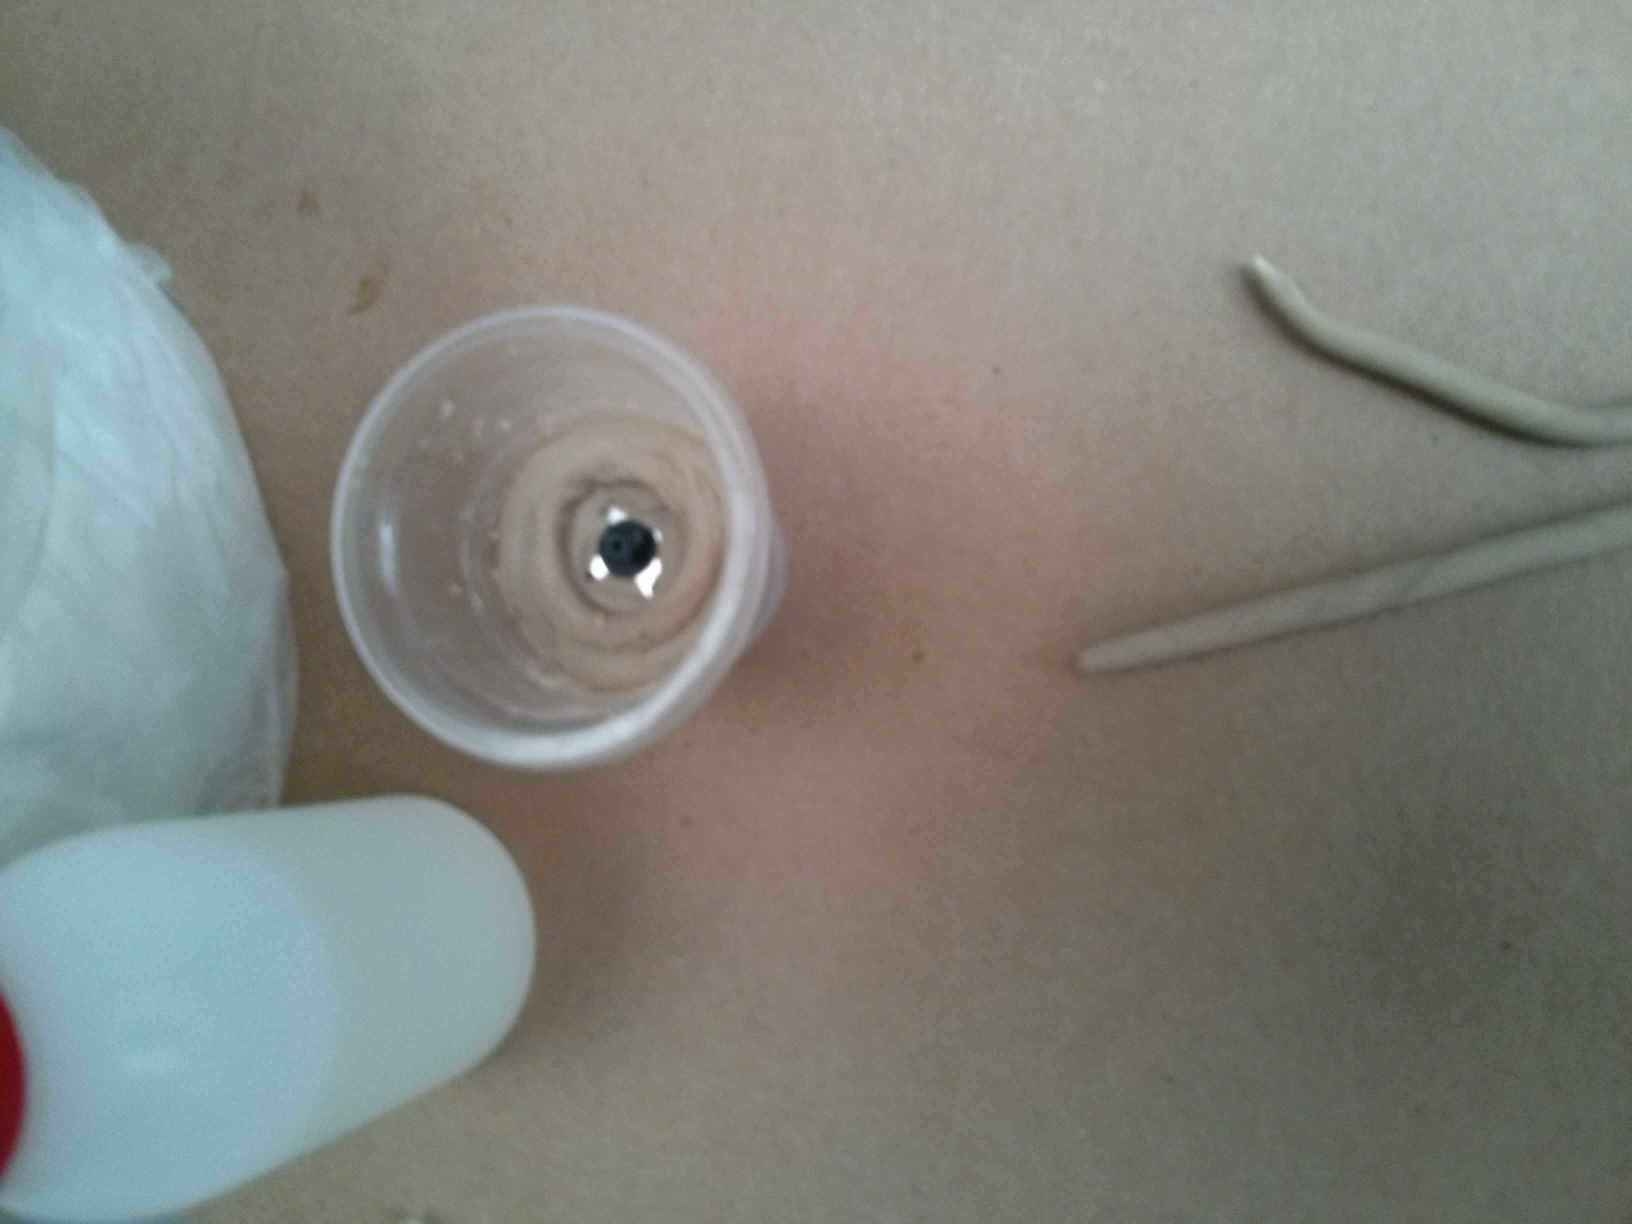
I was careful since the second test to empty the mixing container into a disposal container before the mixture got hard.
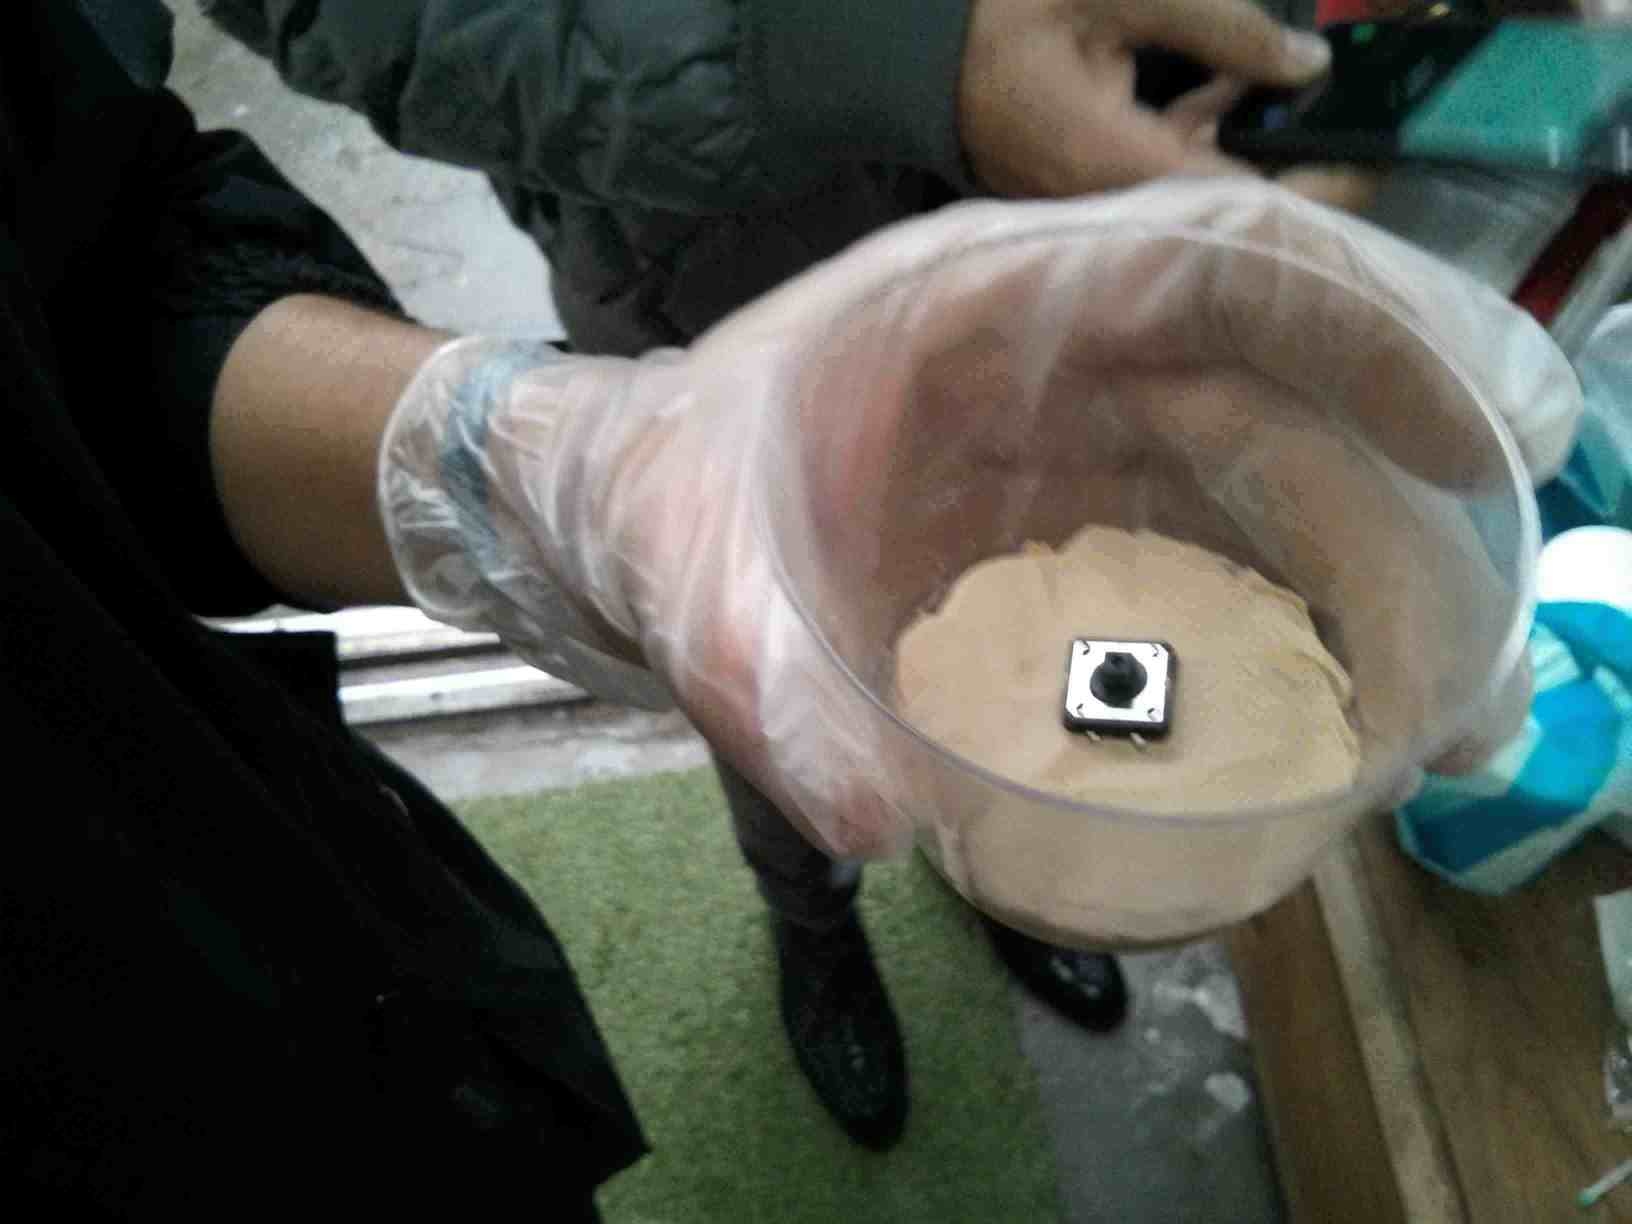
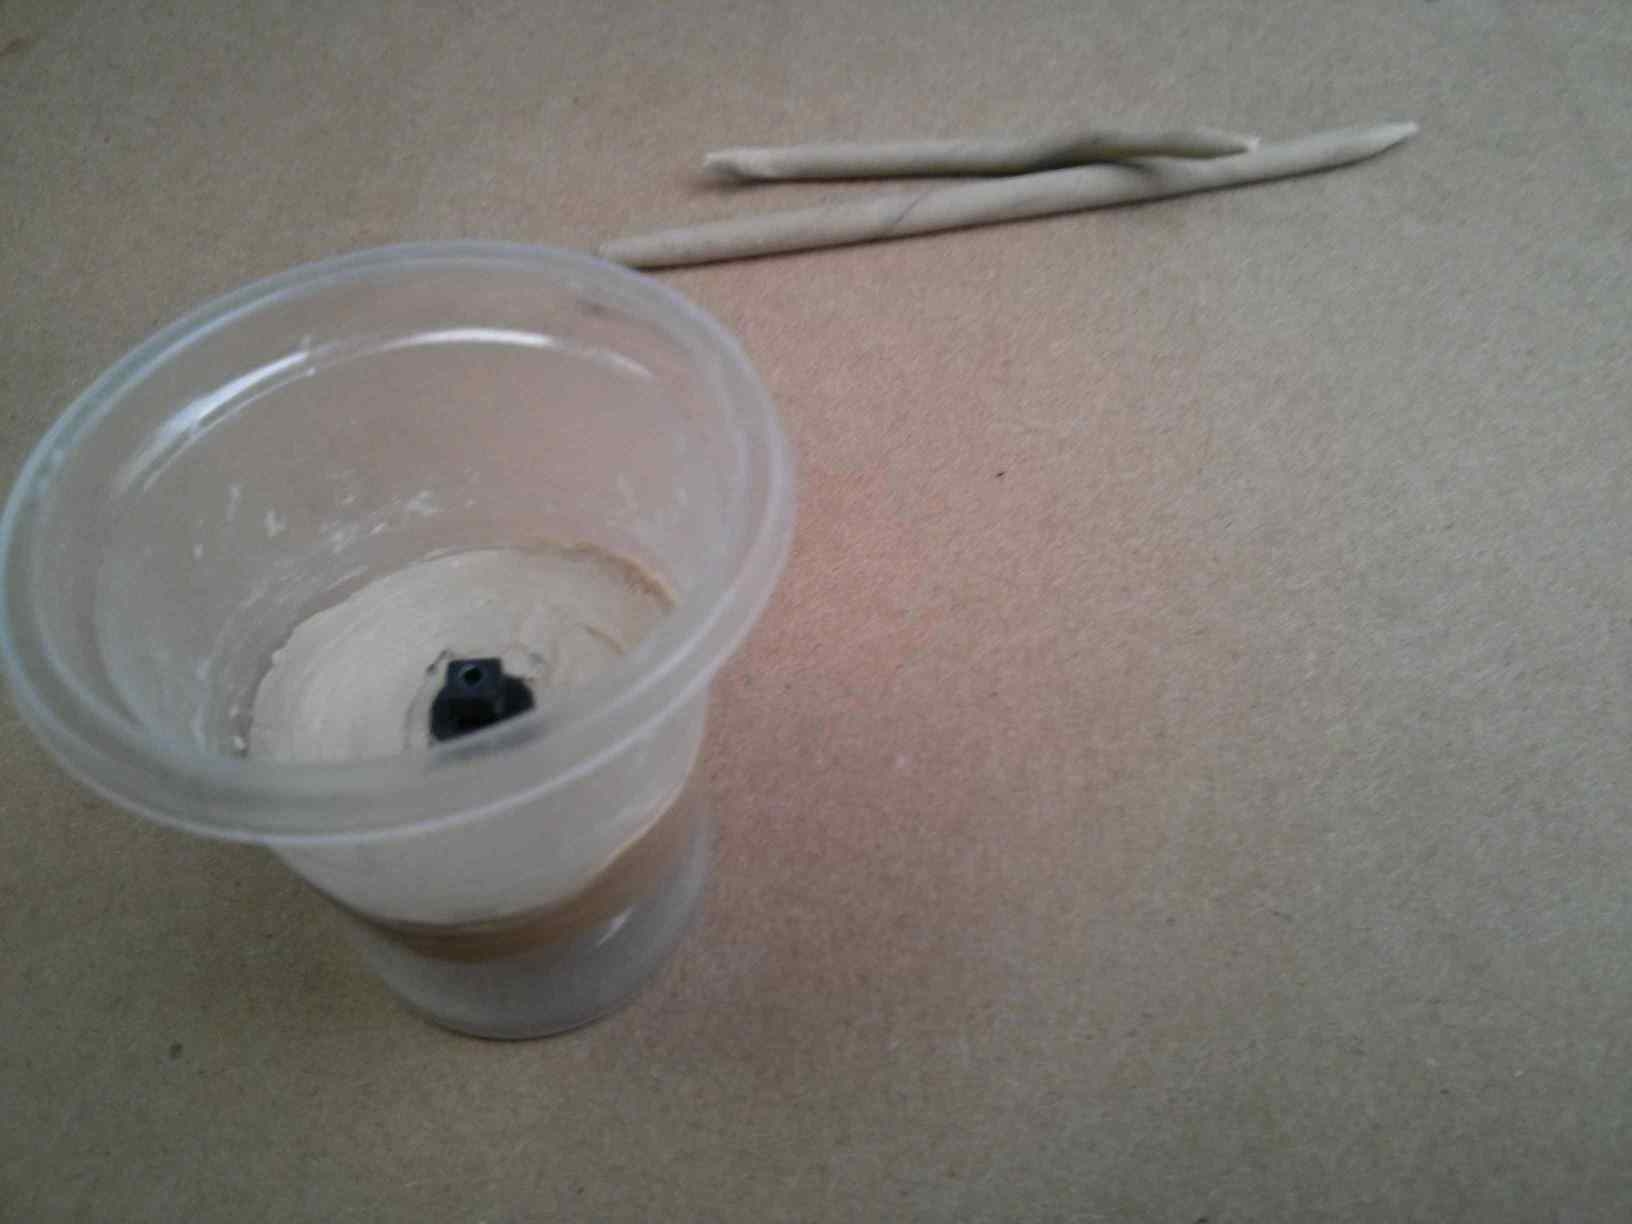
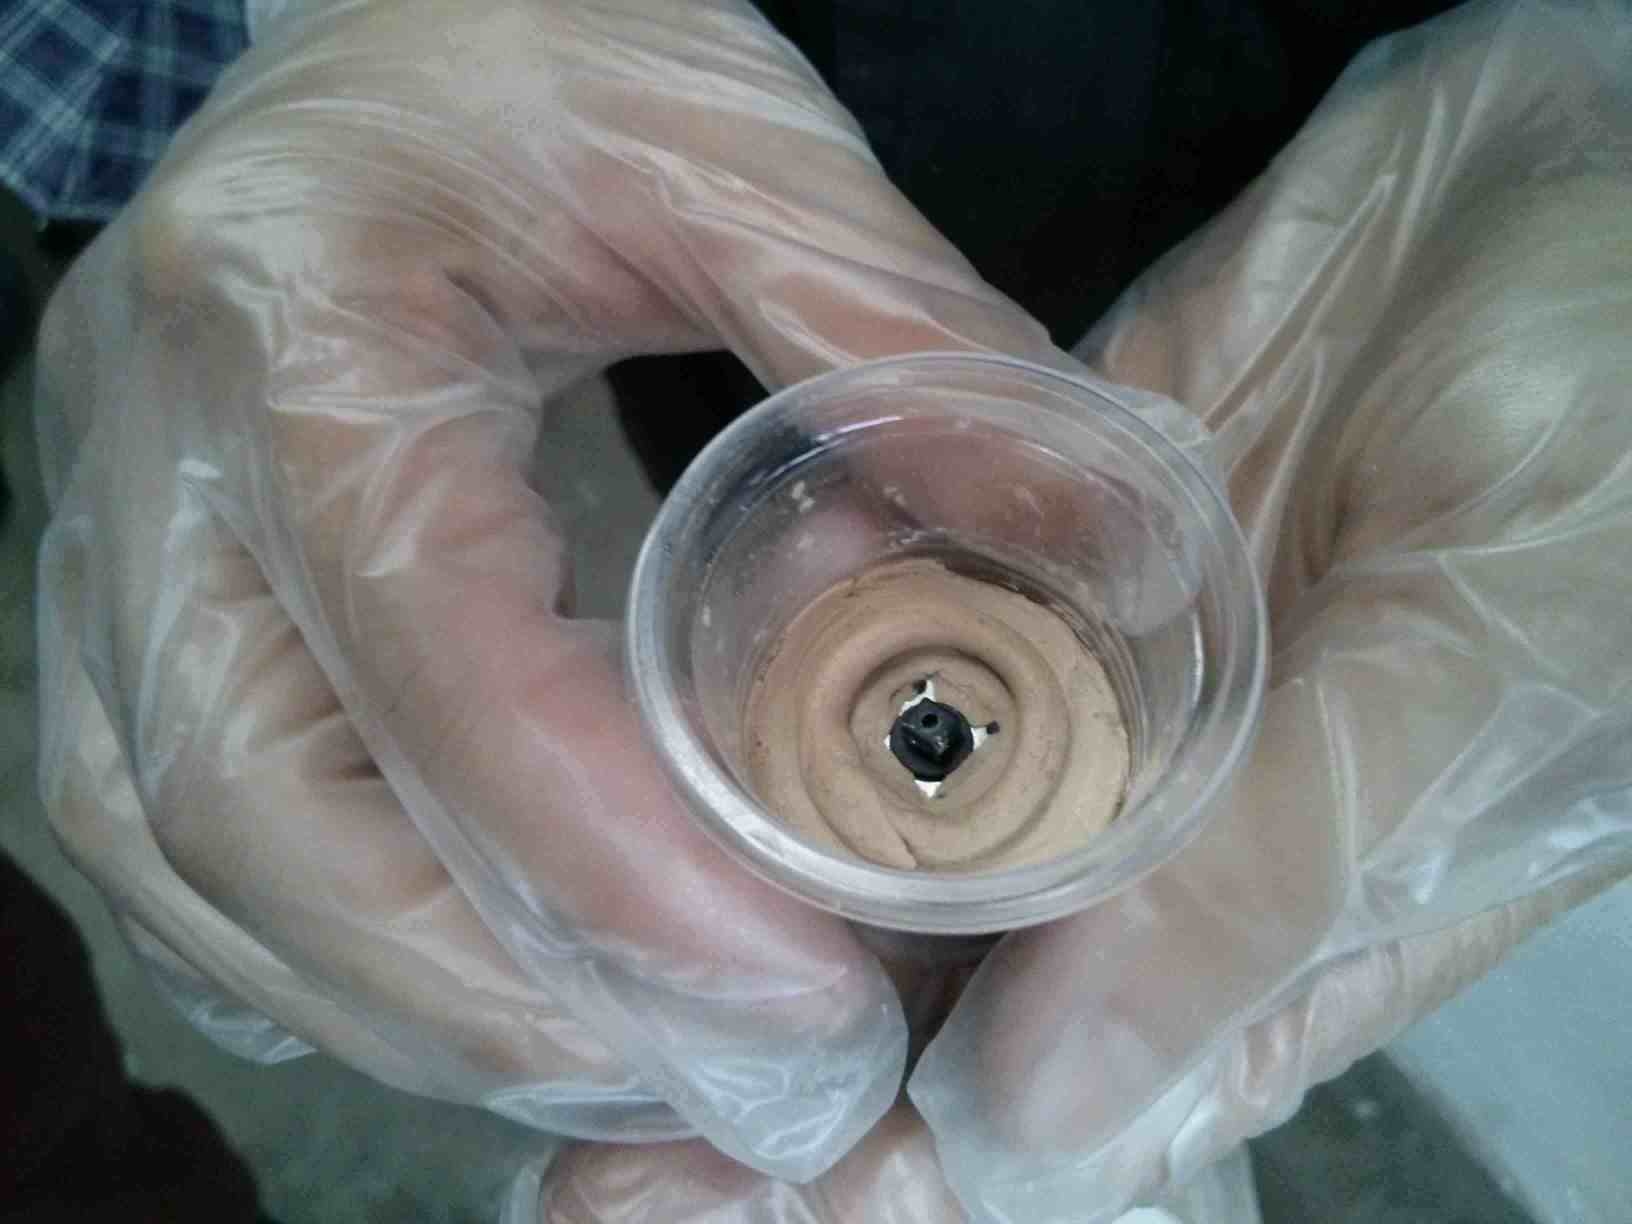
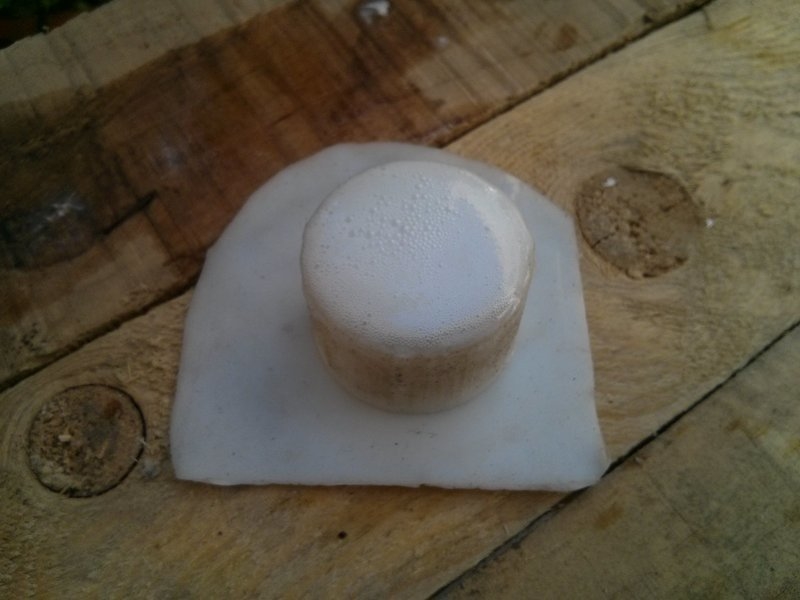
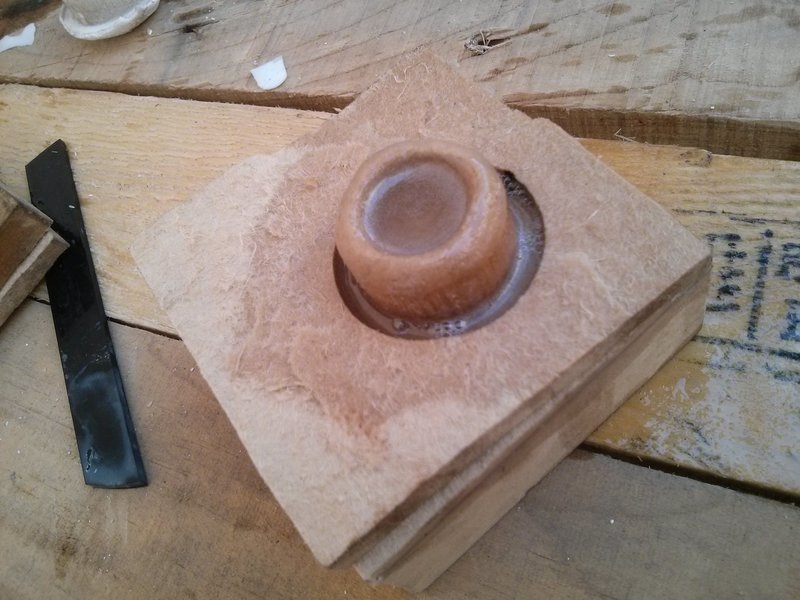
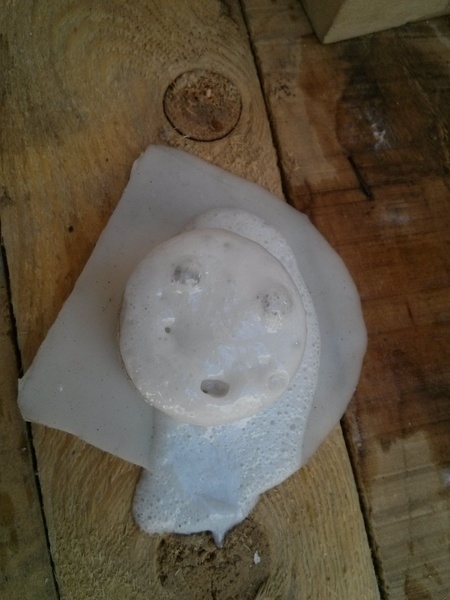
I placed a bolt in order to produce a thin cavity to insert a LED or a phototransistor.
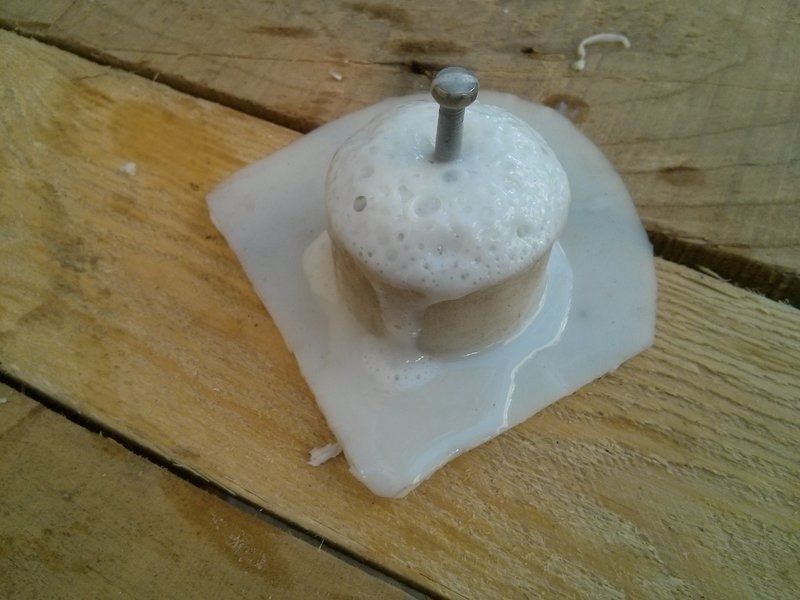
Apparently the bubbling surface is no problem since the piece was decent except for the fact that the cavity made by the bolt was not centered.
Parametrized part to mould the cast to a cylinder with a paraboloid interior made in FreeCAD
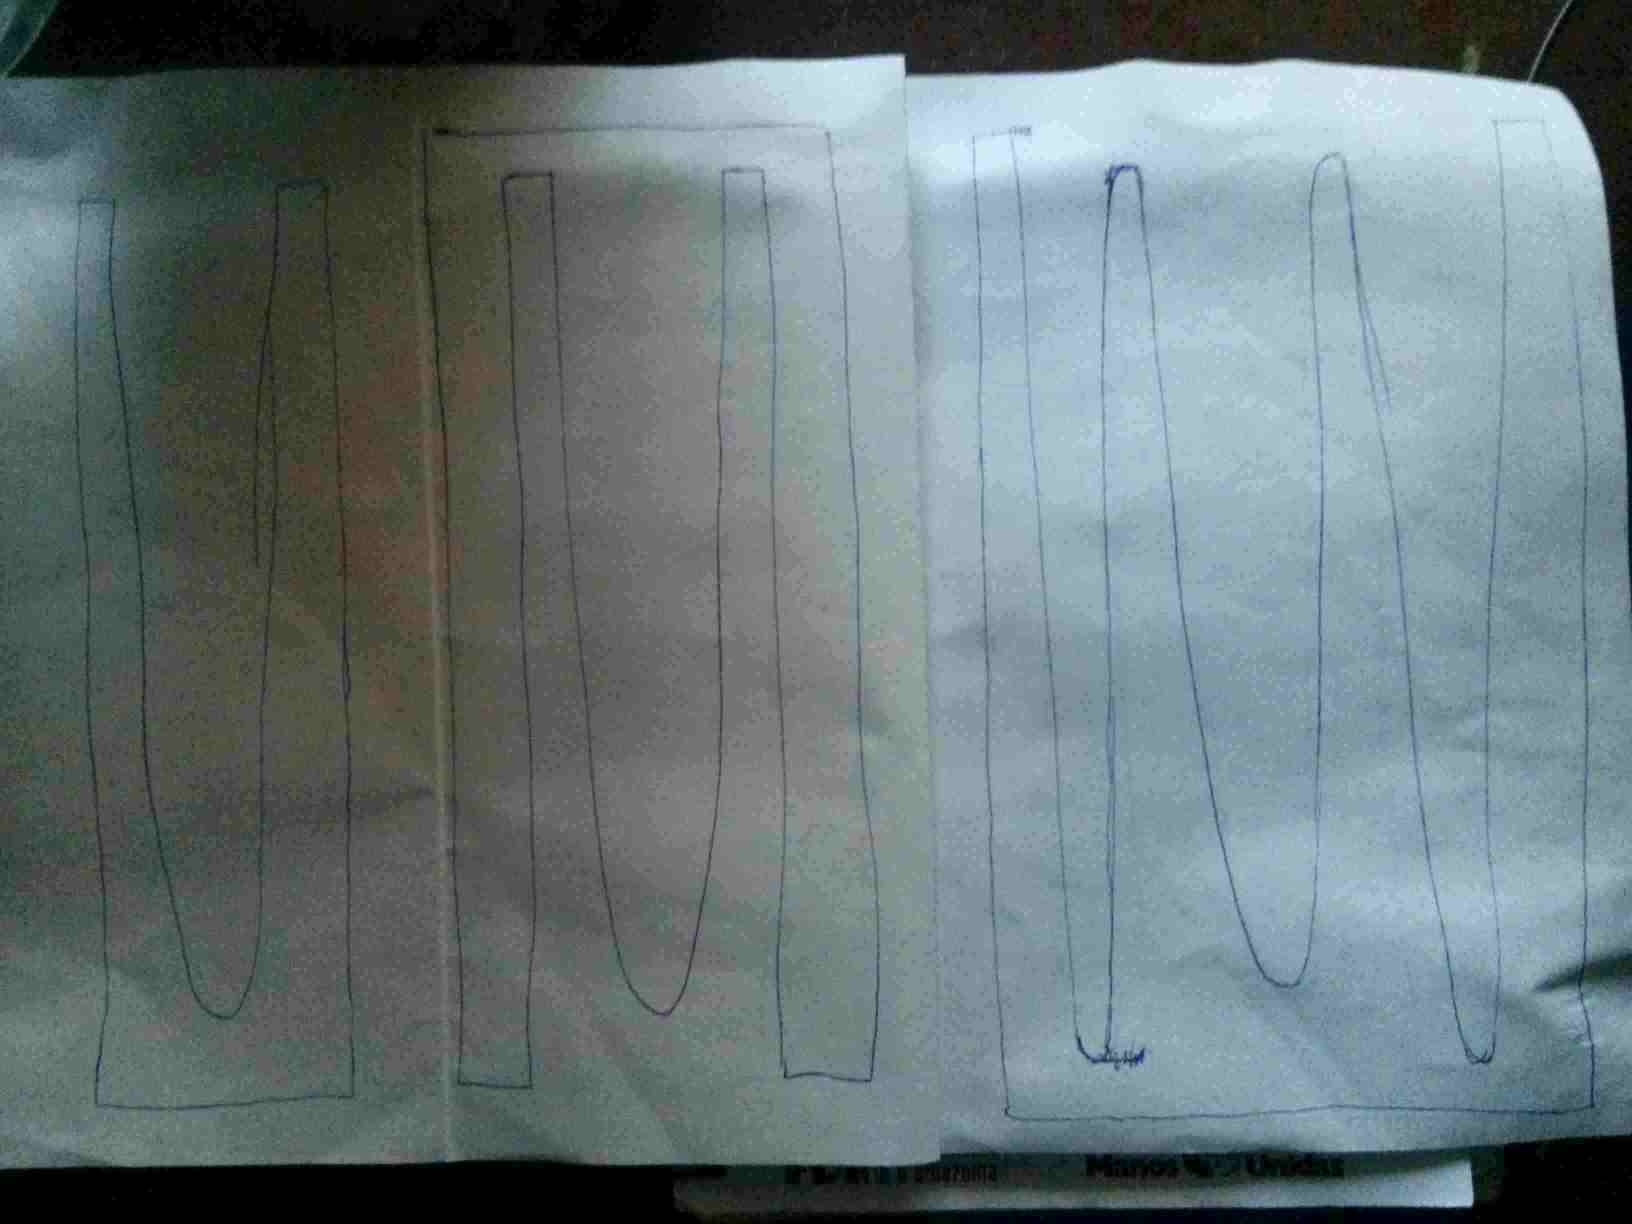
Rough cut for a 24 mm depth matrix to make a paraboloid made in FabModules
Finish cut for a 24 mm depth matrix to make a paraboloid made in FabModules