For this activity is important to have the following elements:
Safety protection equipment
EXCERSISE 1
I will start designing the mould
In this case I used Solidworks becouse I know how to get a mould and countermold from an element assembly, I have designed a FabLab Yachay medal, so is important first to have the sketch for extruding, in my case have described my name below the dedign.
Making new changes for the medal
Now, let's get a mould from our design from an assembly
When the elements have been designed, I have saved with .STL or .OBJ extension, and his is the result, we can see the countermould and mould:
Now, I'm going to mechanize the 3D element using the CNC Shopbot, the material that I'm going to work on is plaster, is important to mix some sand with plaster for moulding, I have all the elements that I'm going to use for the practice:
In this case I opened the model in PartWorks 3D Software, to use the CNC Shopbot Machine to mechanize the countermould
For the activity is important to have a plaster block for mechanizing, in this case the laboratory had a couple of those elements, I will use only one.
Next, I detail the materials that I gong to use for the melt:
To work with the plaster mold, I started the activities by configuring the axes of X, Y and Z coordinates for the element to be machined, I have chosen a milling cutter of 1/8mm thickness to mechanize the plaster. The first machining process is roughing and the next for its surface finishes
Now, let's do the main activity, prepare the melting process, is necesary to have some ingots tin, an induction oven, temperature tweezers and security personal protection (leather gloves, an apron and gas protective mask and glasses.
It is important to use ceramic containers for tin melting, to melt the material, I started heating the induction furnace in more than 250 degrees, then I placed the material inside the ceramic container and put it in the oven.
SECURITY MATERIALS DATASHEETS
I will share here the Tin Security Datasheet to verify some data information of the material
Also i share in this link the Security and Information Datasheet of Talc
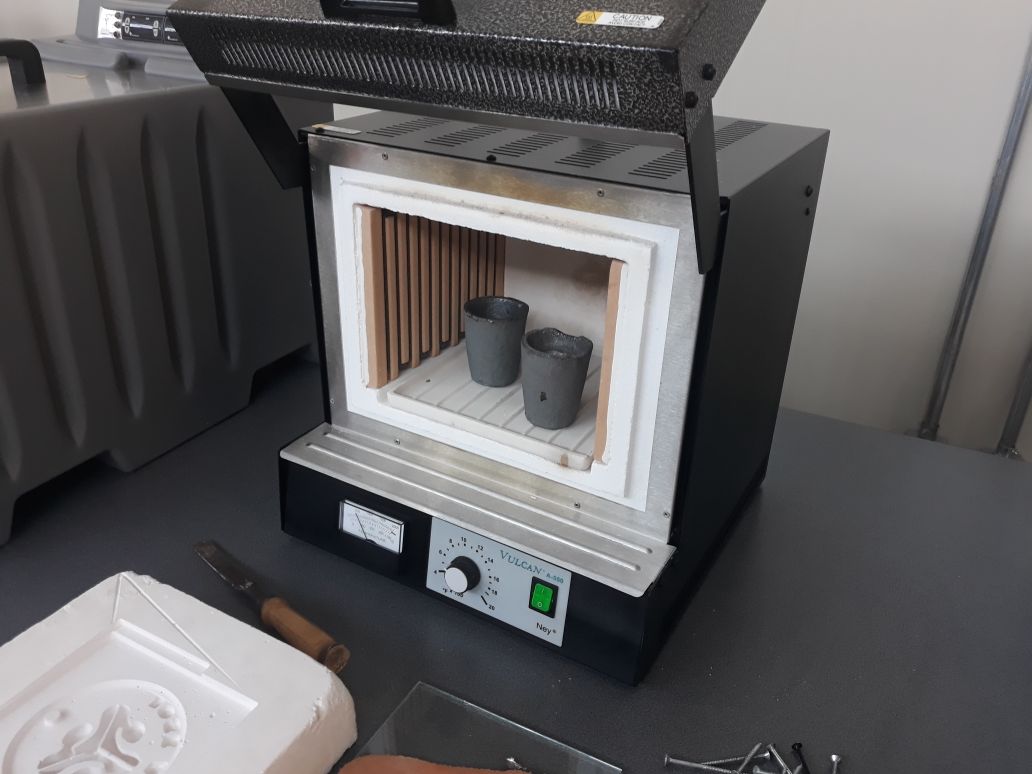
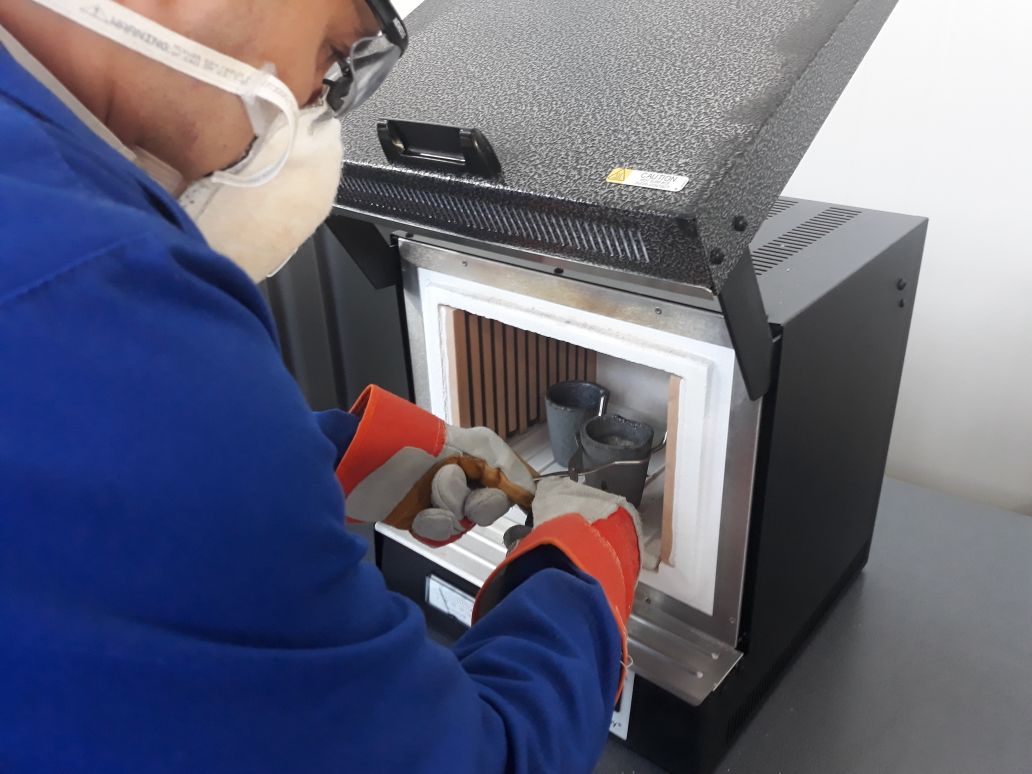
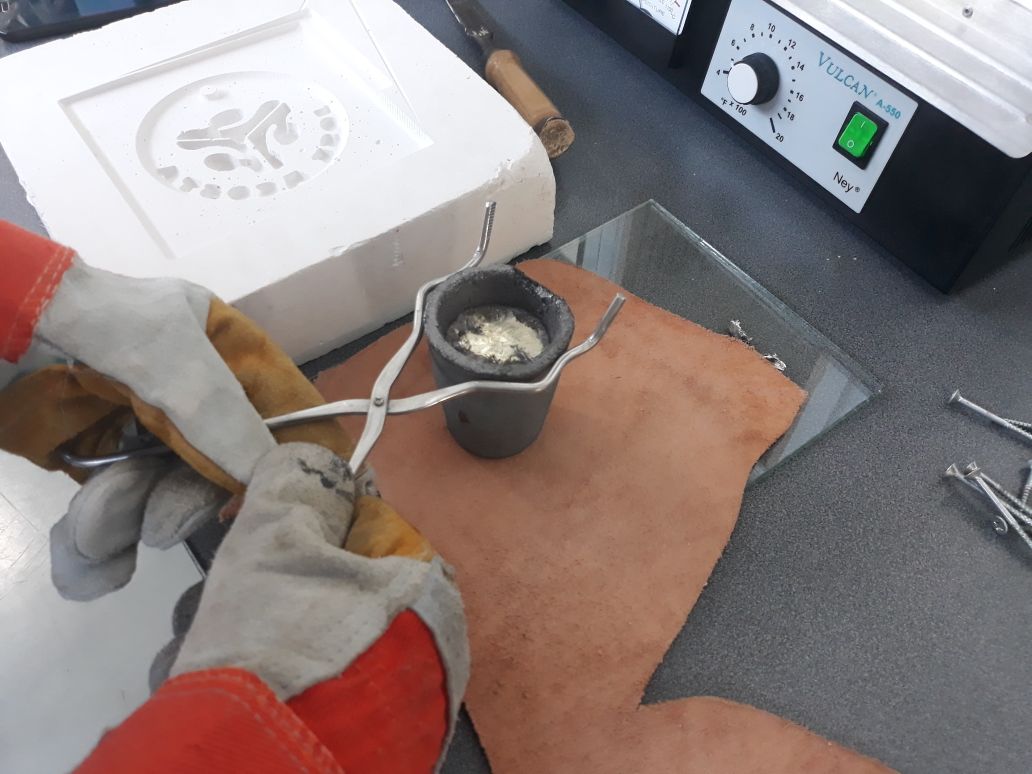
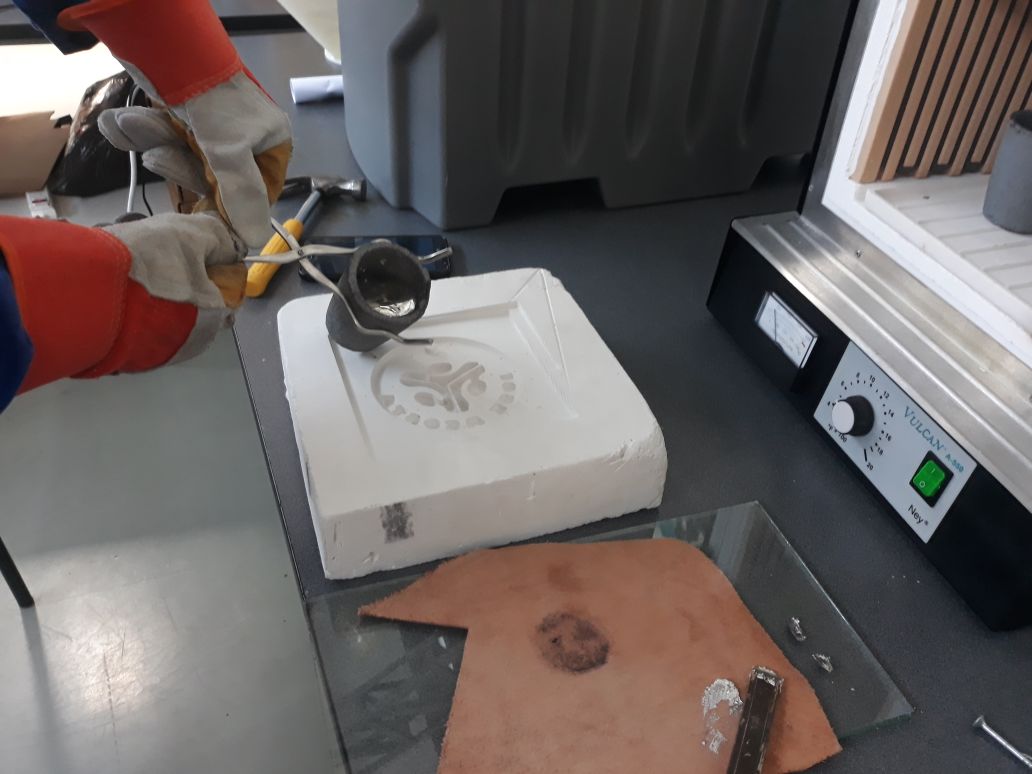
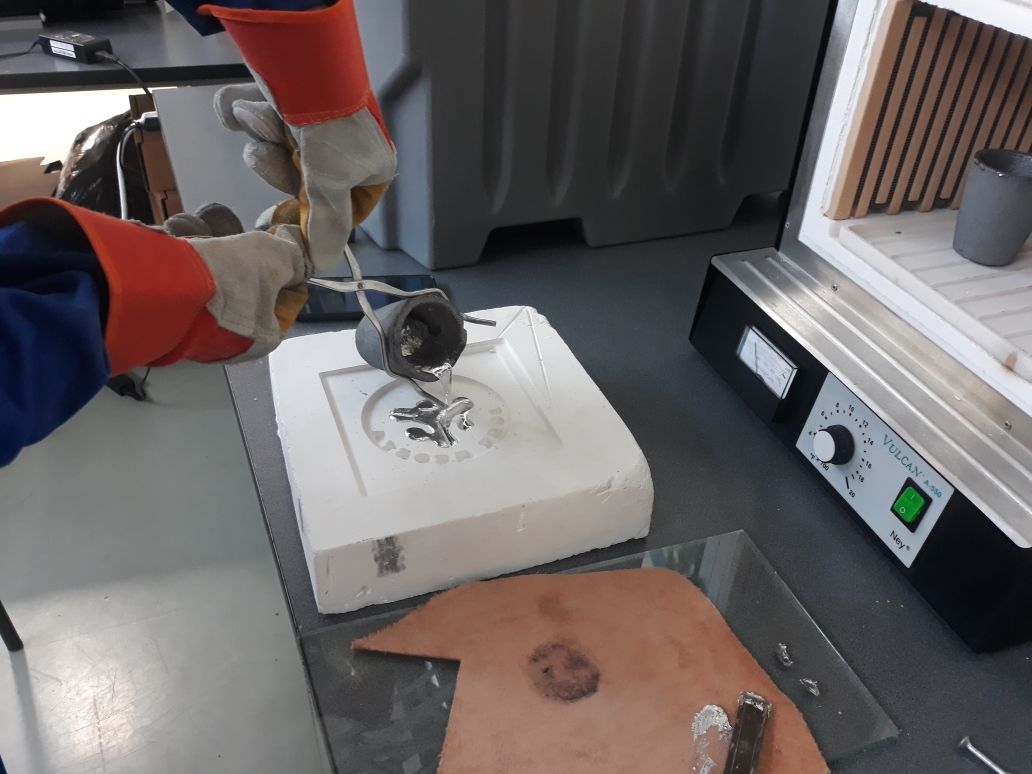
I used a small leather piece to place the heating ceramic container of the material

EXCERSISE 2
Next we will do another exercise using the chemical elements for the development of molds, countermolds, flexible molds, plastic models that are in the laboratory.
From now I continue with the development of the container
Now we go into the development of the activity, for this, we will use all the safety protection equipment for the handling of chemical substances.
For exercise No.2 I had problems with the product with the catalyst, the amount I used was very reduced to that recommended by the guide, so the final product has problems and could not be solidified.
EXCERSISE 3
for this activity, we will use the molds of Exercise No.2, and we will use the following elements for the manufacture of the main mold, flexible mold and model.
The wheels will be used for the prototype of the final project
I had some problems here while I was droping the tin melted on the mould
To solve this, is important to put talc in the surface of the mould and drop the melted material slowly, the contact with the surface of the mold should be tilted, and preferably the mold should be closed and use a hole as a dump and another for the outlet, called a vent.
You can download the design files here
You can download the files below: