
FINAL PROJECT DEVELOPING
To fulfill the development of the final project I have an estimated six months, taking into account the start of the program until its completion, the progress of the activities, will depend on the course of each of the themes and skills that have been acquired, plus will depend externally on the provision of materials to carry out the manufacture of the project
Everyday we must adjust to certain project time and some circumstances, and work is no exception. Being able to handle projects conscientiously and with the commitment they require will demand your dedication and organization. Not only the result of your work will remain in the memory. . . it will also remain if you have managed to meet the deadlines set by your client. It will not do much good if your delay harmed another team member, or exposed your client to a third party.
Why is it crucial to meet the deadlines?
We always find it important to remember the essentials of meeting the deadlines to maintain your reputation as a professional and to demonstrate your responsibility for your work. The reasons are several:
The customer has defined that deadline for a particular reason, not on a whim. Delivering your work after the deadline will negatively impact the link with your client and your credibility as a professional. Do not risk being left unsettled. We assure you that it is much more expensive to attract new customers than to keep current ones, in addition to that it could harm you in the future if the client gives a negative reference or mentions your lack with colleagues or other professionals.
If you have been able to complete a project within the set deadlines, it is because you have clearly known how to organize your times and priorities. Which client would not want to have an autonomous and responsible person on their team? Fulfilling the deadlines demonstrates your capacity for self-management. This for the client is fundamental and encourages him even more to trust in your work.
Knowing that you delivered your work in time and form will undoubtedly give you satisfaction. Regardless of your professional profile, any worker is very motivated to know that he did what he had to do, added to the taste that comes hand in hand with it. It is a mime to the ego.
Definitely leaving a deadline can play against you if you are managing several projects at the same time. For a matter of logic, if you had stipulated a schedule of tasks and priorities and there is a mismatch in the dates, this could delay you in the execution times. . . and there the consequences could be even worse (due to the domino effect: you get behind in one, this causes you delays in another project ... and better we do not think about the results that this could bring).
If you can manage tasks and deadlines in an organized manner, this reflects your proactivity and commitment to the project. A satisfied customer will be one who sees good results, in the expected times. . . But how important is your own attitude! This will also make a difference compared to other professionals. If the client notices your commitment and dedication, he will probably hire you again.
To meet the deadlines there are some bases that you can not ignore: organize your own time, define day-to-day priorities and eliminate distractions.
Deadlines give structure and direct efforts. Your ability to organize and fulfill them will be a reflection of how seriously you take your job. Take care of your customers, loyalty them. Deliveries in installment make customers happy!
For the planning and execution of the development of the project based on its deadline, I have used the GANT PROJECT program that is free to use so that anyone can download and plan the deadlines
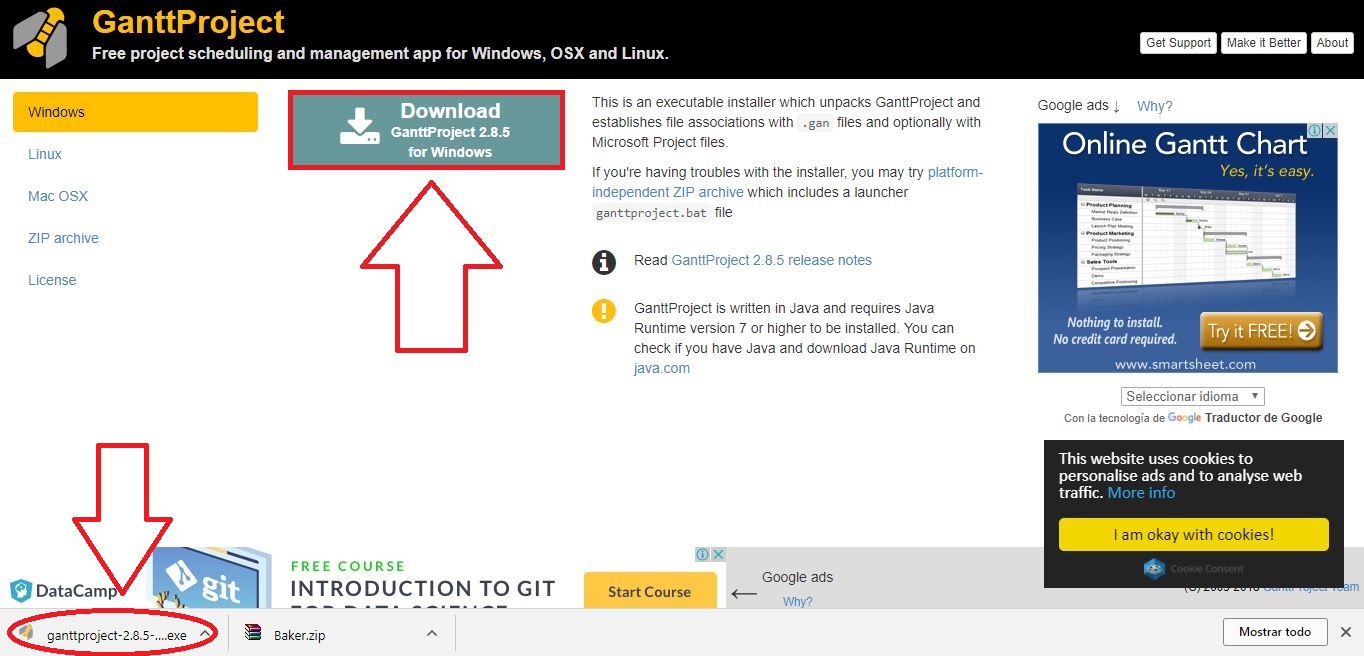
First, you must get the software by downloading from its web page and then let's proceed to install as show below.
Then, let's open the program and create a project to manage, need to detail all that you can, some activities will be independent and others will be dependents, also detail the time of the activity and its importance with a specific color.
Dependent activities will have an arrow to continue the activitie
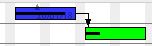
Independant activities won't.

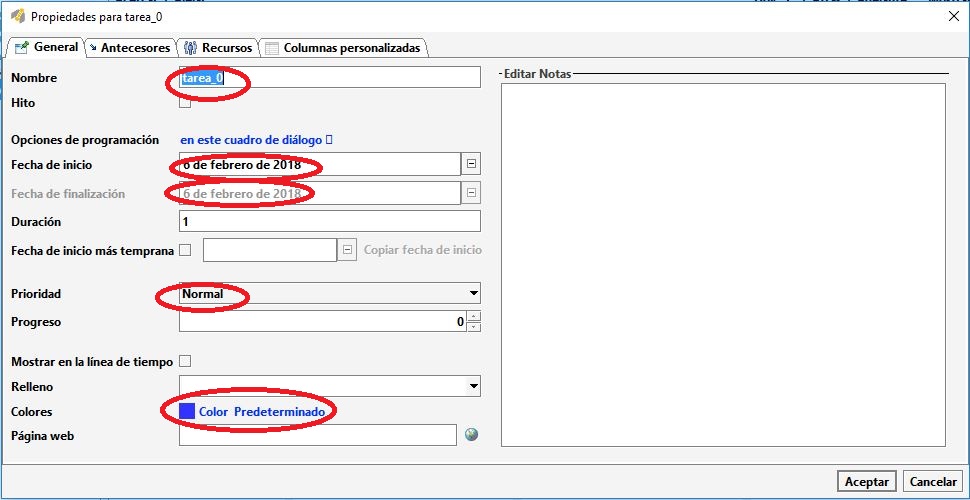
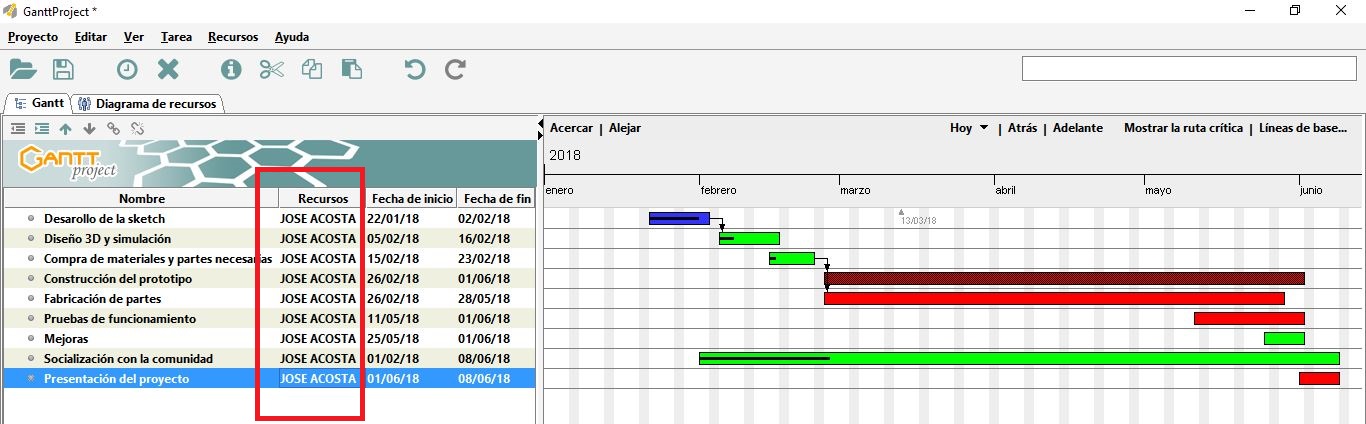
So, to create a new activitie we need to specify the name of the activity, start date, finish date, priority, set a color and describe optiones to develop as I show.
Then, we need to complete the information of all the activities in the project.
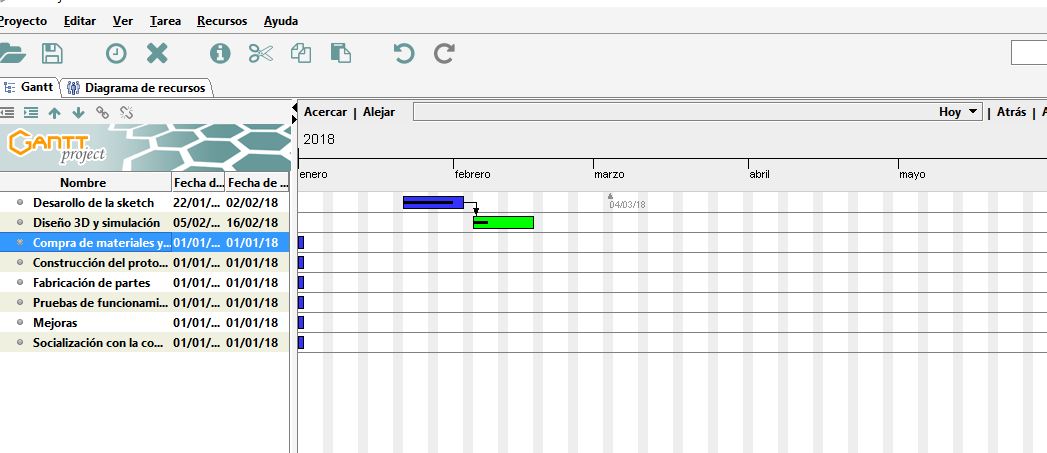
Next, asign a responsable to all the ativities
Finally, when we have completed all the plannification, we'll ready to do all the activities according to times, resources and eficienty.
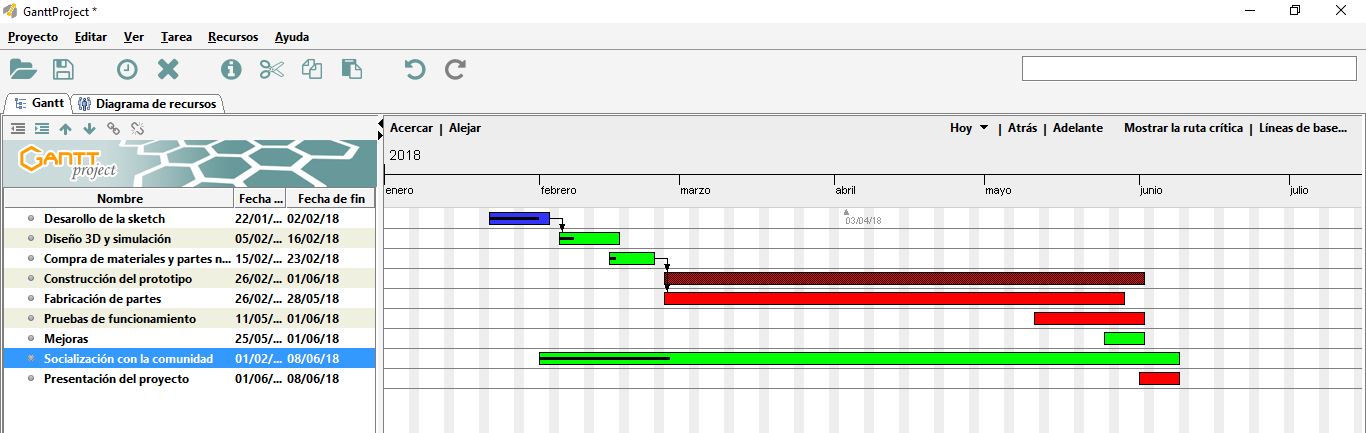
Finally, when we have completed all the planning, we will be ready to do all the activities according to time, resources and efficiency of each activity. To coplete this final project I have planned its develop in the 6 months of the program duration. And each activity will be developed acording to the ejecution of each FabAcademy activity.
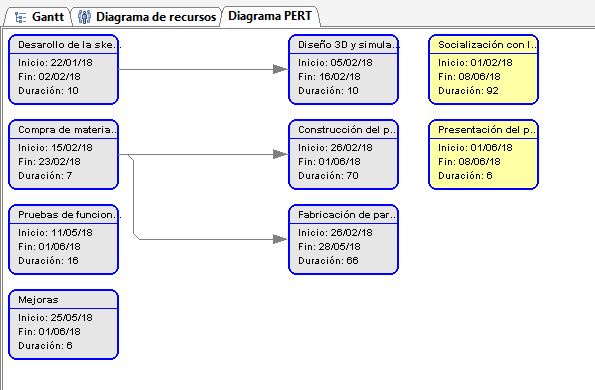
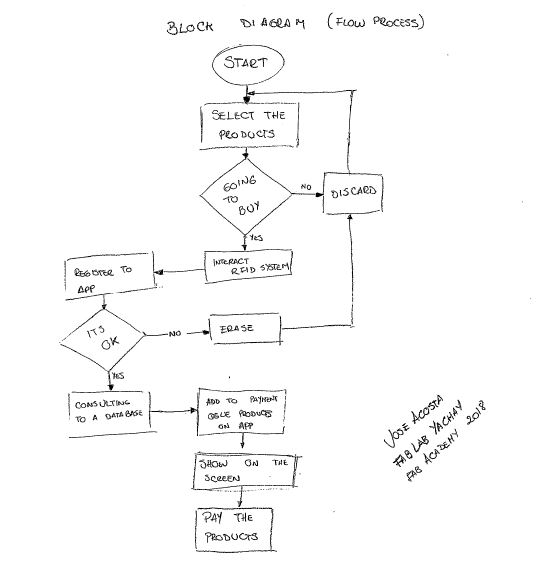
Next, I show an additional a block diagram of the planned project.
For the development of the project, it is necessary to carry out digital manufacturing activities that involve topics that have been reviewed in the FabAcademy program, such as those that will be shared next. The activities have been completely developed, however, it is necessary to perform more tests of the functioning of the final system to identify new improvements in the development of the system or in its structure.
To complete the activities of the final project, I have used almost all of the skills that have been learned in the FabAcademy program. Here I detail each of the areas that intervened and how they contributed to the development of the final project:
According to the skills obtained in the second week of the program that correspond to 2D and 3D assisted design, I have identified the software that I will use to design the 2D sketch of my final project, this is software is SolidWorks, because if we analyze the program and according to a personal criterion of evaluation between programs, it is the one that has a very stable interface when designing in comparison to many others, which also have their potentialities.
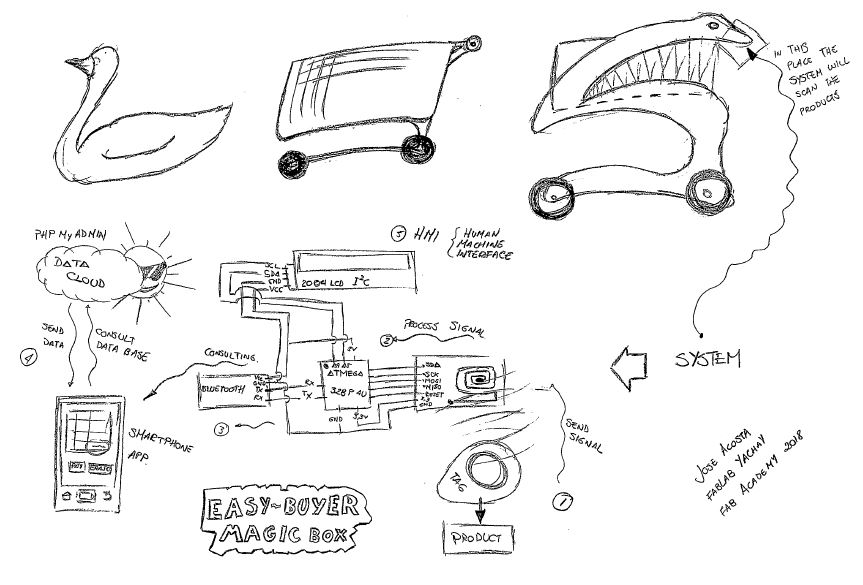
As a project design is known, it begins with a piece of paper where a sketch of the possible design can be physically developed in order to know important information such as size, shape, parts, technologies of the program that will be applied, a possible reference to the cost of the project, ergonomics and finally creativity in its development.
Next I present the sketch corresponding to the project "MagicBox-Easy Buyer"
And then, it is the service flow process:
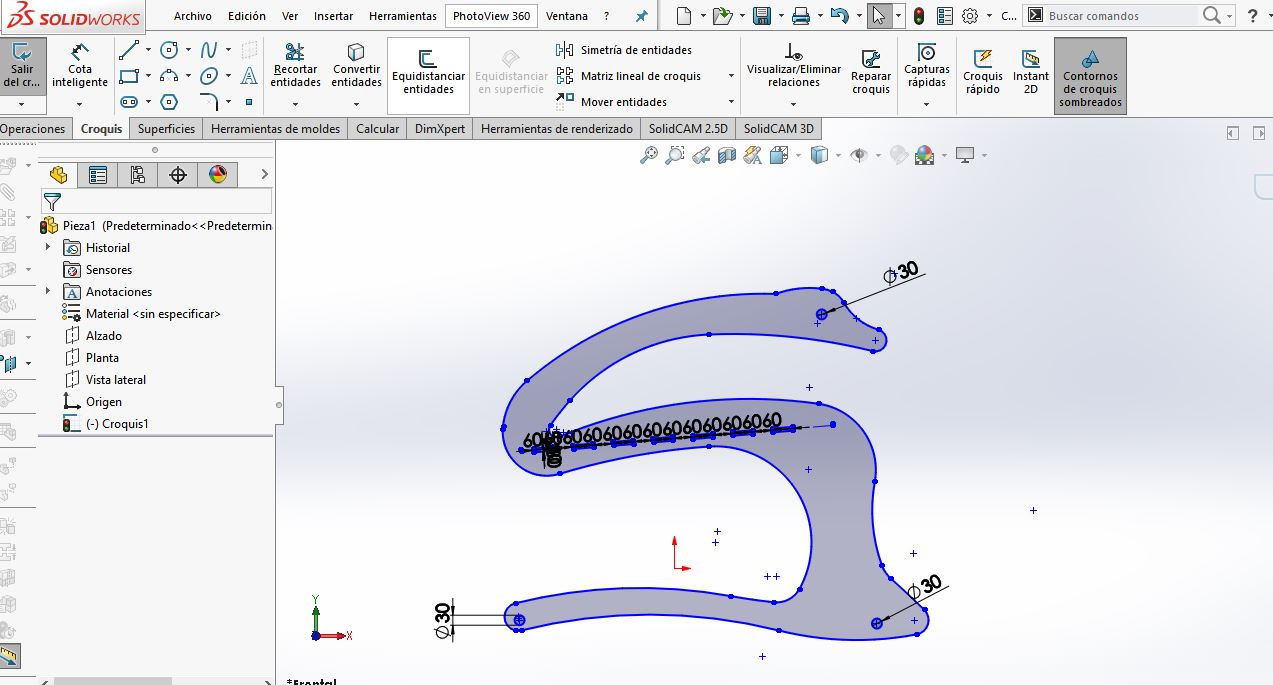
Once we already know the design that we are going to make, we proceed to capture it in the design software, assigning the dimensions selected in the sketch, we must consider the thickness of the material that will be used. basic details of desiging could be checked in this activity.
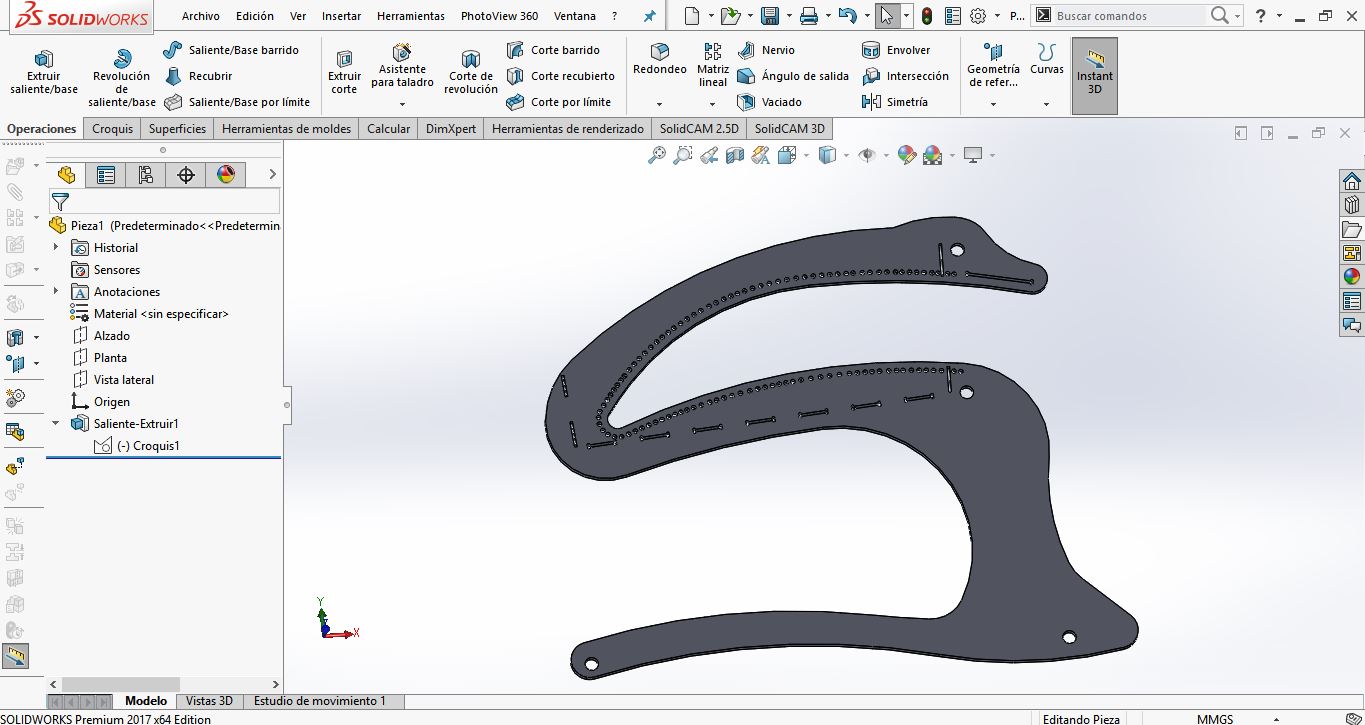
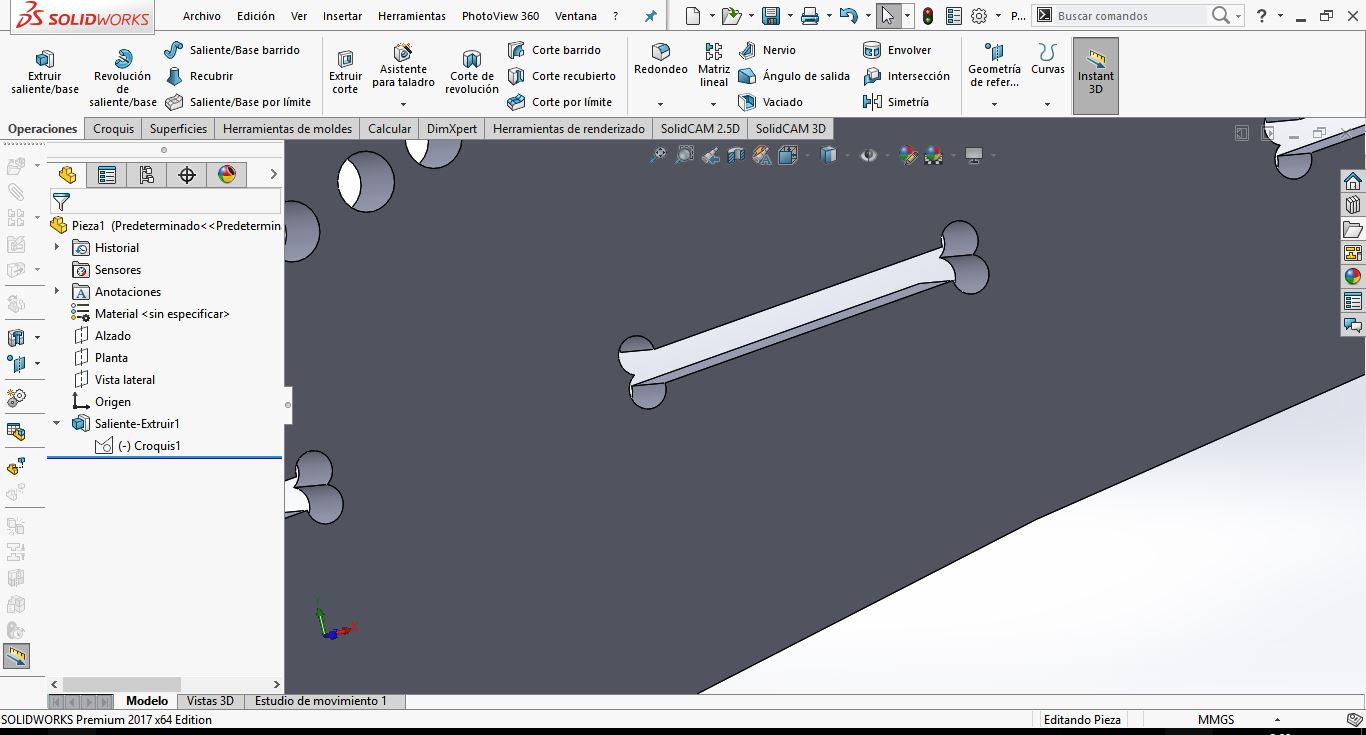
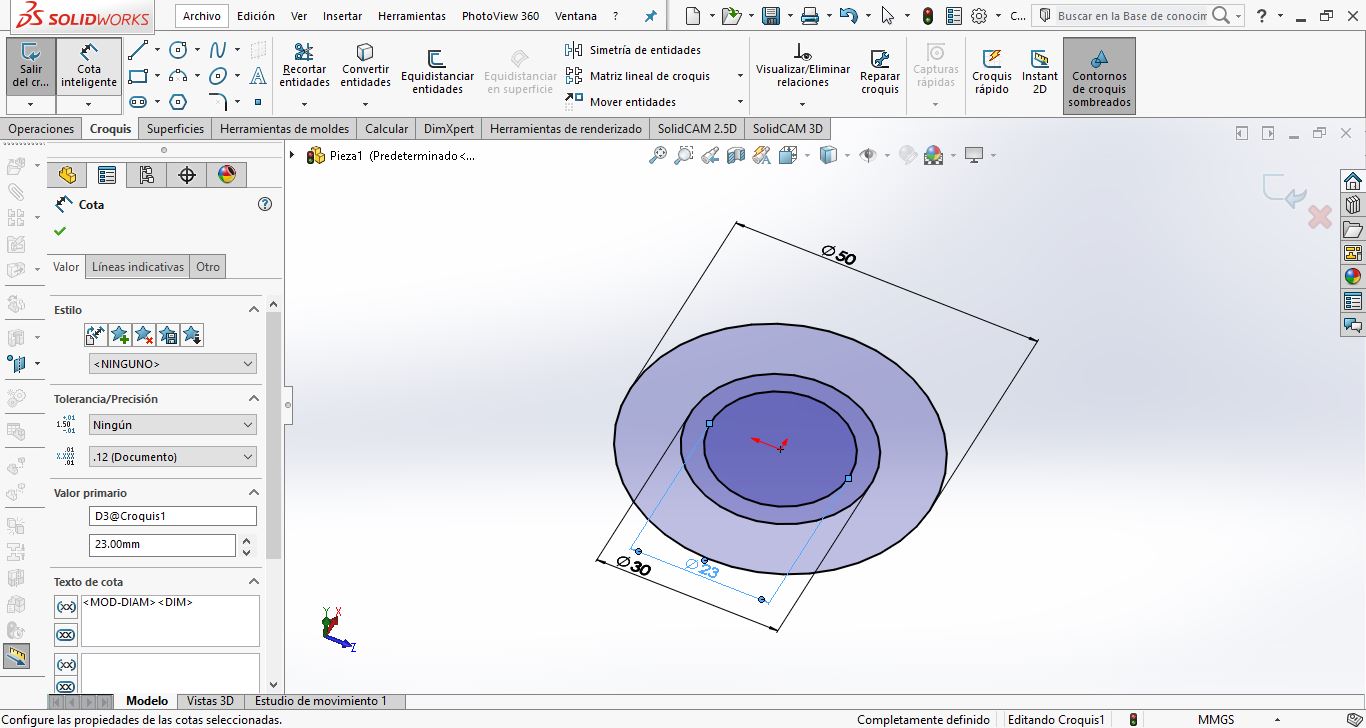
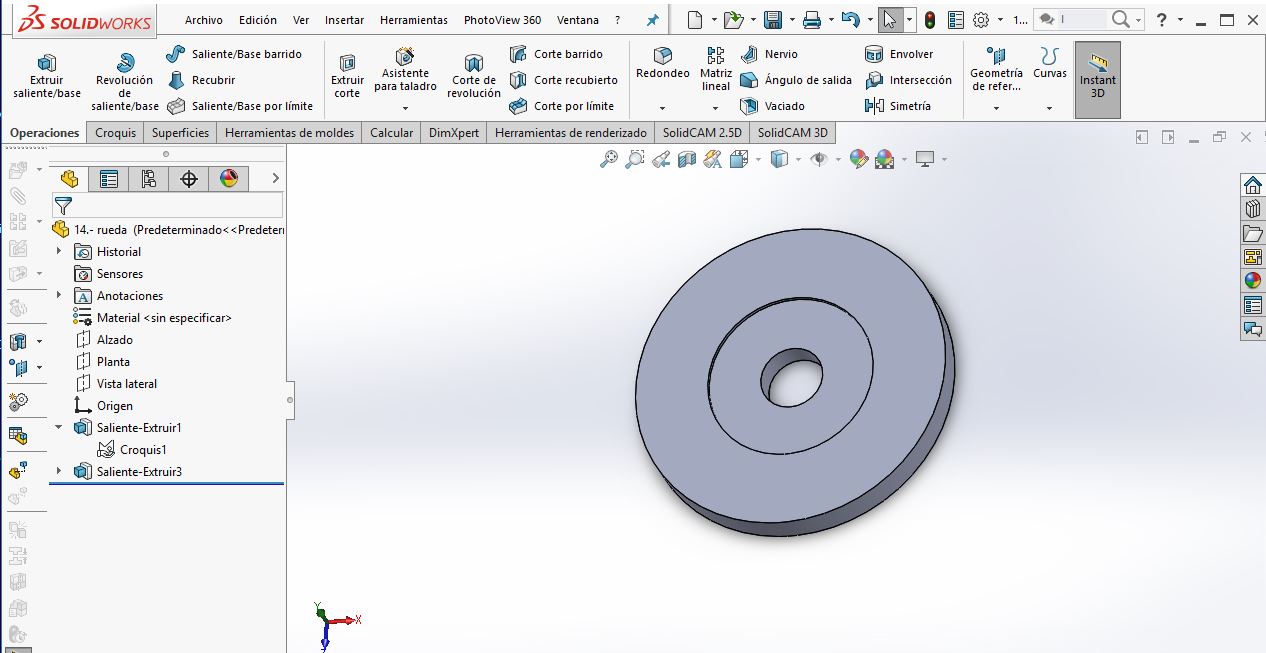
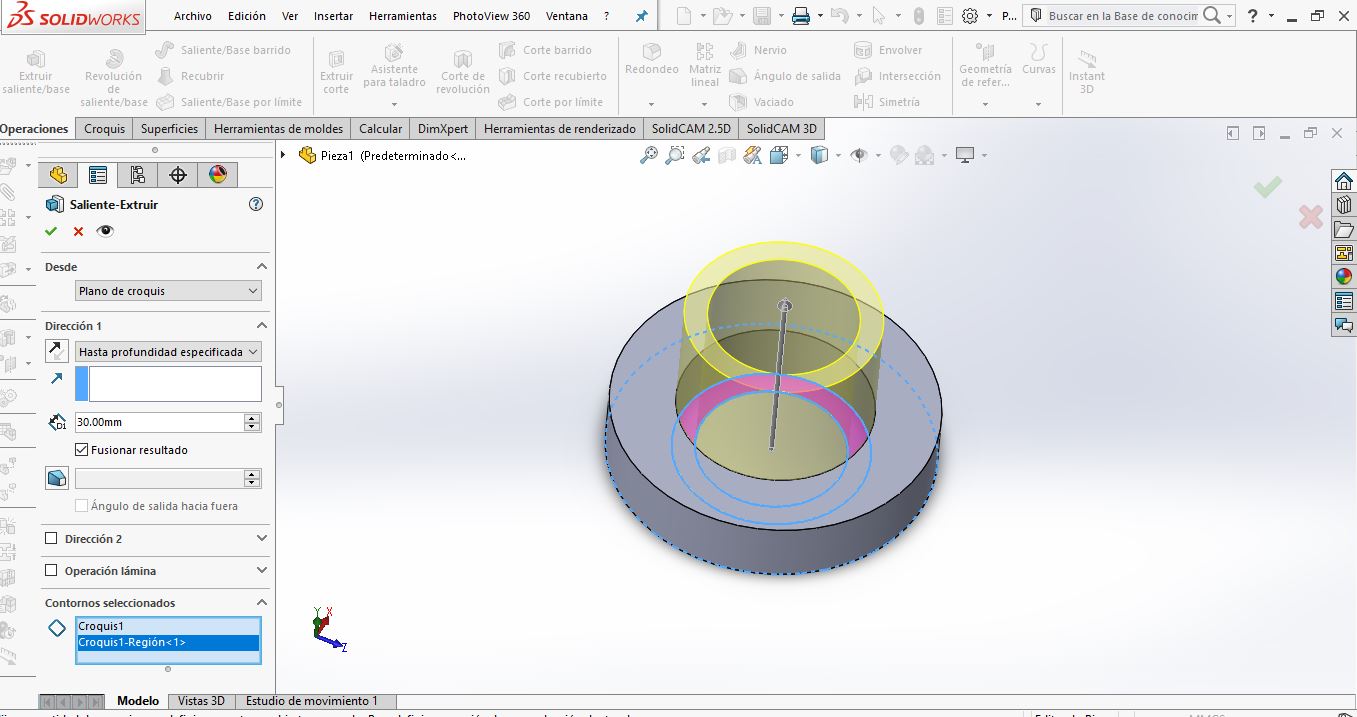
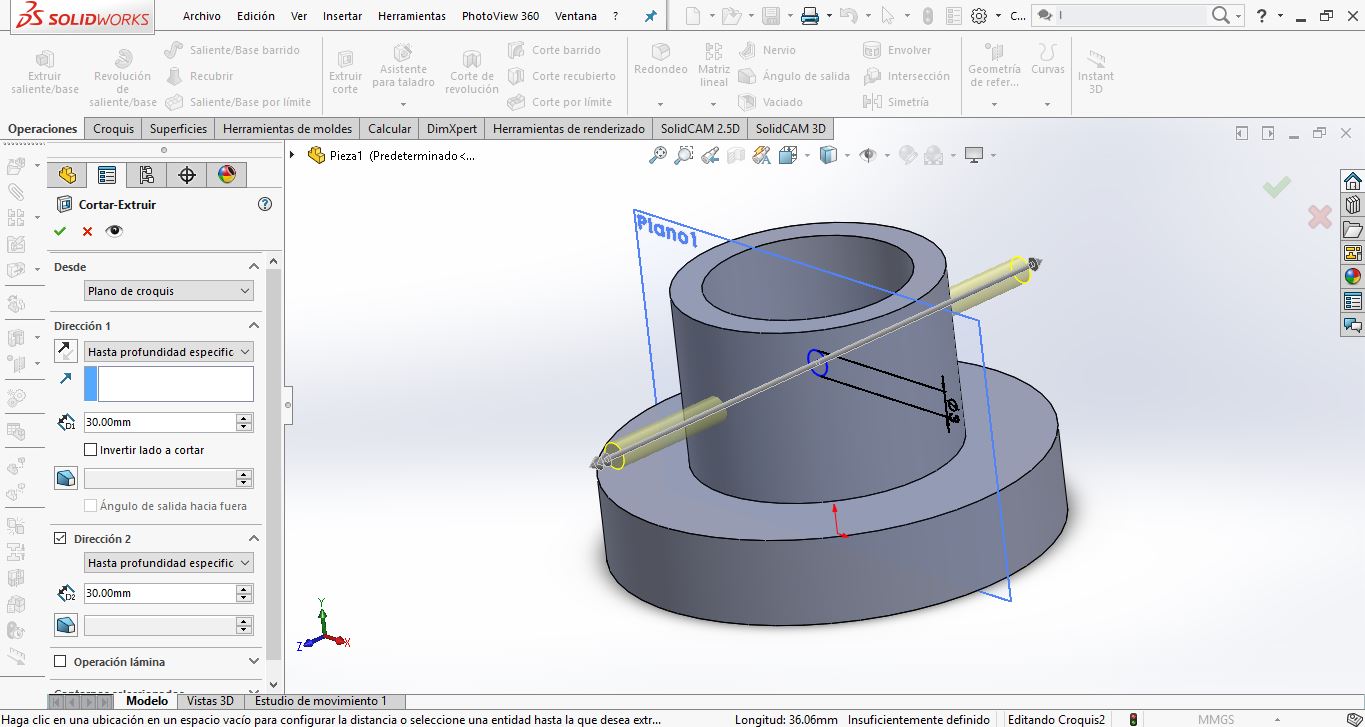
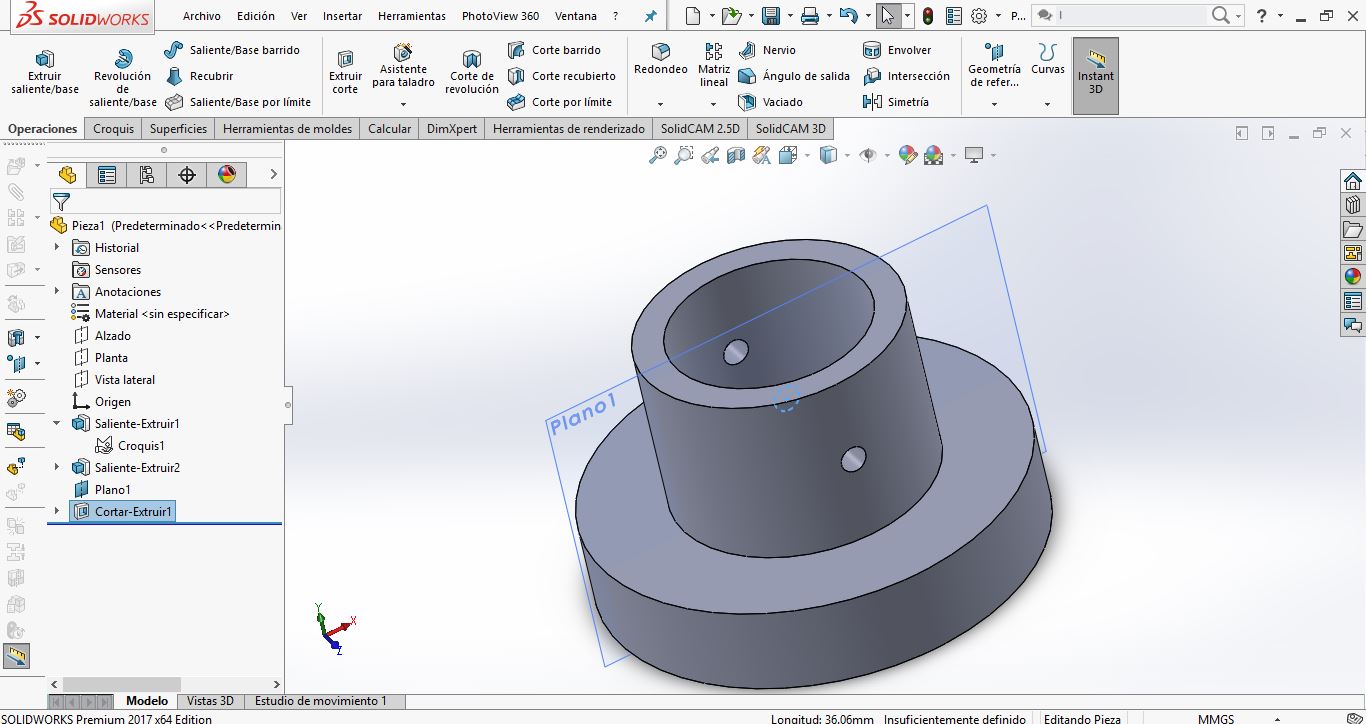
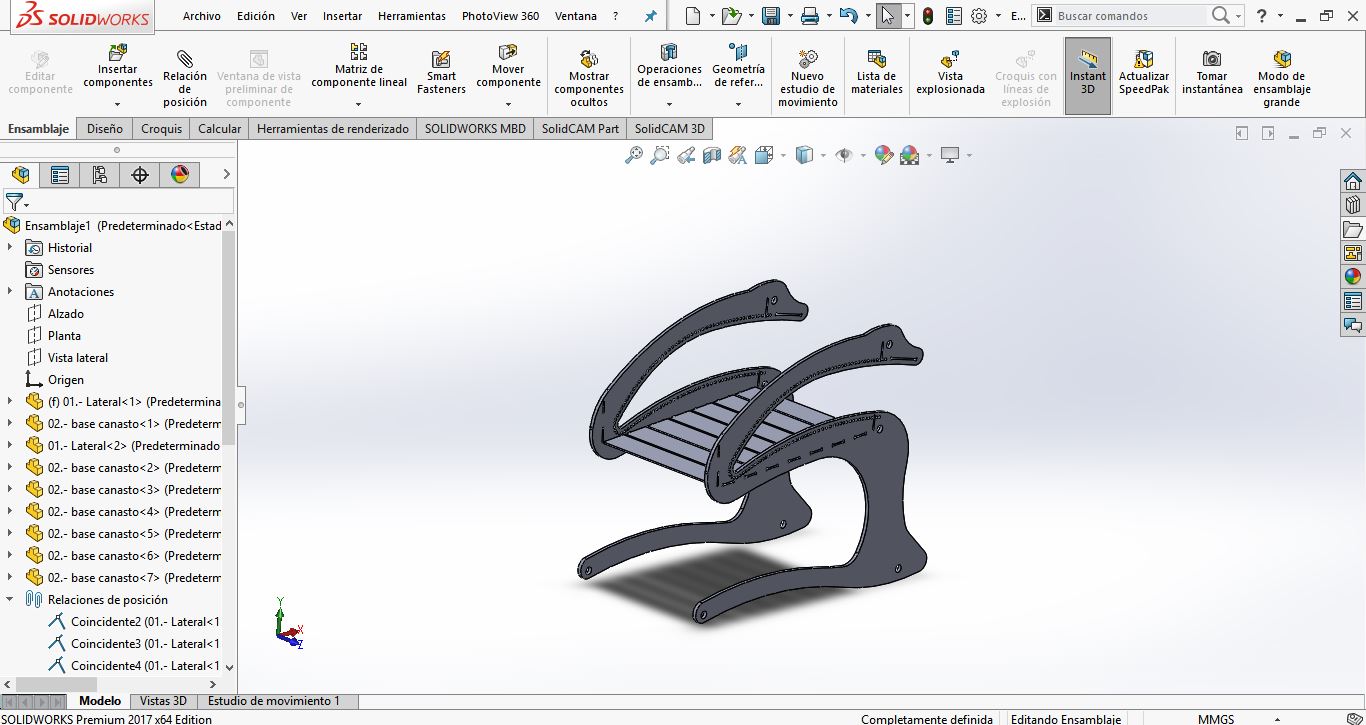
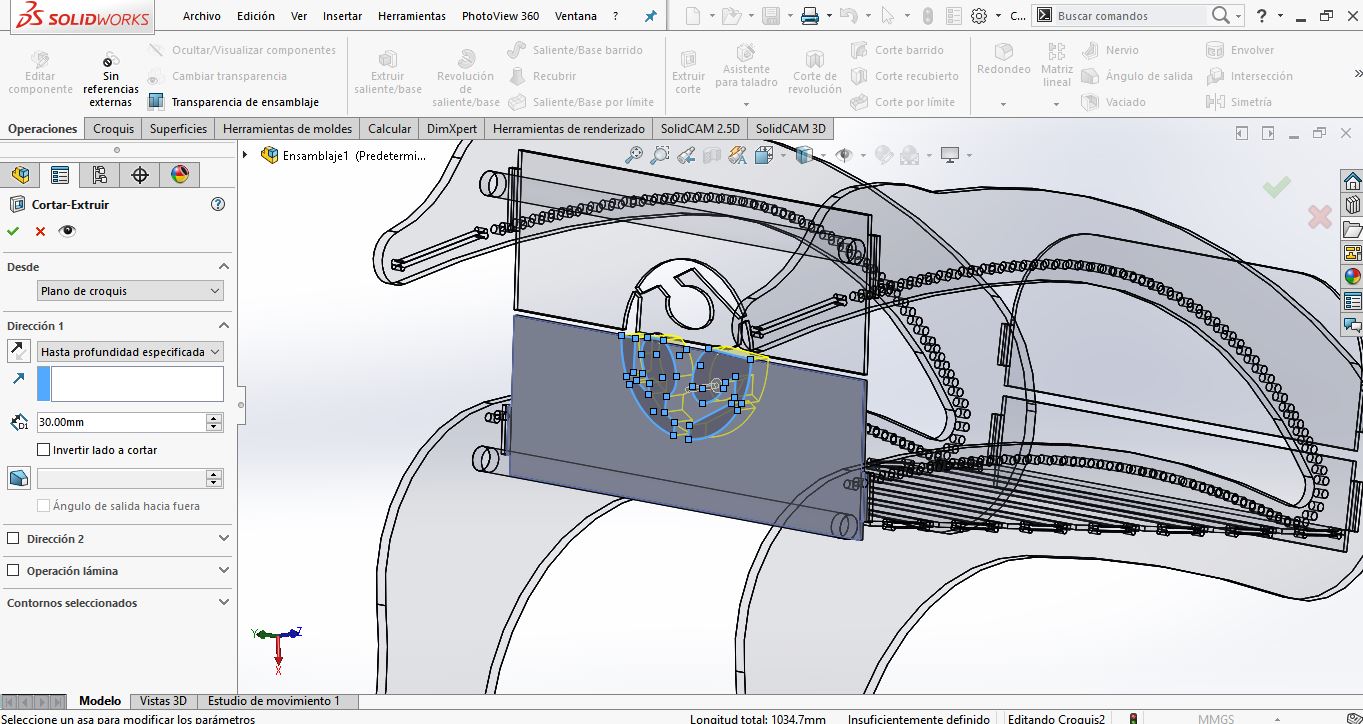
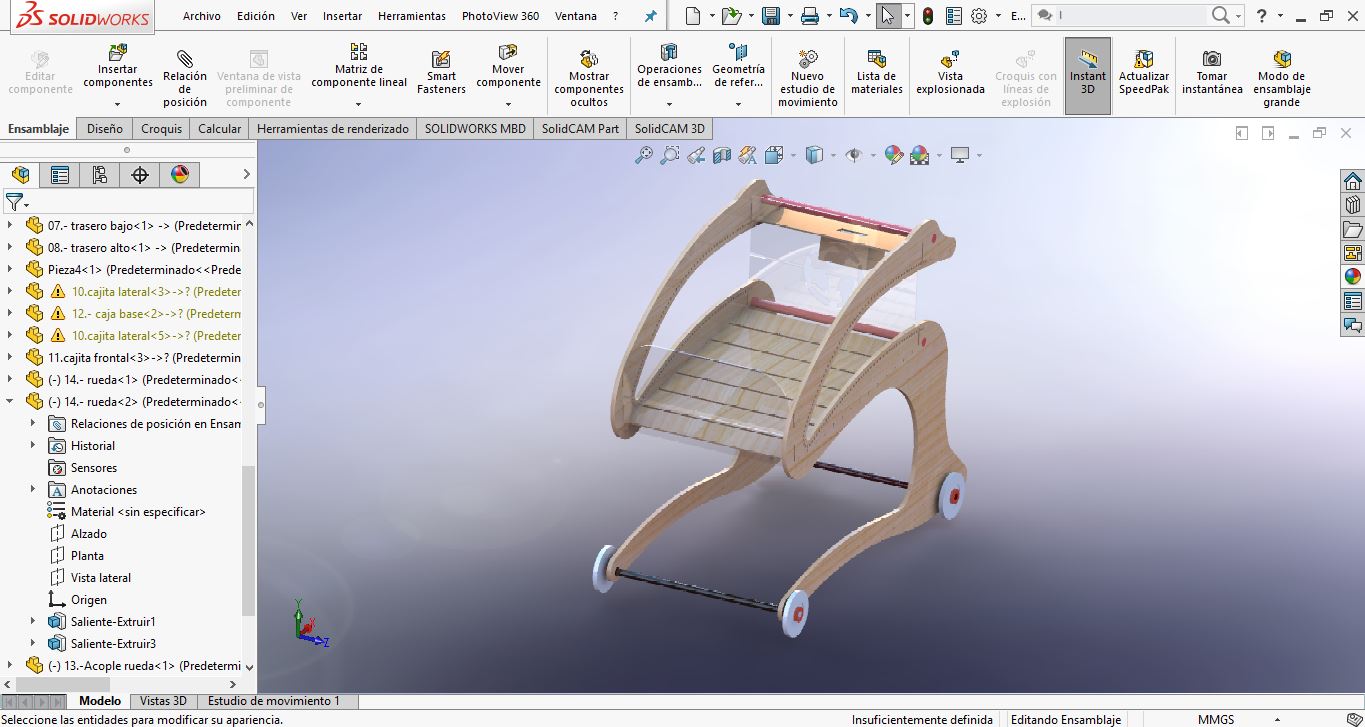
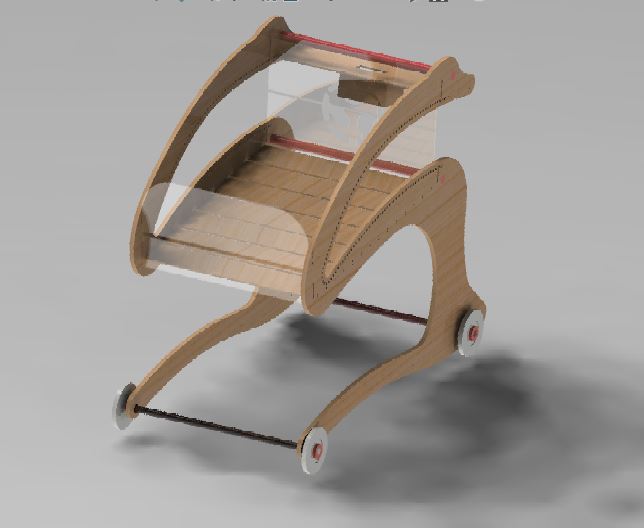
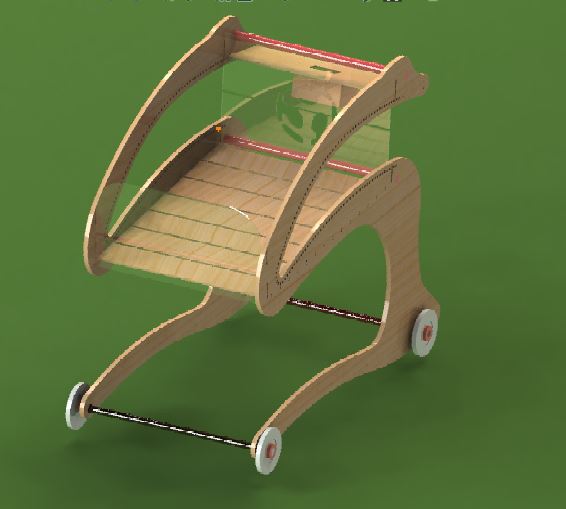
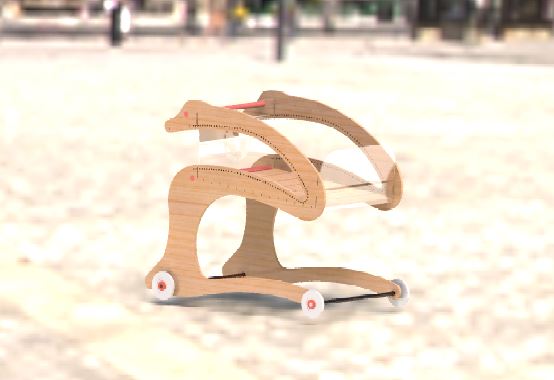
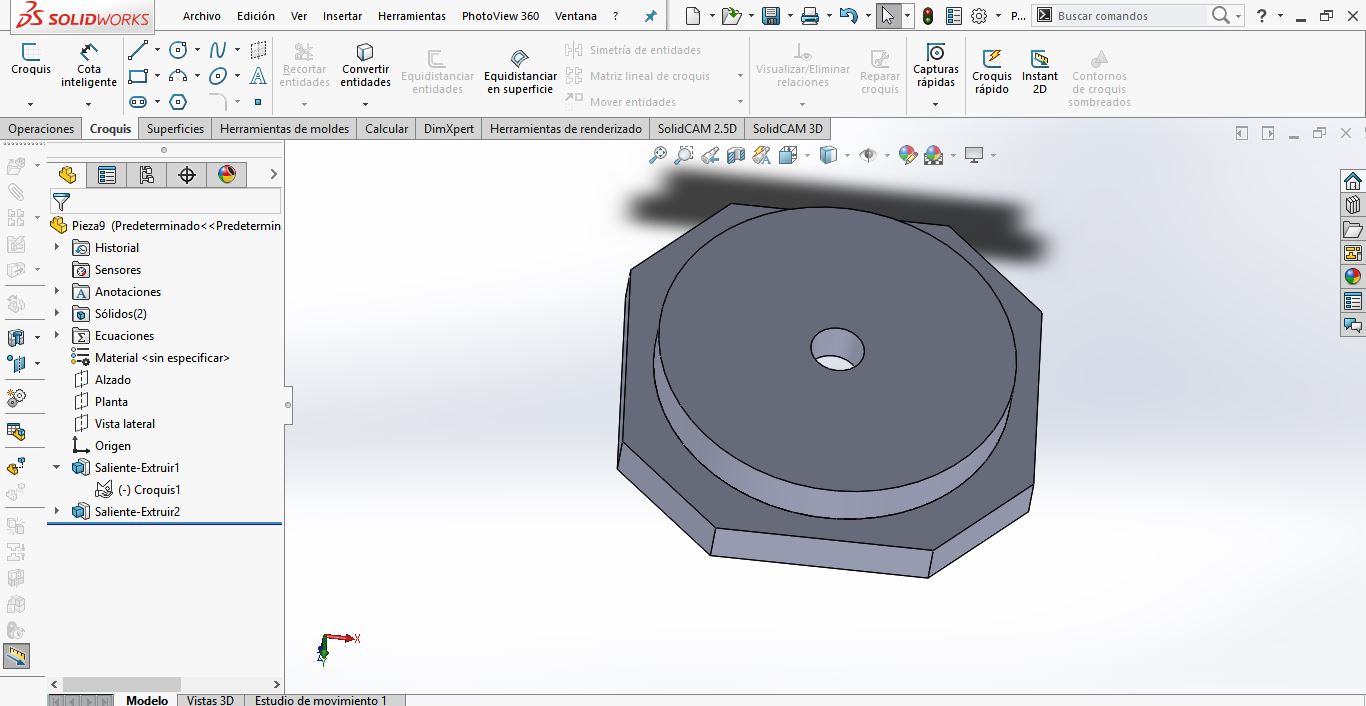
I detail the 2D and 3D design process of the structure, 3D elements for printing and the acrylic designs in SolidWorks.
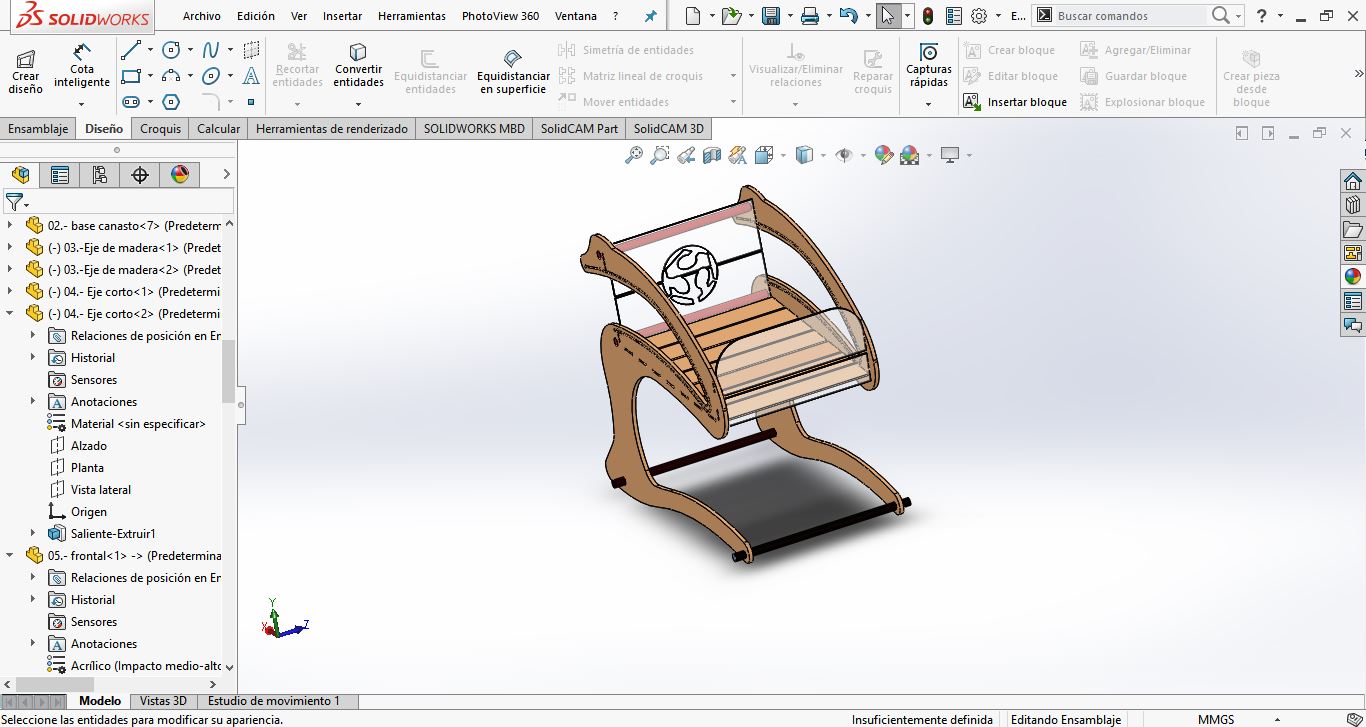
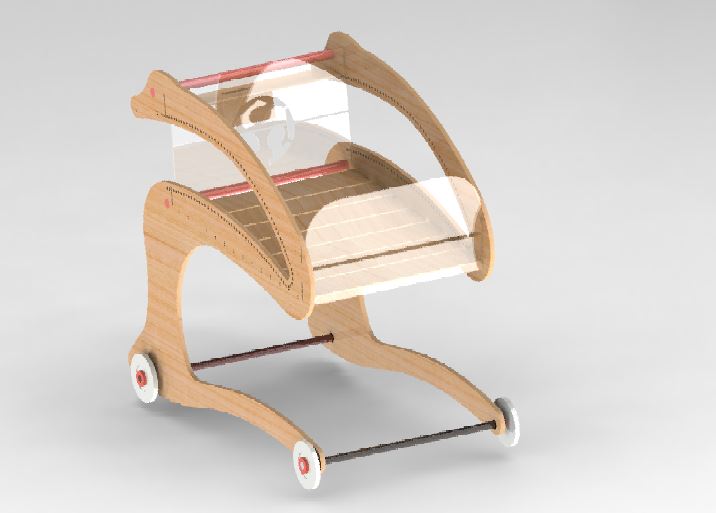
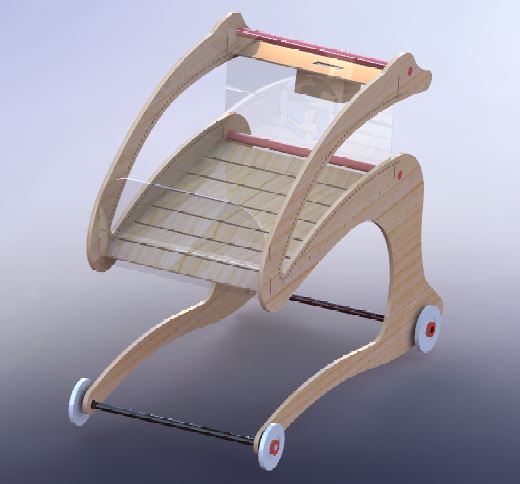
HERE I SHARE SOME RENDERS ; )
FILES TO DOWNLOAD
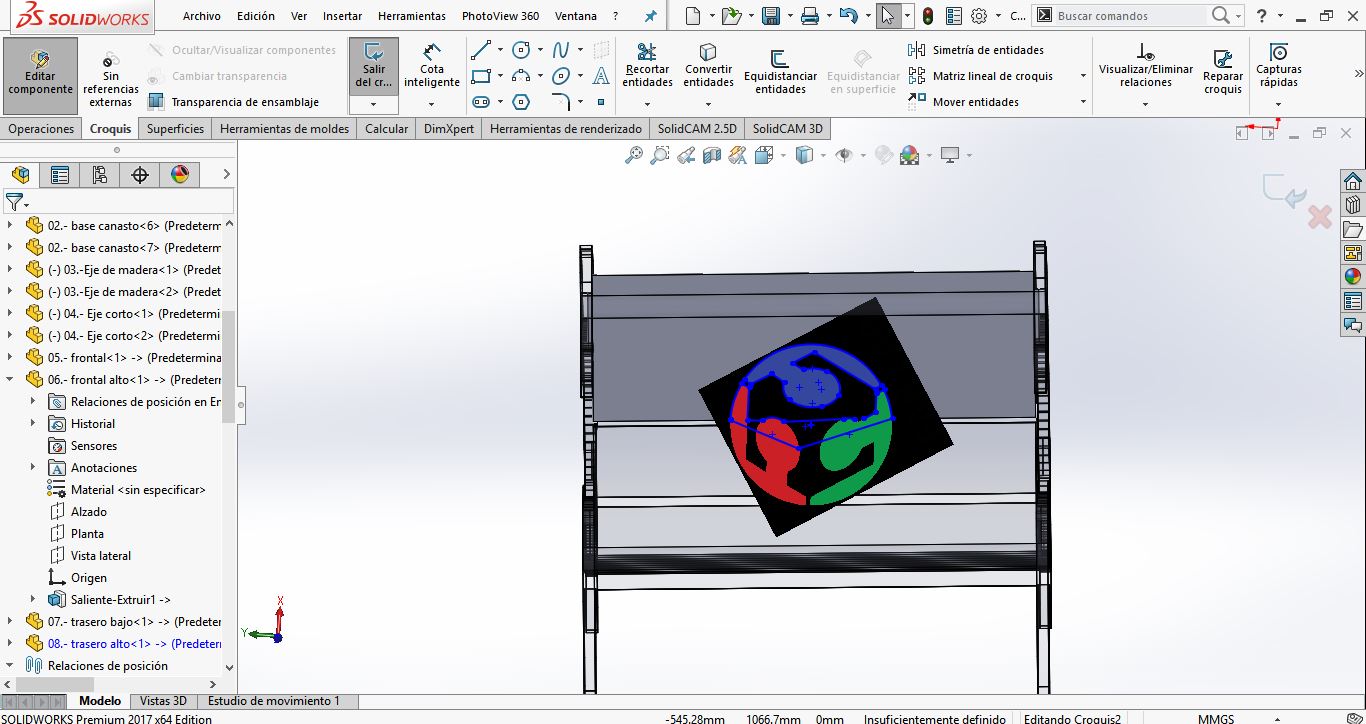
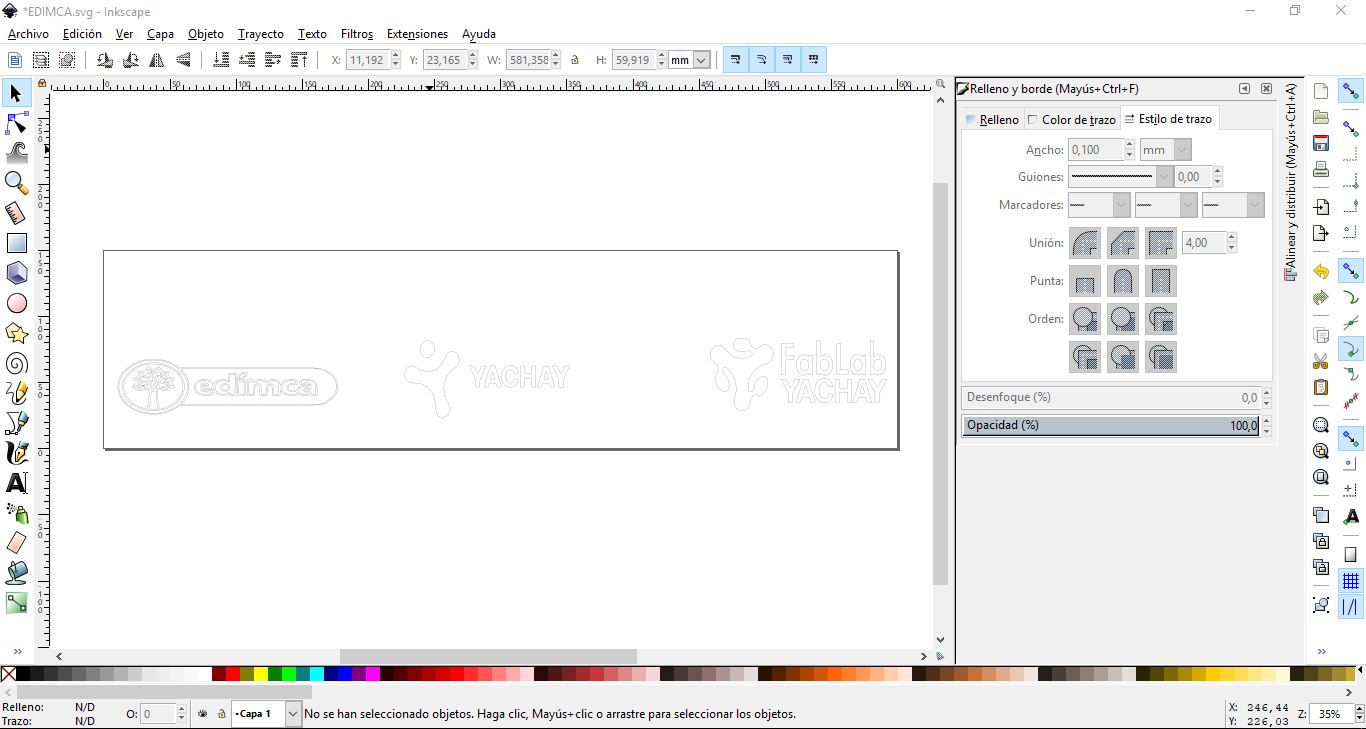
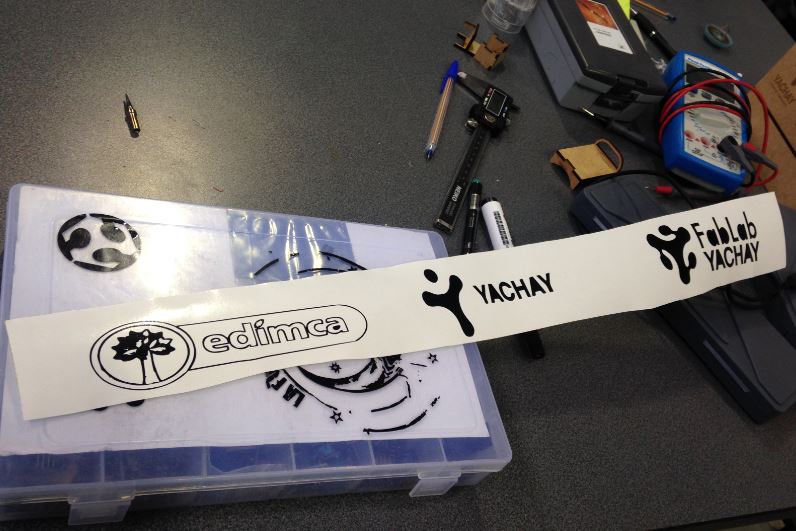
VINIL DESIGNS.
I have obtained all the logos from the web, the use of the designs is autorized
FILES TO DOWNLOAD
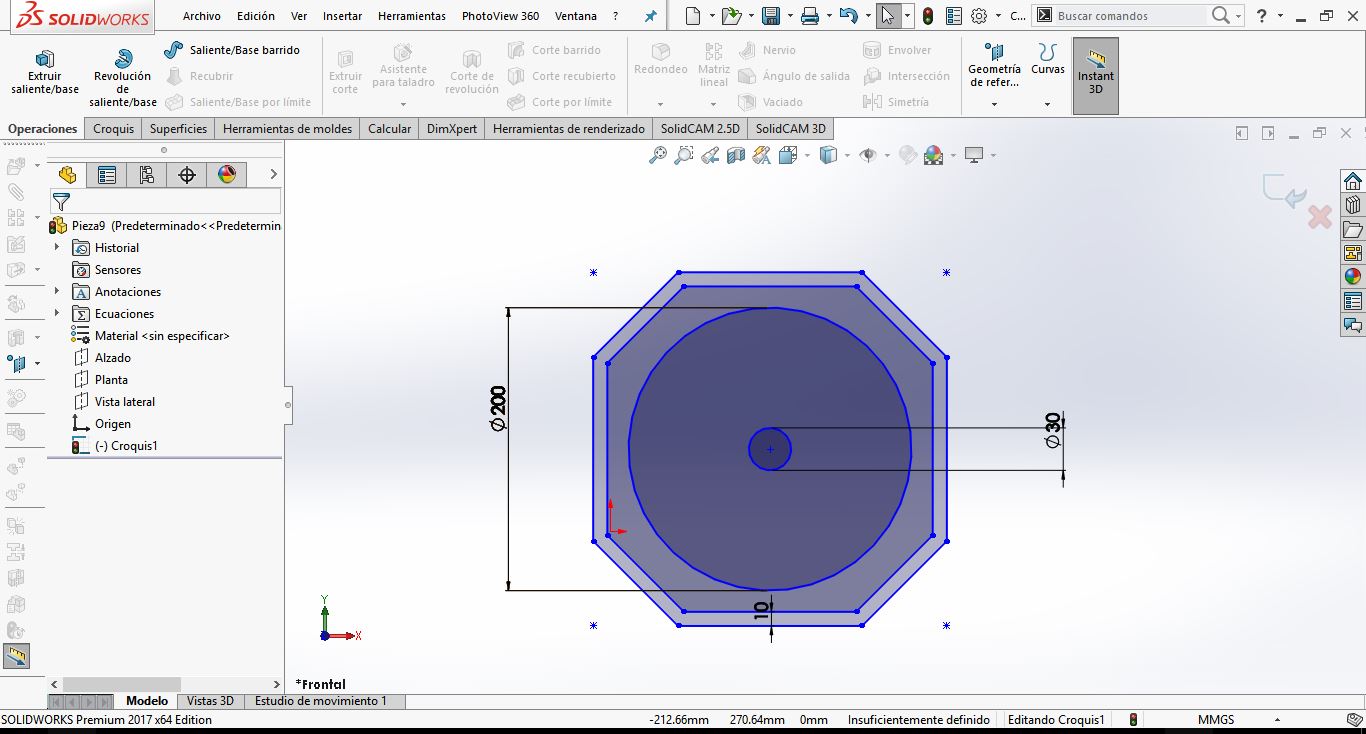
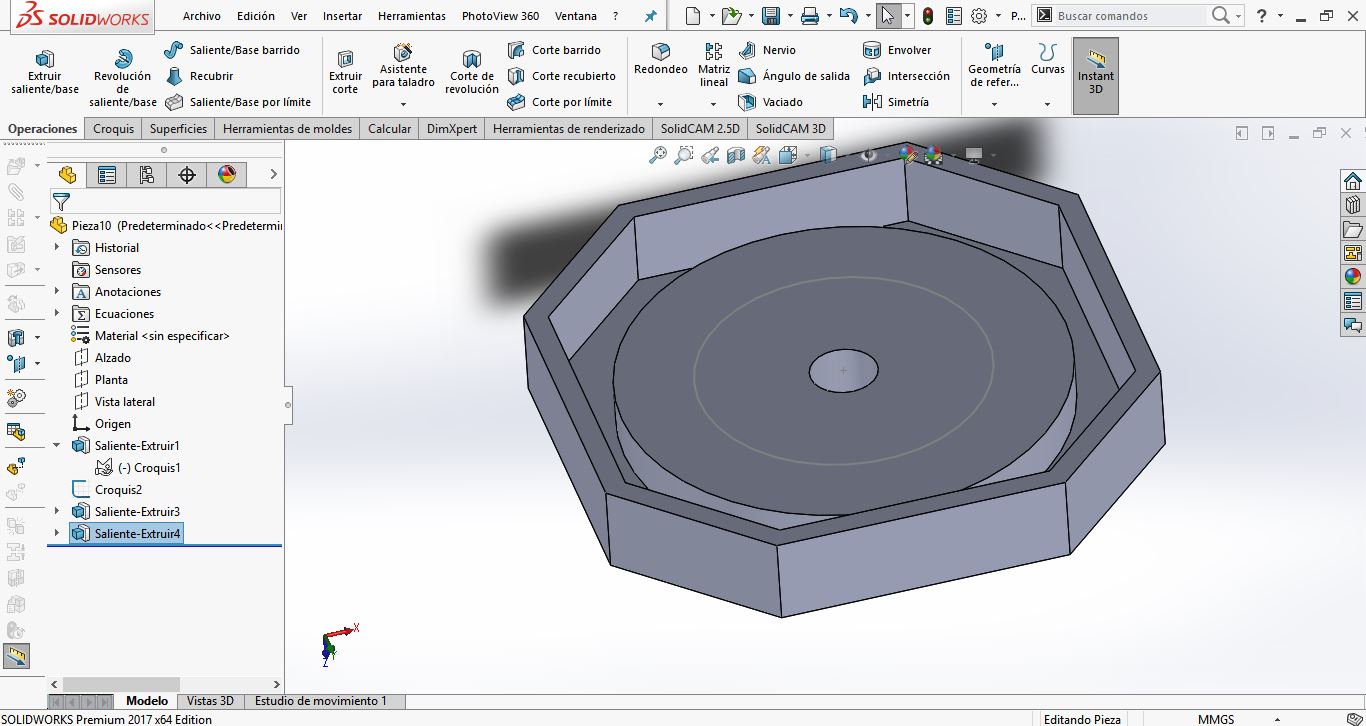
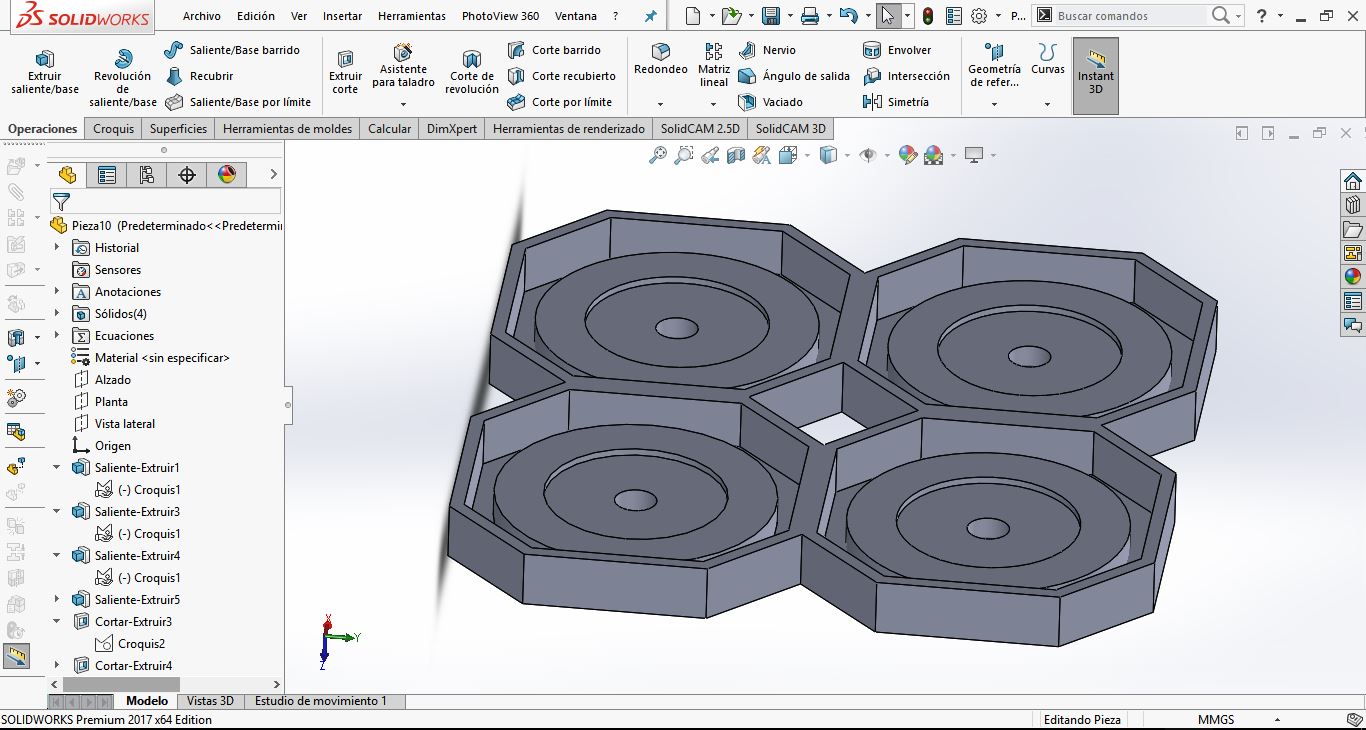
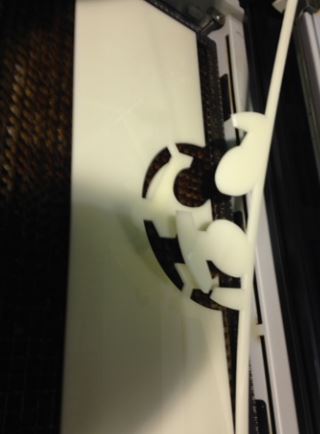
Now I detail the 2D and 3D design of the wheels mould.
FILES TO DOWNLOAD
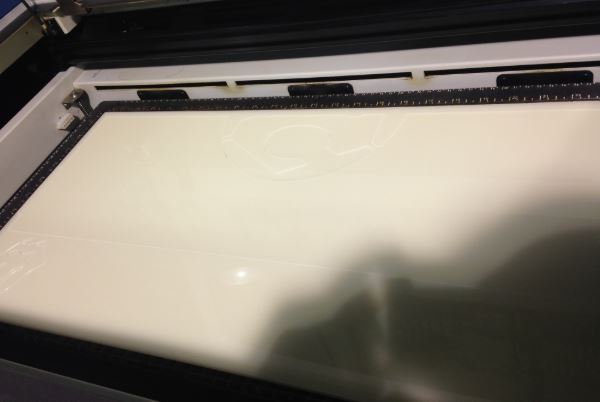
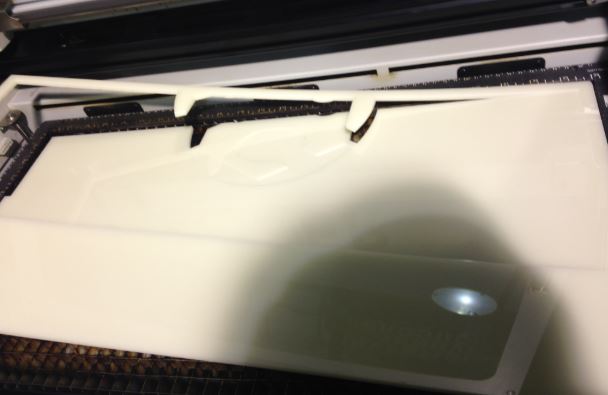
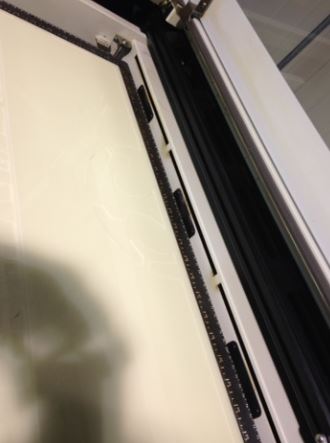
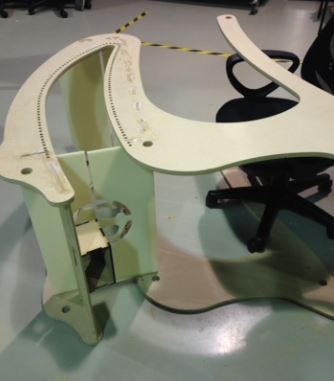
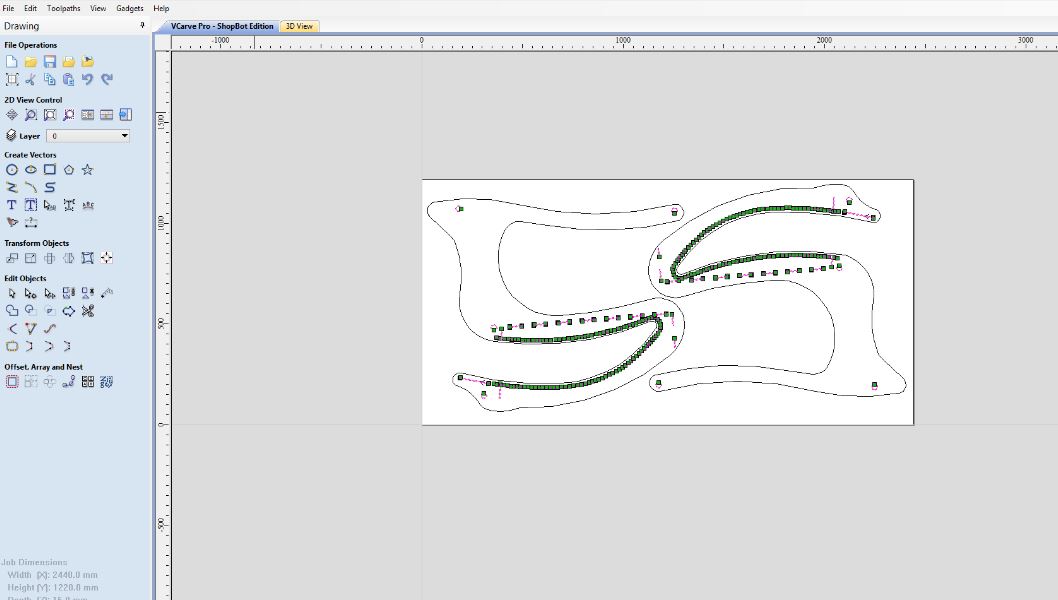
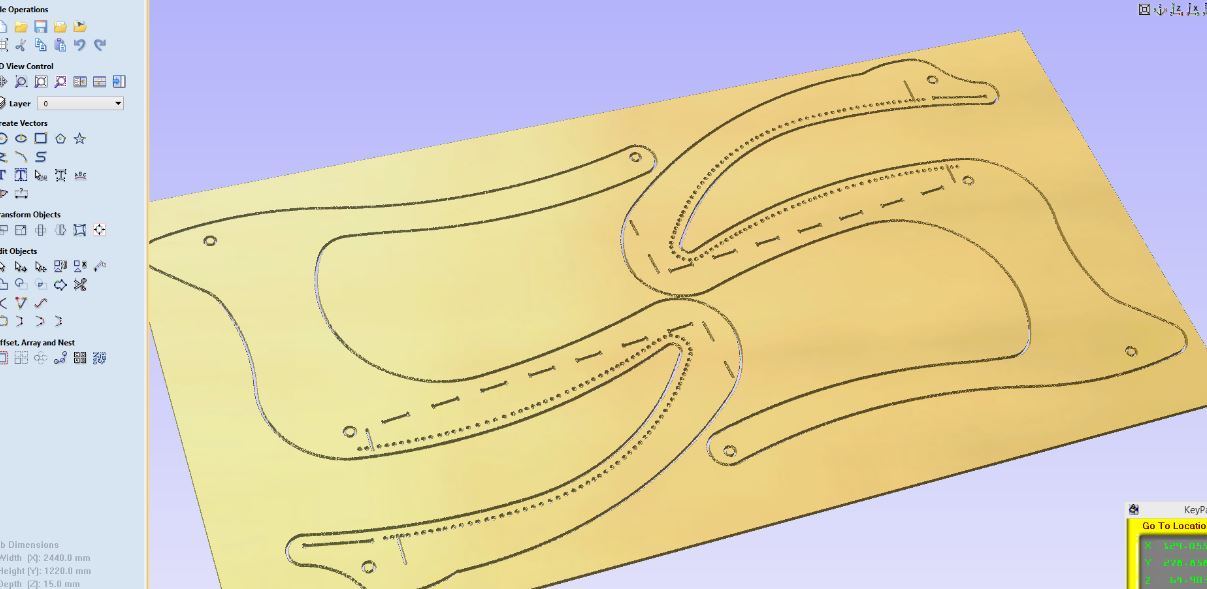
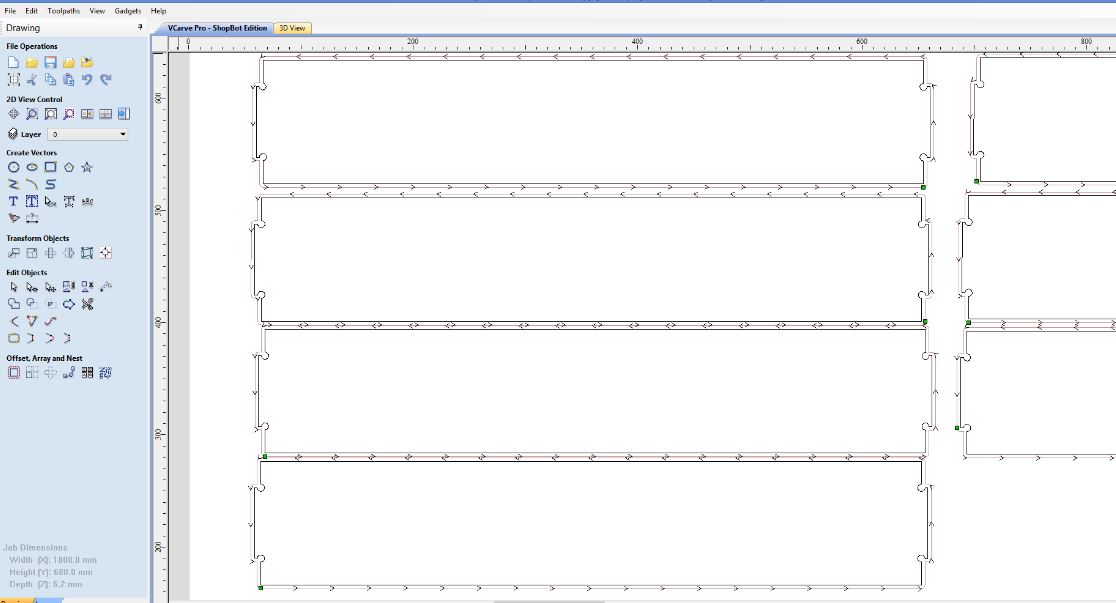
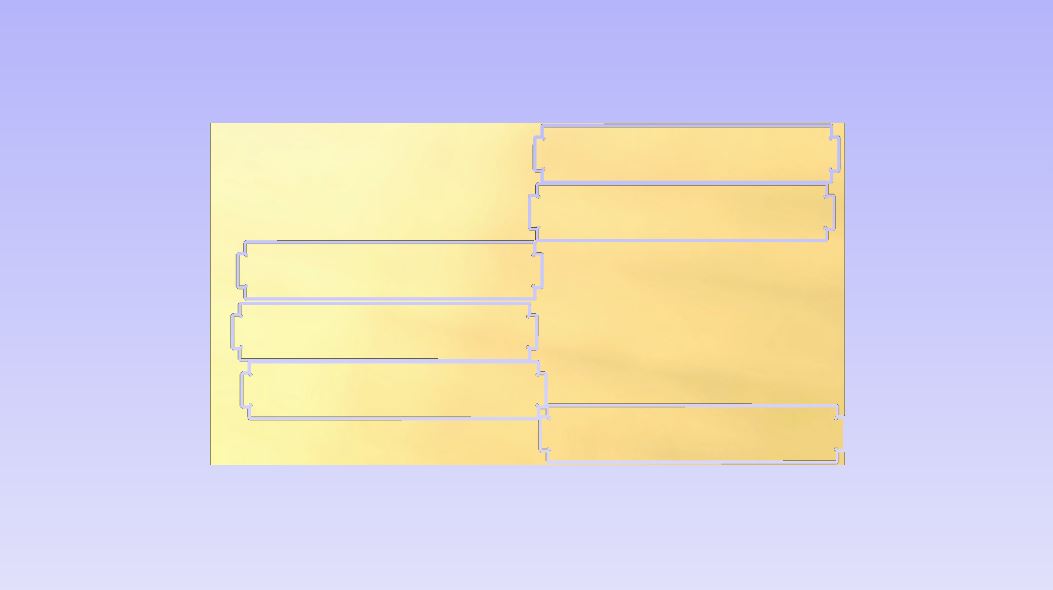
As part of the learned COMPUTER-CONTROLLED CUTTING activities that are applied to my final project, I will make the acrylic laser cutting of the front and back parts of the basket, on the other hand I will use vinyl to make some designs of brands sponsors and laser cutting to cut a box where the payment system is.
I detail the procedure of laser cuttinhg of acrylic and MDF Wood for completing the structure design of the final project
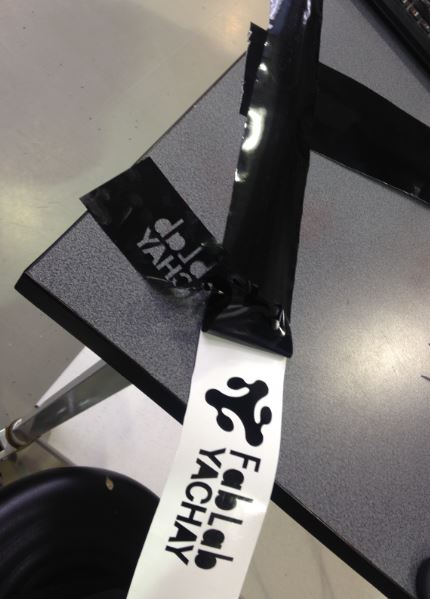
Next, I have detailed the procedure of making some designs in vinyl of some sponsors of materials and FabLab Yachay.
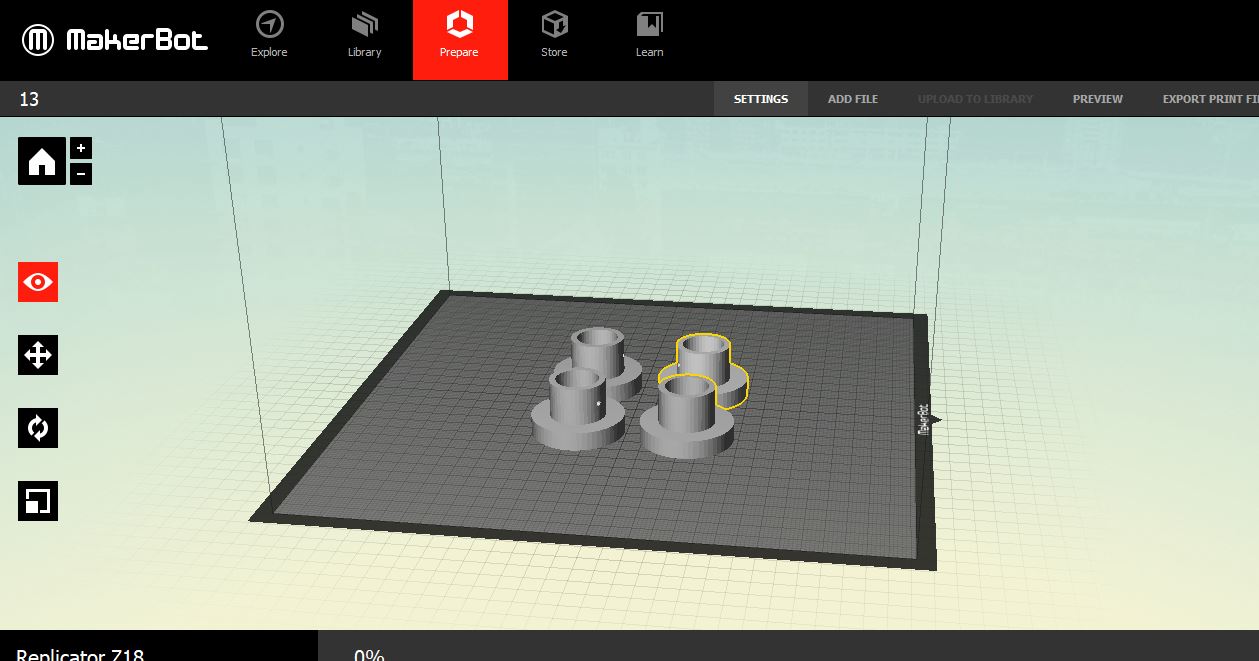
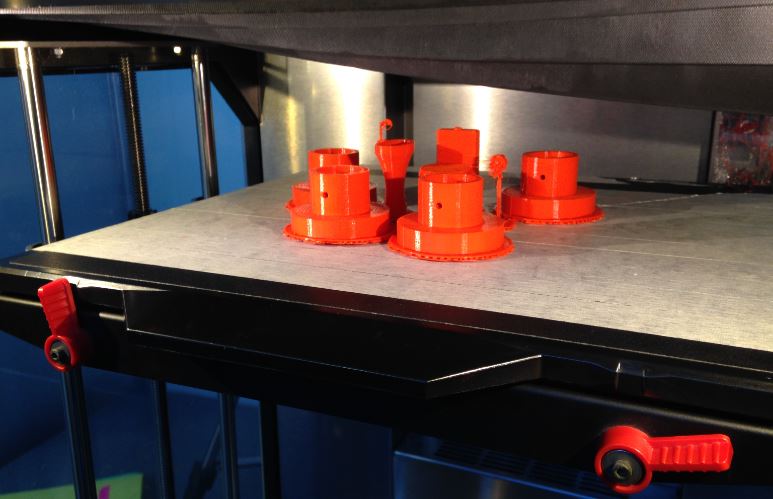
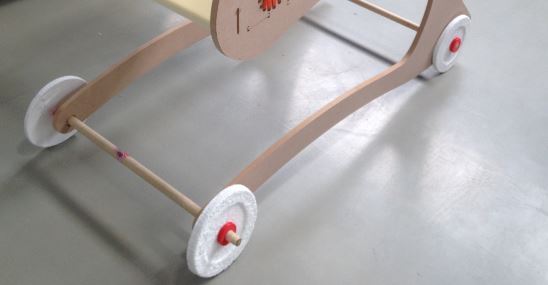
From the skills obtained in design of 3D printing elements, for my final project, I will design the couplings that will join the axes with the wheels, this to generate the displacement of the prototype in the supermarket.
Below I share the development of the manufacture of the parts and the union of the wheels with the front and rear axles
FILES TO DOWNLOAD
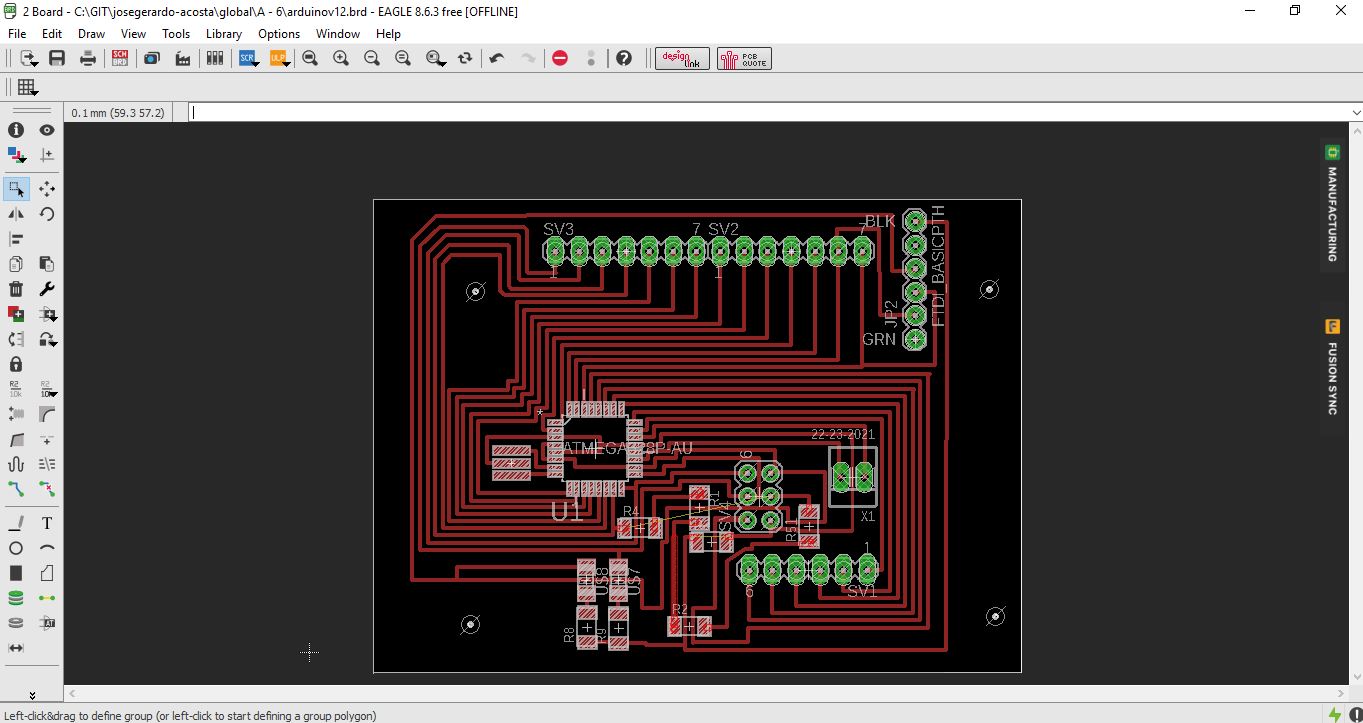
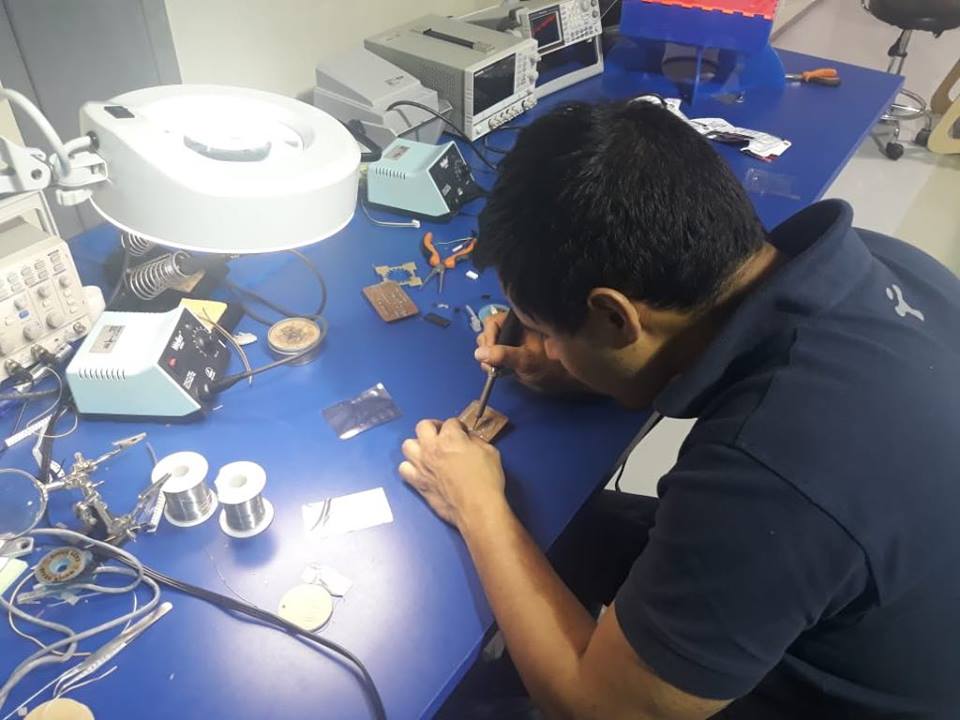
To make the electronic device I have received the support of Eduardo Cartagena who has experience of making electronic boards
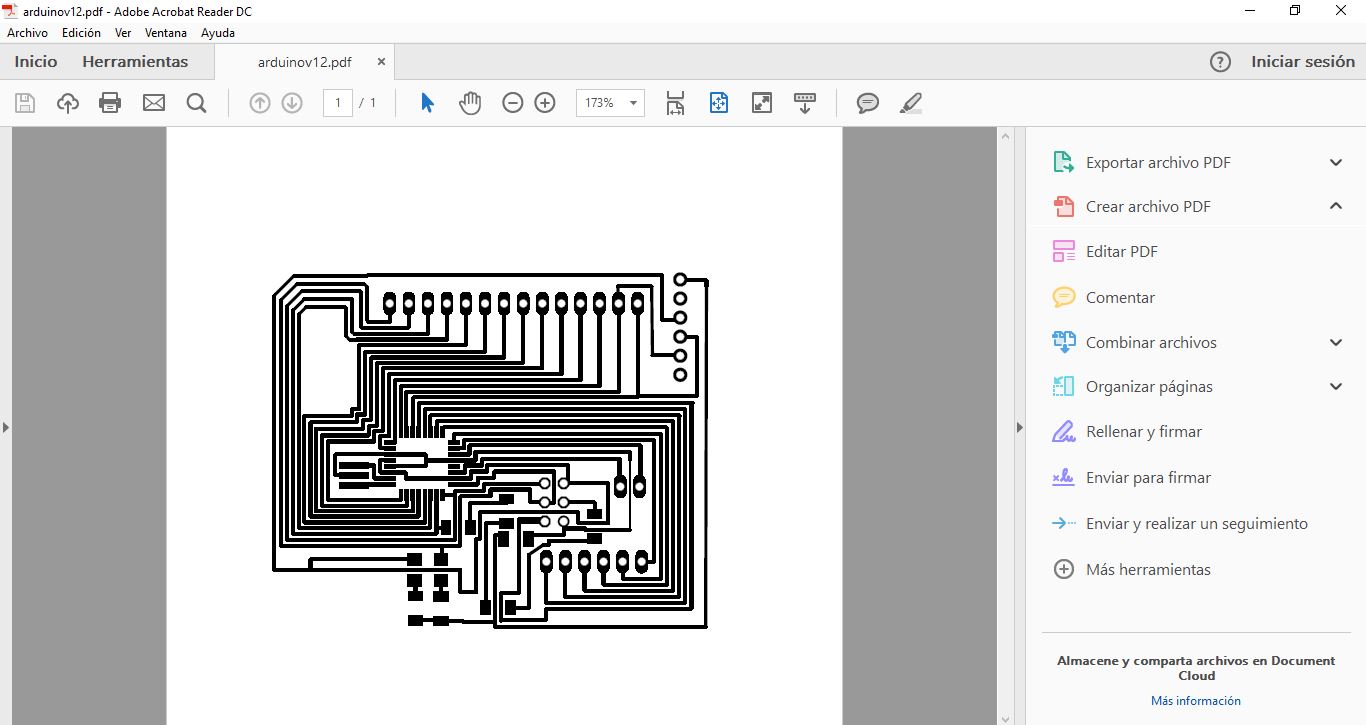
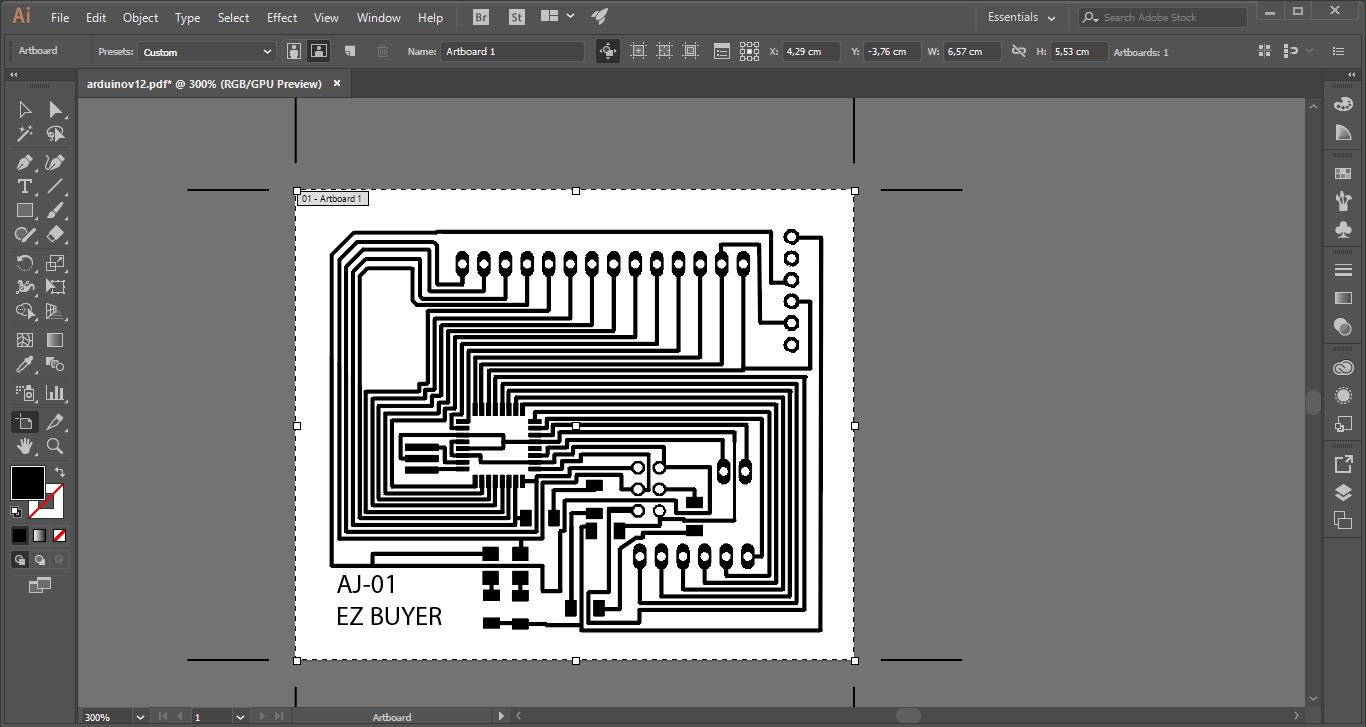
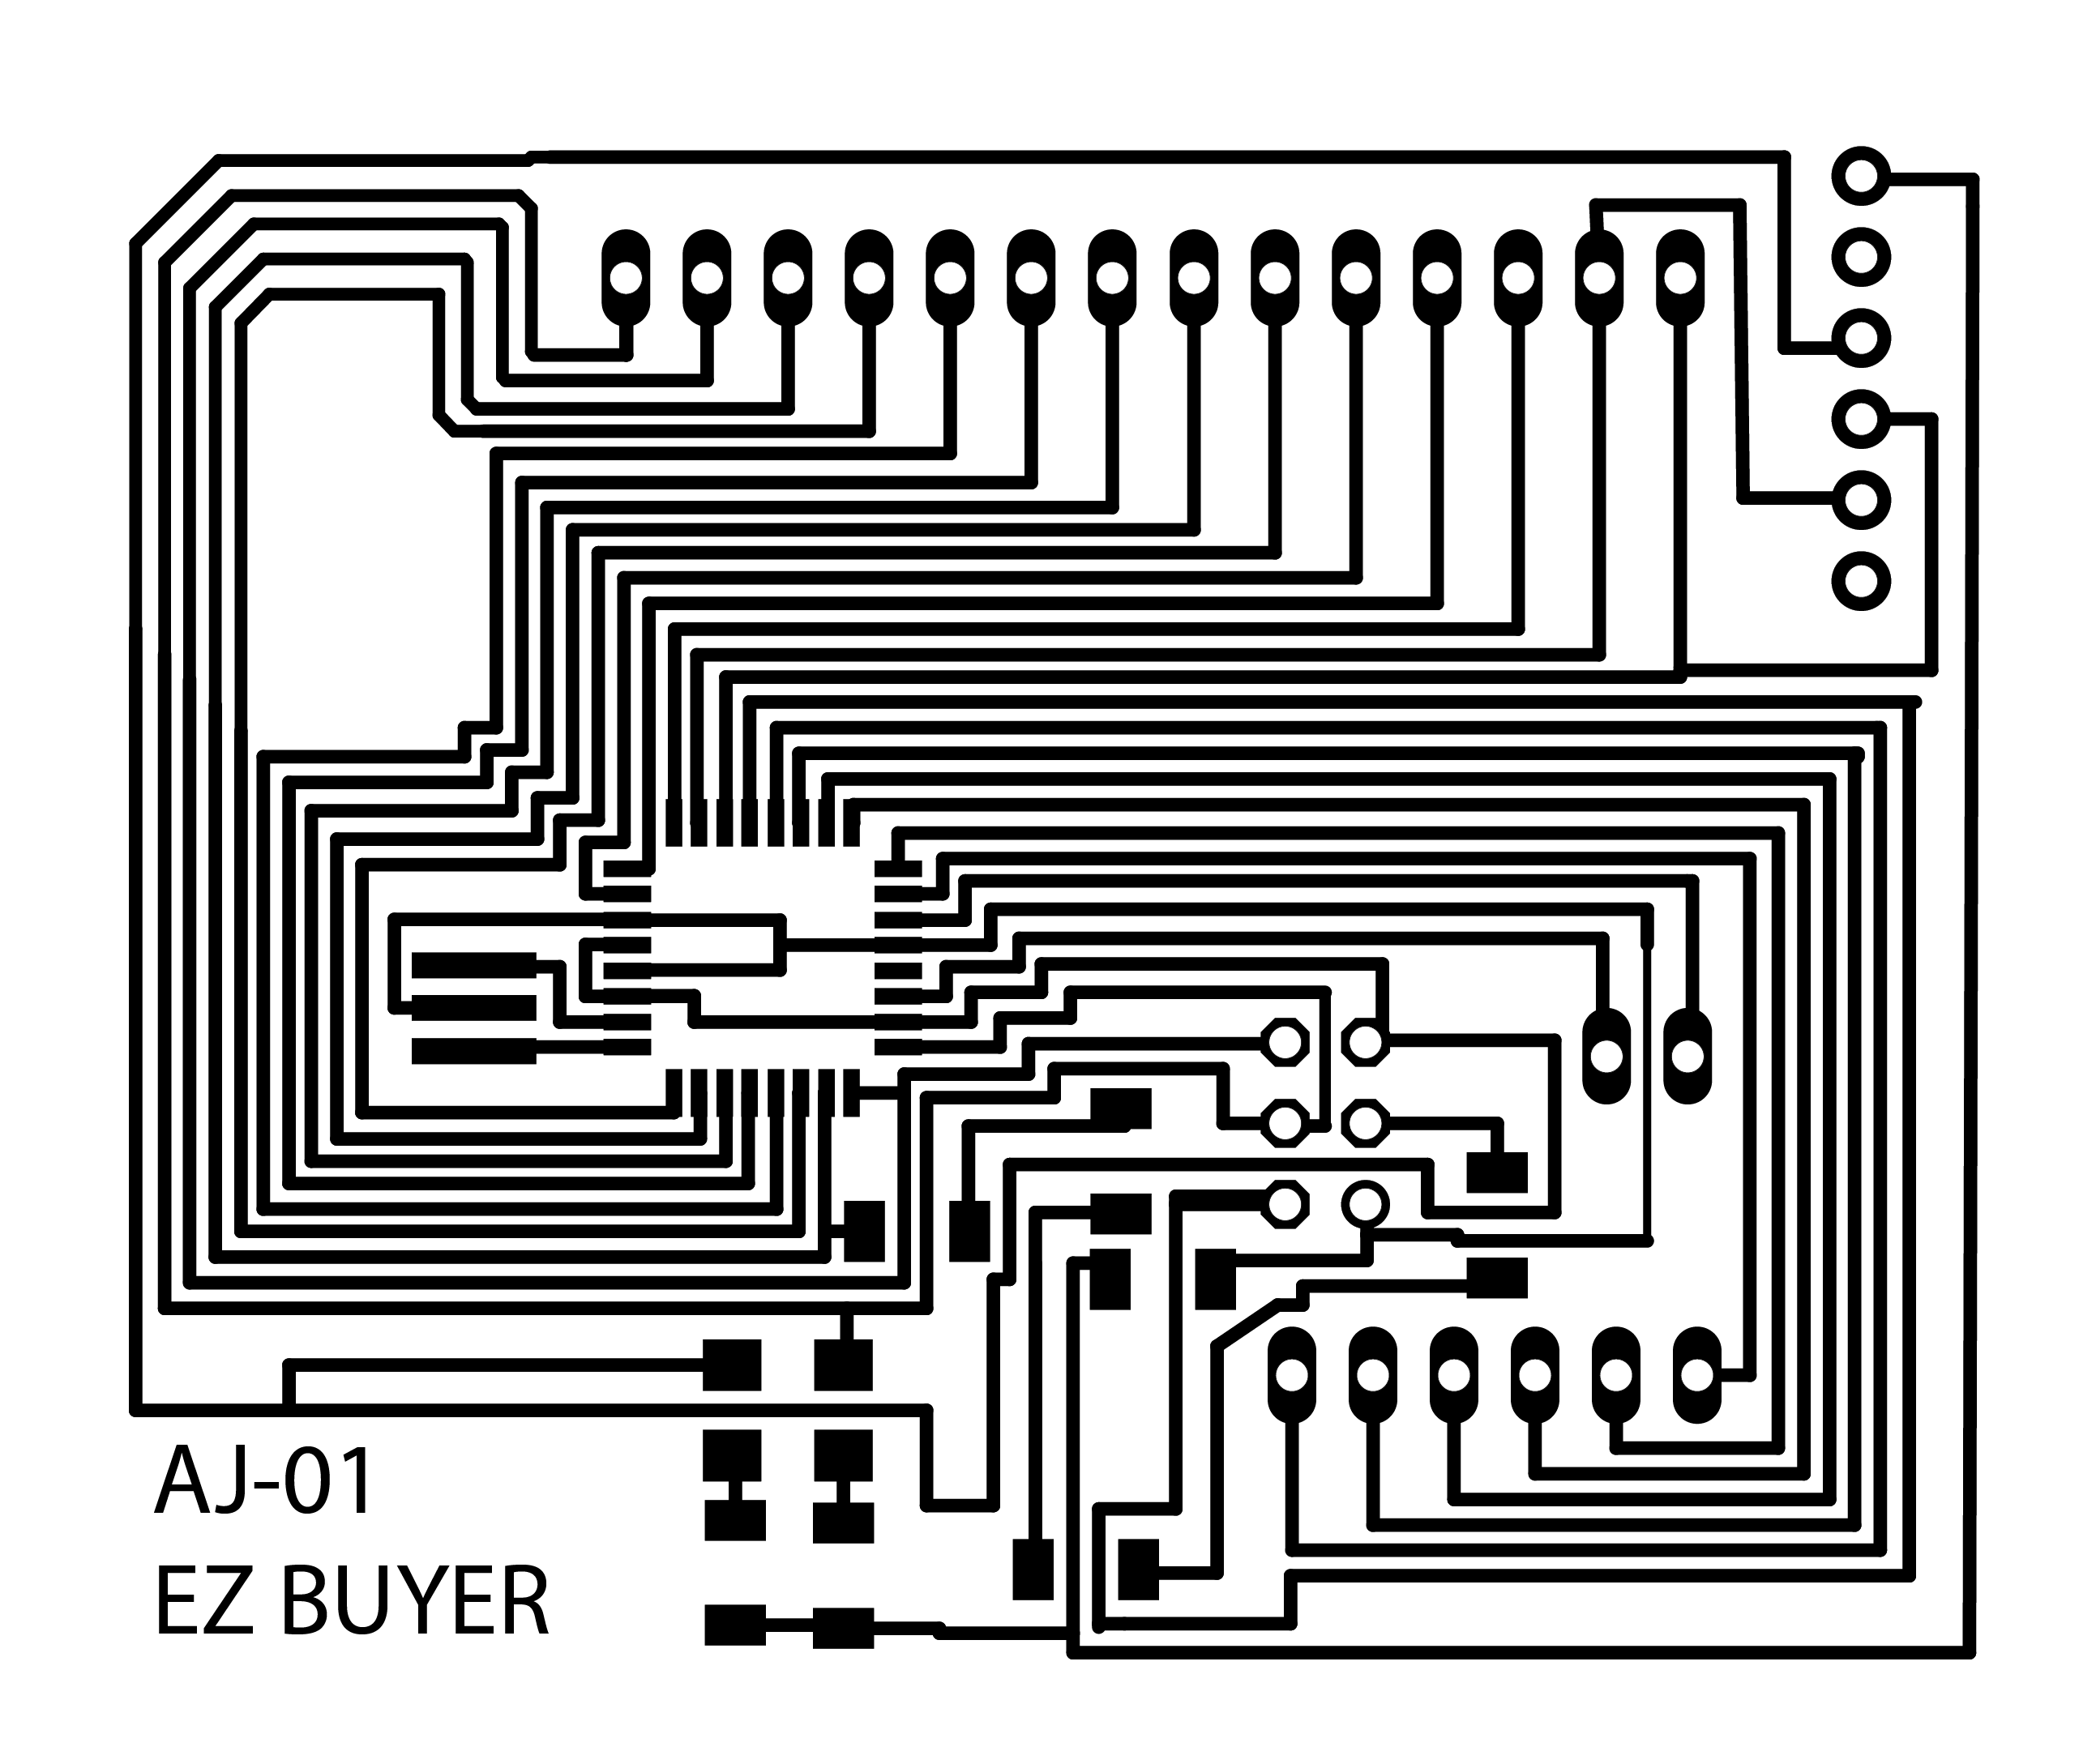

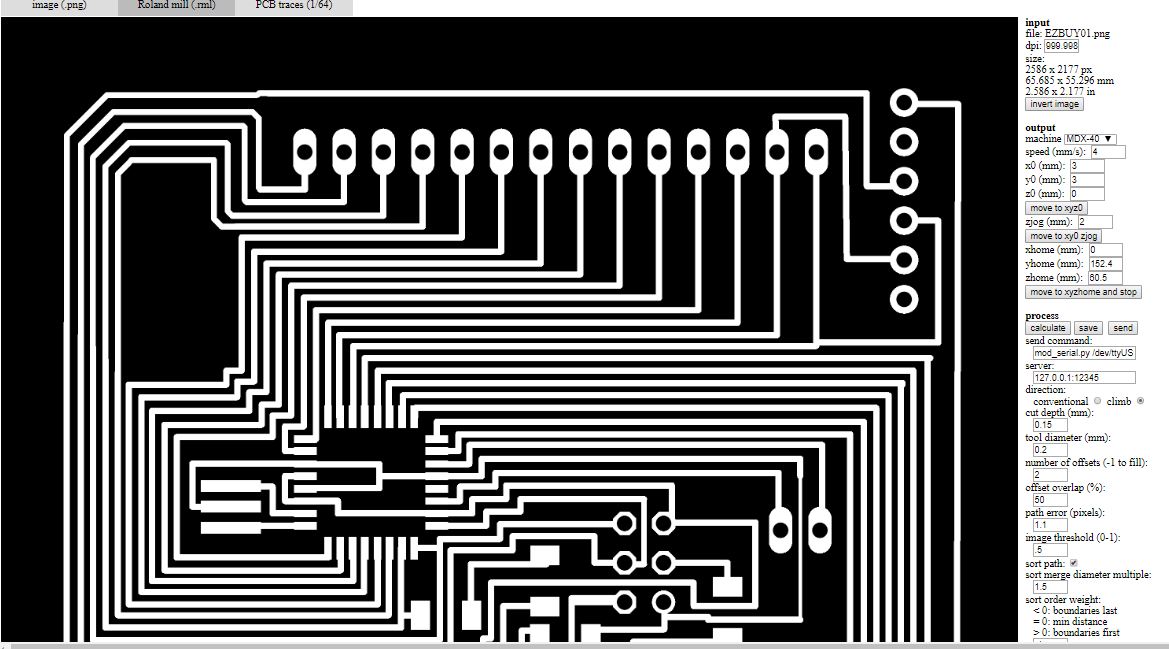
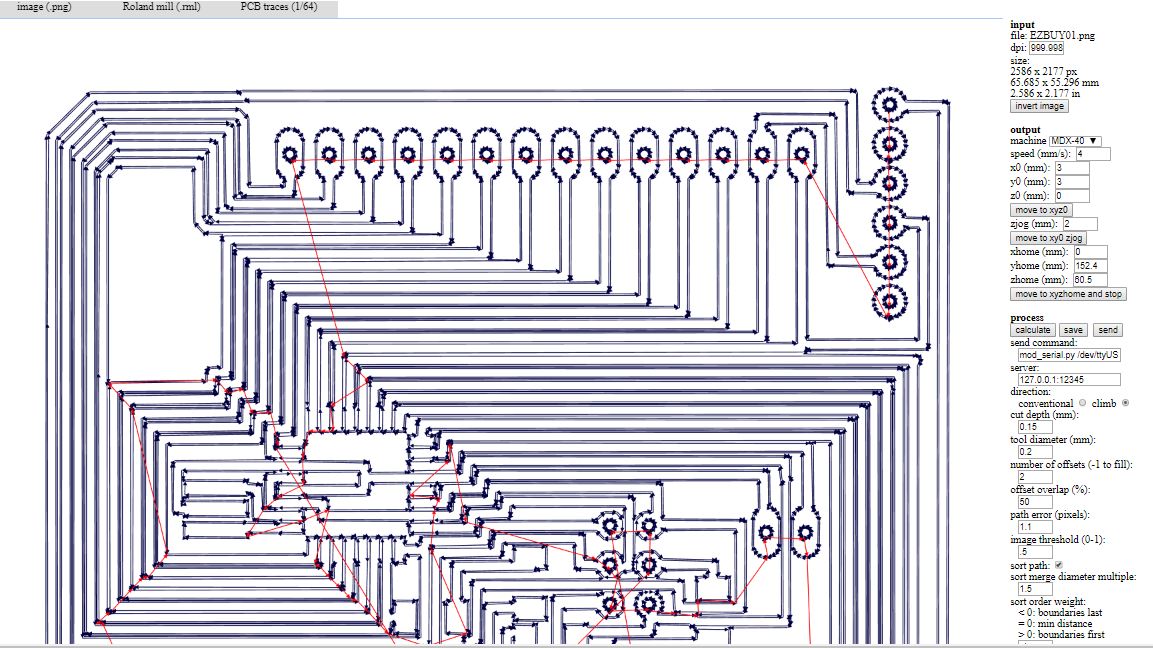
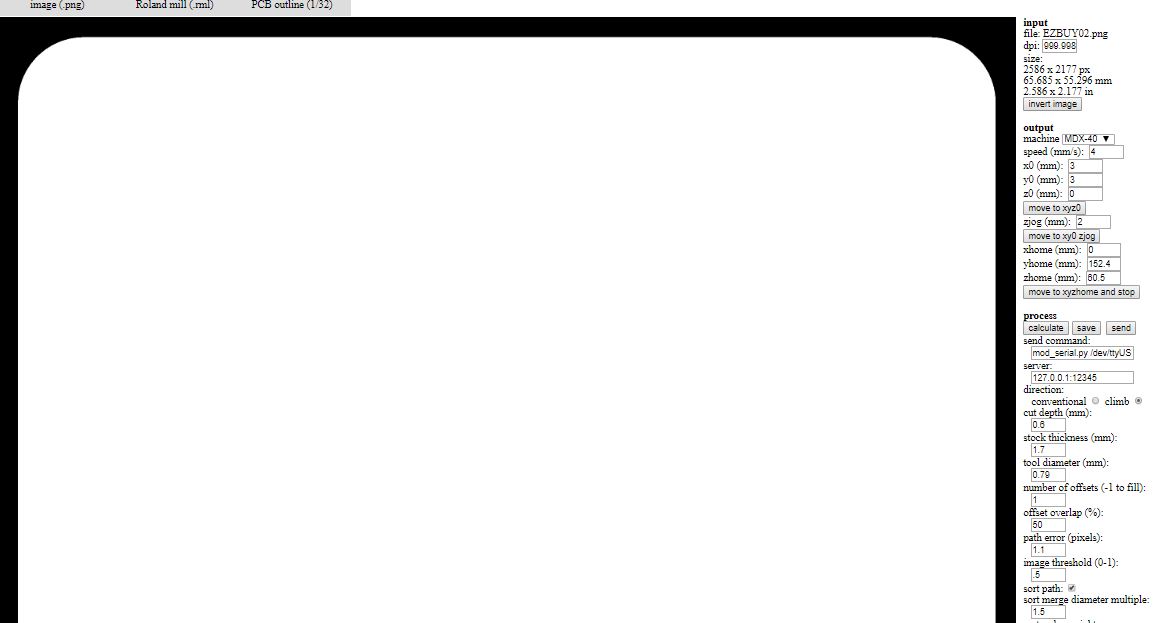
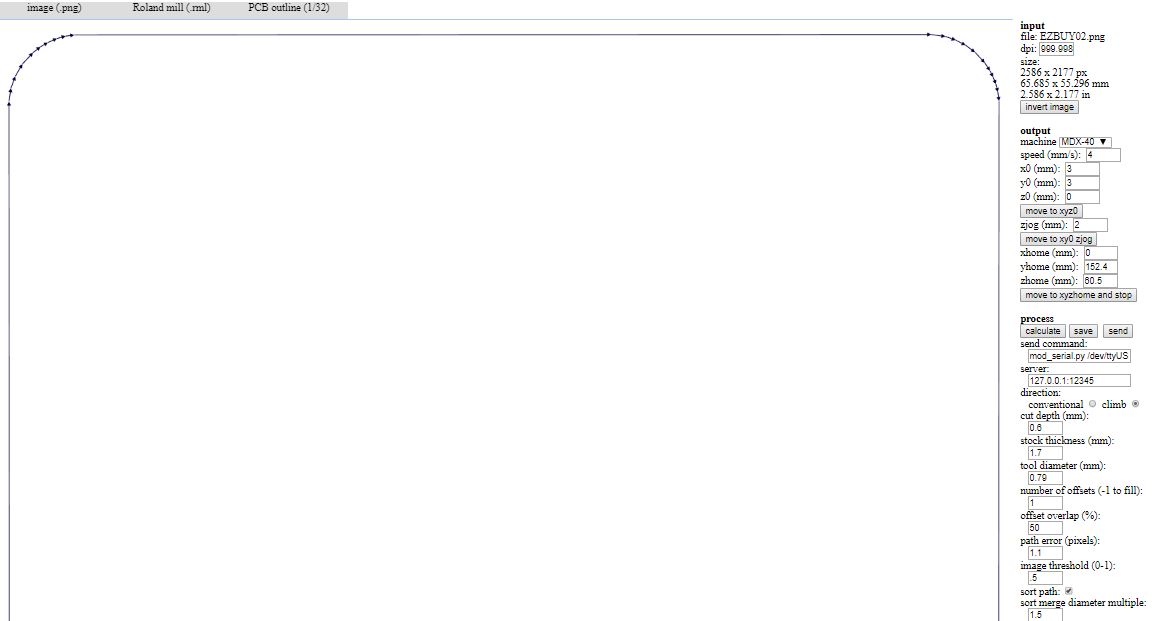
FILES TO DOWNLOAD
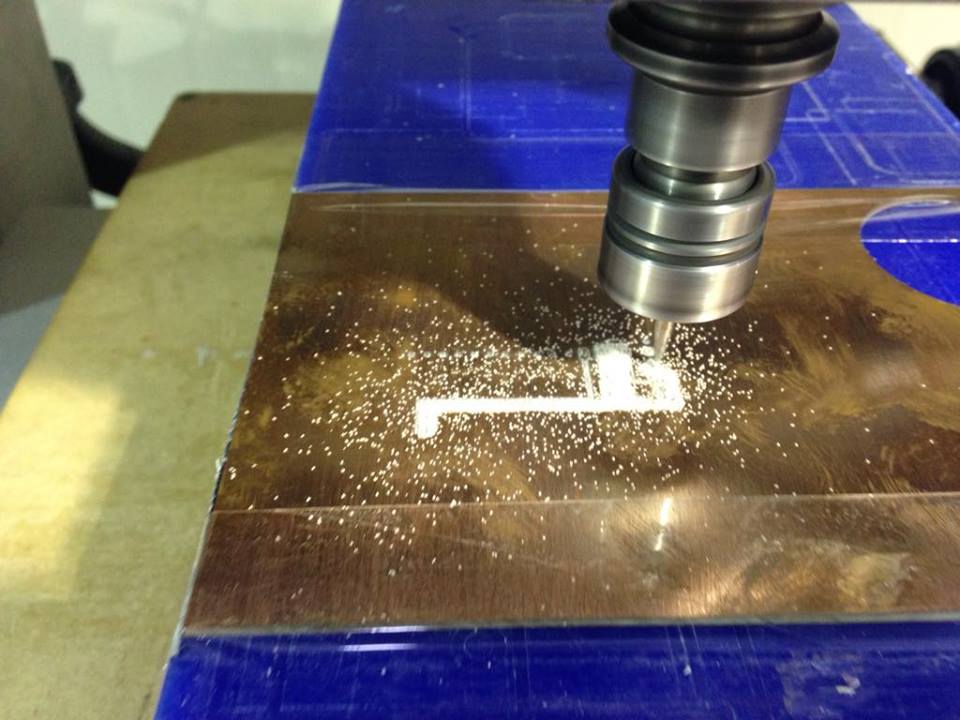
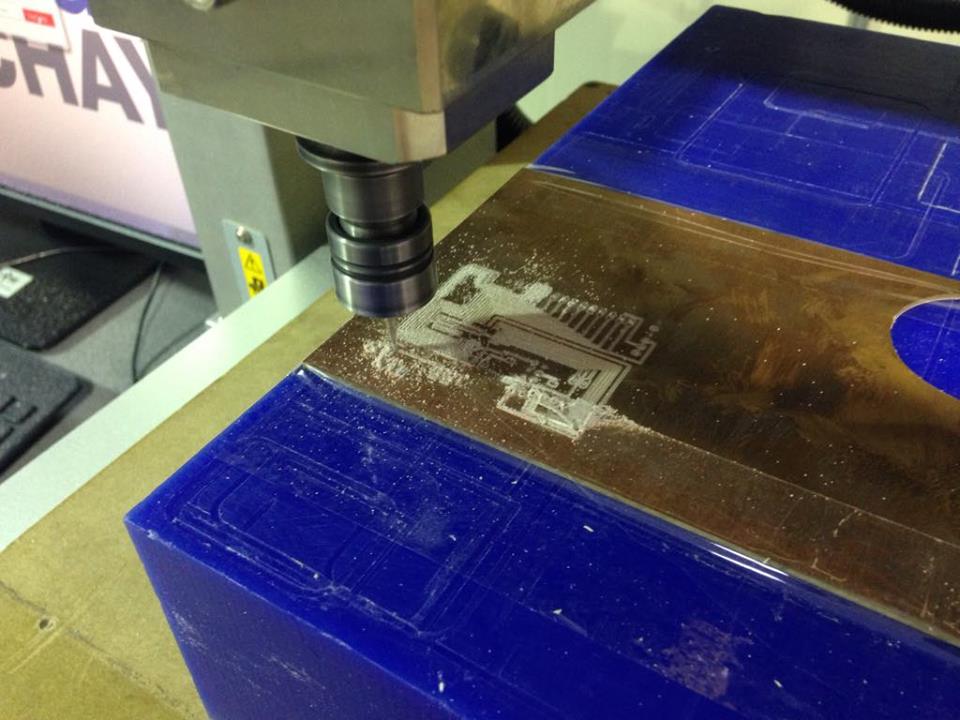
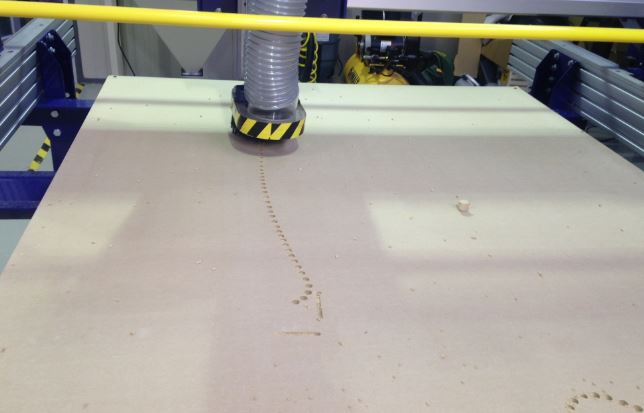
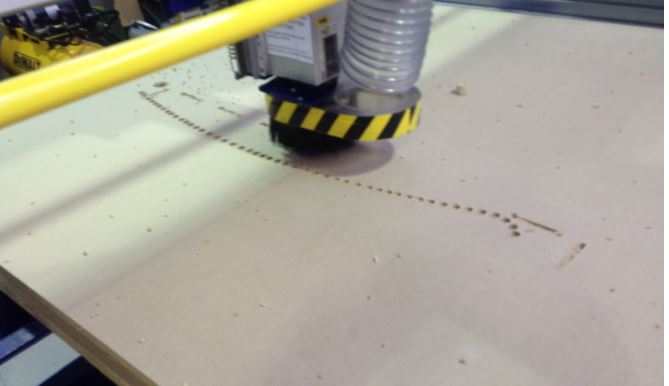
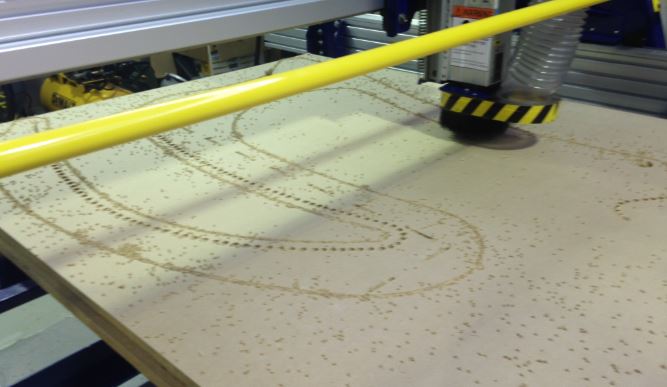
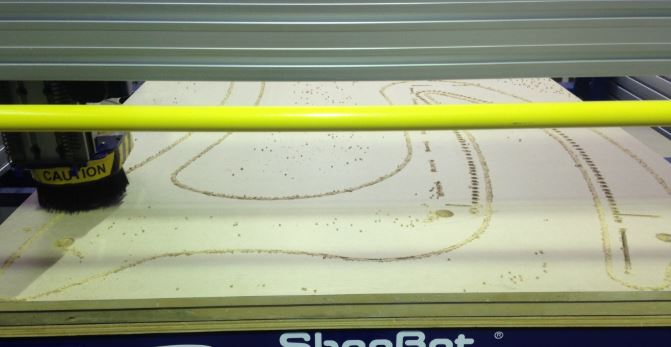
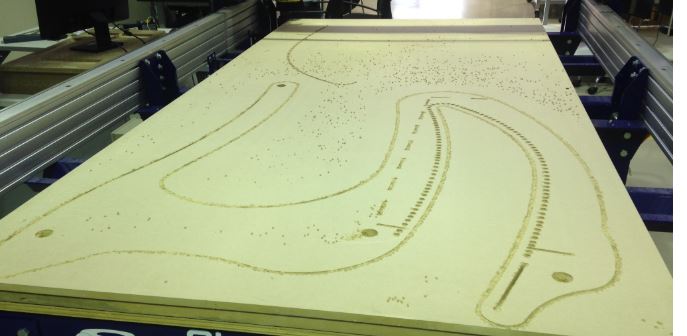
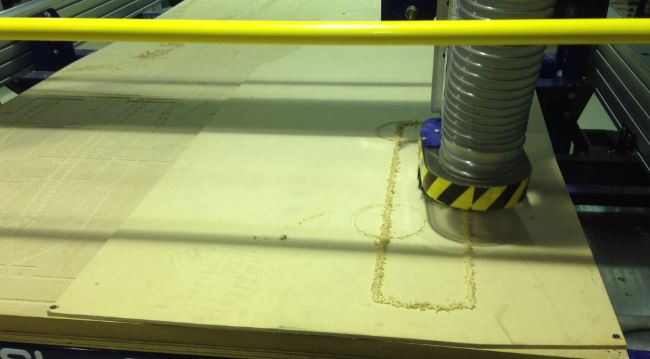
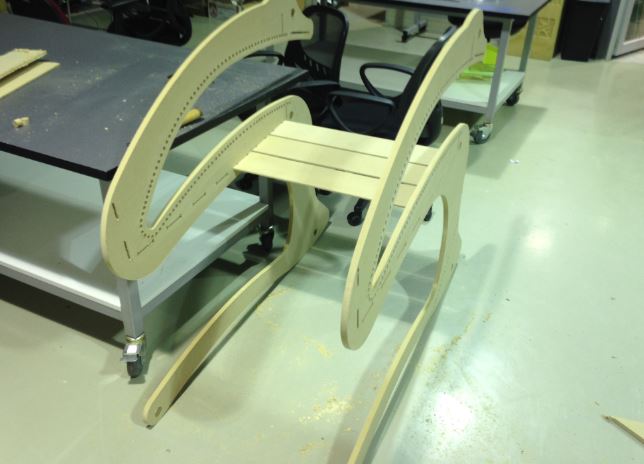
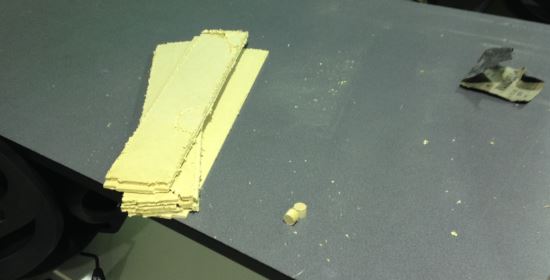
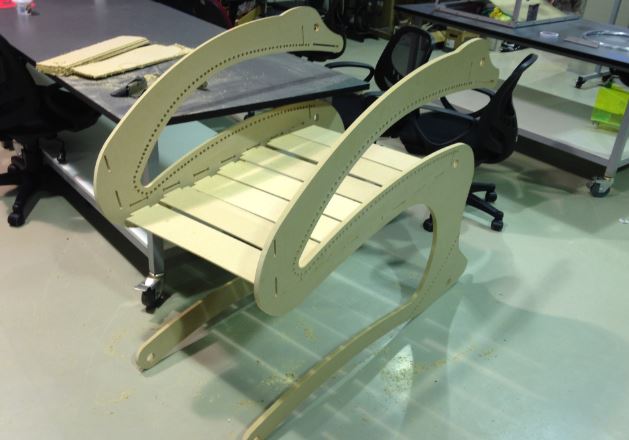
From the machining activity, I have obtained some important skills for the development of the final project structure, such as the use of additional perforations in the internal corners of machining, configurations such as the step, speed of displacement, configuration of the screw, considerations of cutting According to the material and other observations, to deepen the topic, I invite you to visit the week Computer Controlled Machine to delve into the subject.
Next, the photo record corresponding to the machining activity of parts of the final project is shared
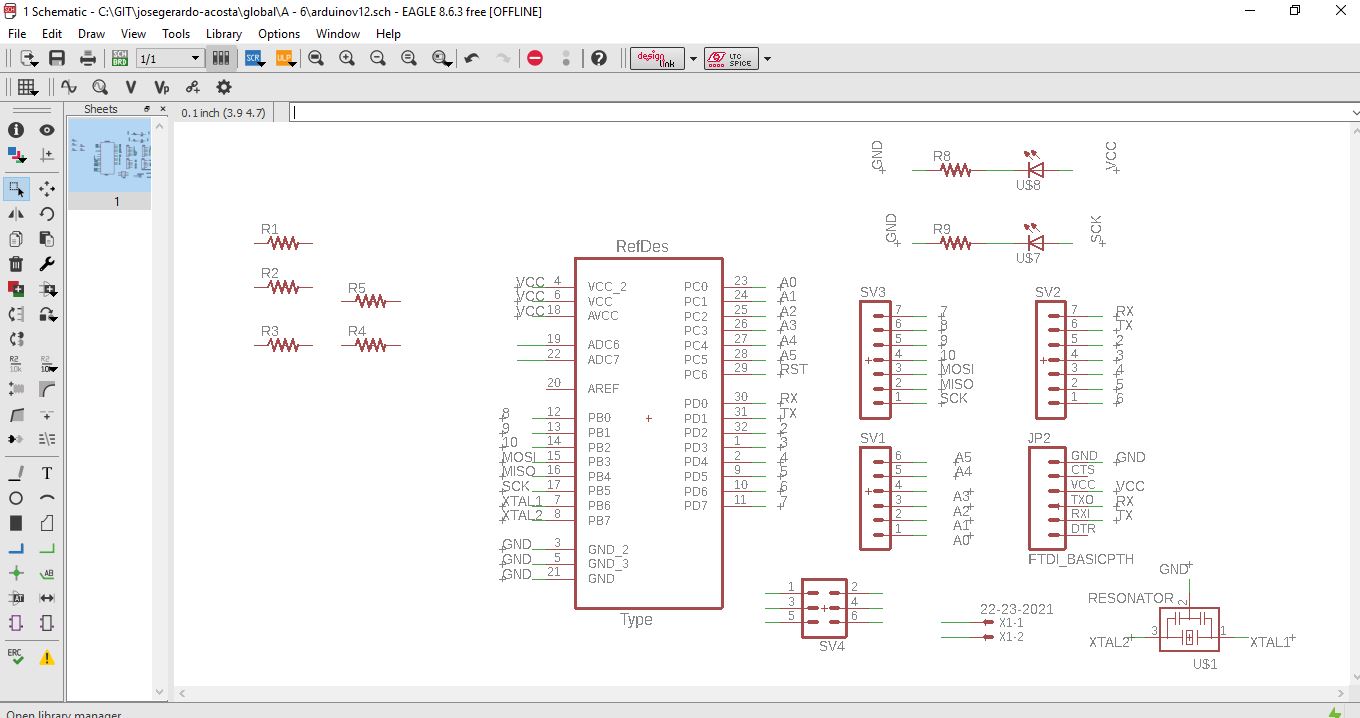
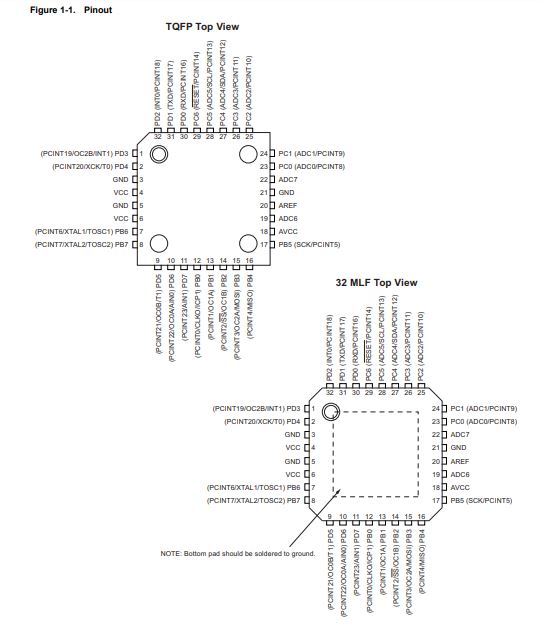
For the development of the program that I will charge on the electronic board of the project, it is important to identify the microcontroller that will be used, the most useful microcontroller according to the number of pins that will allow me to connect to the input and output devices is AVR Atmega 328p AU from ATMEL MICROCHIP
For the development of the program I will use the Arduino IDE program interface, which I share below:
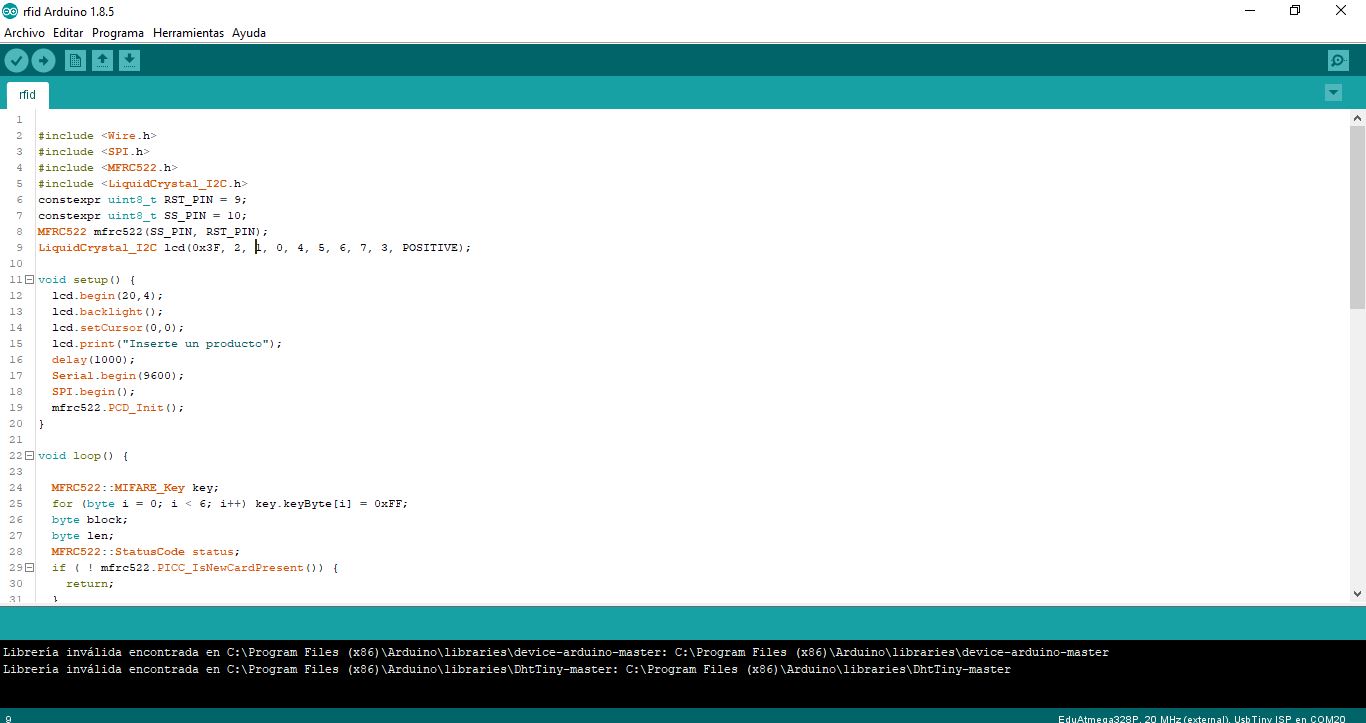
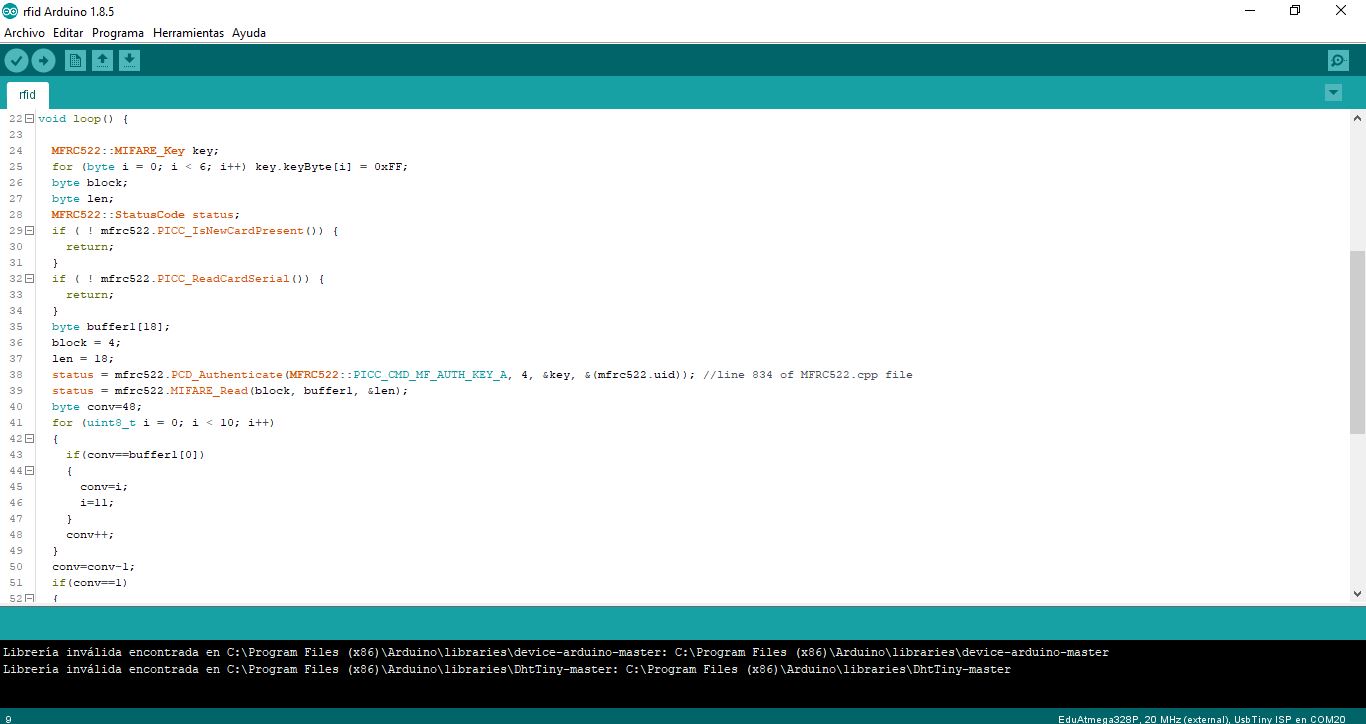
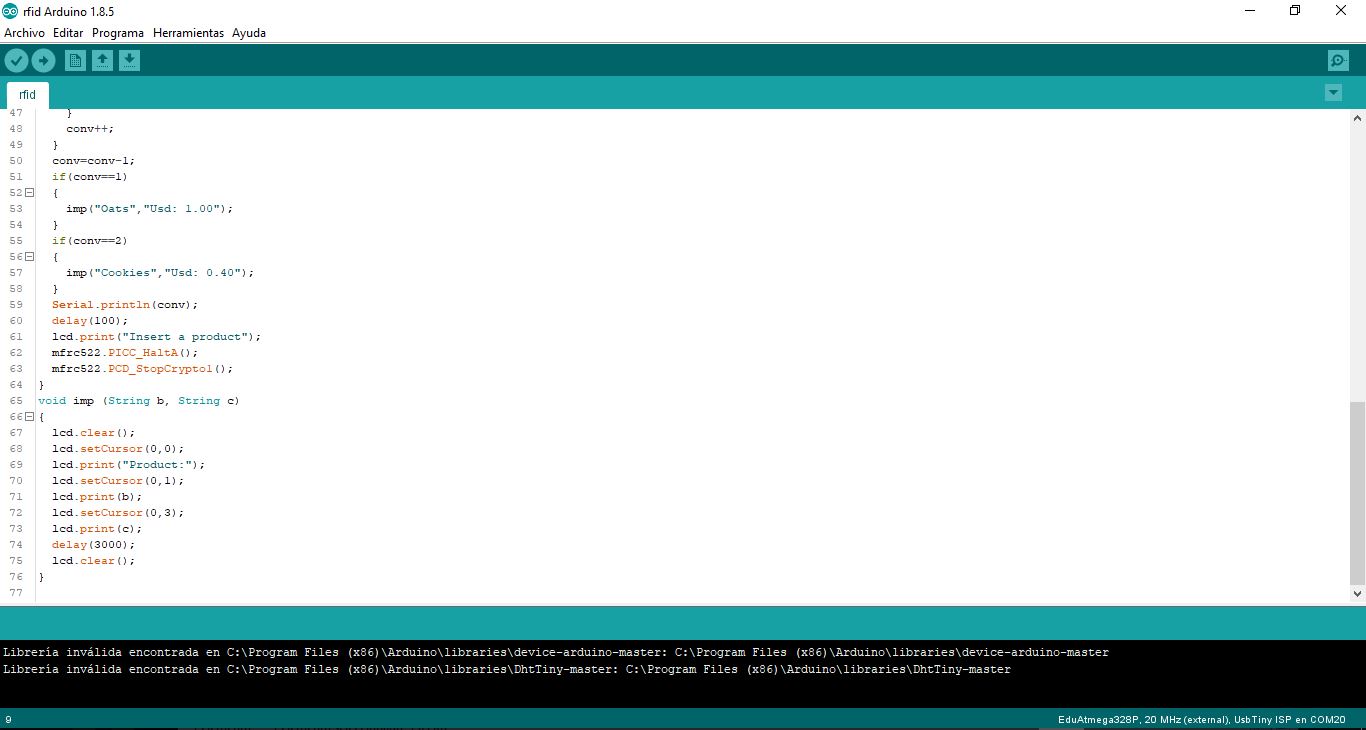
FILES TO DOWNLOAD
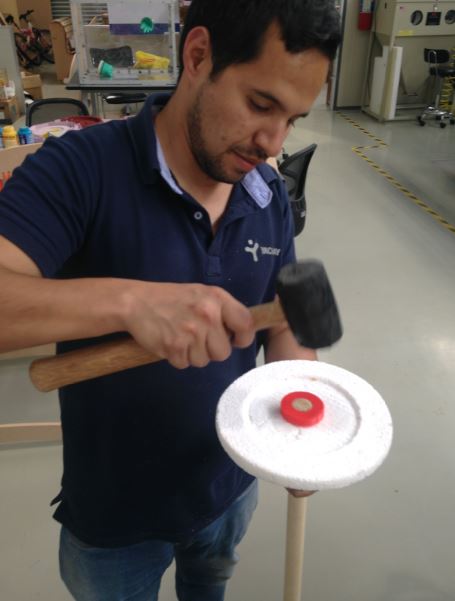
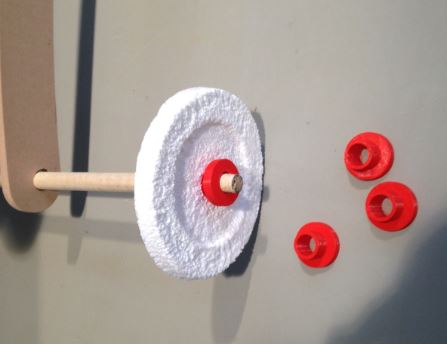
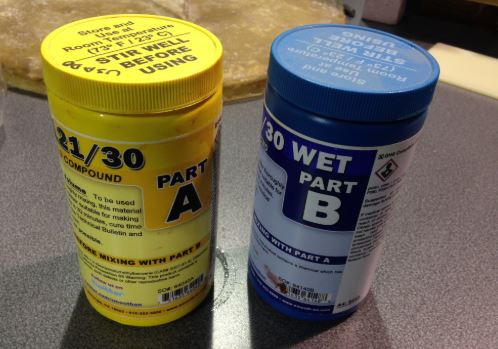
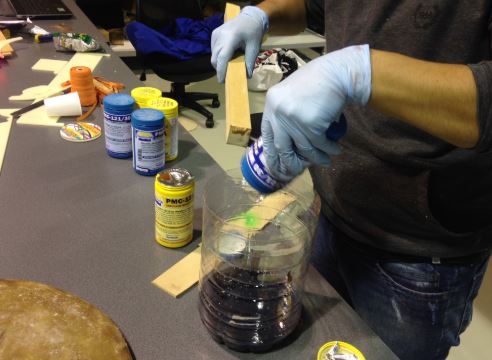
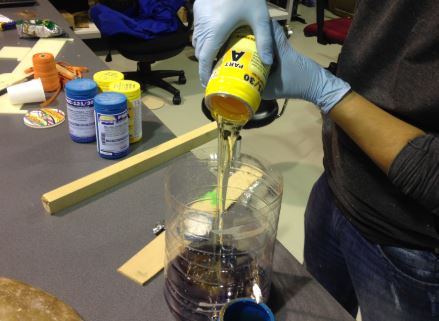
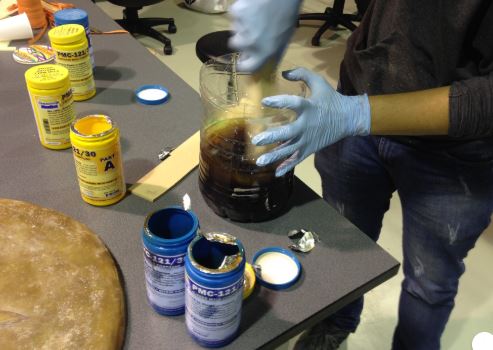
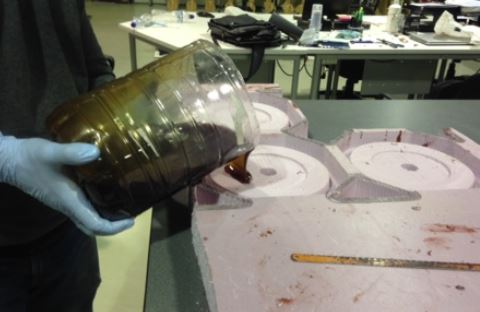
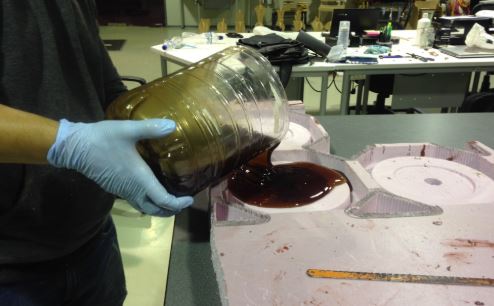
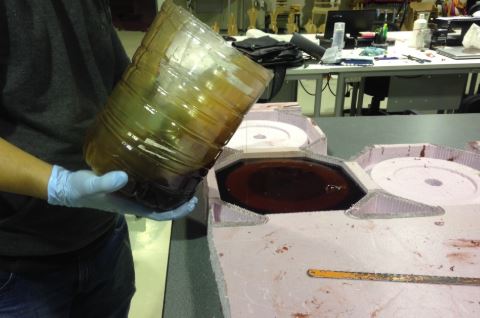
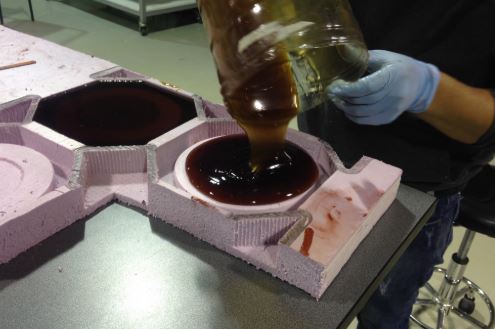
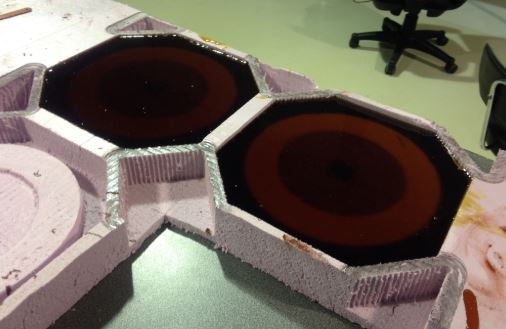
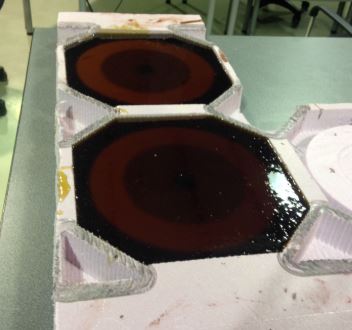
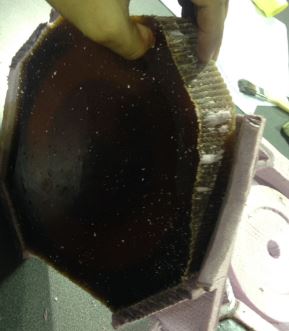
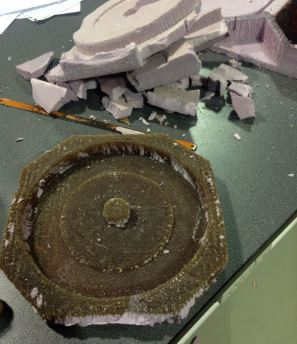
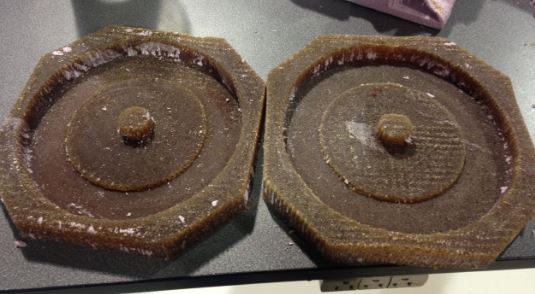
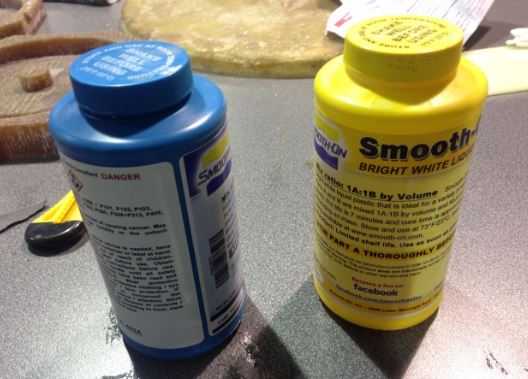
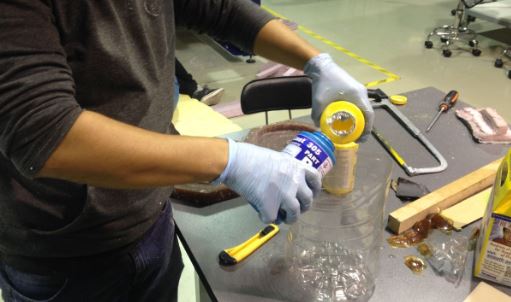
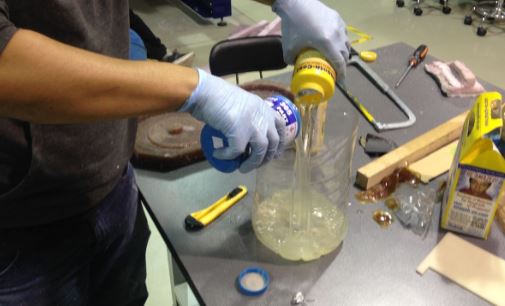
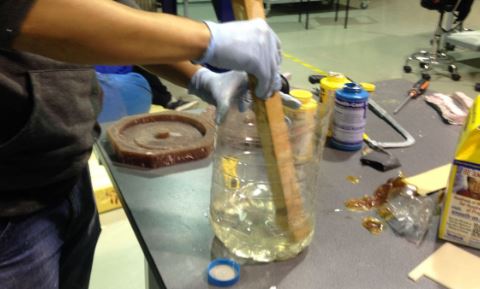
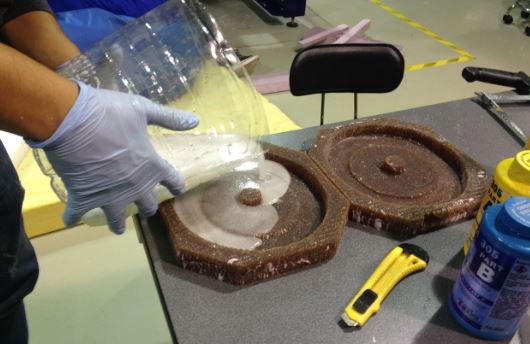
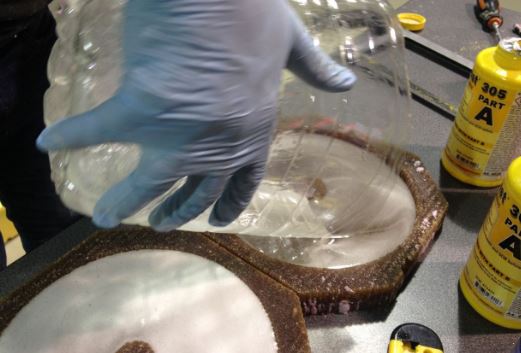
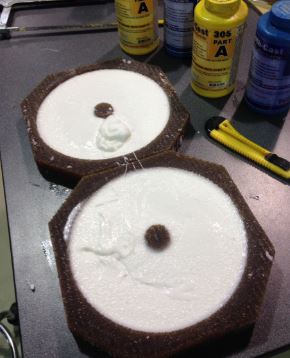
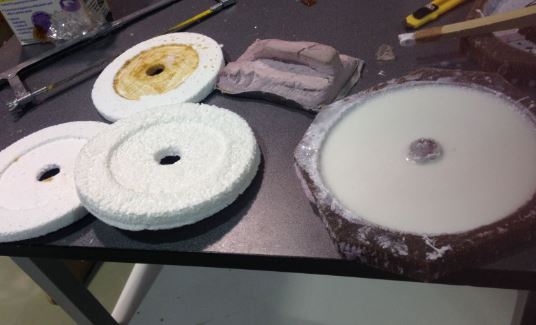
From the experience gained in the week of molding and casting for the development of the final project I developed the main mold in pink foame, then with a flexible resin create the flexible mold and finally create our products with plastic, more information is housed in the week corresponding to this activity

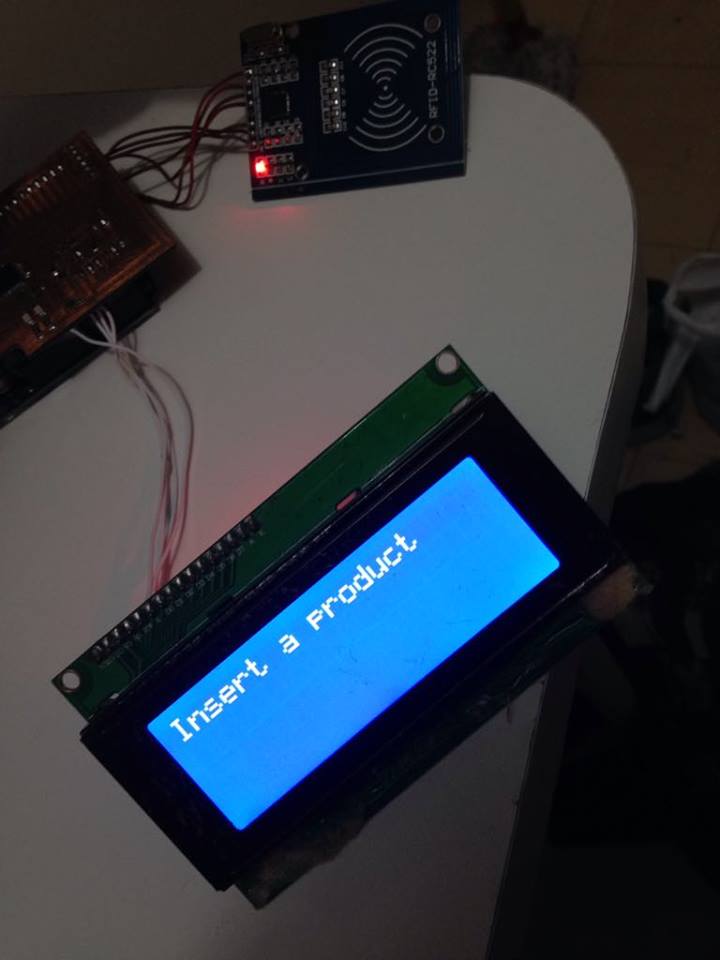
As an inputs in the development of this project we have the RFID tag sensor, with the RC-522 model and two identification tags attached to our electronic board. Whose operating datasheet can be reviewed in the following link also I share a tutorial for newbies to help them connecting the device to our boards, click here to access to the tutorial

As a recomendation, The power source to connect to the device must be 3,3v, if you give it 5v or more, it could be have problems.
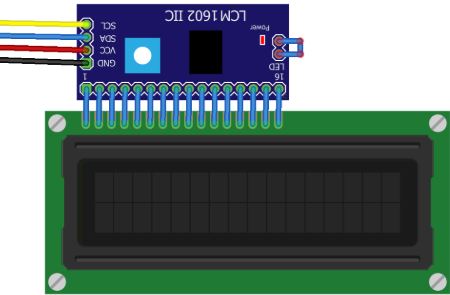
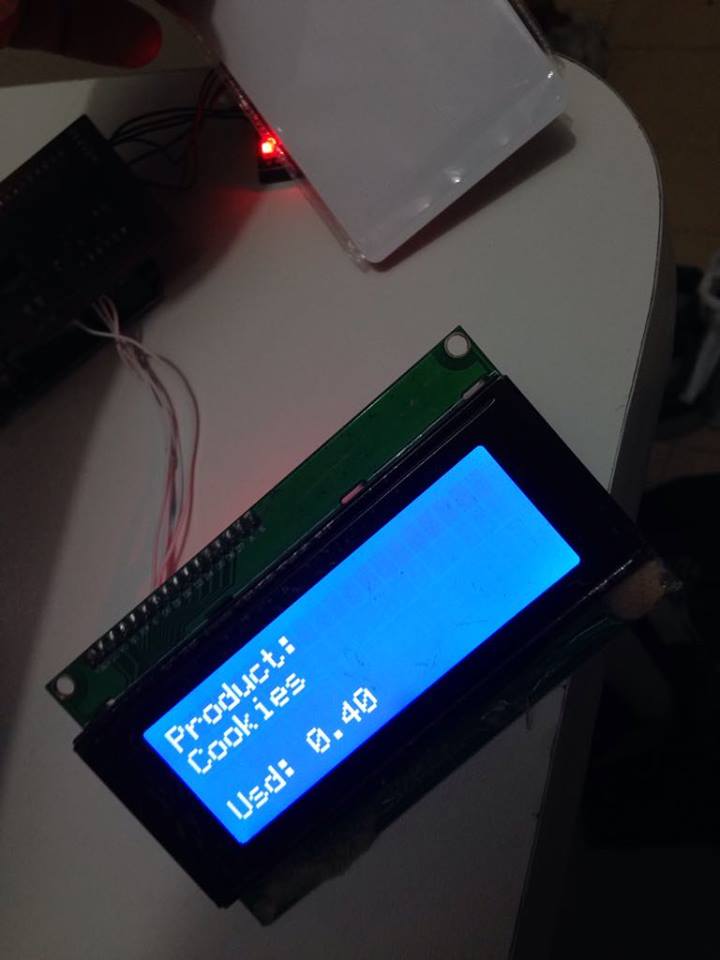
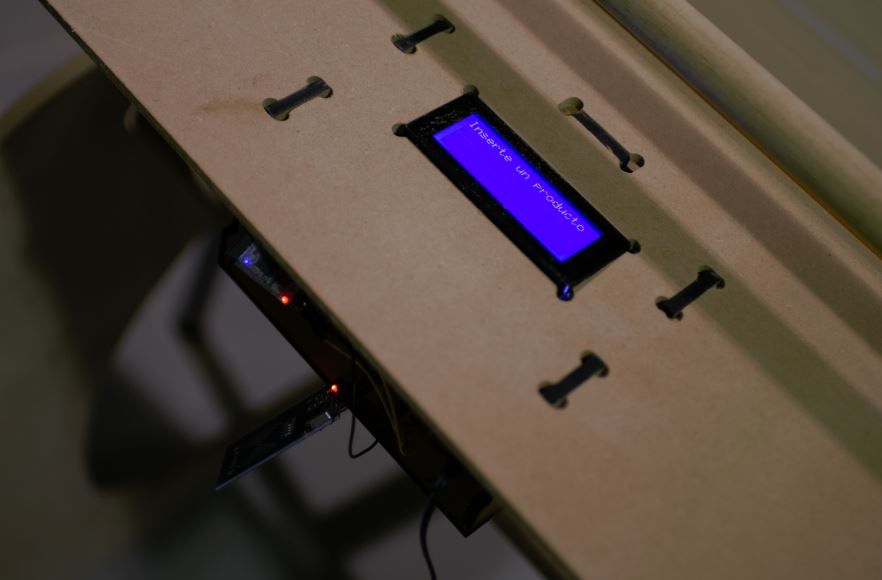
So as an otput, I will work with a LCD Display 2004 with a I2C Module, This is important becouse it lets us to use just 3 PINS to show our messages on the screen.
Here I share the LCD 2004 Datasheet that I´m going to work with, please click here to download, this element is an output devide, and here I share the datasheet of the I2C module for the LCD 2004 Display
When we connect certain sensor and actuator devices to our electronic boards, pre-configured libraries are required so that the elements work without any problem, which allows the full functionality of our project, the elements with which we are going to work require libraries for its operation, which are detailed below:

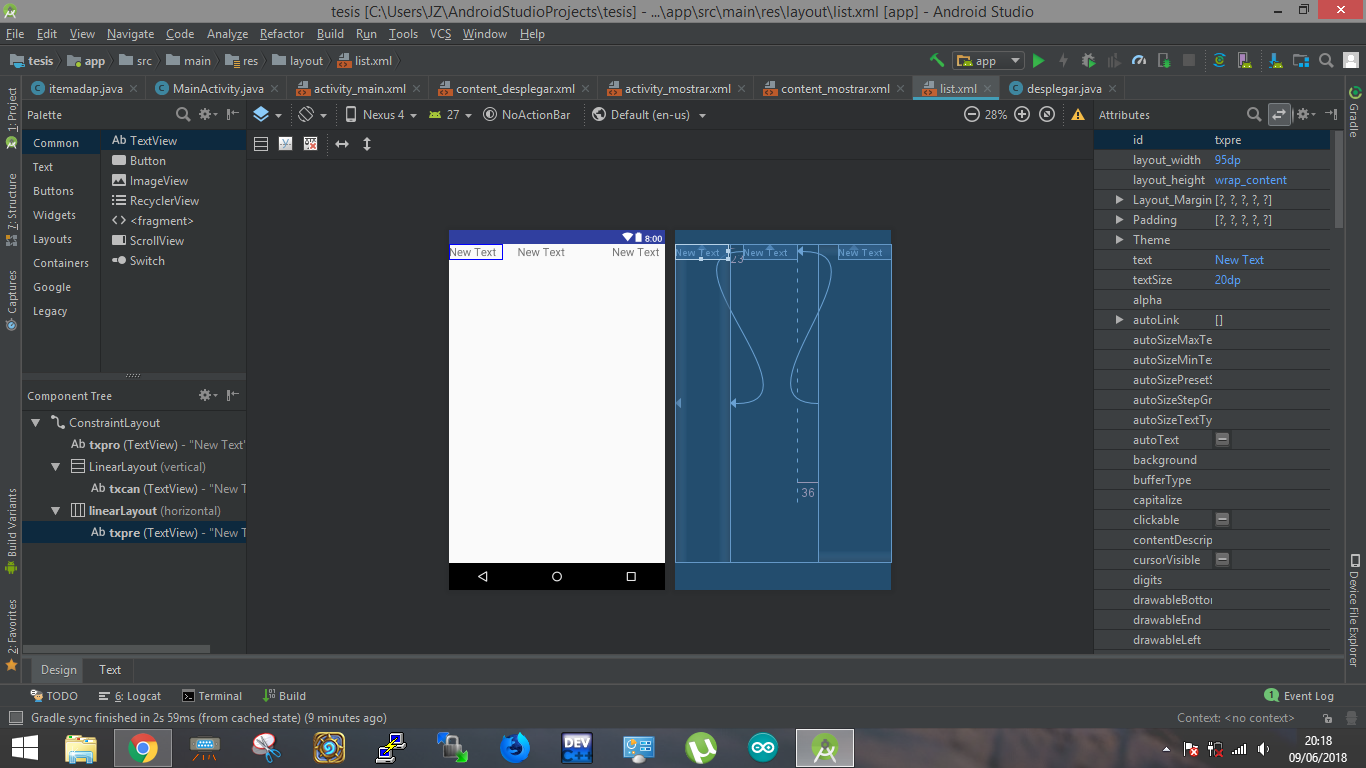
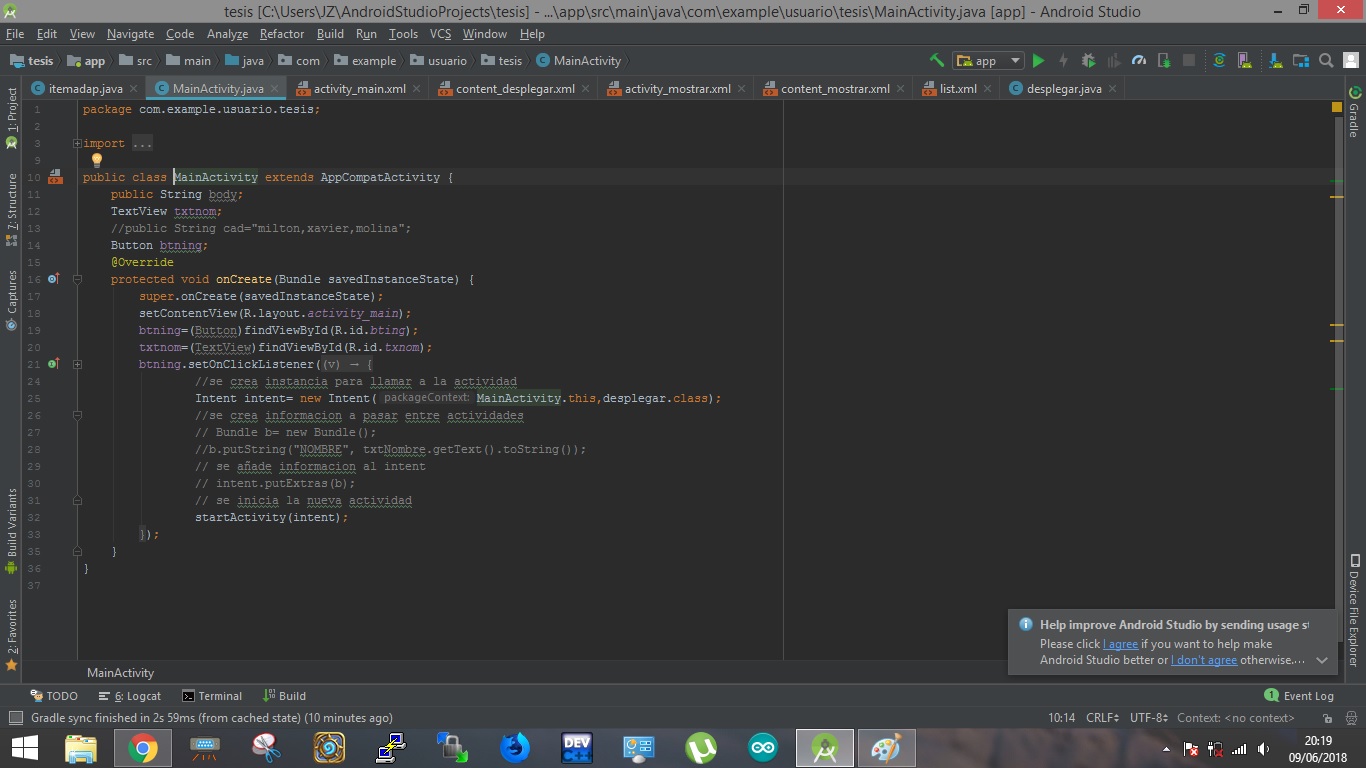
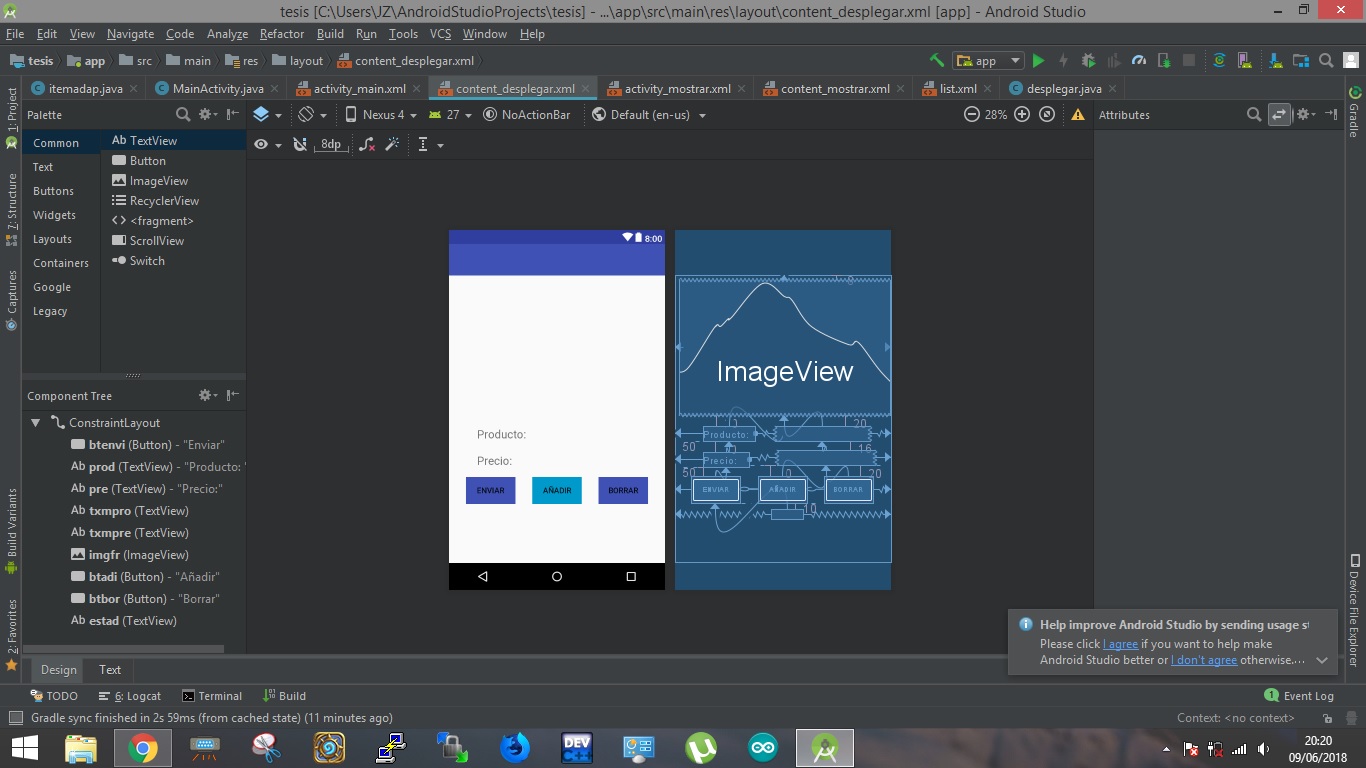
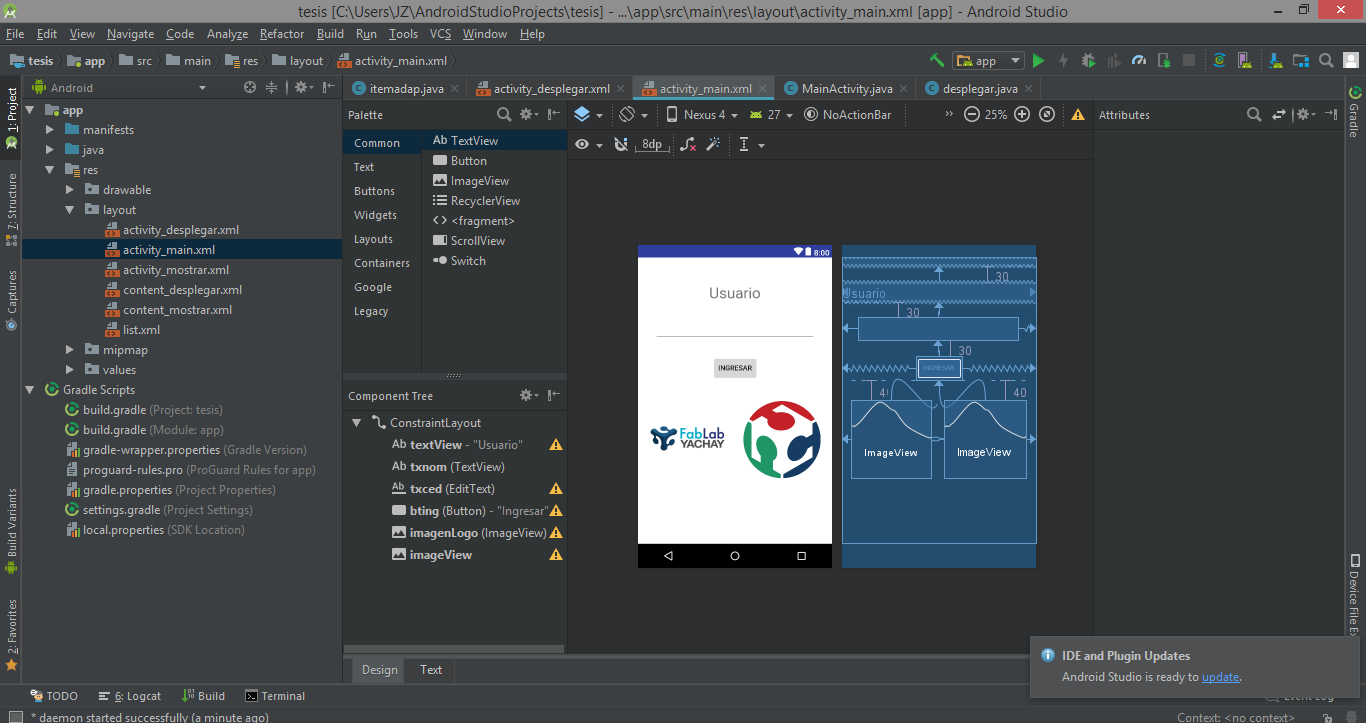
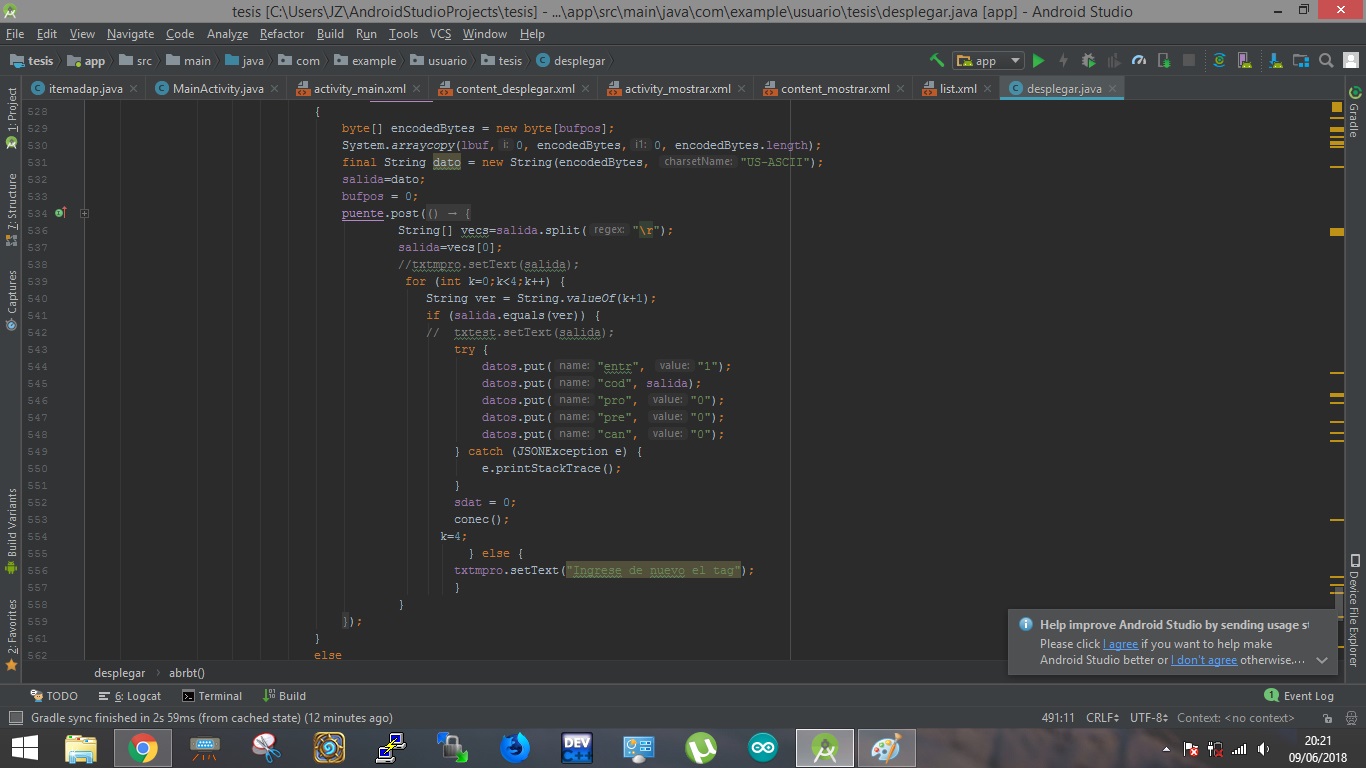
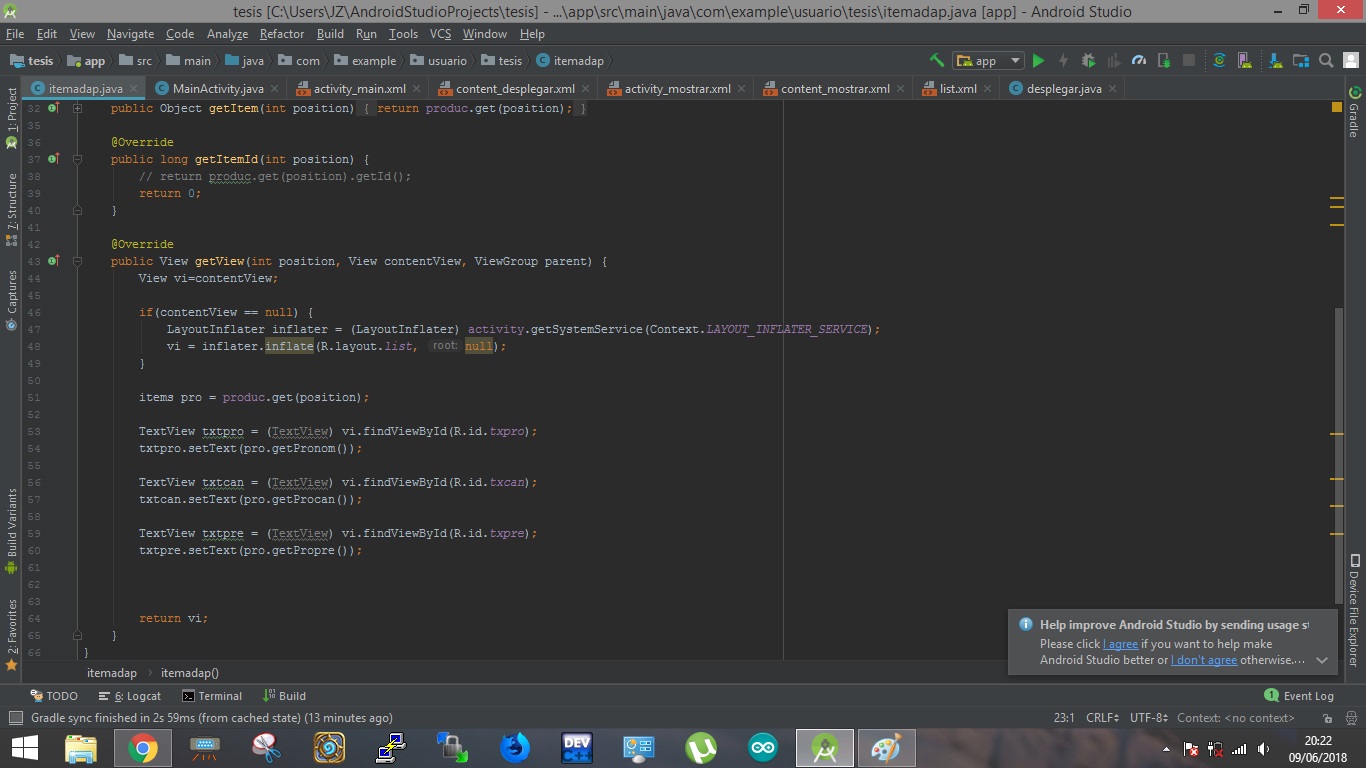
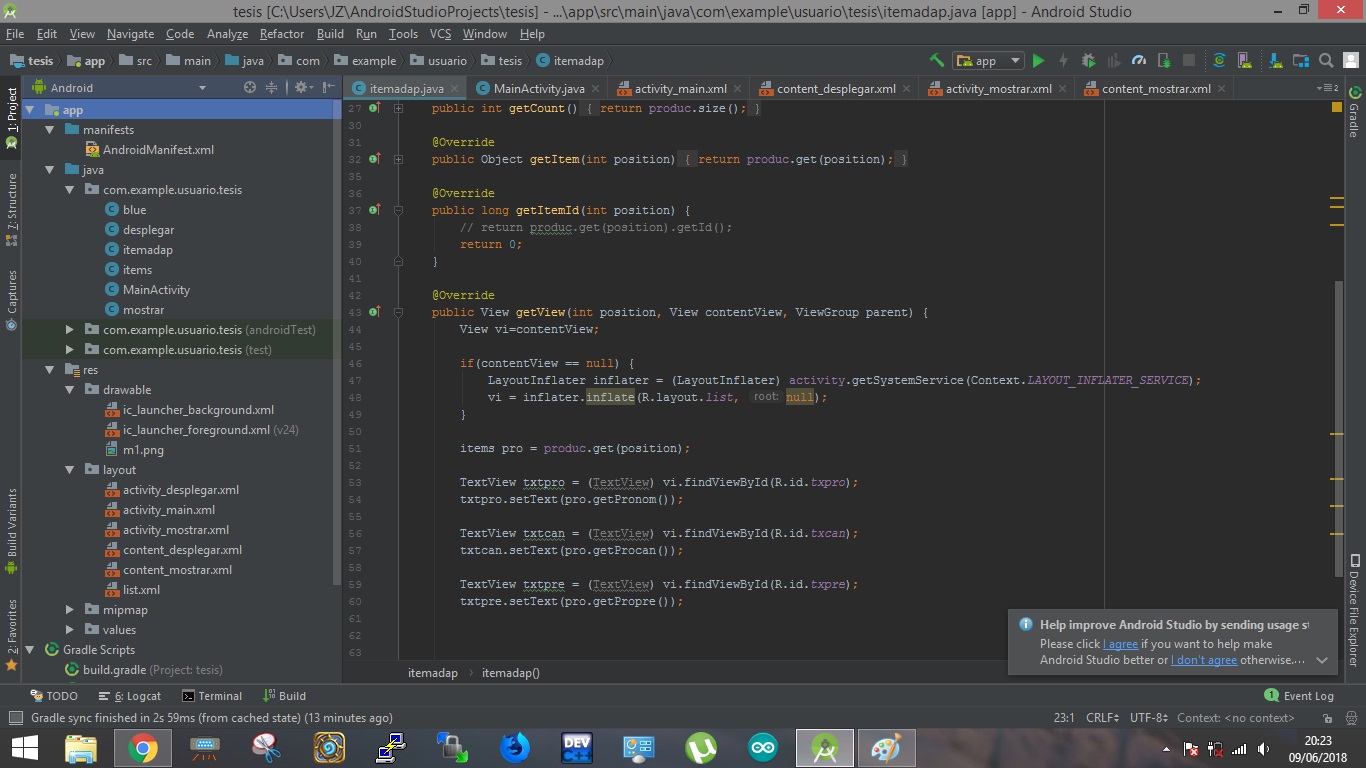
ANDROID STUDIO
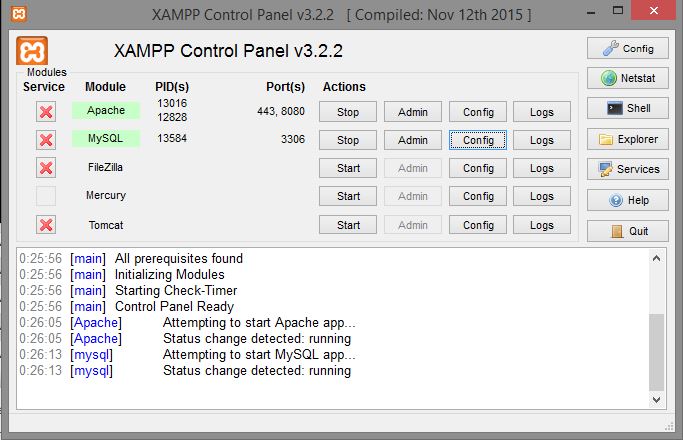
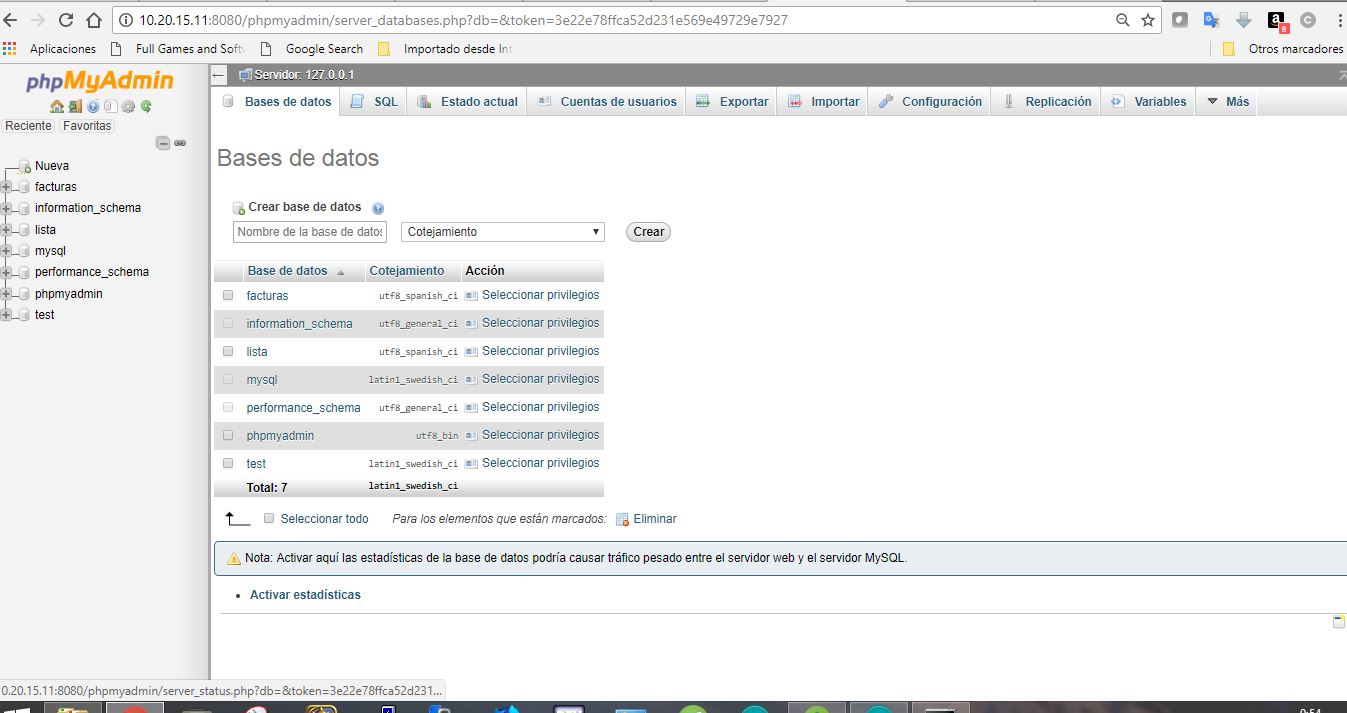
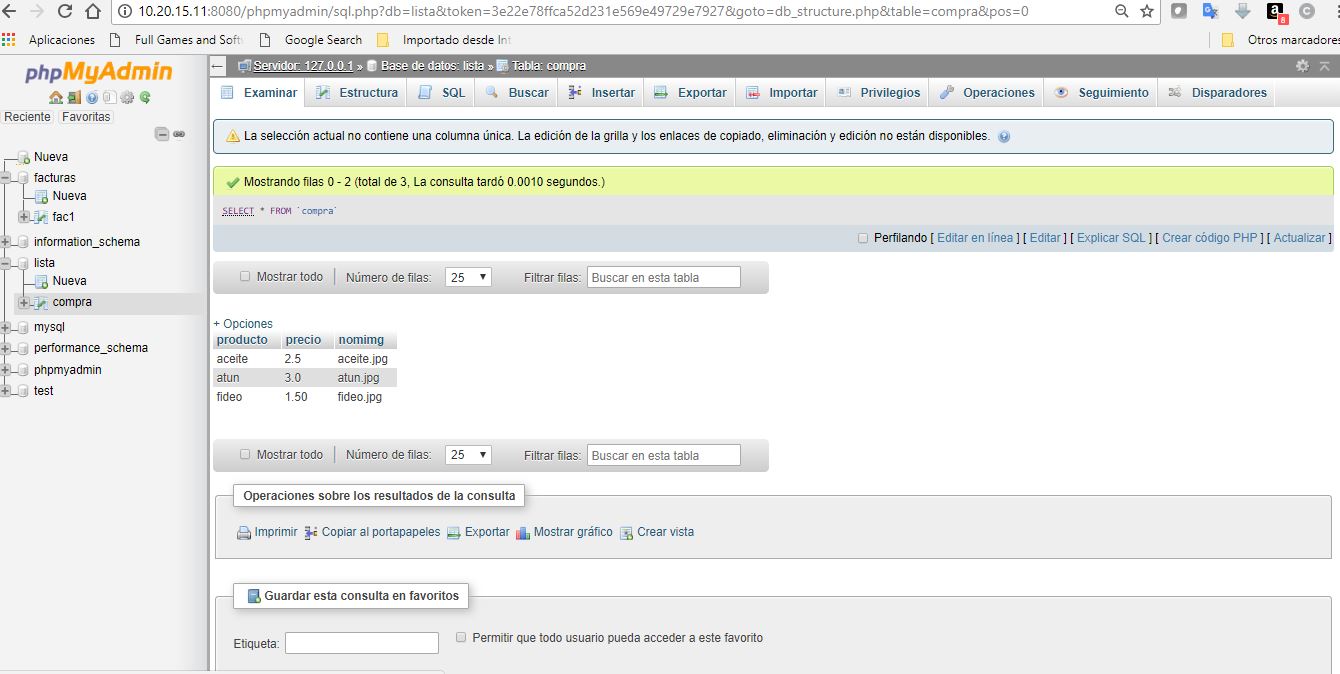
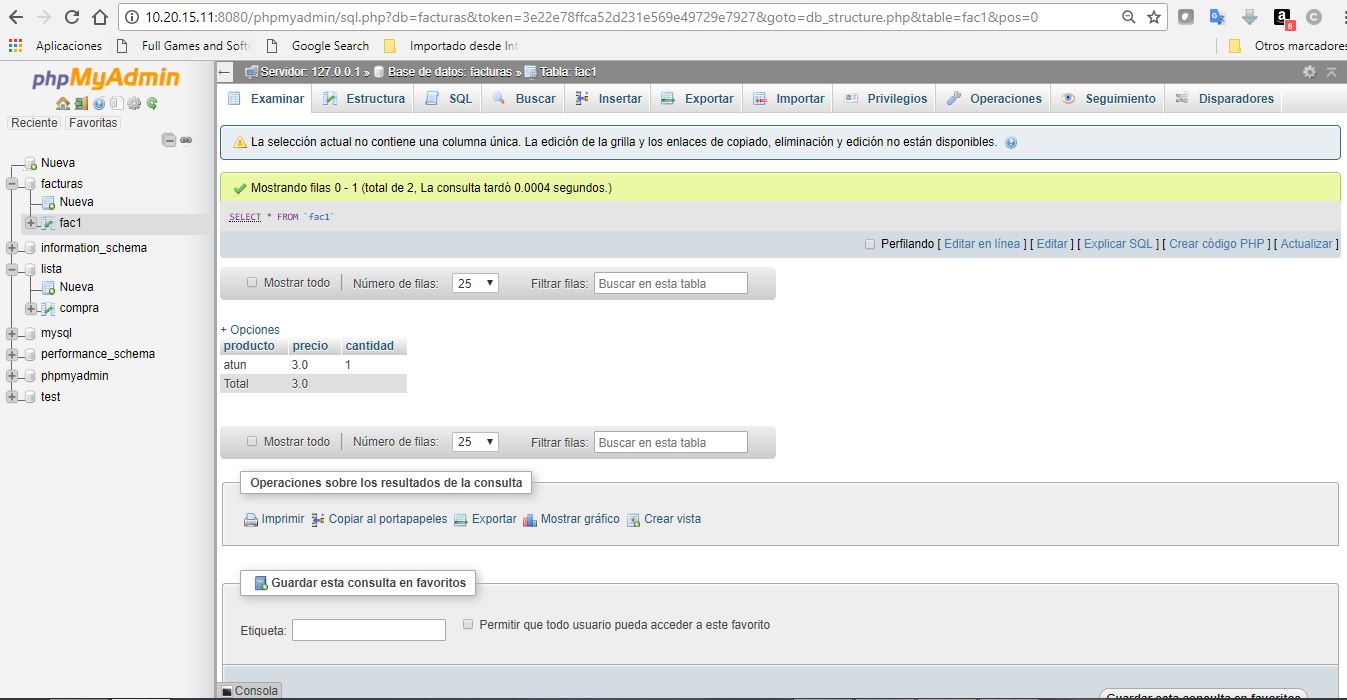
PHP MyADMIN
FILES TO DOWNLOAD
Some tasks that do not reach to ask for support to the work team in exchange for support in activities they need, this in order to achieve conclude activities pending in the time indicated.
During the last weeks, the Yachay work team, has advanced the activities with a triple day of activities, we have dedicated ourselves to the development of the pending activities in a schedule of 24 consecutive hours during the last 3 weekends, where it has been accentuated the friendship and commitment of the participants for the completion of the program
Developing for a long time in a row can cause problems of stress or fatigue that can be solved with recreational activities during planned times so that the activity is executed in a better way, without stress and with the participation of the members of the laboratory team.
There are some aspects that have been strengthened after having followed the FabAcademy certification program, such as group work at the time of developing group activities. On the other hand I have strengthened the ability to create electronic boards in a CNC milling device and to perform the soldering process of SMD type devices.