In this assigment I am going to make a case for my hacked ukulele. For this, I am going to use fabric (tulle) embedded in a polyester resin matrix.
assignment
Design:
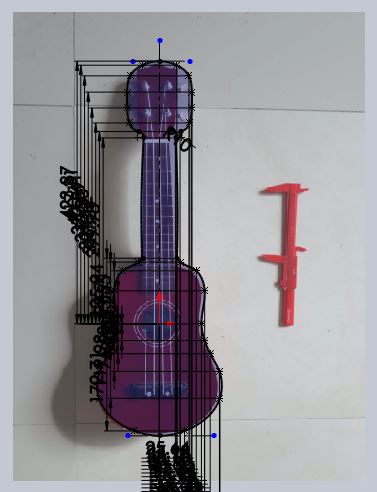
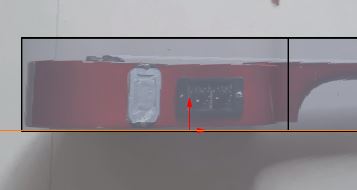
First, I took a picuture of my uki (ukulele), taken beside a dimension-known object, in this case, a plastic caliper.
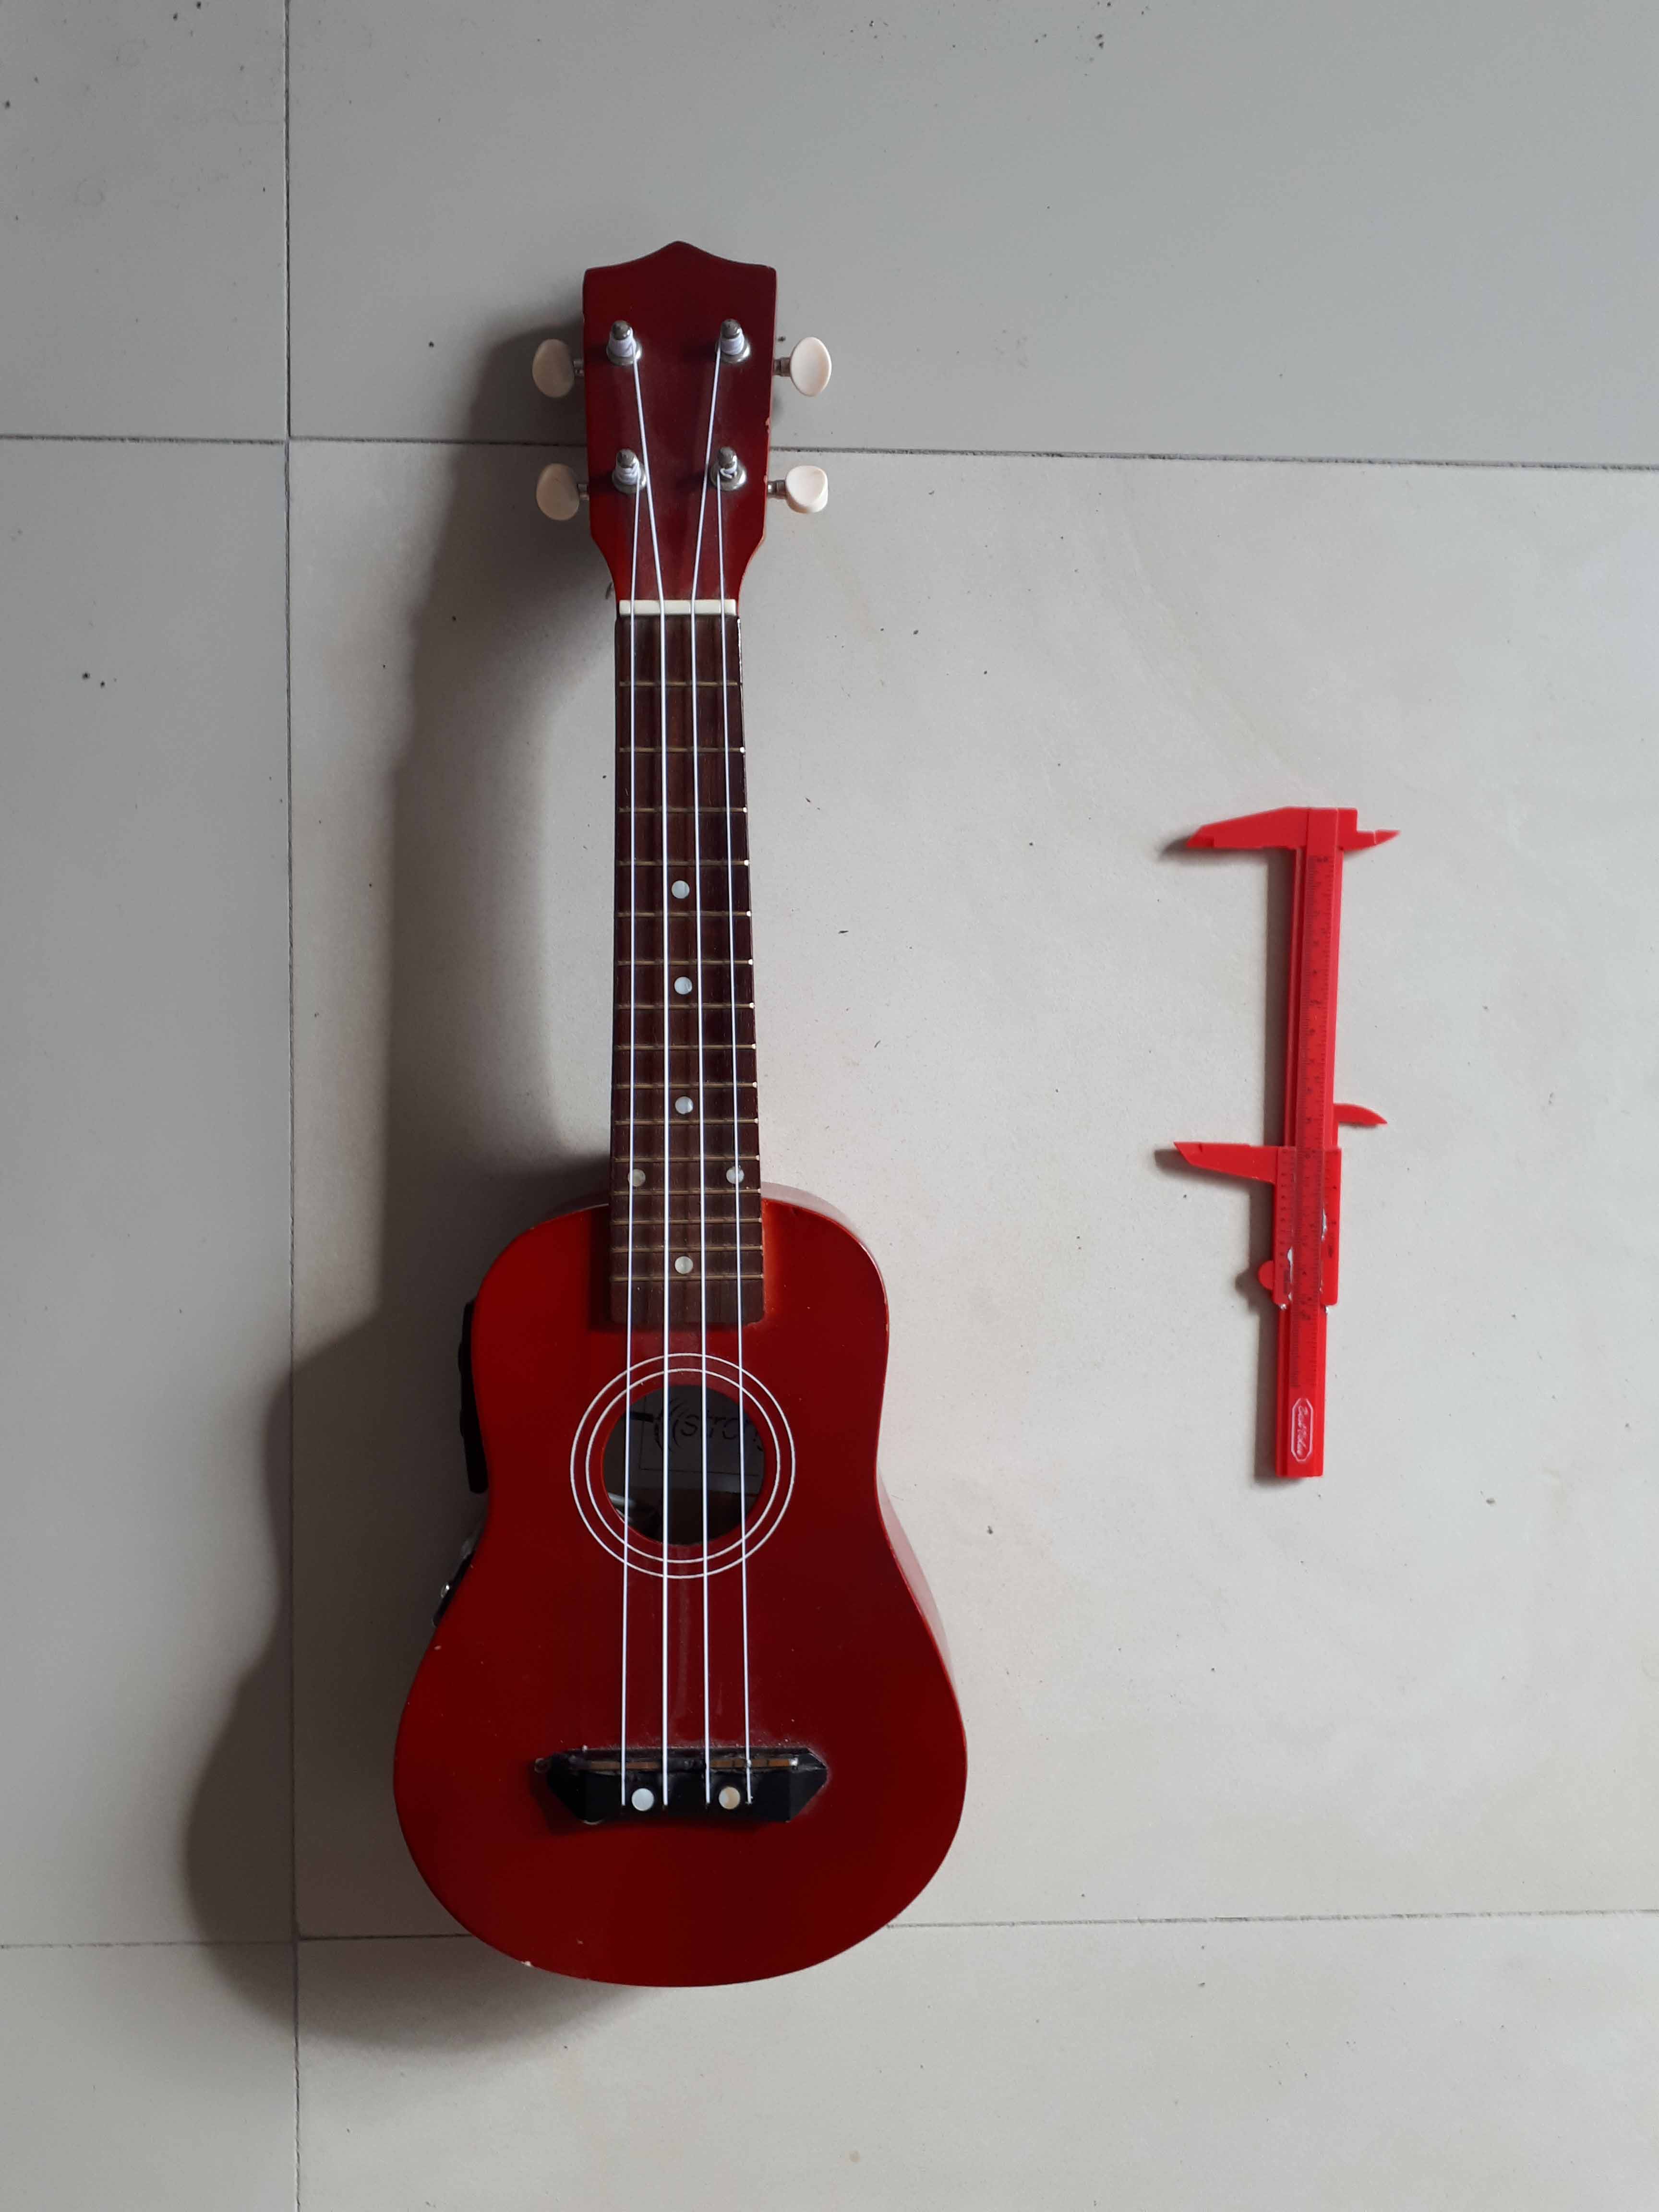
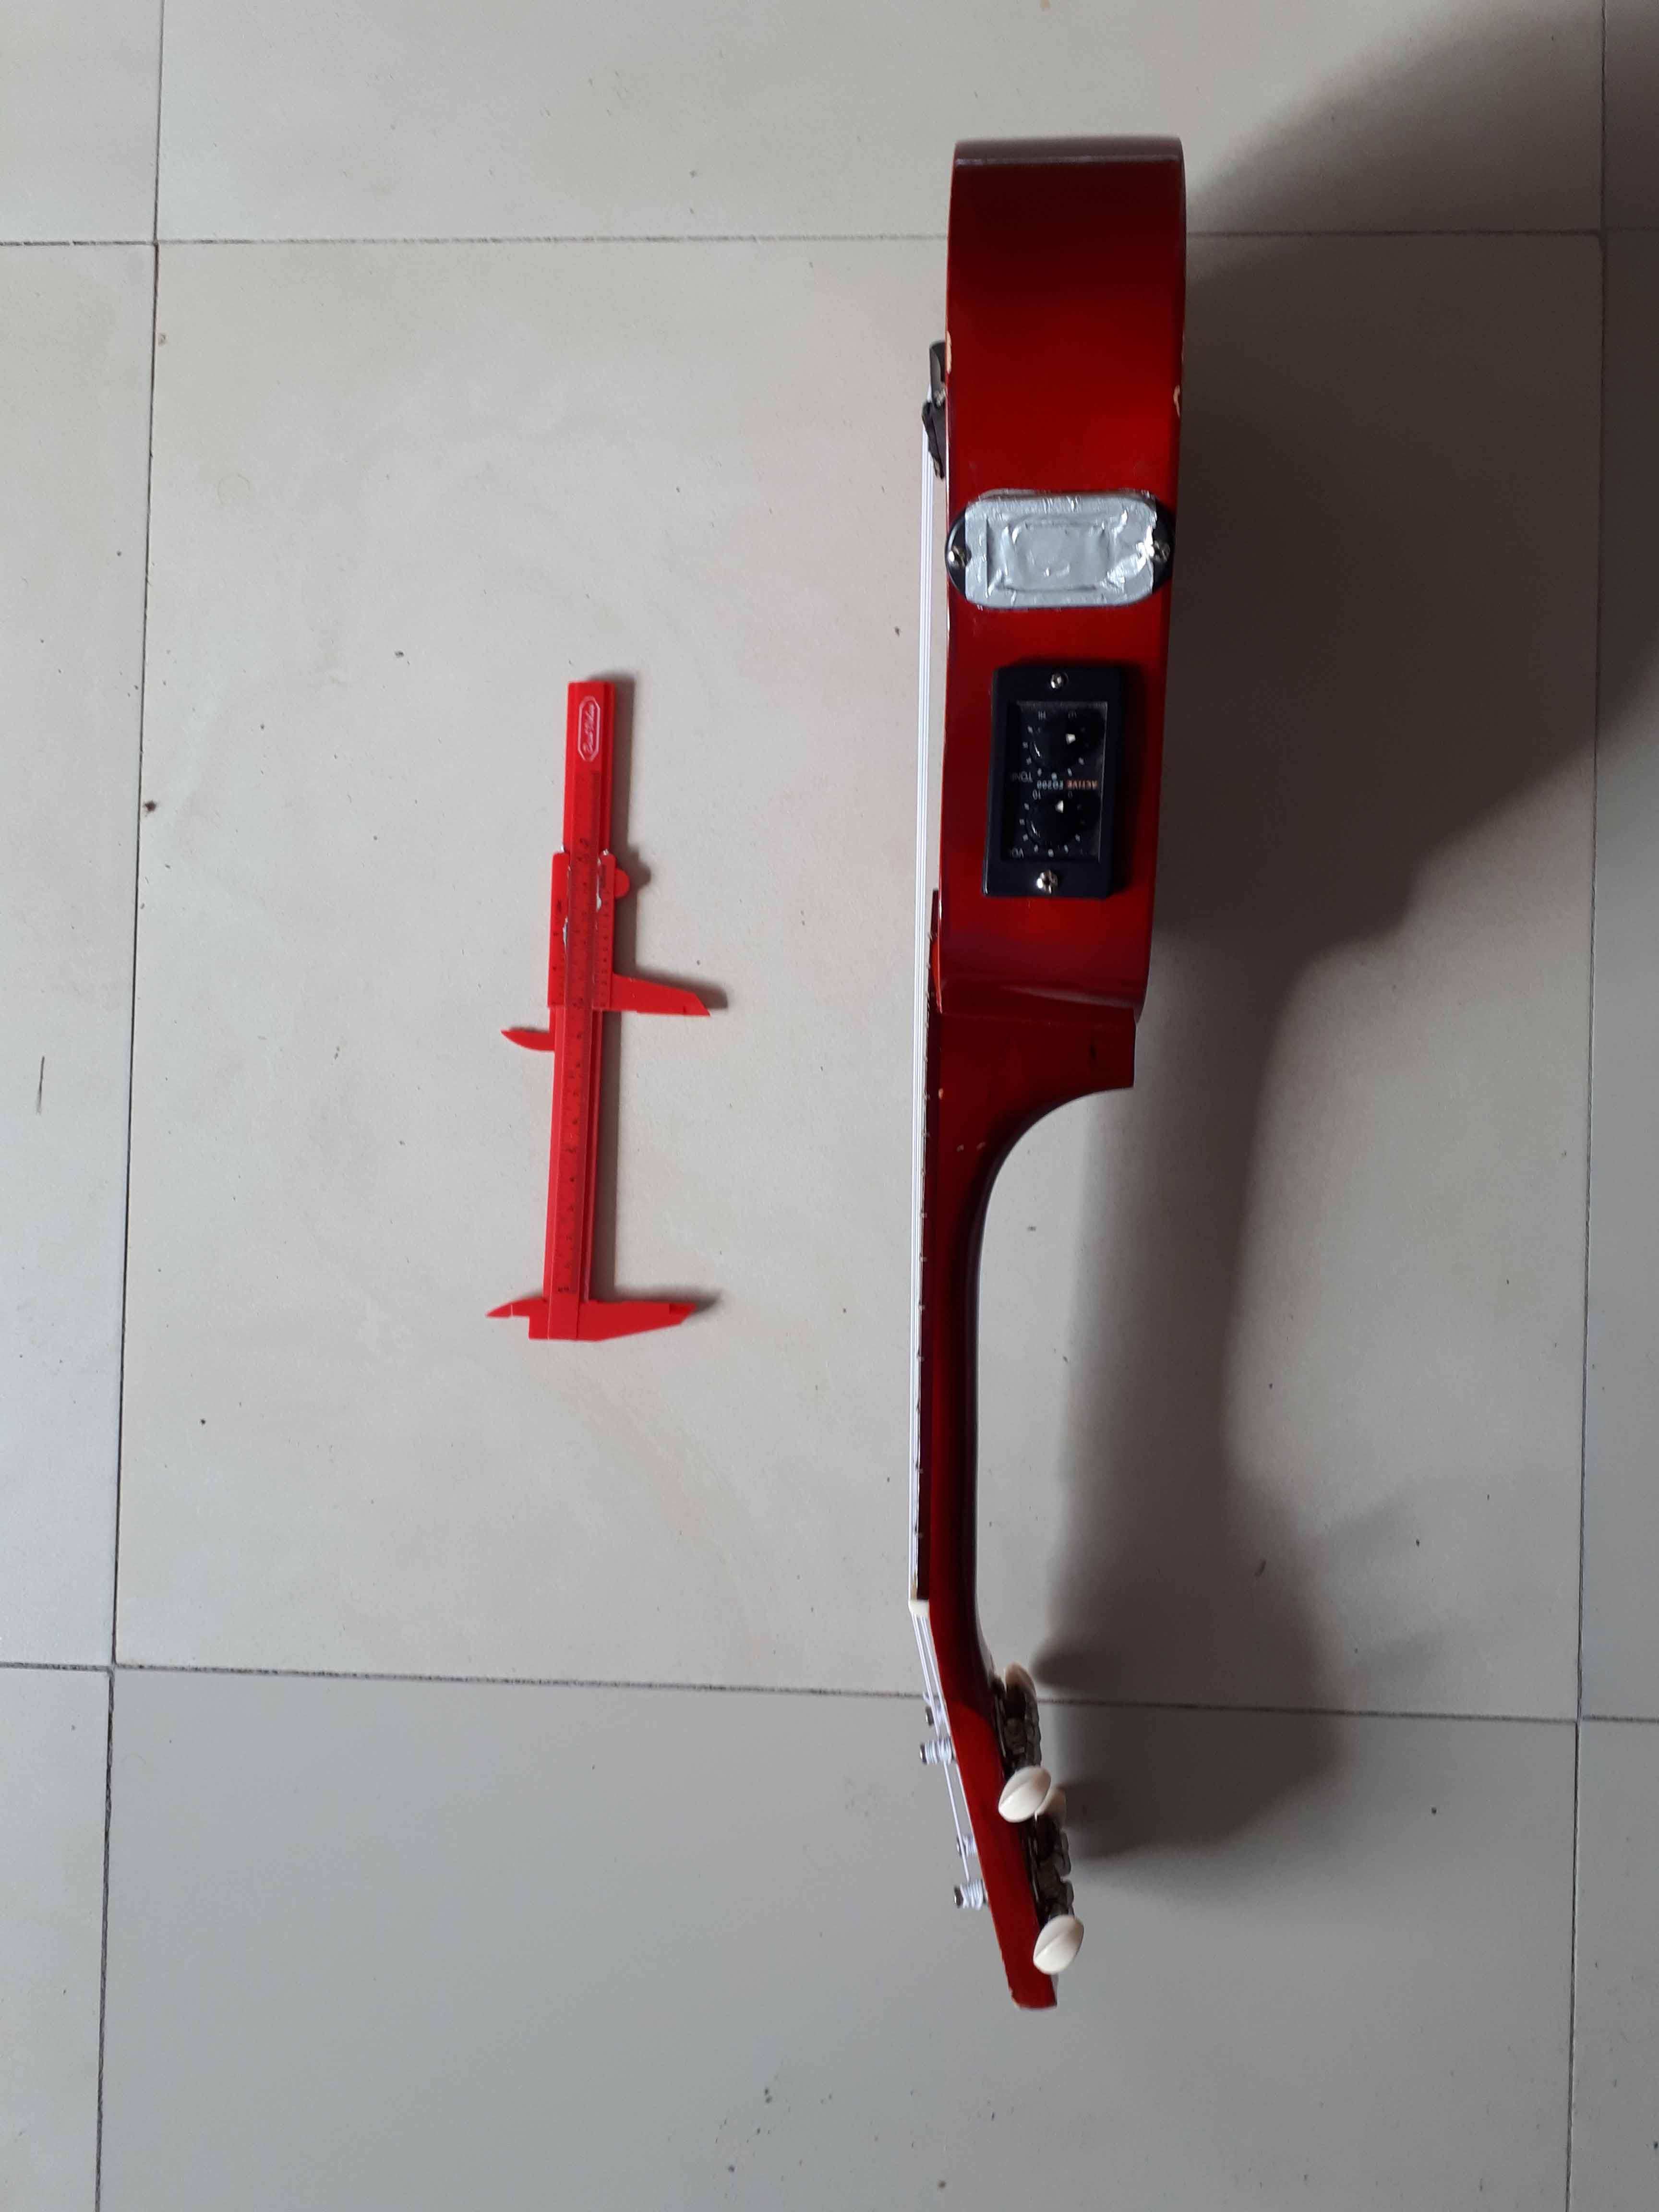
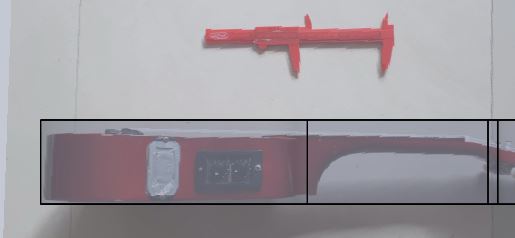
And we do de same for a side view of the object.
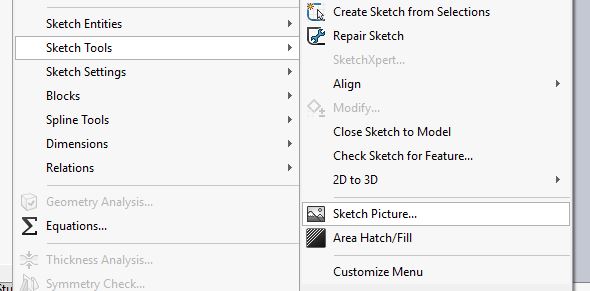
Then, in Solidworks, the first, front picture is imported using the "sketch picture" command, under tools --> Sketch tools ---> Sketch picture. This have to be done from a sketch in a plane.
After image import, we have a dimensioning tool that allow us to define a known dimension in the picture. All the dimension entered will adjusts to that reference.
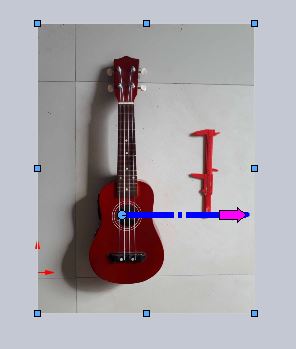
Once defined, the arrow in the reference line turns light blue.
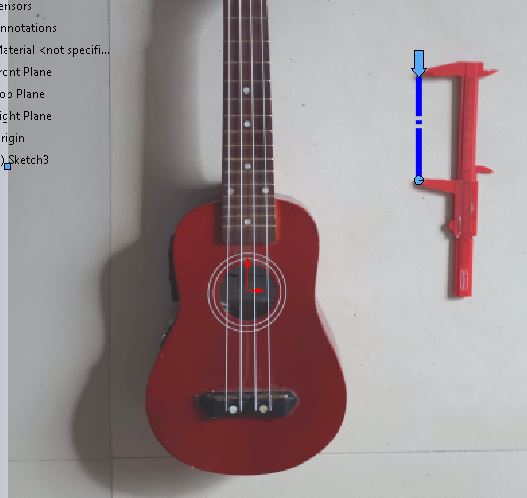
Then we create a centerline using the picture as a reference.
And then we create a spline that follows the contours of the picture, coincident with the centerline in the top and in the bottom.
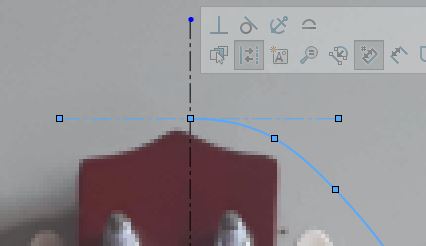
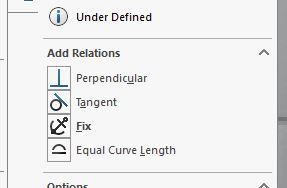
Then we choose the spline and the centerline and add a tangent relation. This will create a continous line after mirroring.
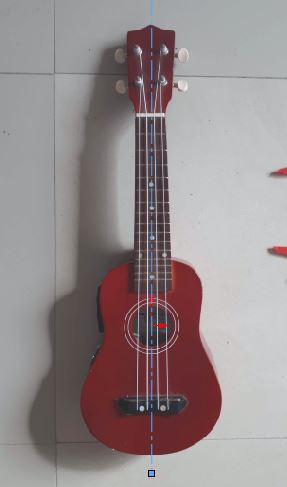
And we do the same for the lower part. Then we mirror the result, using the centerline as a mirror reference.

Now we can define each point of the spline to fully define it (tedious work), or use the "fully define sketch", that appears if the spline is right-clicked.
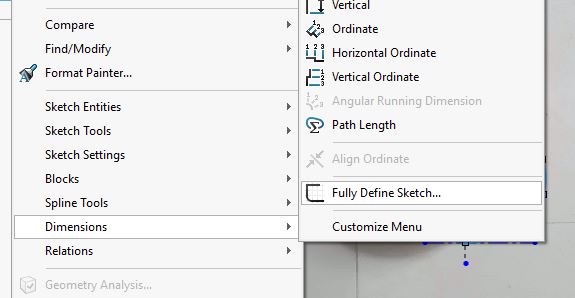
This will automatically assingn values to every point, efectivelly defining the sketch. It's advisable to simplify the spline before this step, and manually and parametrically define every point, but this case will be the only one I make, and every ukulele is different, so it will be useless to do so in this case. After the spline is fully defined, it will appear in black.
Then, we extrude the closed spline. To define the extend of the extrusion, we import the picture taken from the other angle.
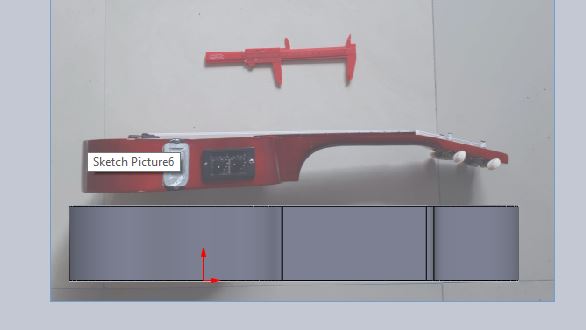
Make it fit with the object.

A close up to find the height more easily.
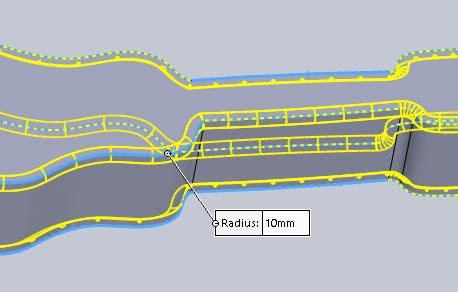
When it is right, we use this dimension to define the extrusion.
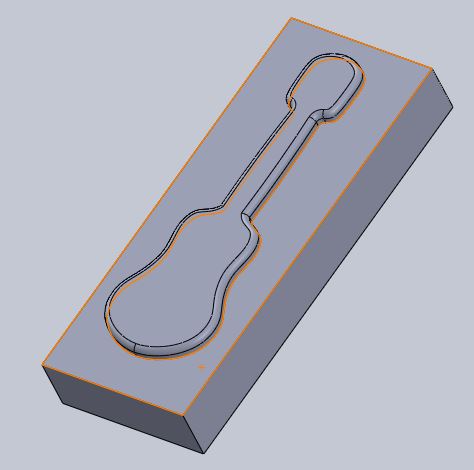
After the extrusion, a 10mm chanfer is created. For composites based on glass fiber (fiberglass), sharp corners are not recomended. With tulle, this is not so important, but also the aesthetics are nice, so I created the feature anyway.
Then, using this positive volume as a reference, an assemby is created. In this assembly, we insert a new part, basically a box intersecting the positive object where the cutting is needed.
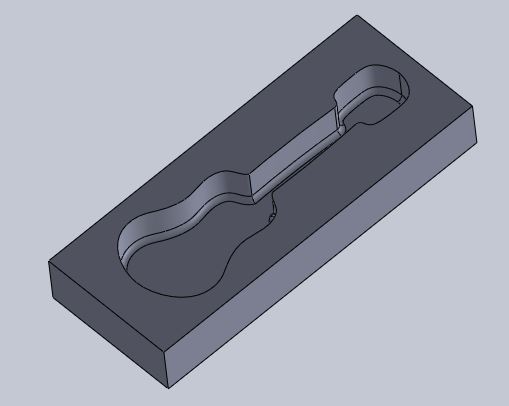
Finally, a cavity operation is performed on the box. This leave us with the negative we need for the machining.
Fabrication:
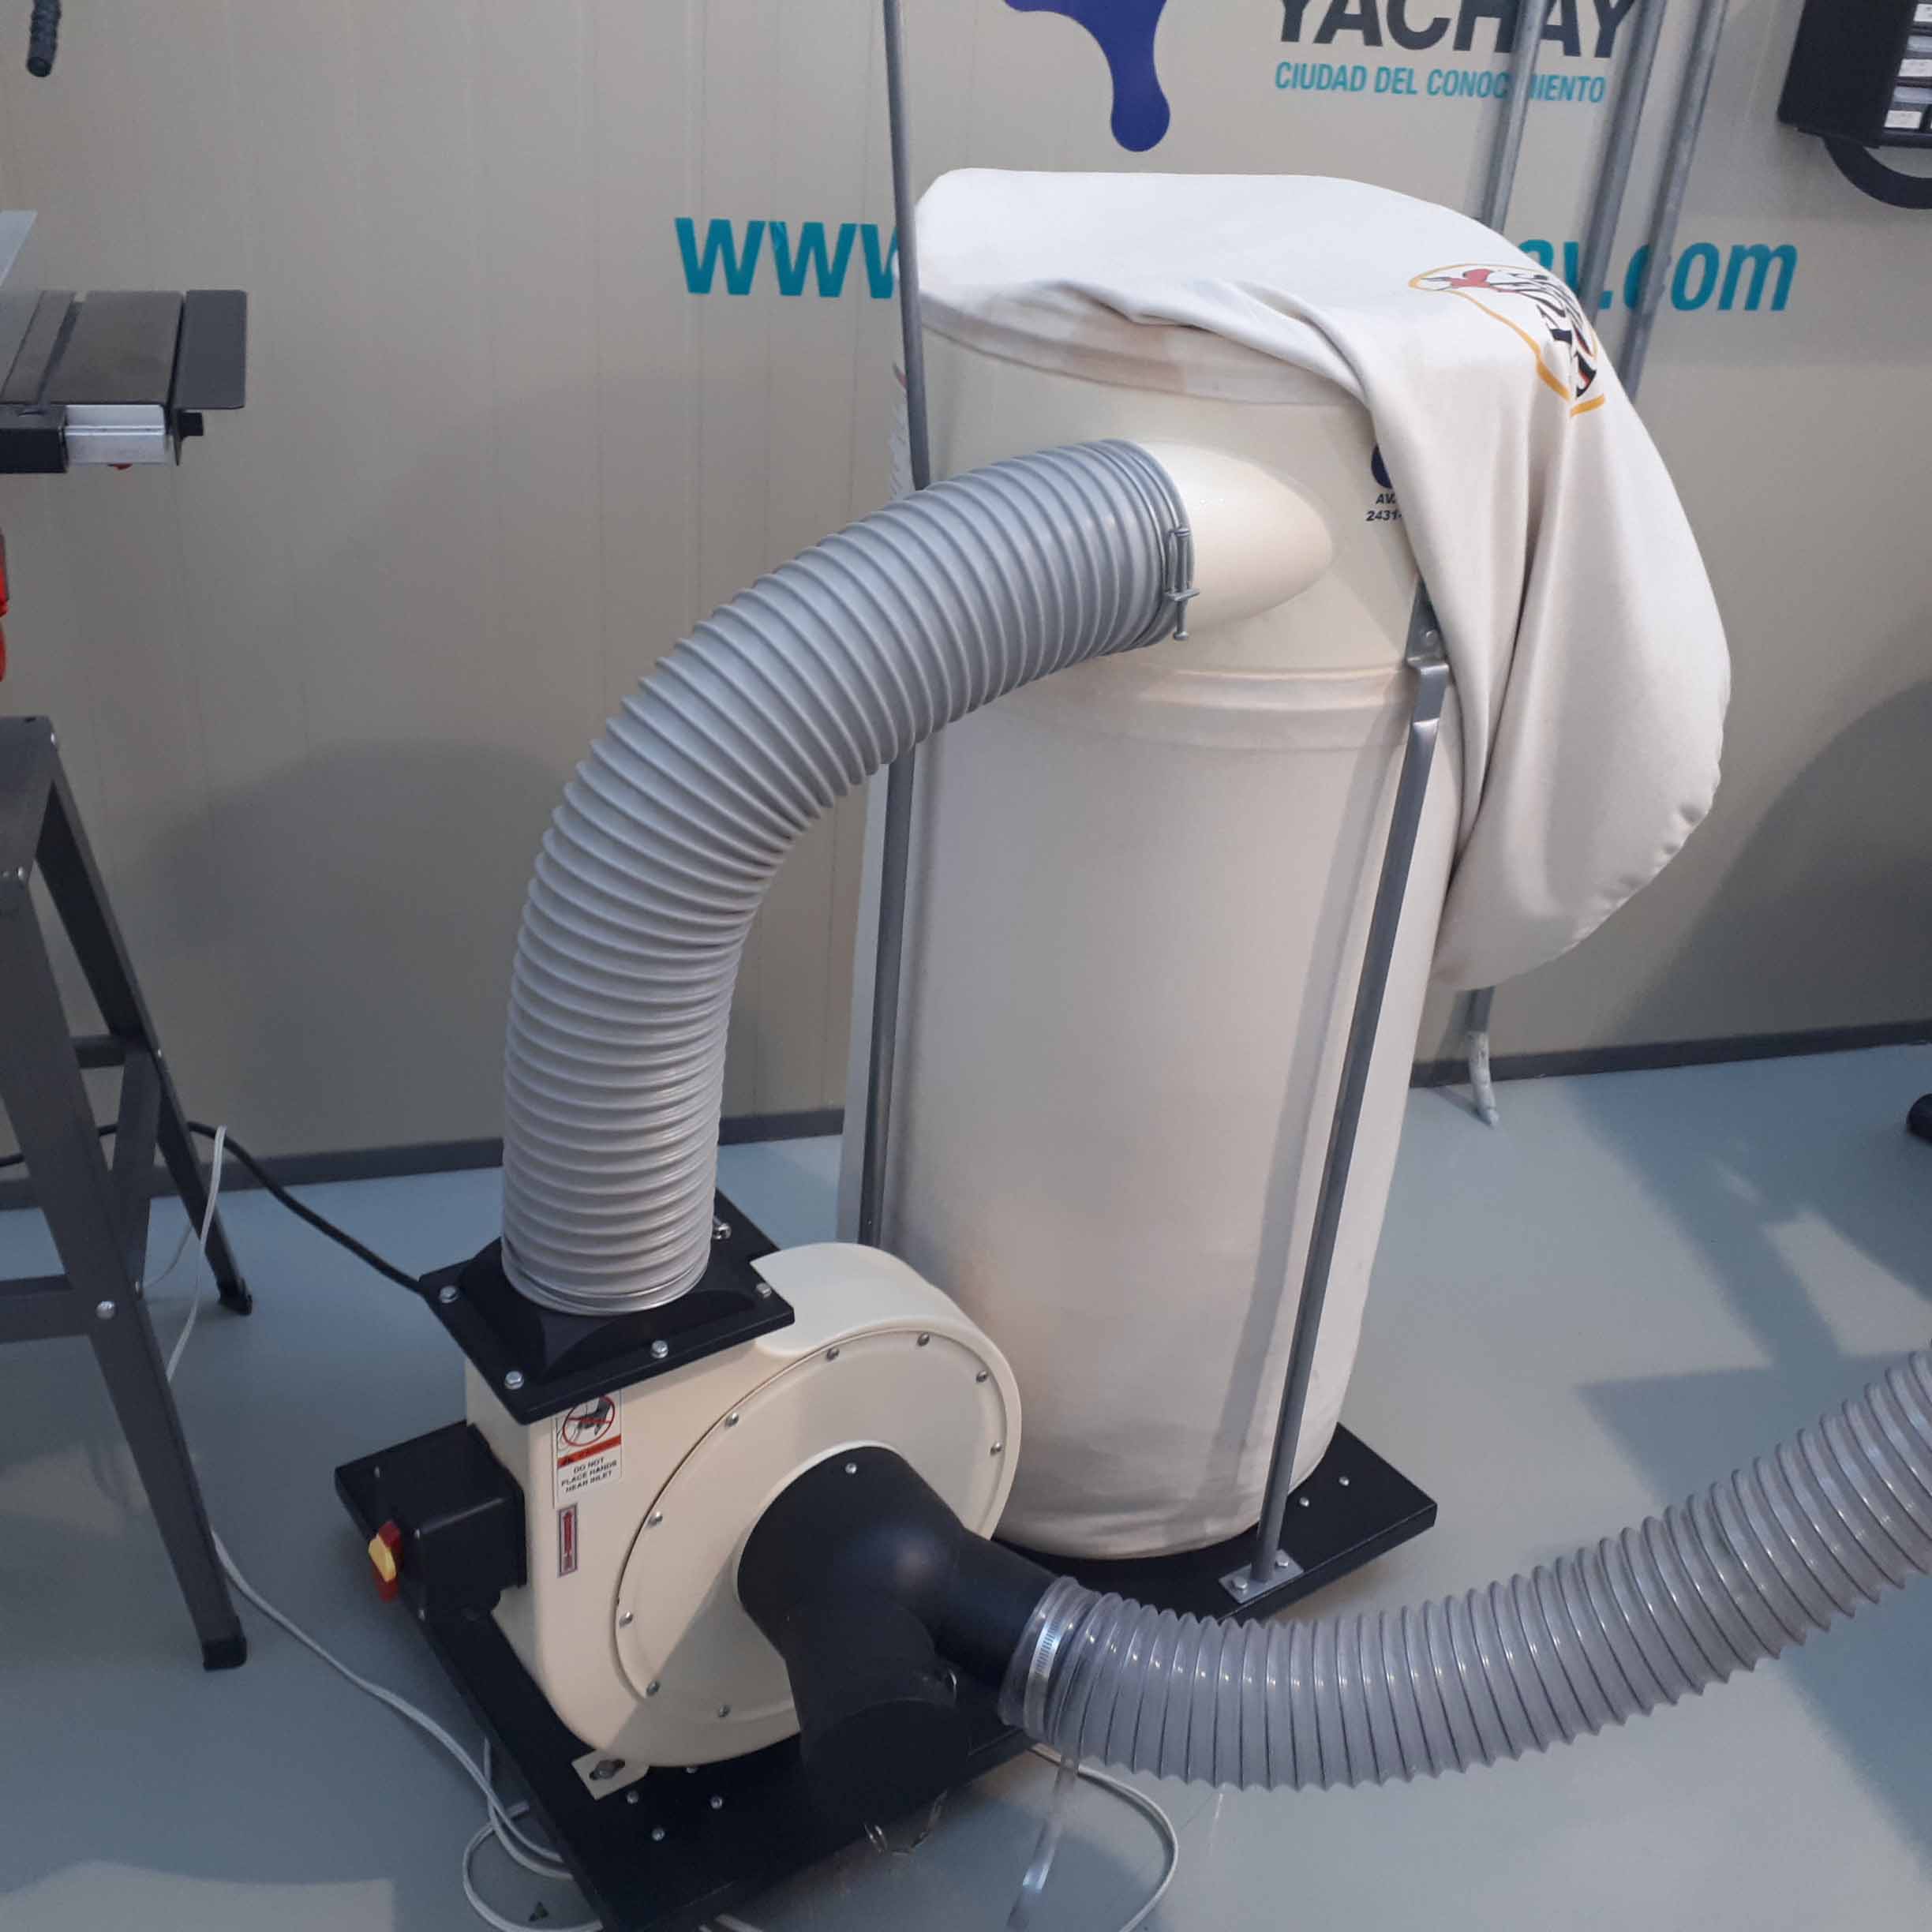
Safety first. We checked the vaccum system for clogging or debrits.

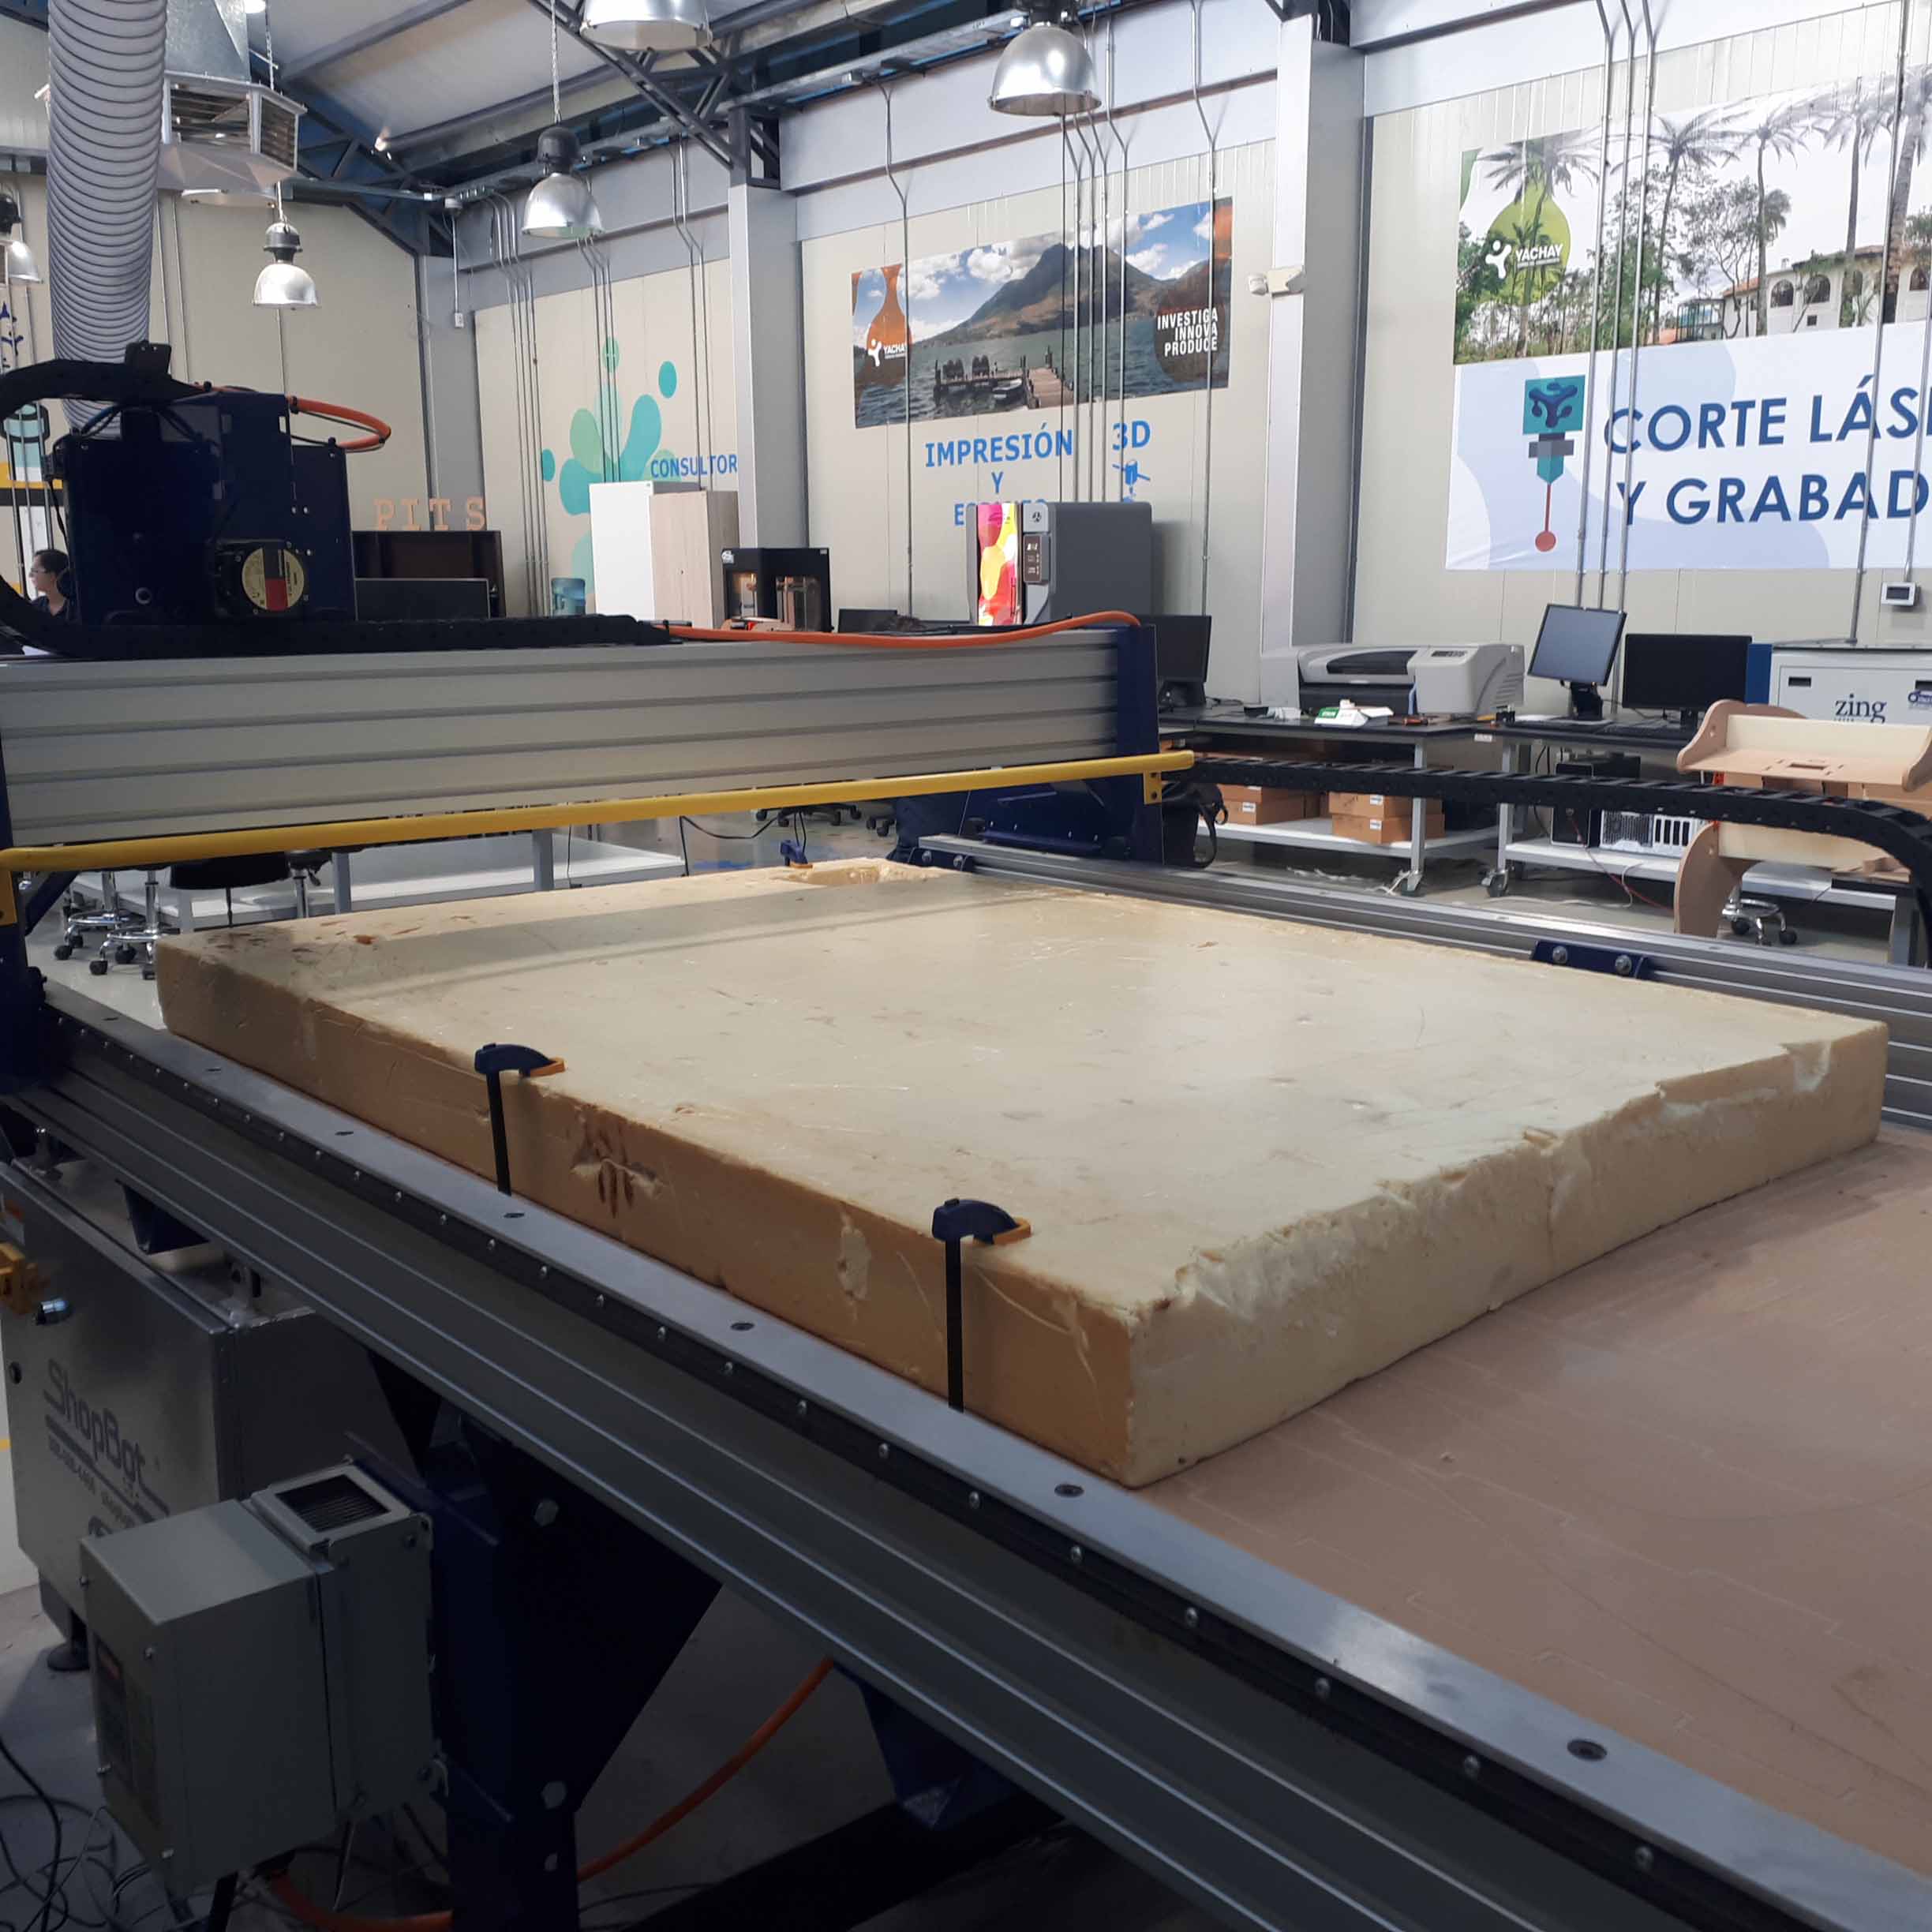
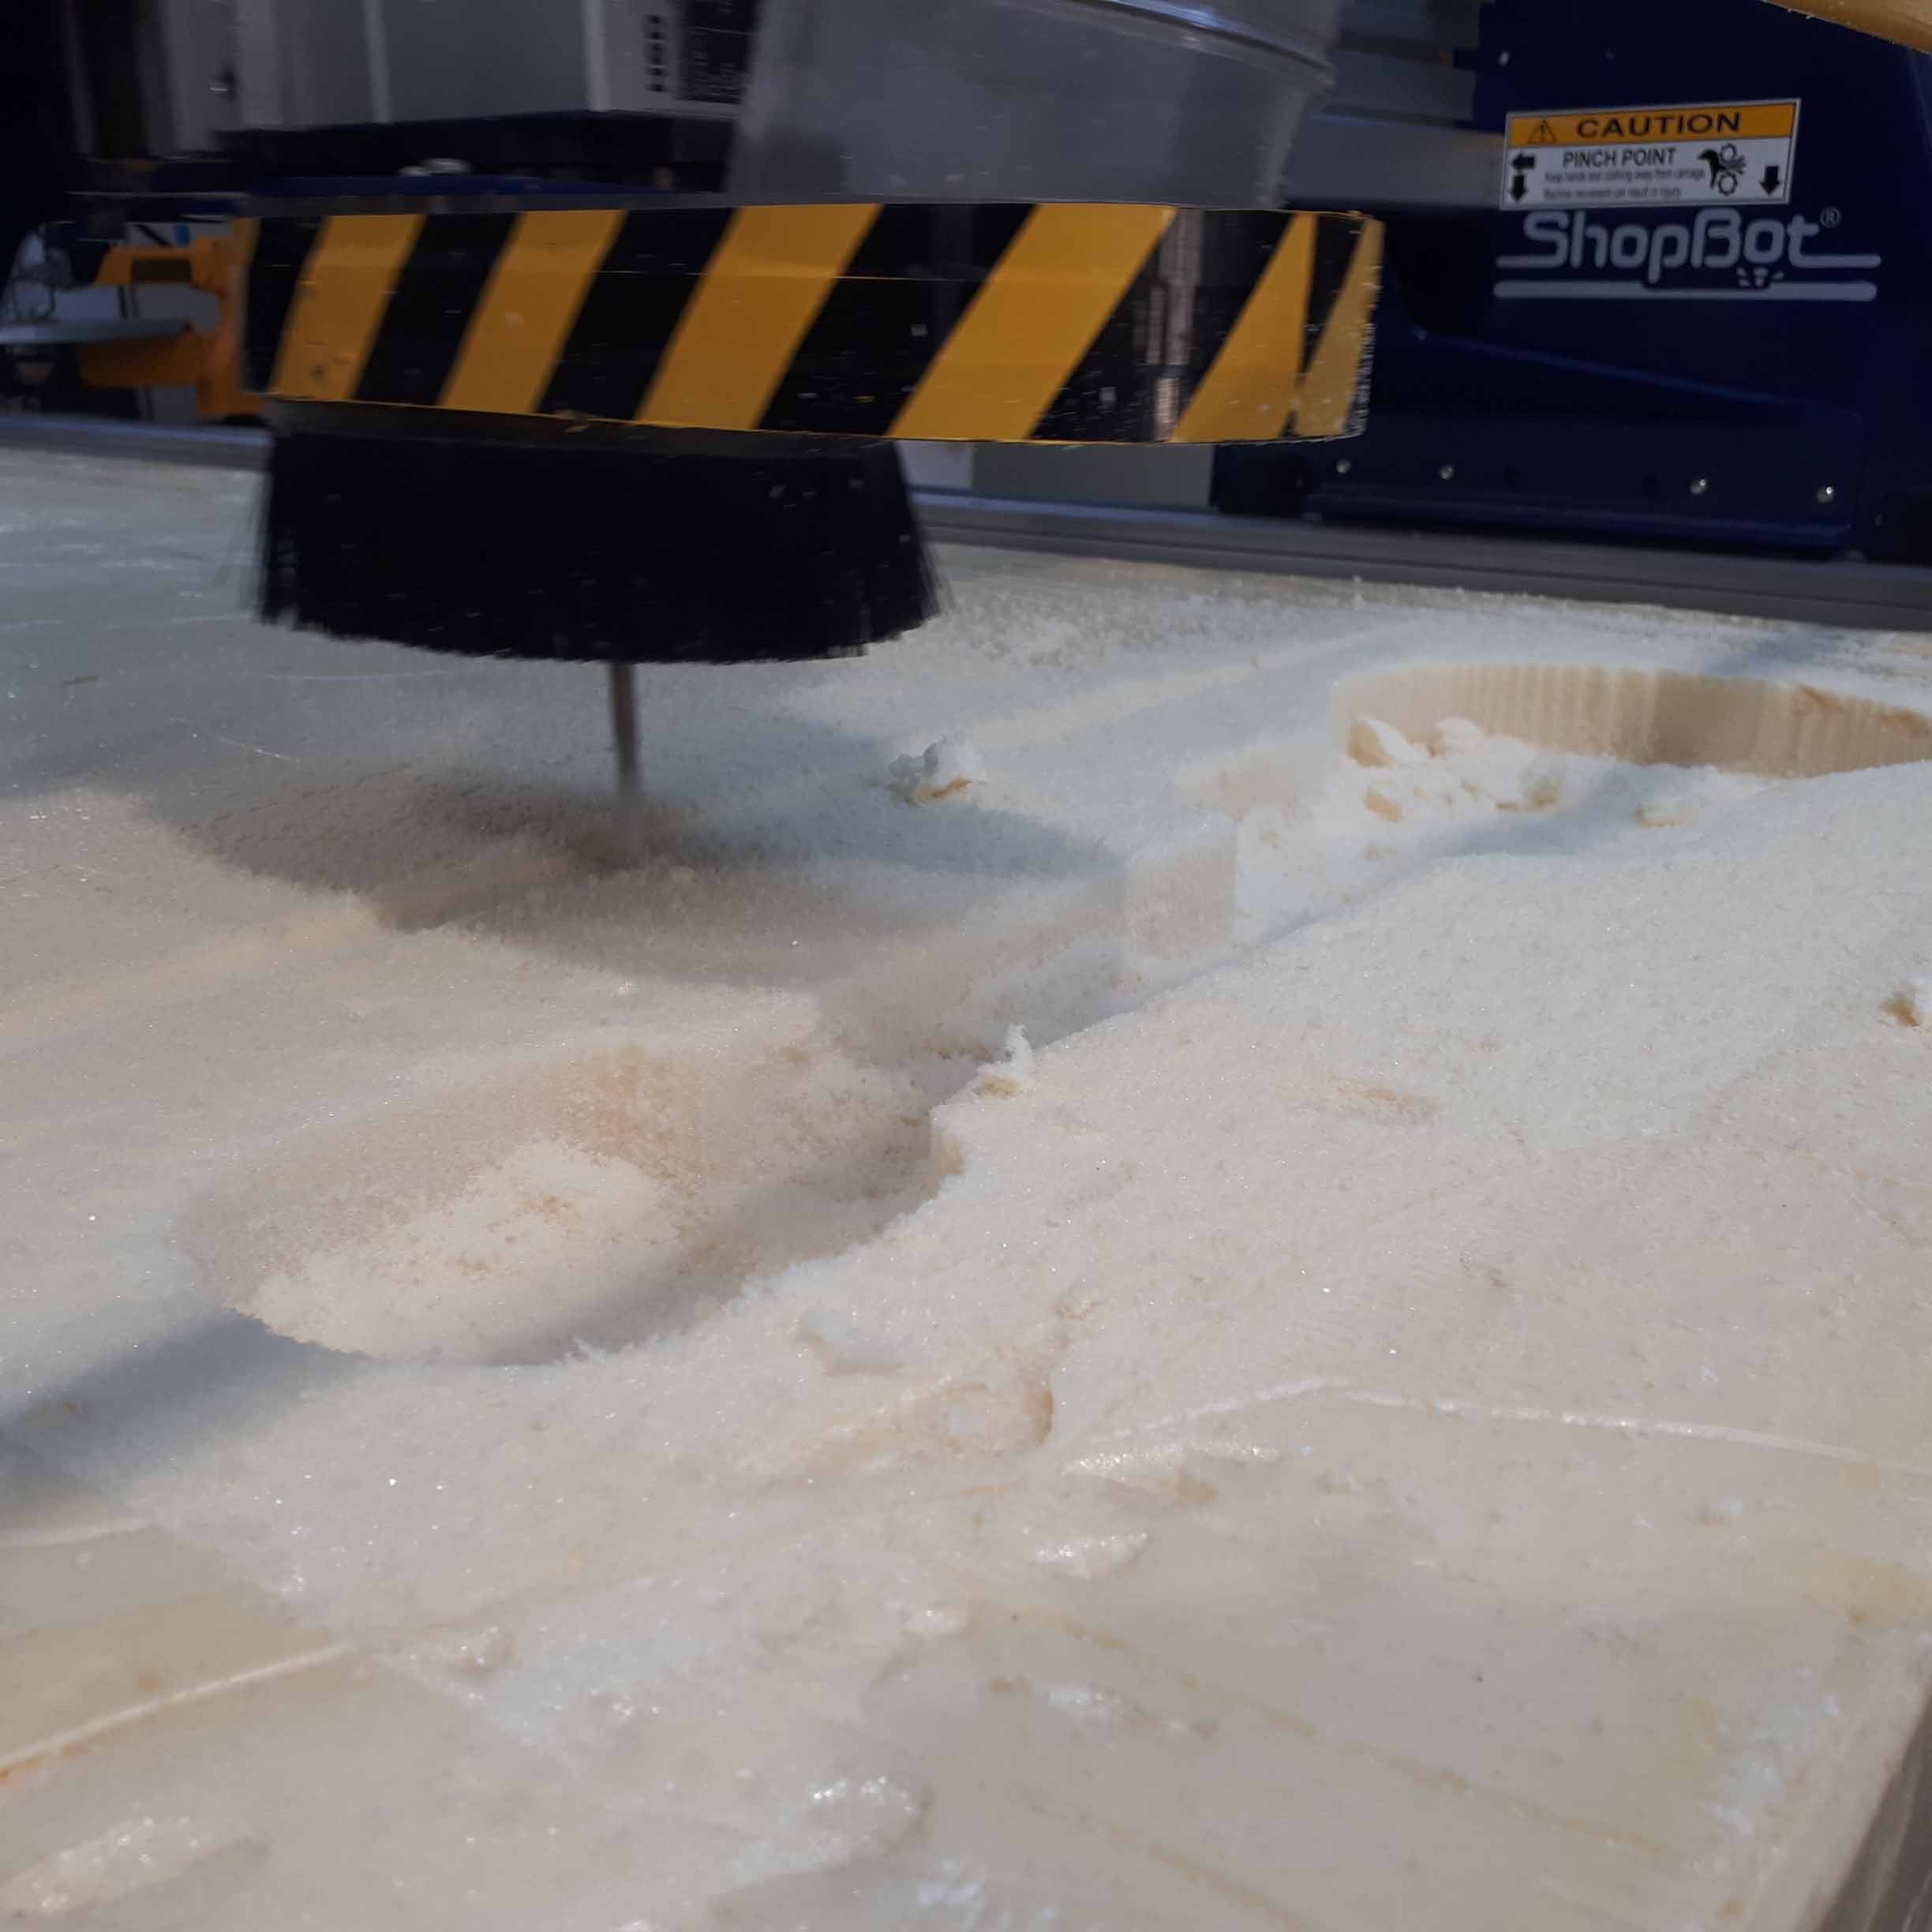
Once the mainteinance was completed, we can turn on the vaccum cleaner. Here is an view of the entire machine.
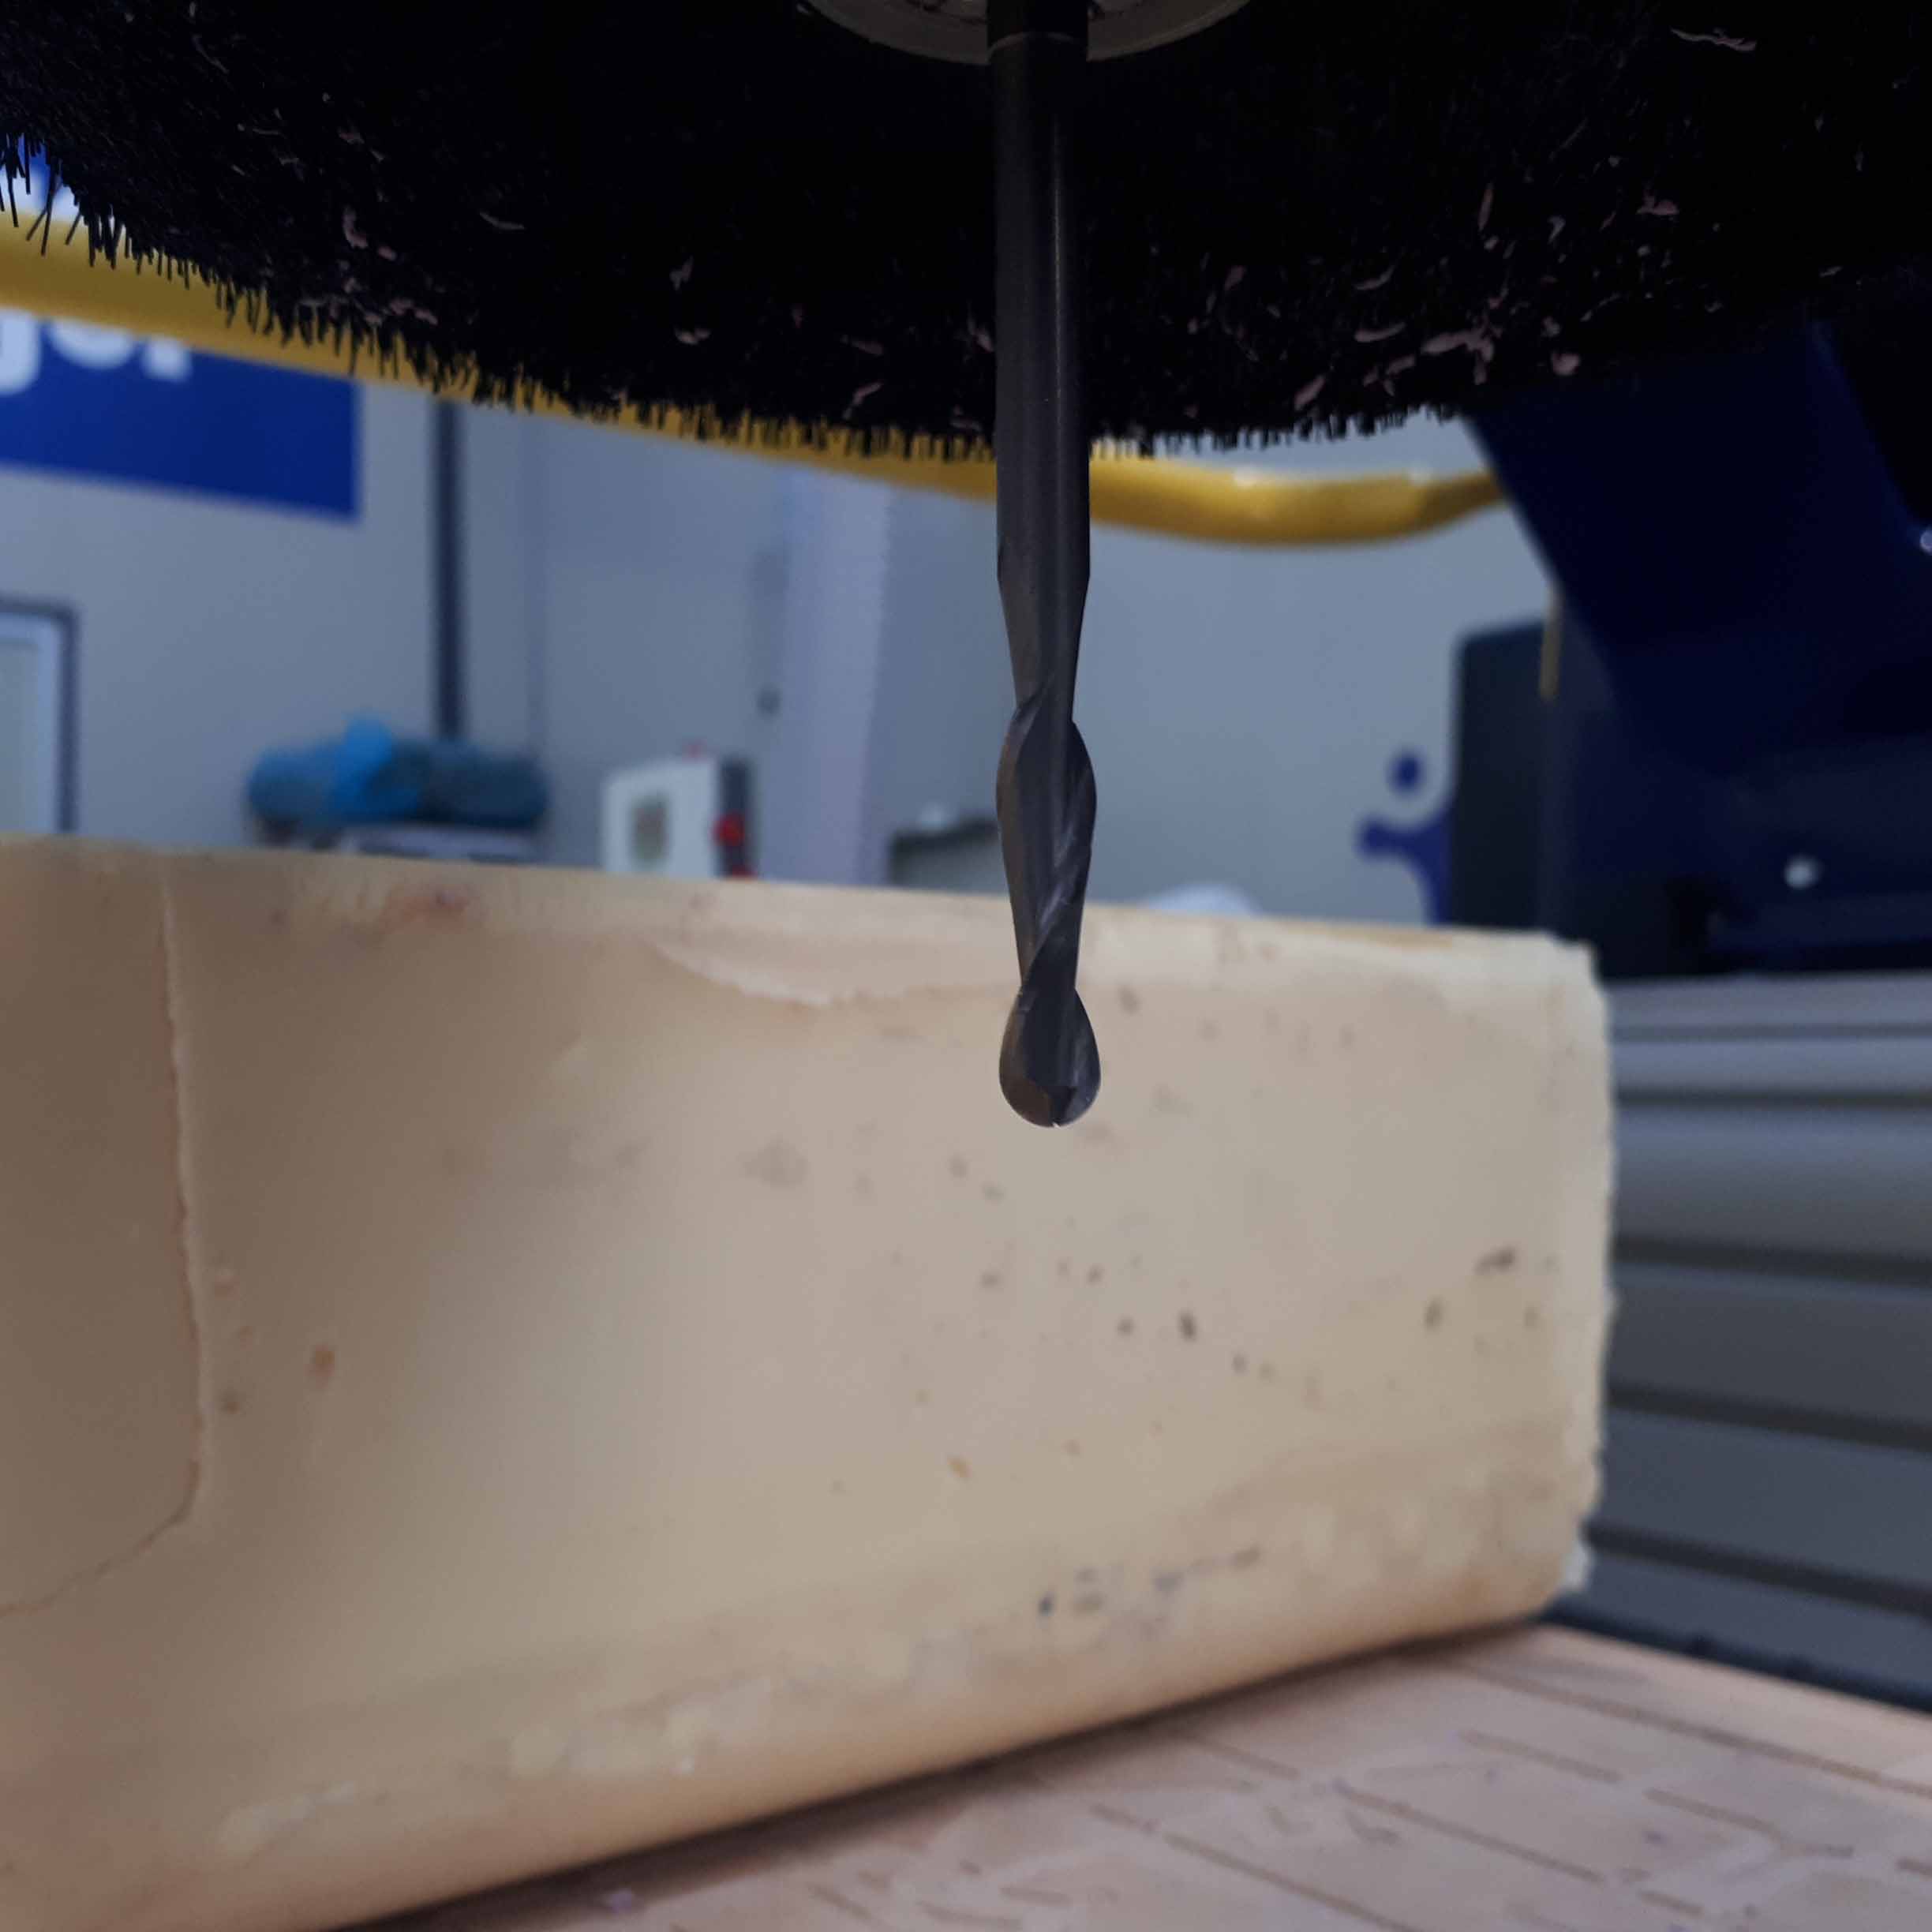
In this case, I used a round mill. Composite materials somethimes are dificult to bend in sharp corners, so it is better to chanfer them and use tools that make the turns smoother.
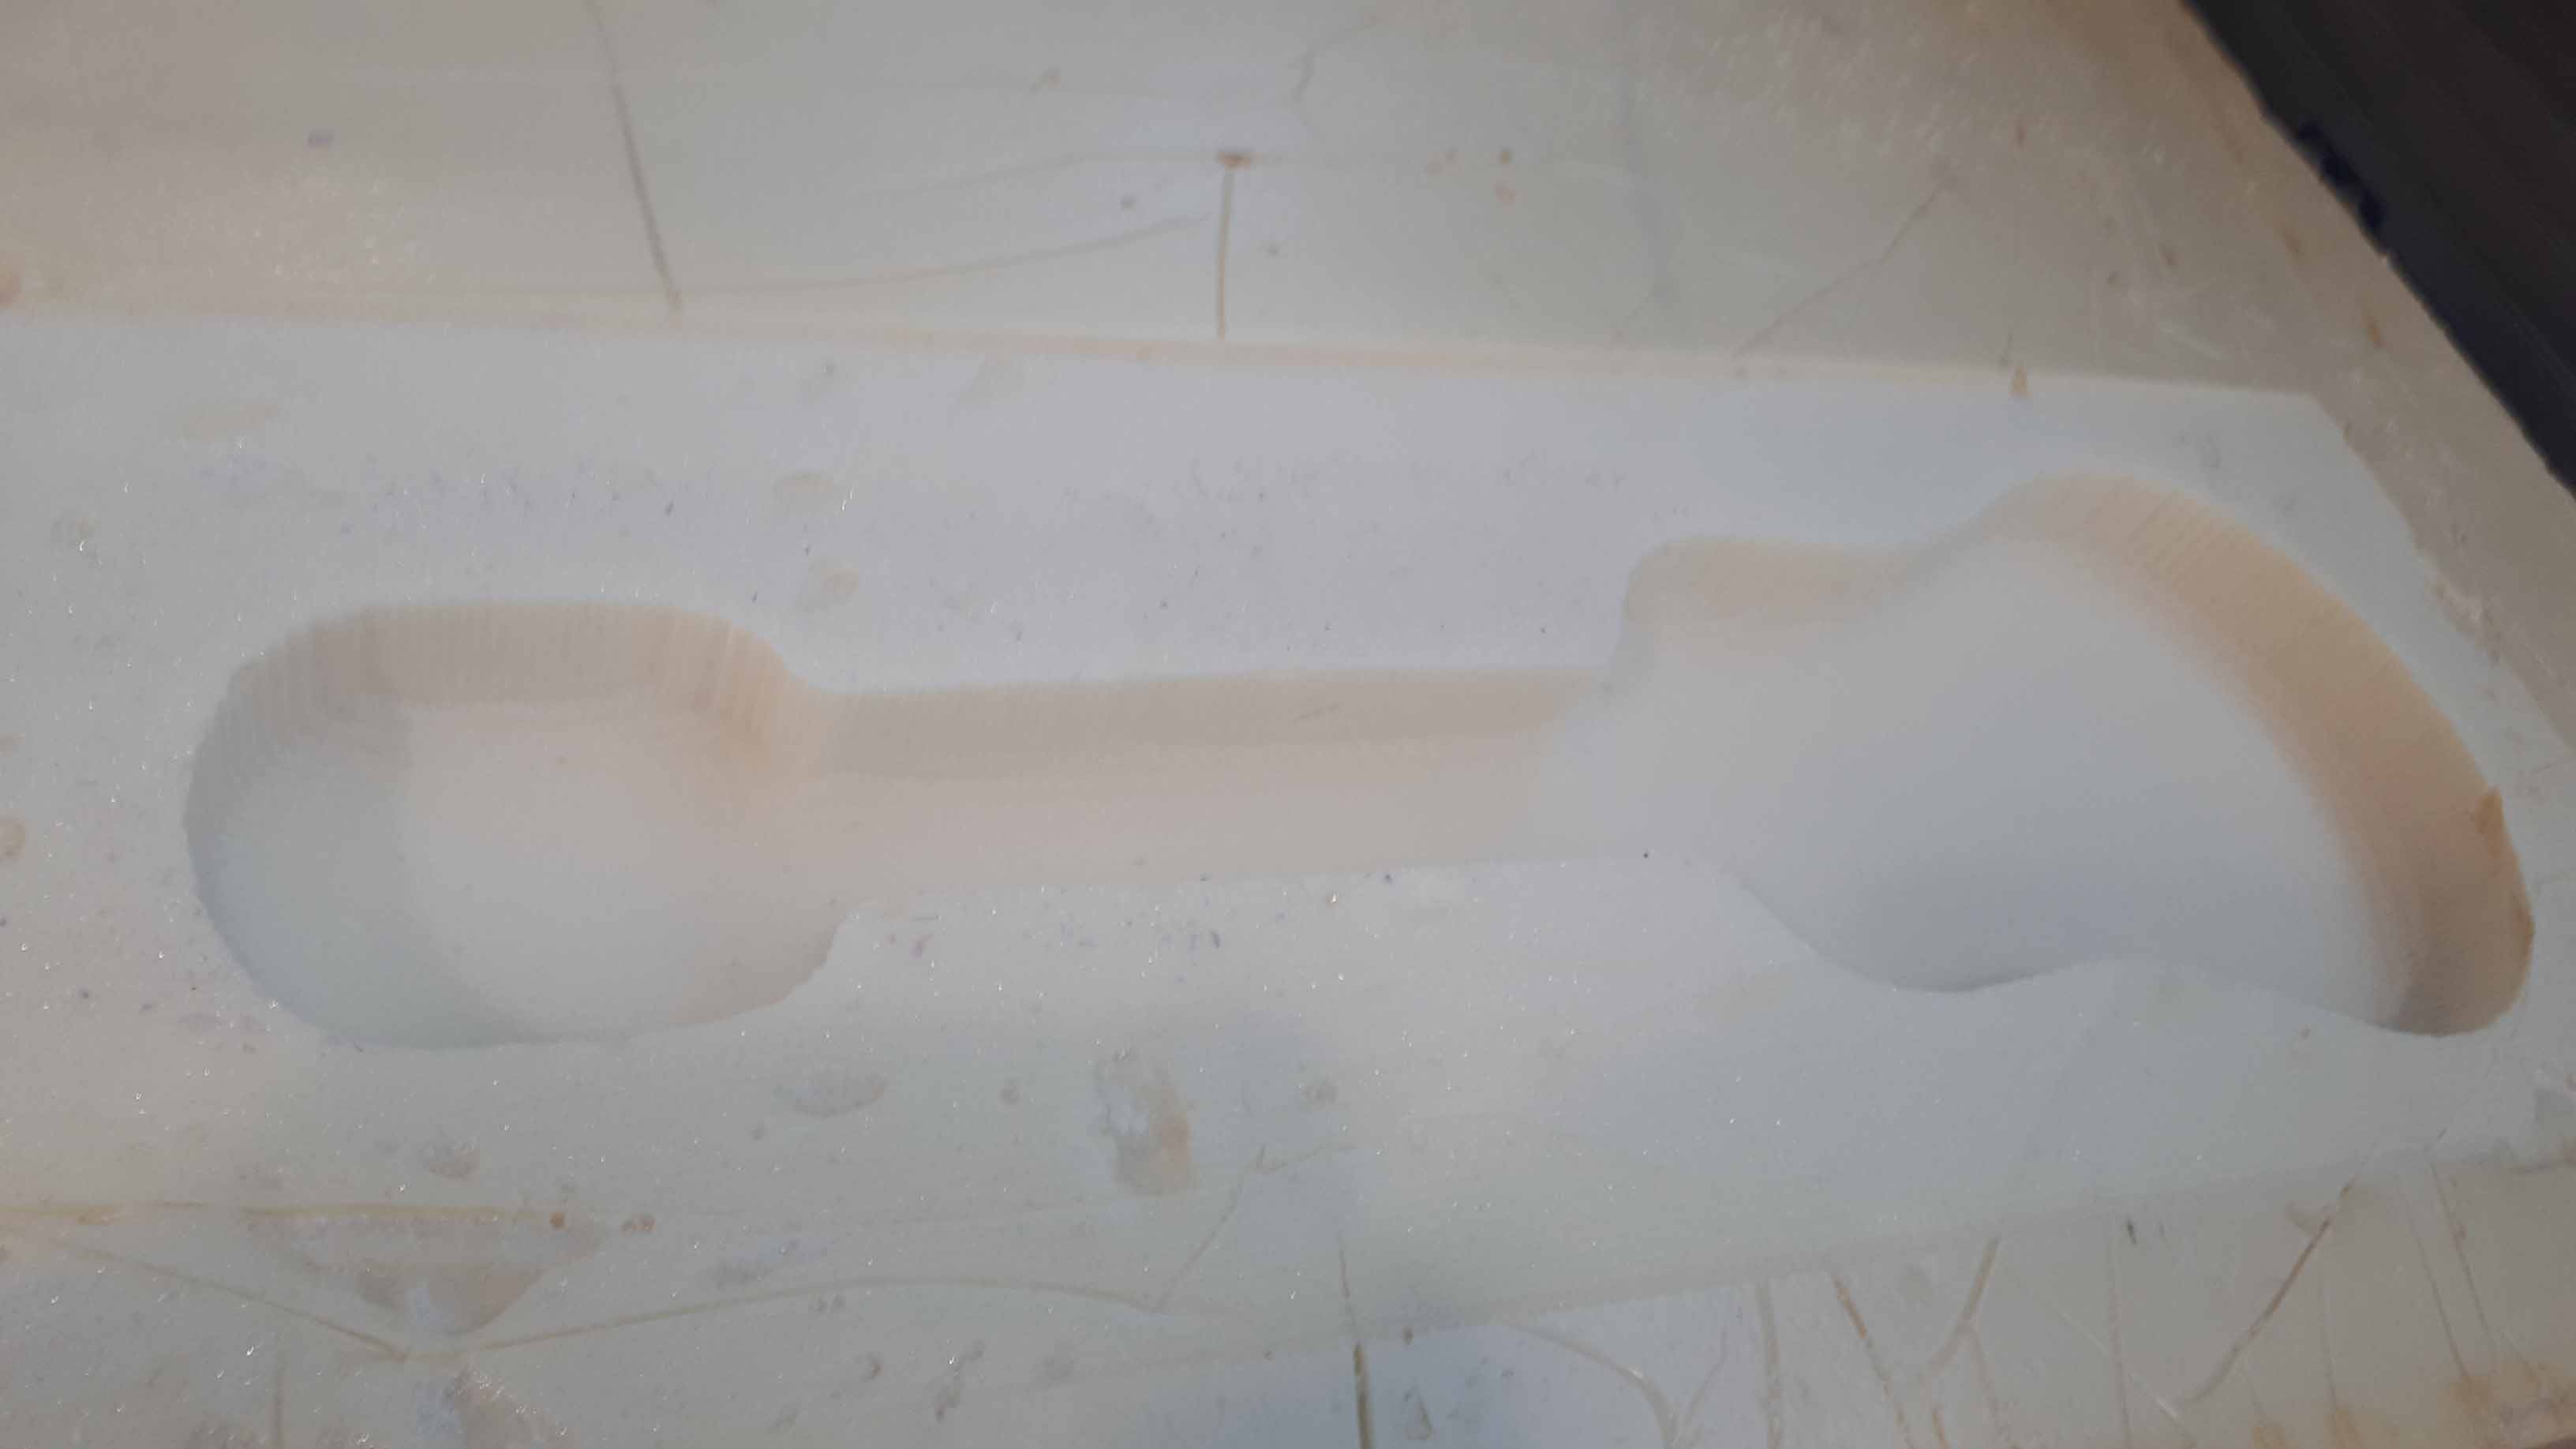
Note:
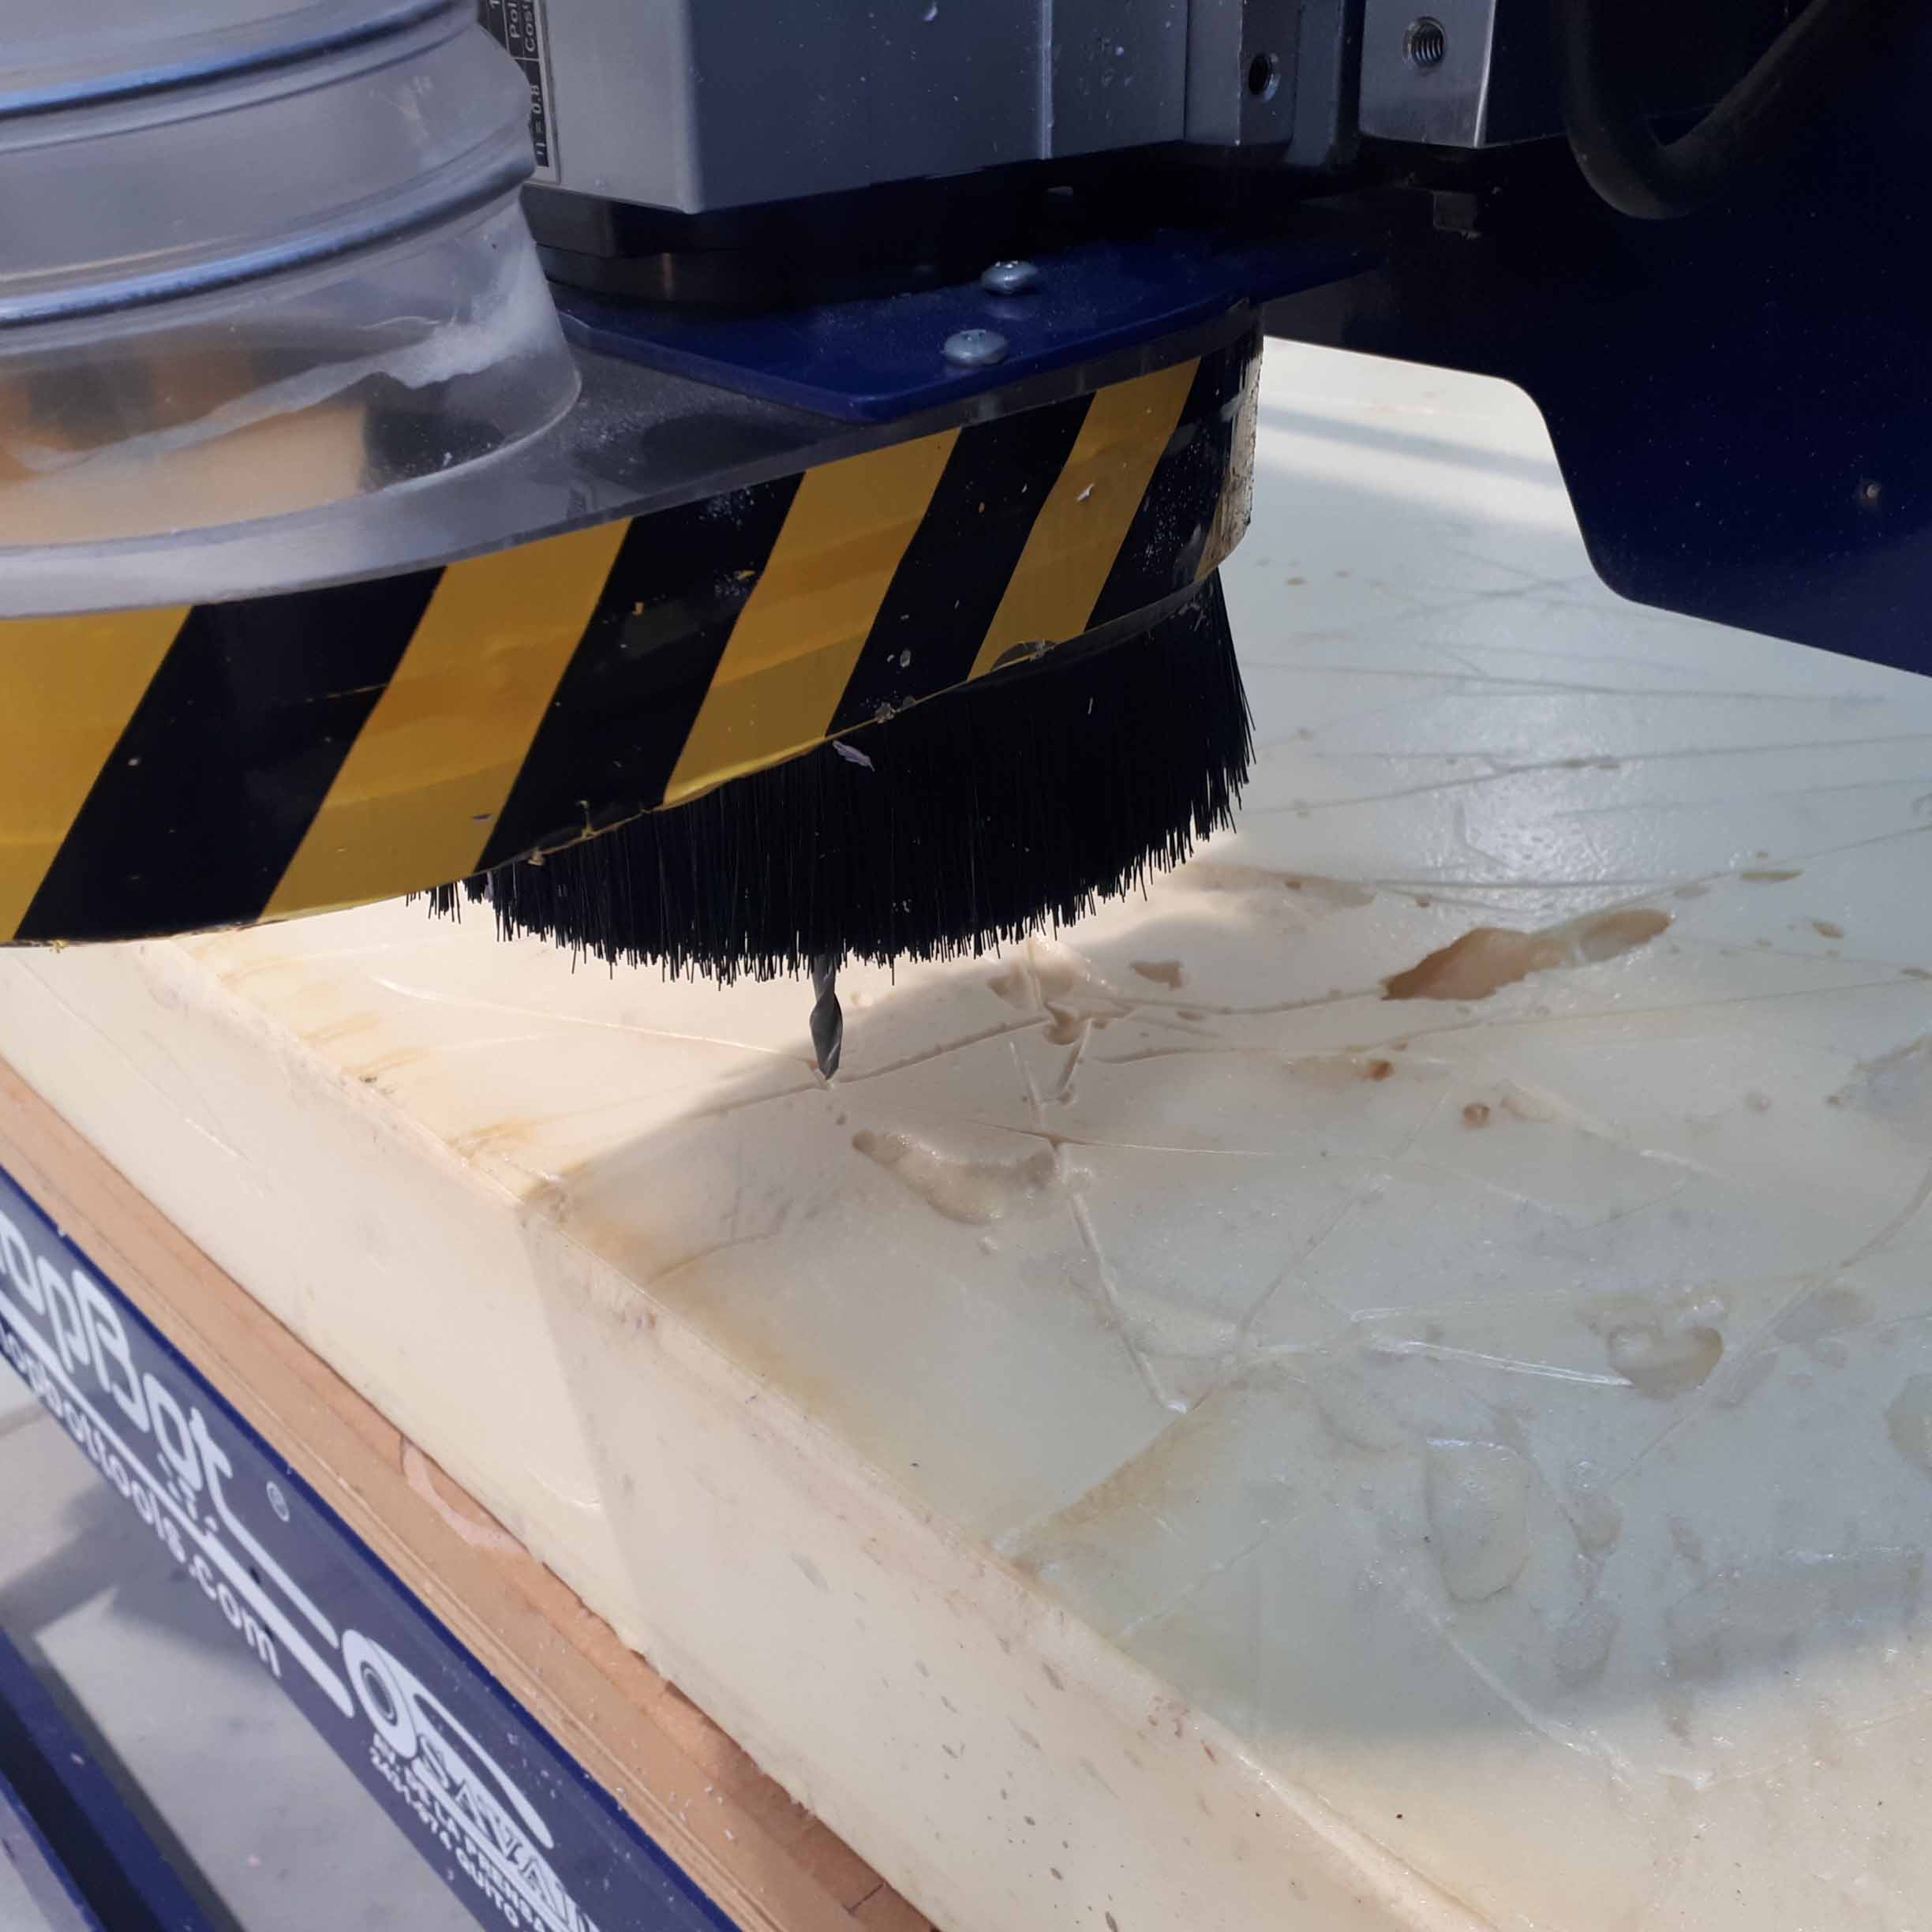
I used a rounded mill, what caused “ridges” in the mold. With the method of using the aluminium tape this was not a significant problem, but the use of a flat end mill would be better for this geometry. The shape of the rounded mill is better for concave rounded surfaces, as advised by my global instructor Sibu Saman adviced me.
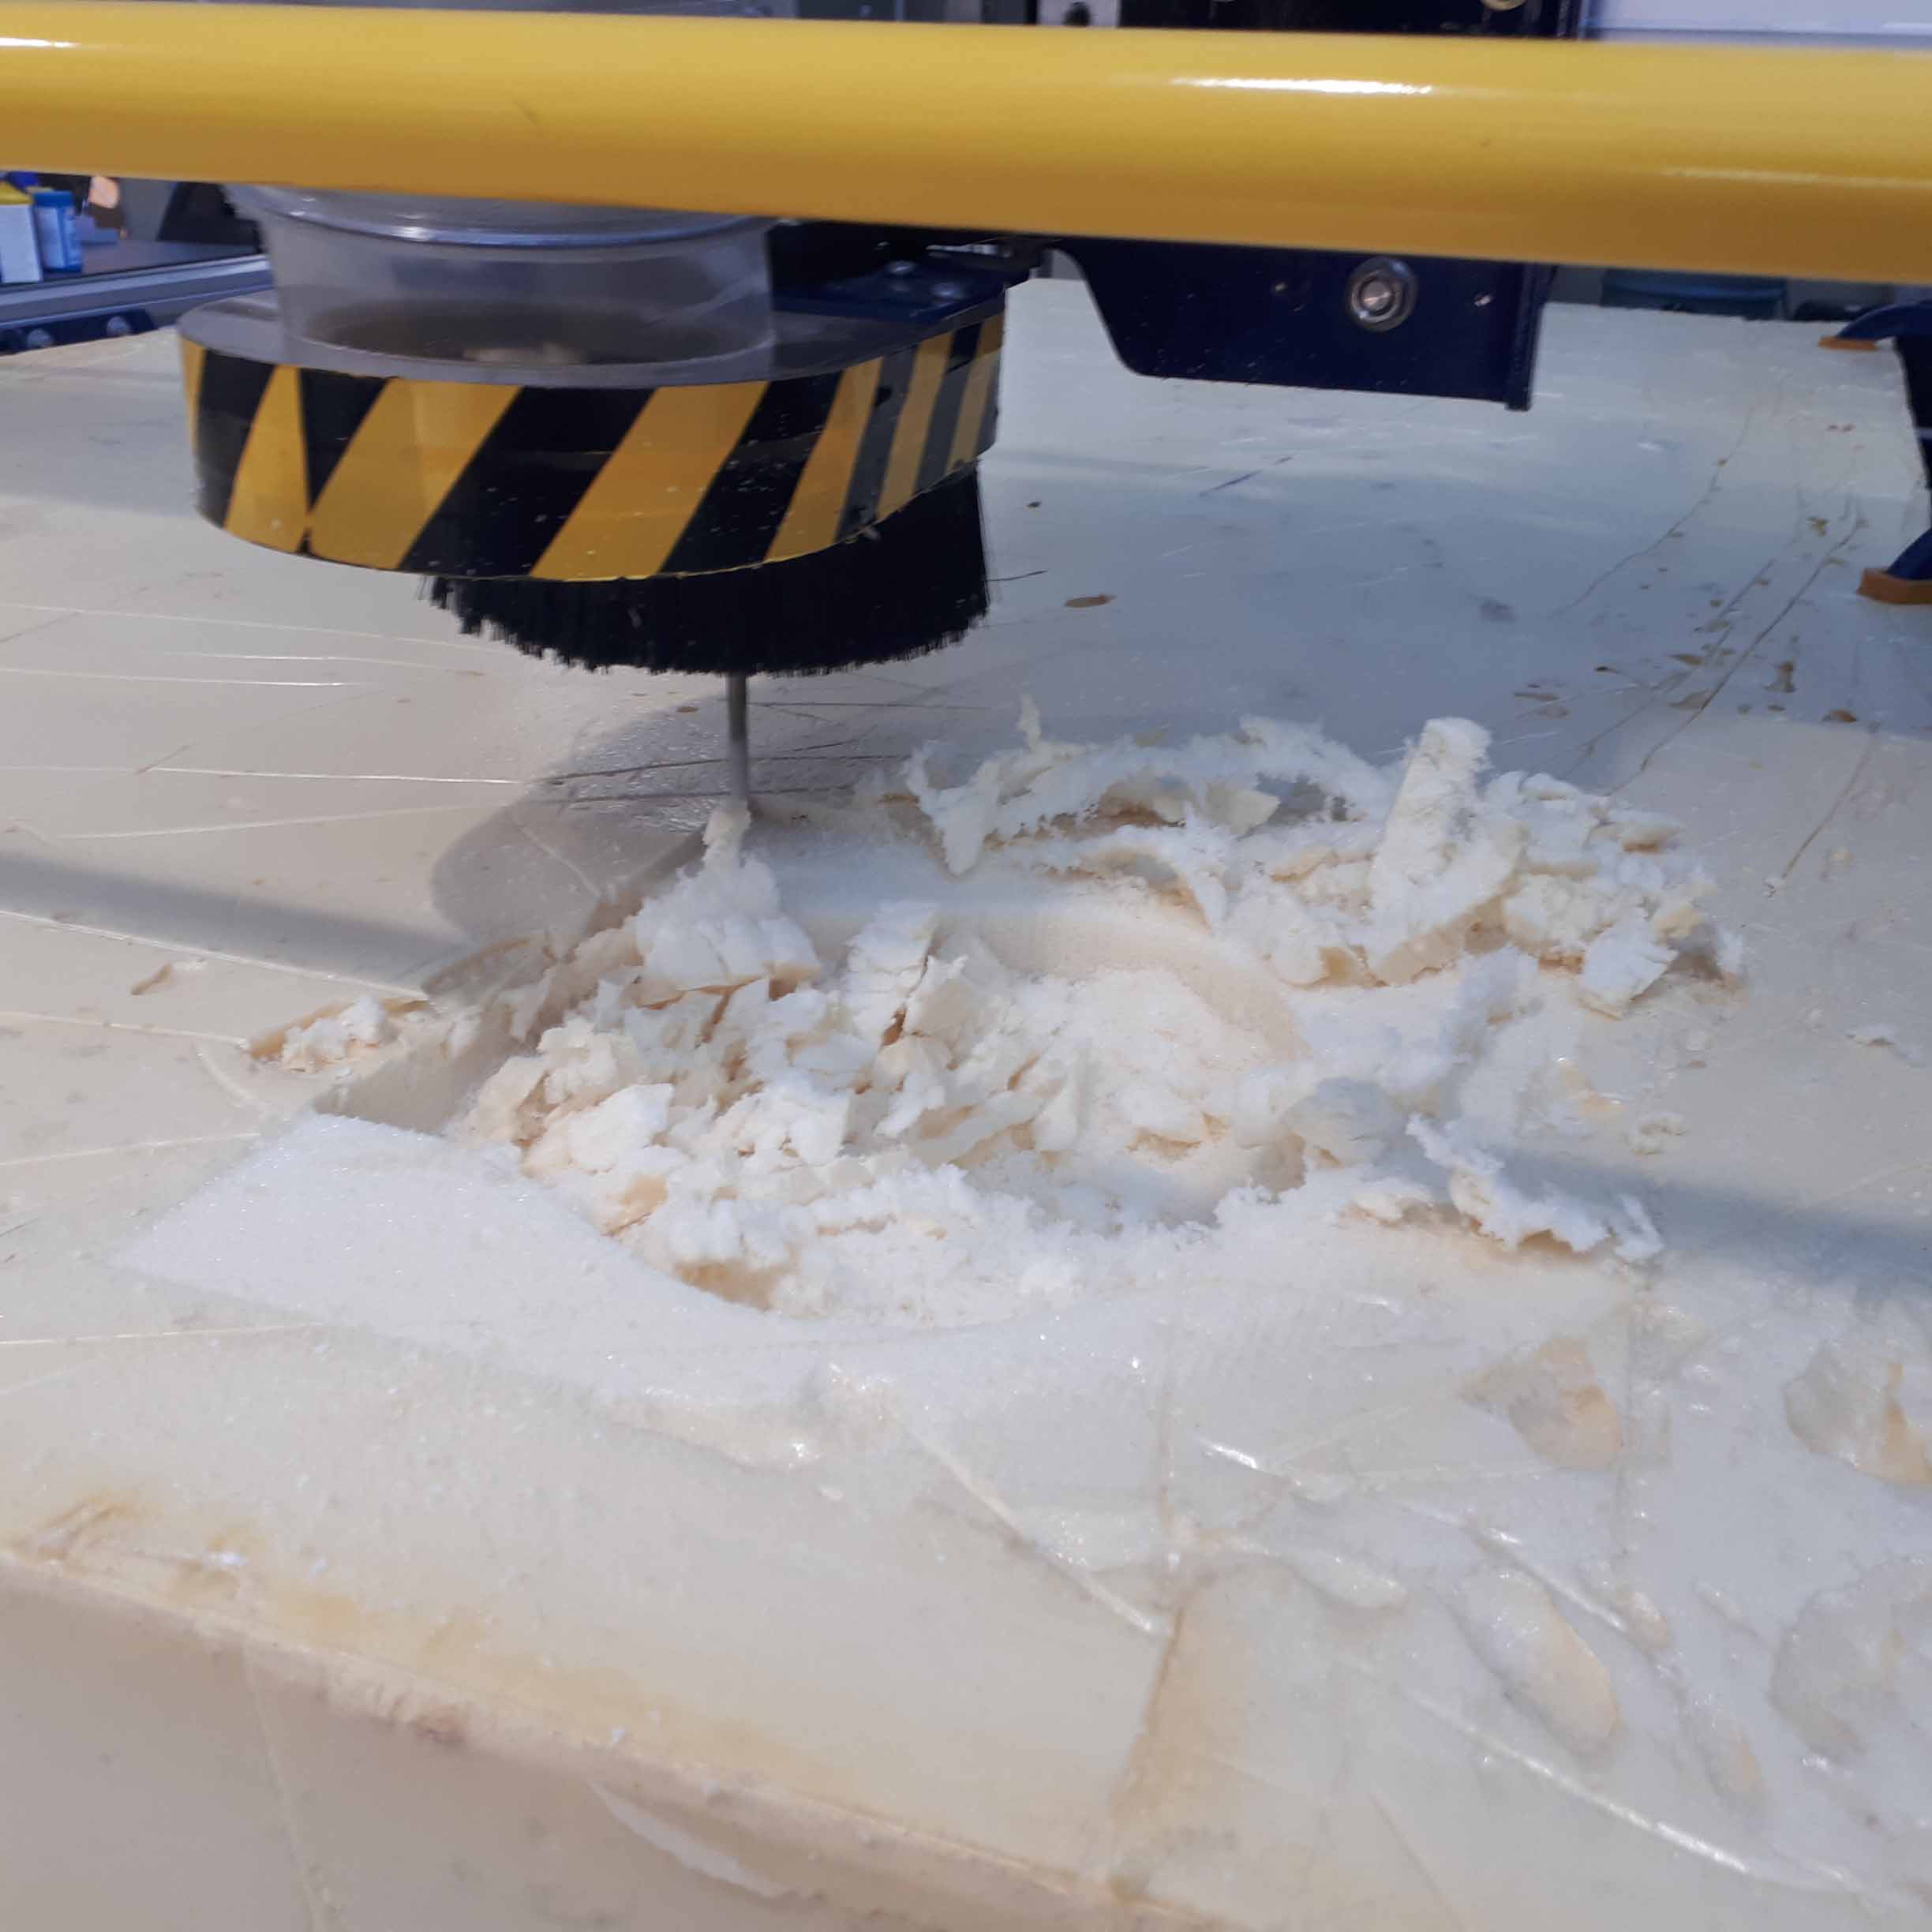
The machine start to move and find a start point.
We use pressed in this case to keep the material in place.
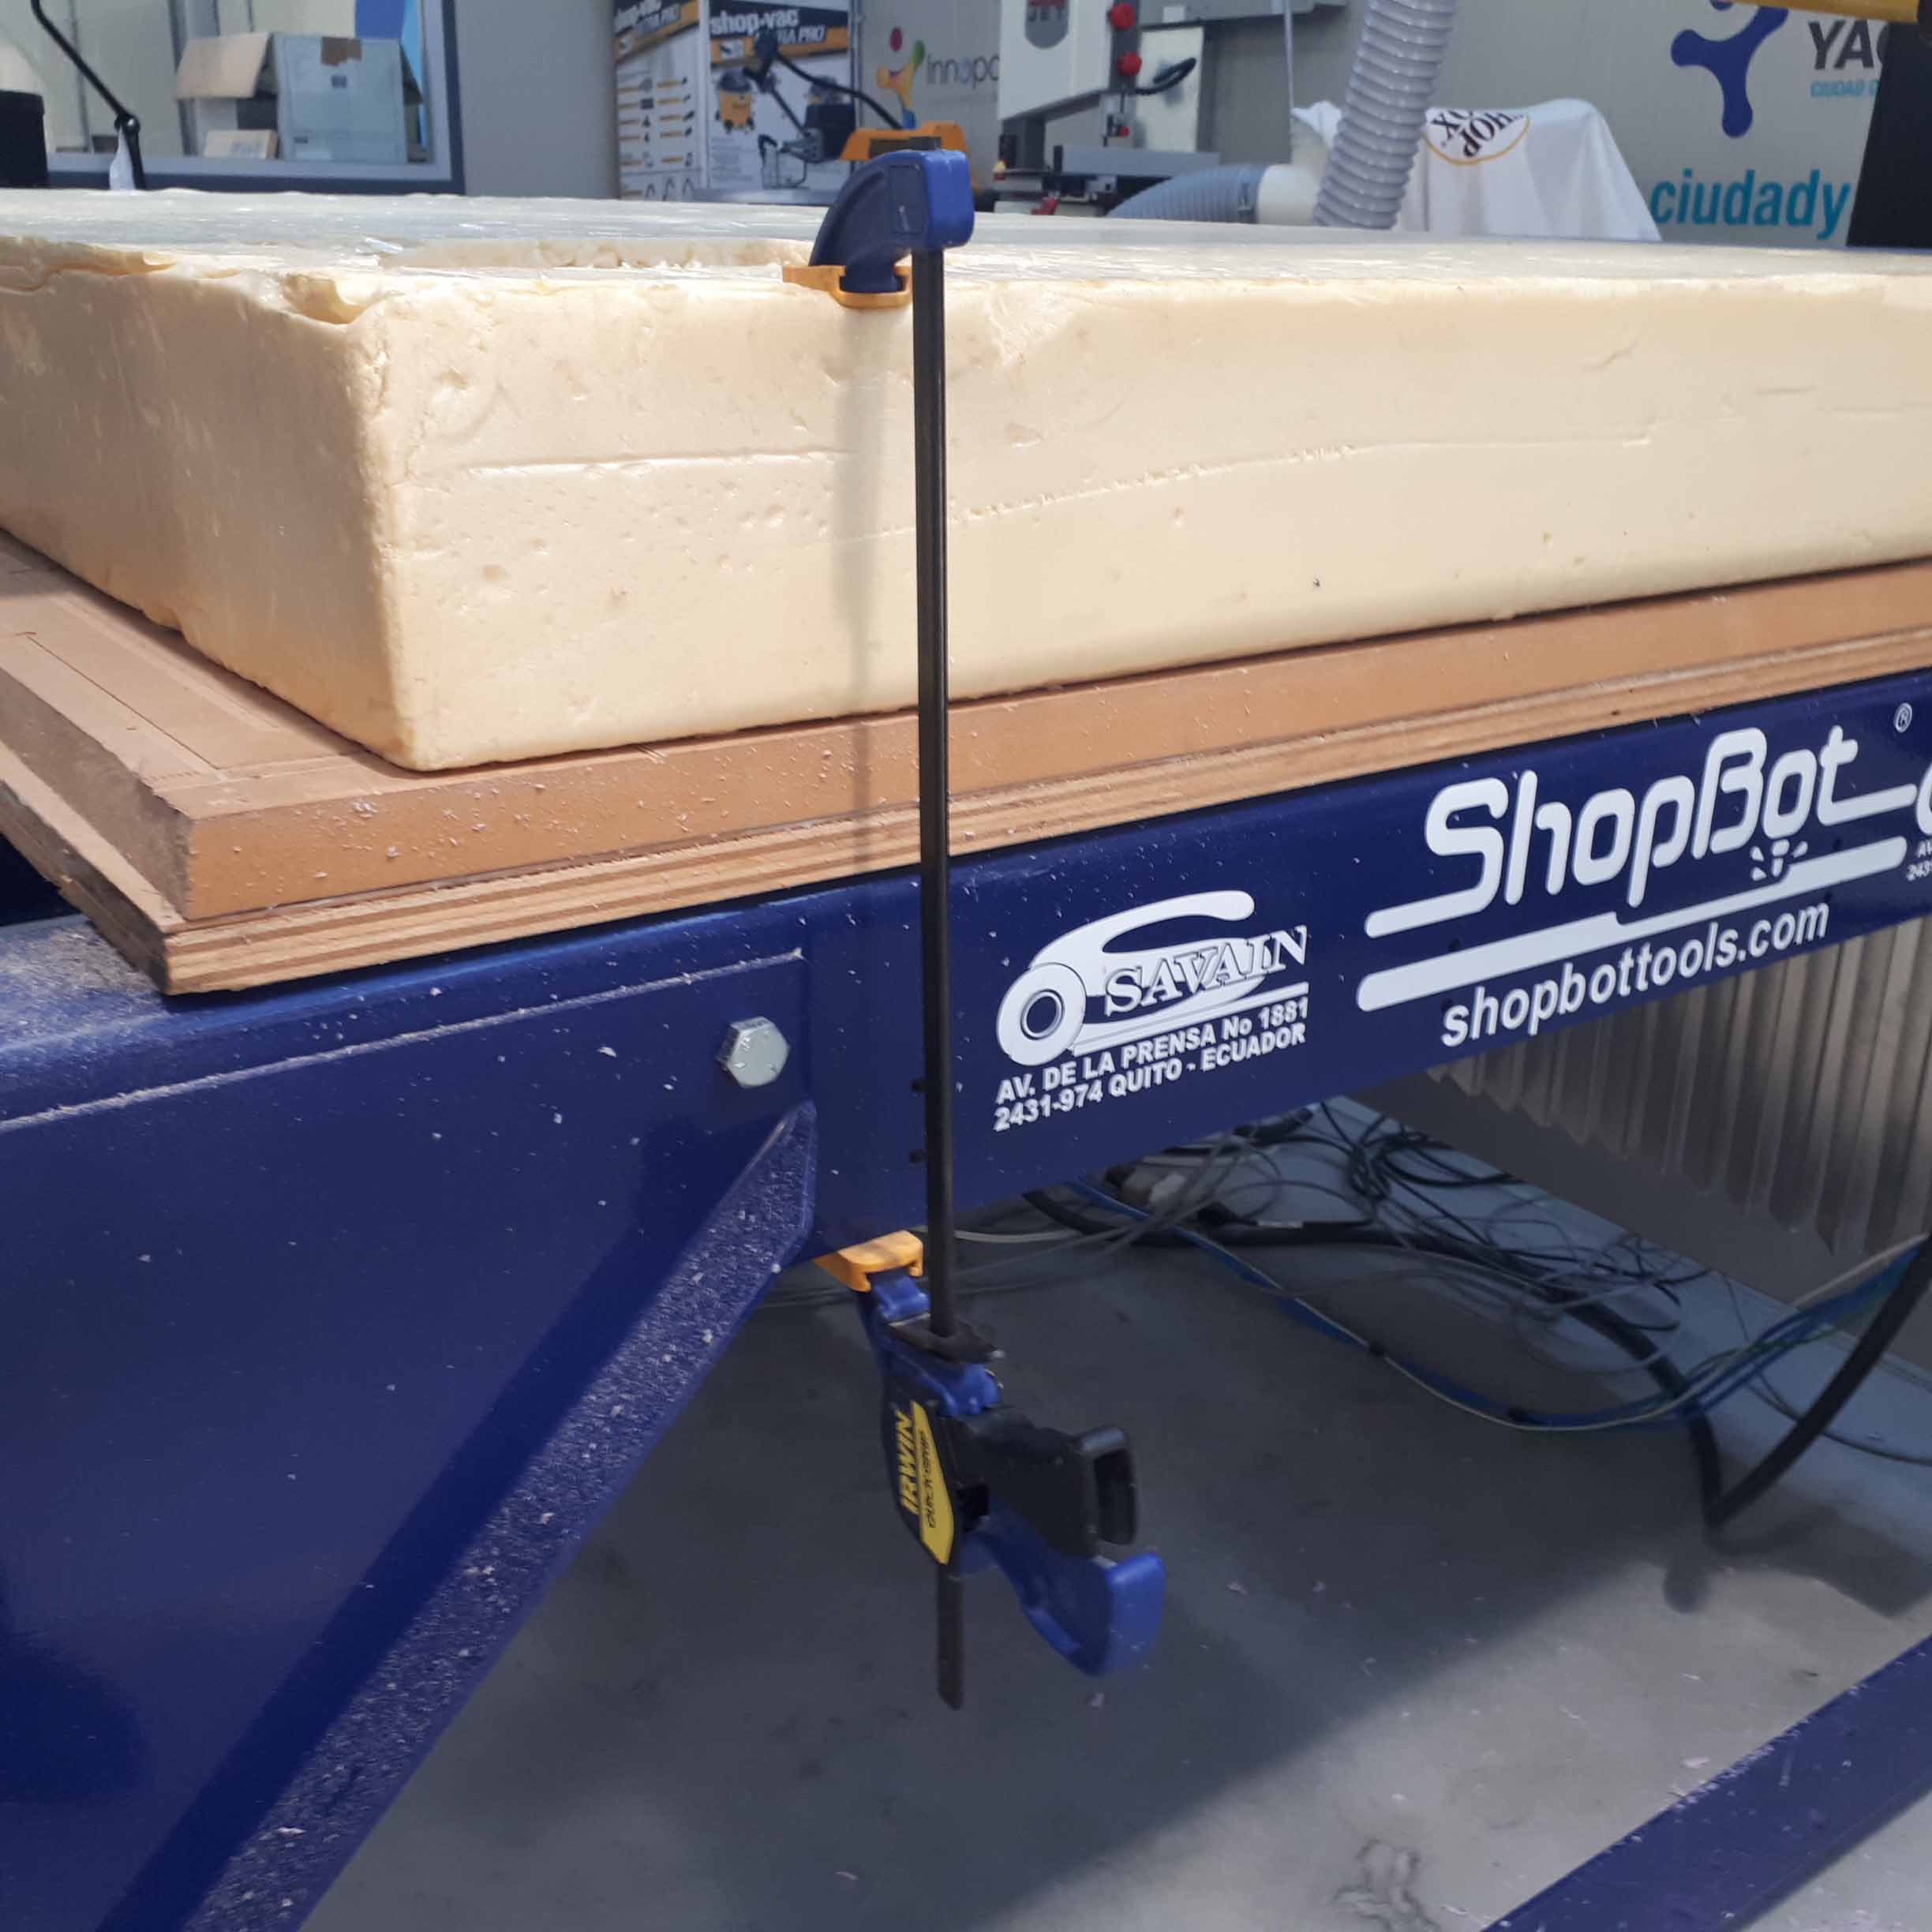
Here is other angle.
Then, the machine is set to run.
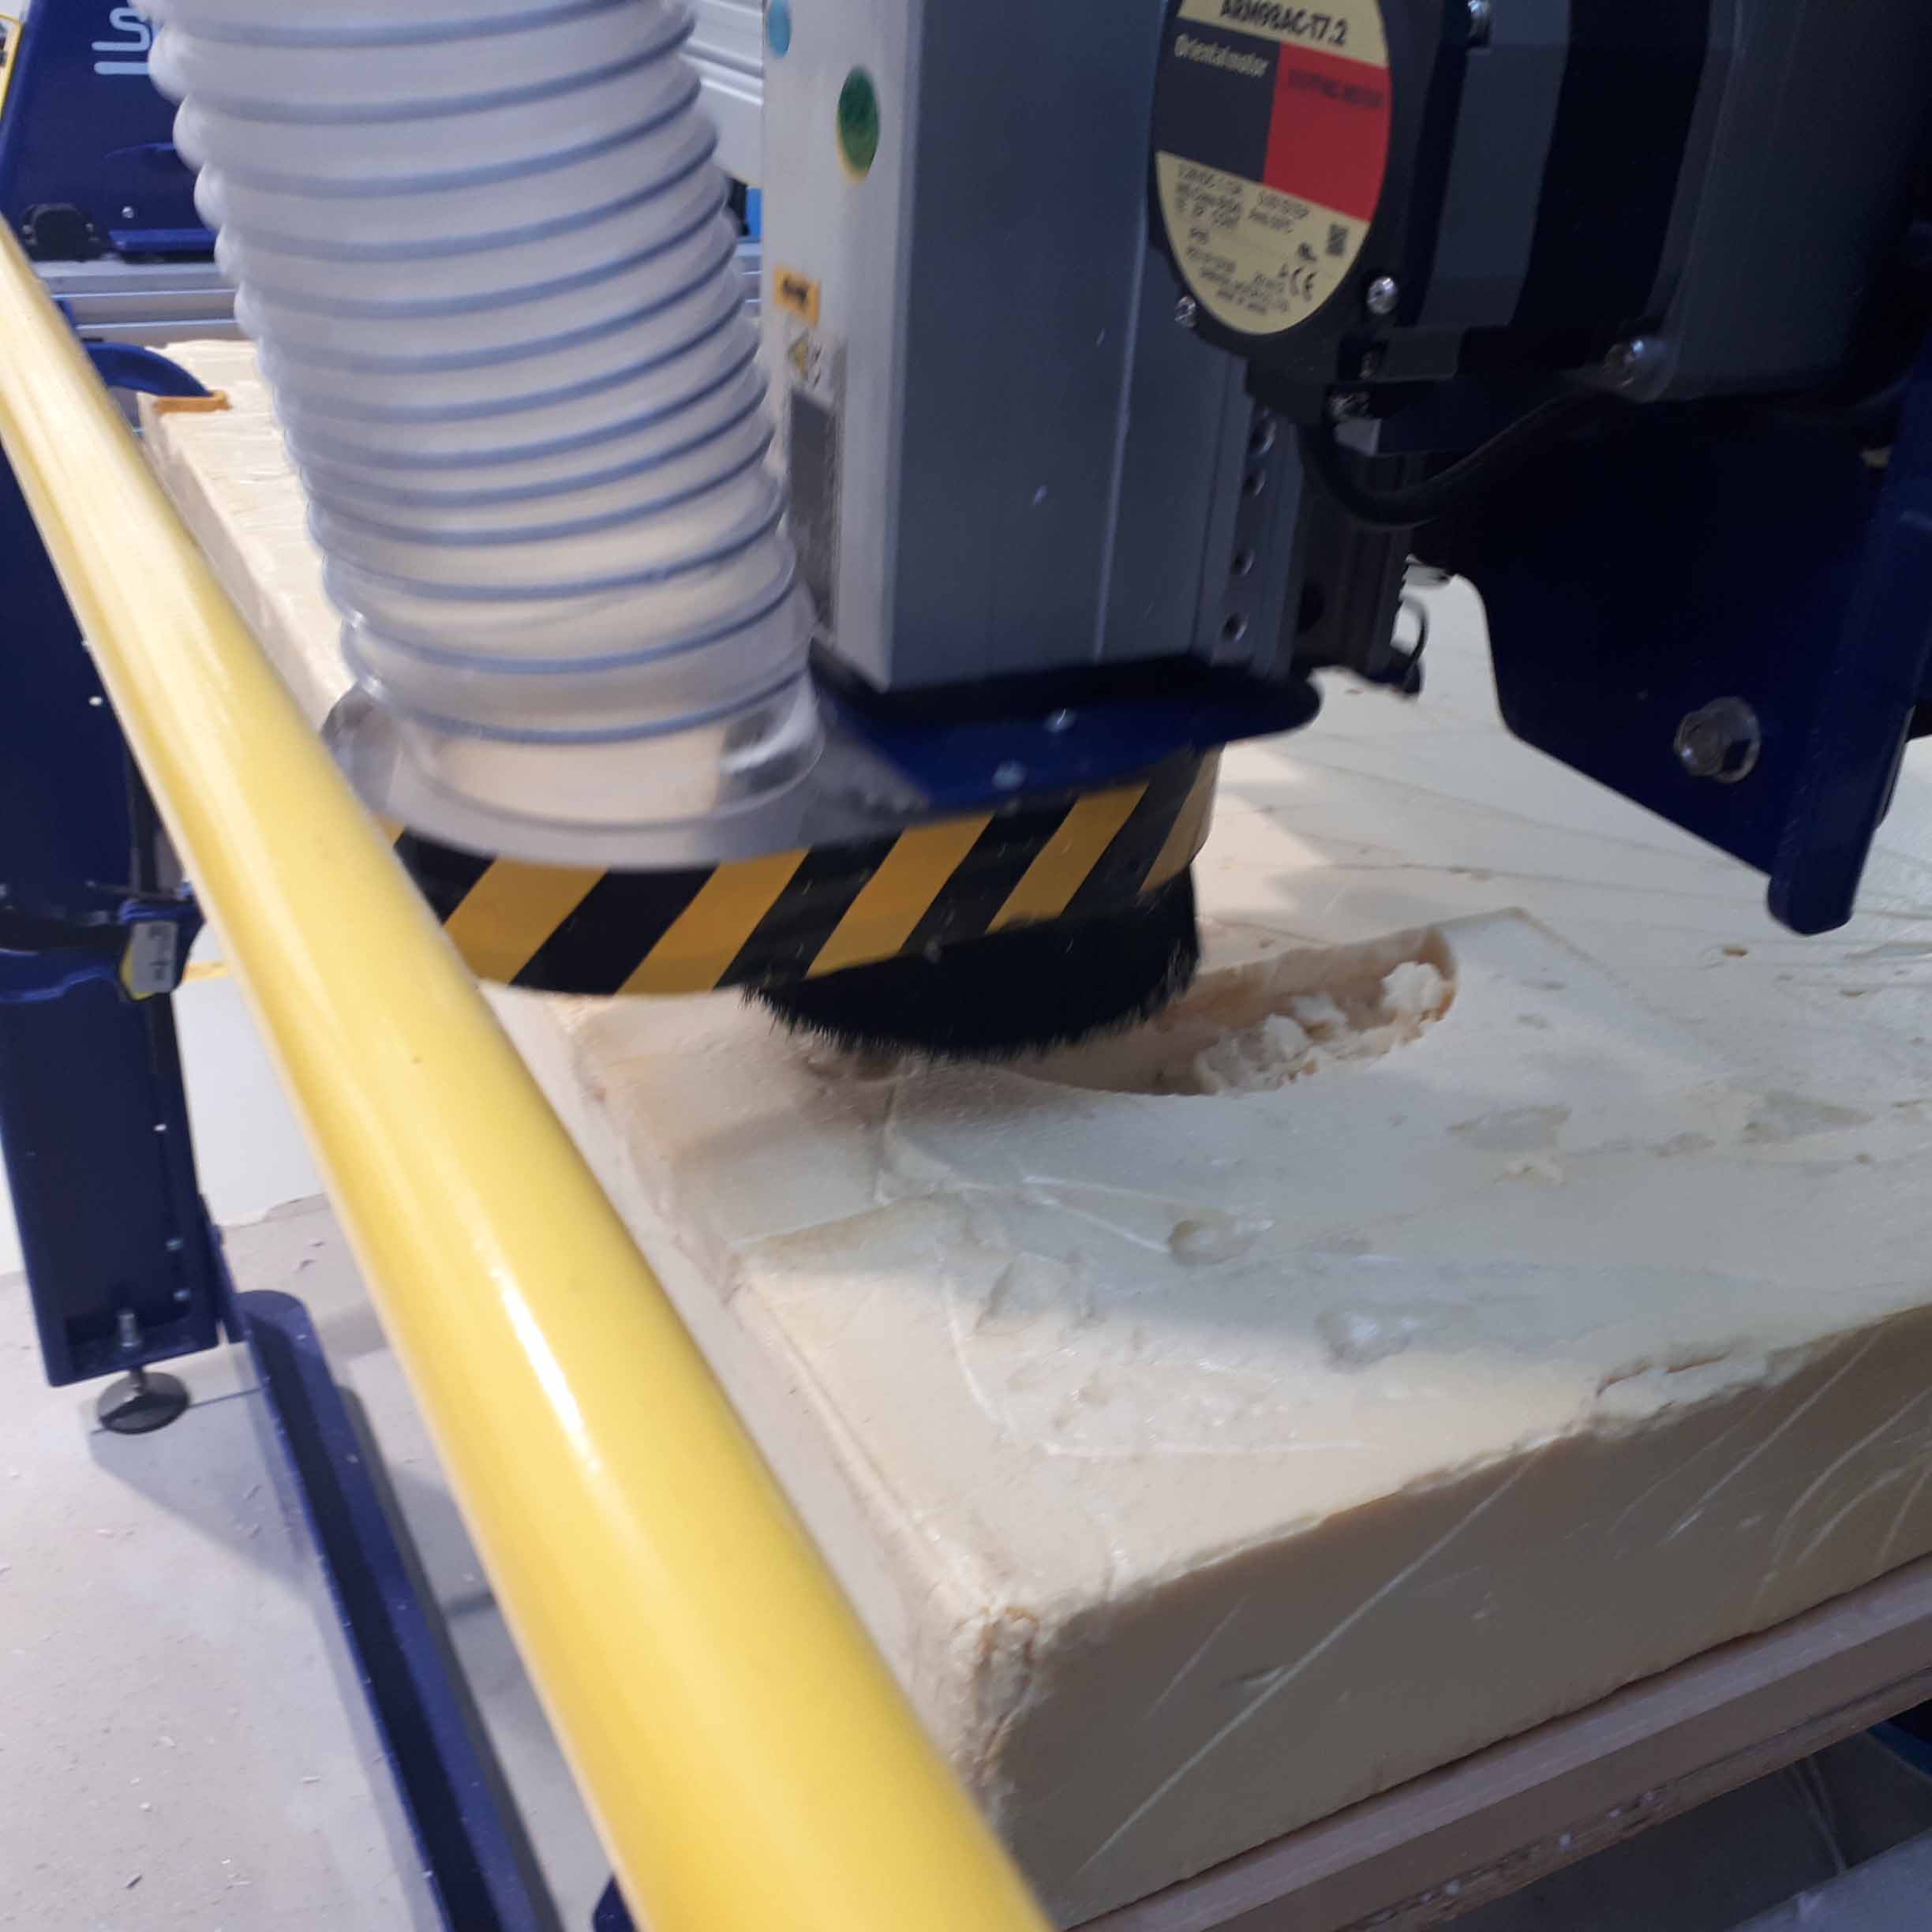
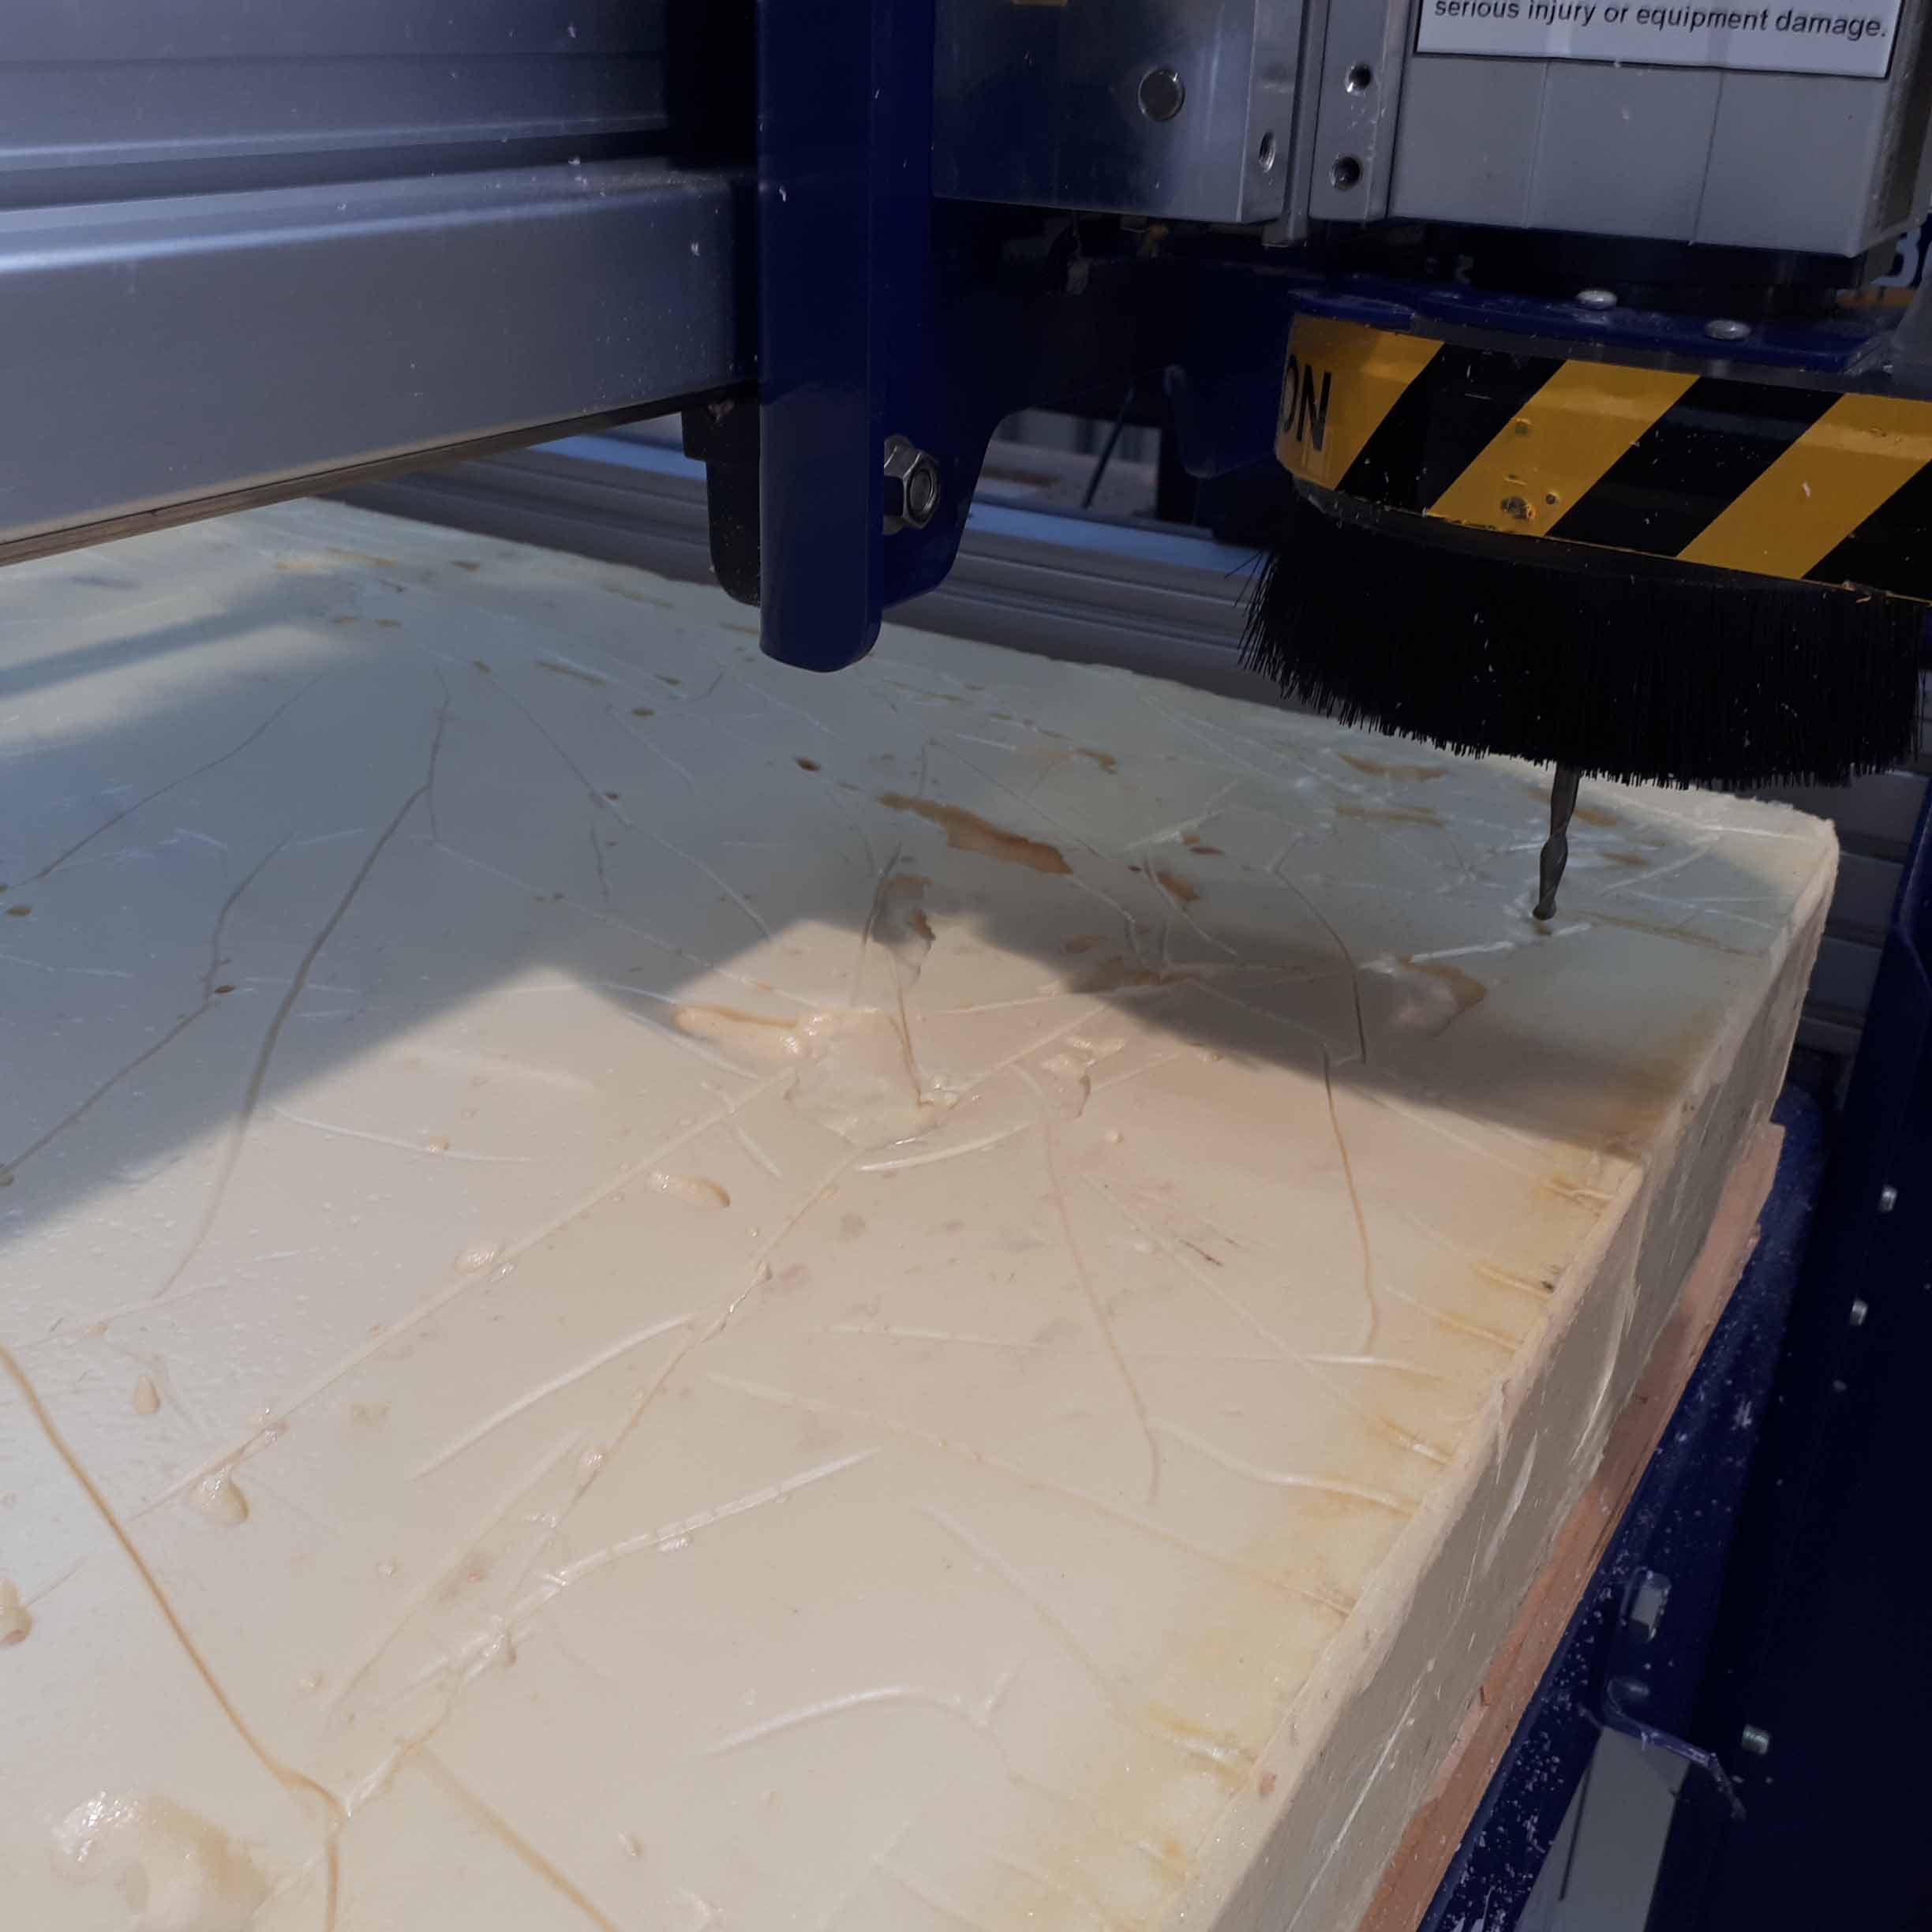
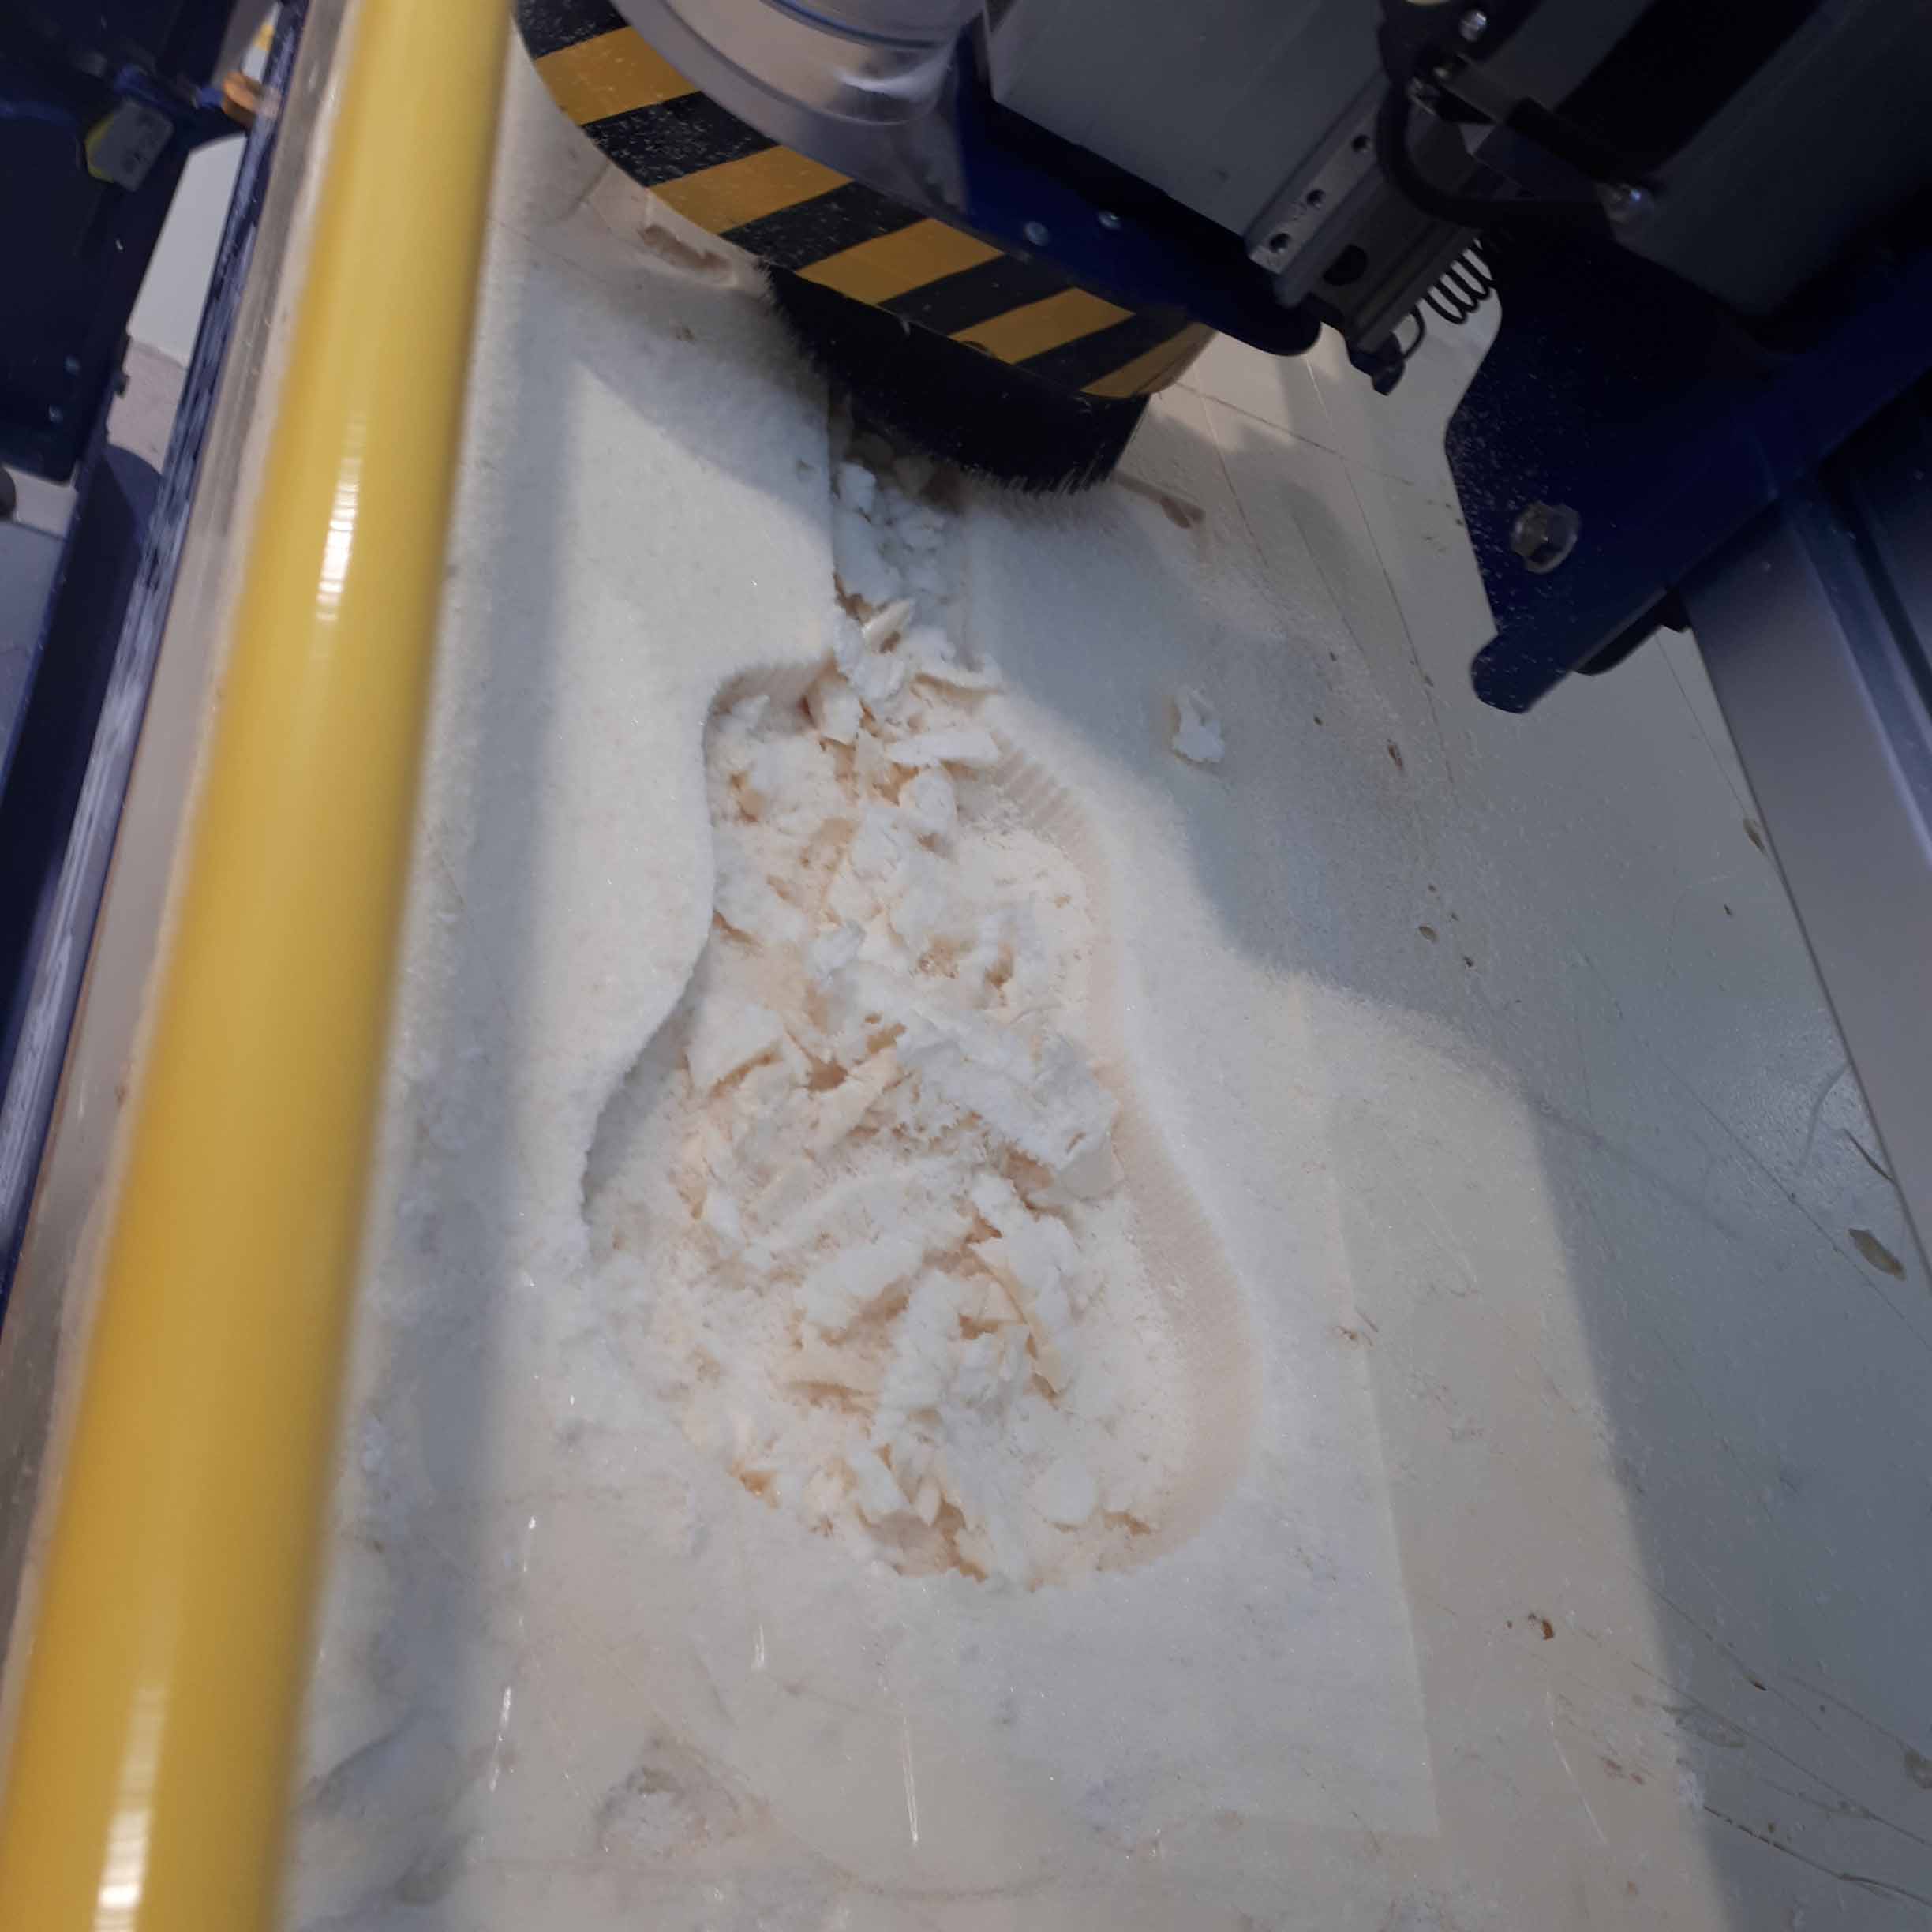
The first, horizontal pass.

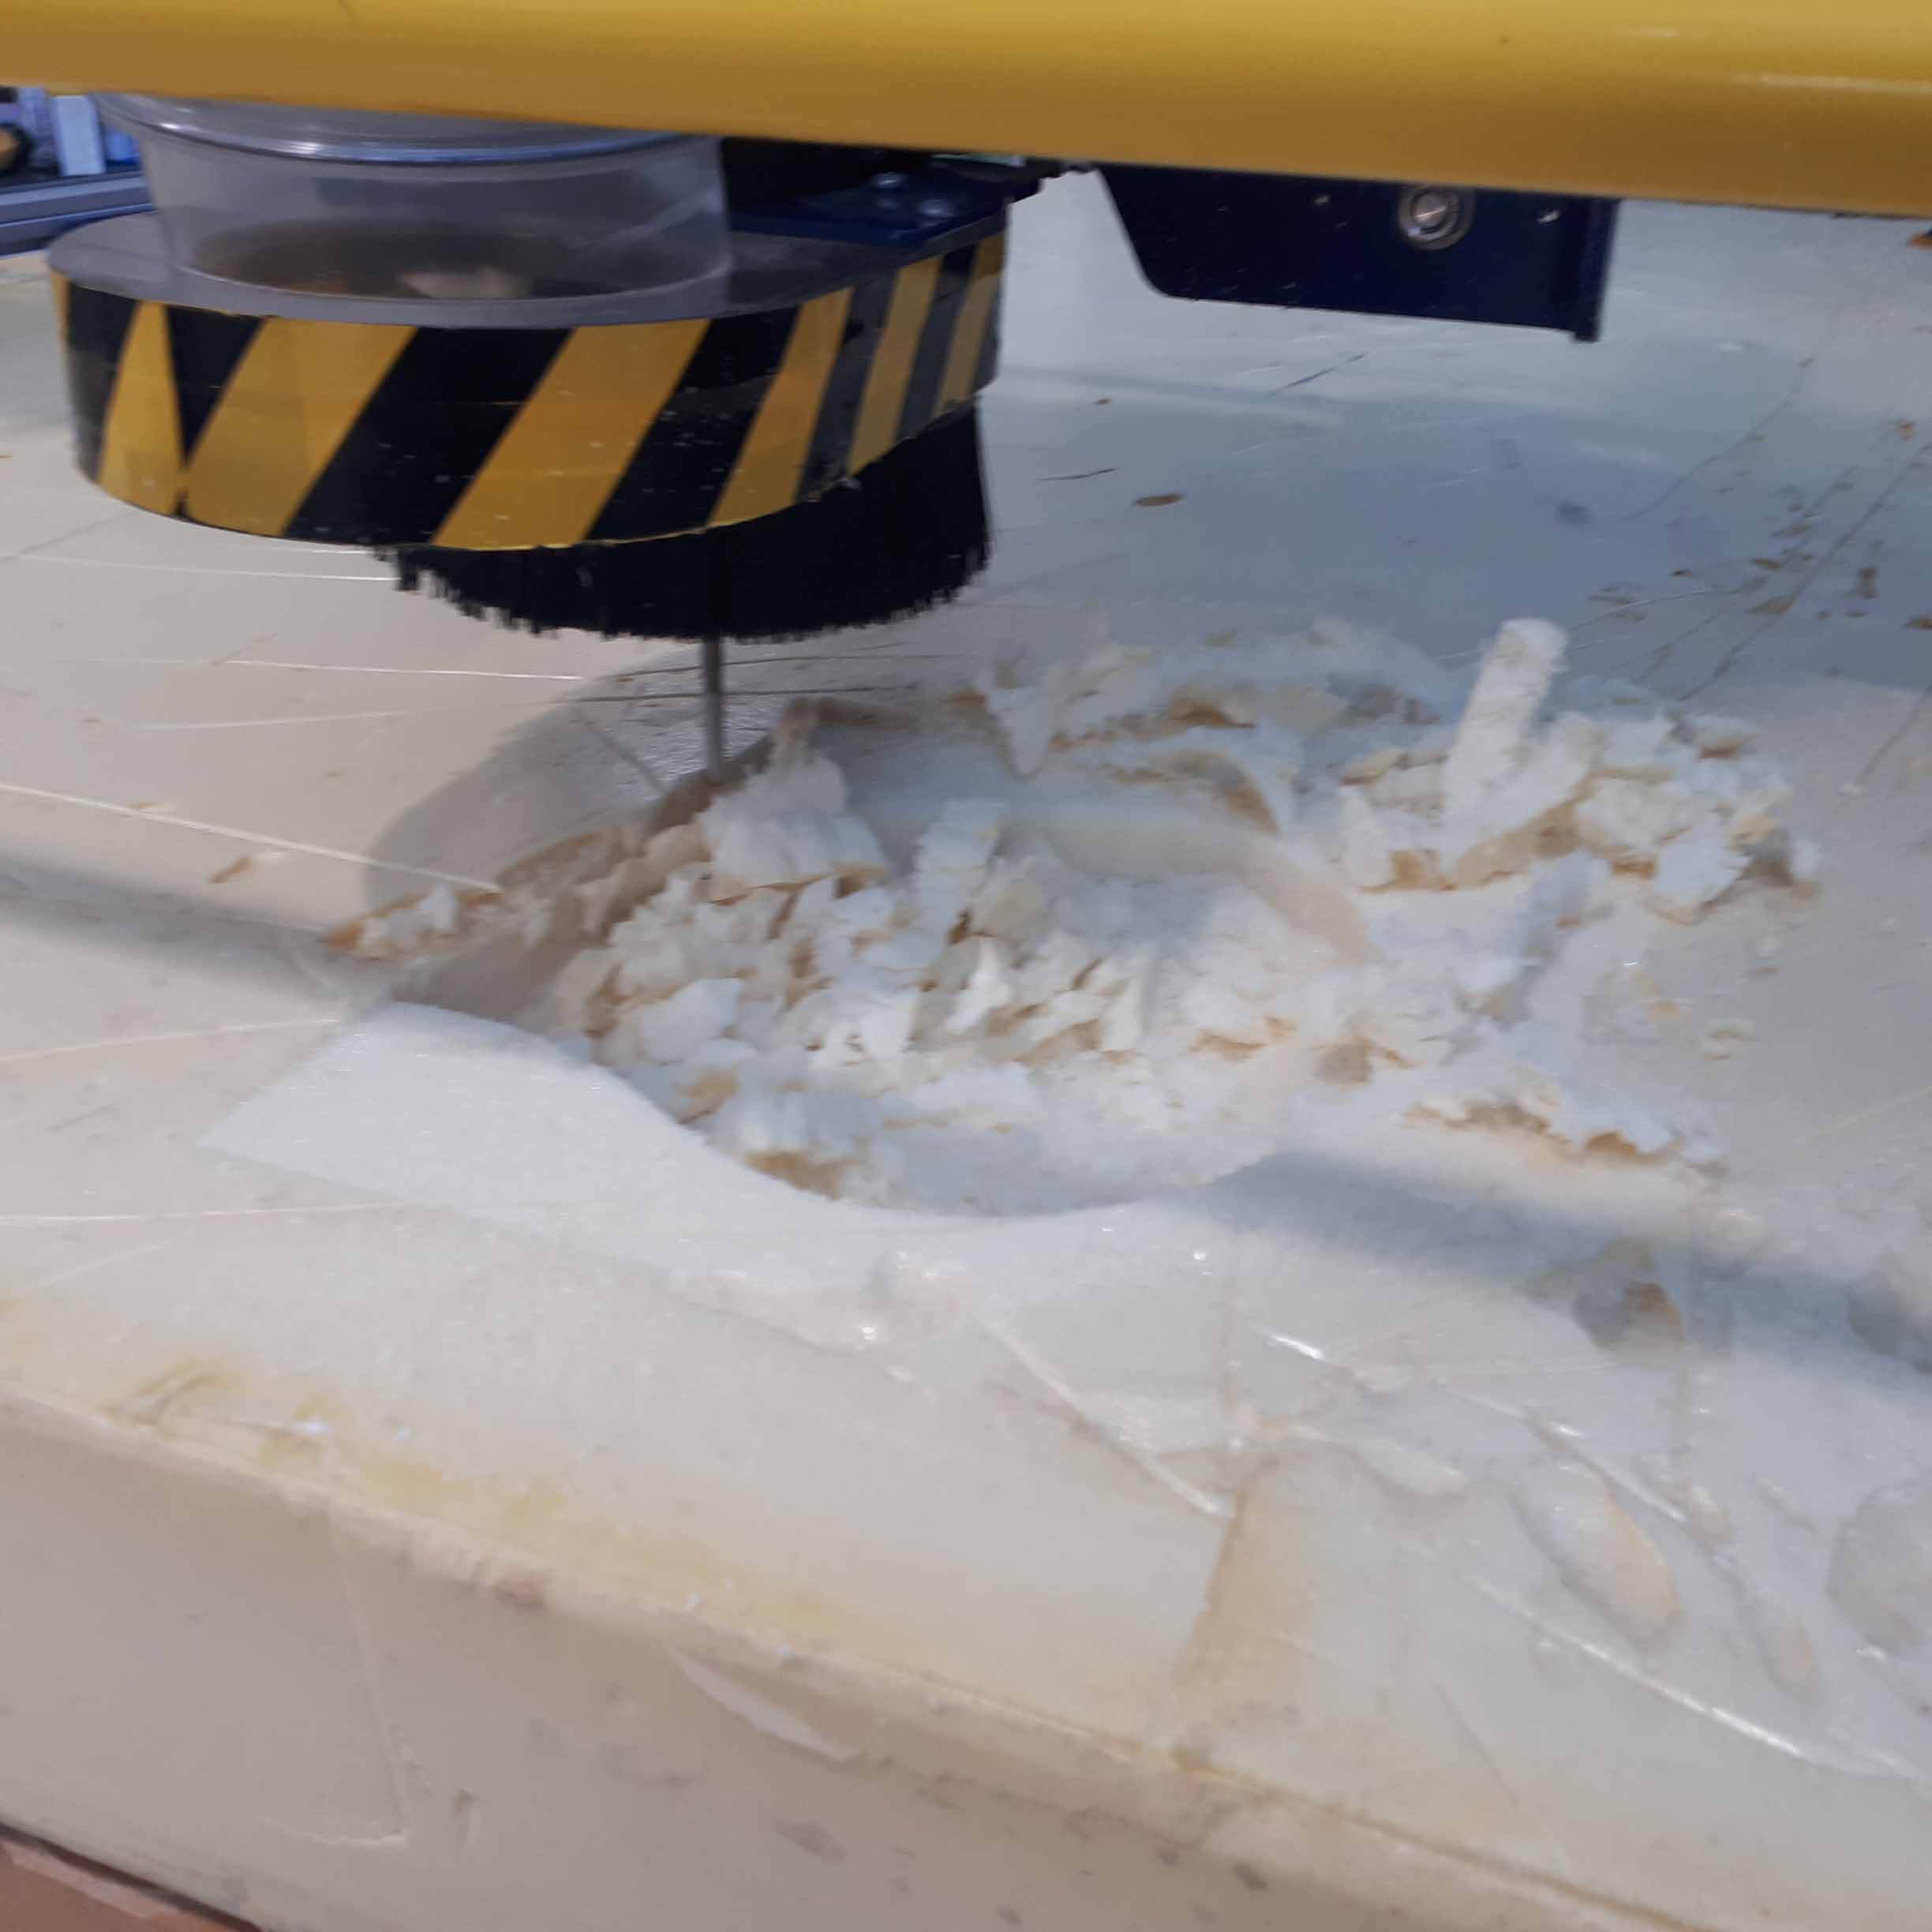
The second, vertical pass (with the same tool).
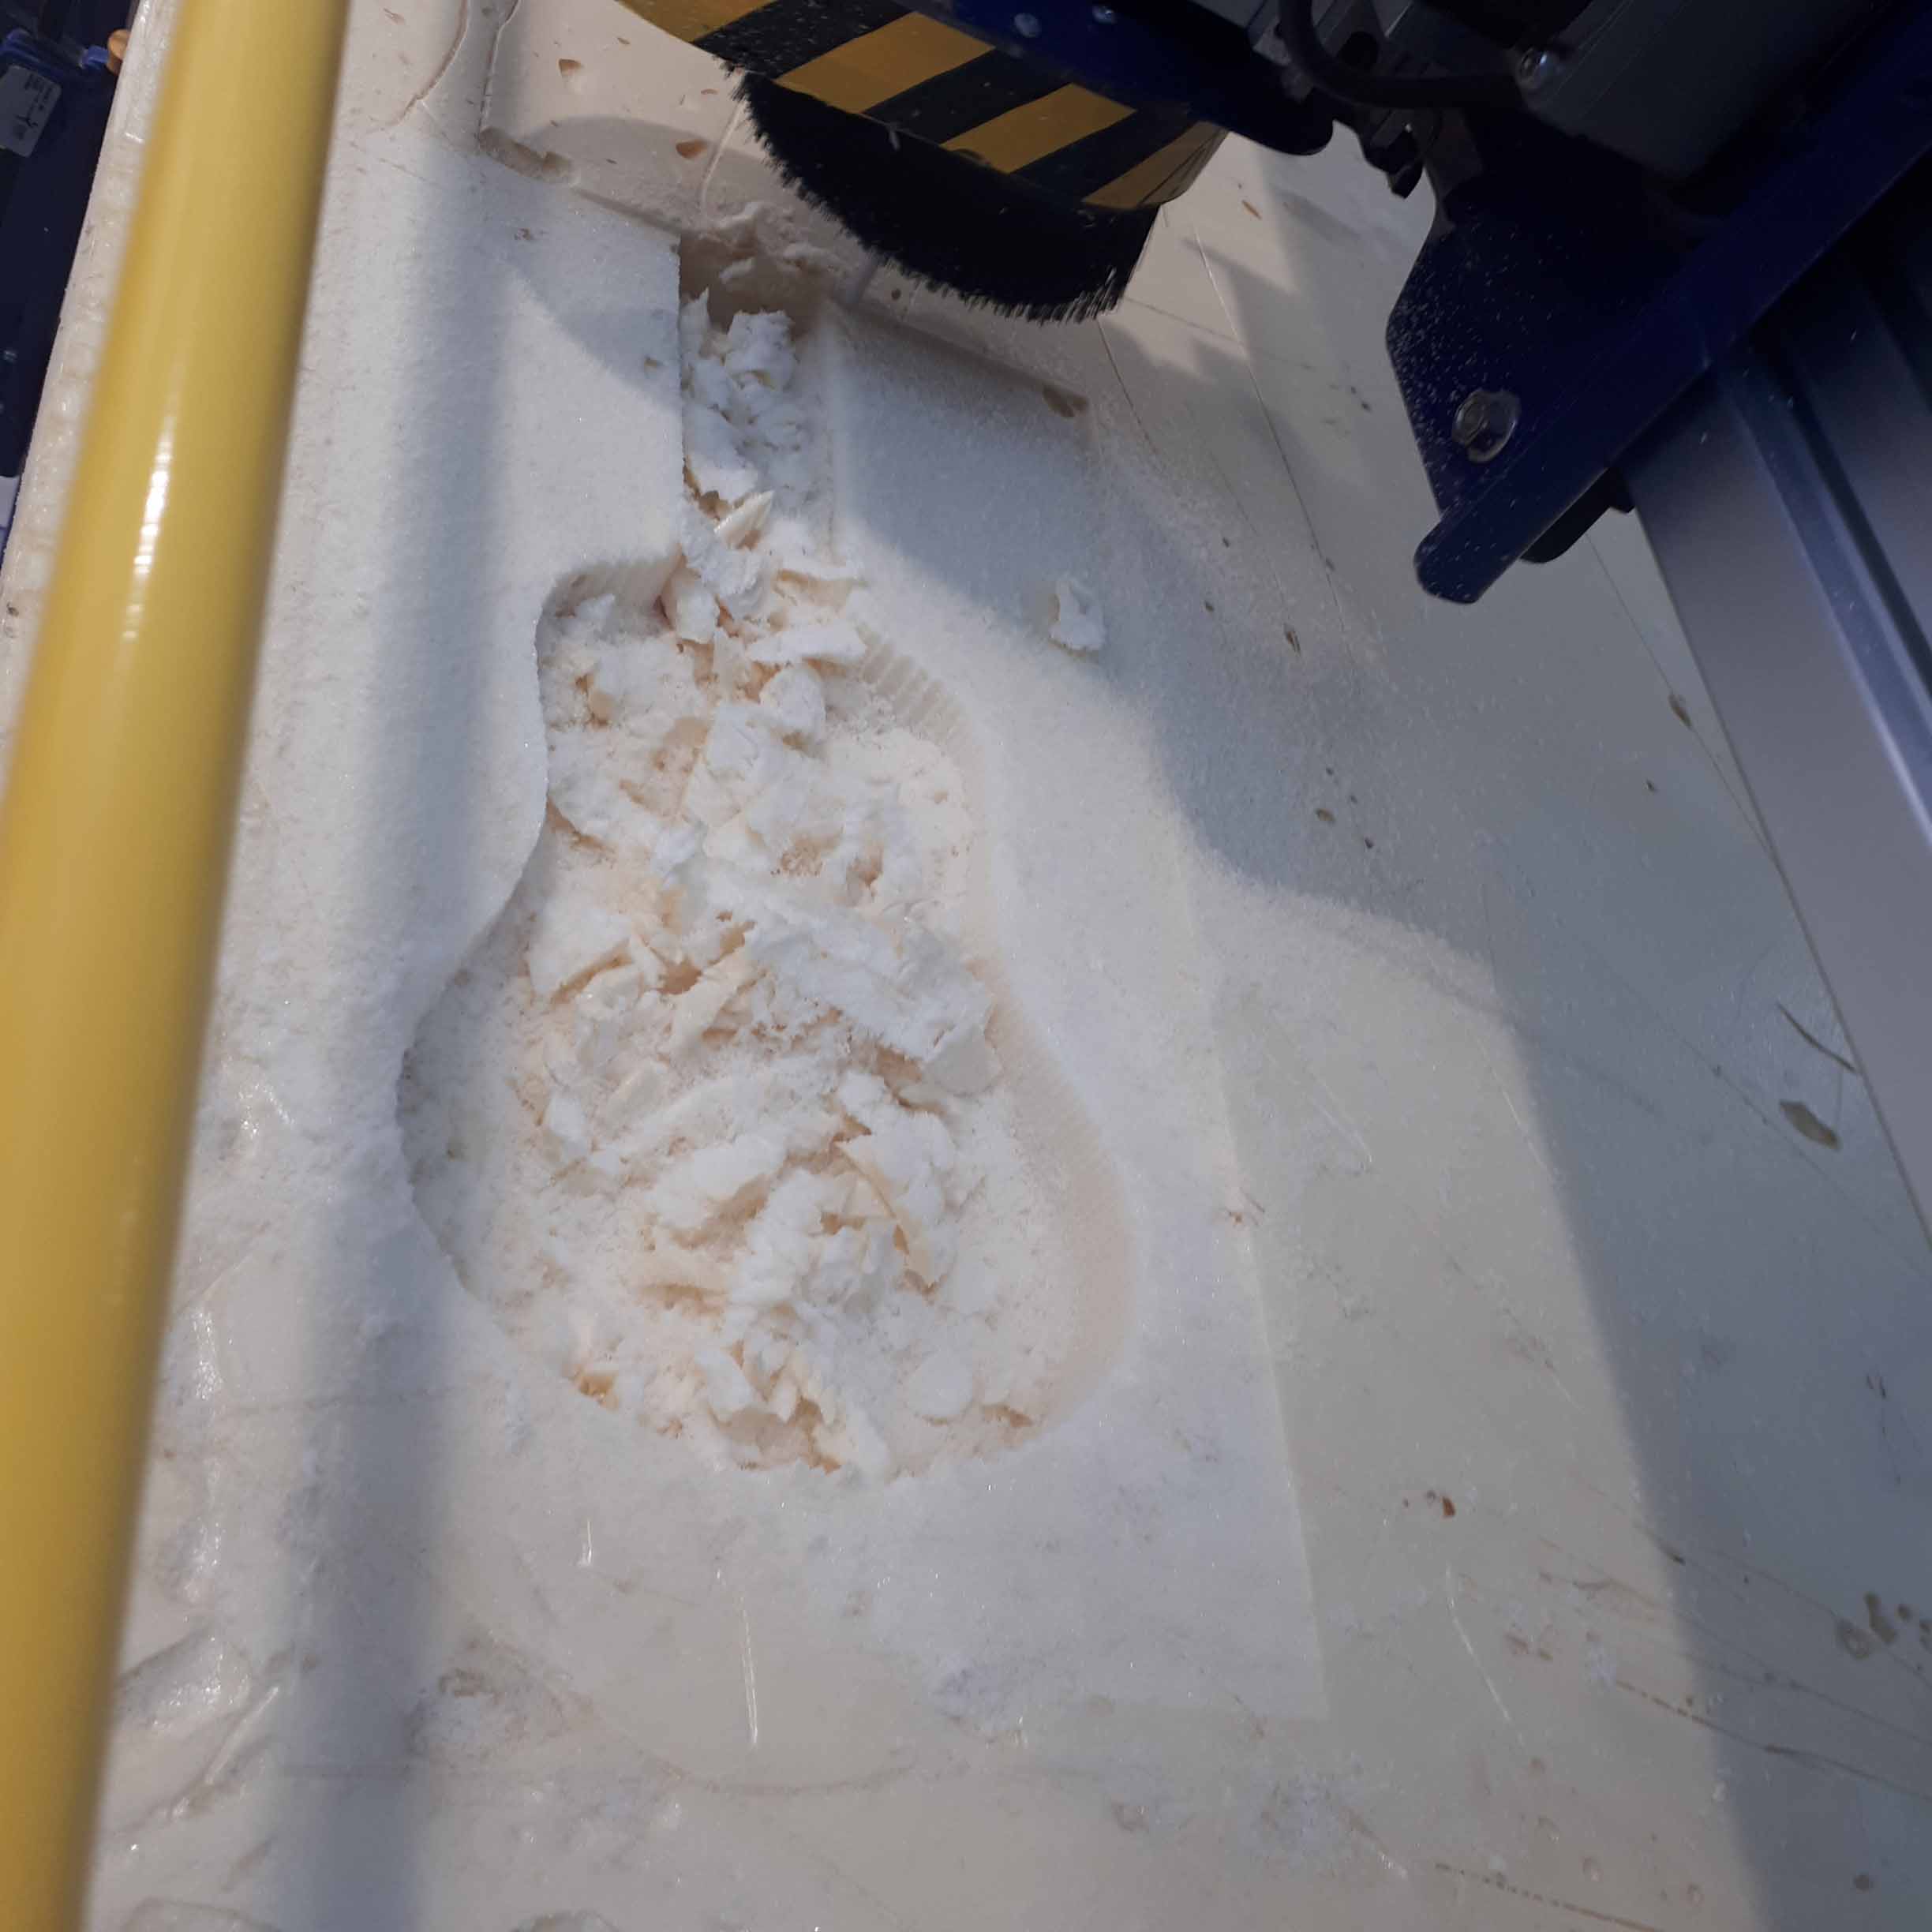
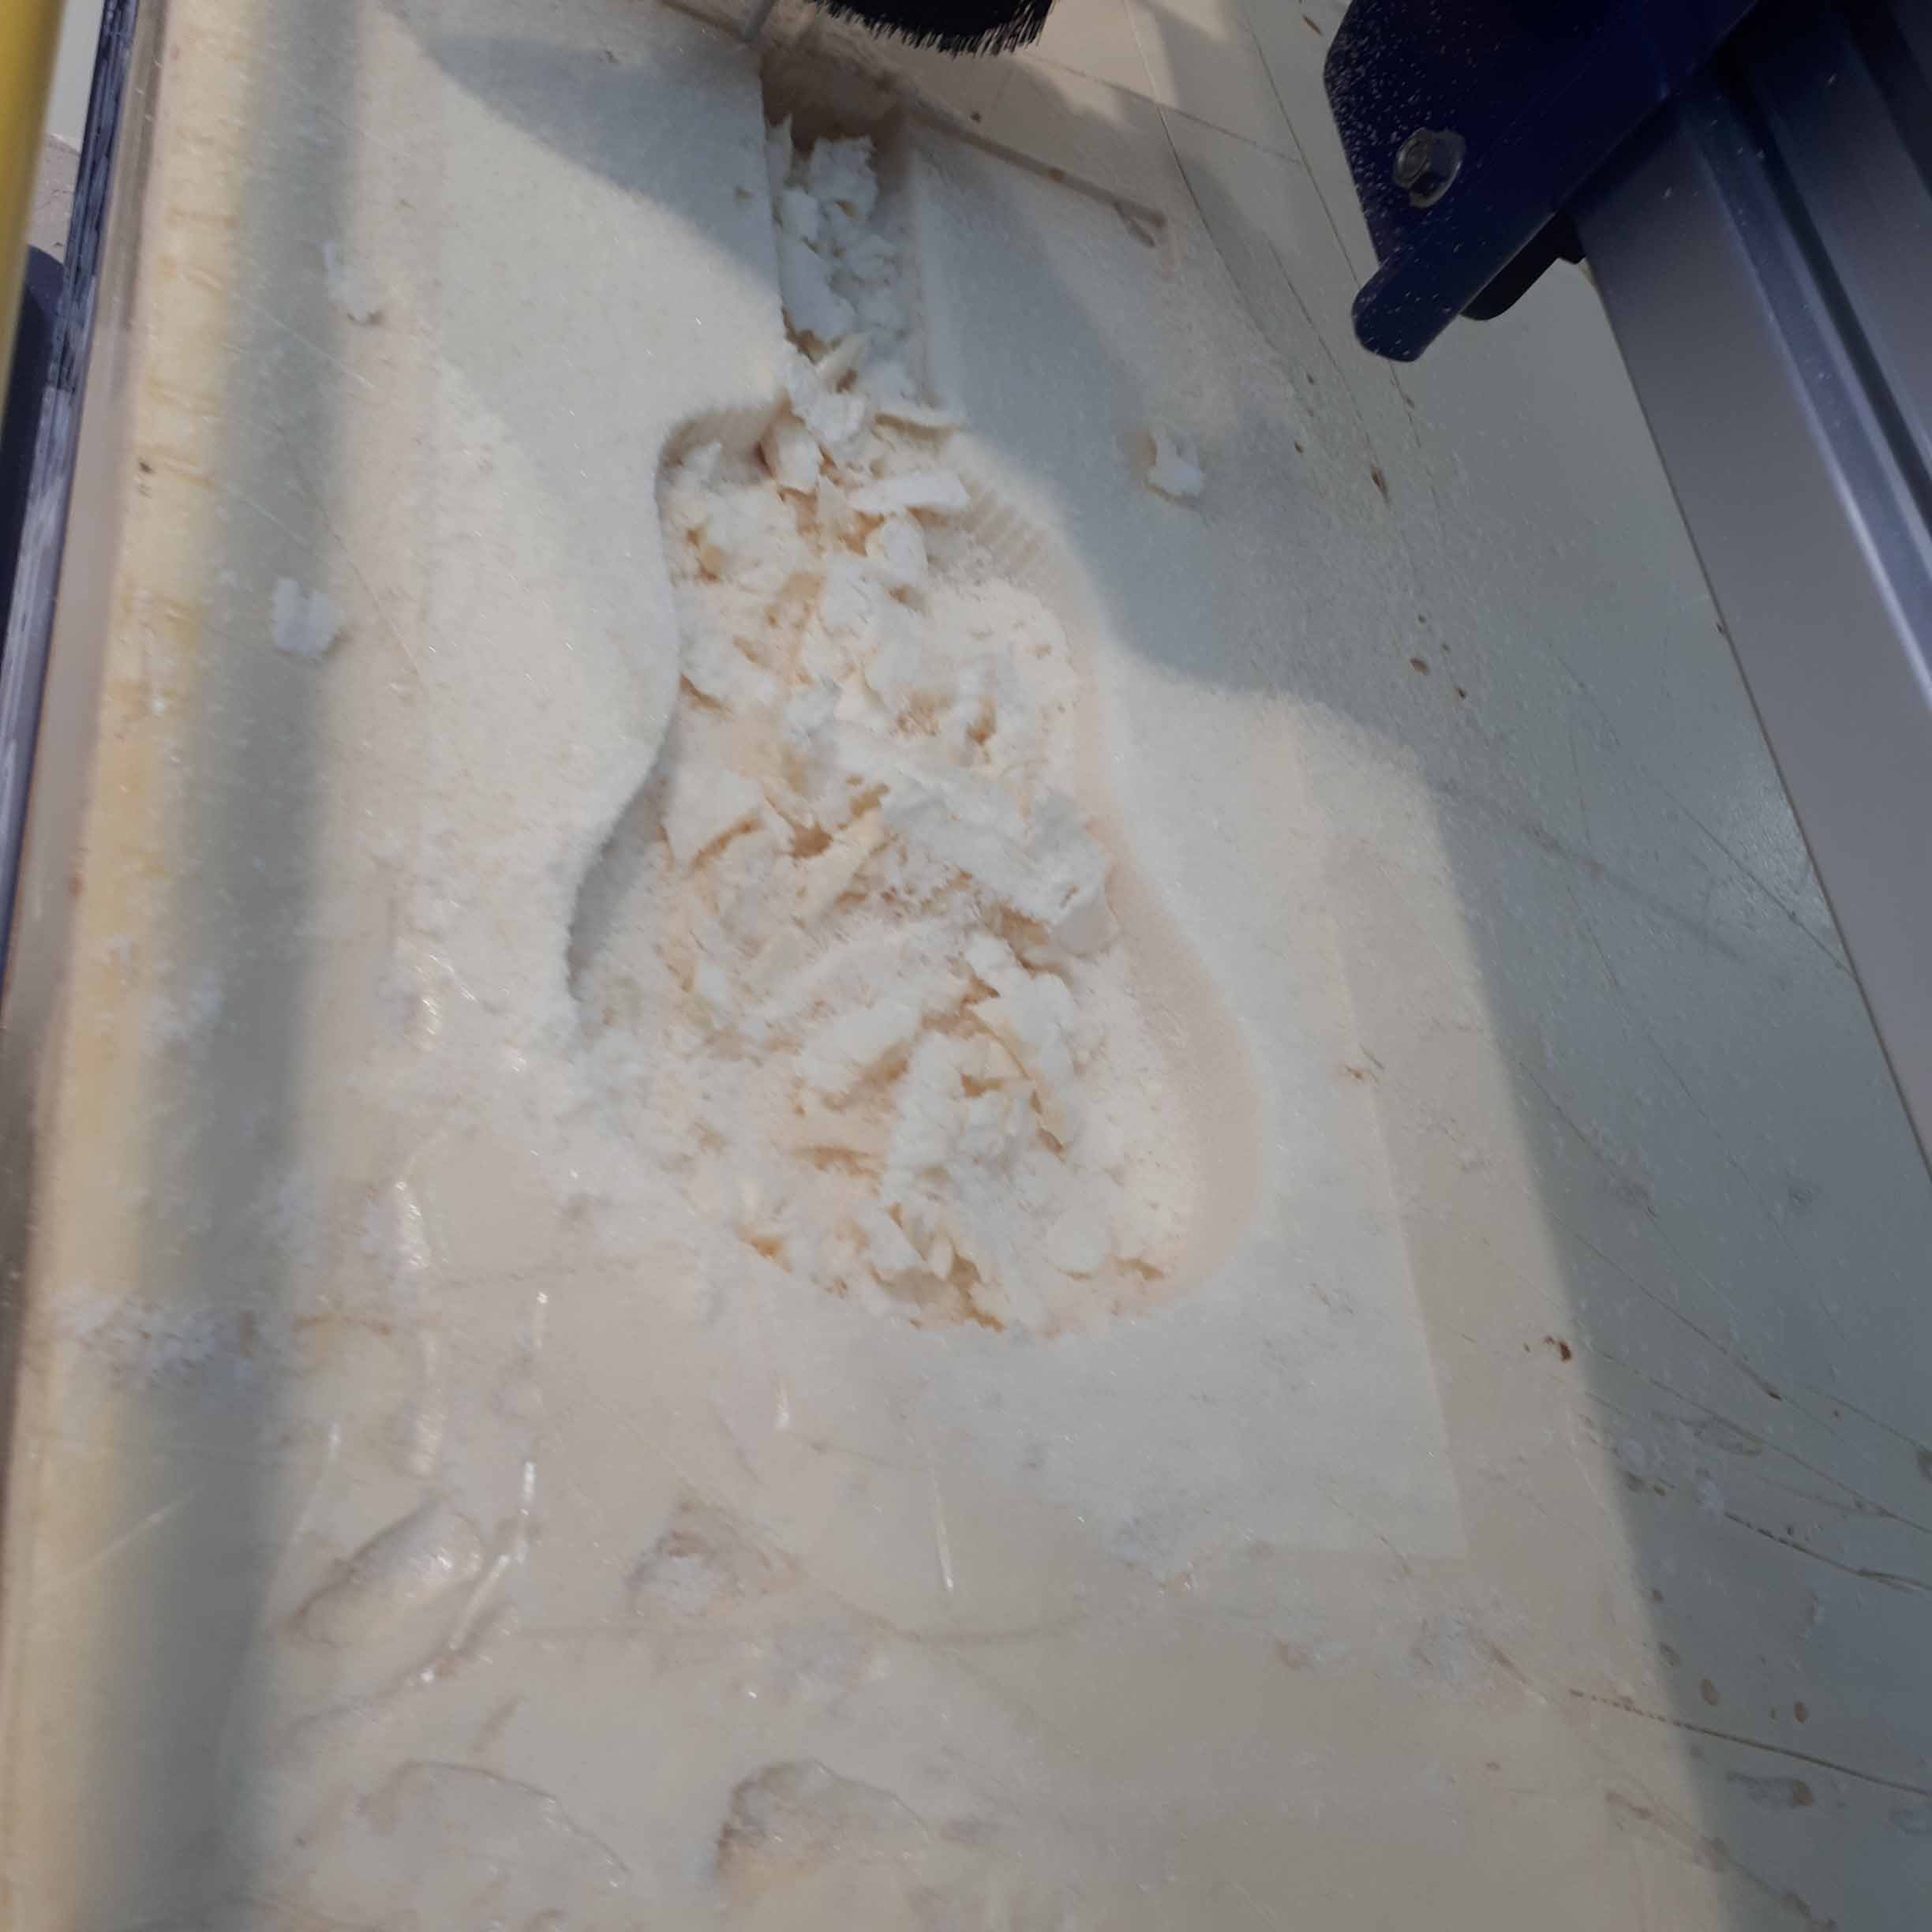
The milling is ready... just a little clean up...
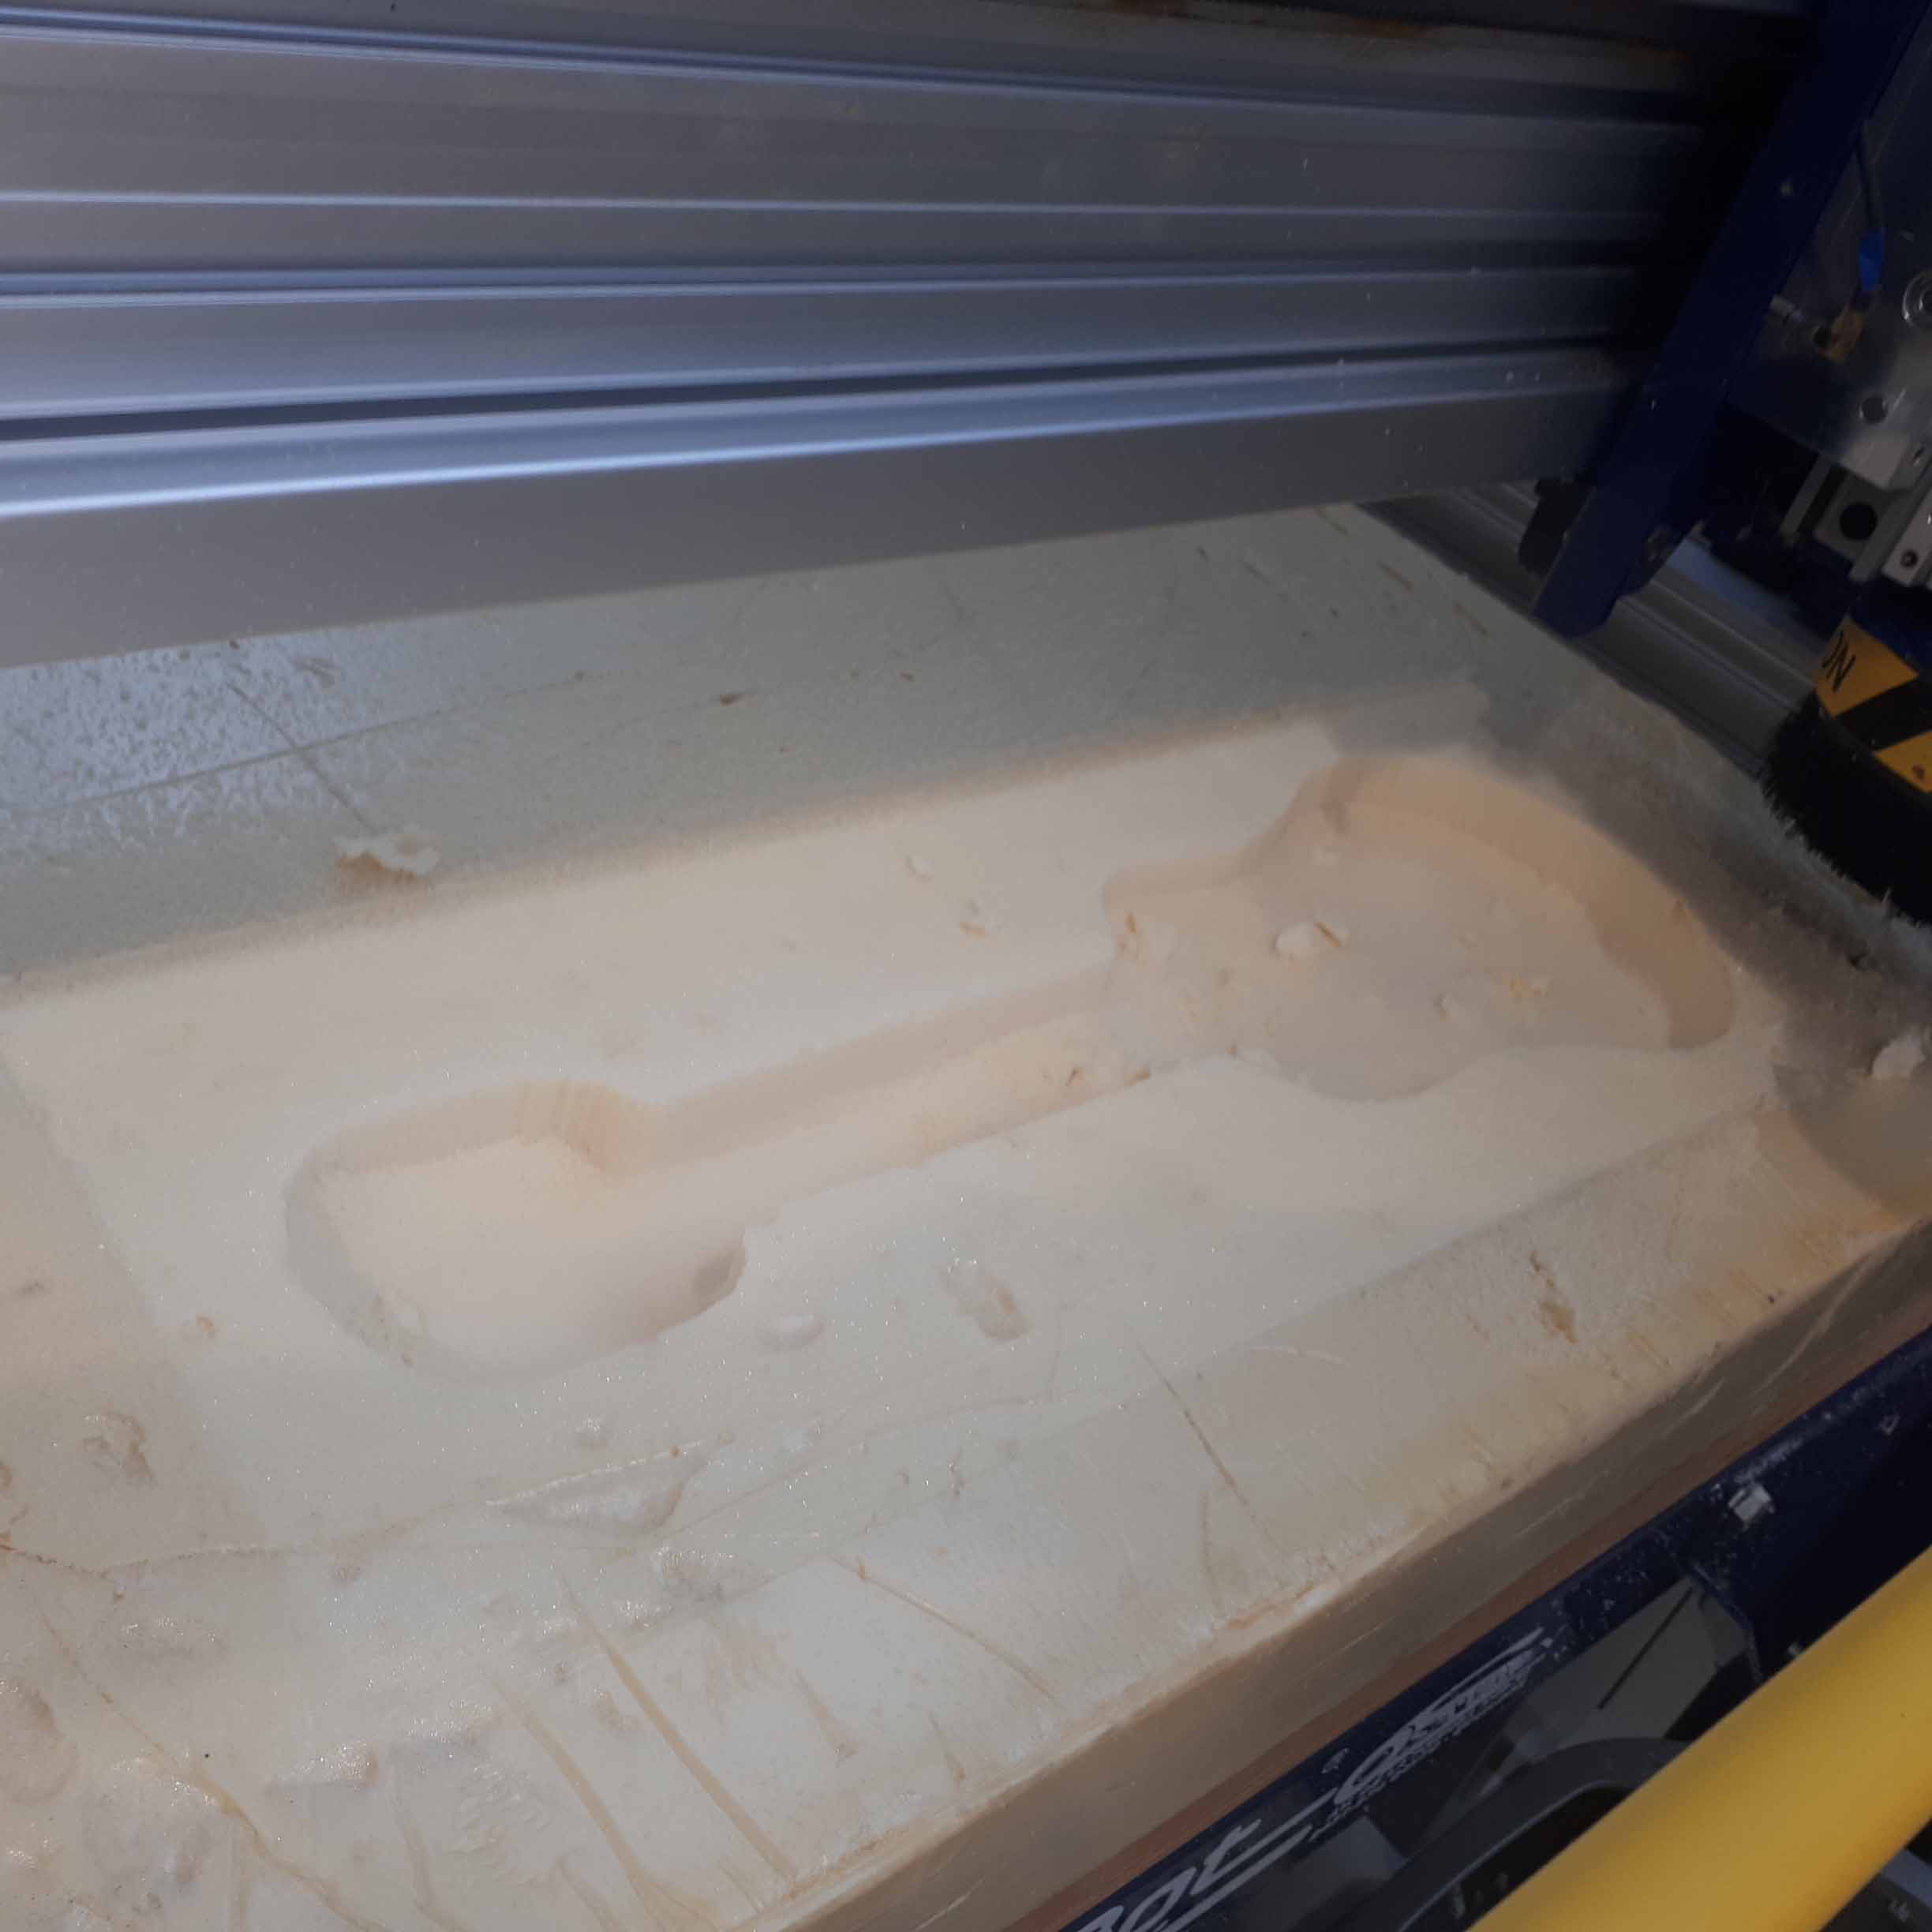
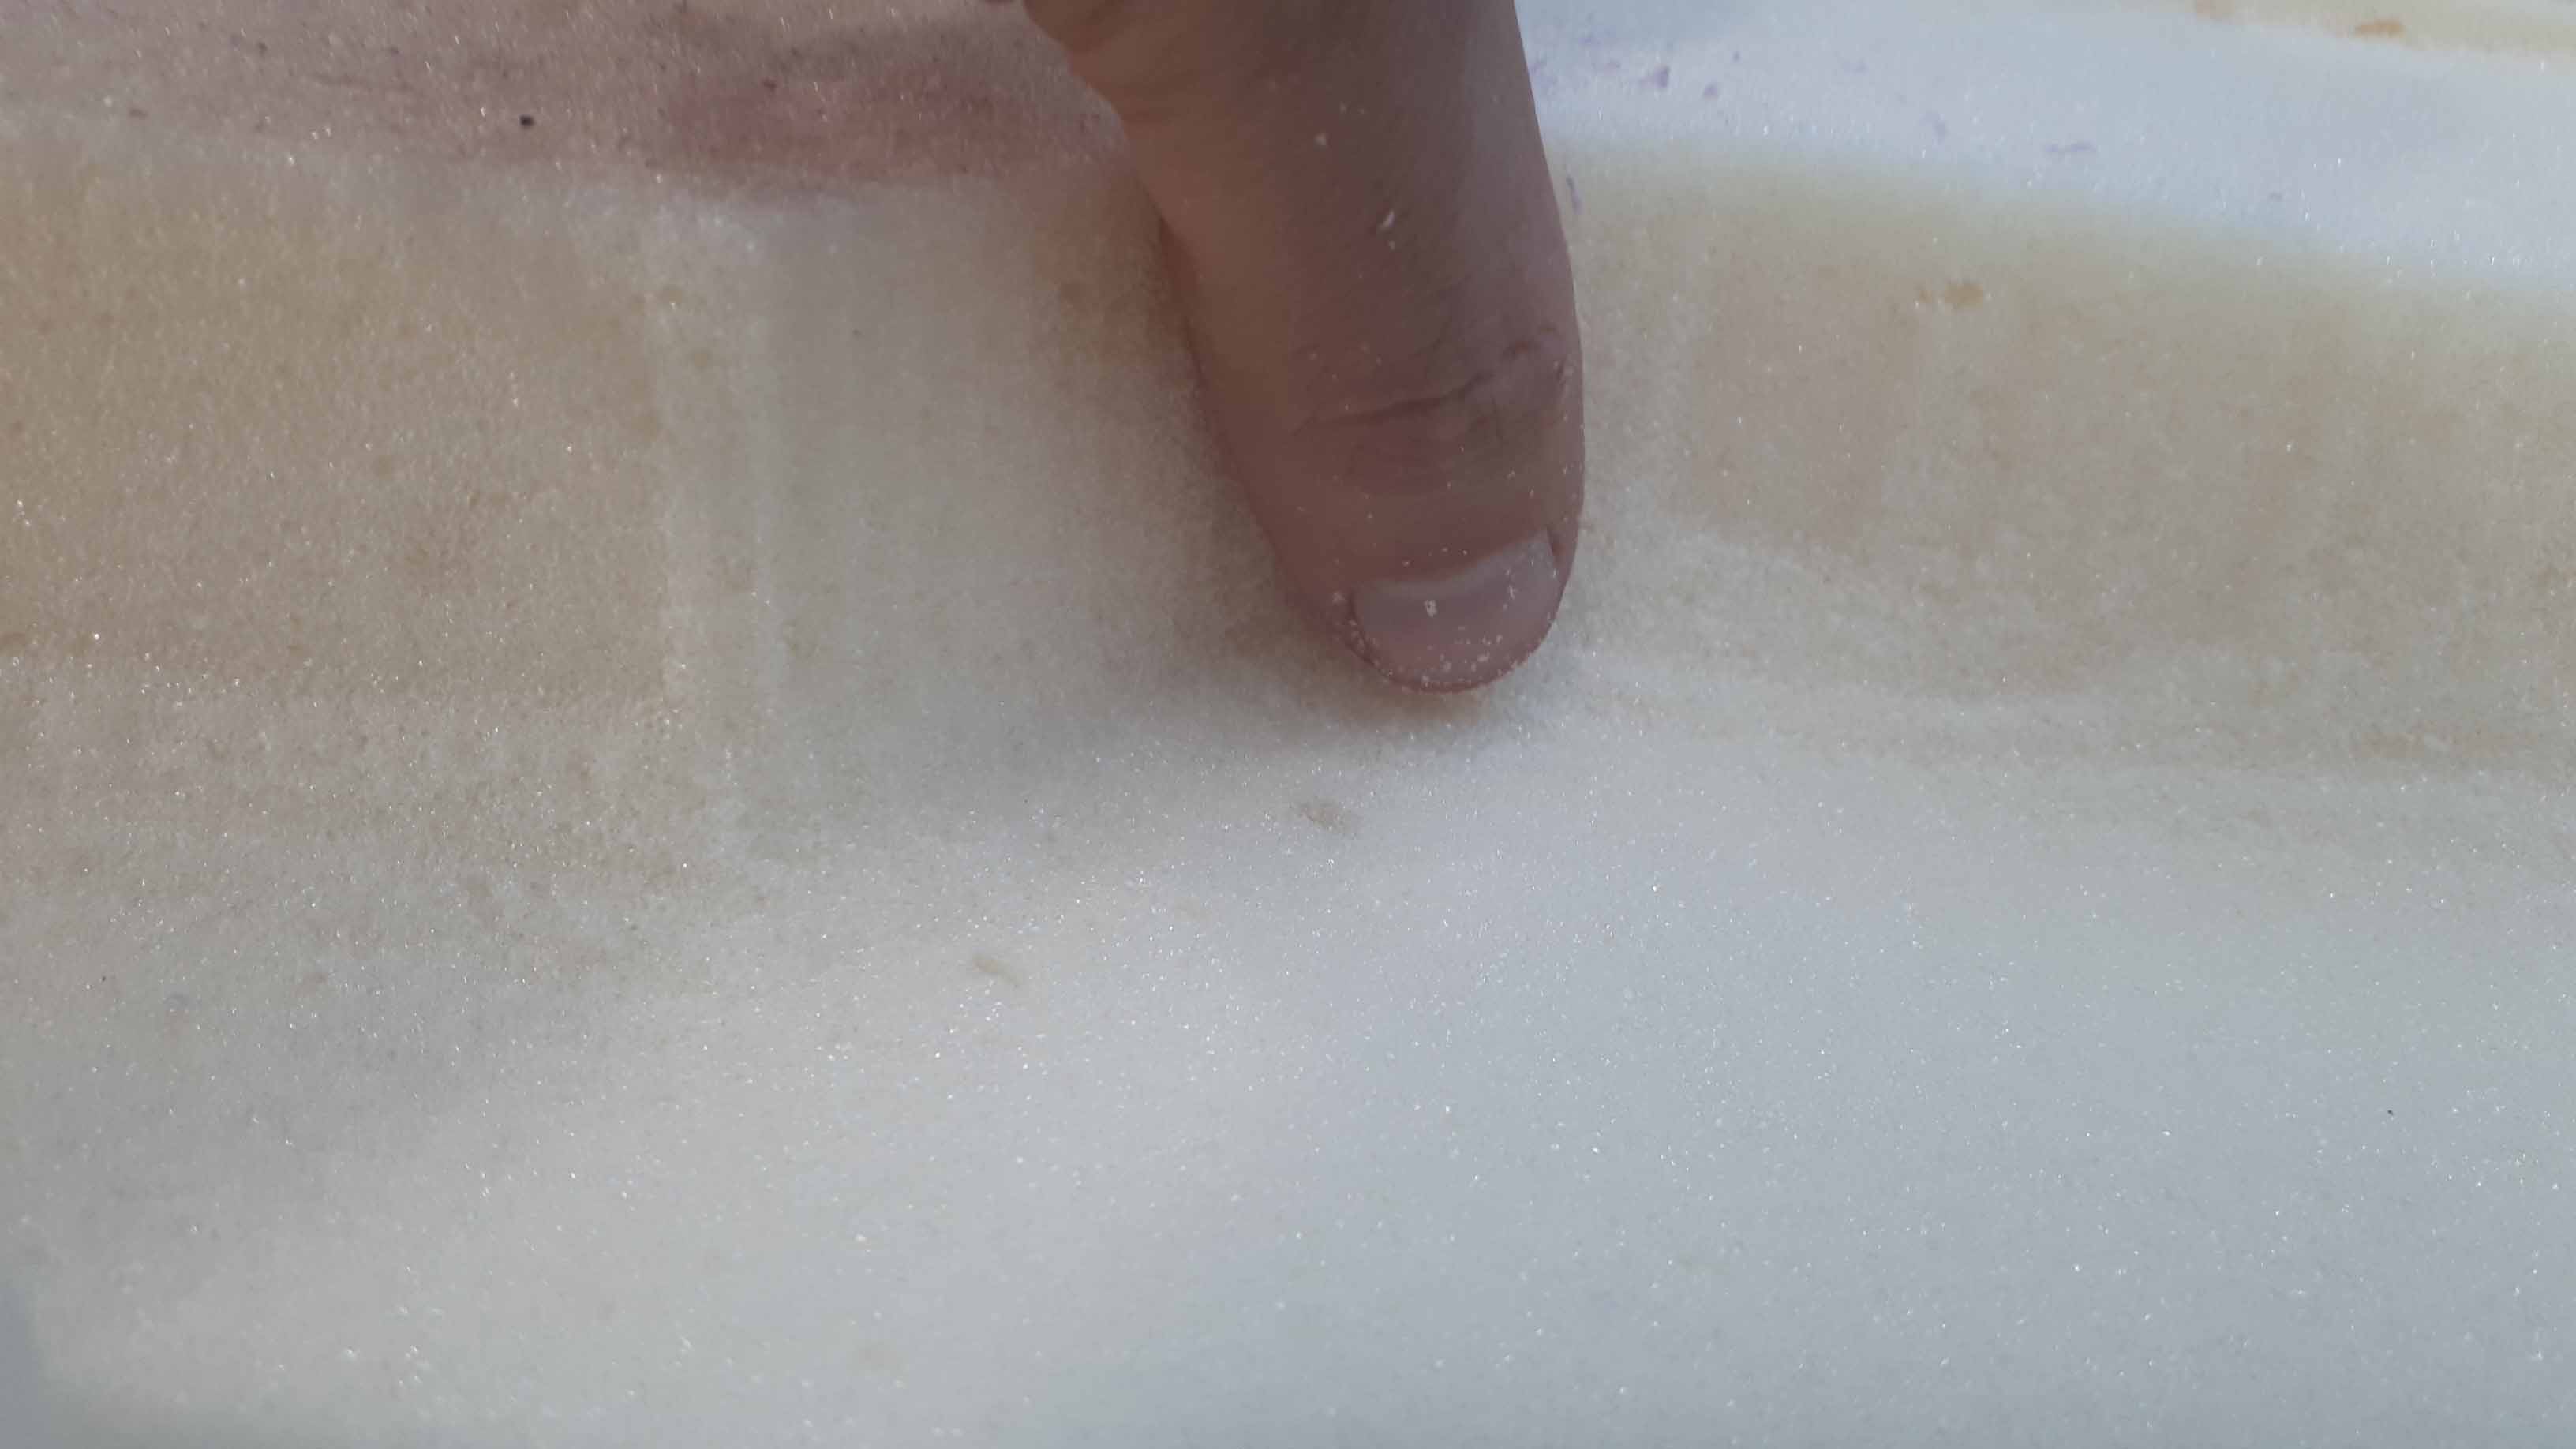
Here we can see the depth of the cut. This is determined by the depth of the tool. Then we proceed to apply the first attempt.
I didn't have a mold relase agent. I had to improvise, and I used a plastic wrap.
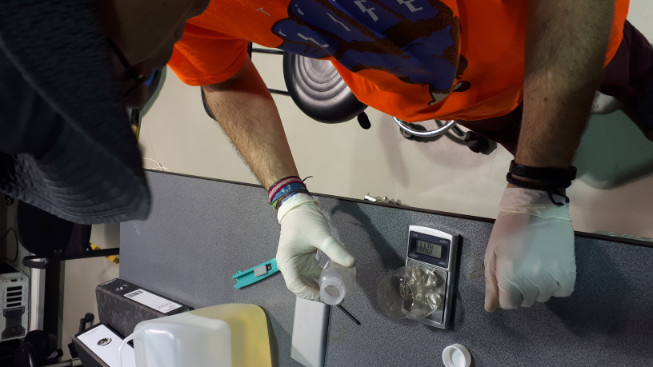
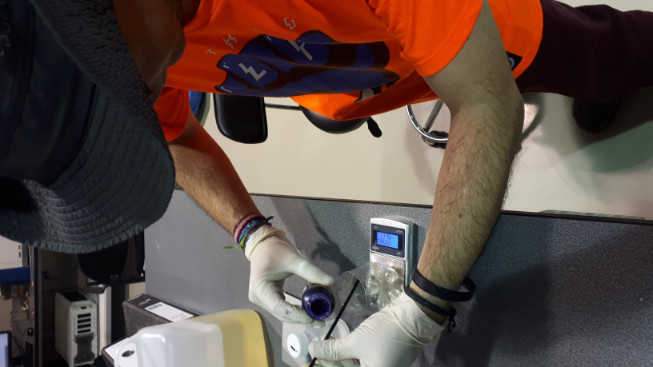
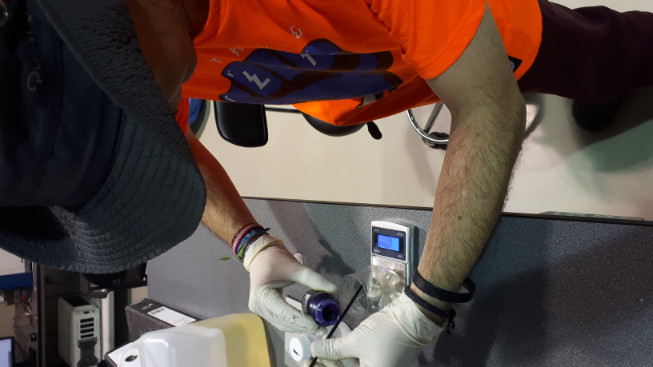
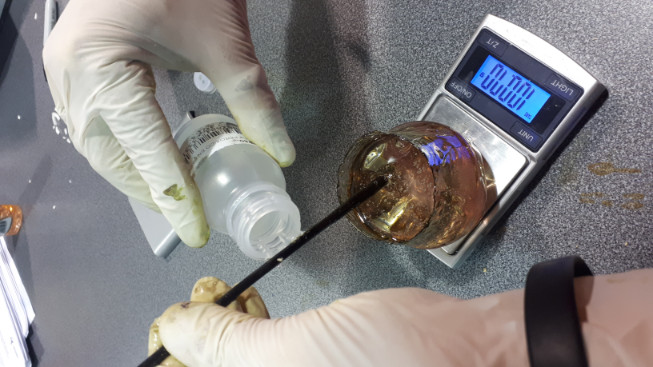
I made the mistake of mixing the MERK (organic peroxide) and the cobalt compound at the same time, as recomended in some site on the internet. The cure took forever (like two days, and still not hard). So I started over again, this time, adding first the peroxide and allow the mixture to generate the free radicals needed for the polimerization reaction.
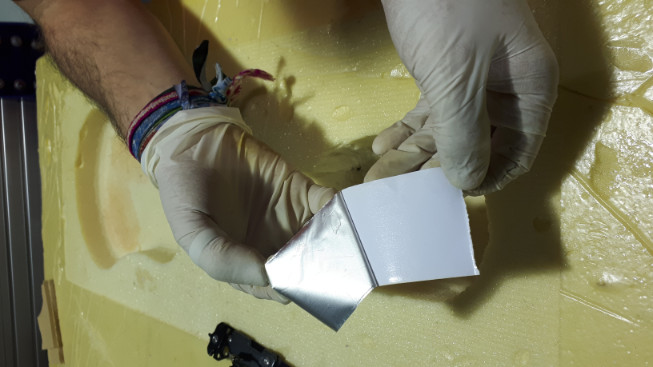
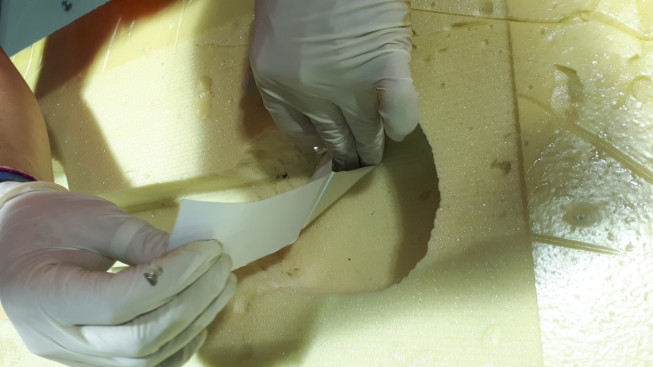
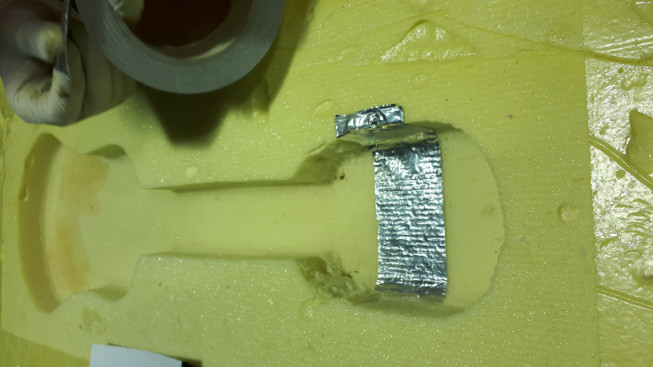
Before applying the resin, the mold was prepared, this time using an aluminium, glued tape. This time I did not use the plastic wrap. The glue on the tape is strong enough to keep it in place, but also loose enough to relase it when cured.
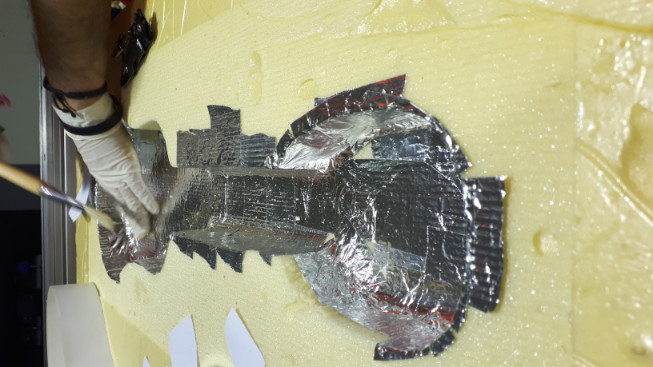
This technic, from the chemistry lab, is thought to use the surface tension of the solution as and advantage to measure the ammount more accuratelly. The concentration might vary with the temperature, but between 1% and 2% worked fine, as recommended.
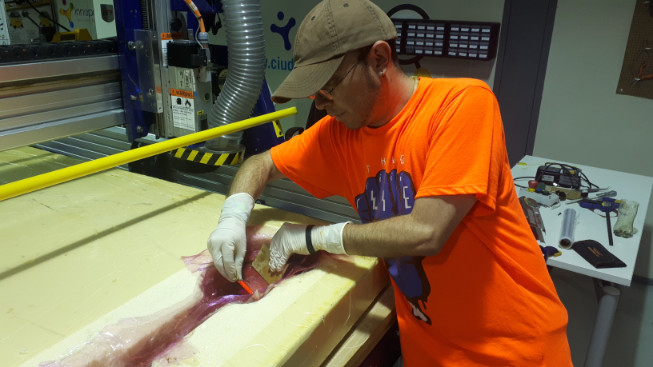
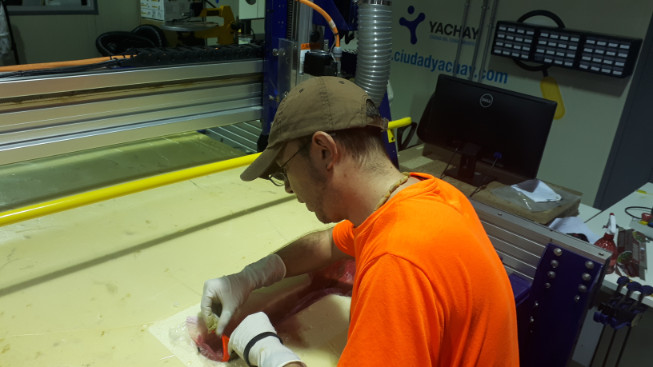
Then I stated to apply the solution to the mold. I used different tools. The brush was specially useful.
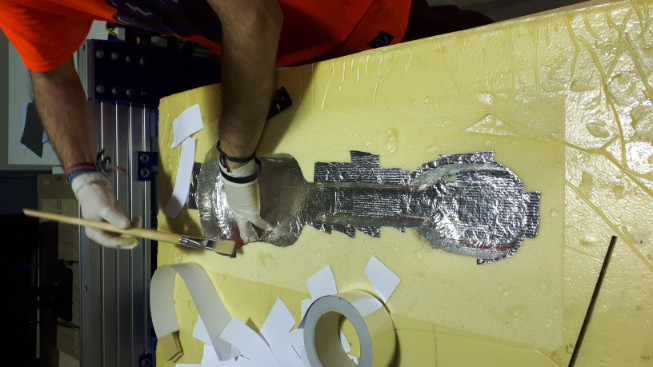
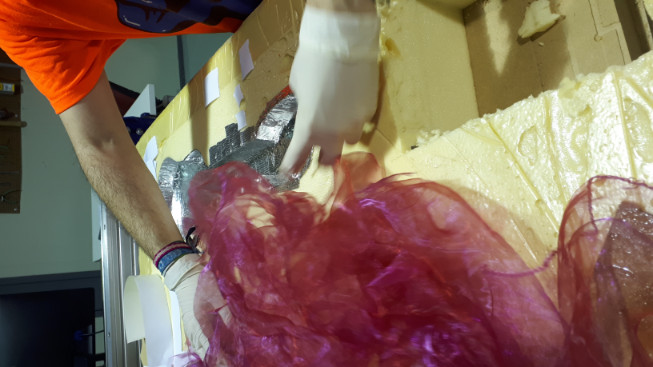
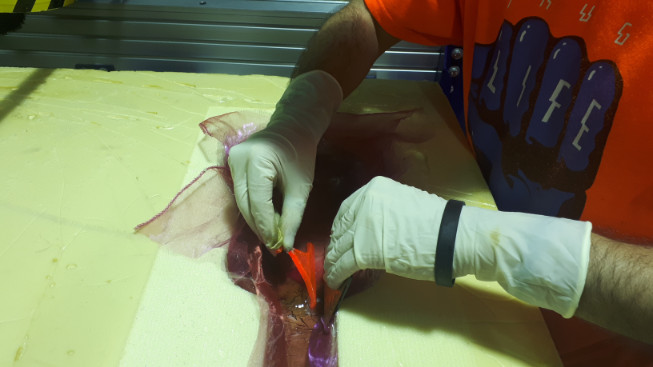
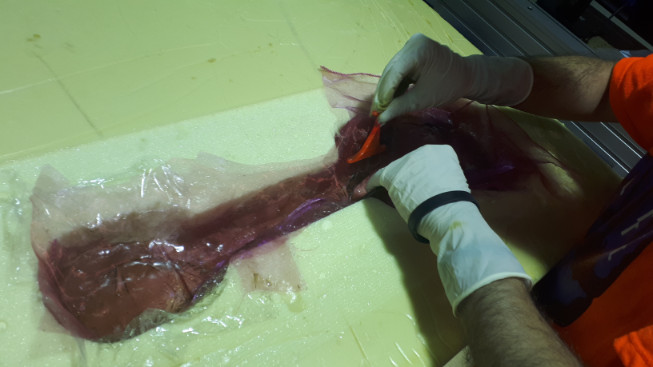
The fabric used here was aesthetically pleasant, but the wetting was not very good, and I had some problems with the corners (they tended to stick to the tools/gloves). However, I managed to get aceptable results. The task became easier as the structure was getting stiffness and support.
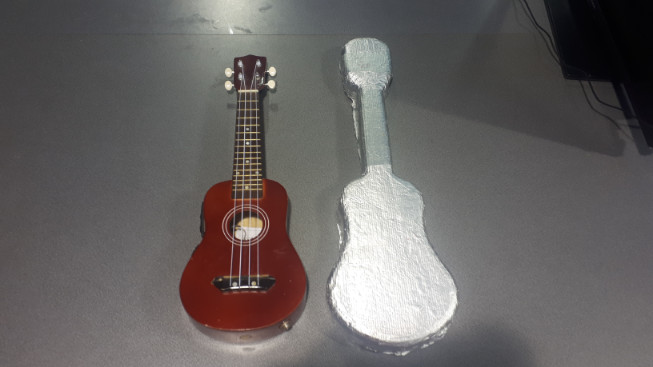
Finally, the case was hardened, and ready to demold. Here is the final product:
And here is a little video of the case hardened.
Security and technical details
Composites, and chemicals in general, demands special care.
If possible mix small batches for every layer, (as I did), and be aware of exothermic reactions.
I used a resin with low viscosity. This feature, combined with a very thin layer of resin allow us to skip the degassing process (besides, our lab lacked a vacuum chamber for the task). The thickness of the layer, if narrow enough, permits the bubbles to overcome the Van Der Waals forces intermolecular forces and makes them pop to the open atmosphere.
The application of thin layers also makes the forces involved (intermolecular, surface tension, viscosity) to adhere to the tension component (tulle fabric). With the help of a metal brush the layers could be compacted for enough time to partially cure and hold the composite in place. Again, the use of a vacuum system might be practical, but we did not have the device in our lab.

Here we can see the layer distribution. I iterated the process for three times, and the result was fine. We can see that the aluminium first layer at the bottom. At the end, this surface was tested for conductivity, that was high. This property is useful, for instance, to make circuits or to react to objects causing changes in capacitance, and using this information to trigger signals for latter use on electronic music control (DAW over MIDI).
Once cured, the remnants of glue can be removed using an organic solvent (alcohol, acetone, or similar). For further processing, an aluminium polisher can make a nice surface finishing.
Here are the files to download: Assembly, Uki, Negative, Negative STL.
Here is the polyester resin datasheet: Polyester resin datasheet.
