Molding and casting is an old technology. Nevertheless, it helped mankind in numerous ways, from pottery to plastics.
The posiblility of reproduce objects using a mold (even digitally contructed ones) is a valuable skill. The posibility of create robust objects and in relative large batches for a non-industrial facility, could become very useful.
On the other hand, is interesting to abstractly think as if the information of the object resides in the intefase between the negative and the positive parts. Even if we don't use digital fabrication tools, we are still working with positioning information.
assignment
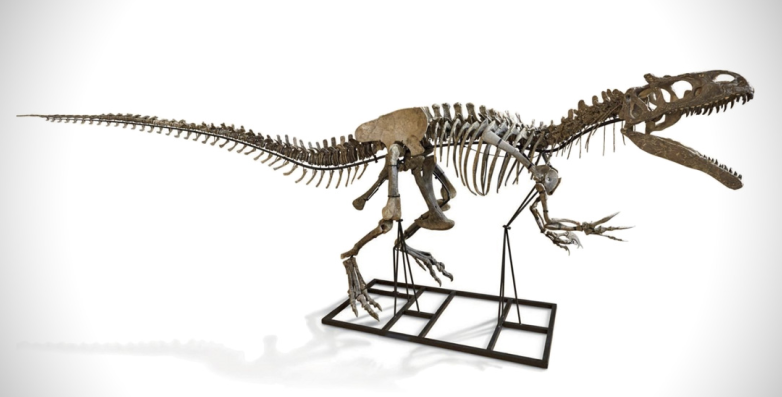
First, I designed a 2D digital object to be parsed to the CNC ShopBot machine. As a model, I downloaded this image from url:
Then, it is possible to use the Trace Bitmap function in Inkscape. You can play with thresholds, but for obtain an image in black and white.
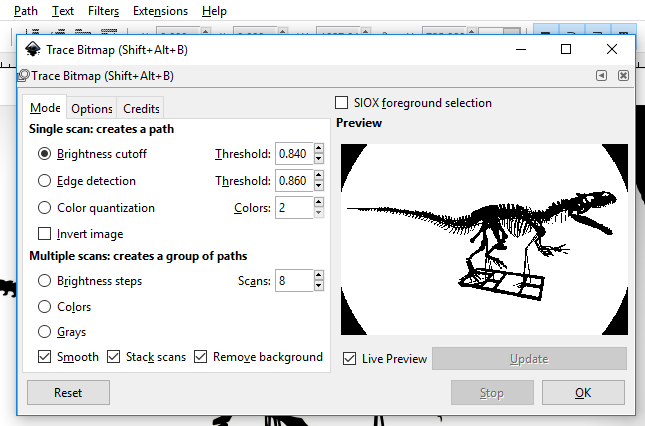
Then we simplify the dots that guide the Betzier lines, and obtain a vector image that we can load into the computer driving the milling machine (ShopBot).
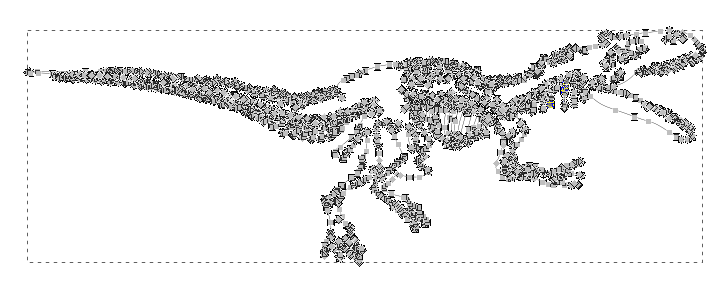
And here is the final SVG that we will send to milling. We have two colors, that represent two cutting depths. Actually, 0 and 100, in this case (we didn't try grayscales, for intermediate heights). We use this file to process it in Fab Modules.
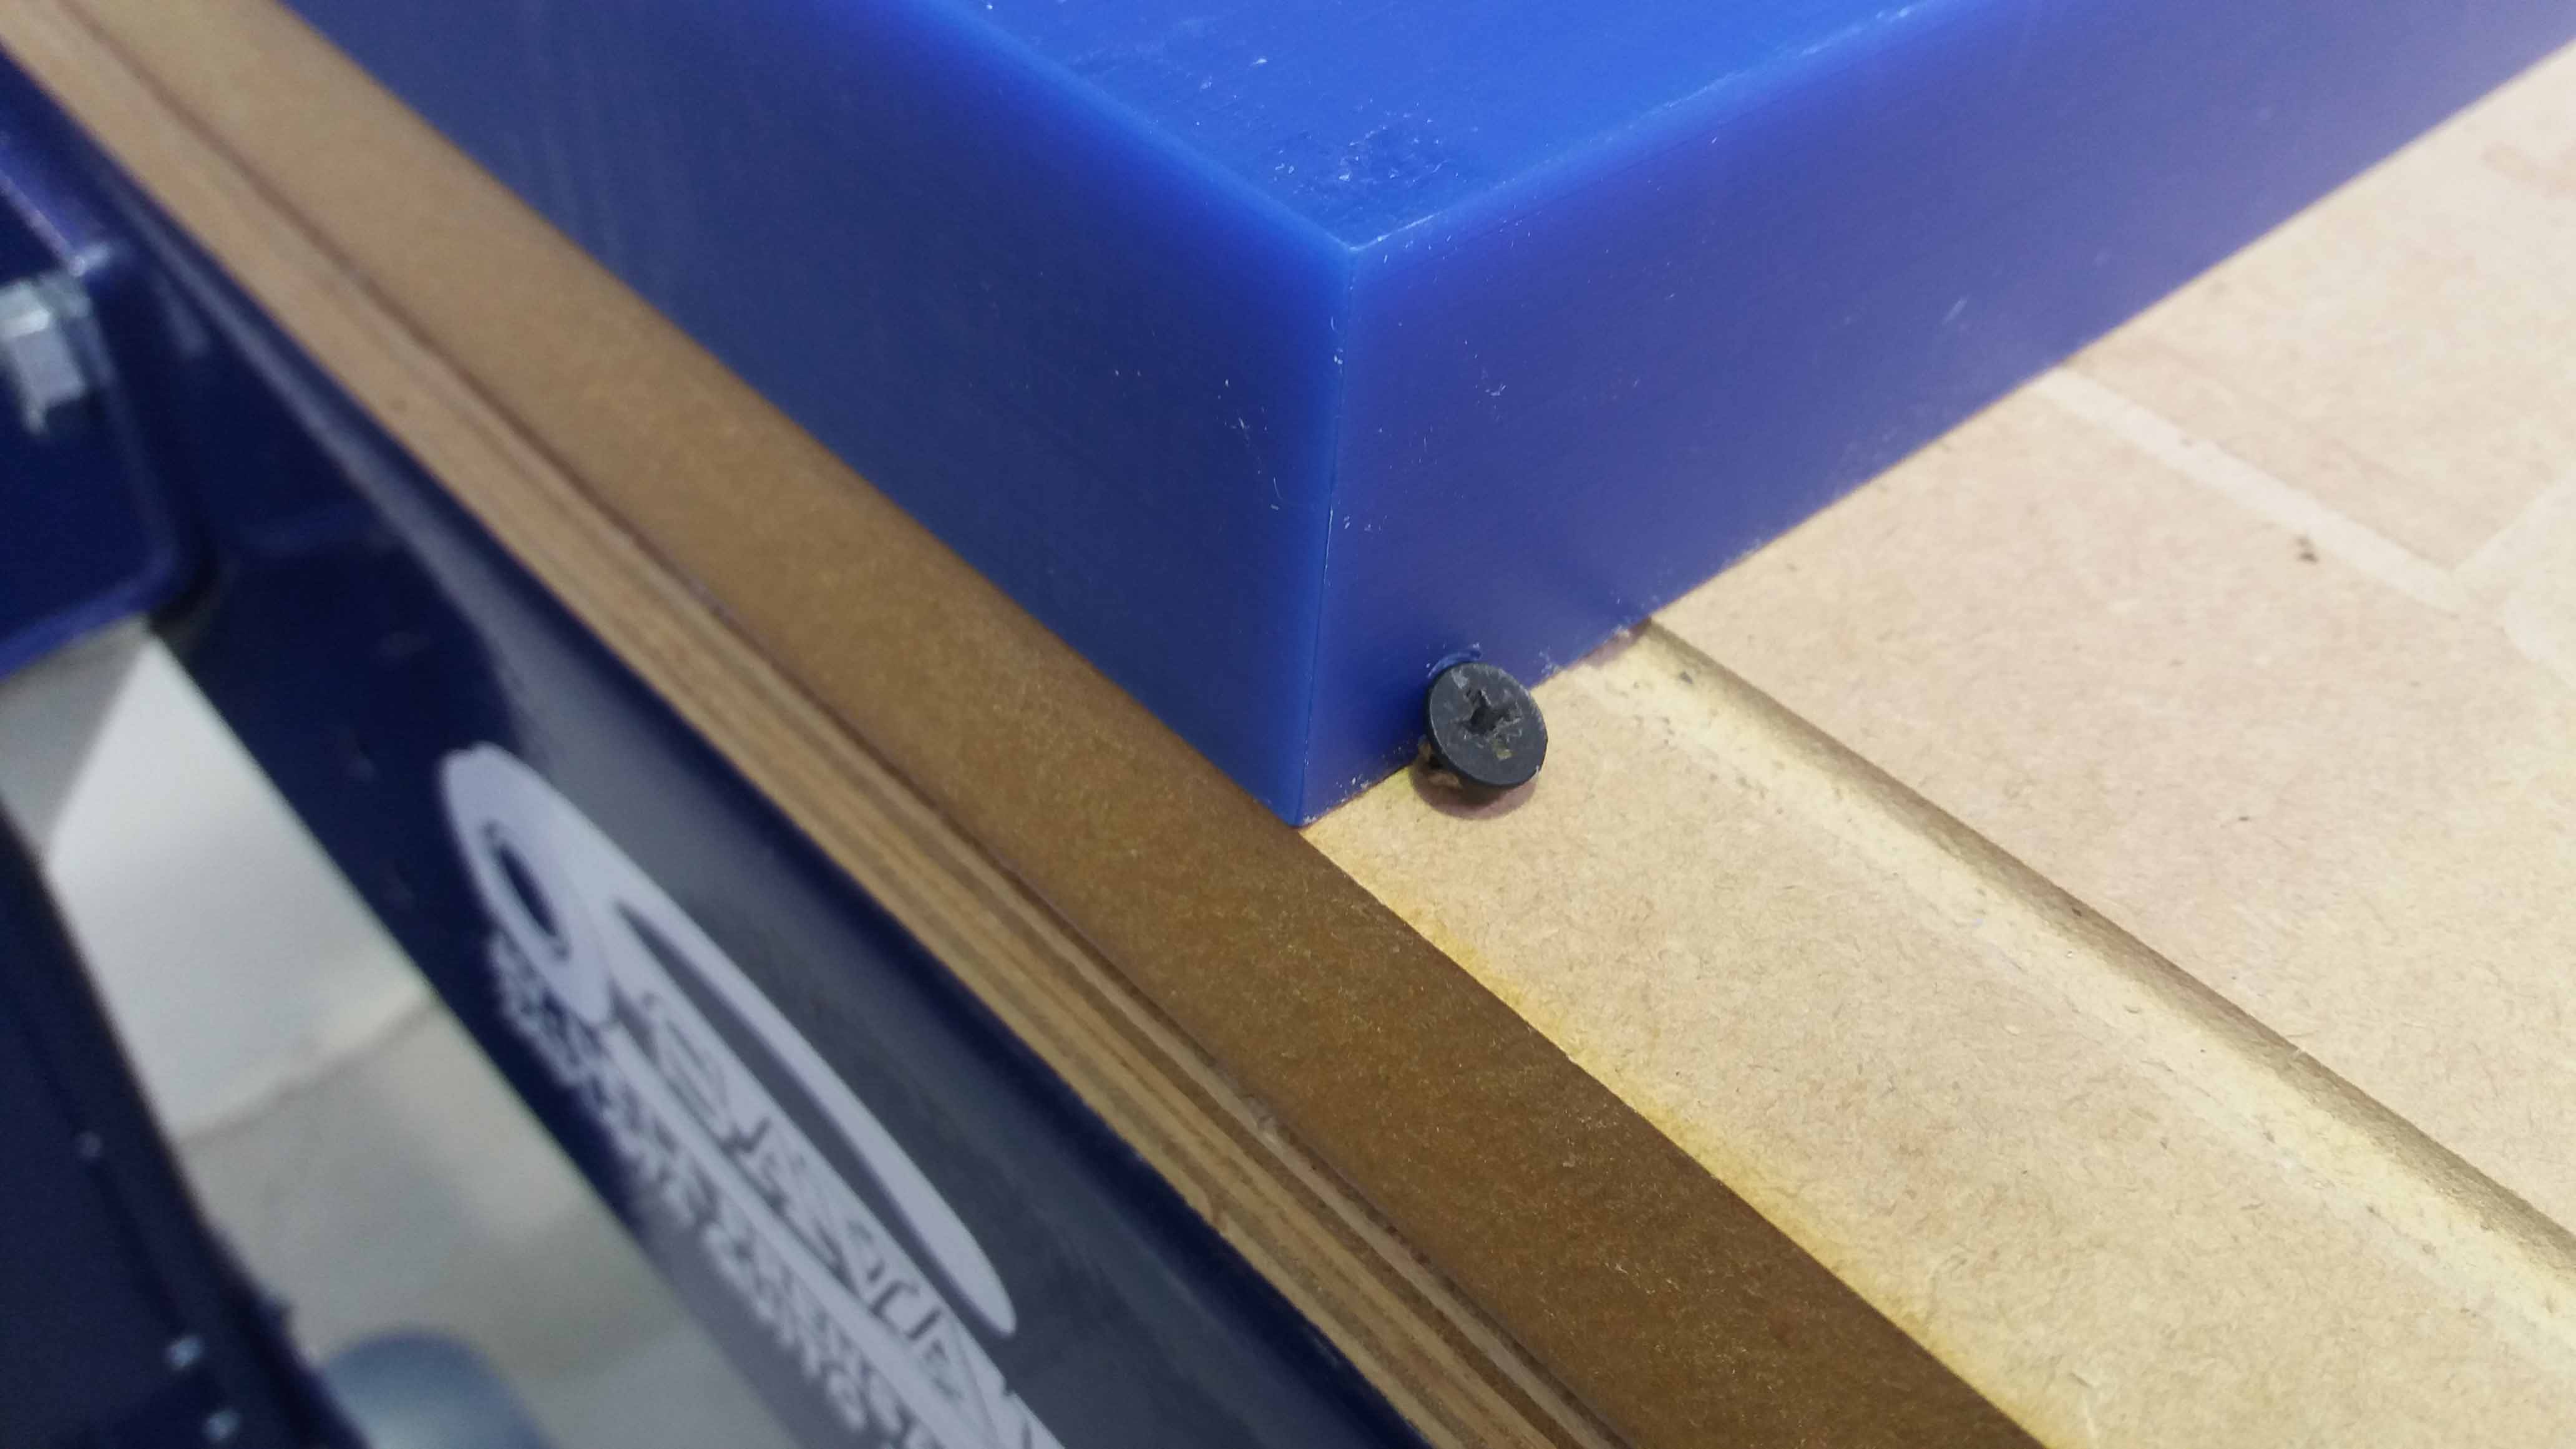
Before we start the machine, it is important to secure the material to the bed. We used screws over the sacrificial layer. Don't forget to read the Machining Wax Datasheet.
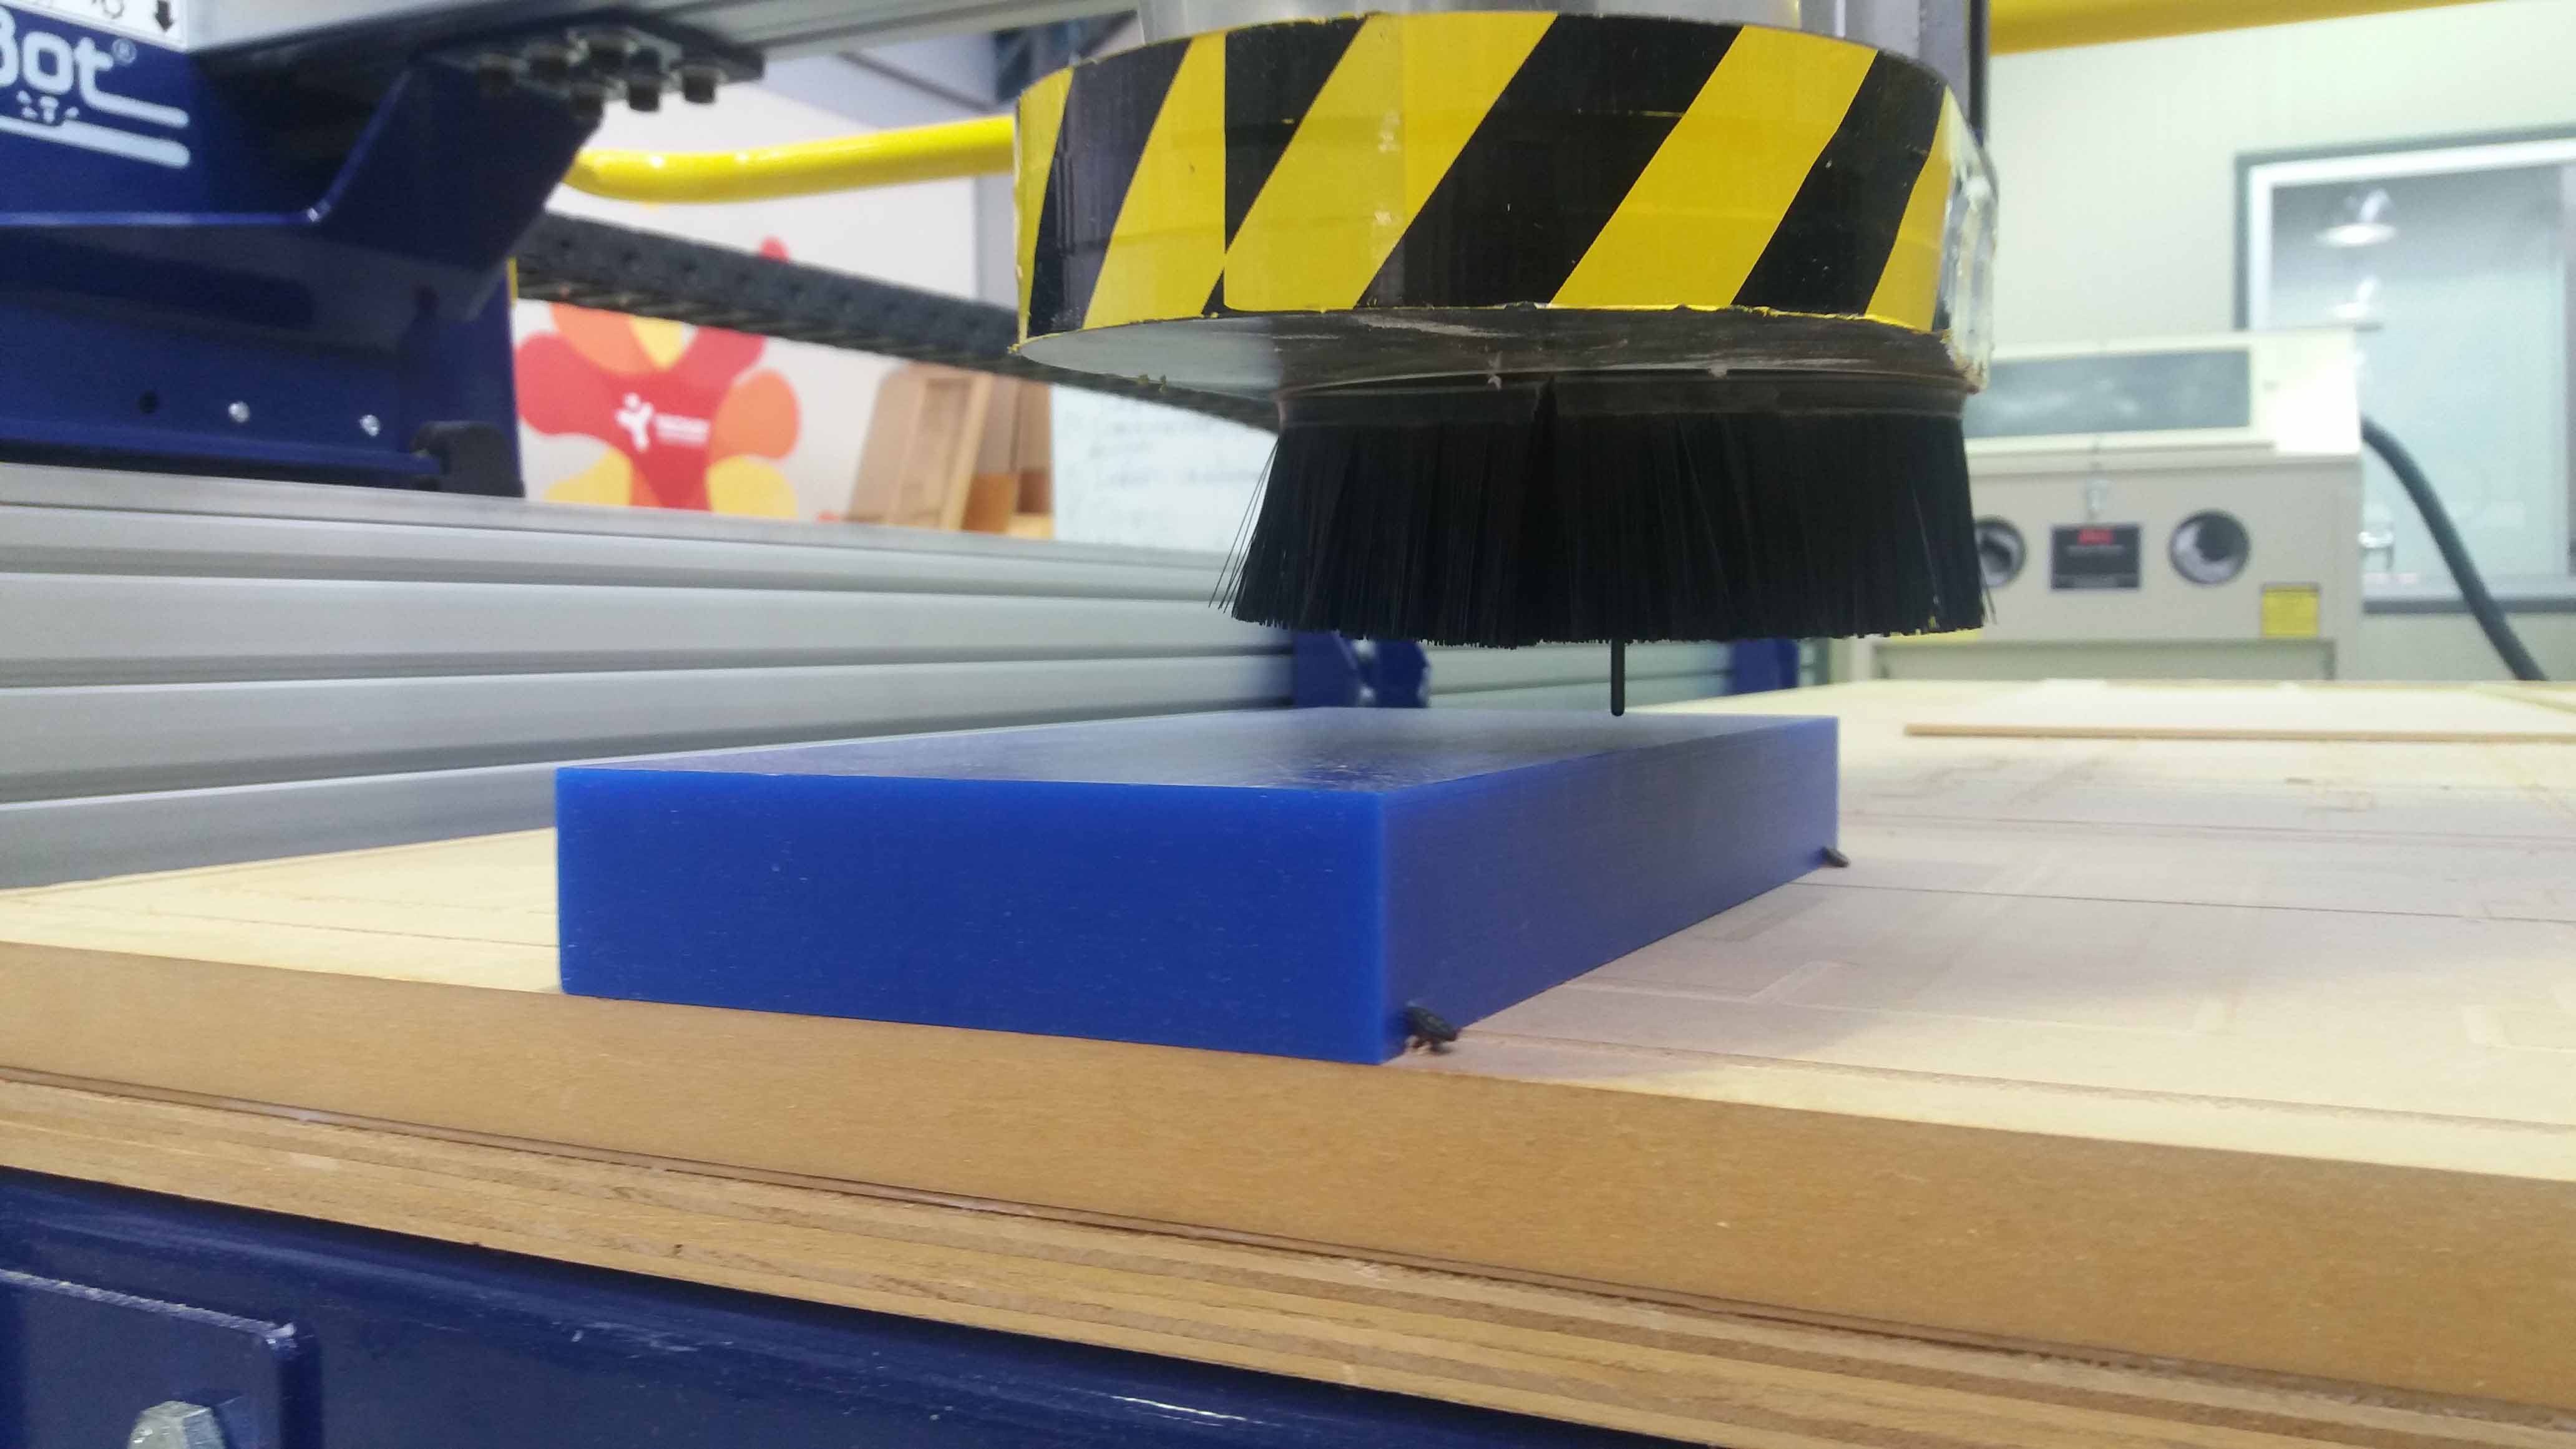
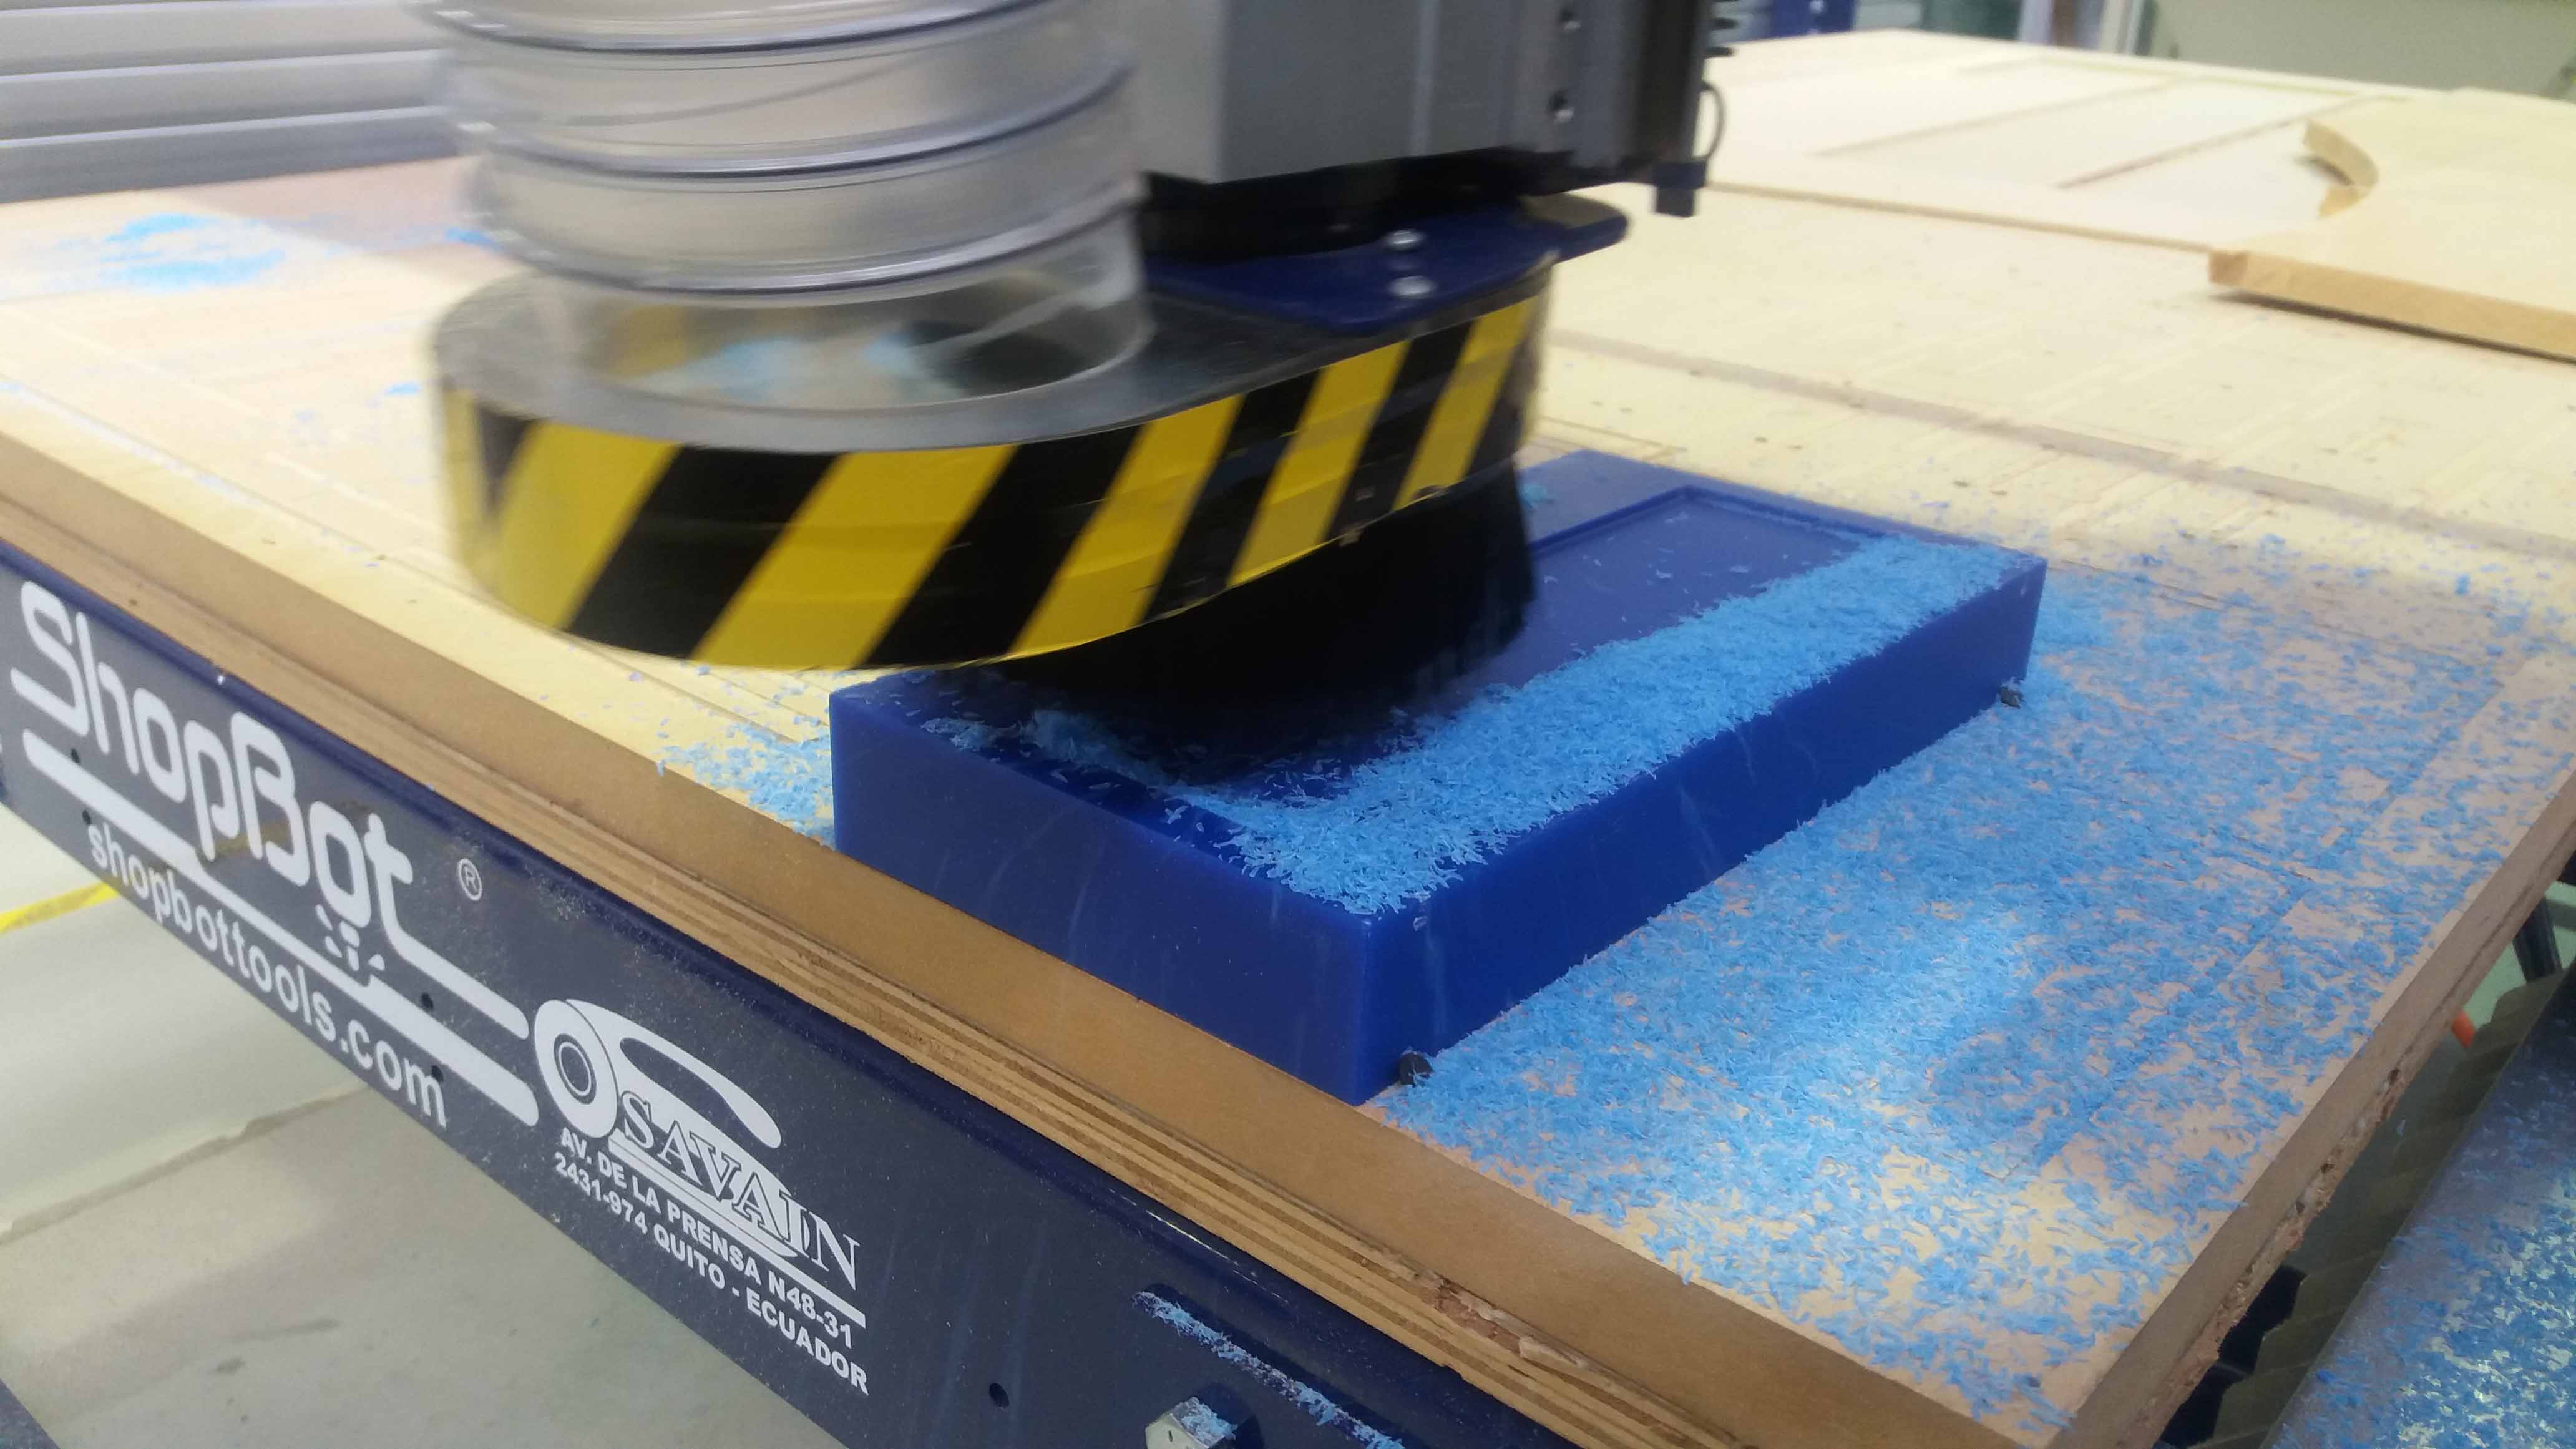
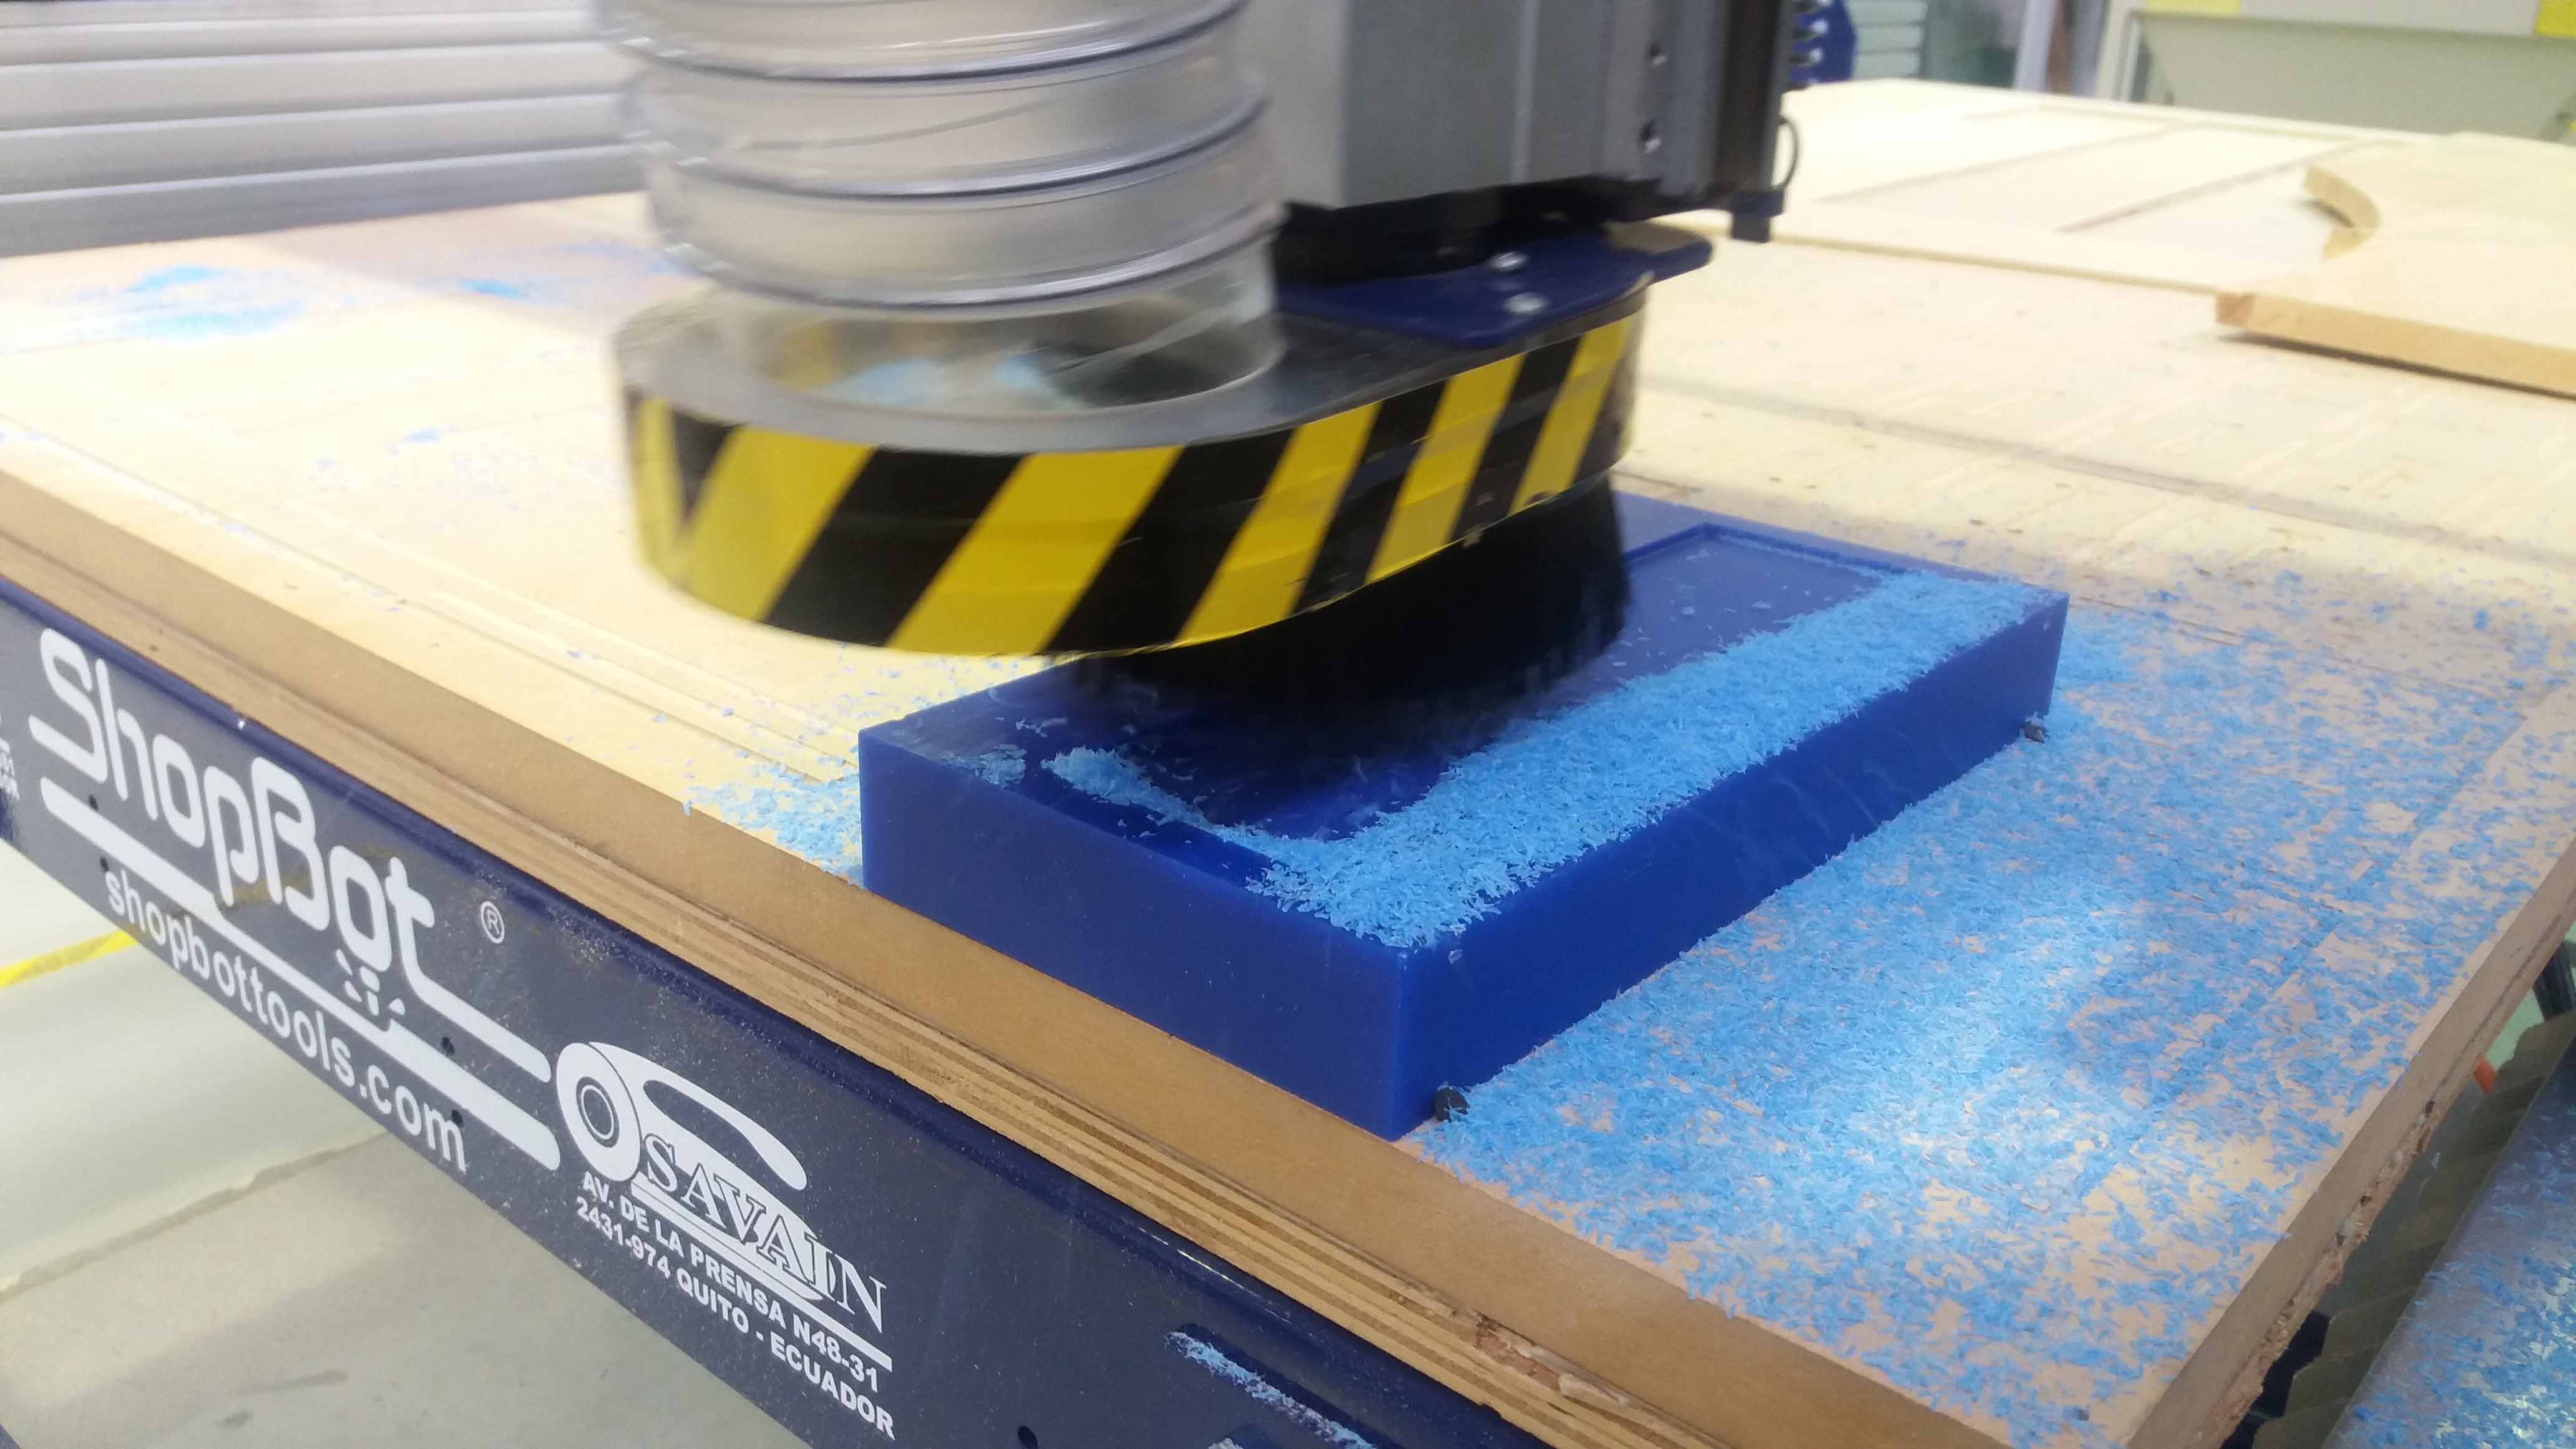
Then, the tool locates itself on the initial point...
And start the milling job.
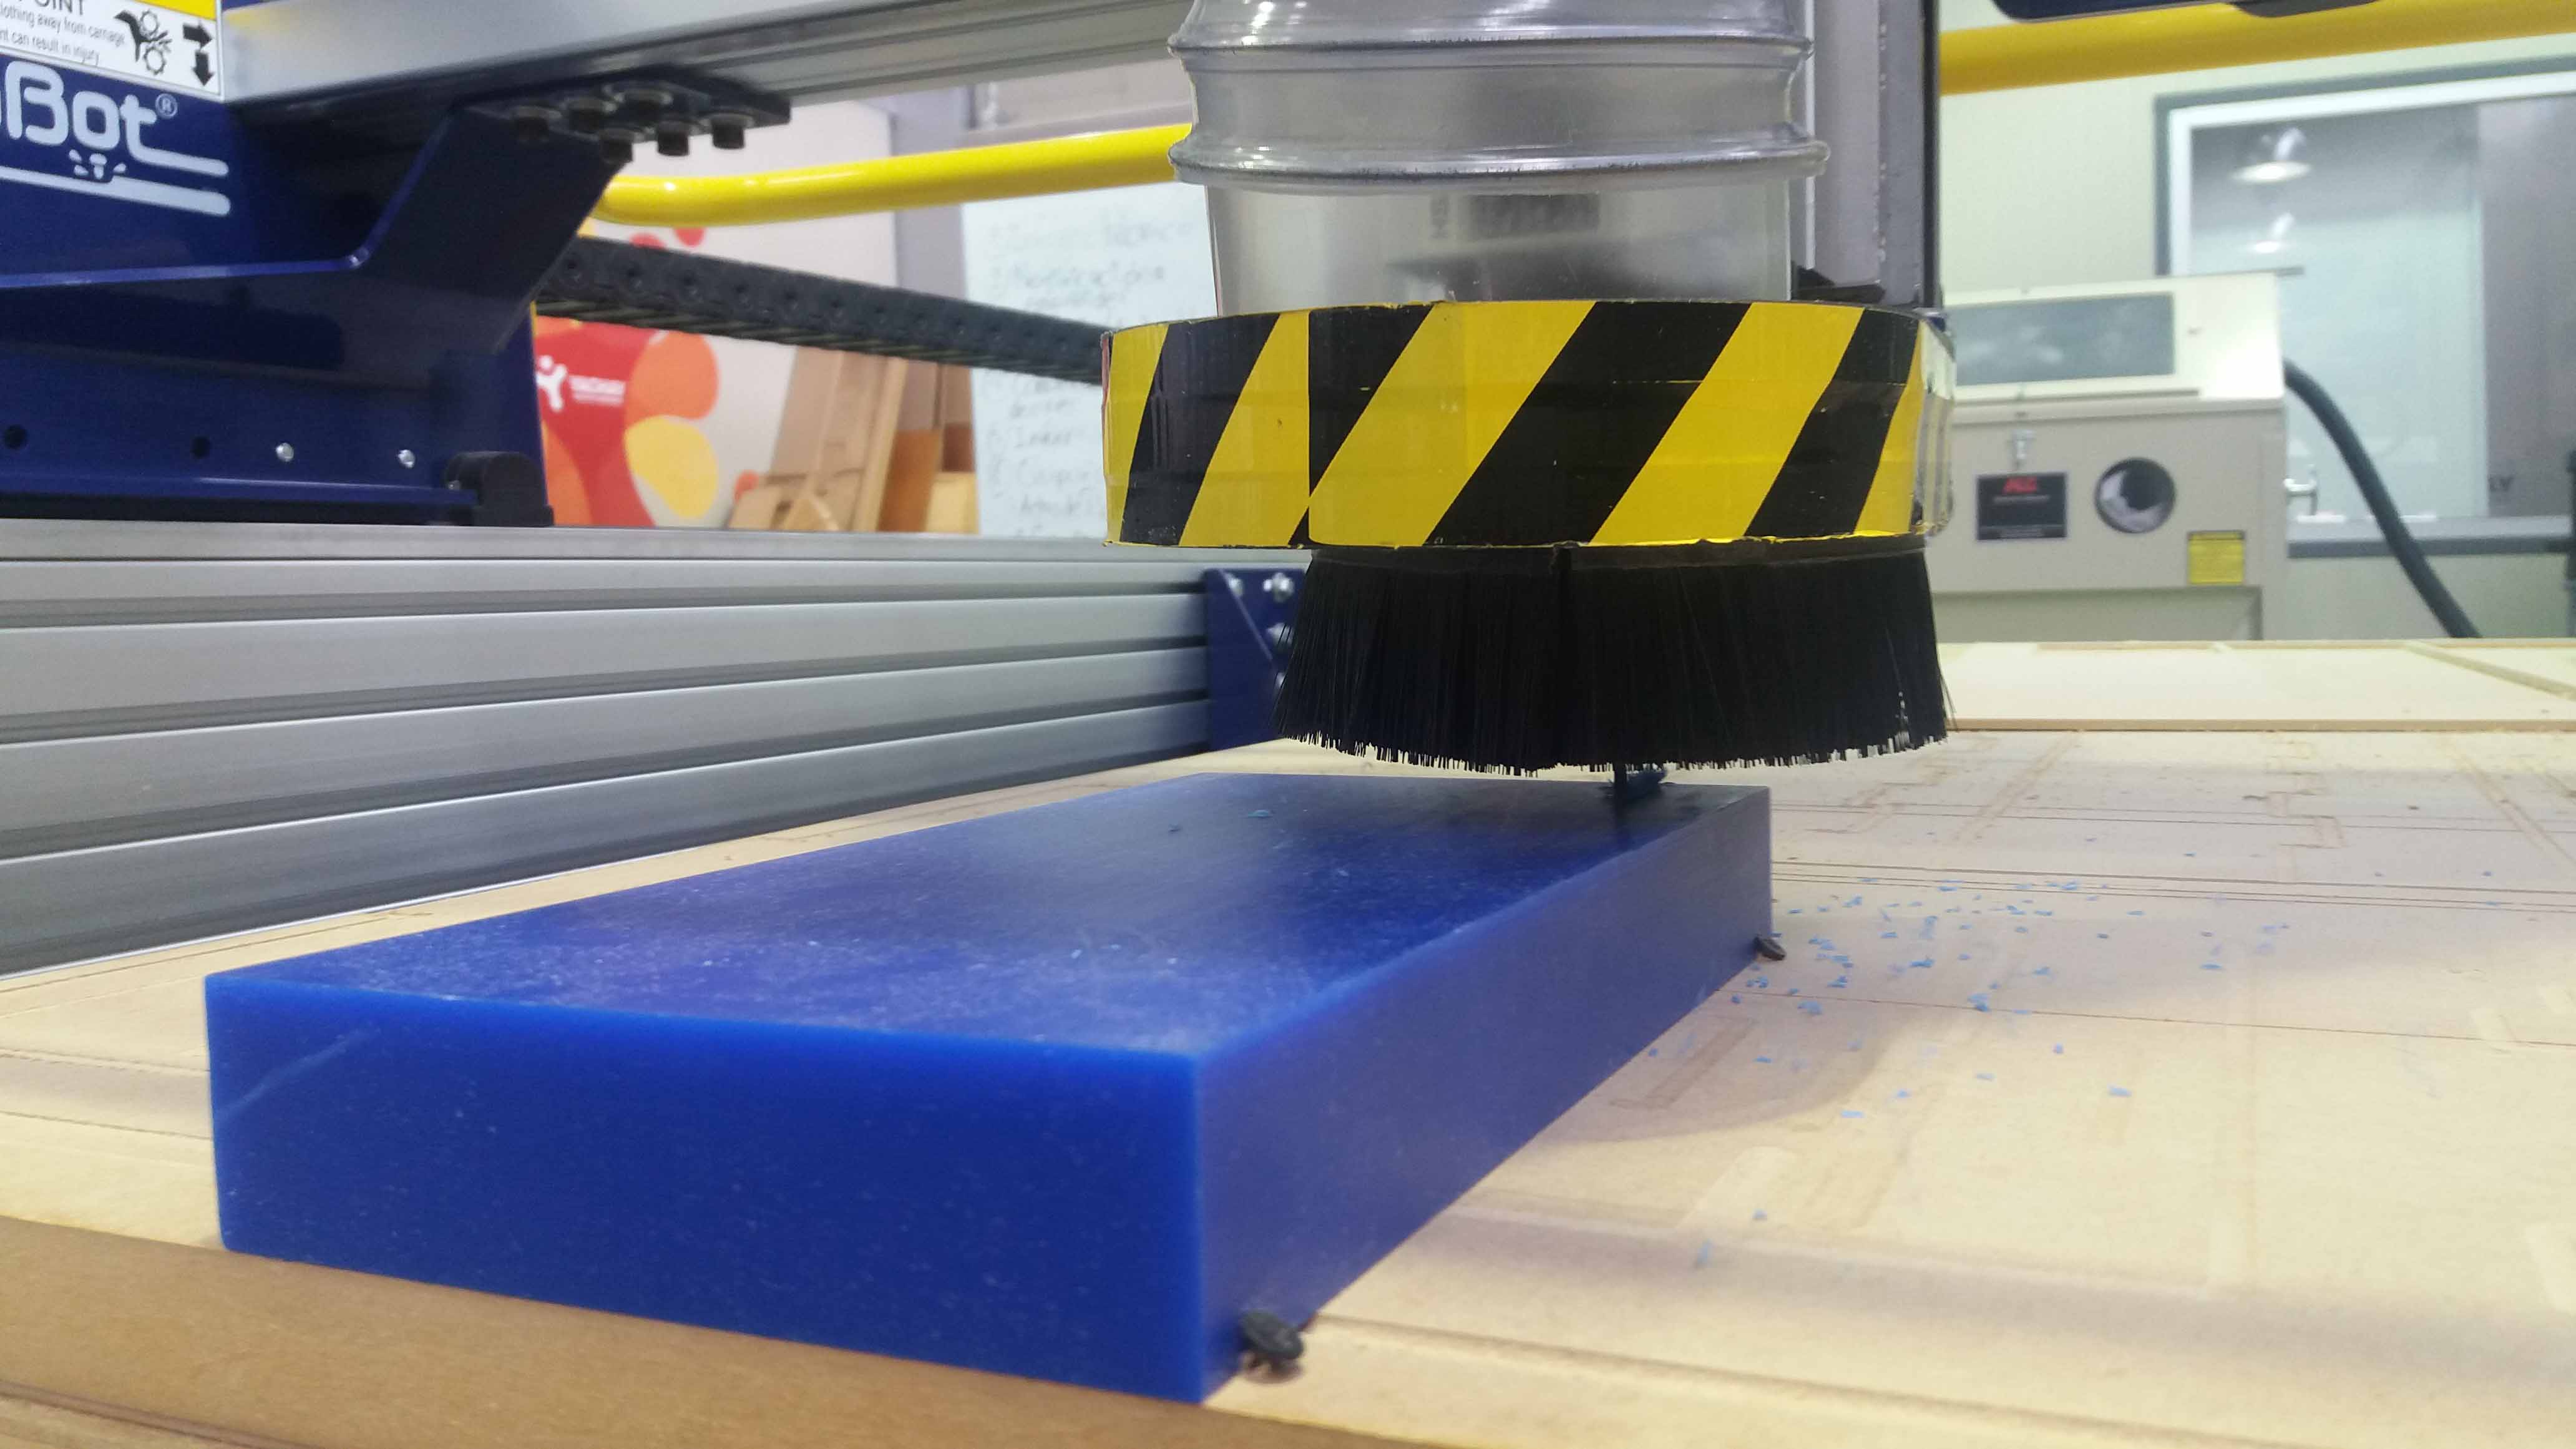
We noticed that the chips were with the appropiate size and shape.
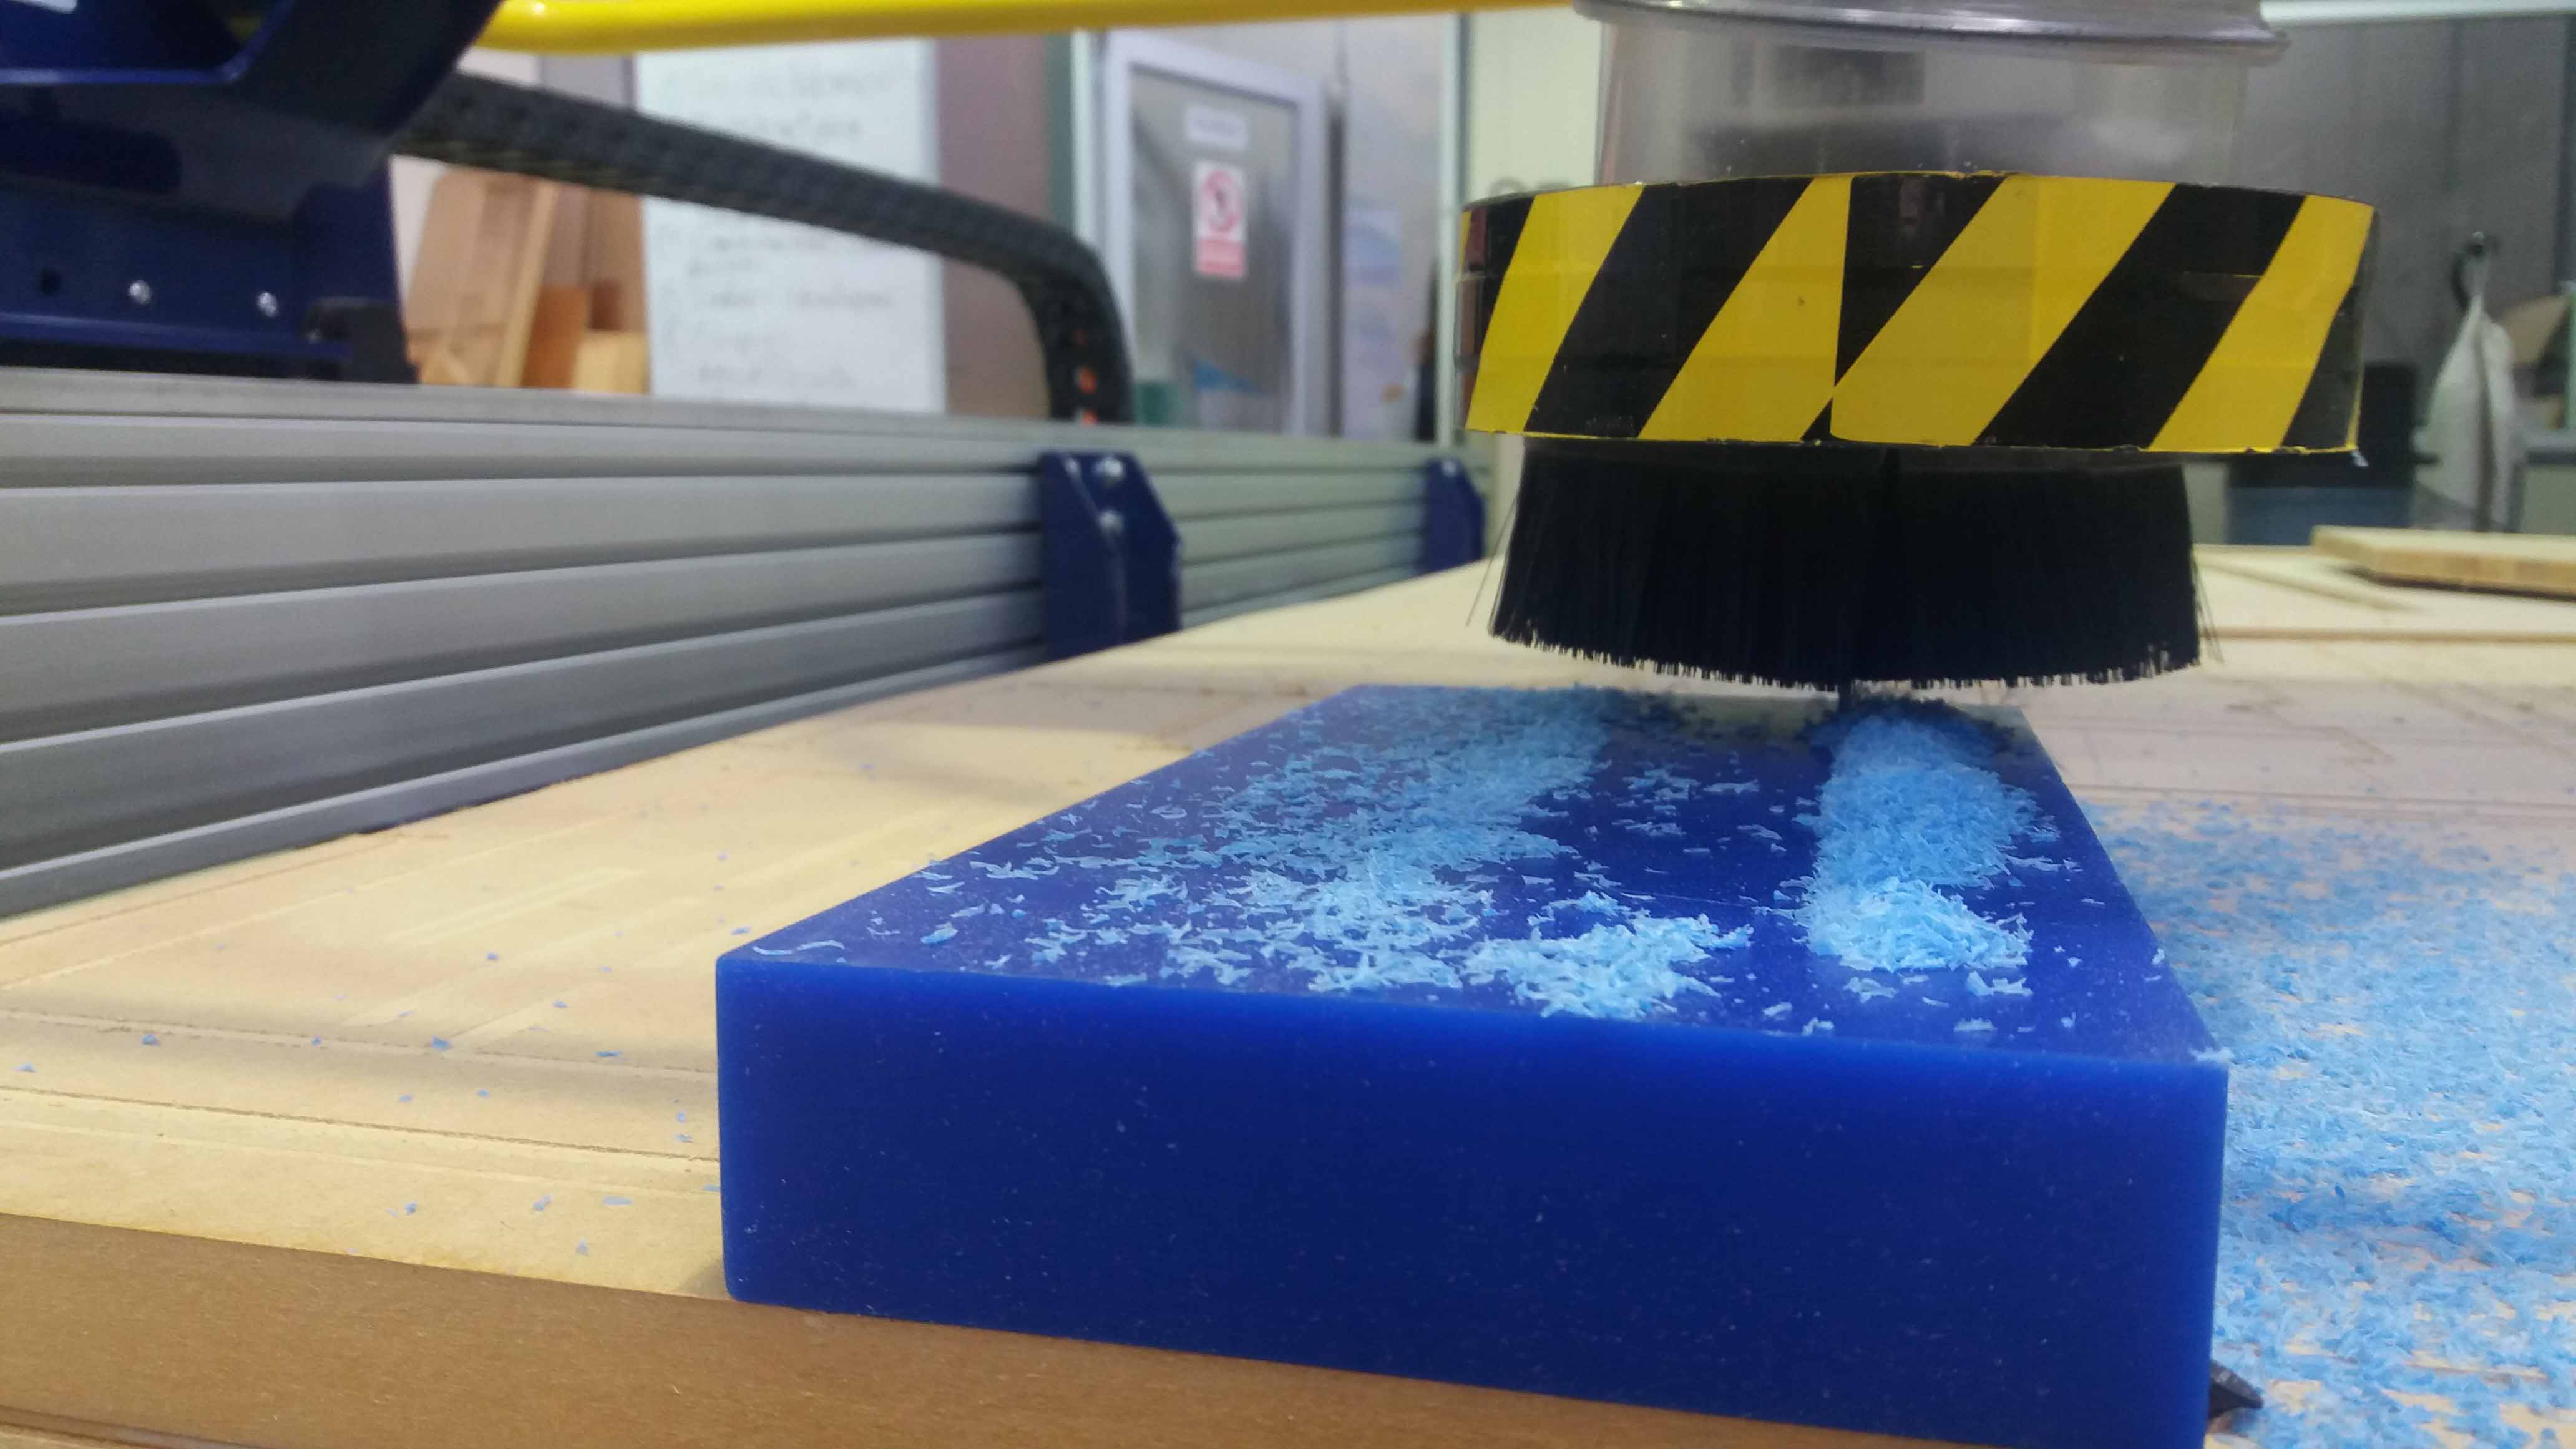
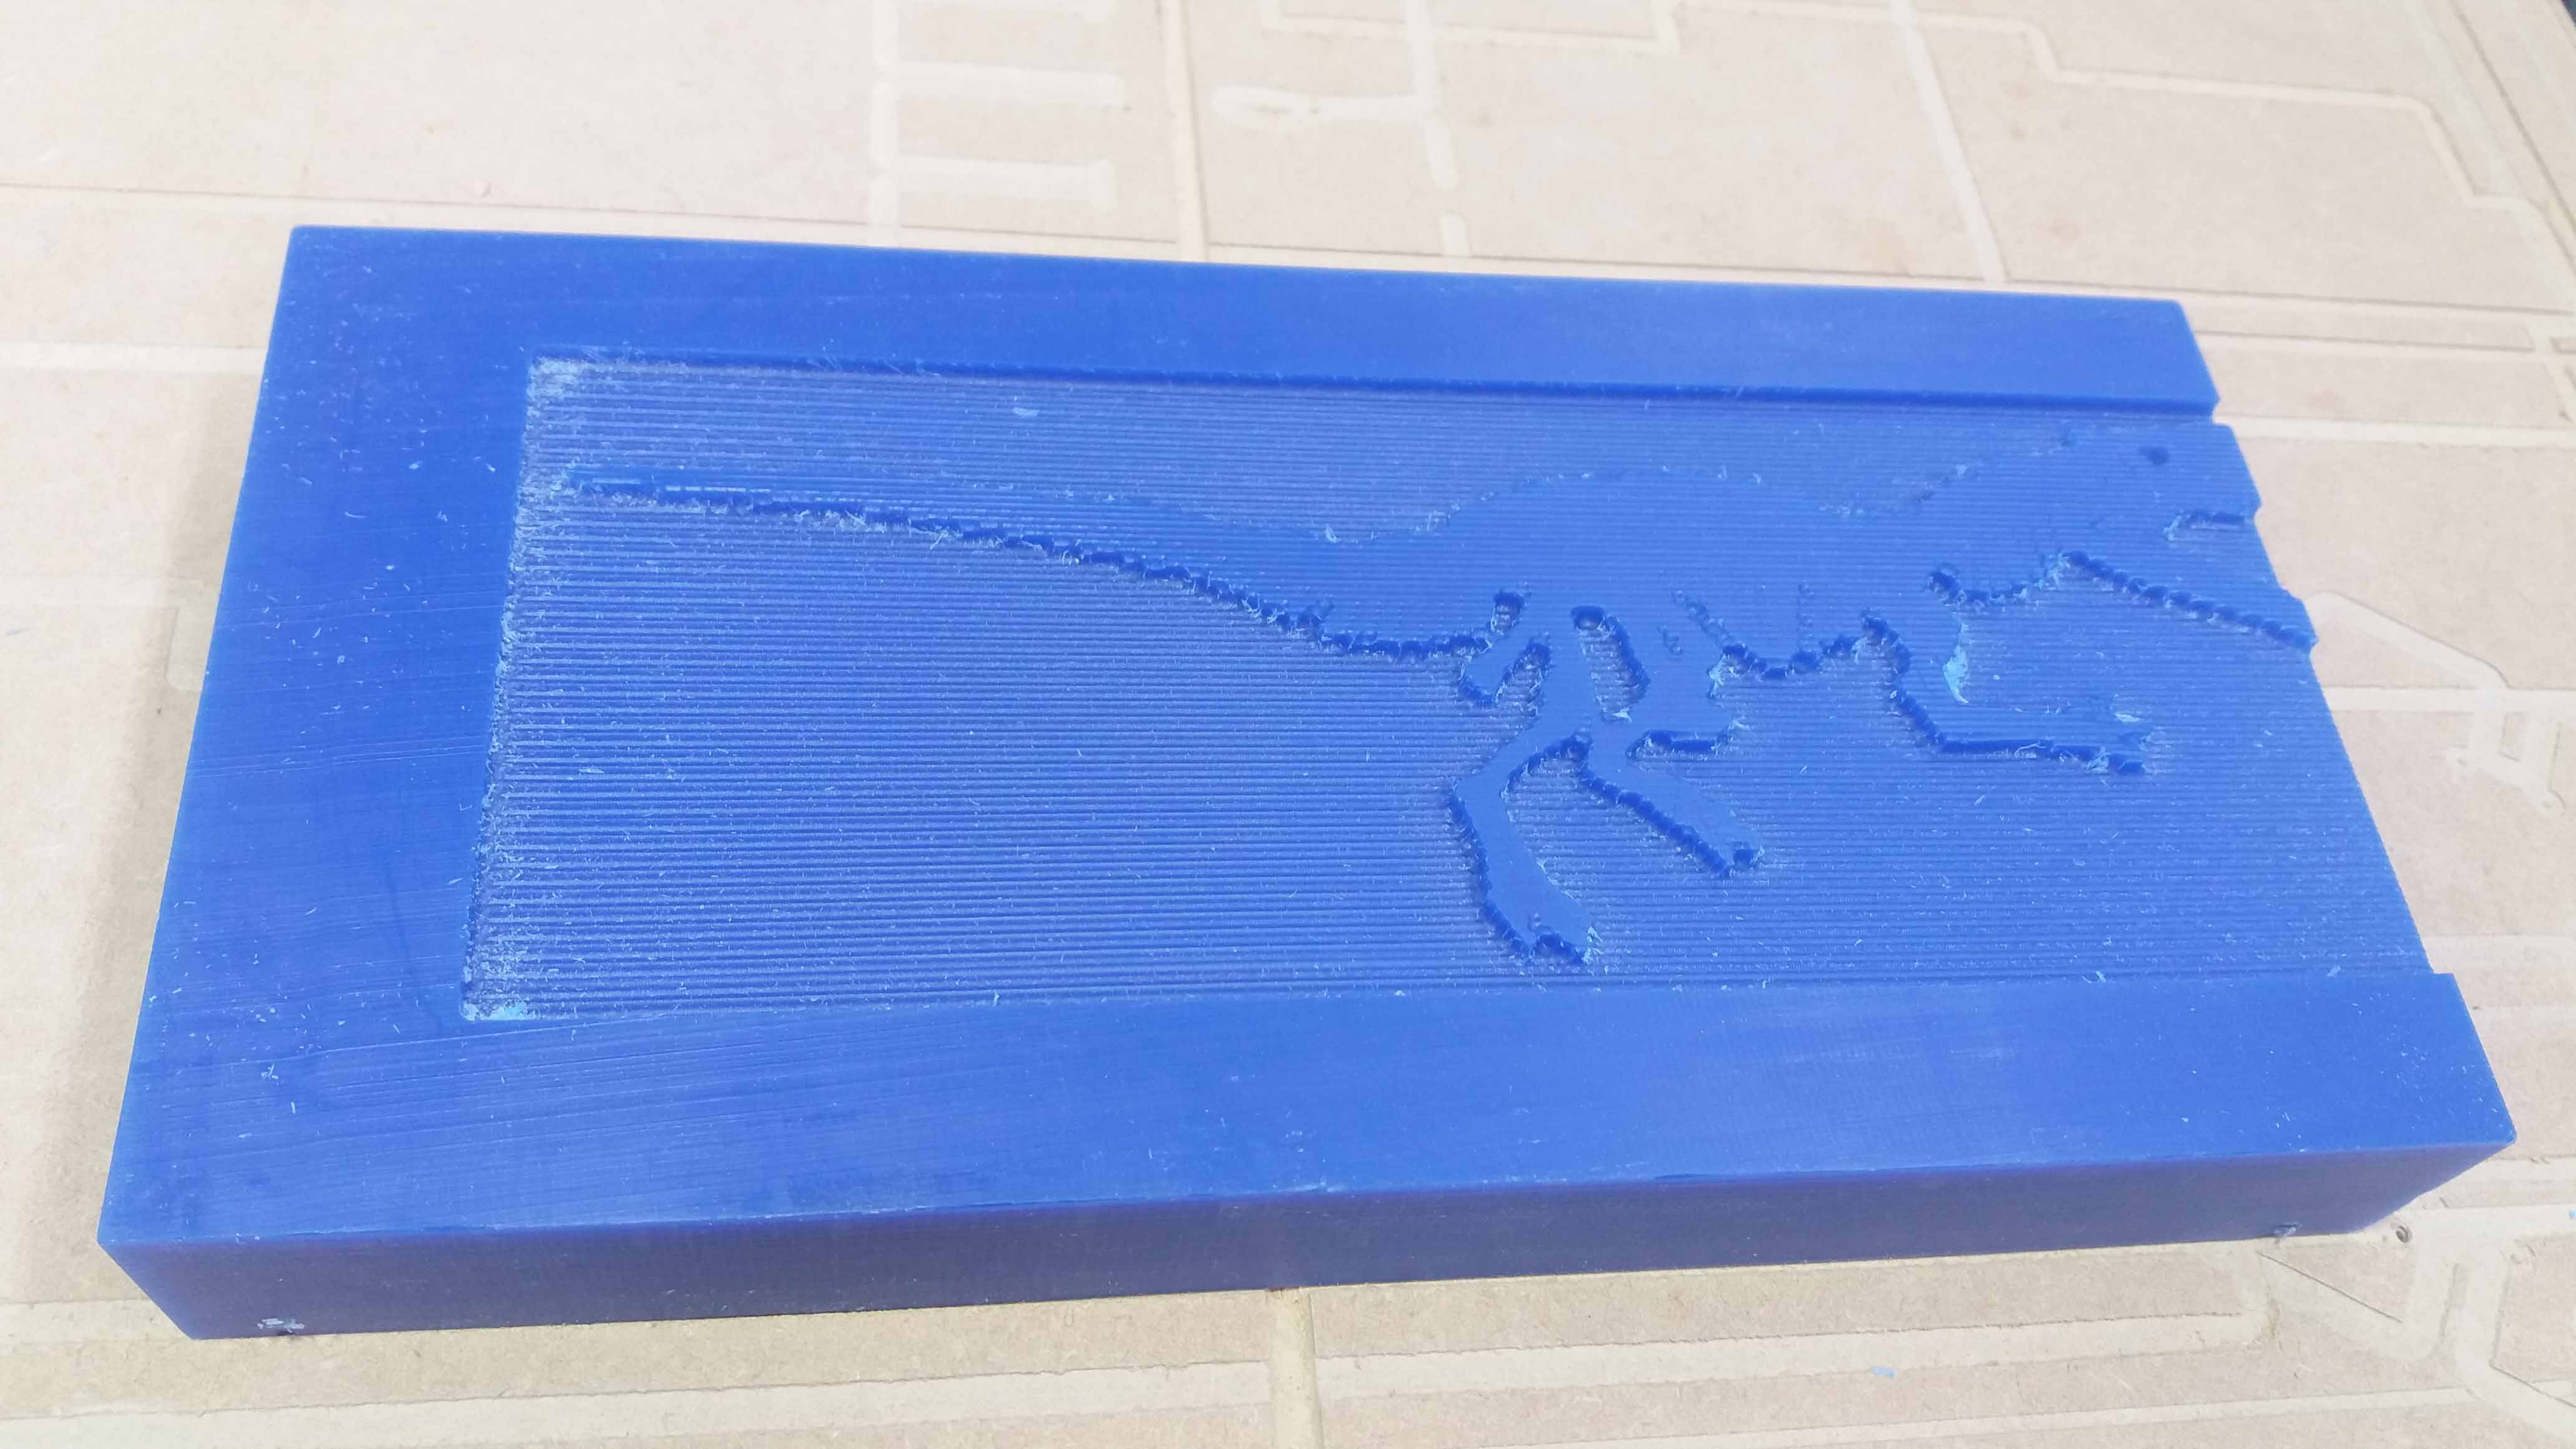
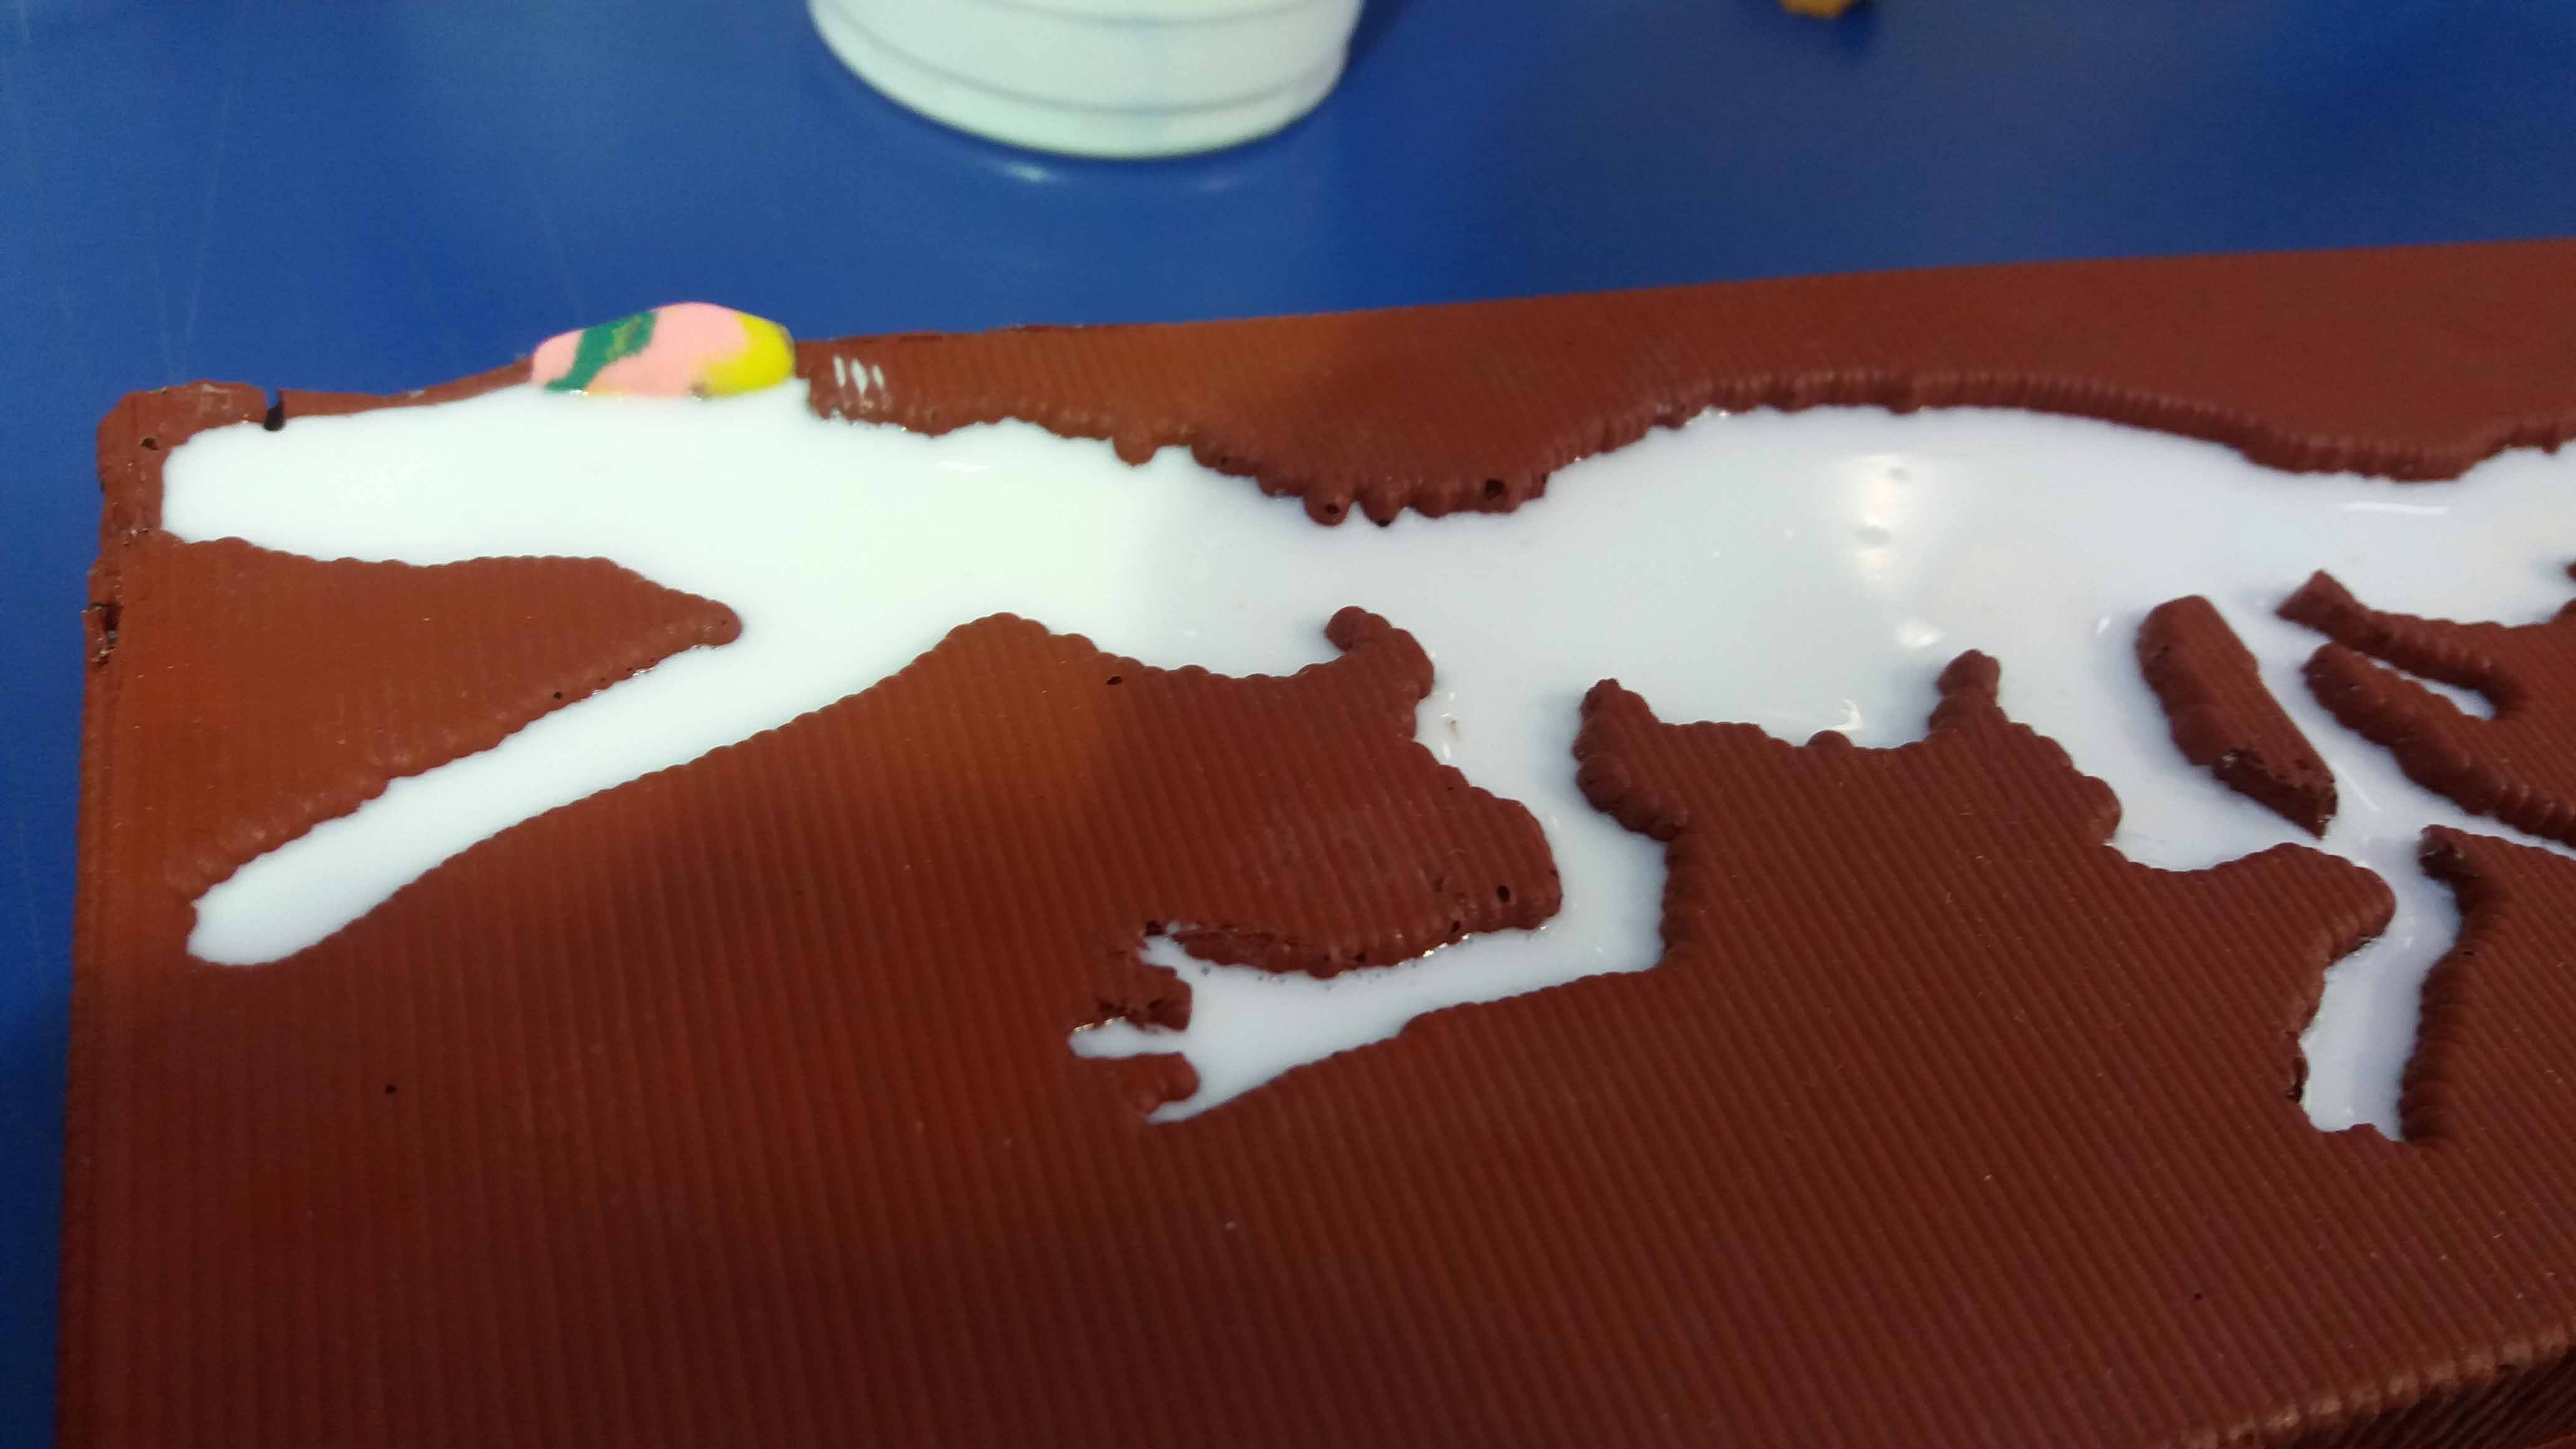
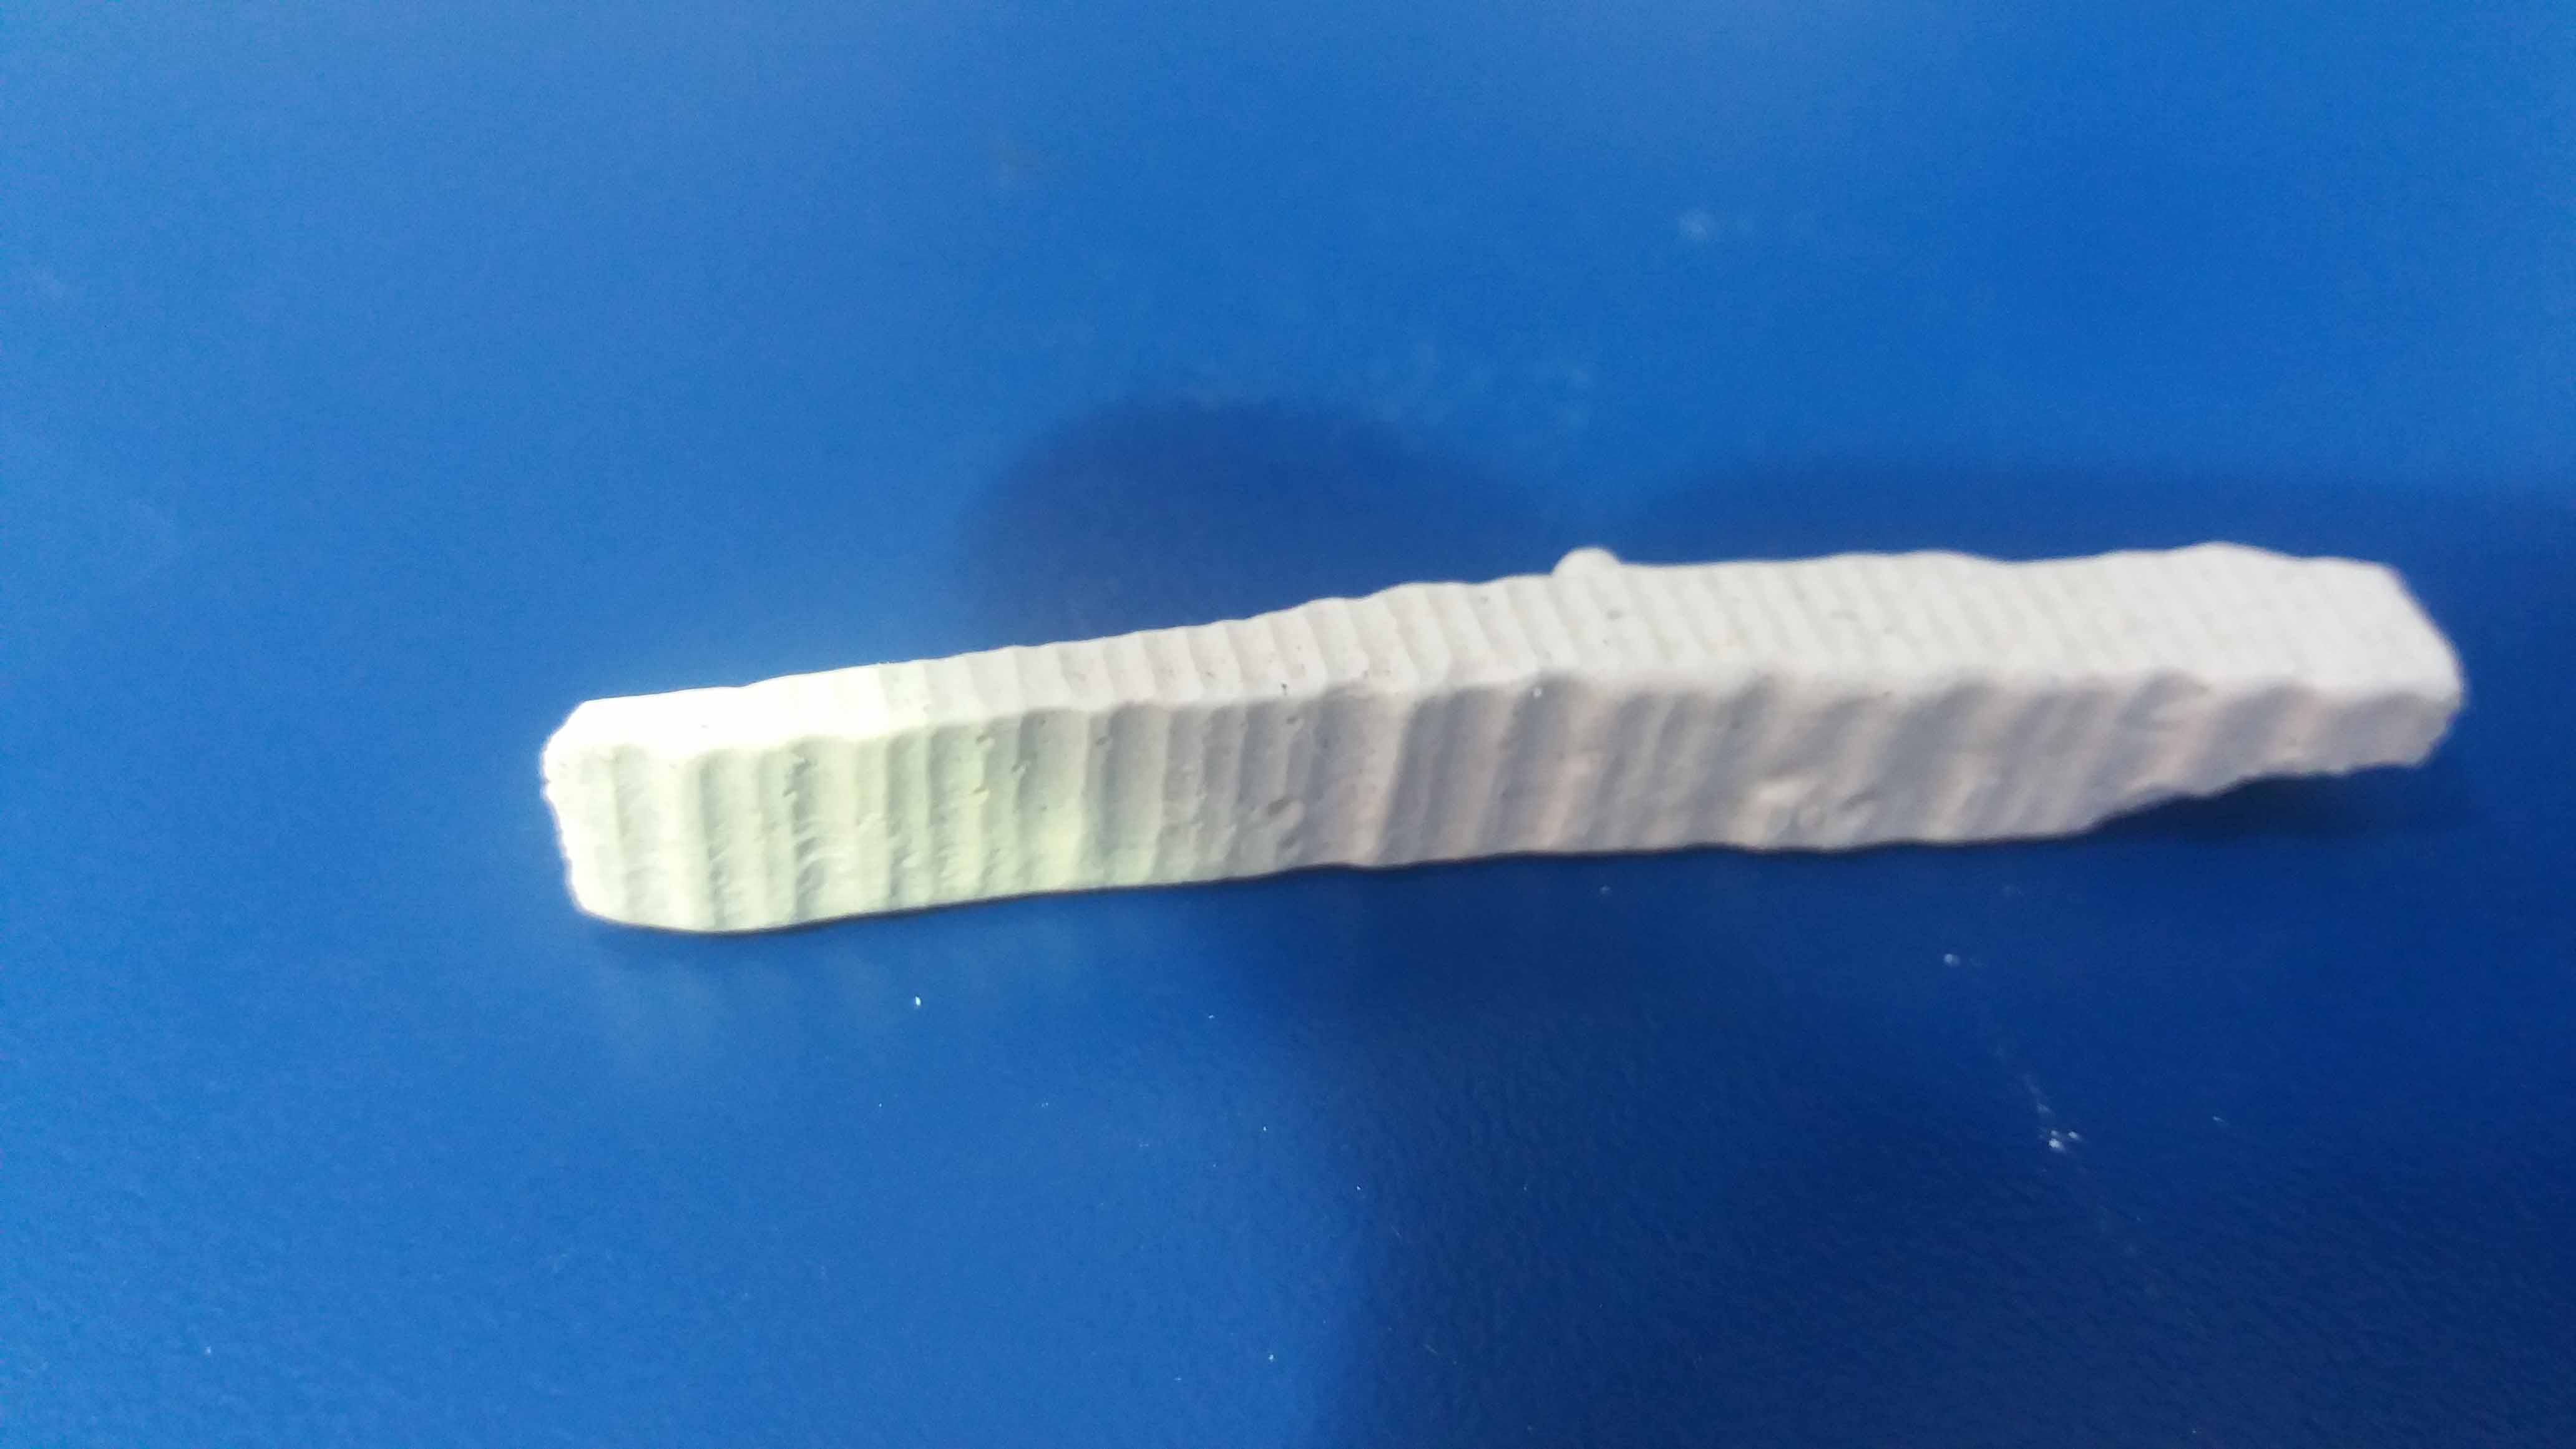
In this first try, the machine was set with the wrong home points. The milling was repeated on the other side, but this picture is useful to show the first, rough cut.
Rough cut. Notice the horizontal orientation.
Then the block was flipped, and we proceed with the rough and fine milling.
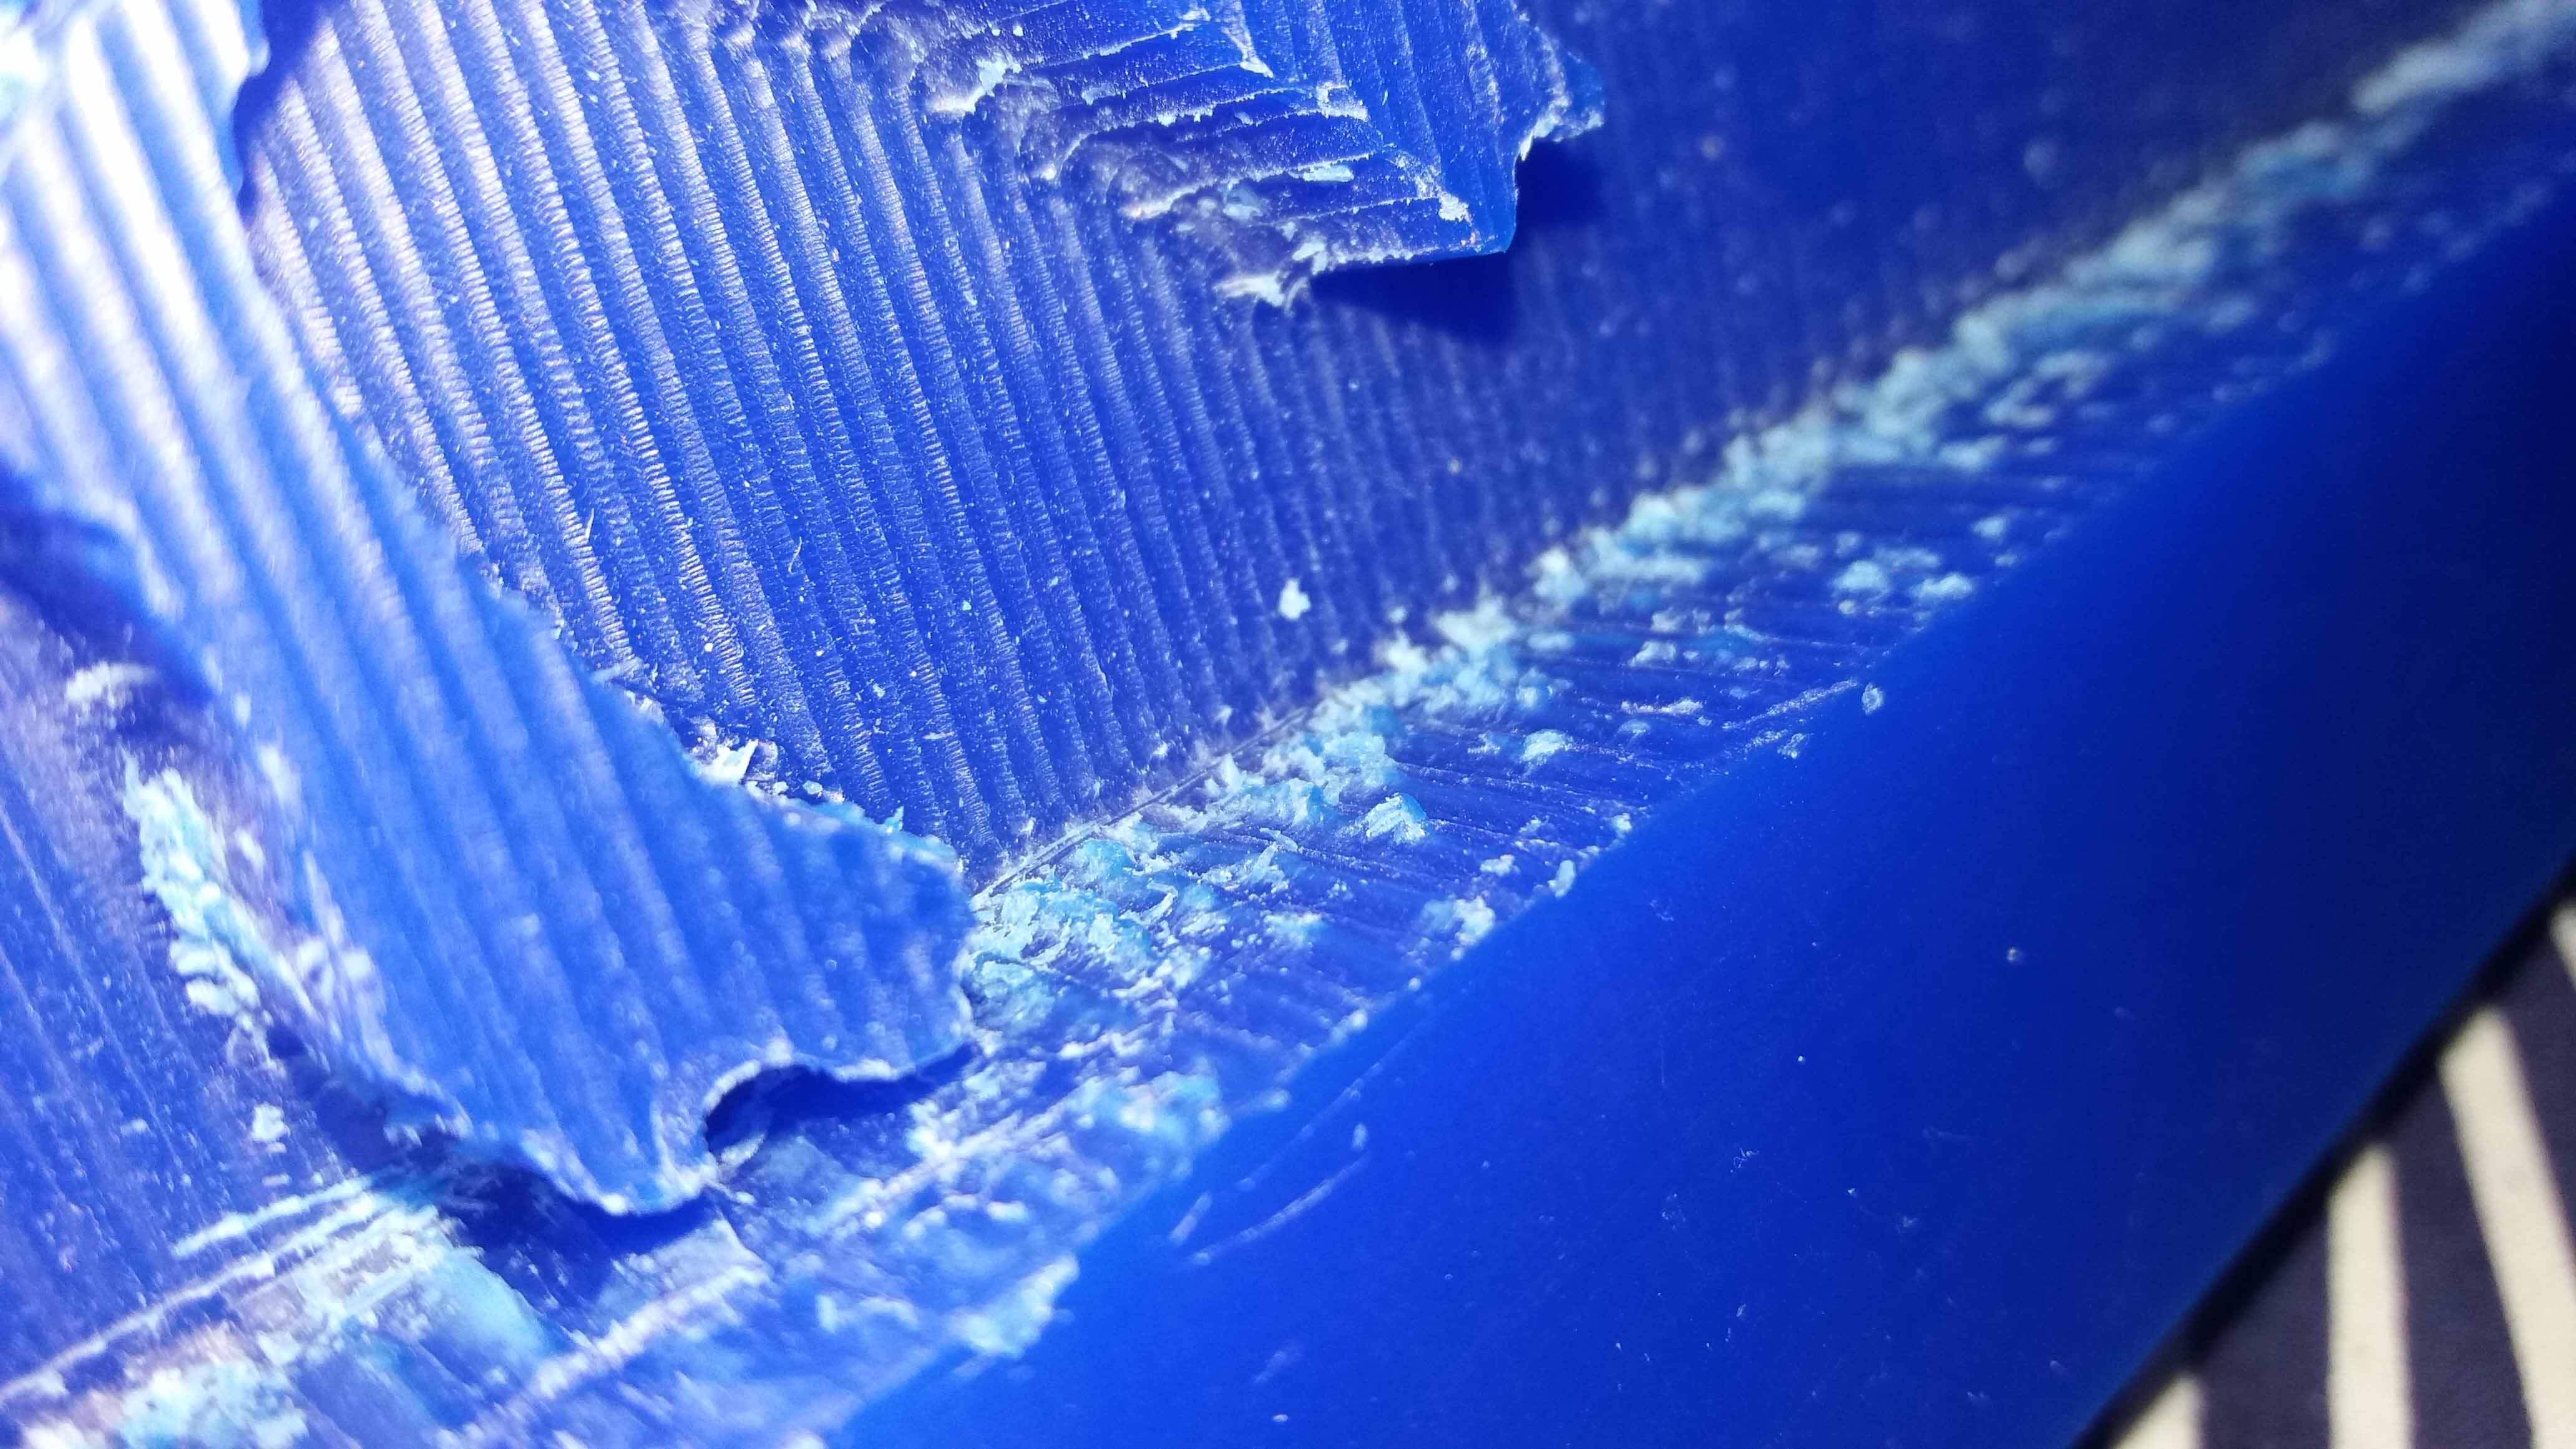
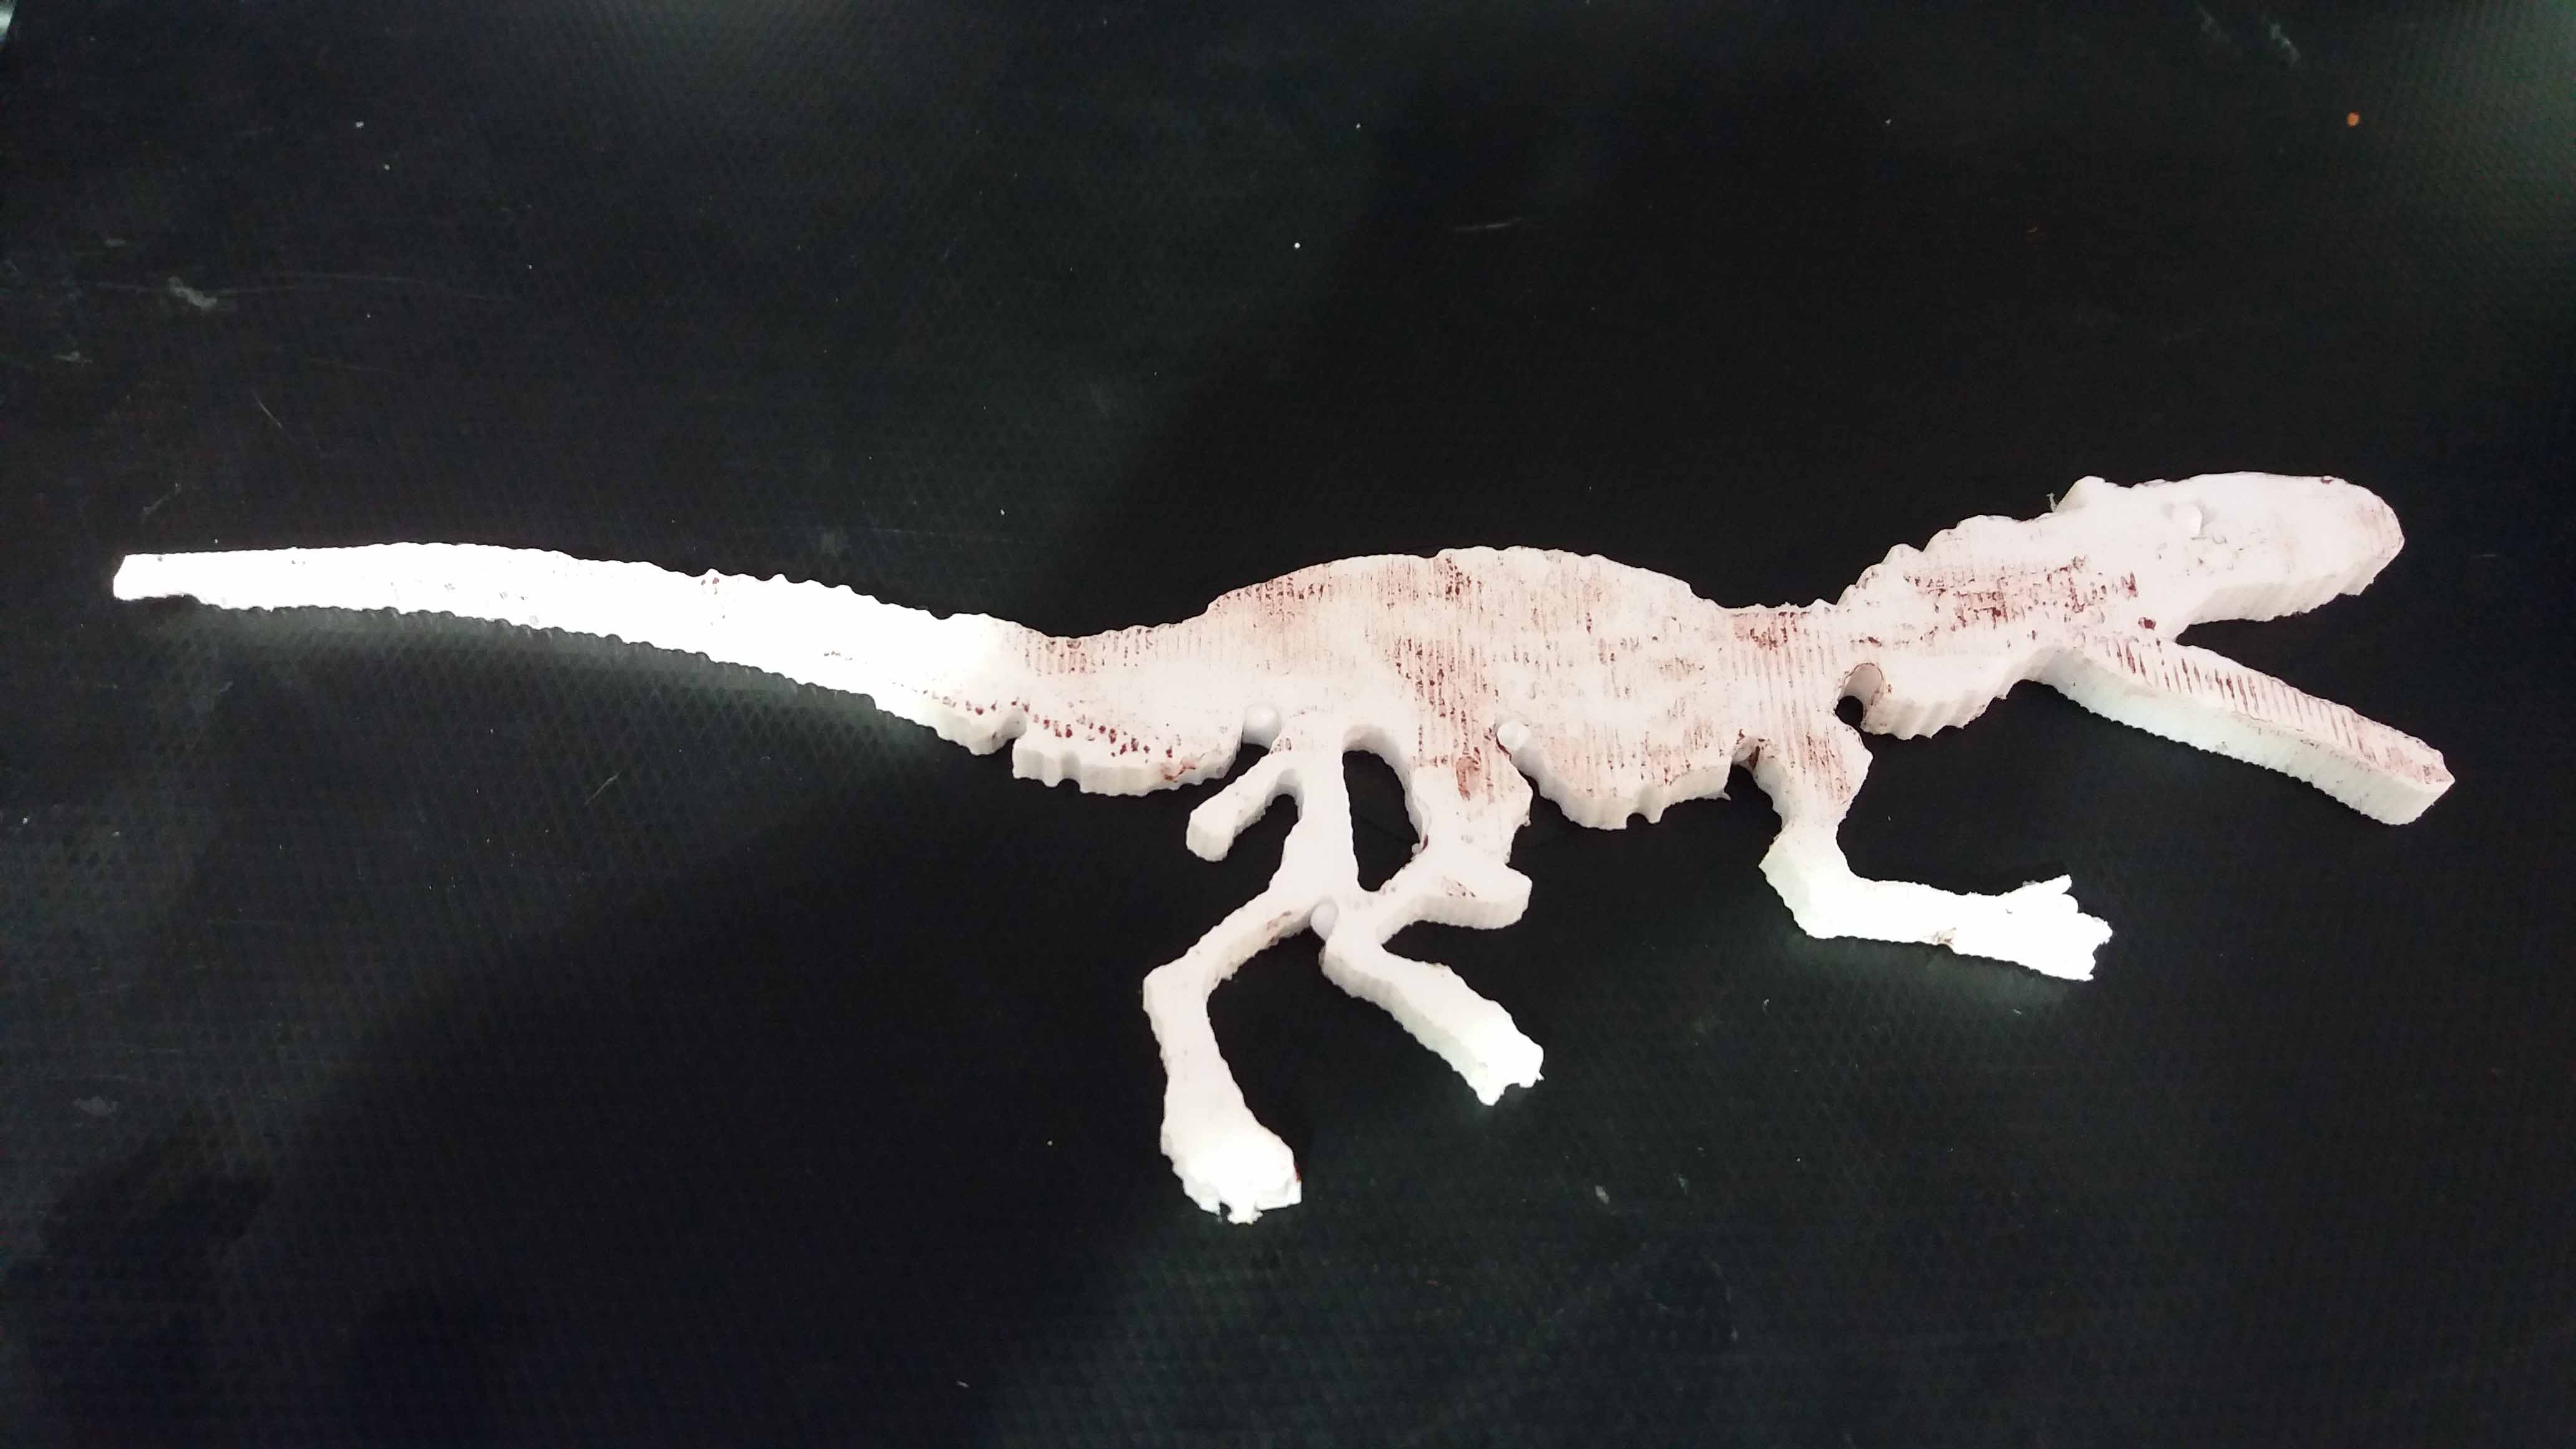
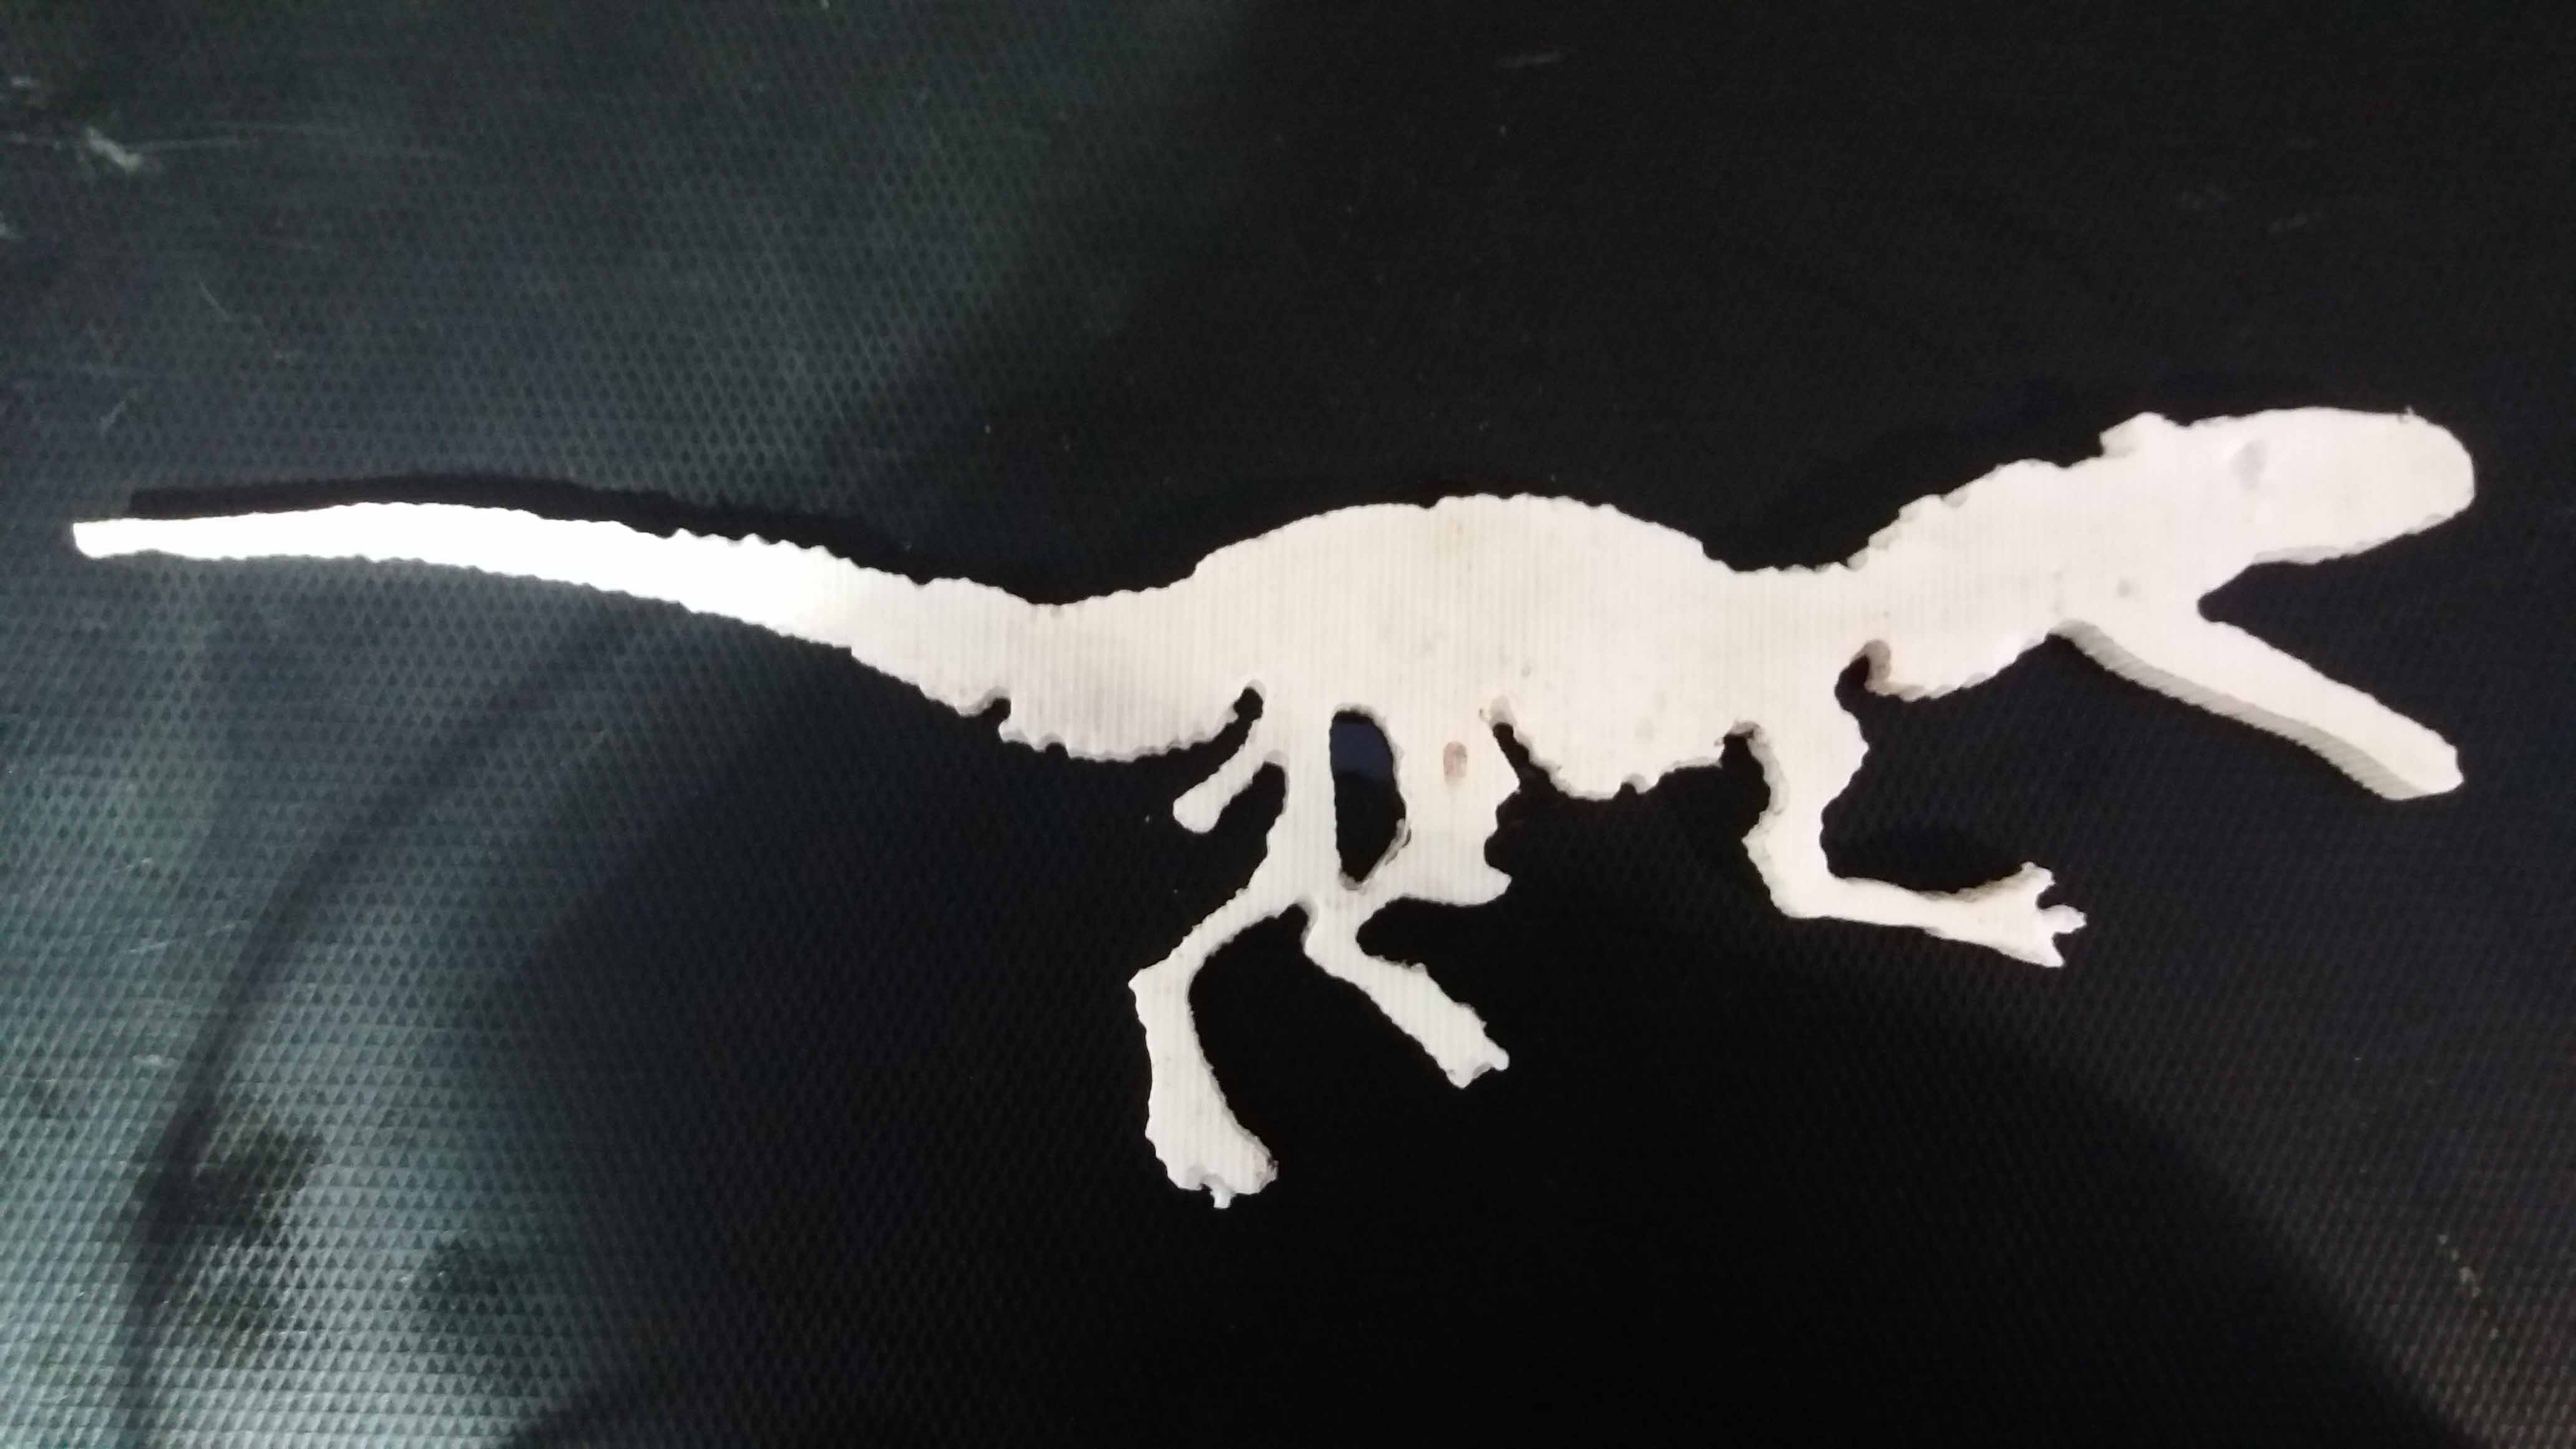
And obtained the final result. Details were lost due to the diameter of the tool, but still, came out looking good.
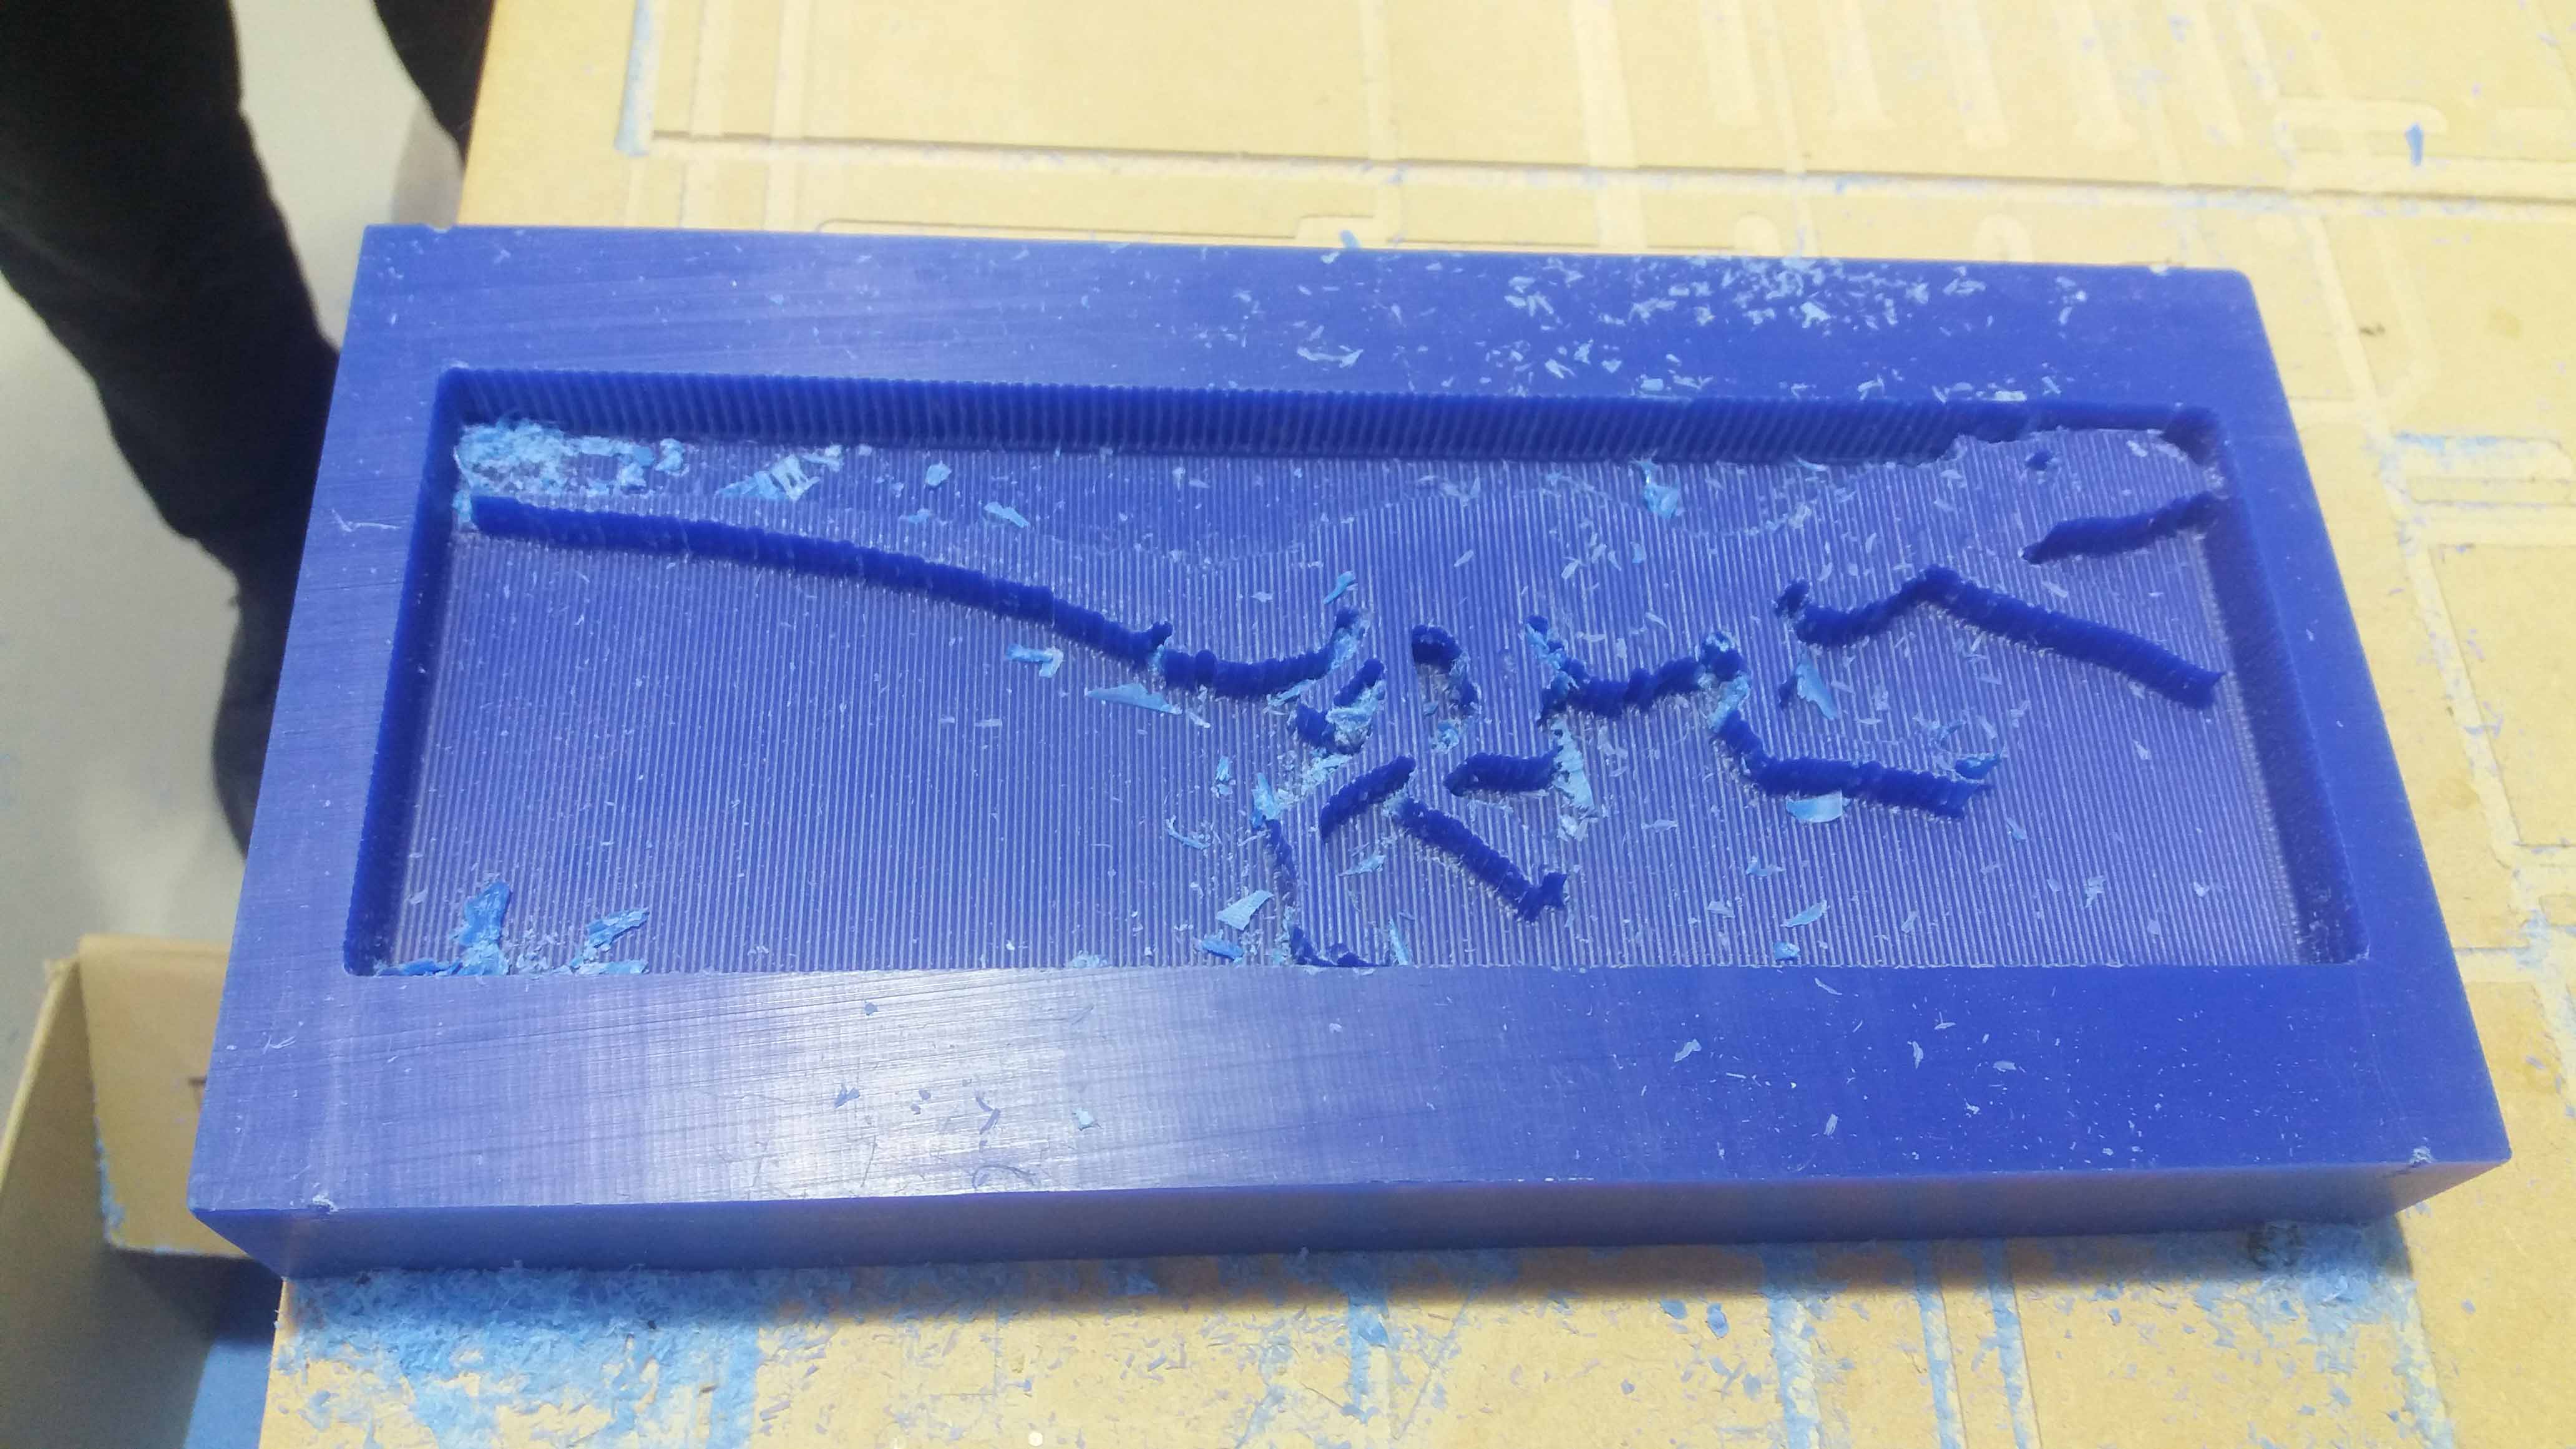
Here we can see some debrits left by the process.
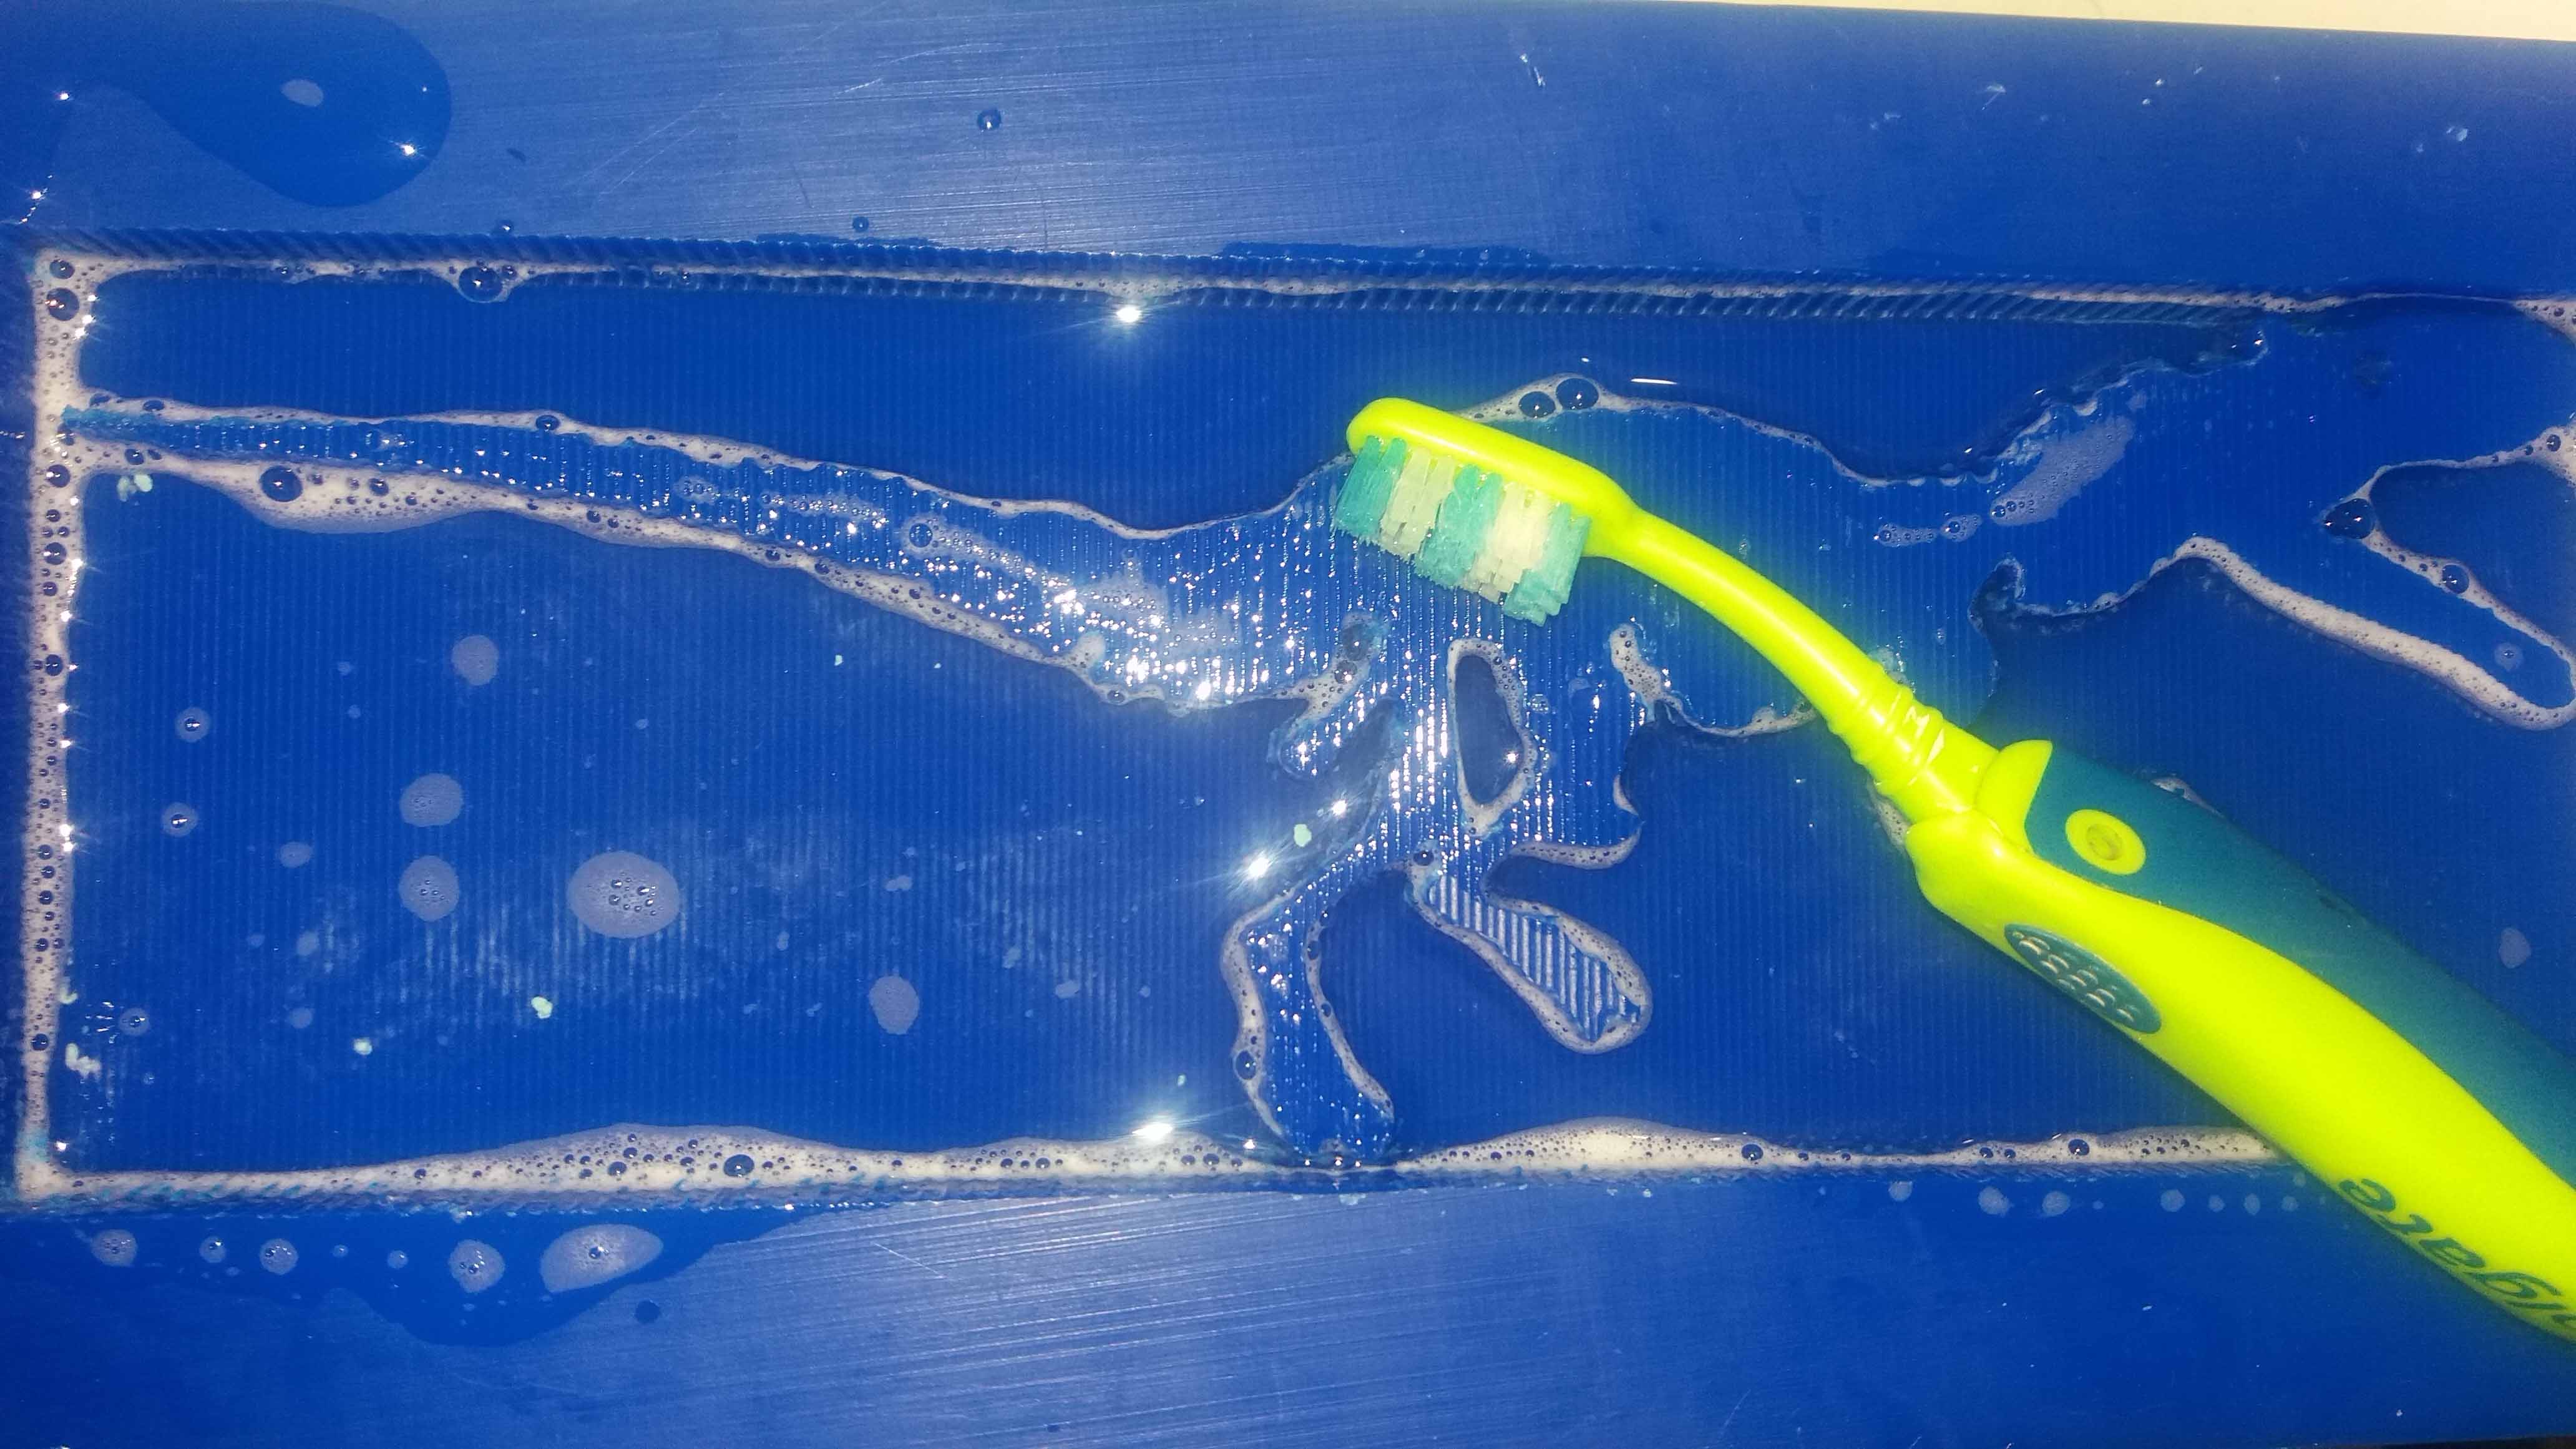
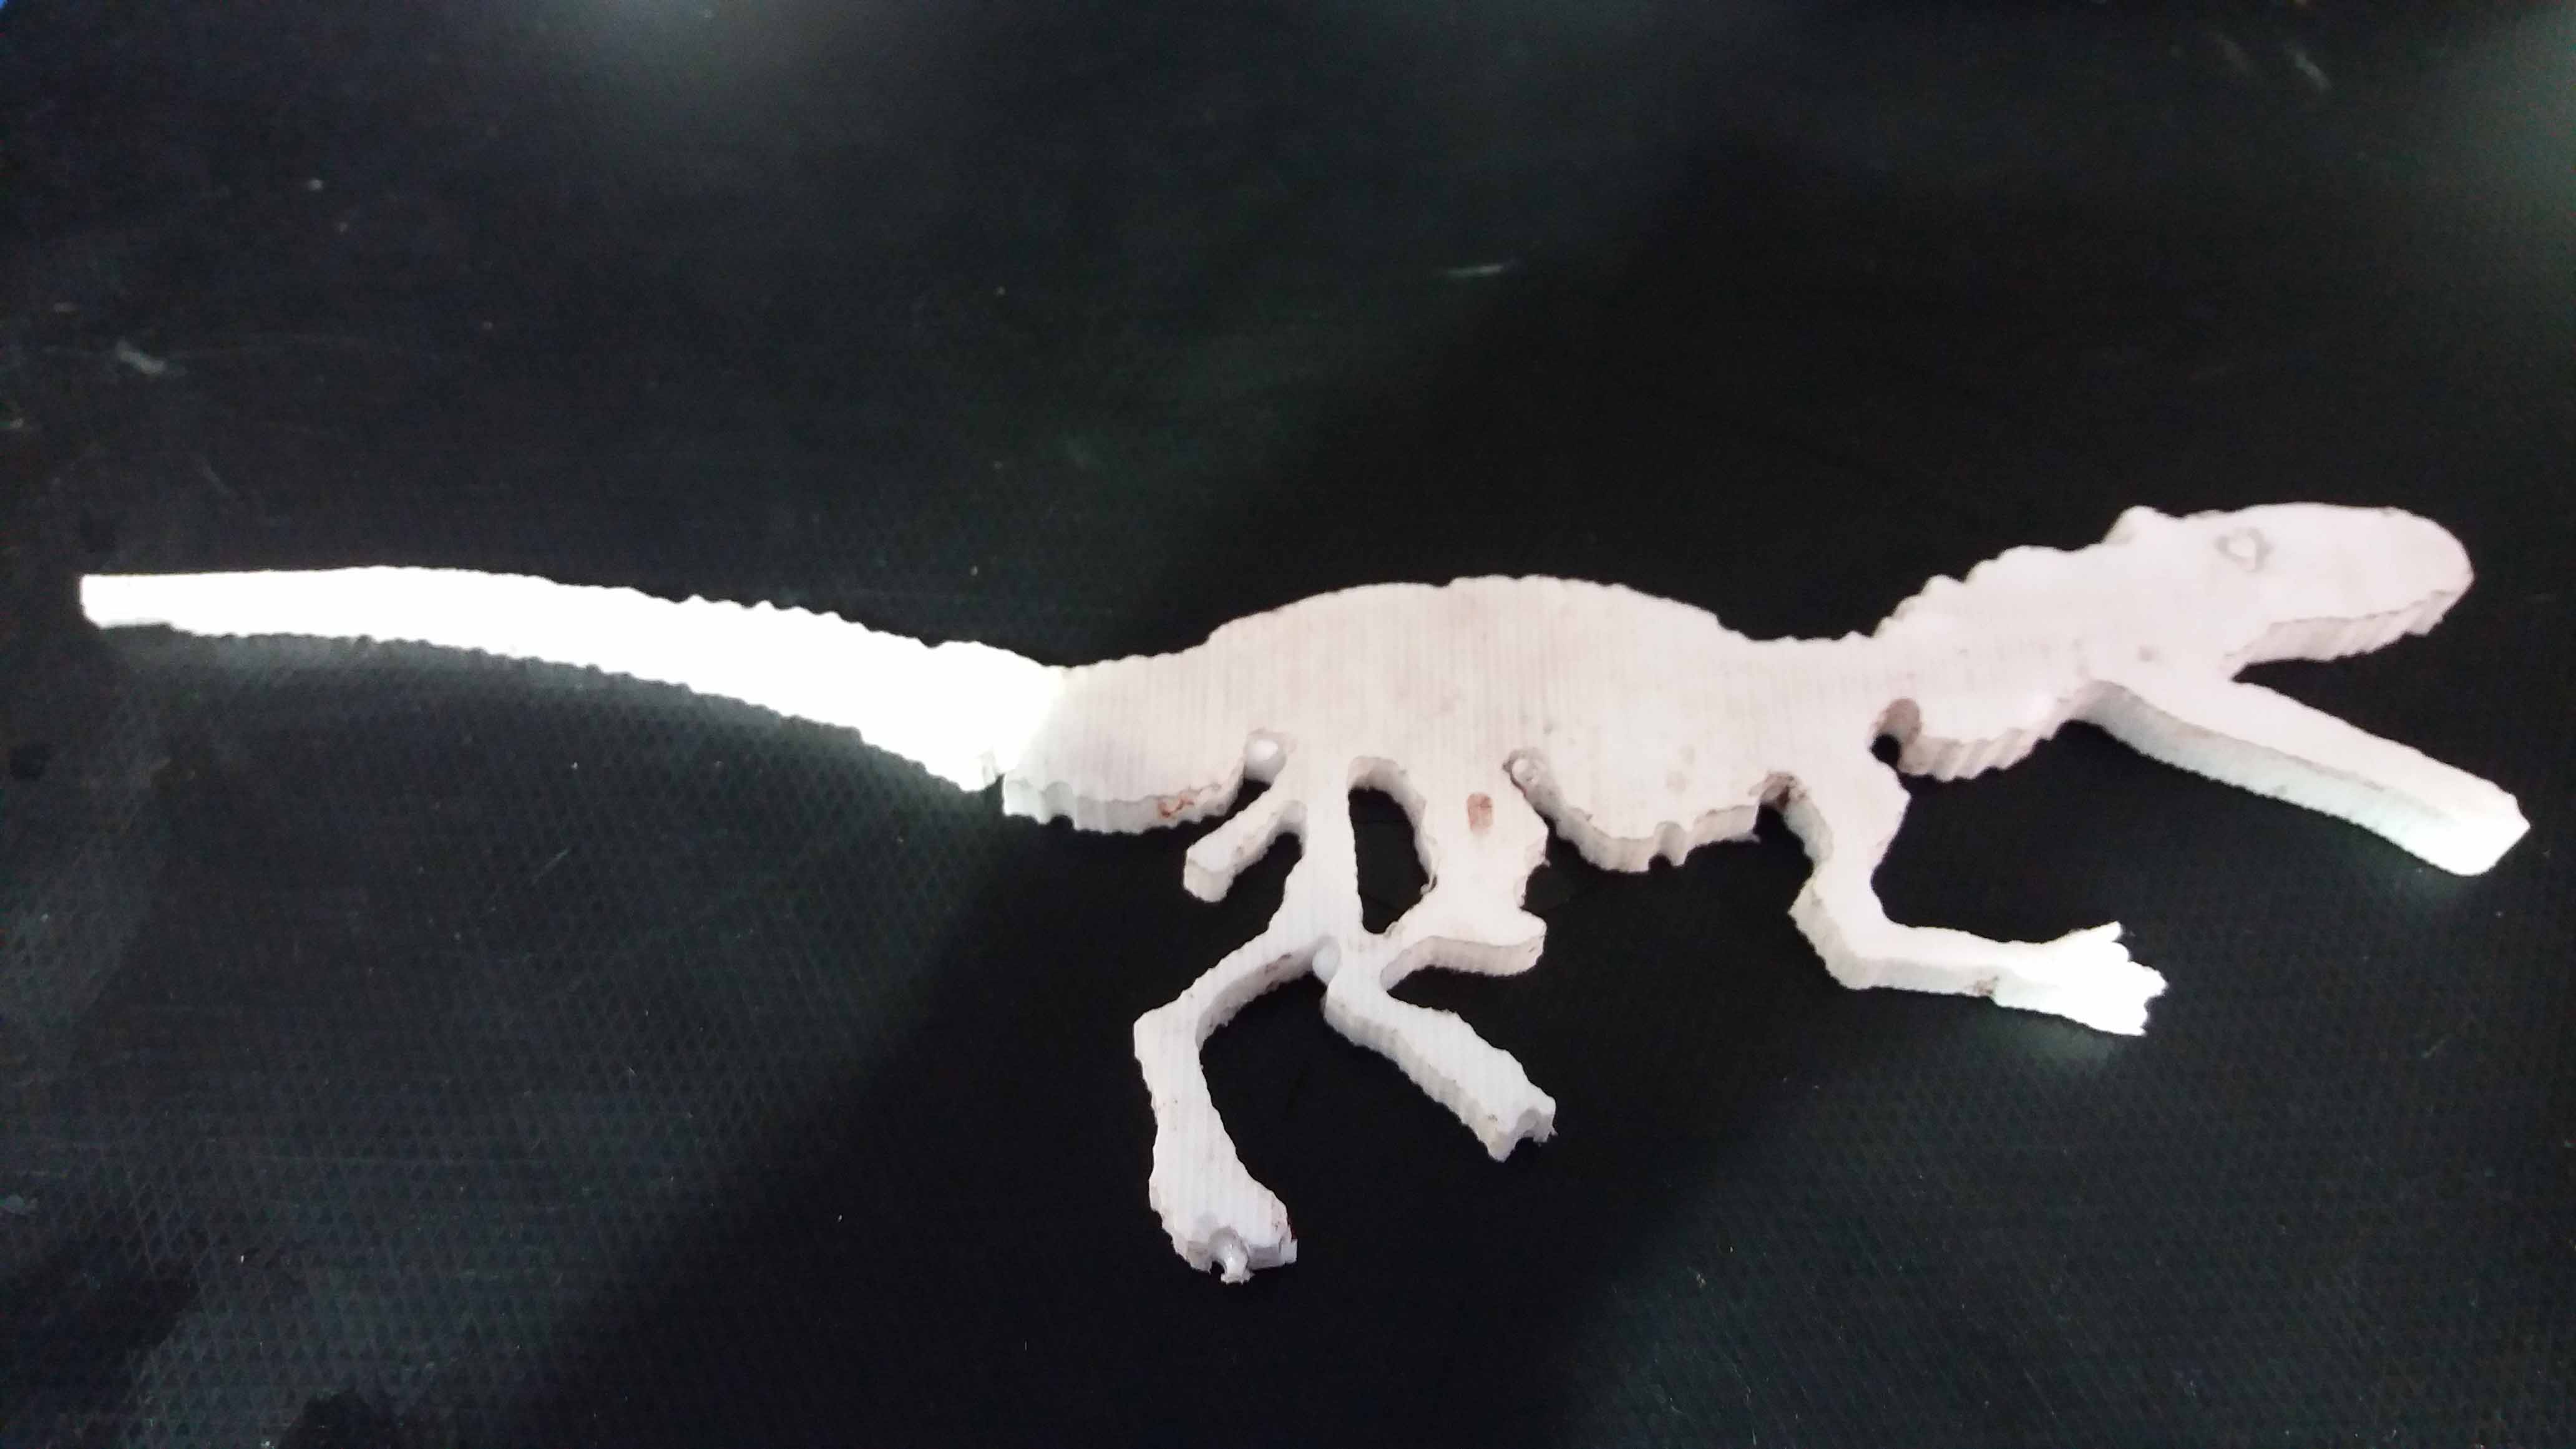
I cleaned it up using a dedicated tootbrush and dish washer.
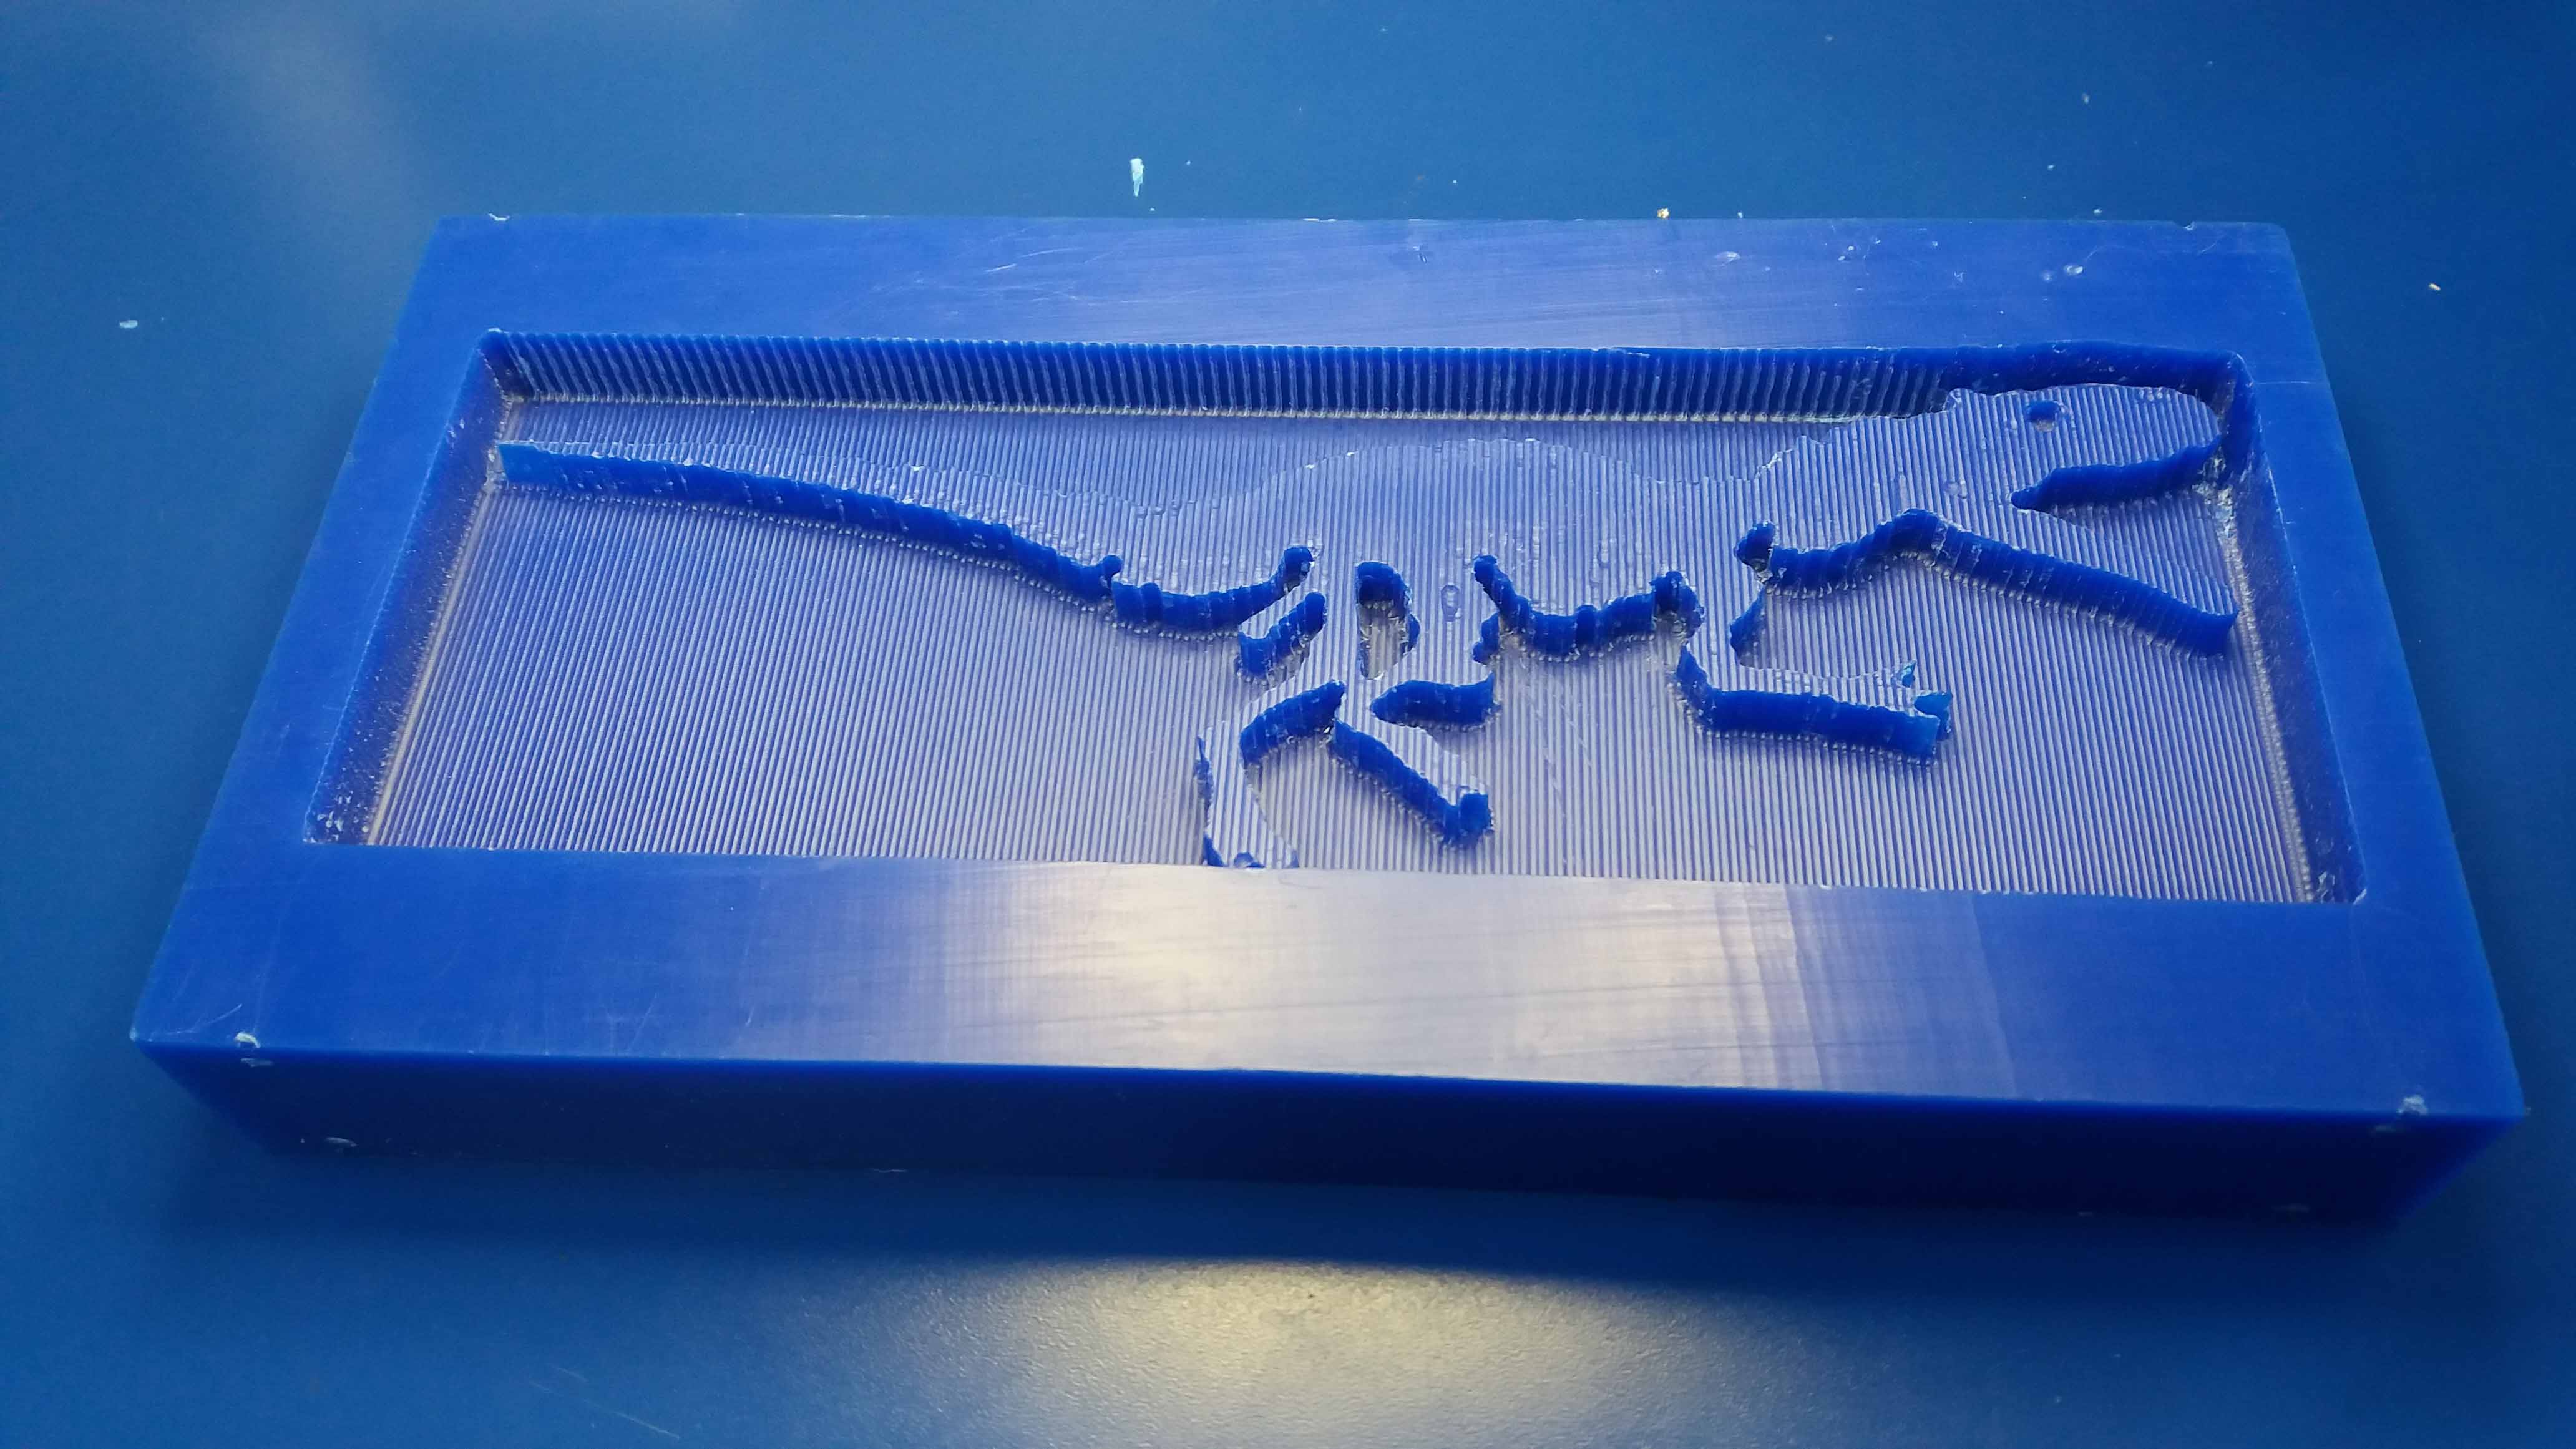
Here is the clean and finished positive piece.
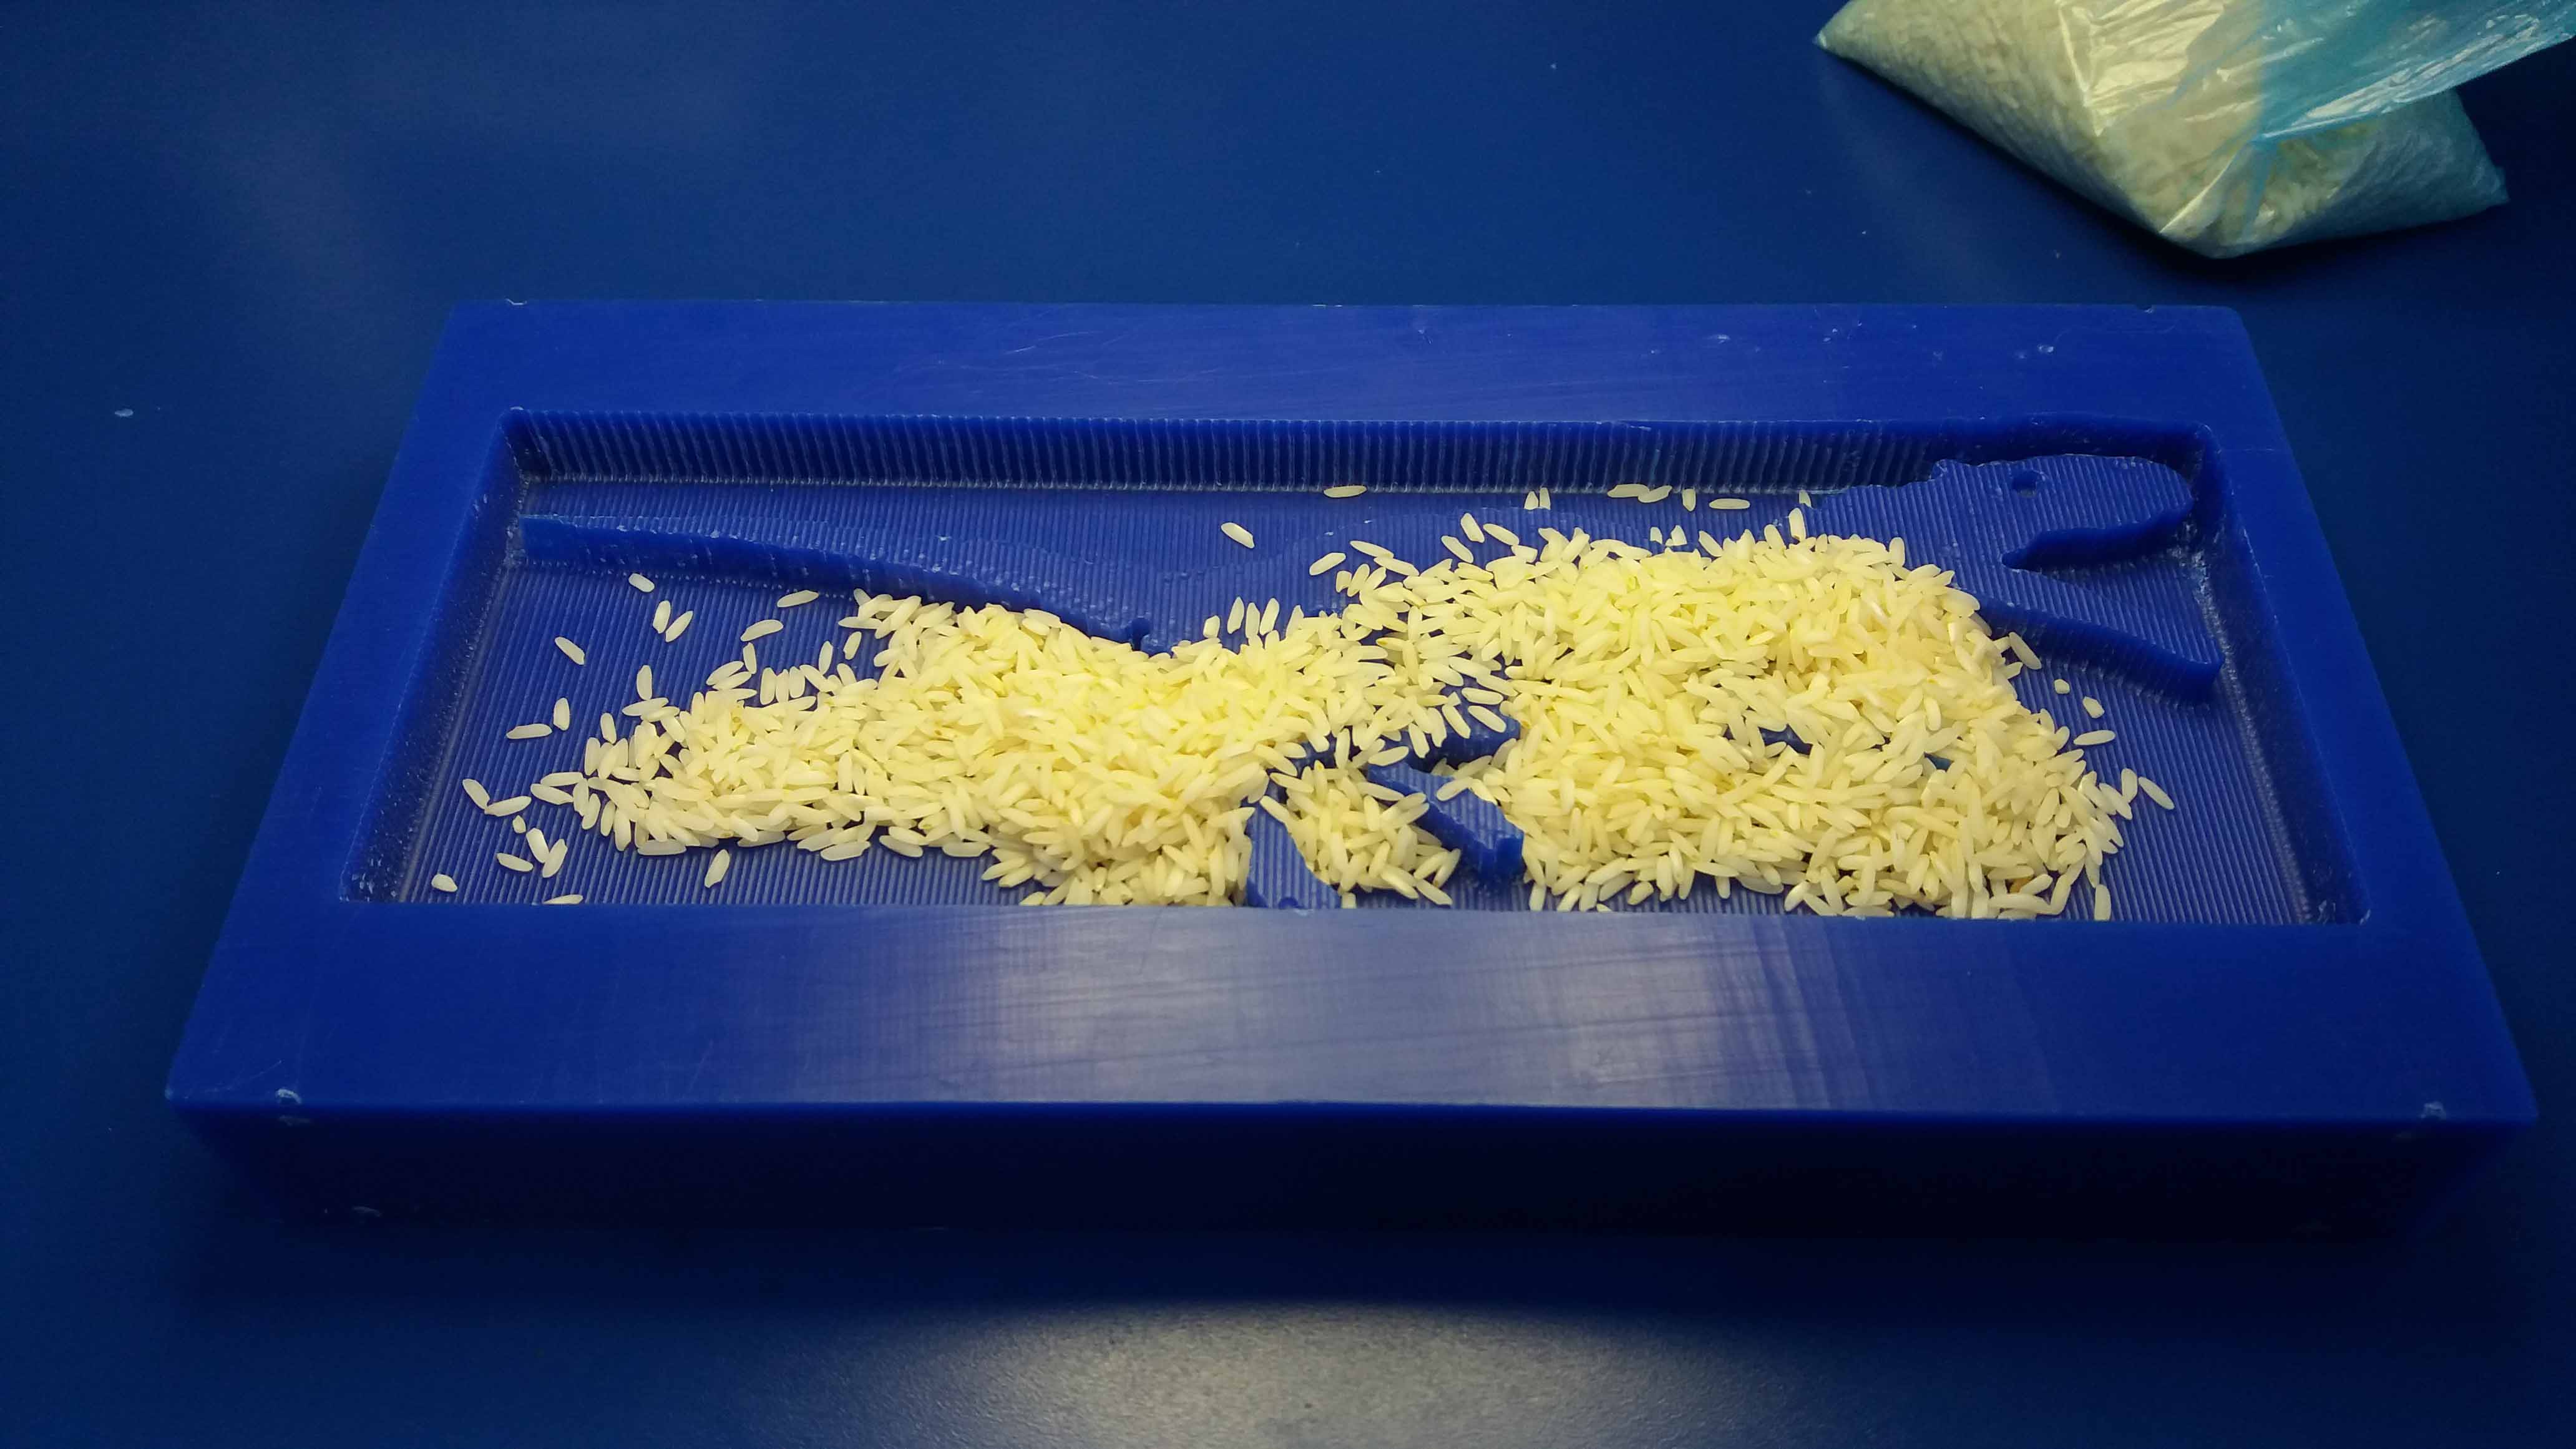
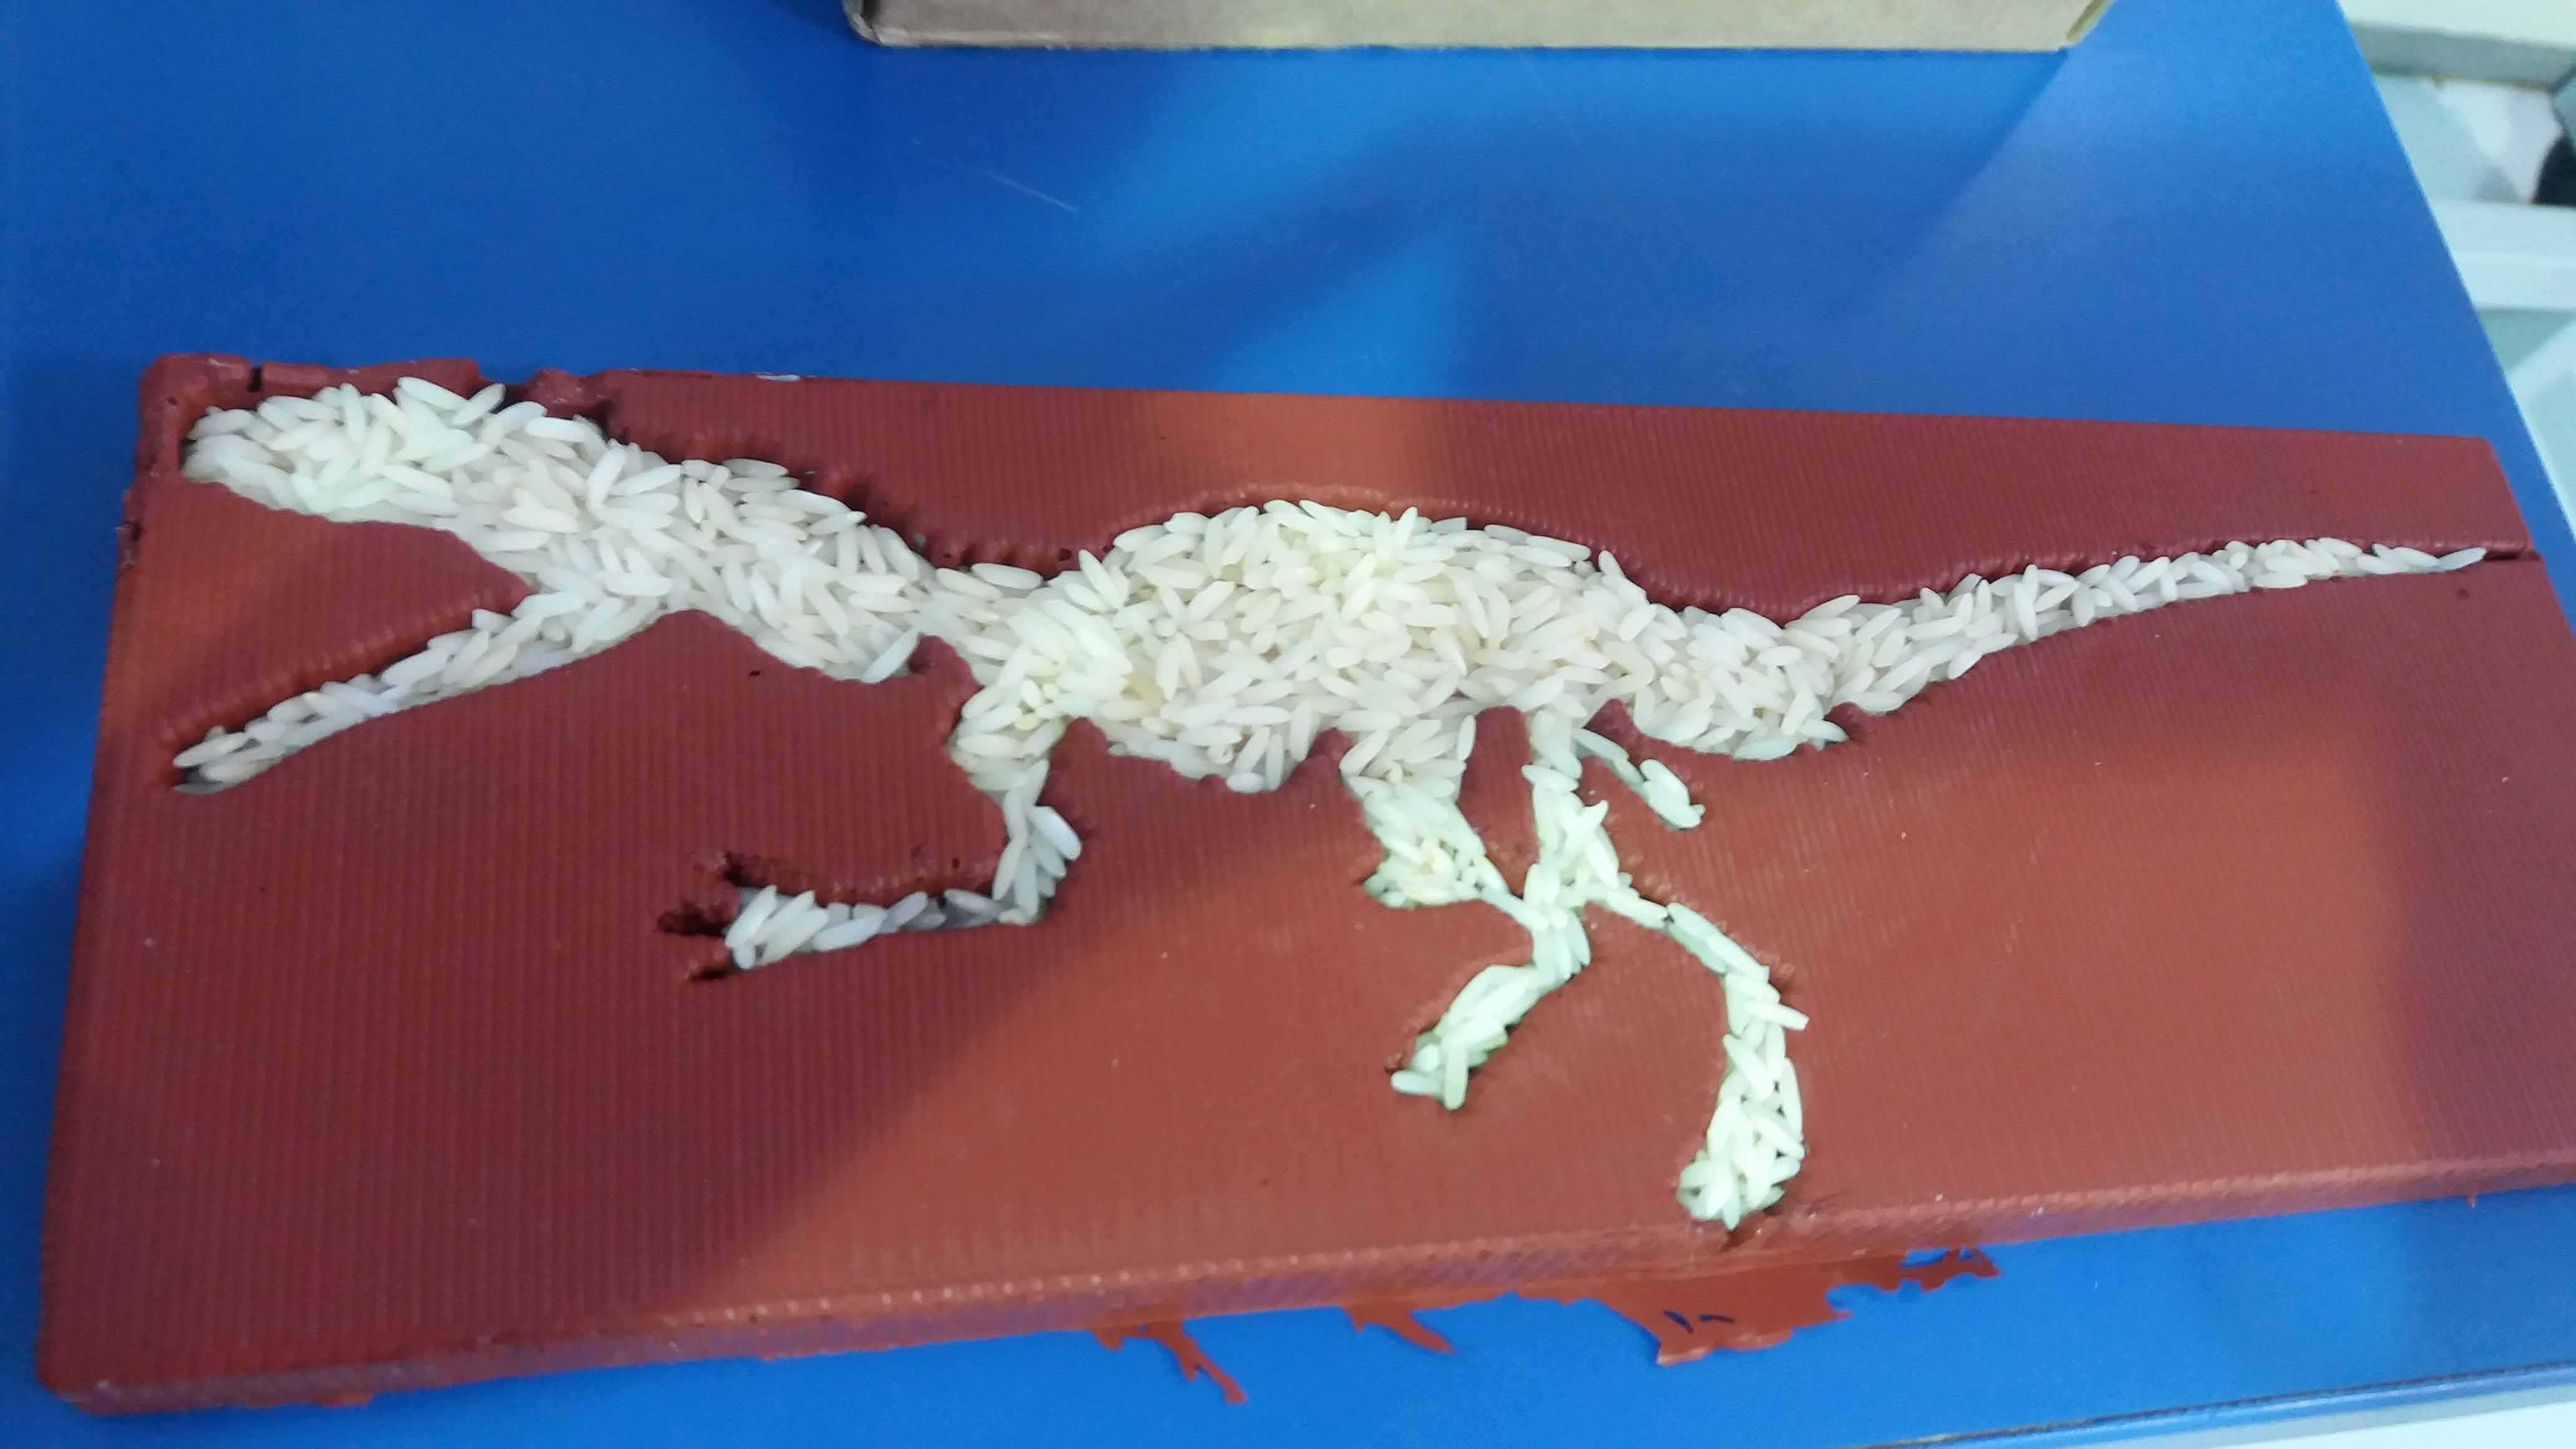
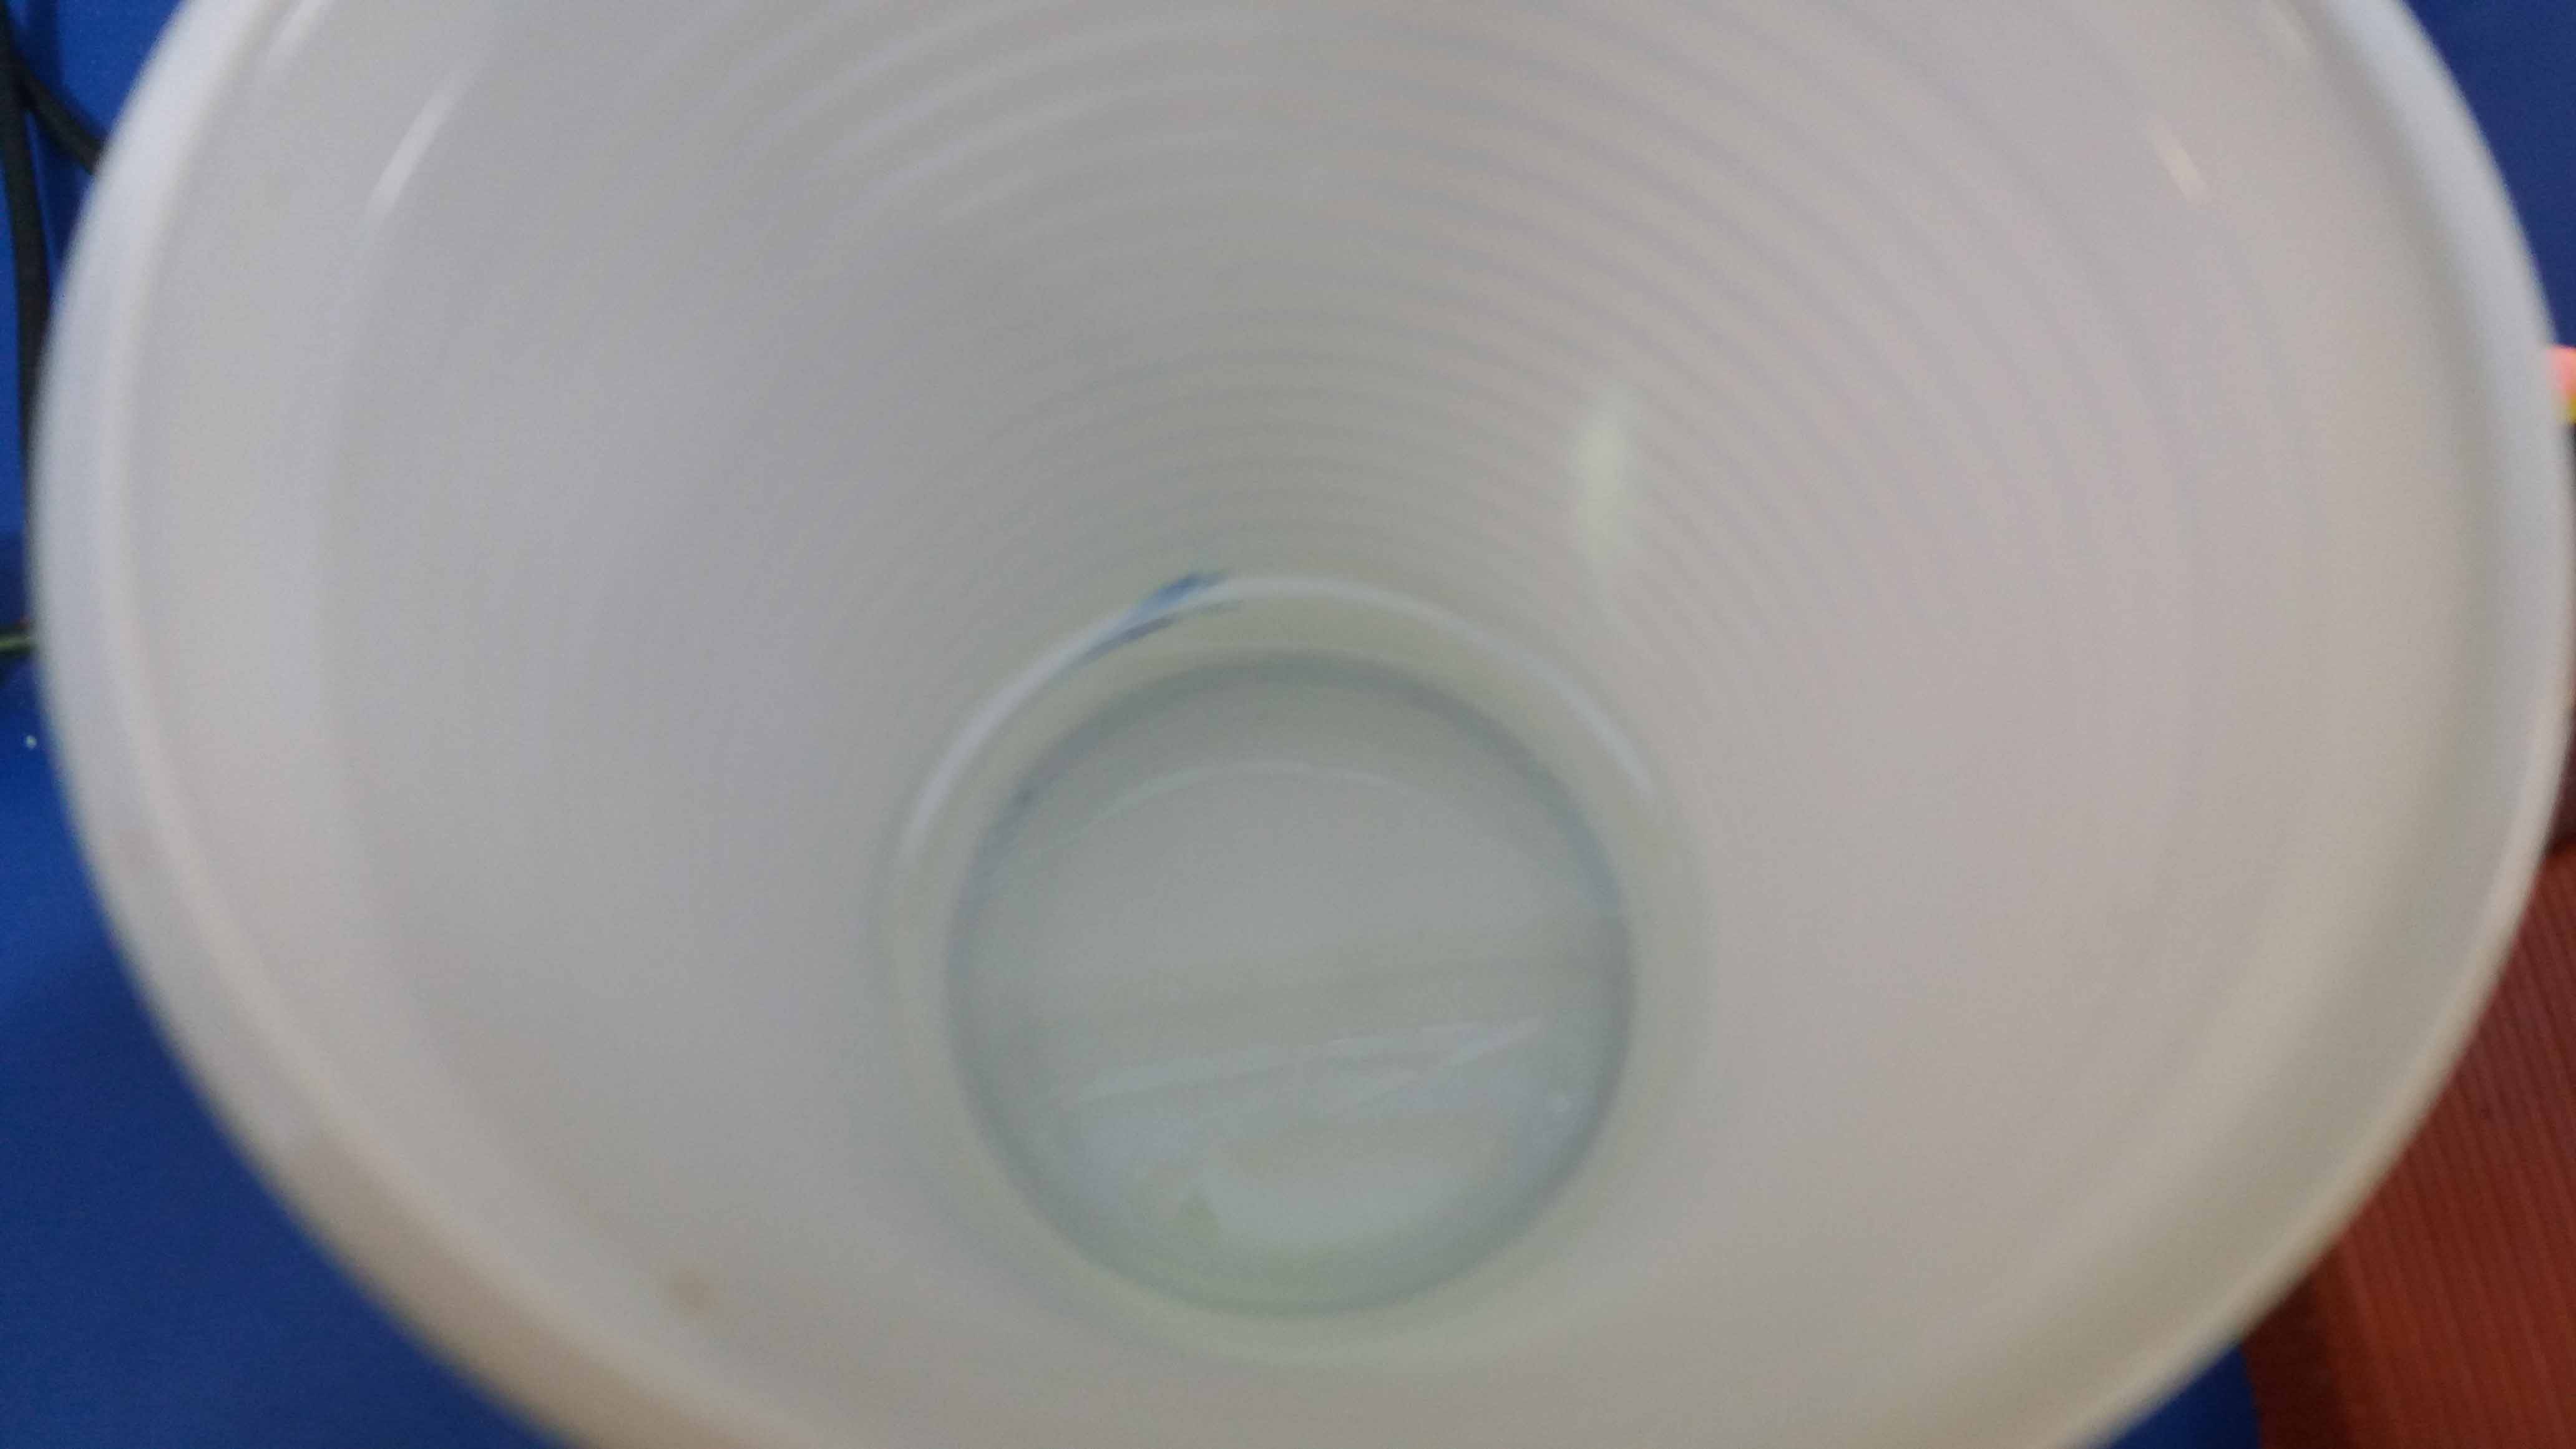
We can use rice to estimate the volume we are going to need to fill it. Rice is good instead of water (or other fluid), because we don't need to wait until the mold is dry.
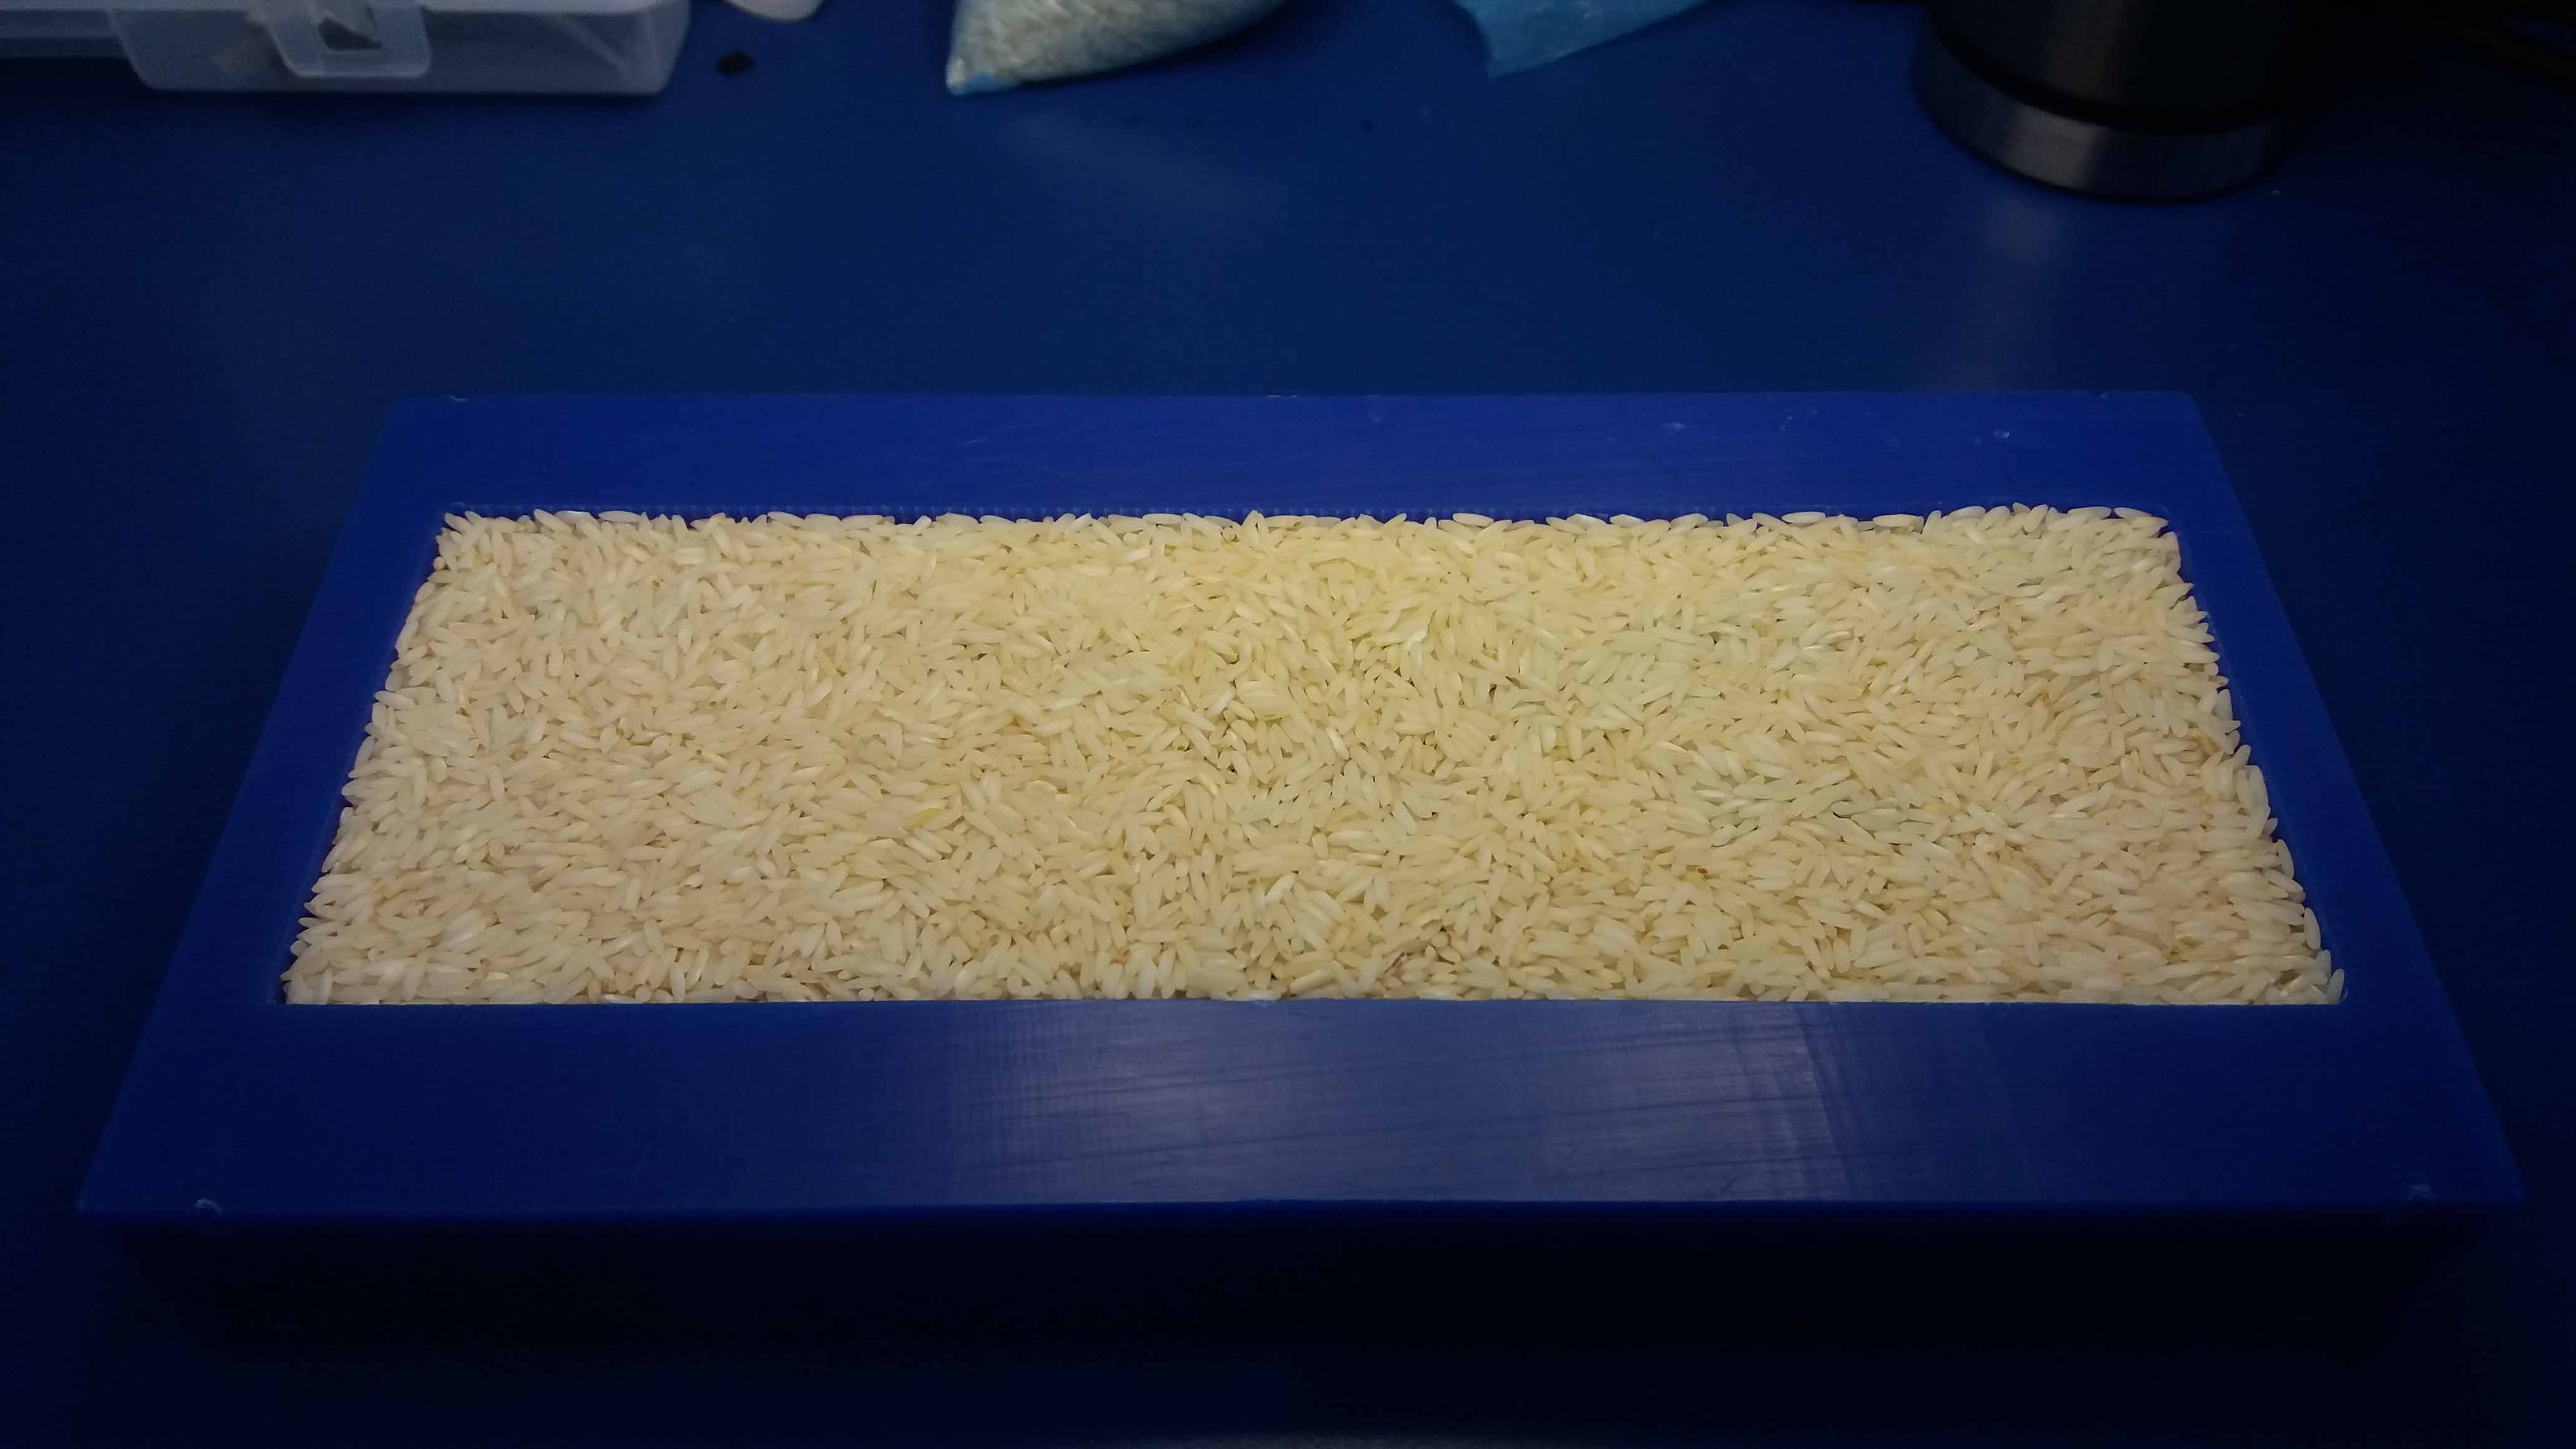
We continue with the filling...
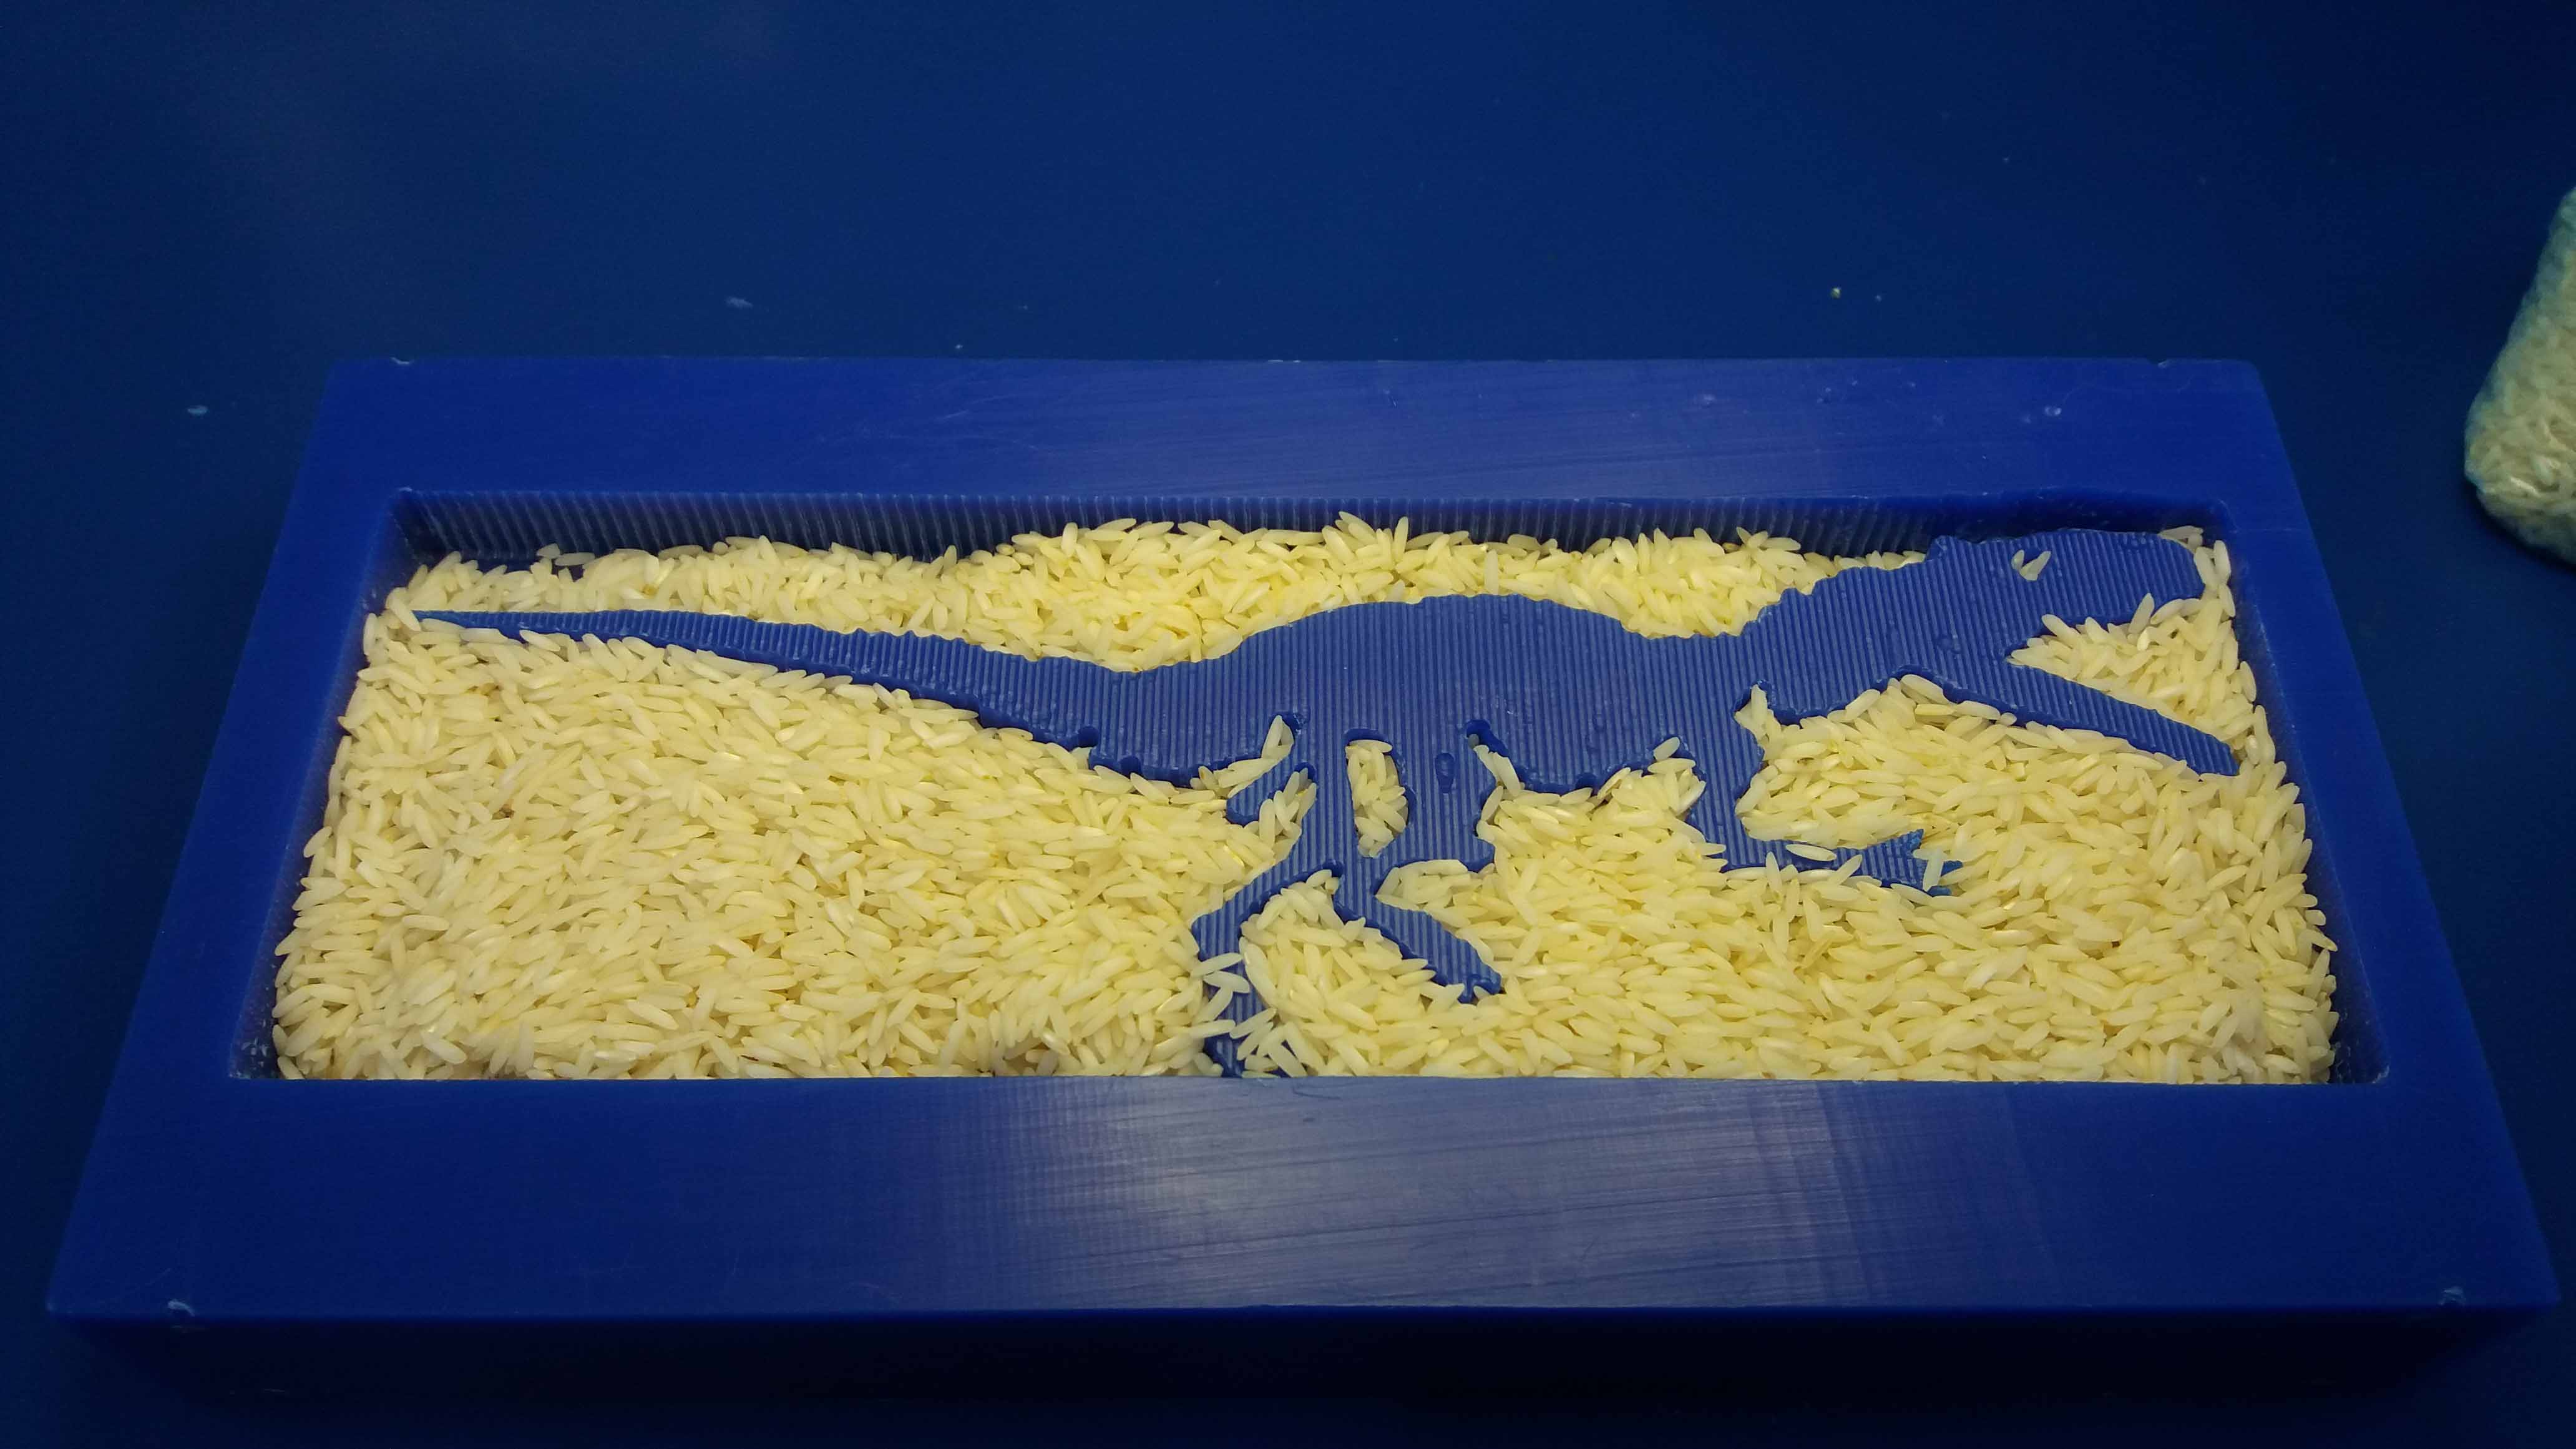
And cover it up completely.
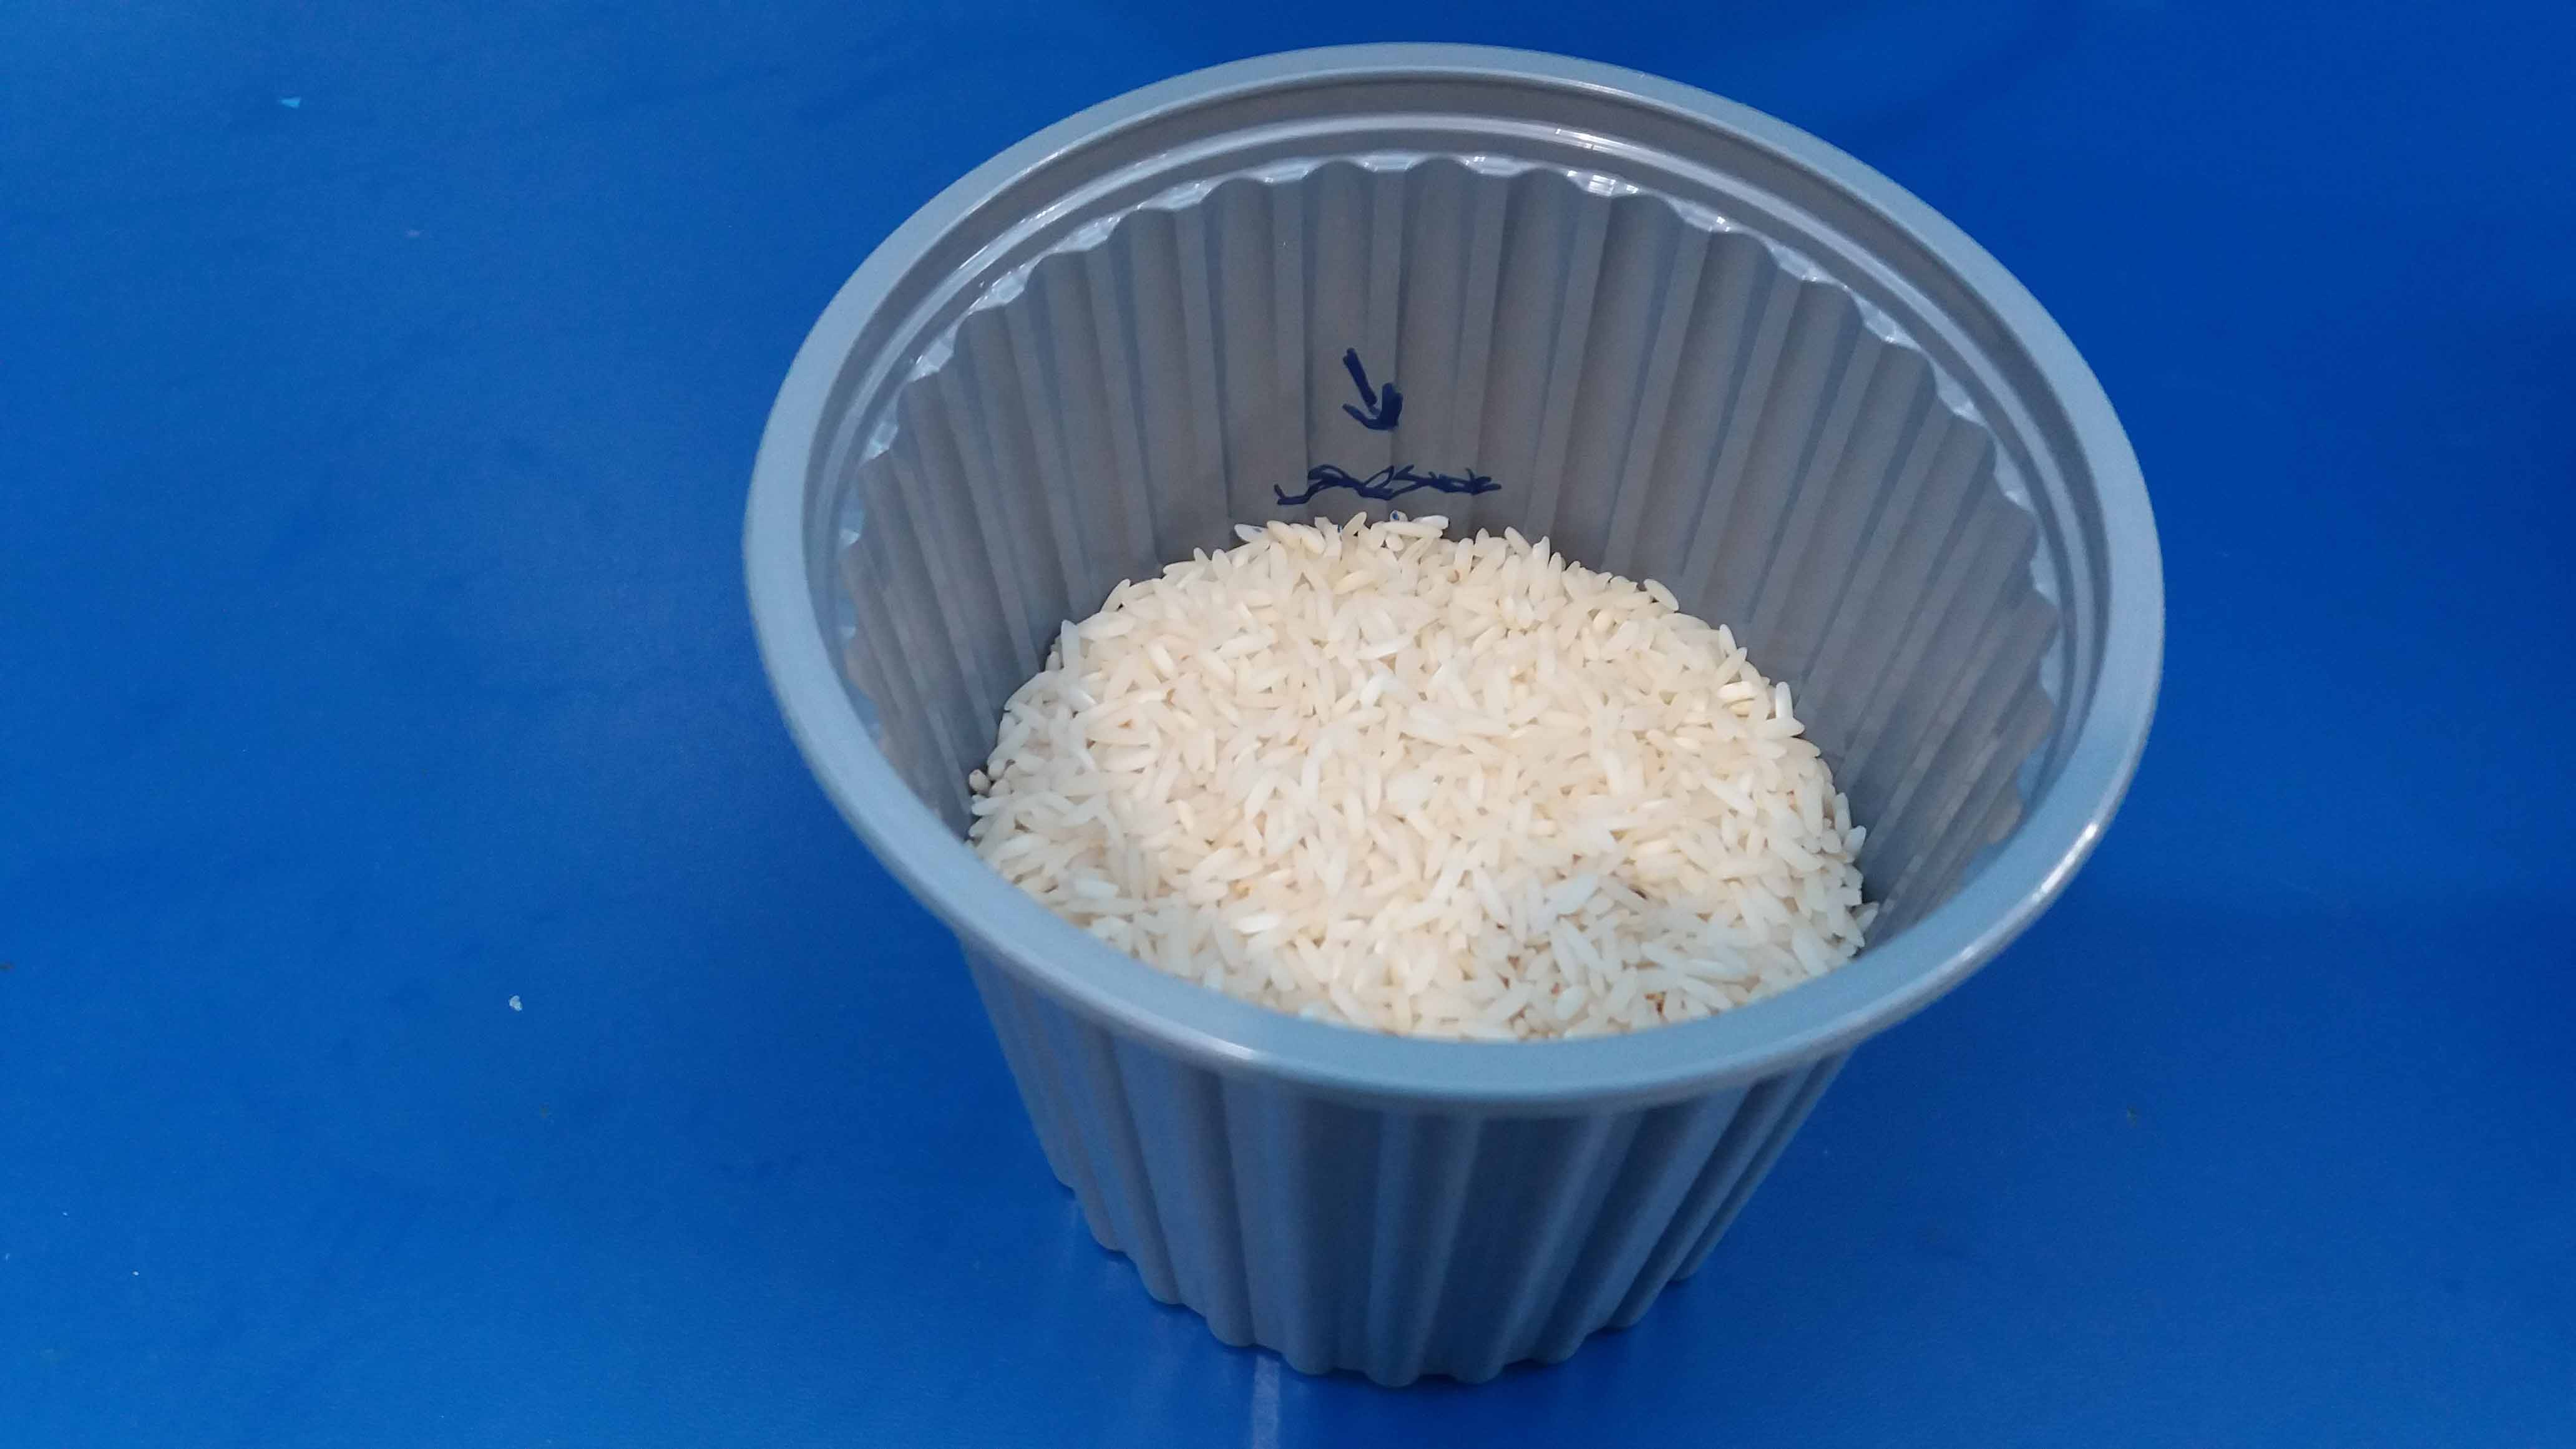
Then we pour the rice in a container. This is the volume we are going to need to fill the cavity.
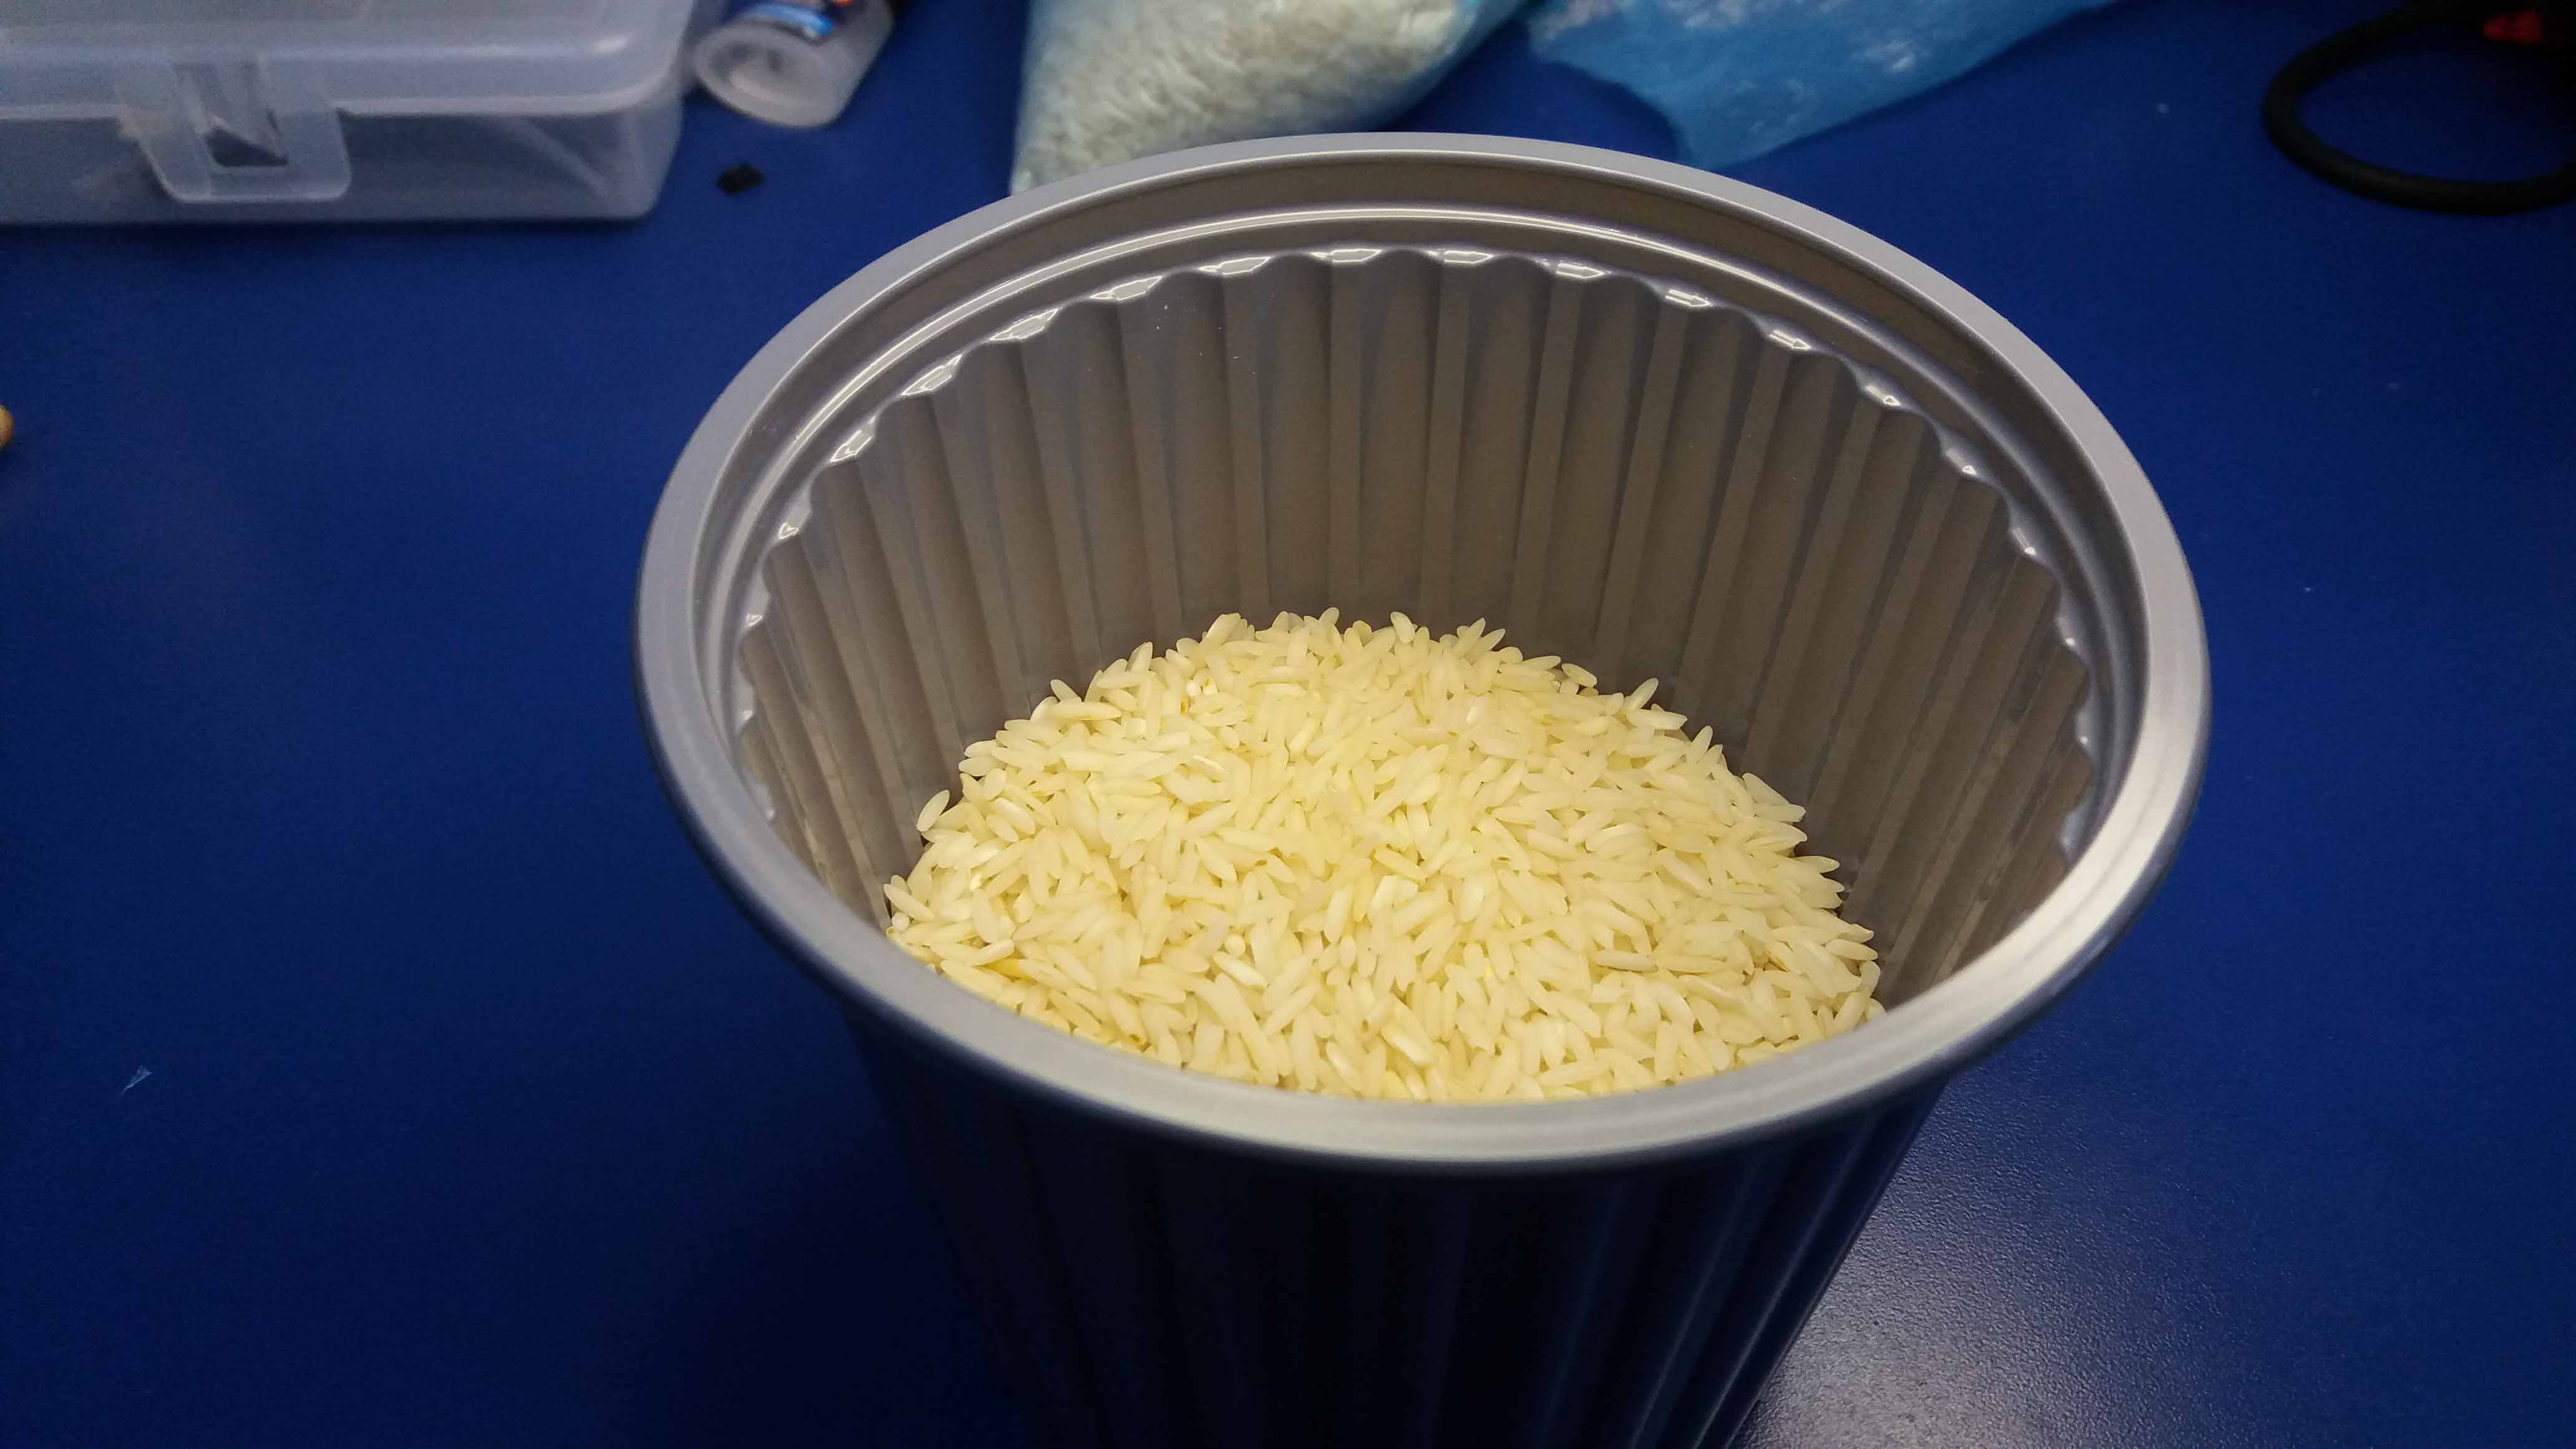
We make a mark where the level will be.
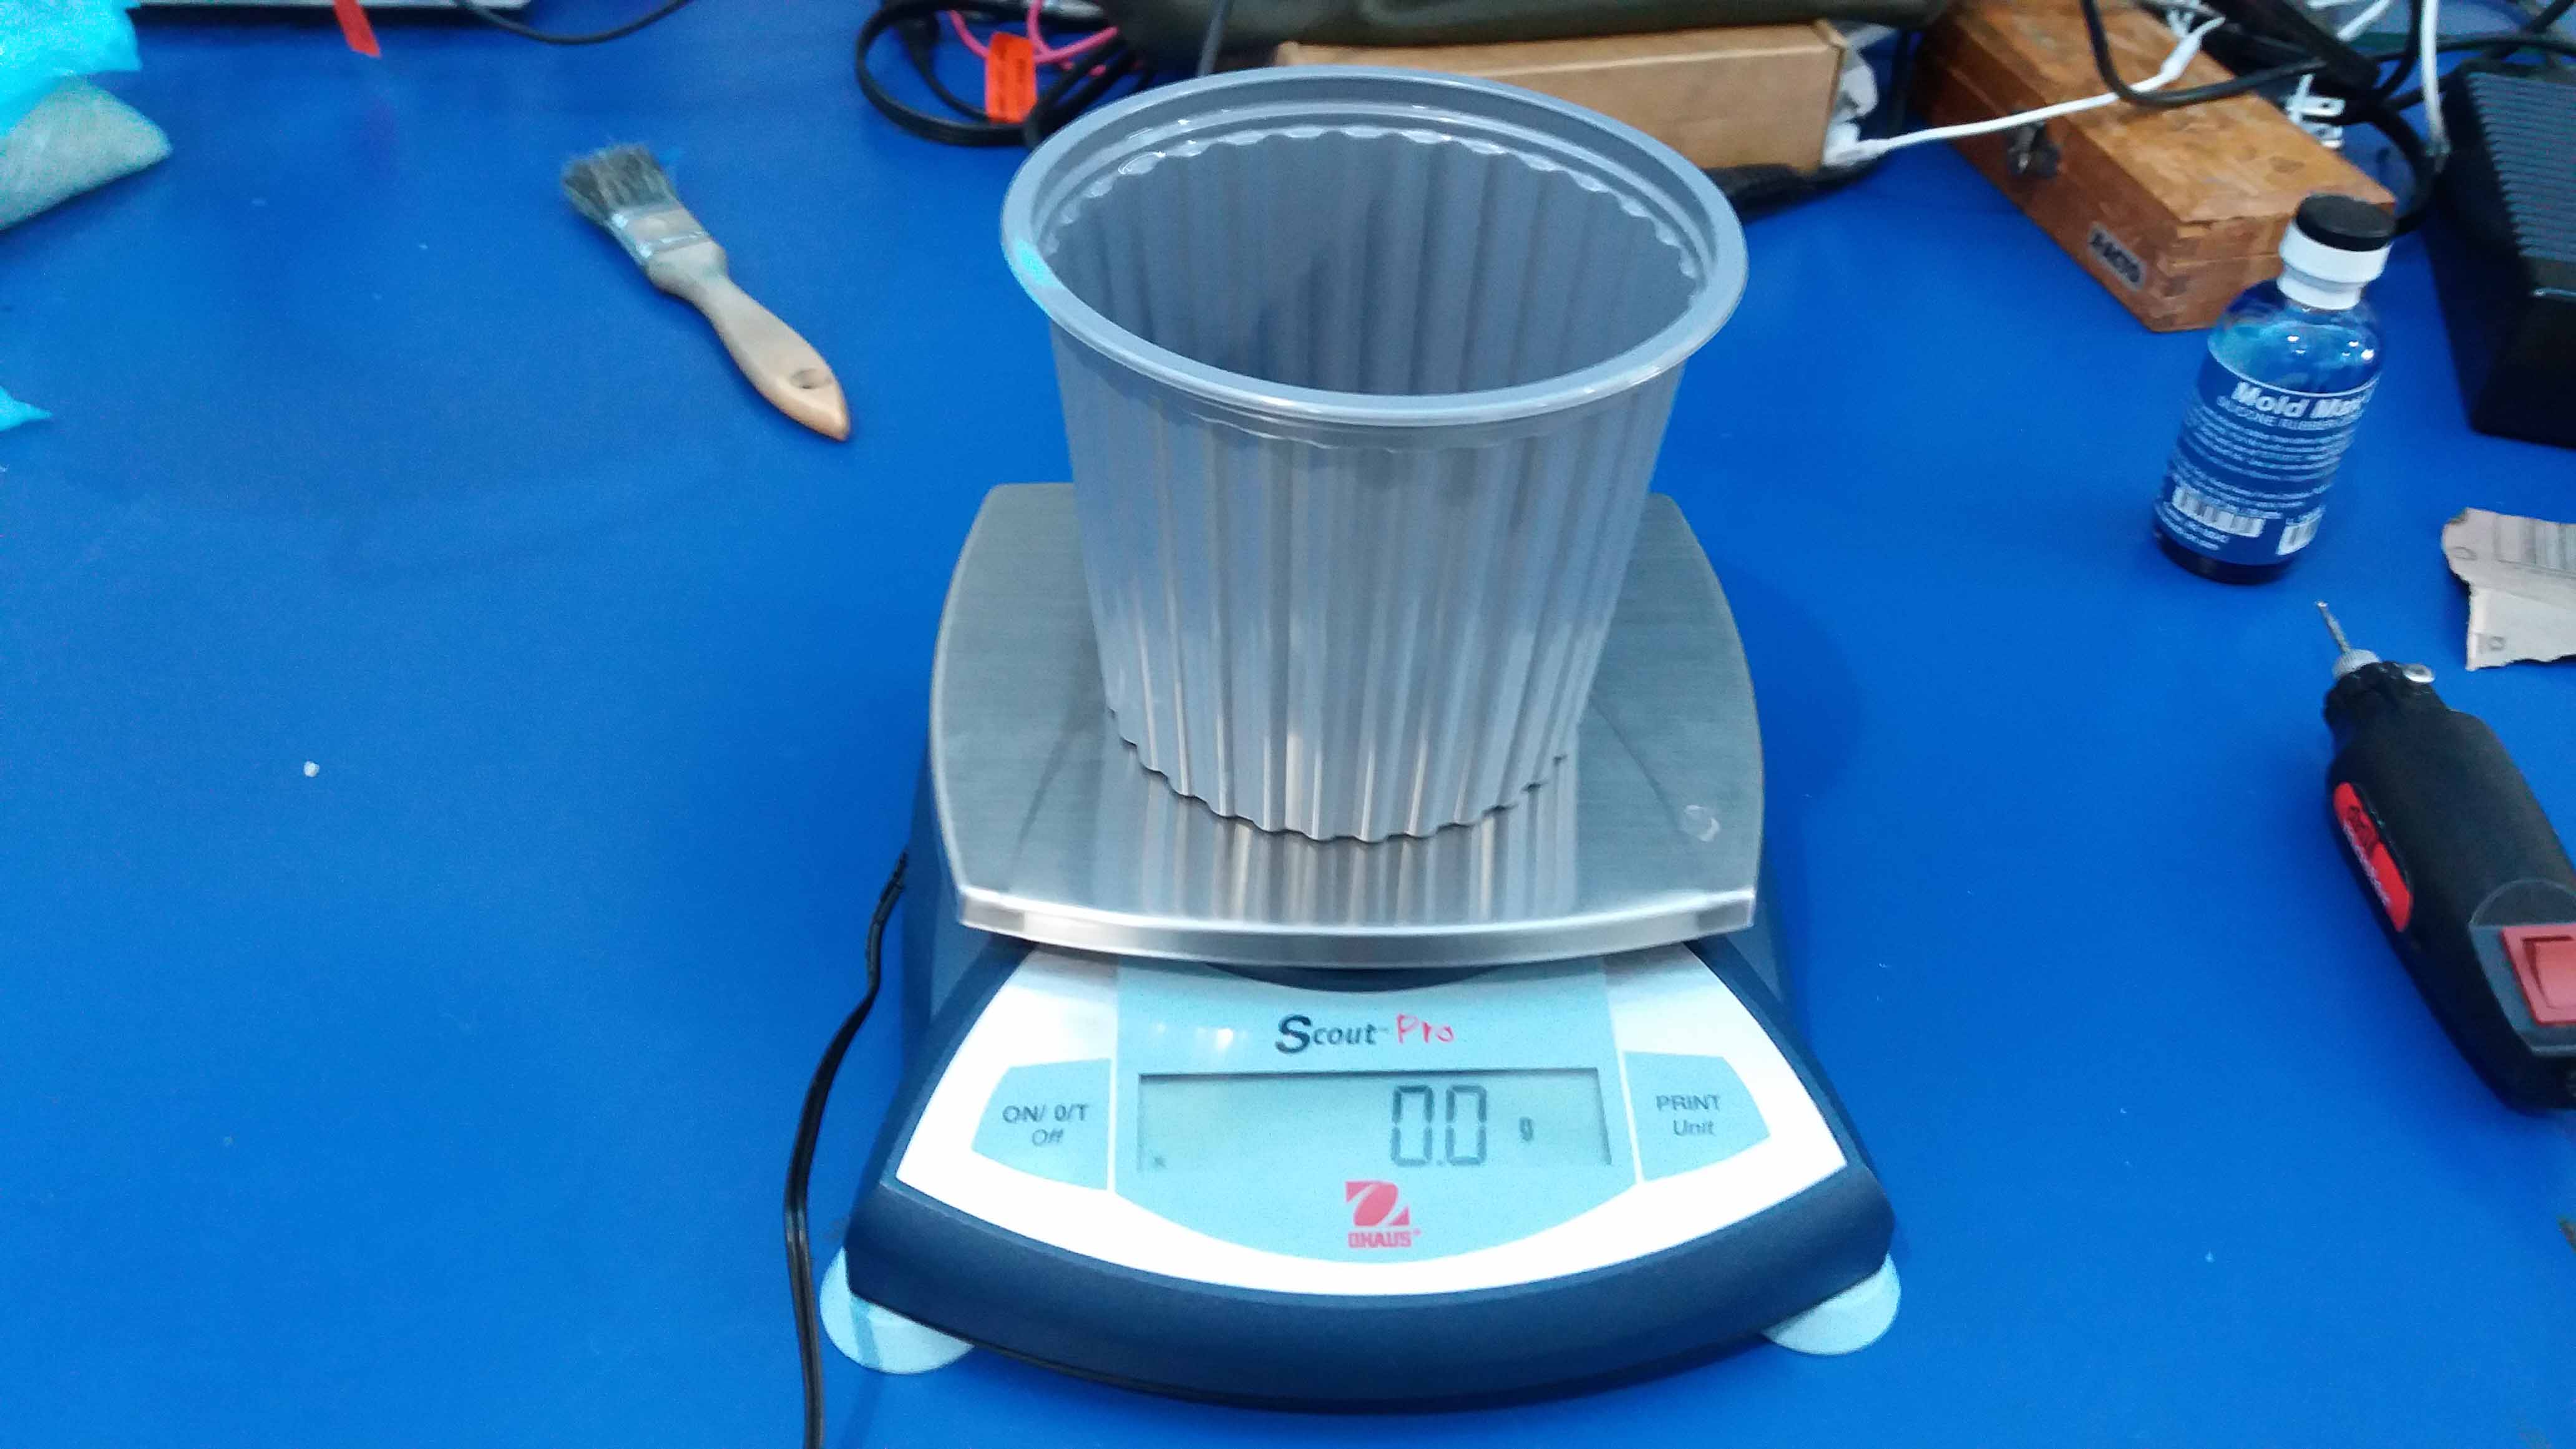
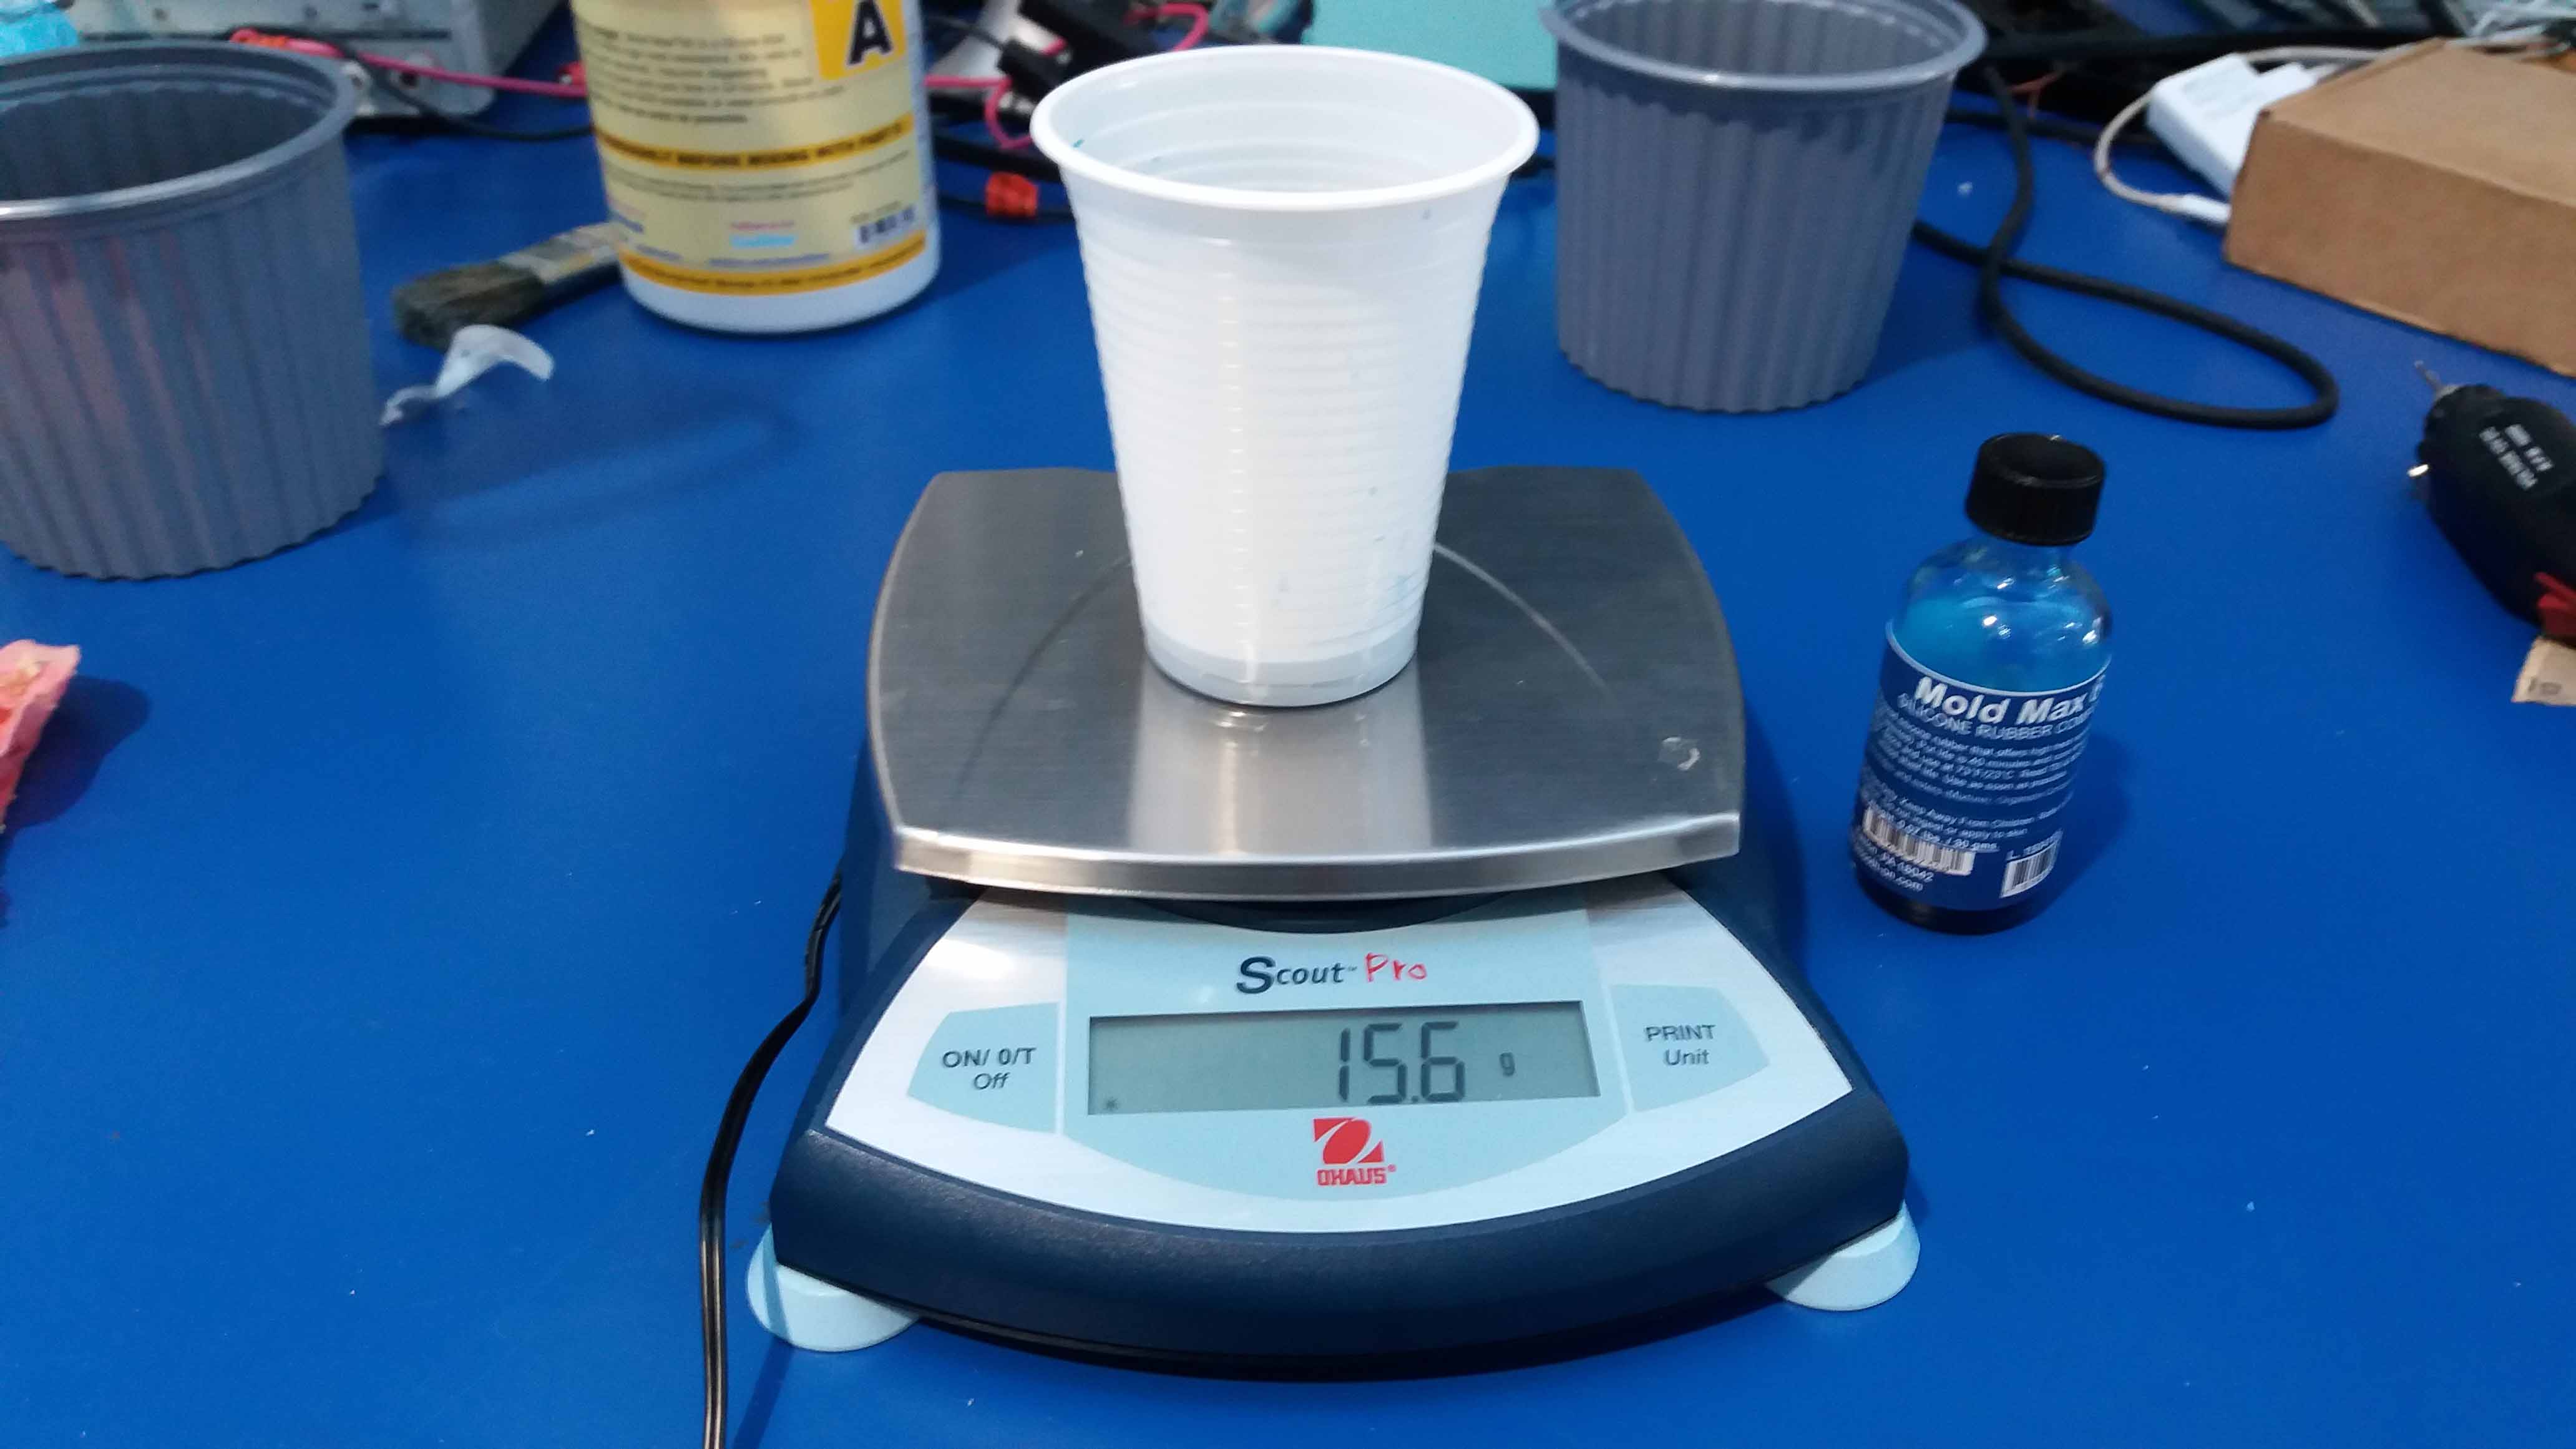
Then, we place it on the digital scale.
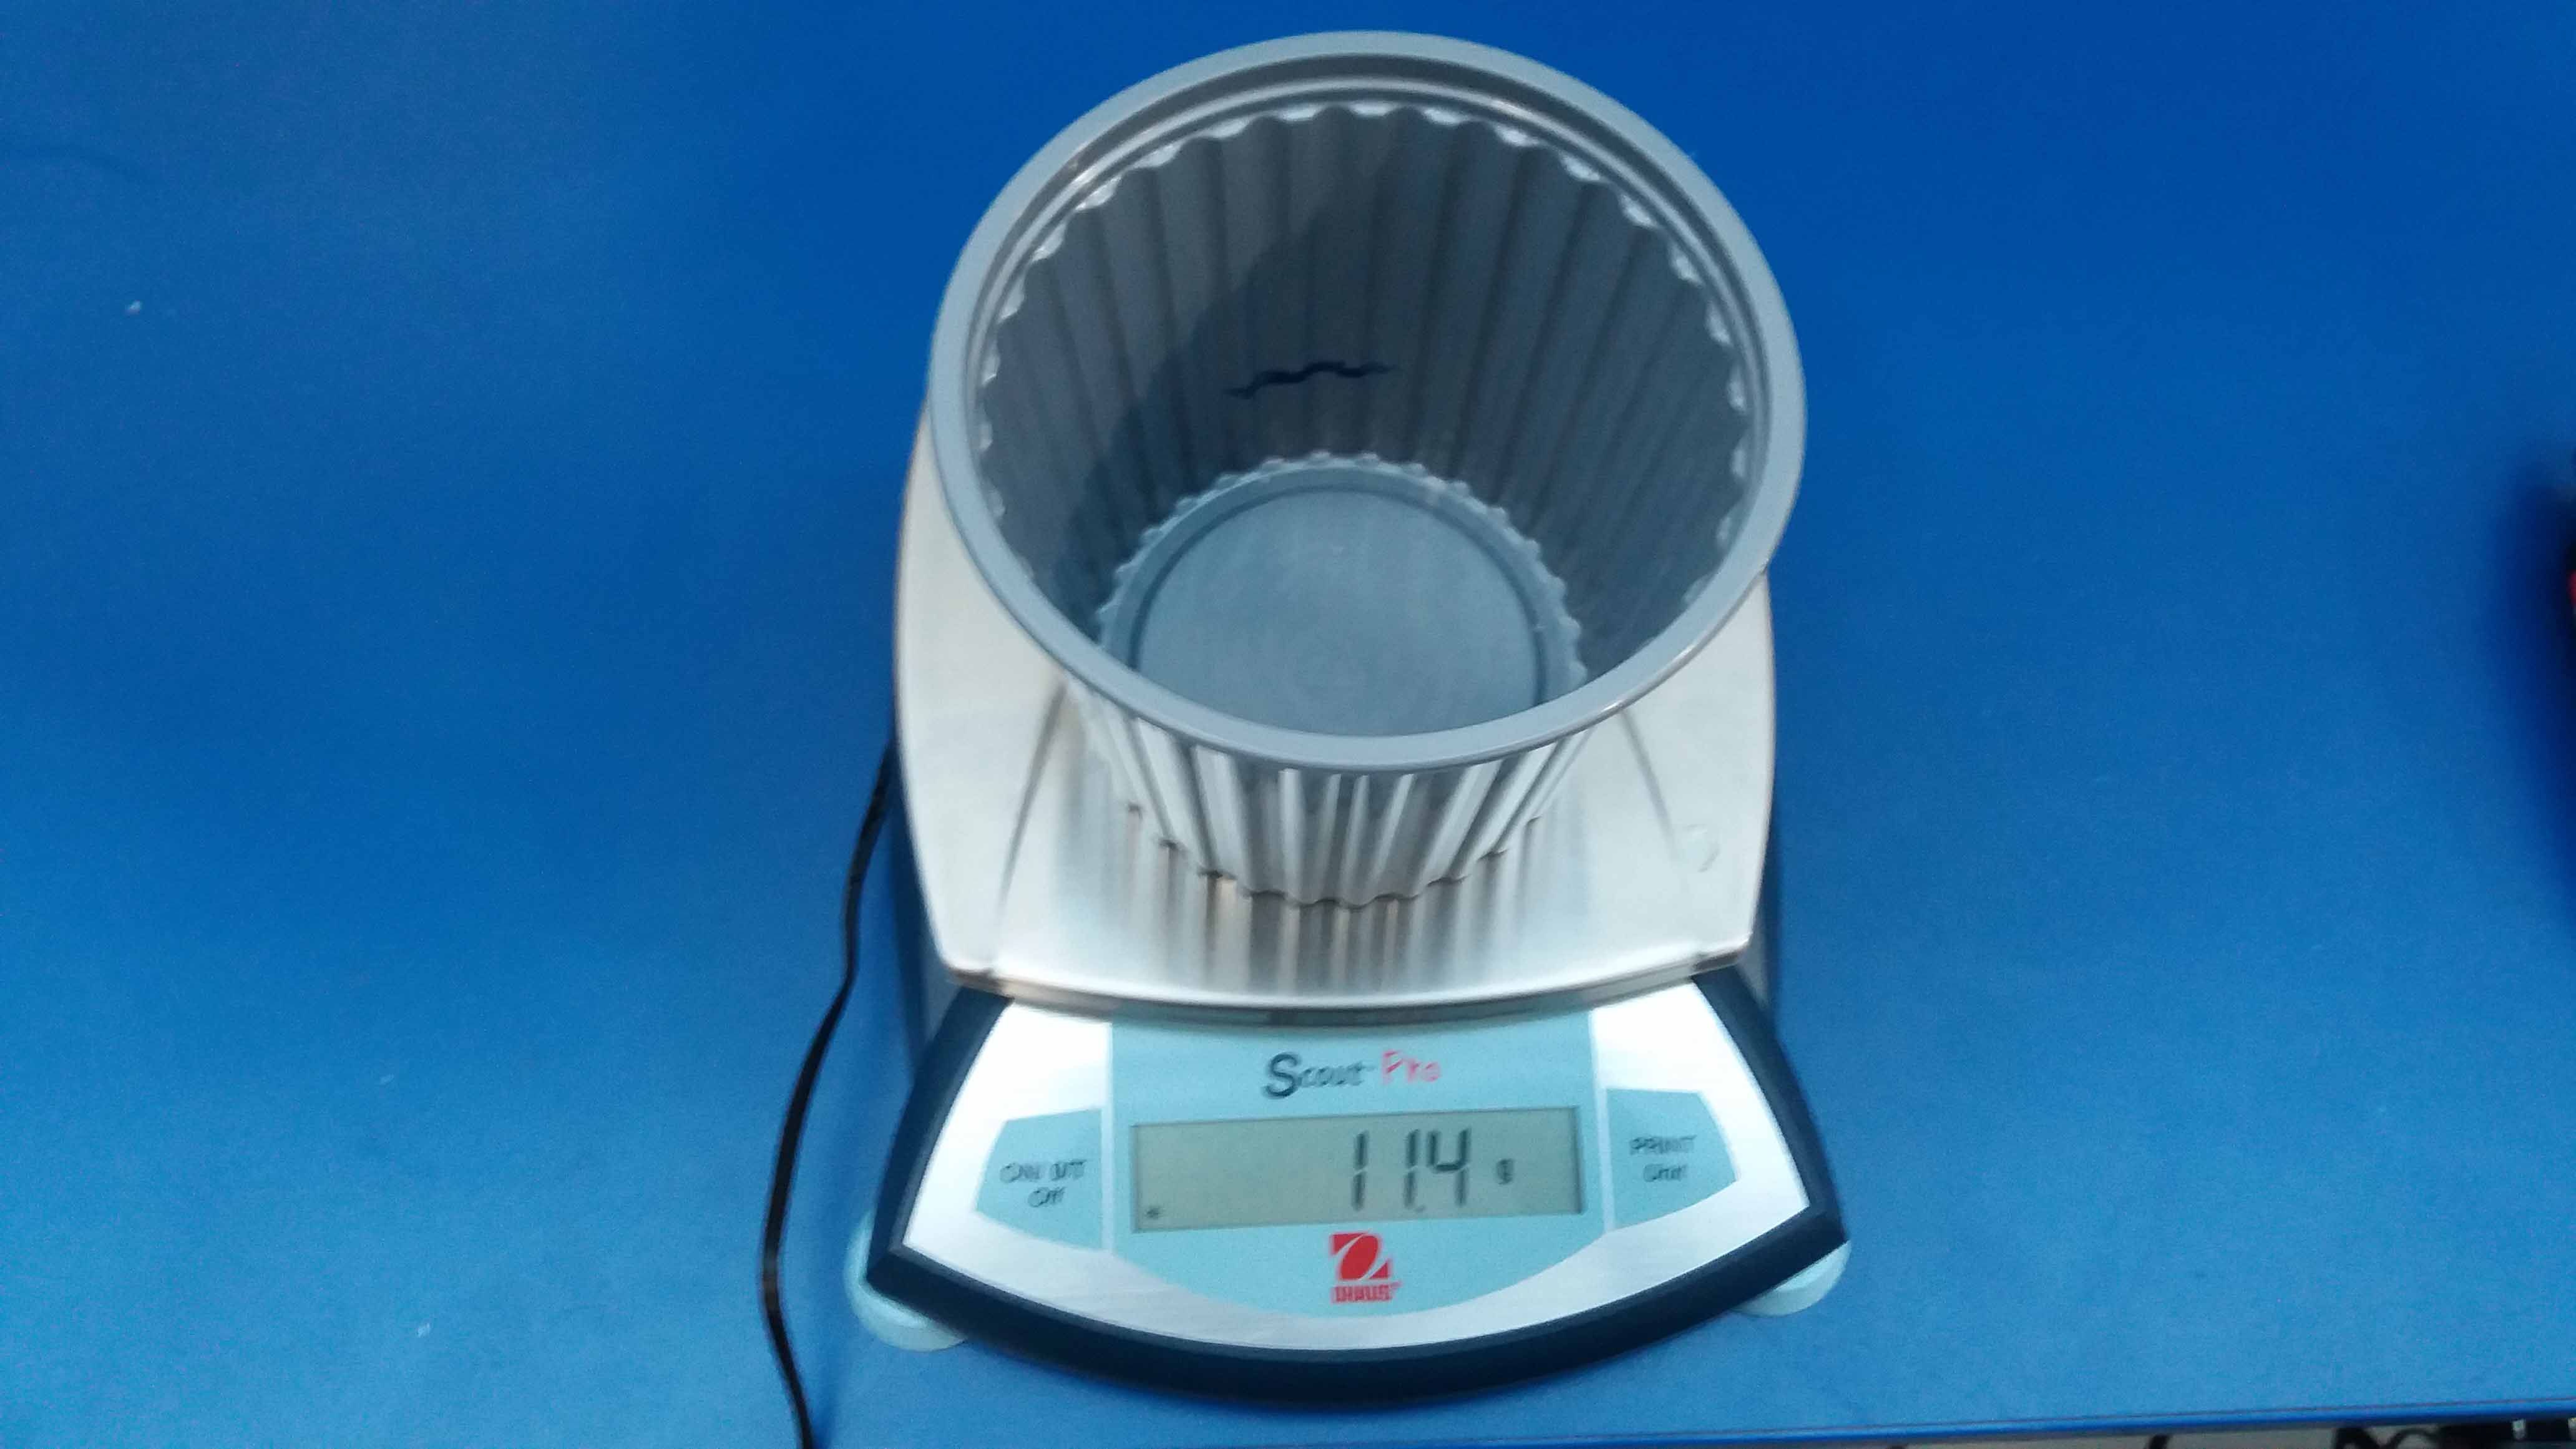
We need to account for the weight of the container. This devices allow us to set this in 0, but we can also take note of this and substract it from the weight meassured (like we used to do it in the old, analog scale equipment). I'm going to go for the first method.
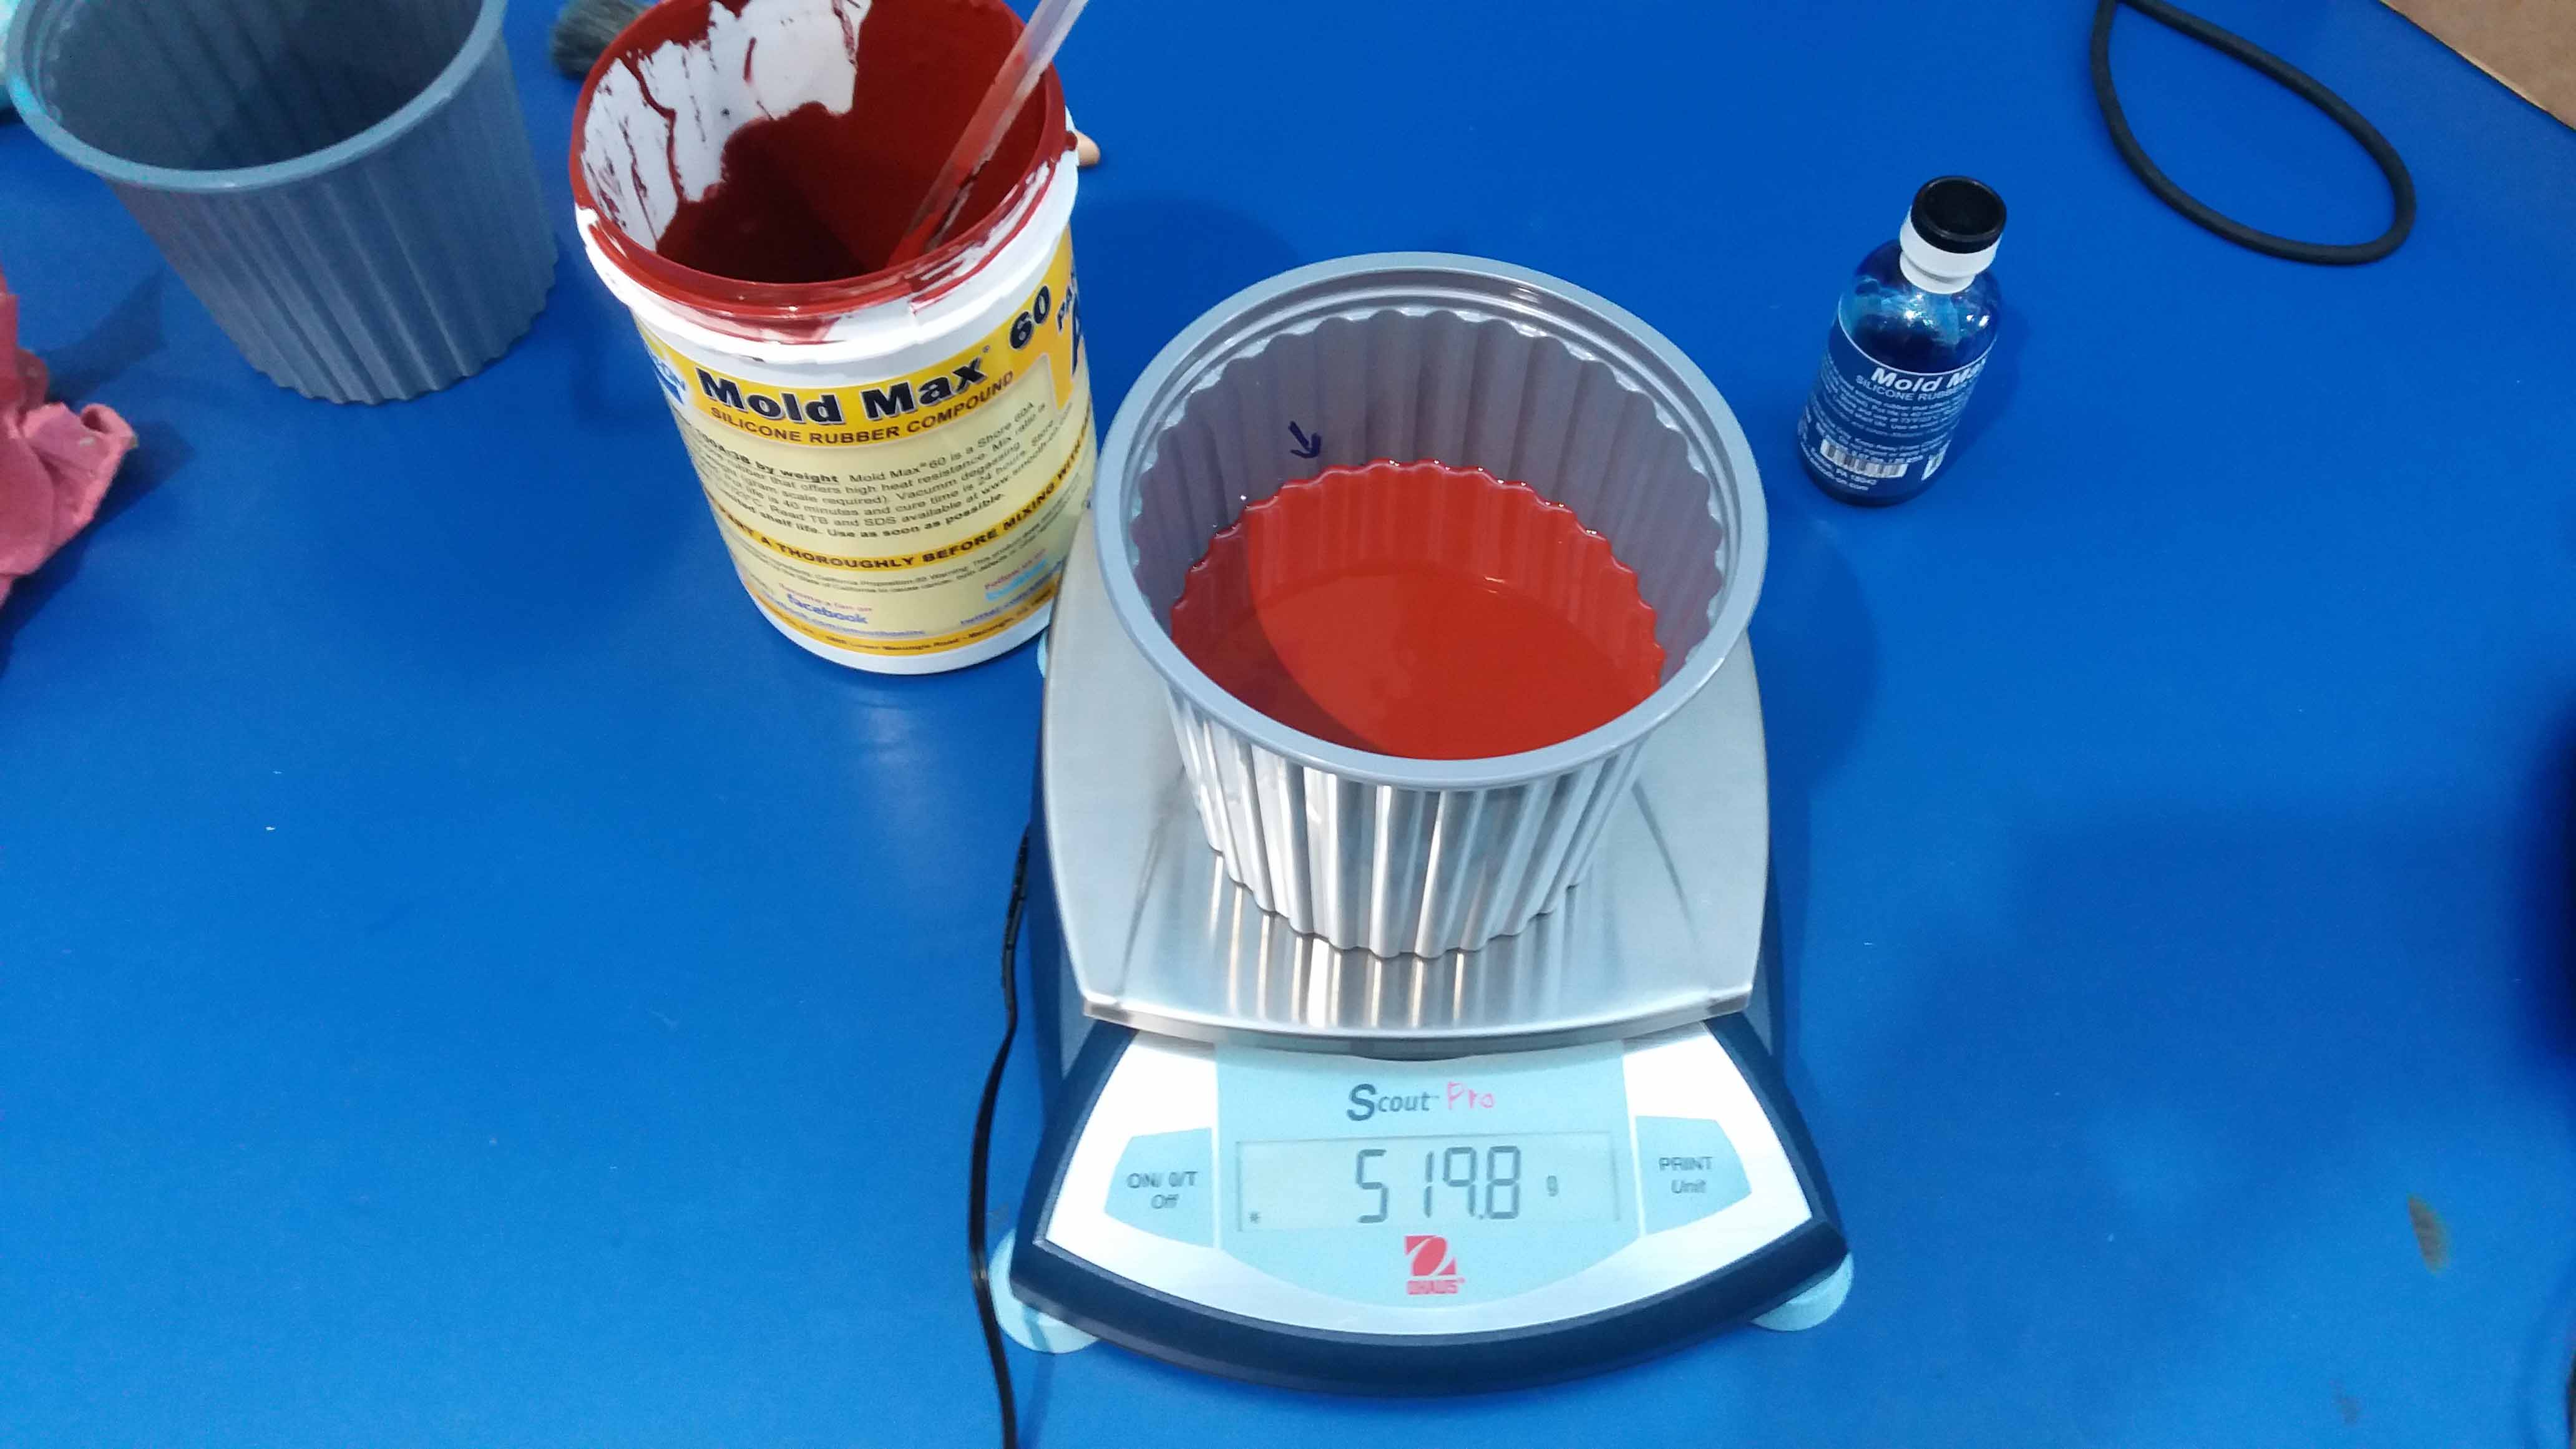
Once the scale is ready, we read carefully the Datasheet with the instructions and the datasheet of the product we are going to use. Originally, I was planning to use a low viscosity mold material, but when we checked the availability we found they were spoiled. I had to change to the Mold Max 60™. Unfortunately, we don't have a degaser in the lab (maybe we are going to build one in the future?). For bubbles elimination we are going to use other method.

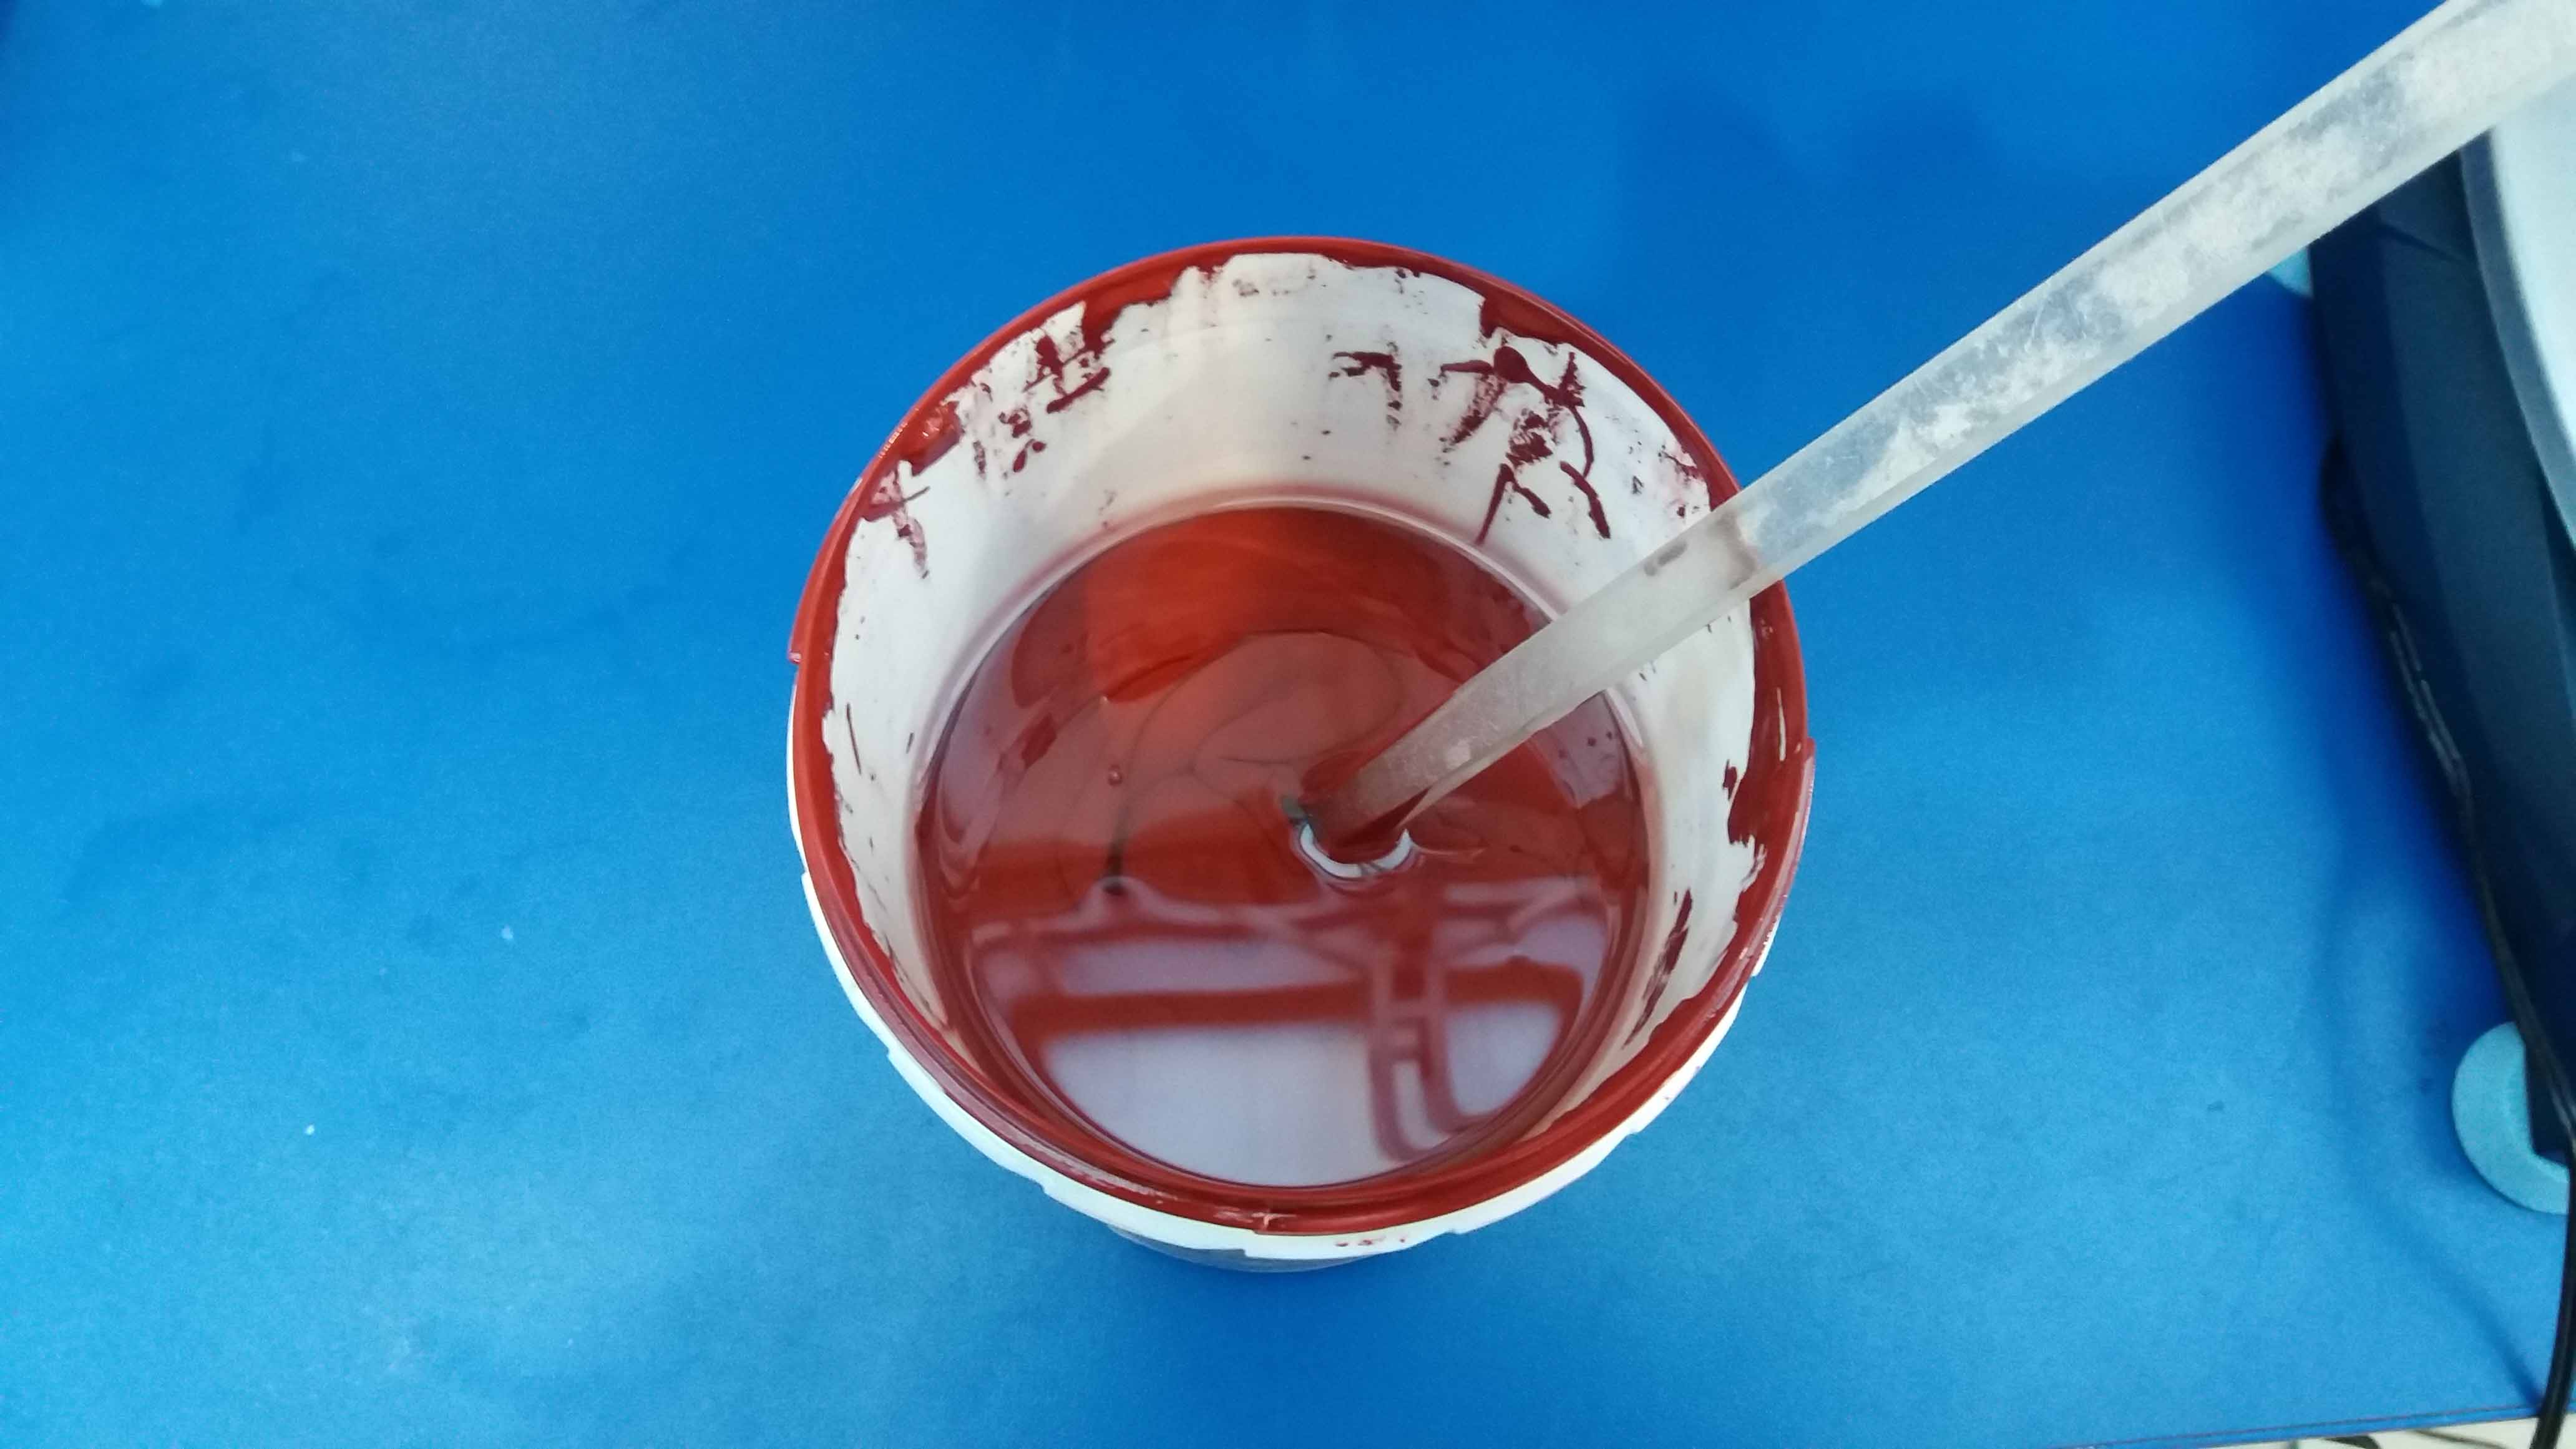
So, we open the container. We need to mix it up, as one component precipitated to the bottom while on storage.
Then we pour it until the mark we make is reached. We then take note of the weight regisered by the scale. I personally (and coming to the chemistry lab), preffer to use weight as a mass measuremet. This is good for the mass conservation law and fixed masses reacting.
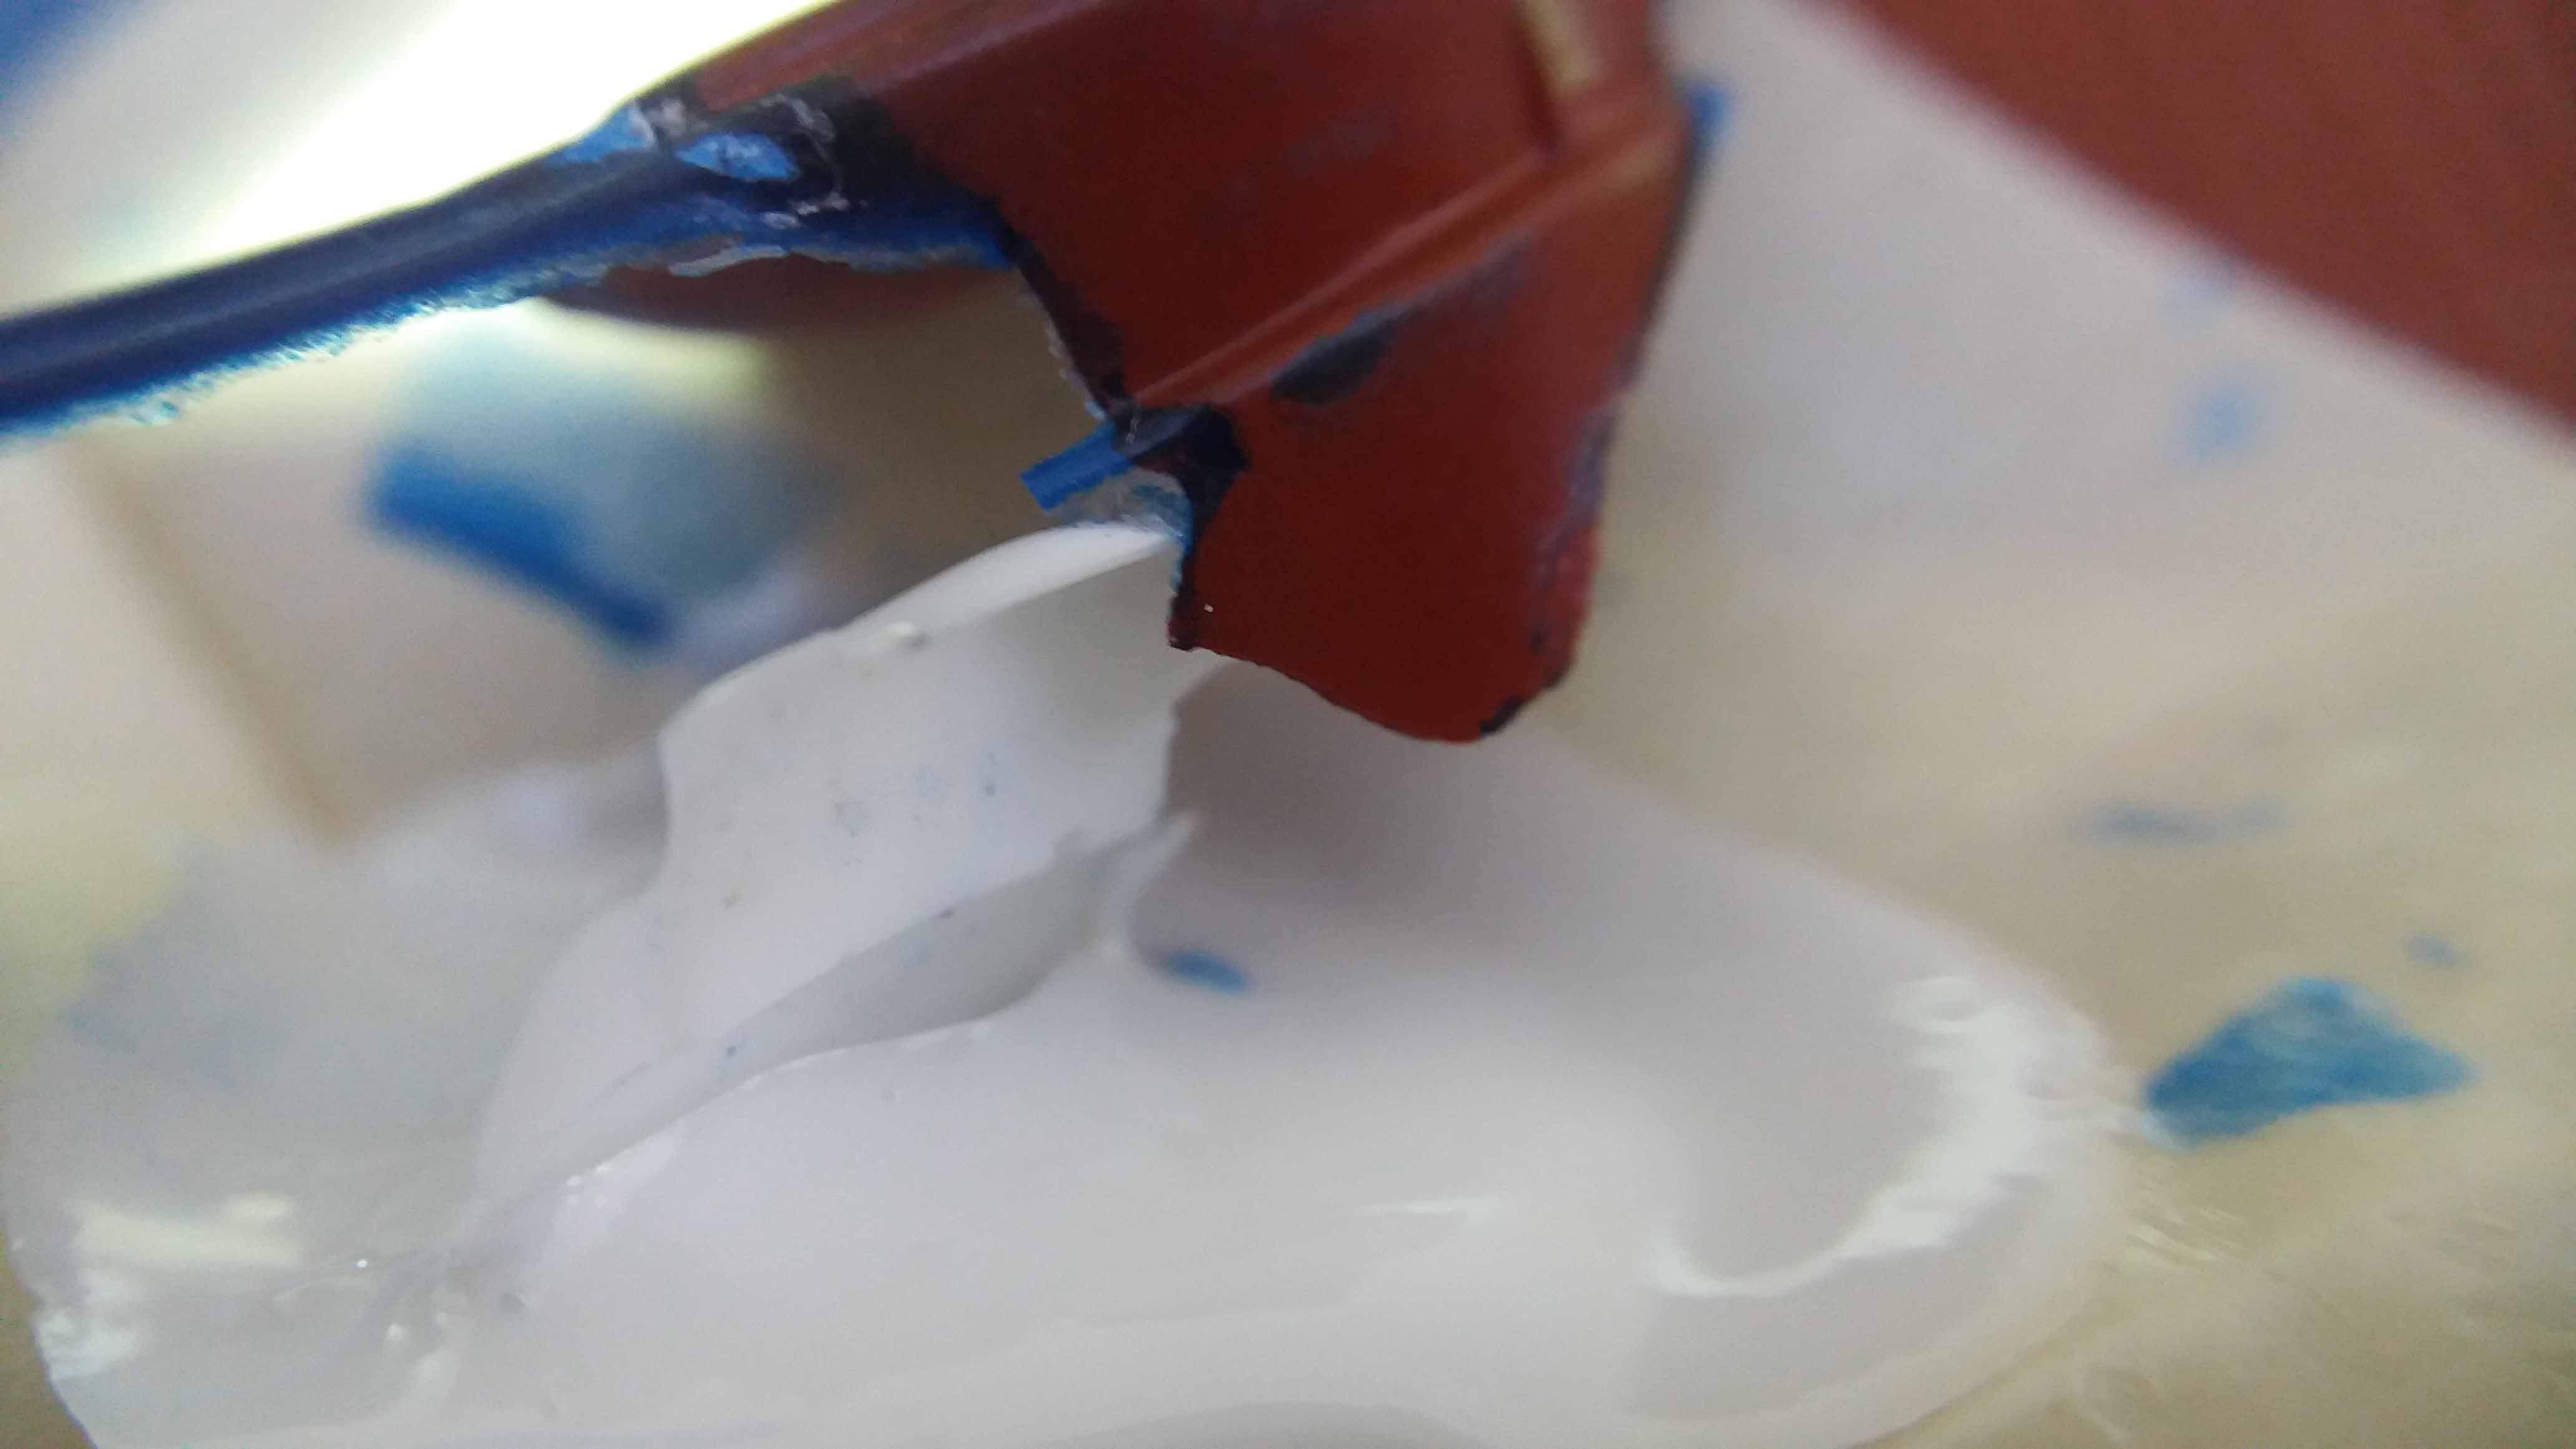
I did the same with the blue catalyzer. The proportions are 100A:3B. Don't forget to shake/mix the catalyzer before weighting it.
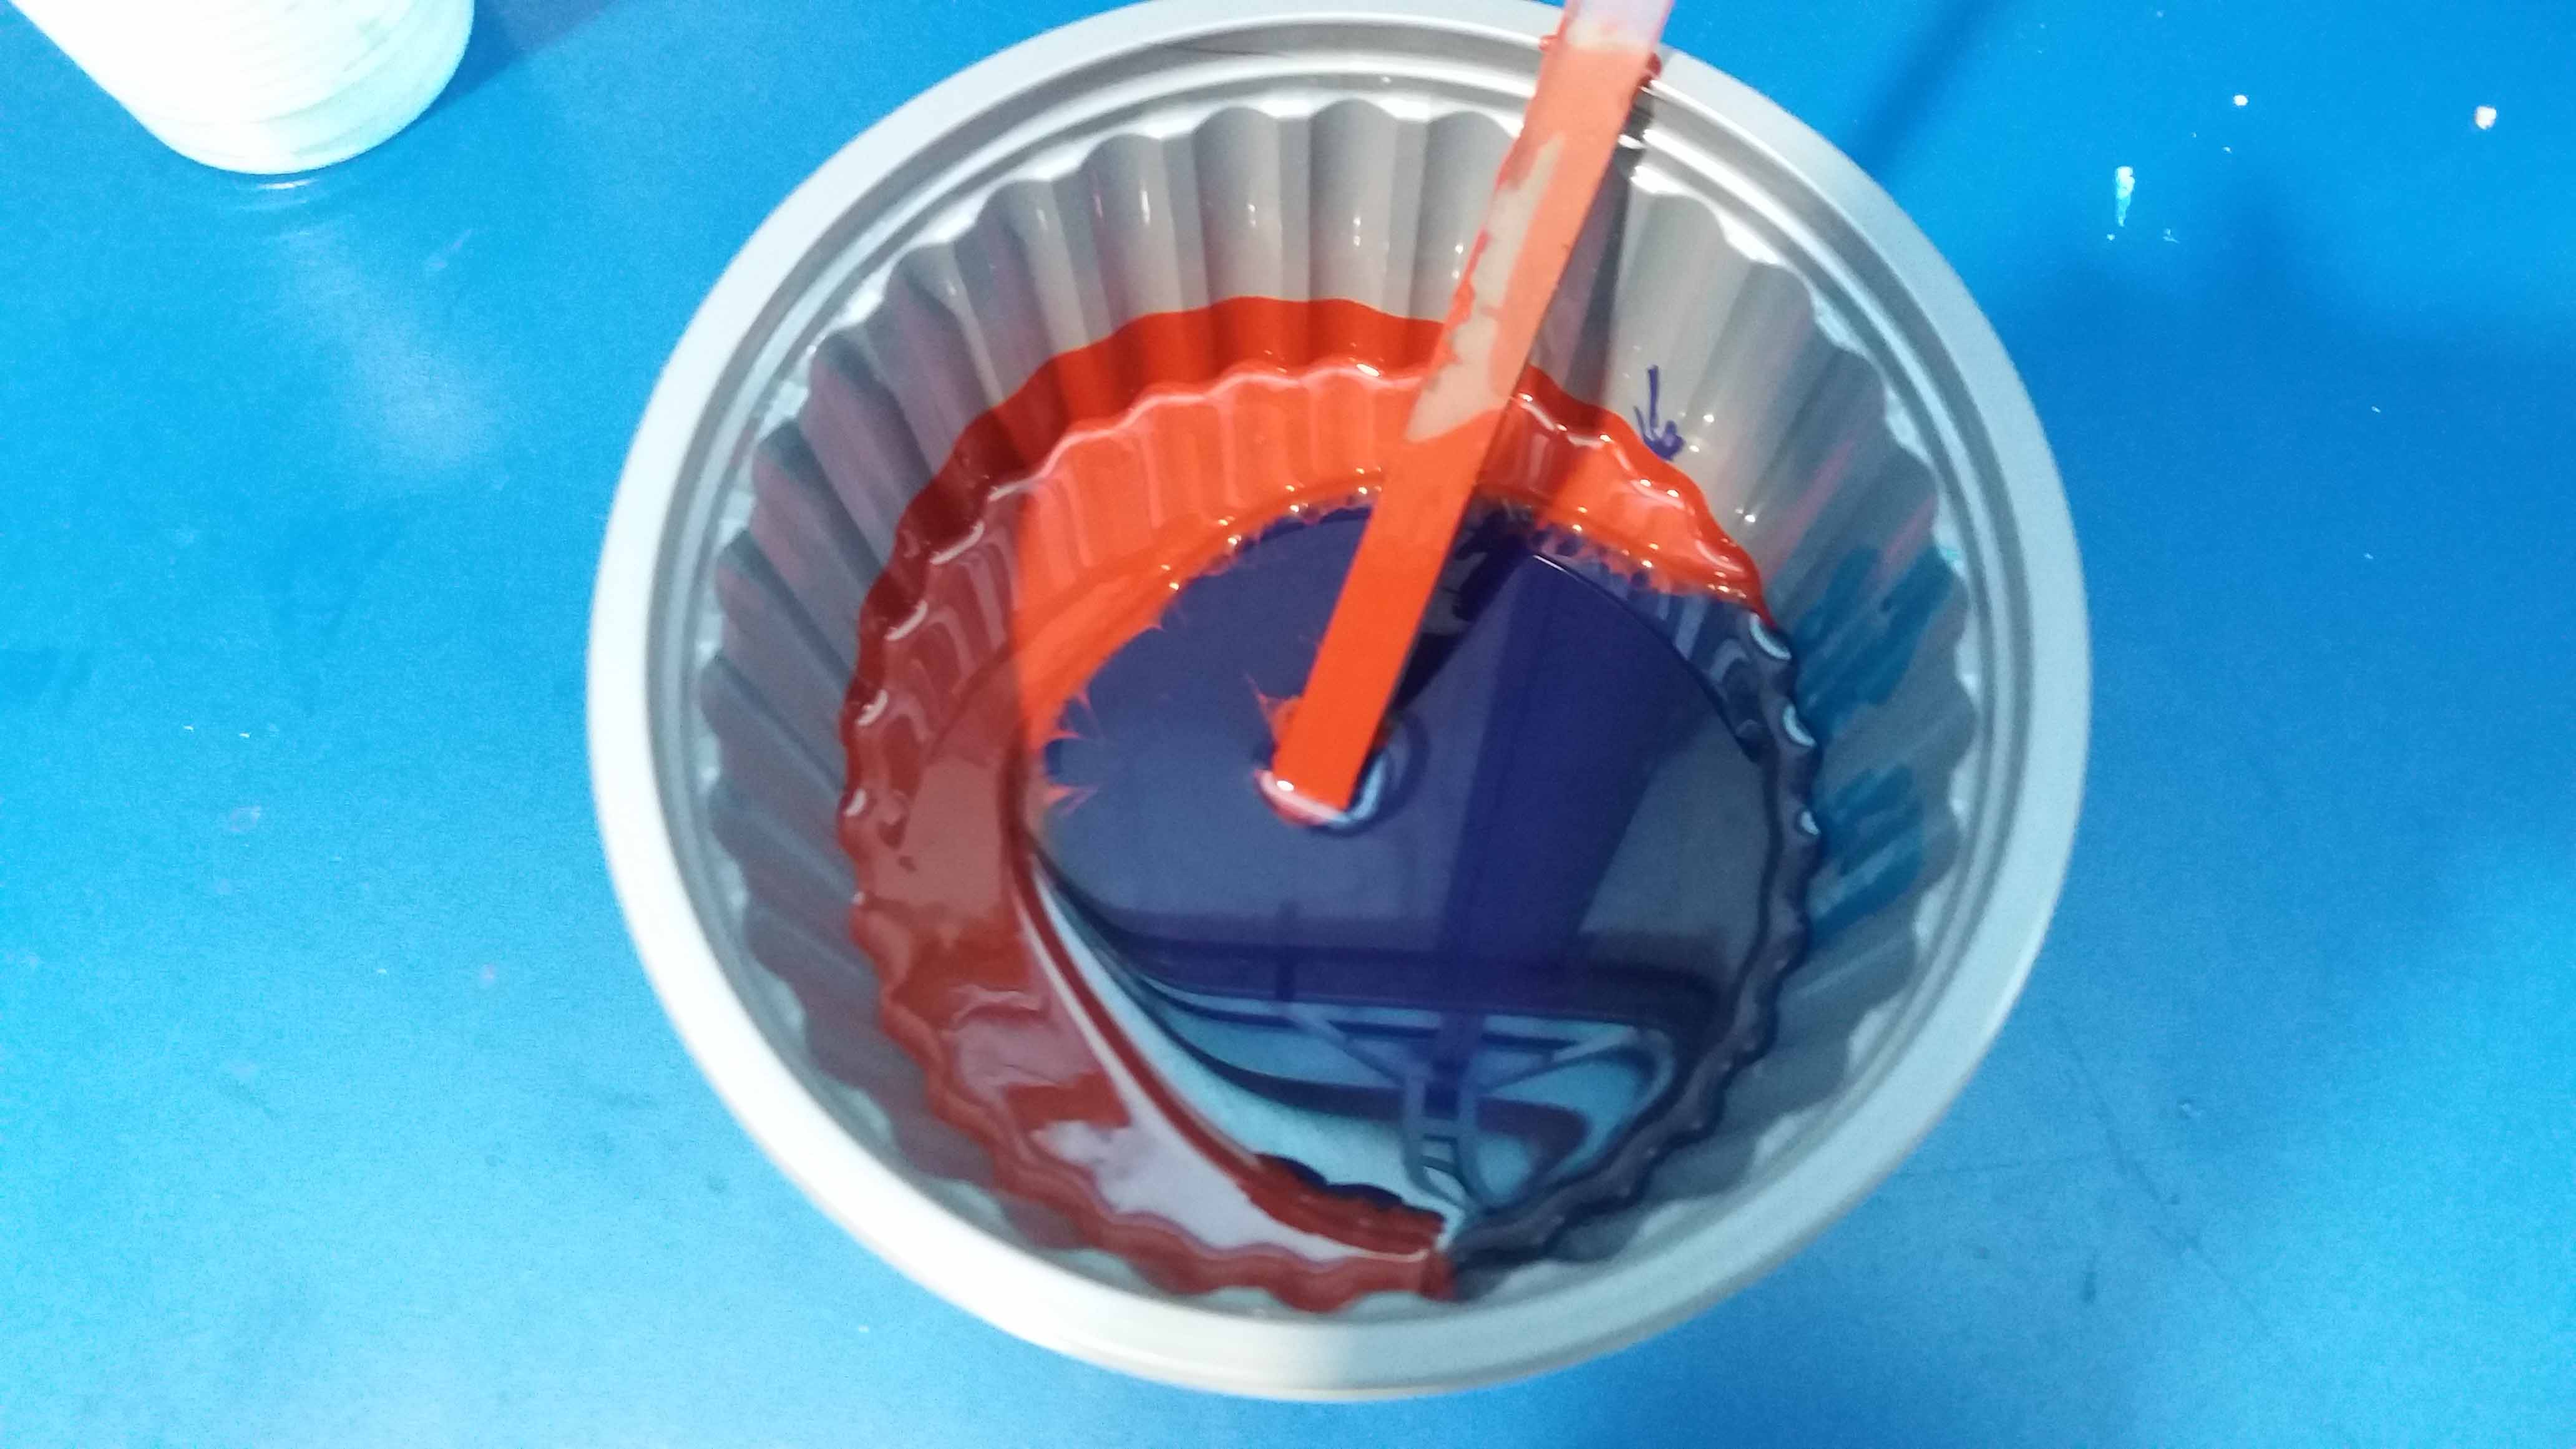
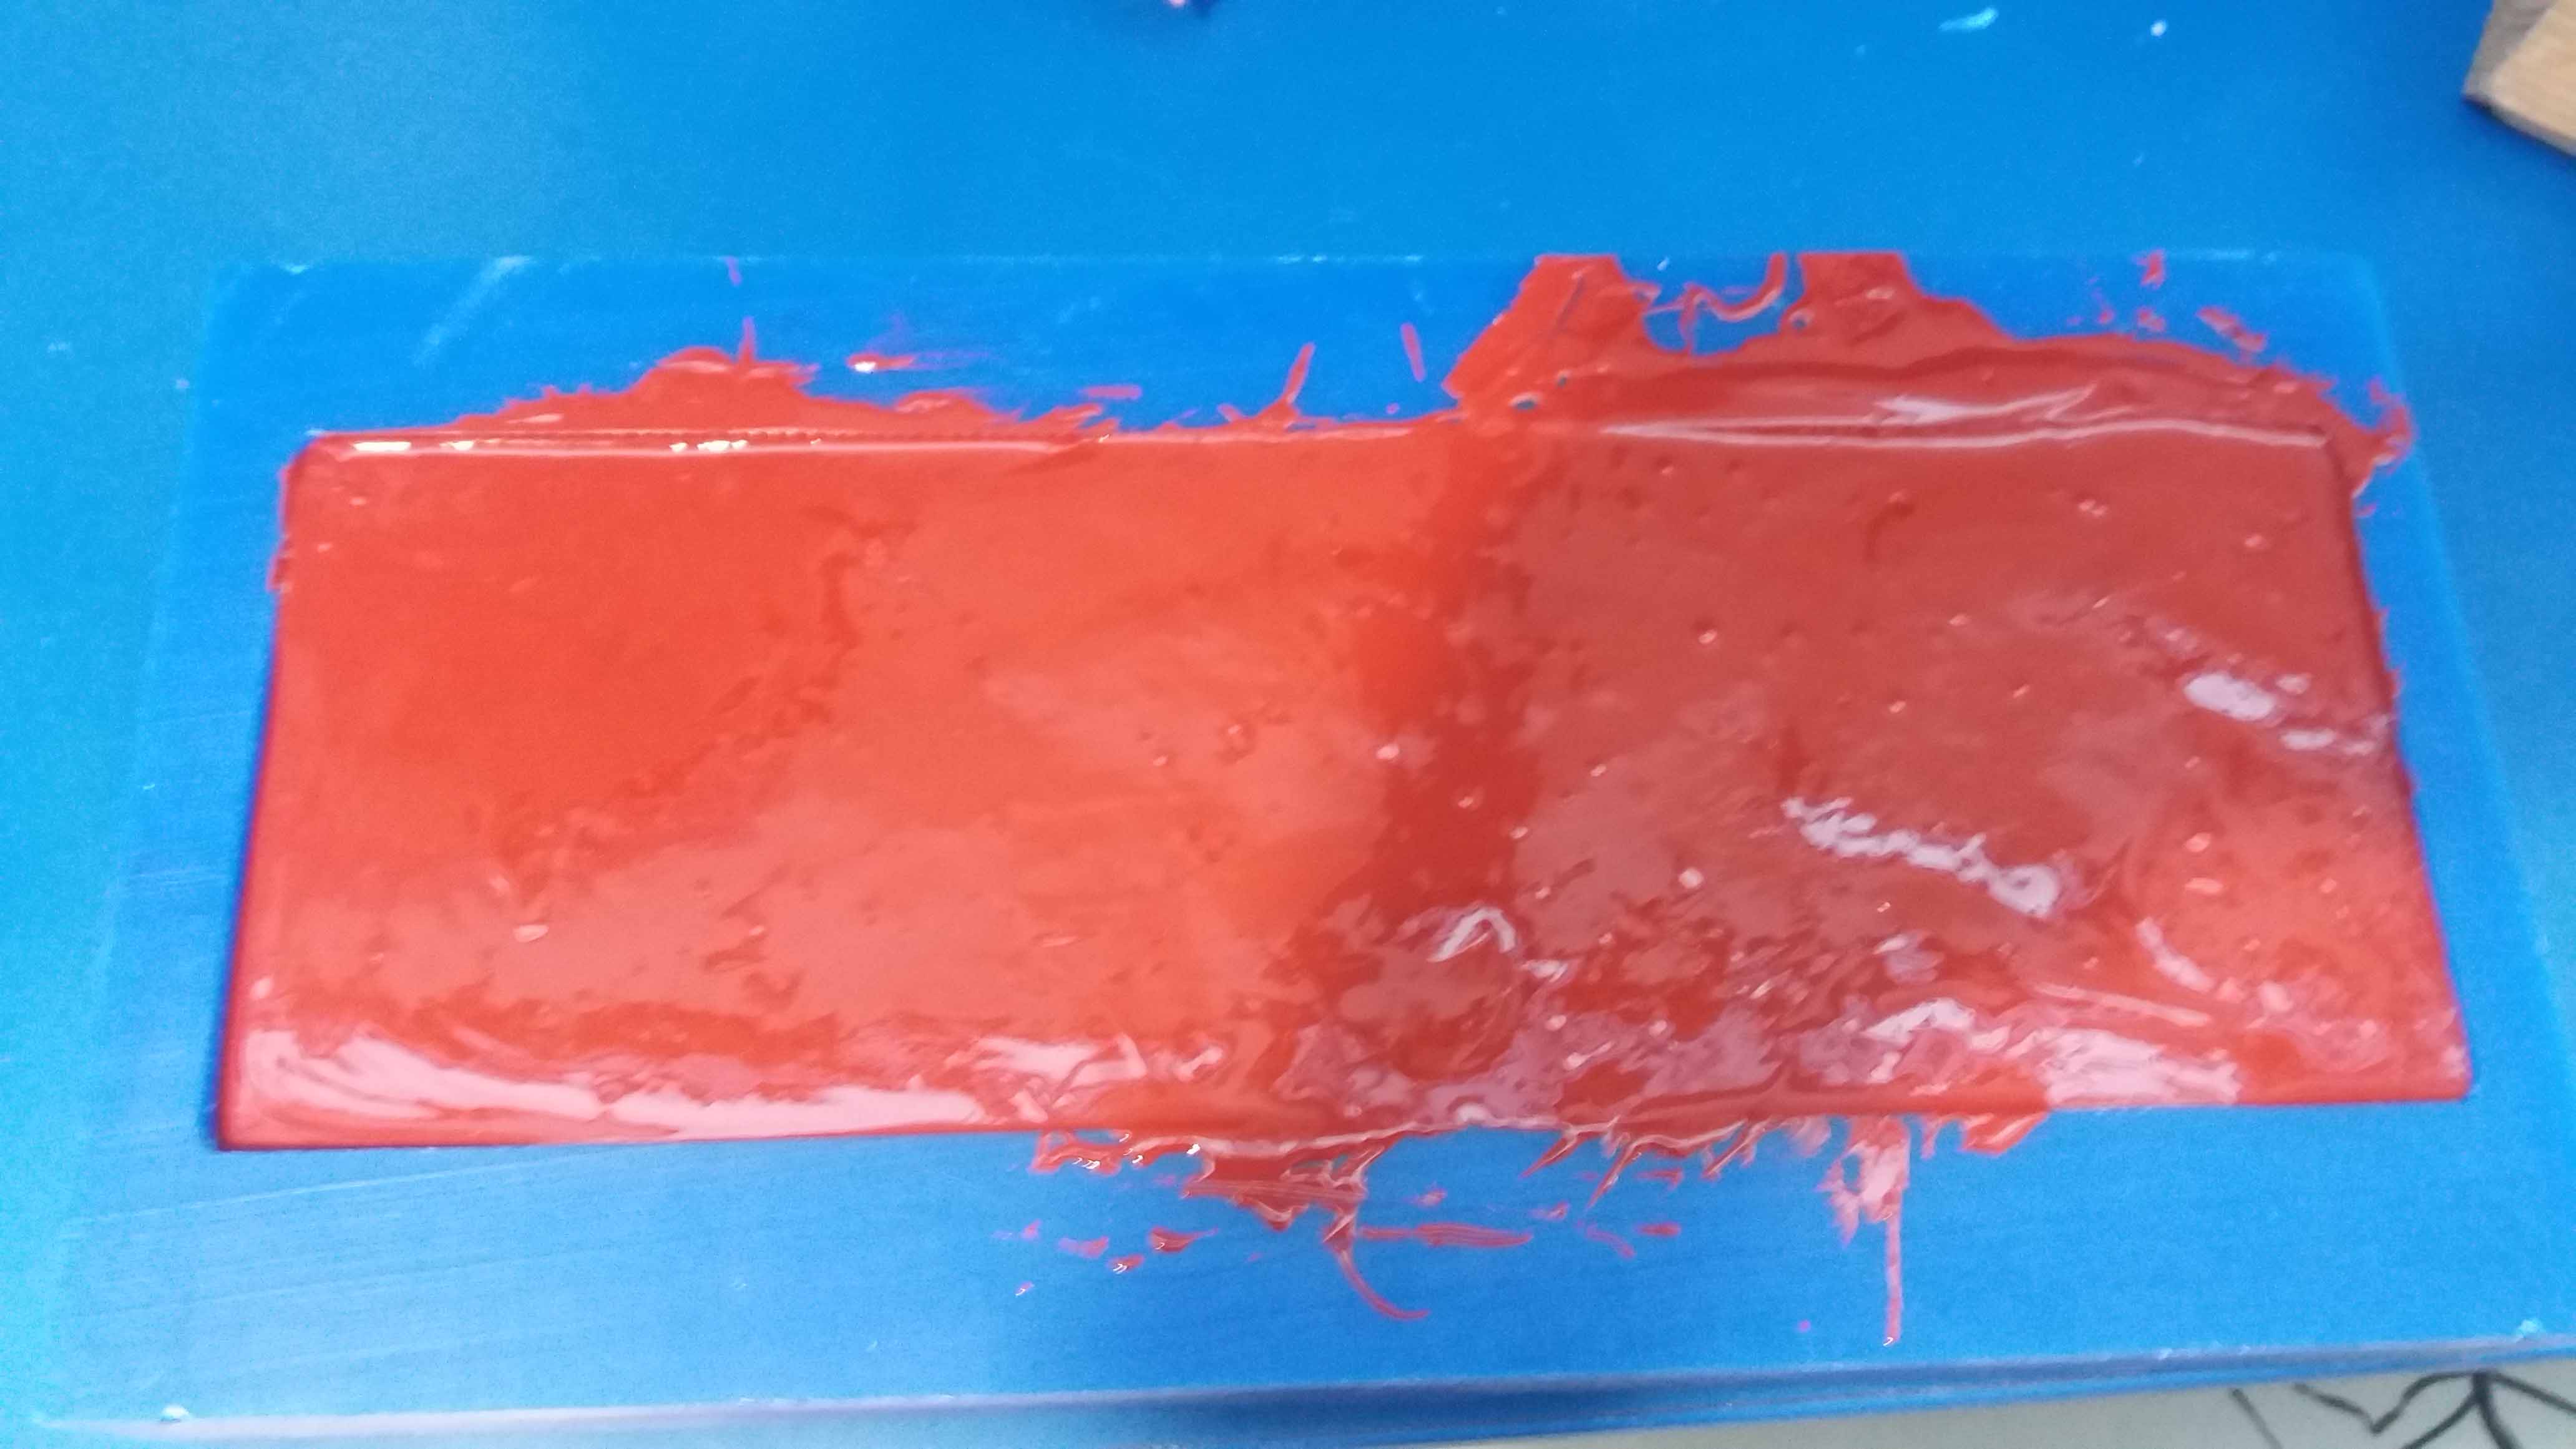
Then, we place them together in the same container and run our timer. The component A is the red one, B is the blue one.
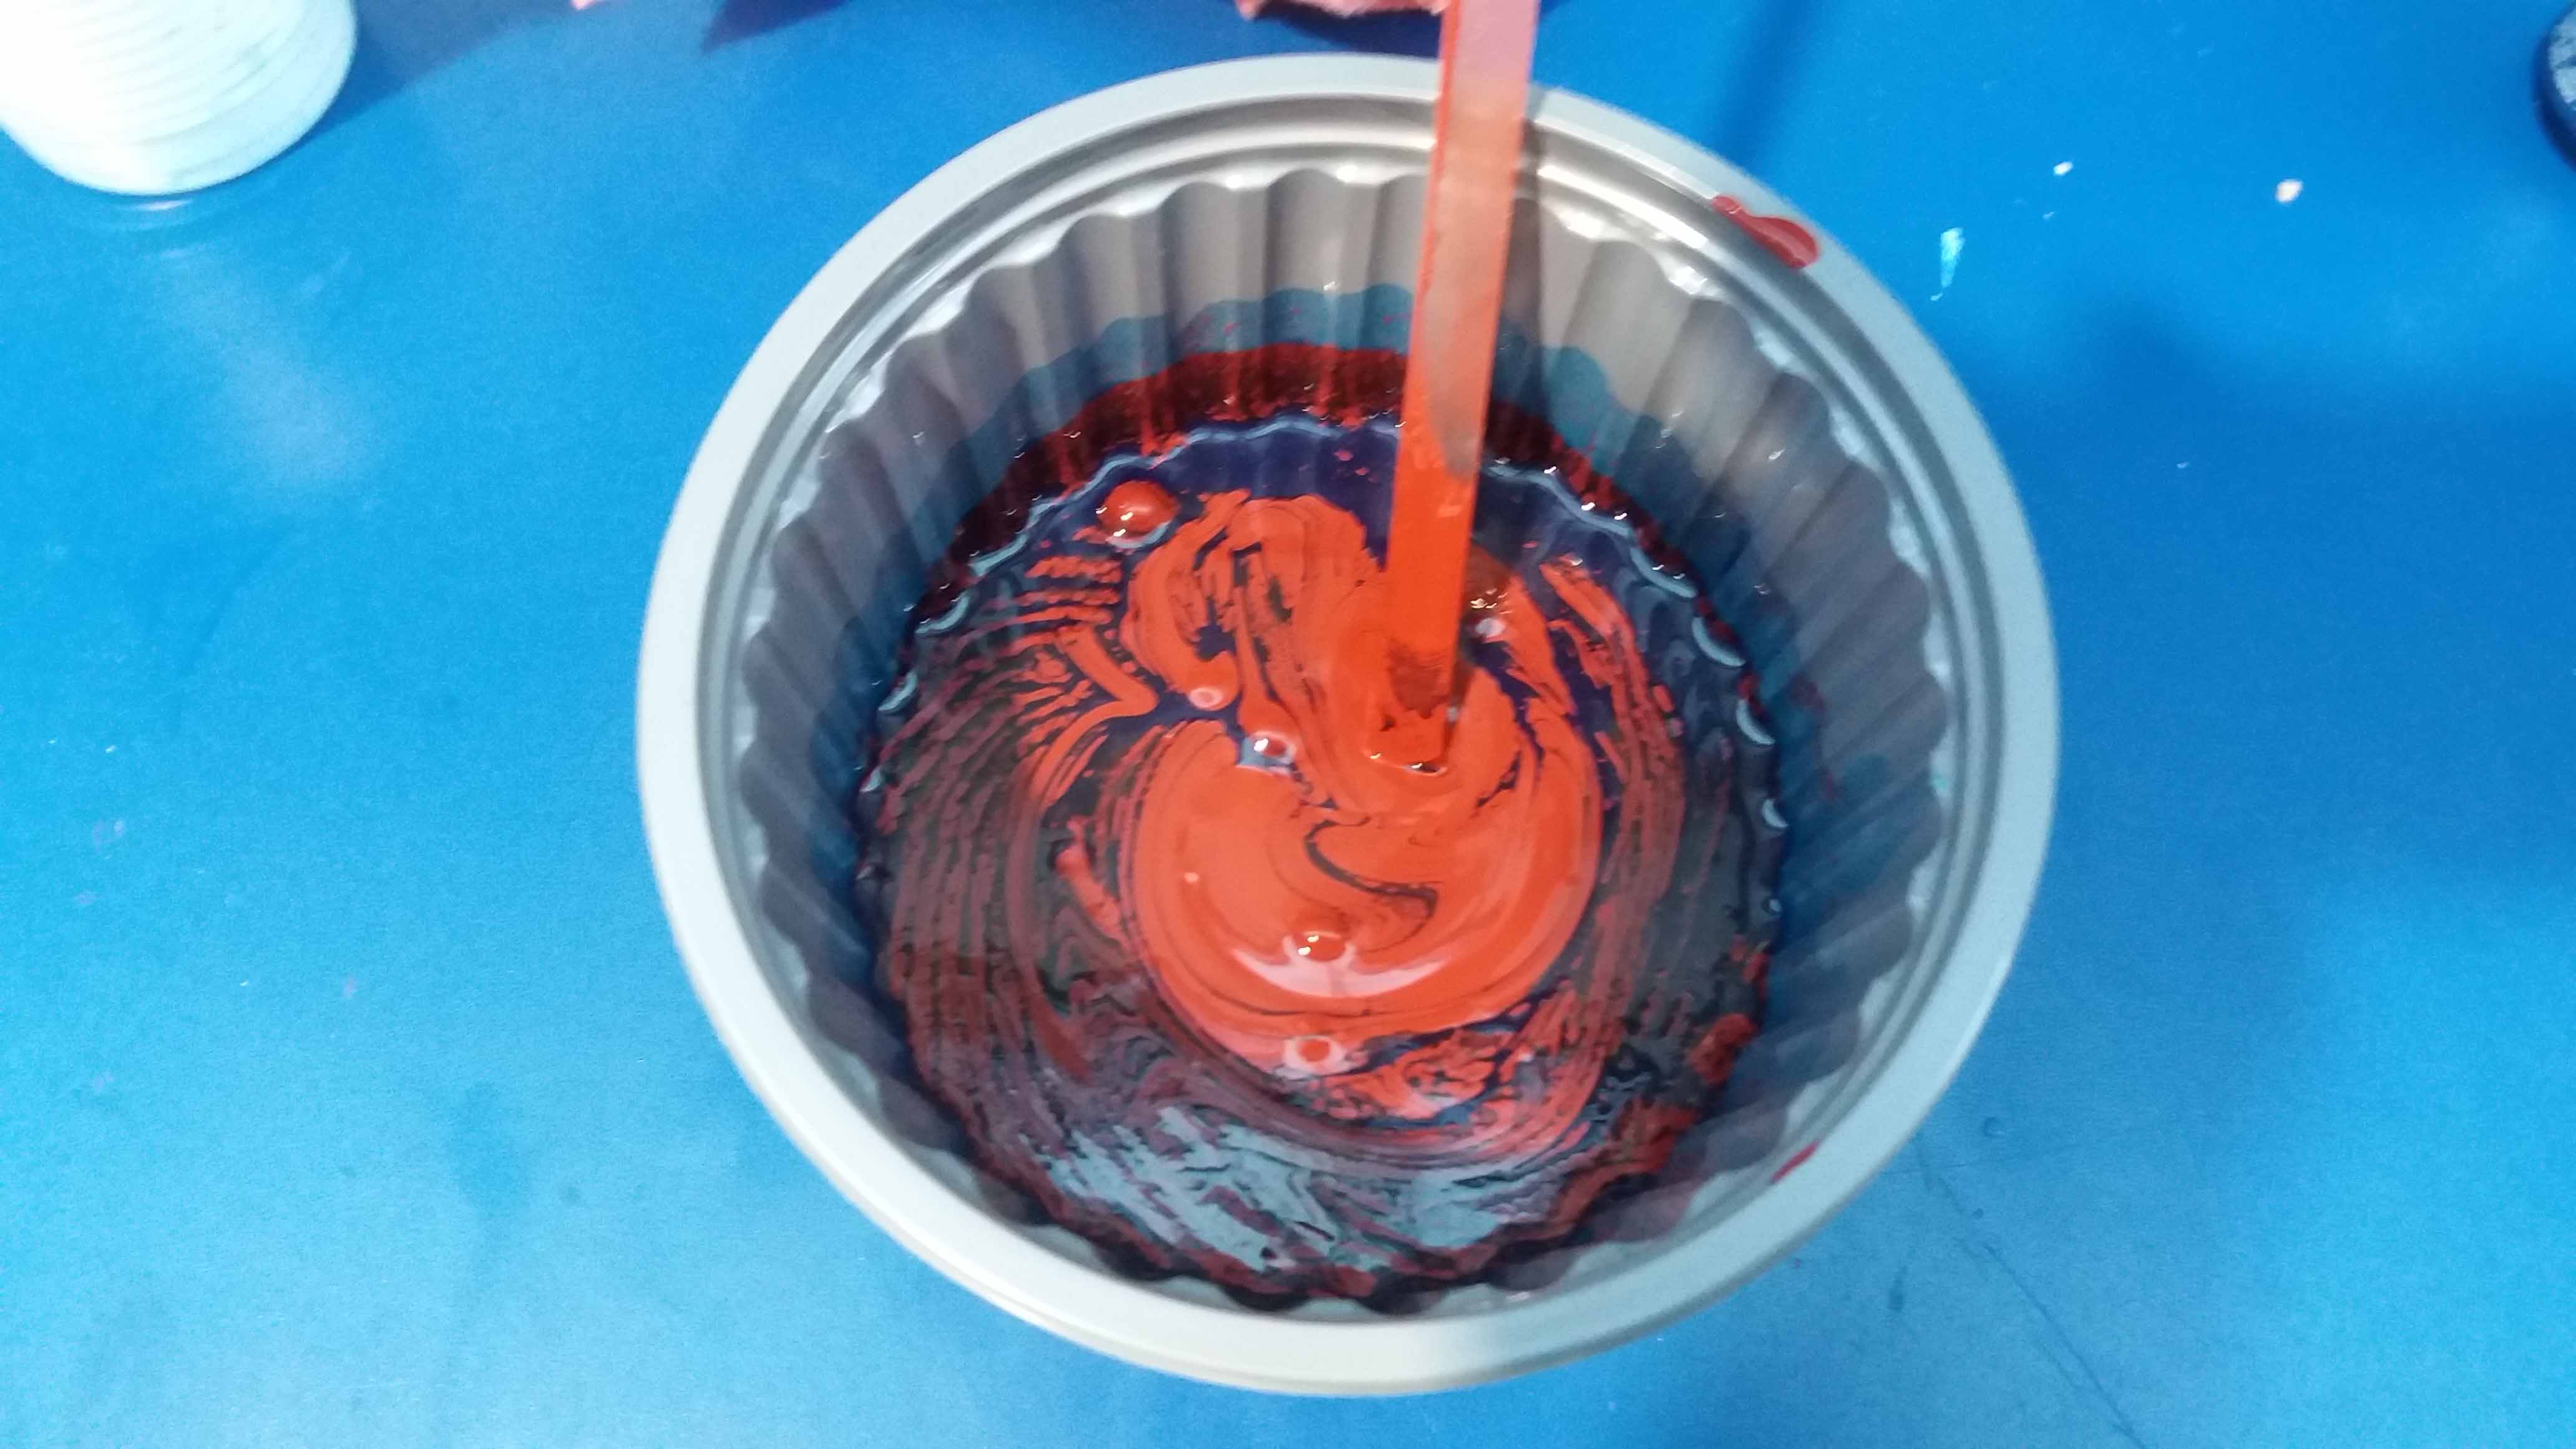
Then, mix it thouroughly for 2 minutes sharp. Try not to generate too much bubbles, but mix completely.
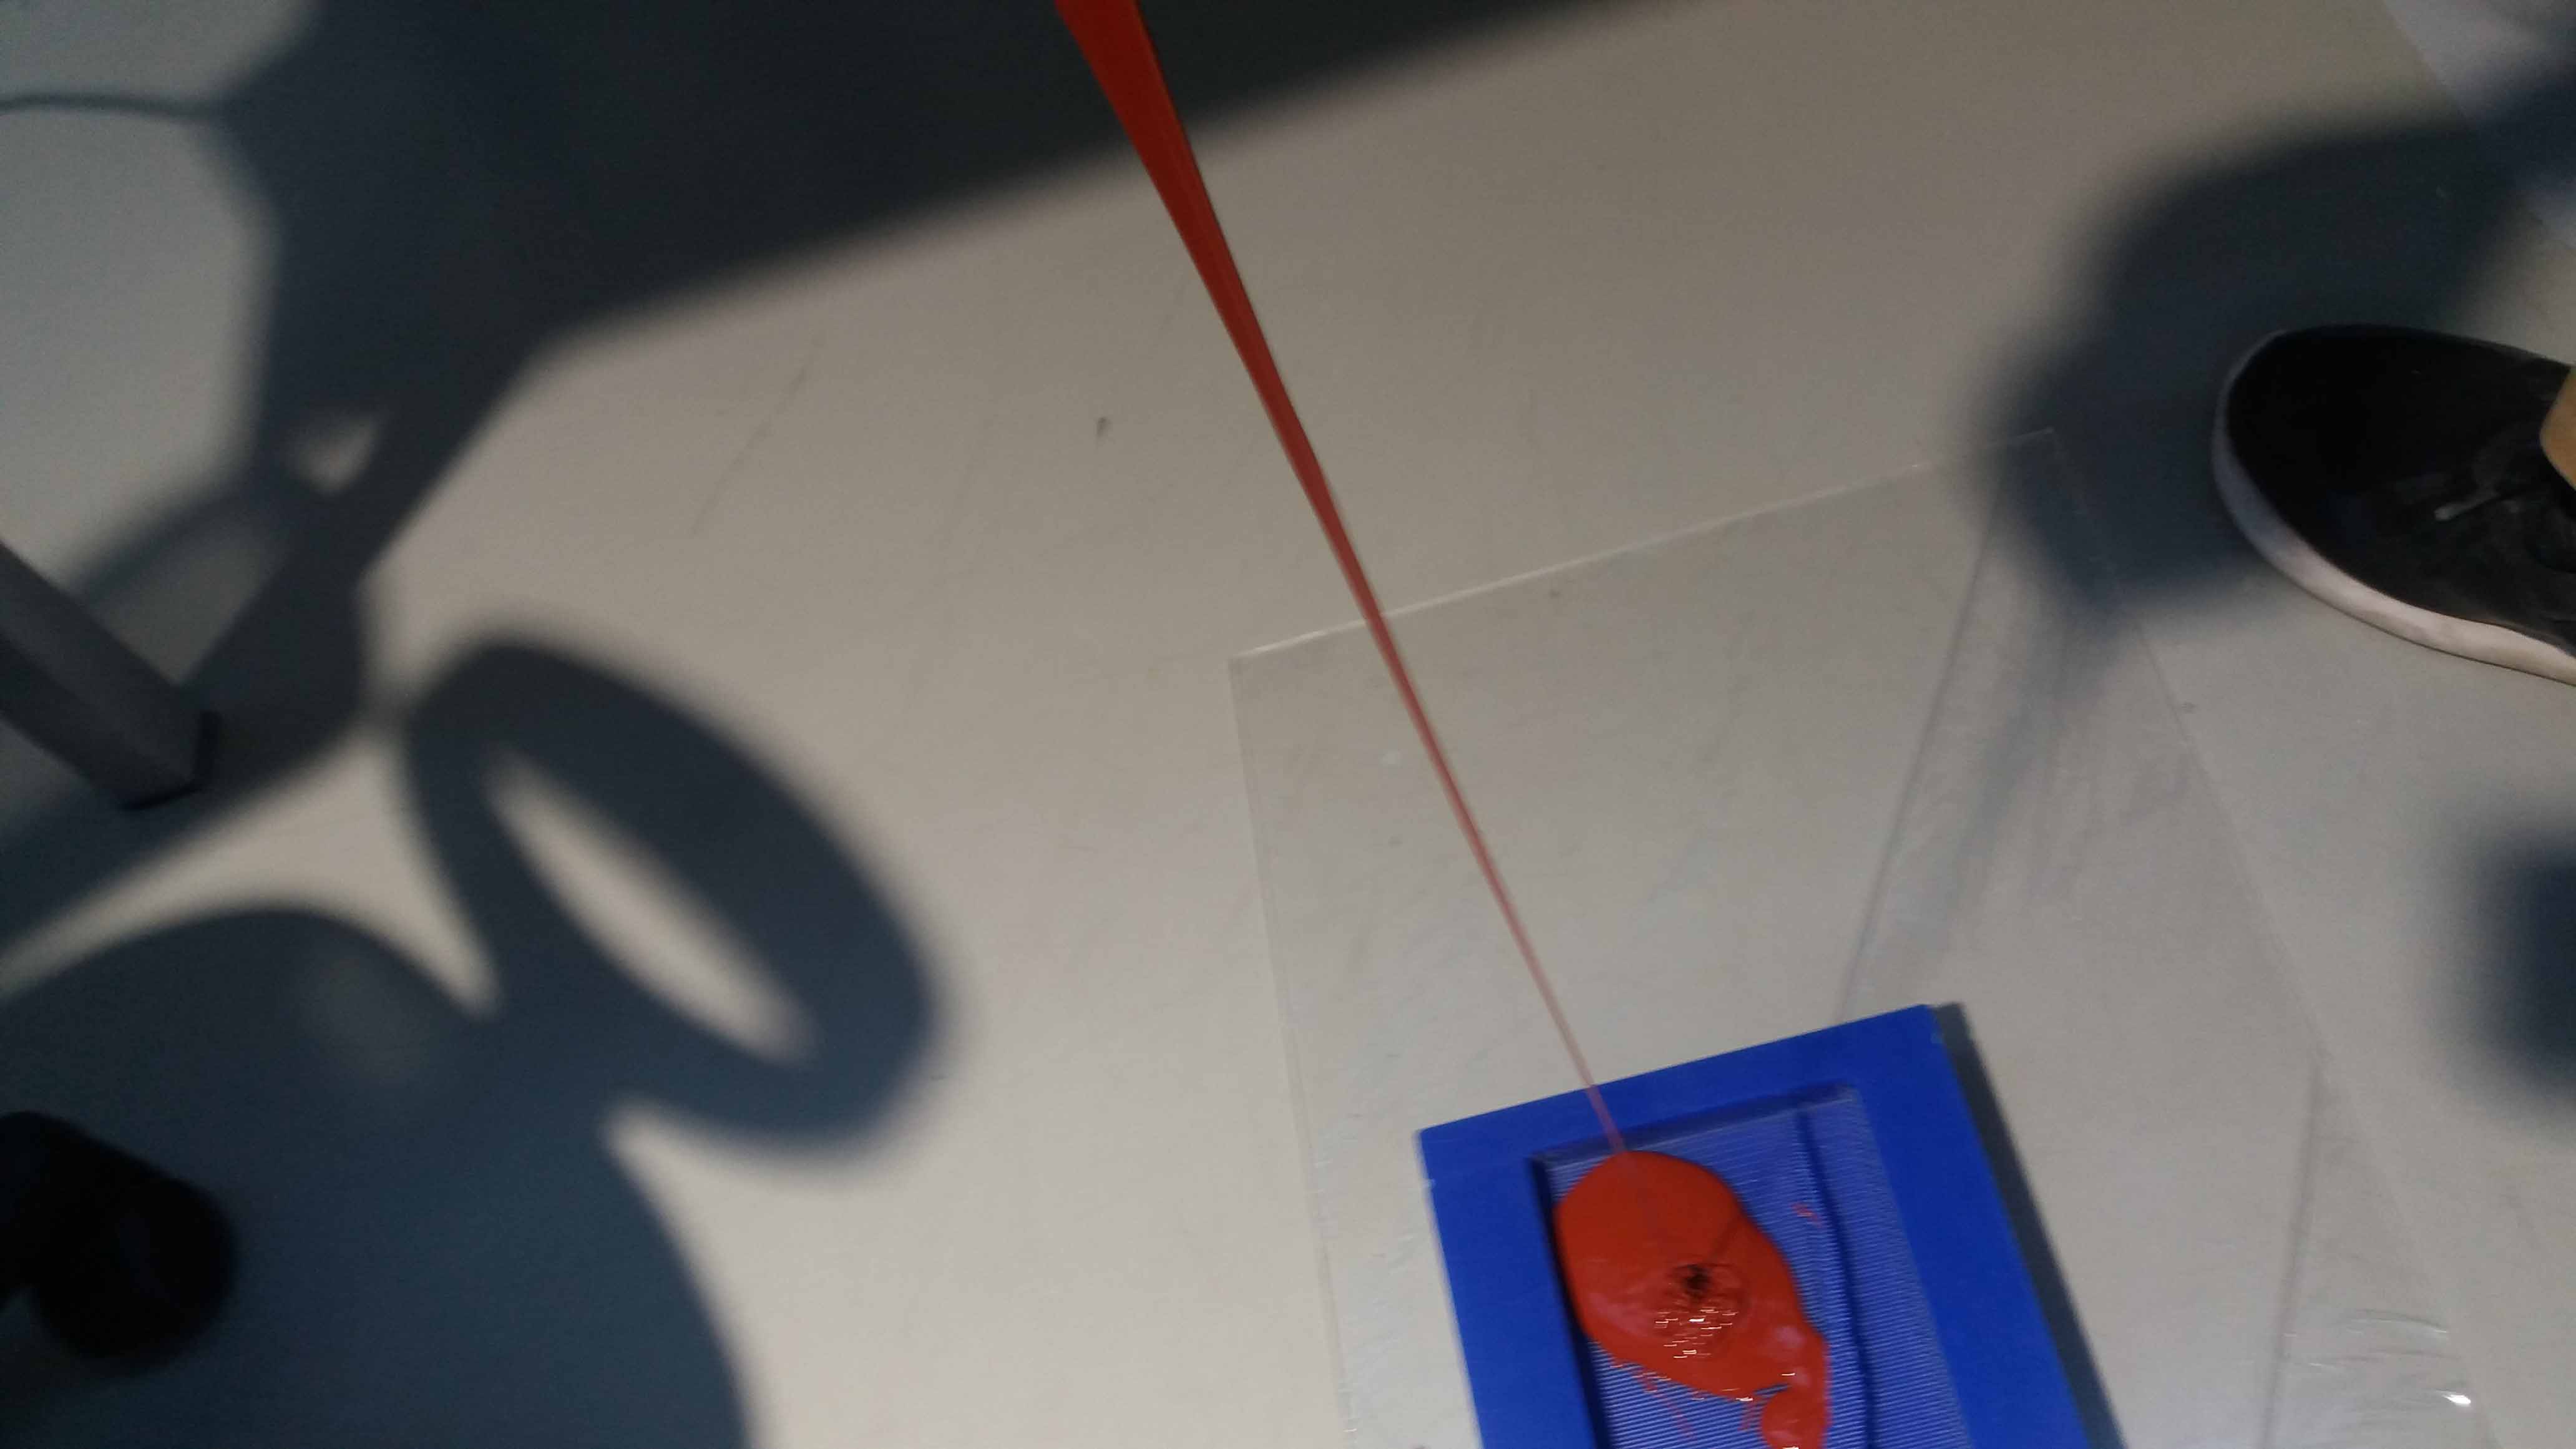
Then, I put it on the floor, so there is space to pour it from above. But before that, I made sure that surface was leveled using a cell-phone app. I used Tool Box, but there are plenty of others.

Then, for degasify, we pour the mixture from a distance of 1.5 meters high. This thin stream aproach pops out the bubbles contained in the mixture (due to the interaction between gravity, surface tension and viscosity forces). I made this just once, but do it for a couple of times before final pouring could be better. We will do so in the future (or get a degaser).
Once poured, we gently hit the sides of the system to help bubbles escape and pop.
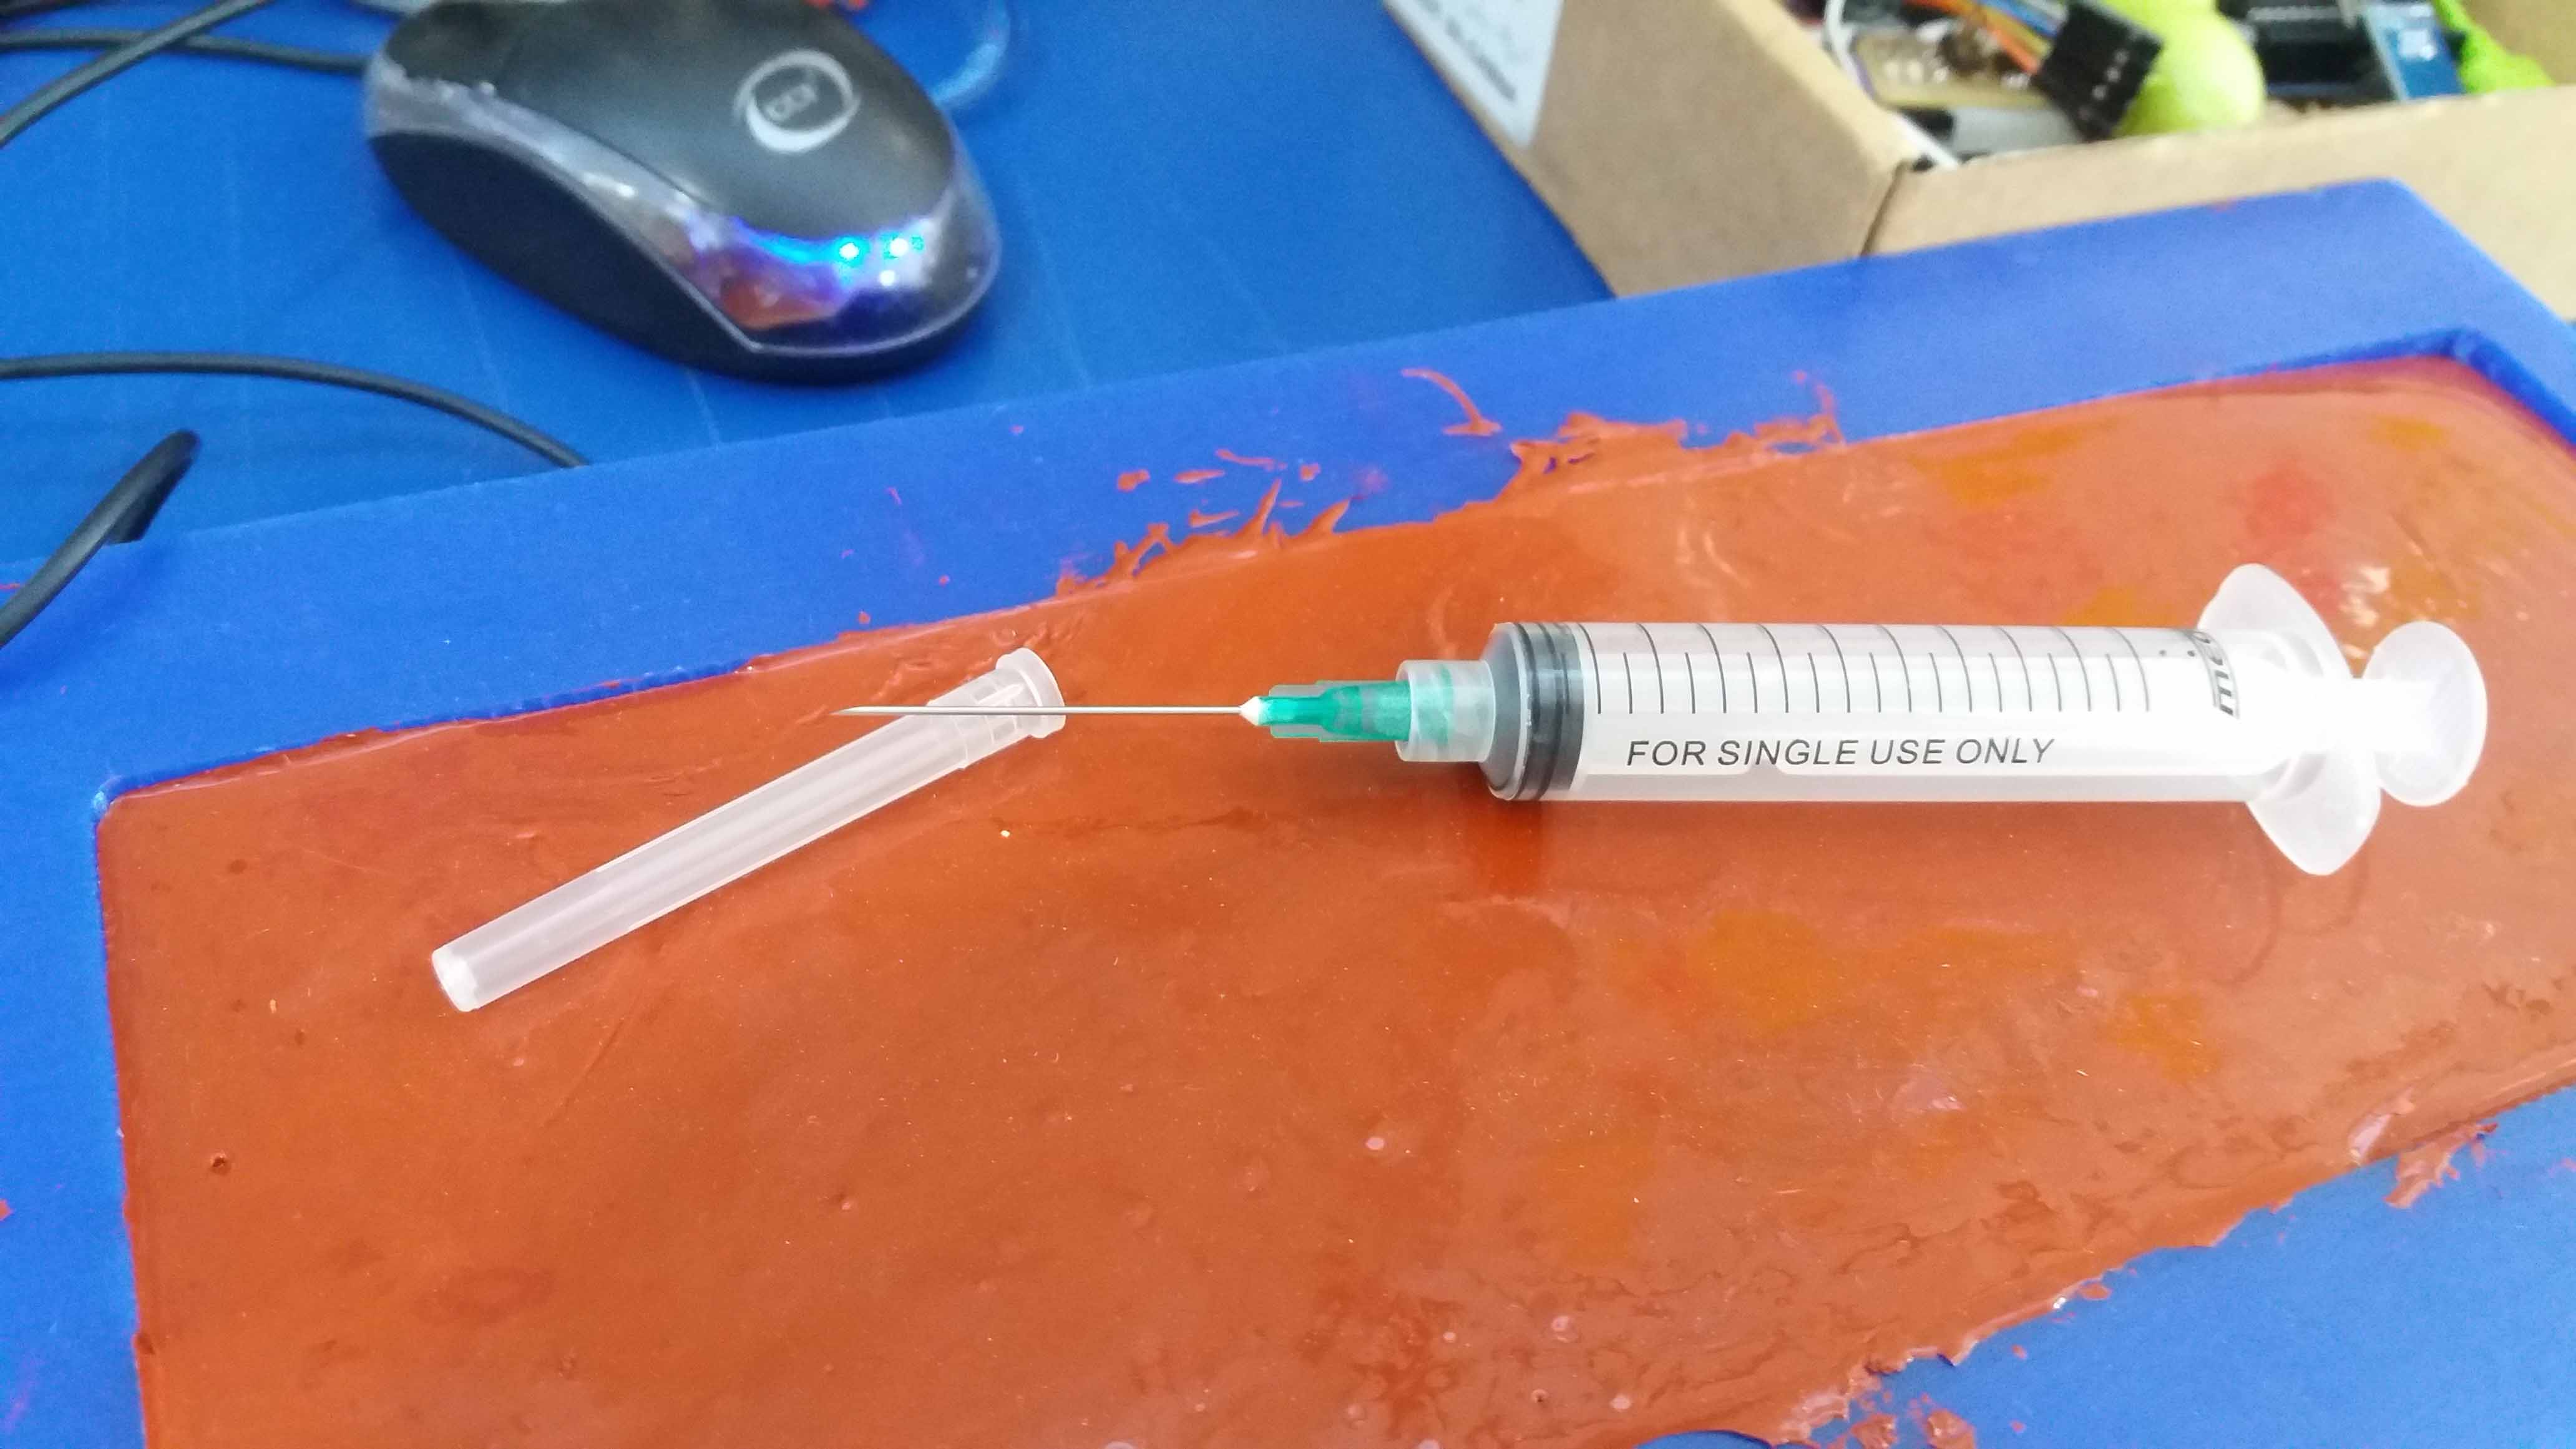
We let the mold cure for 24 hours. We used a sringe to inject air to the interface between the parafin and the silicone (Mold Max 60™). This helps in the release process.
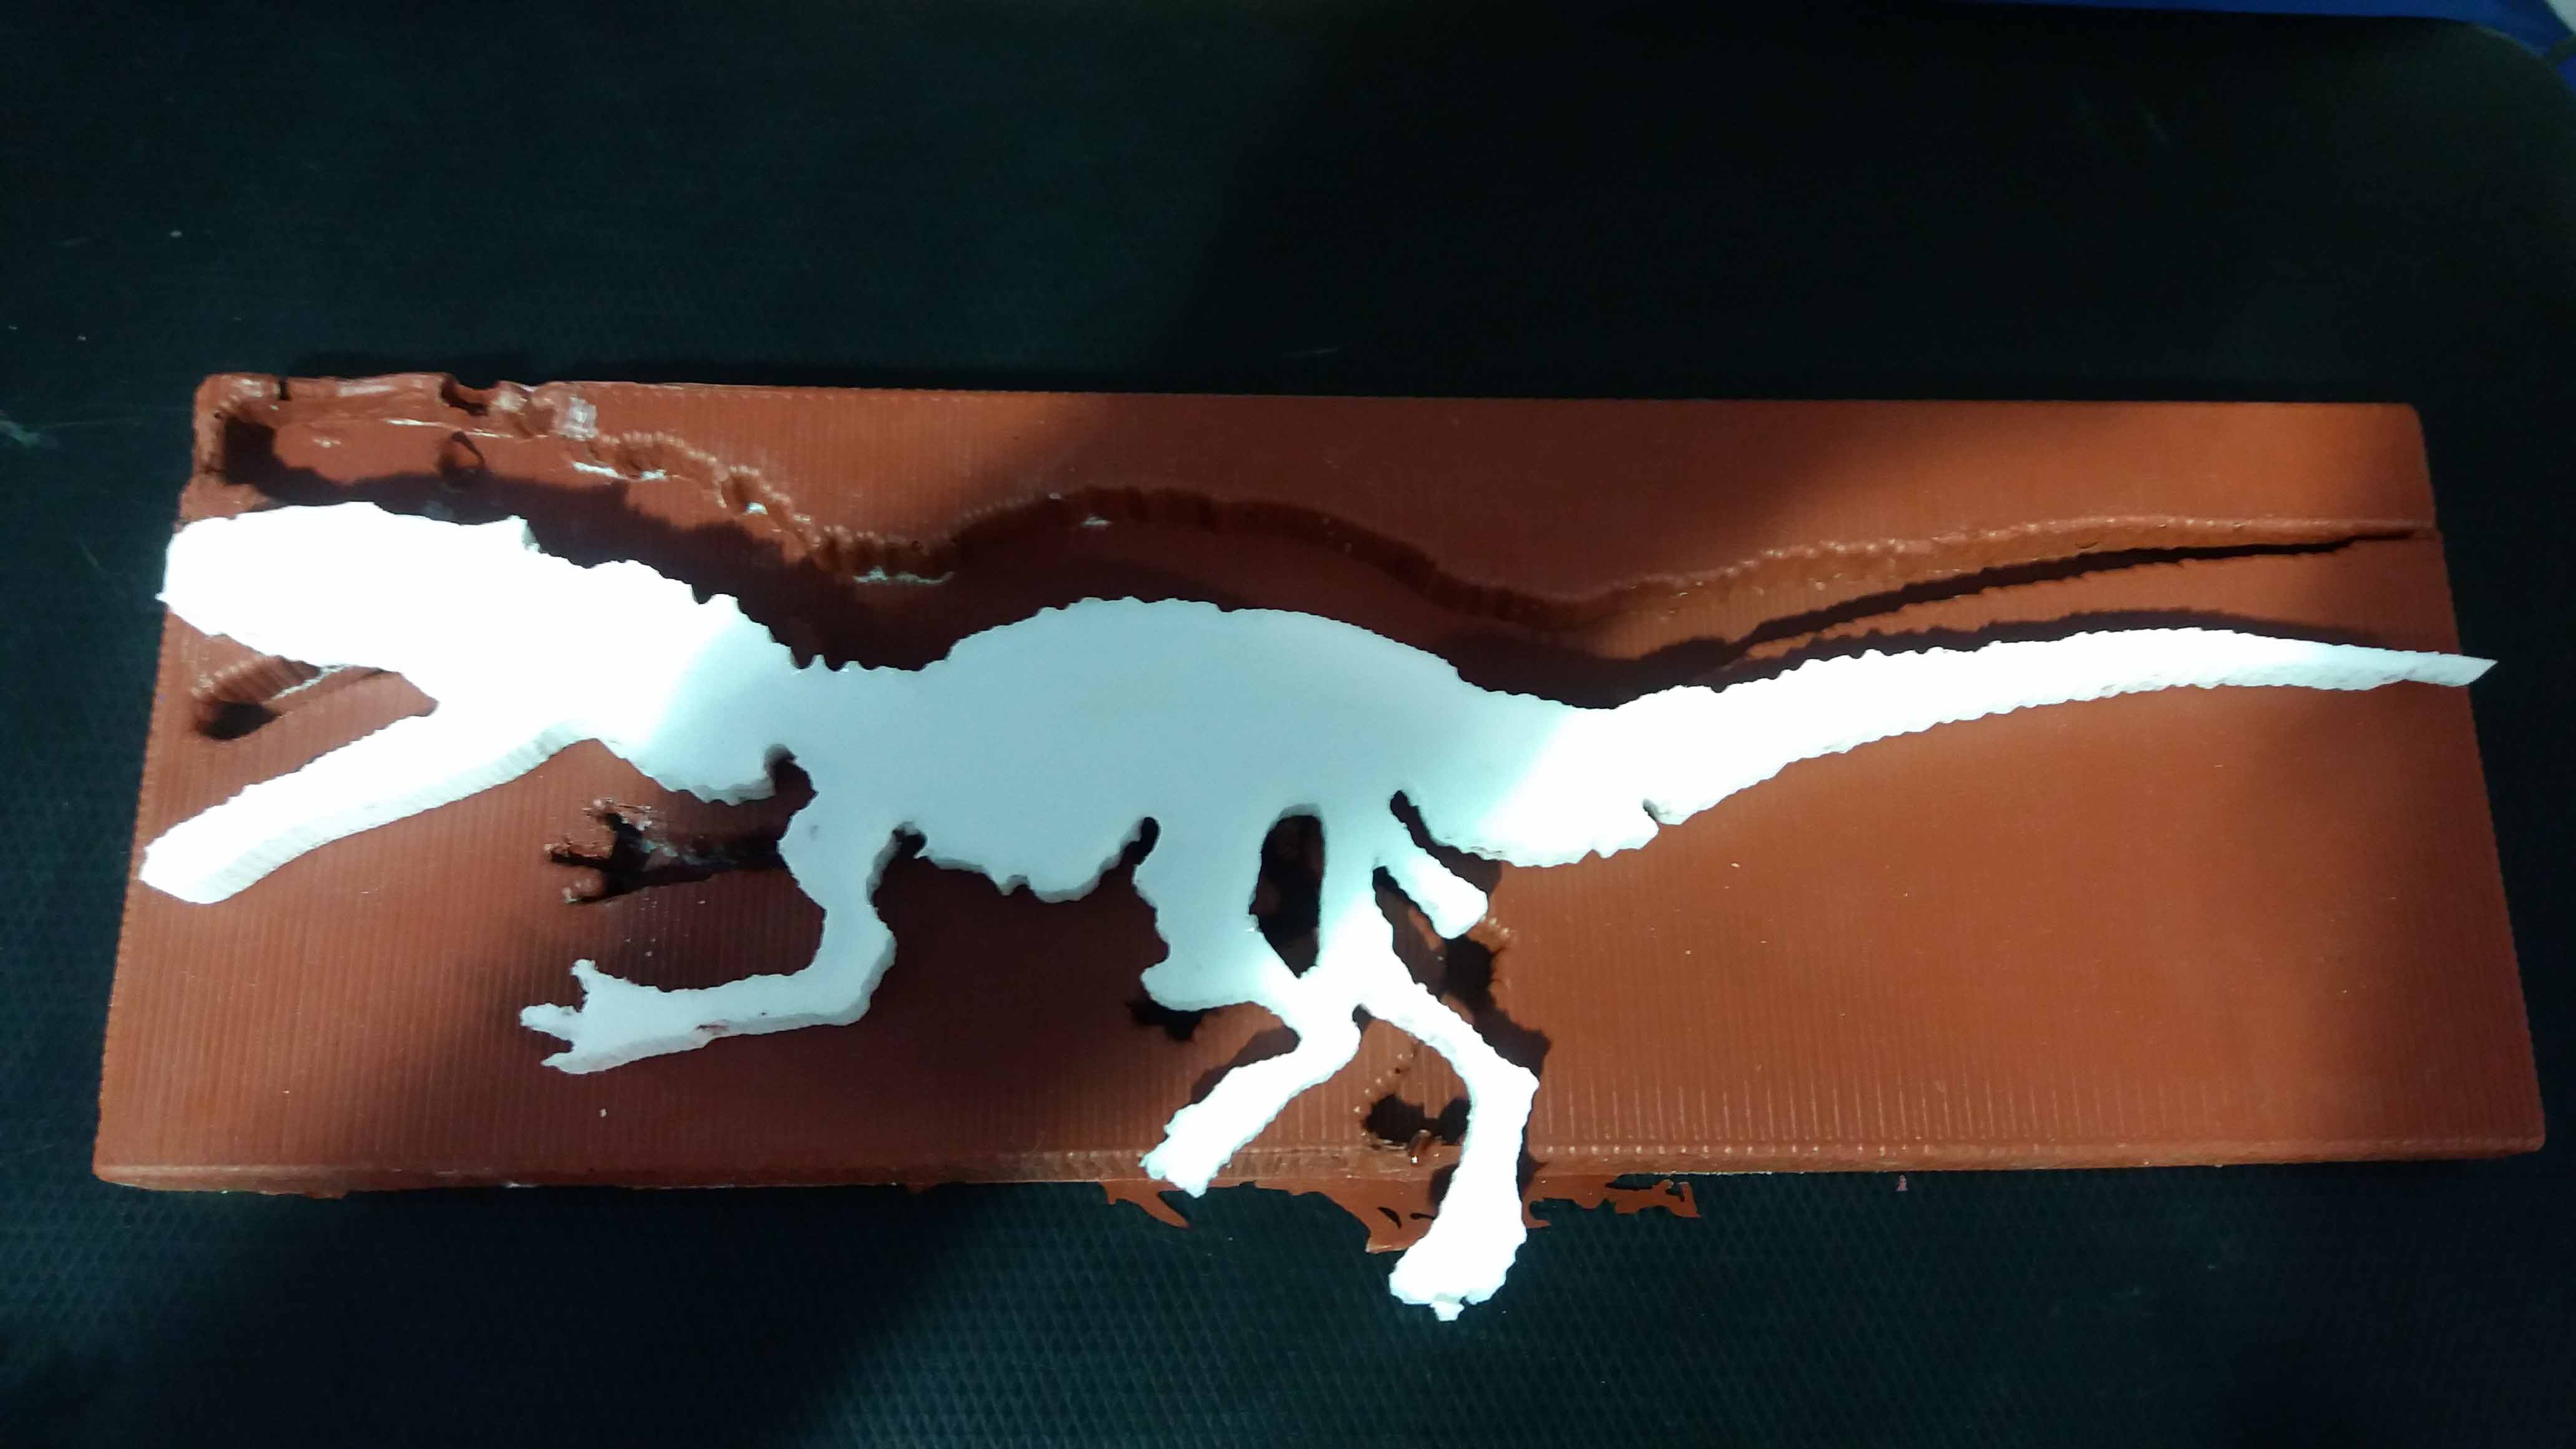
Here is the mold after release.
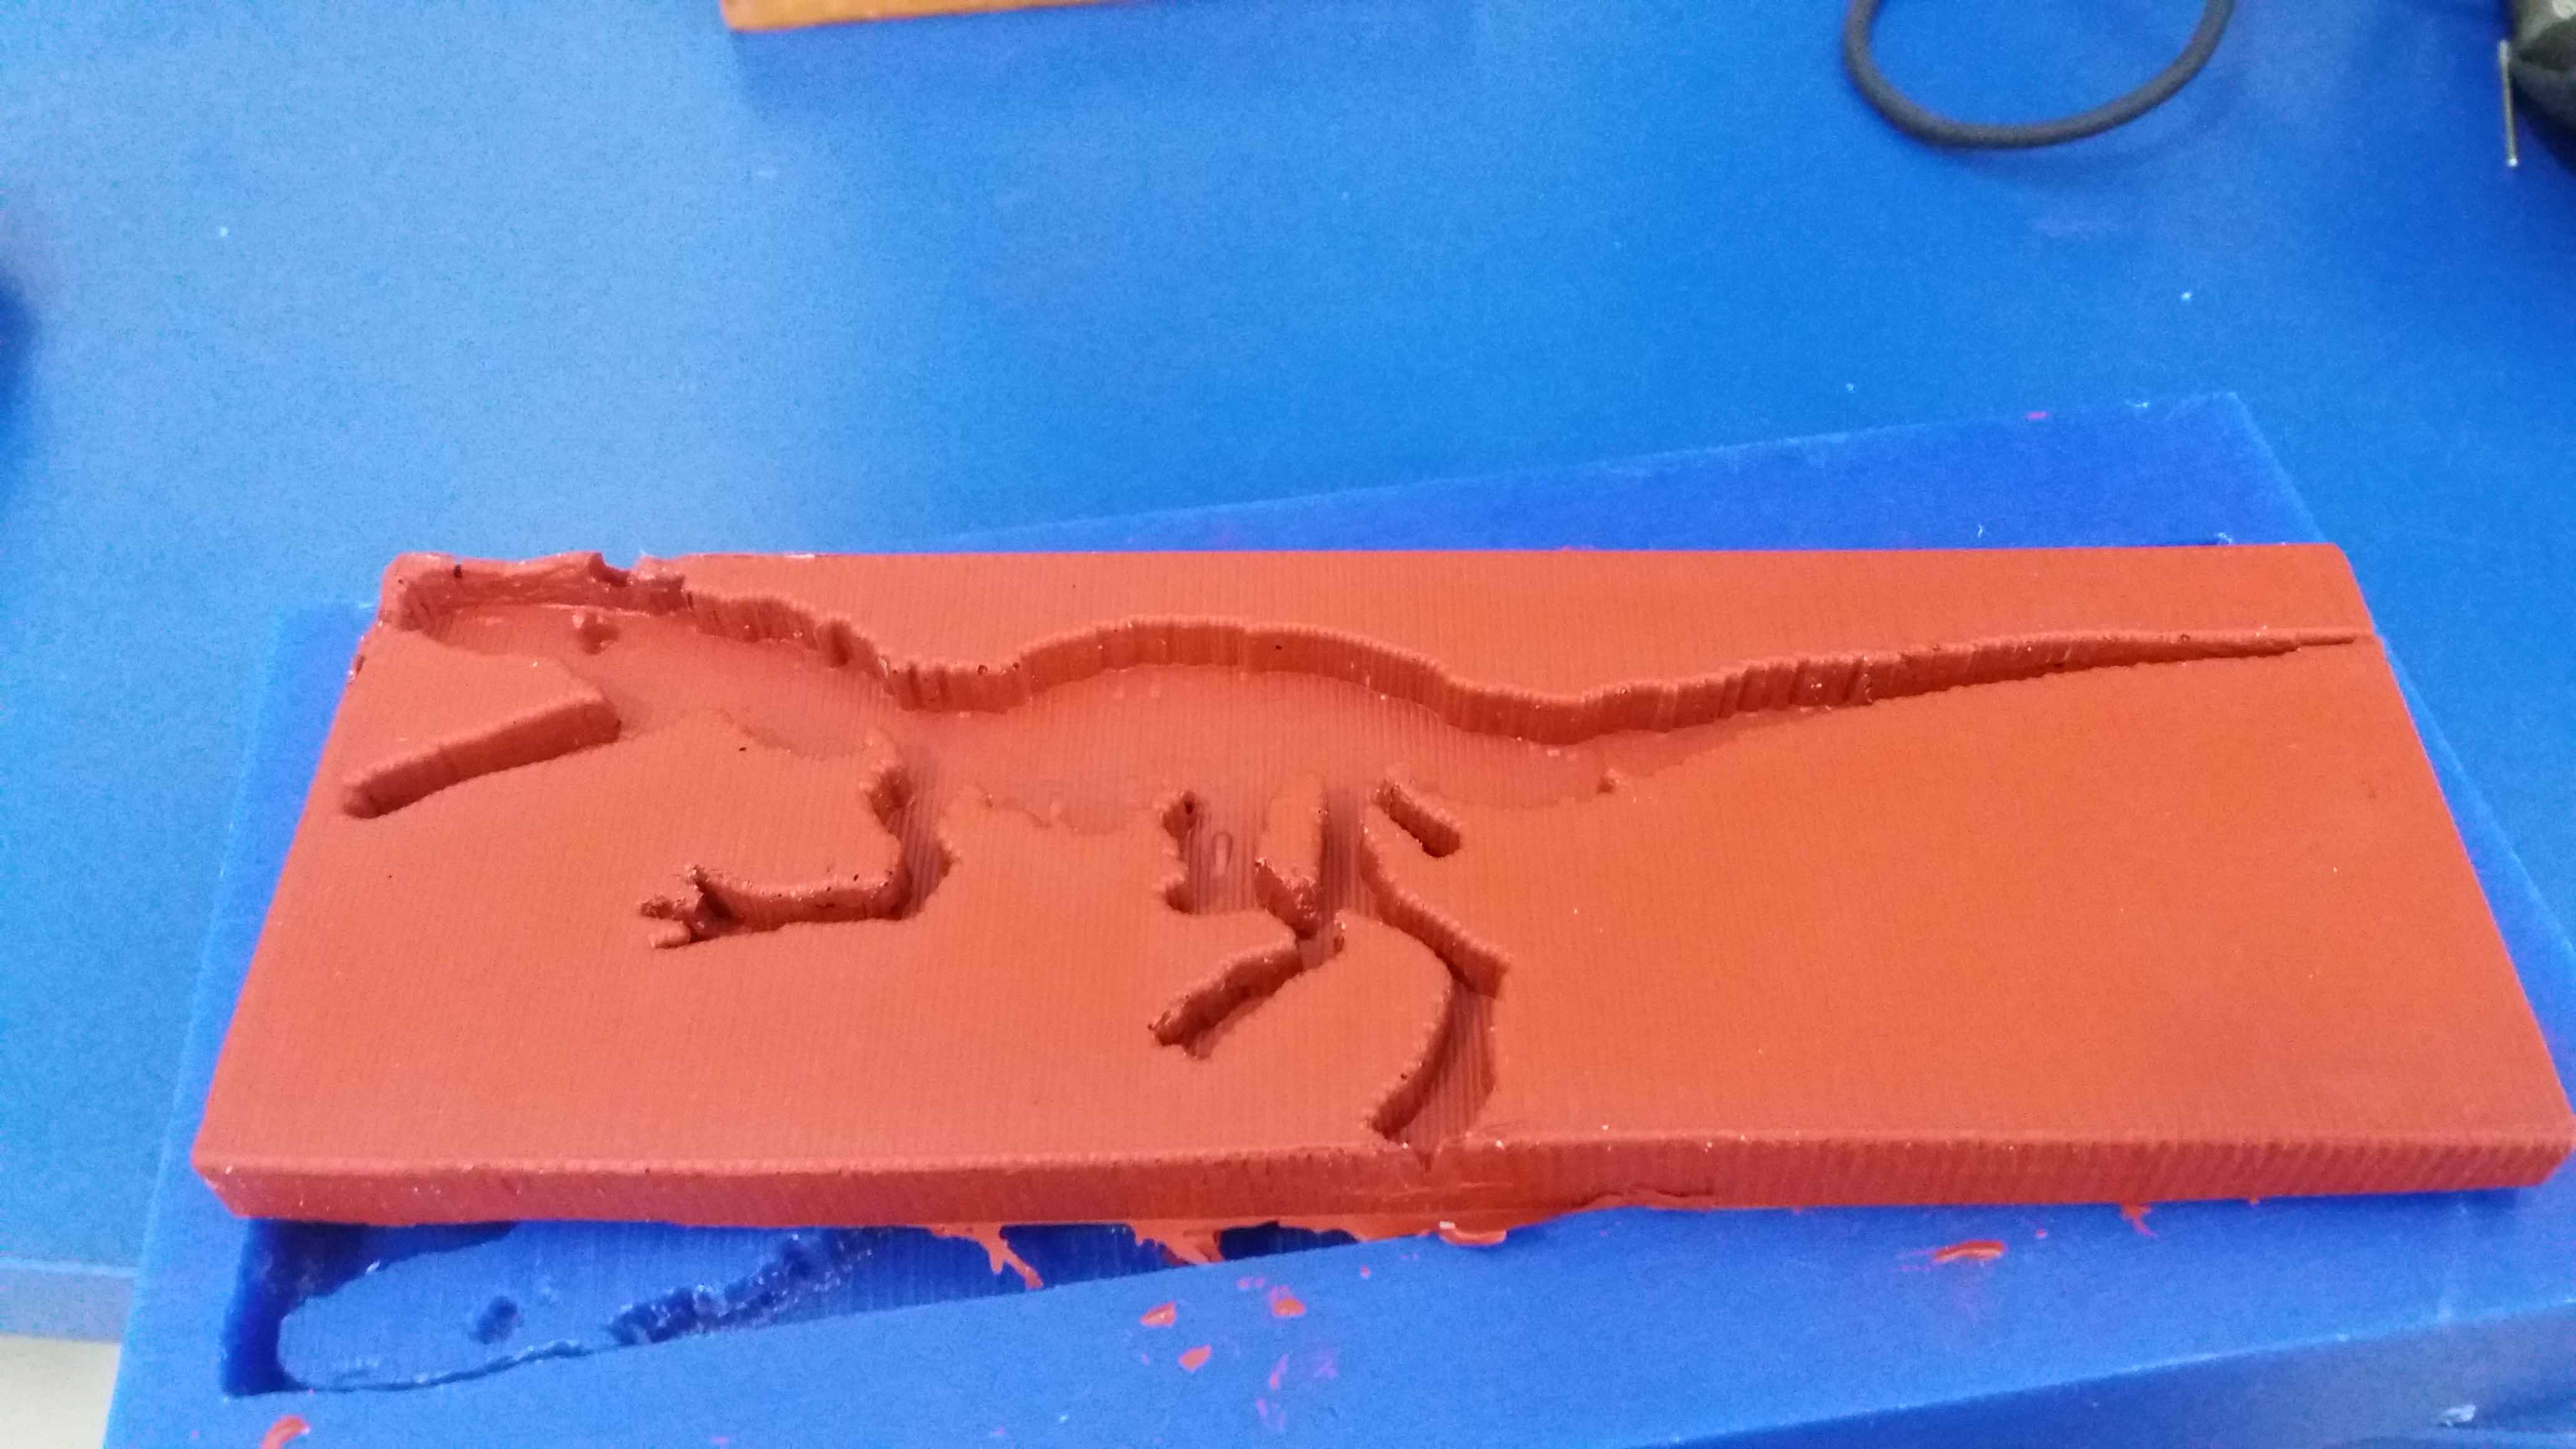
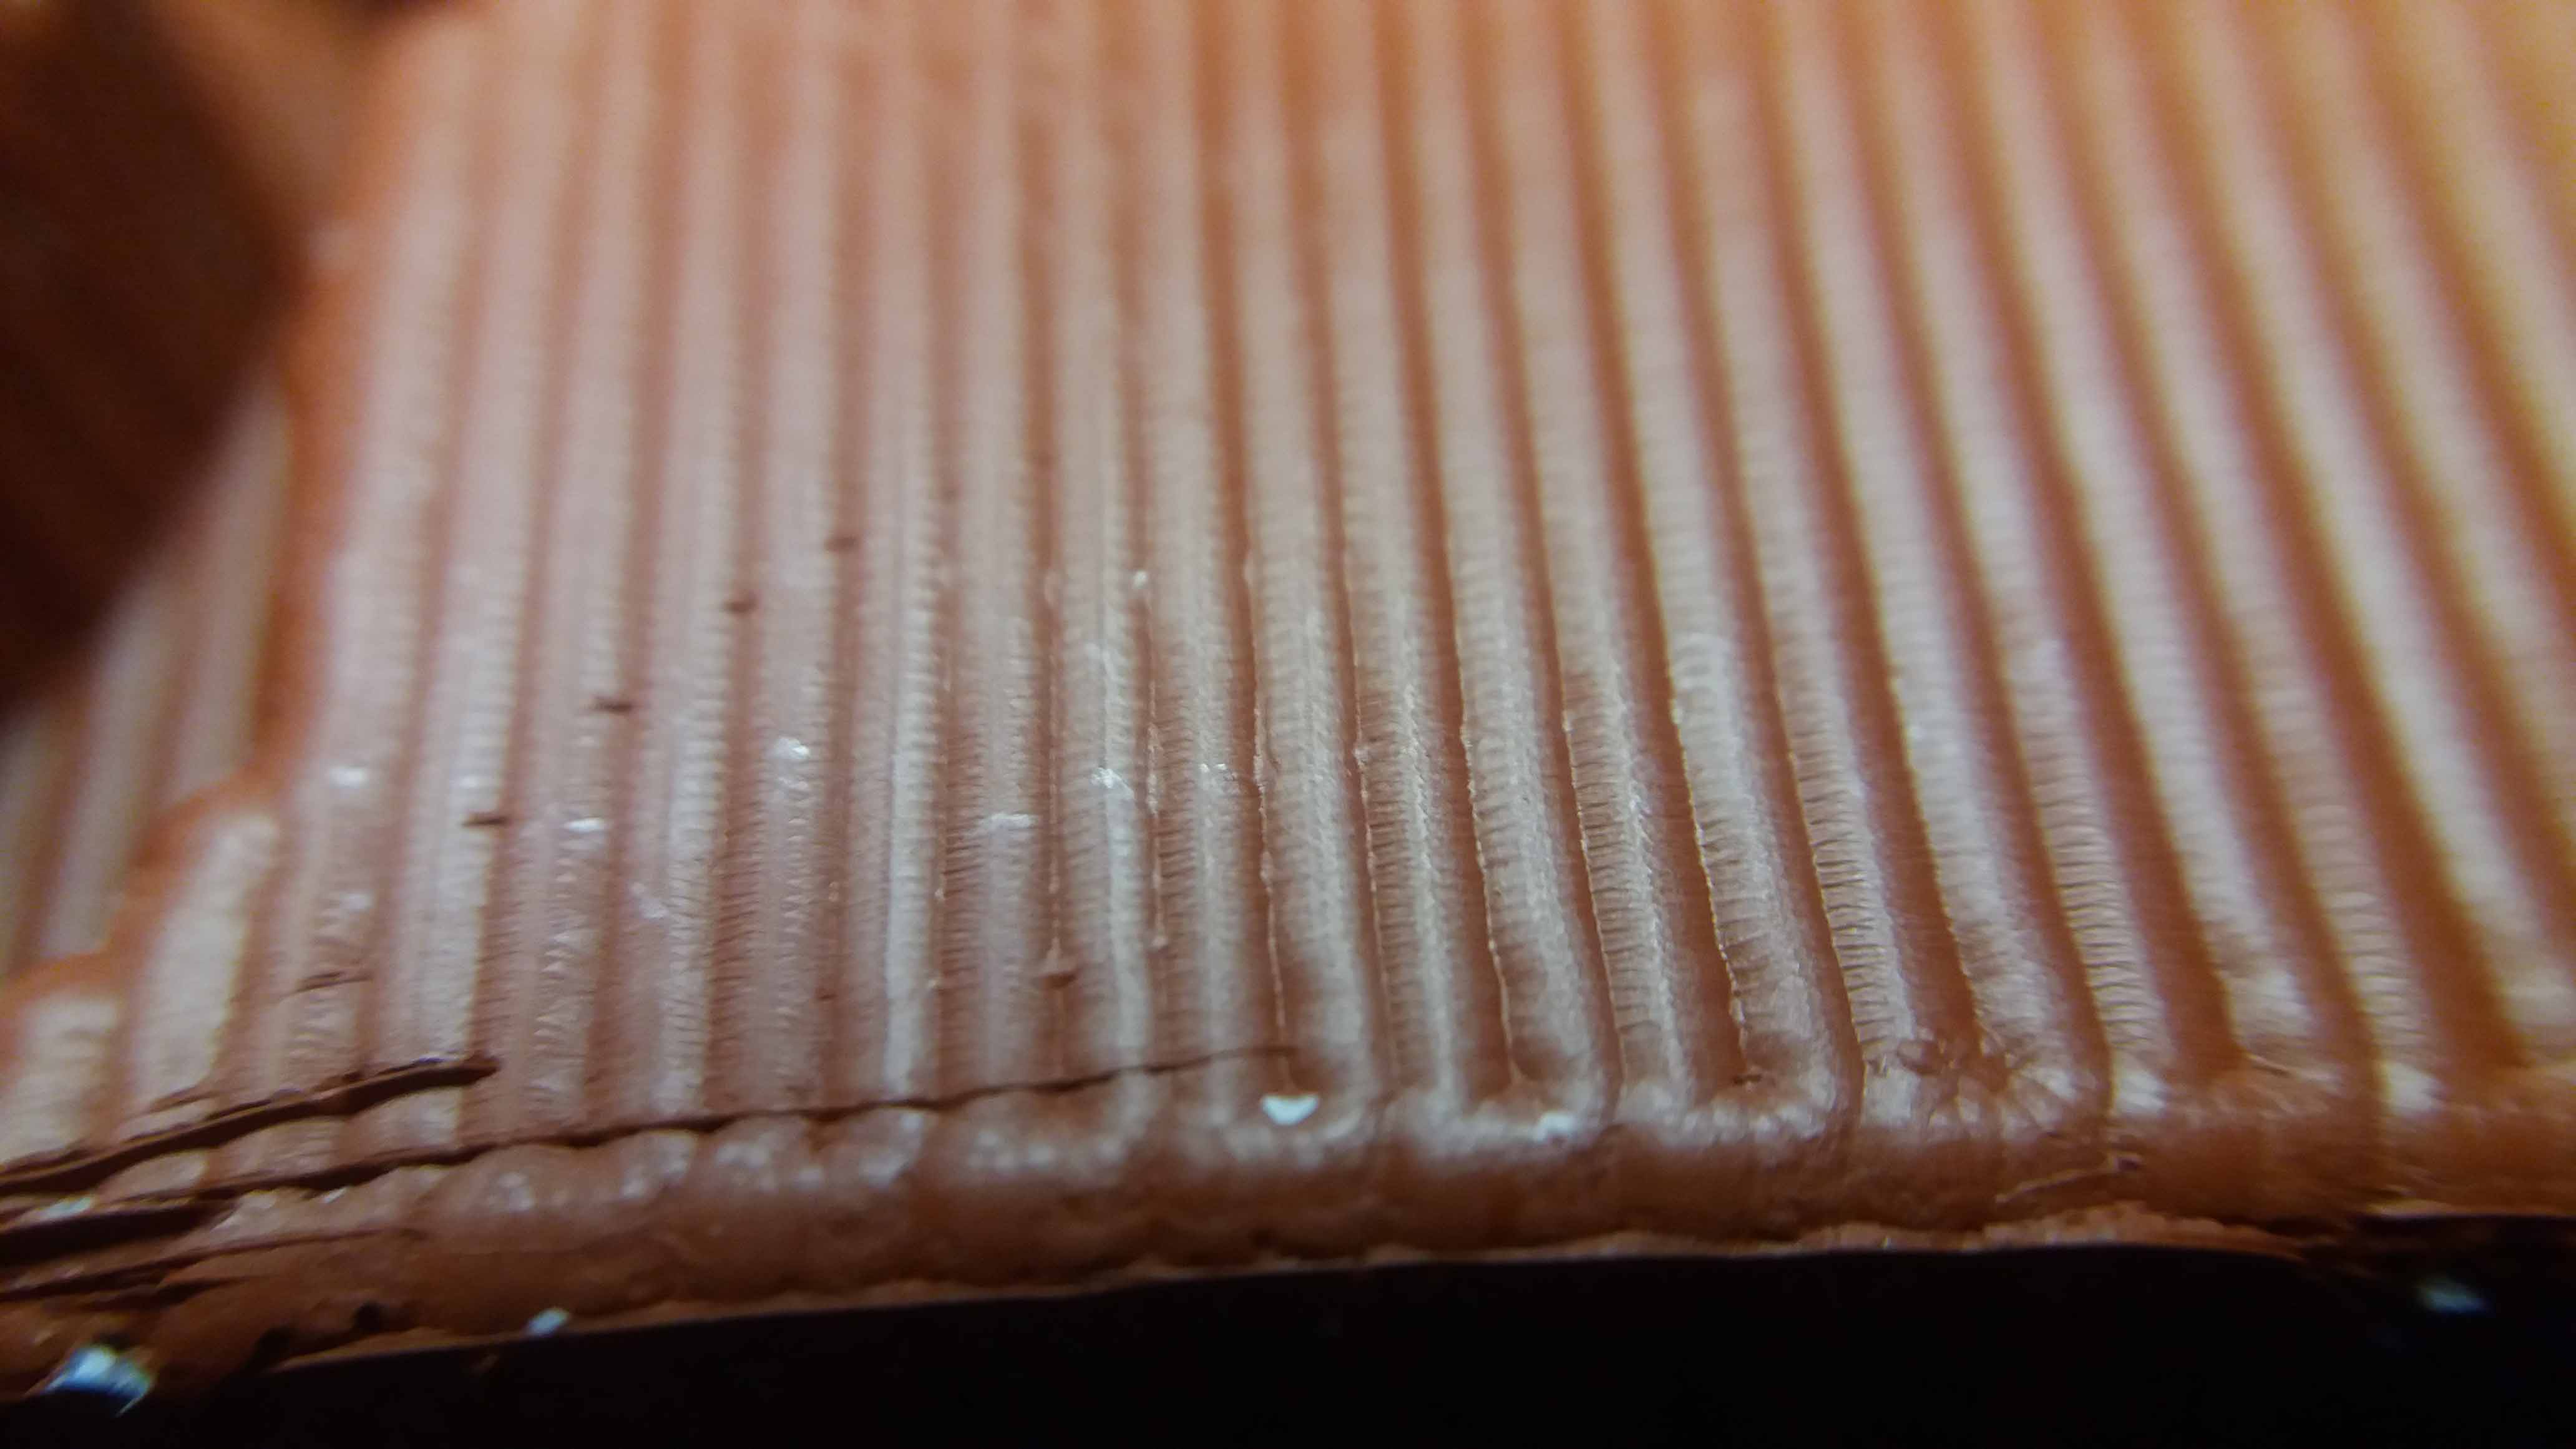
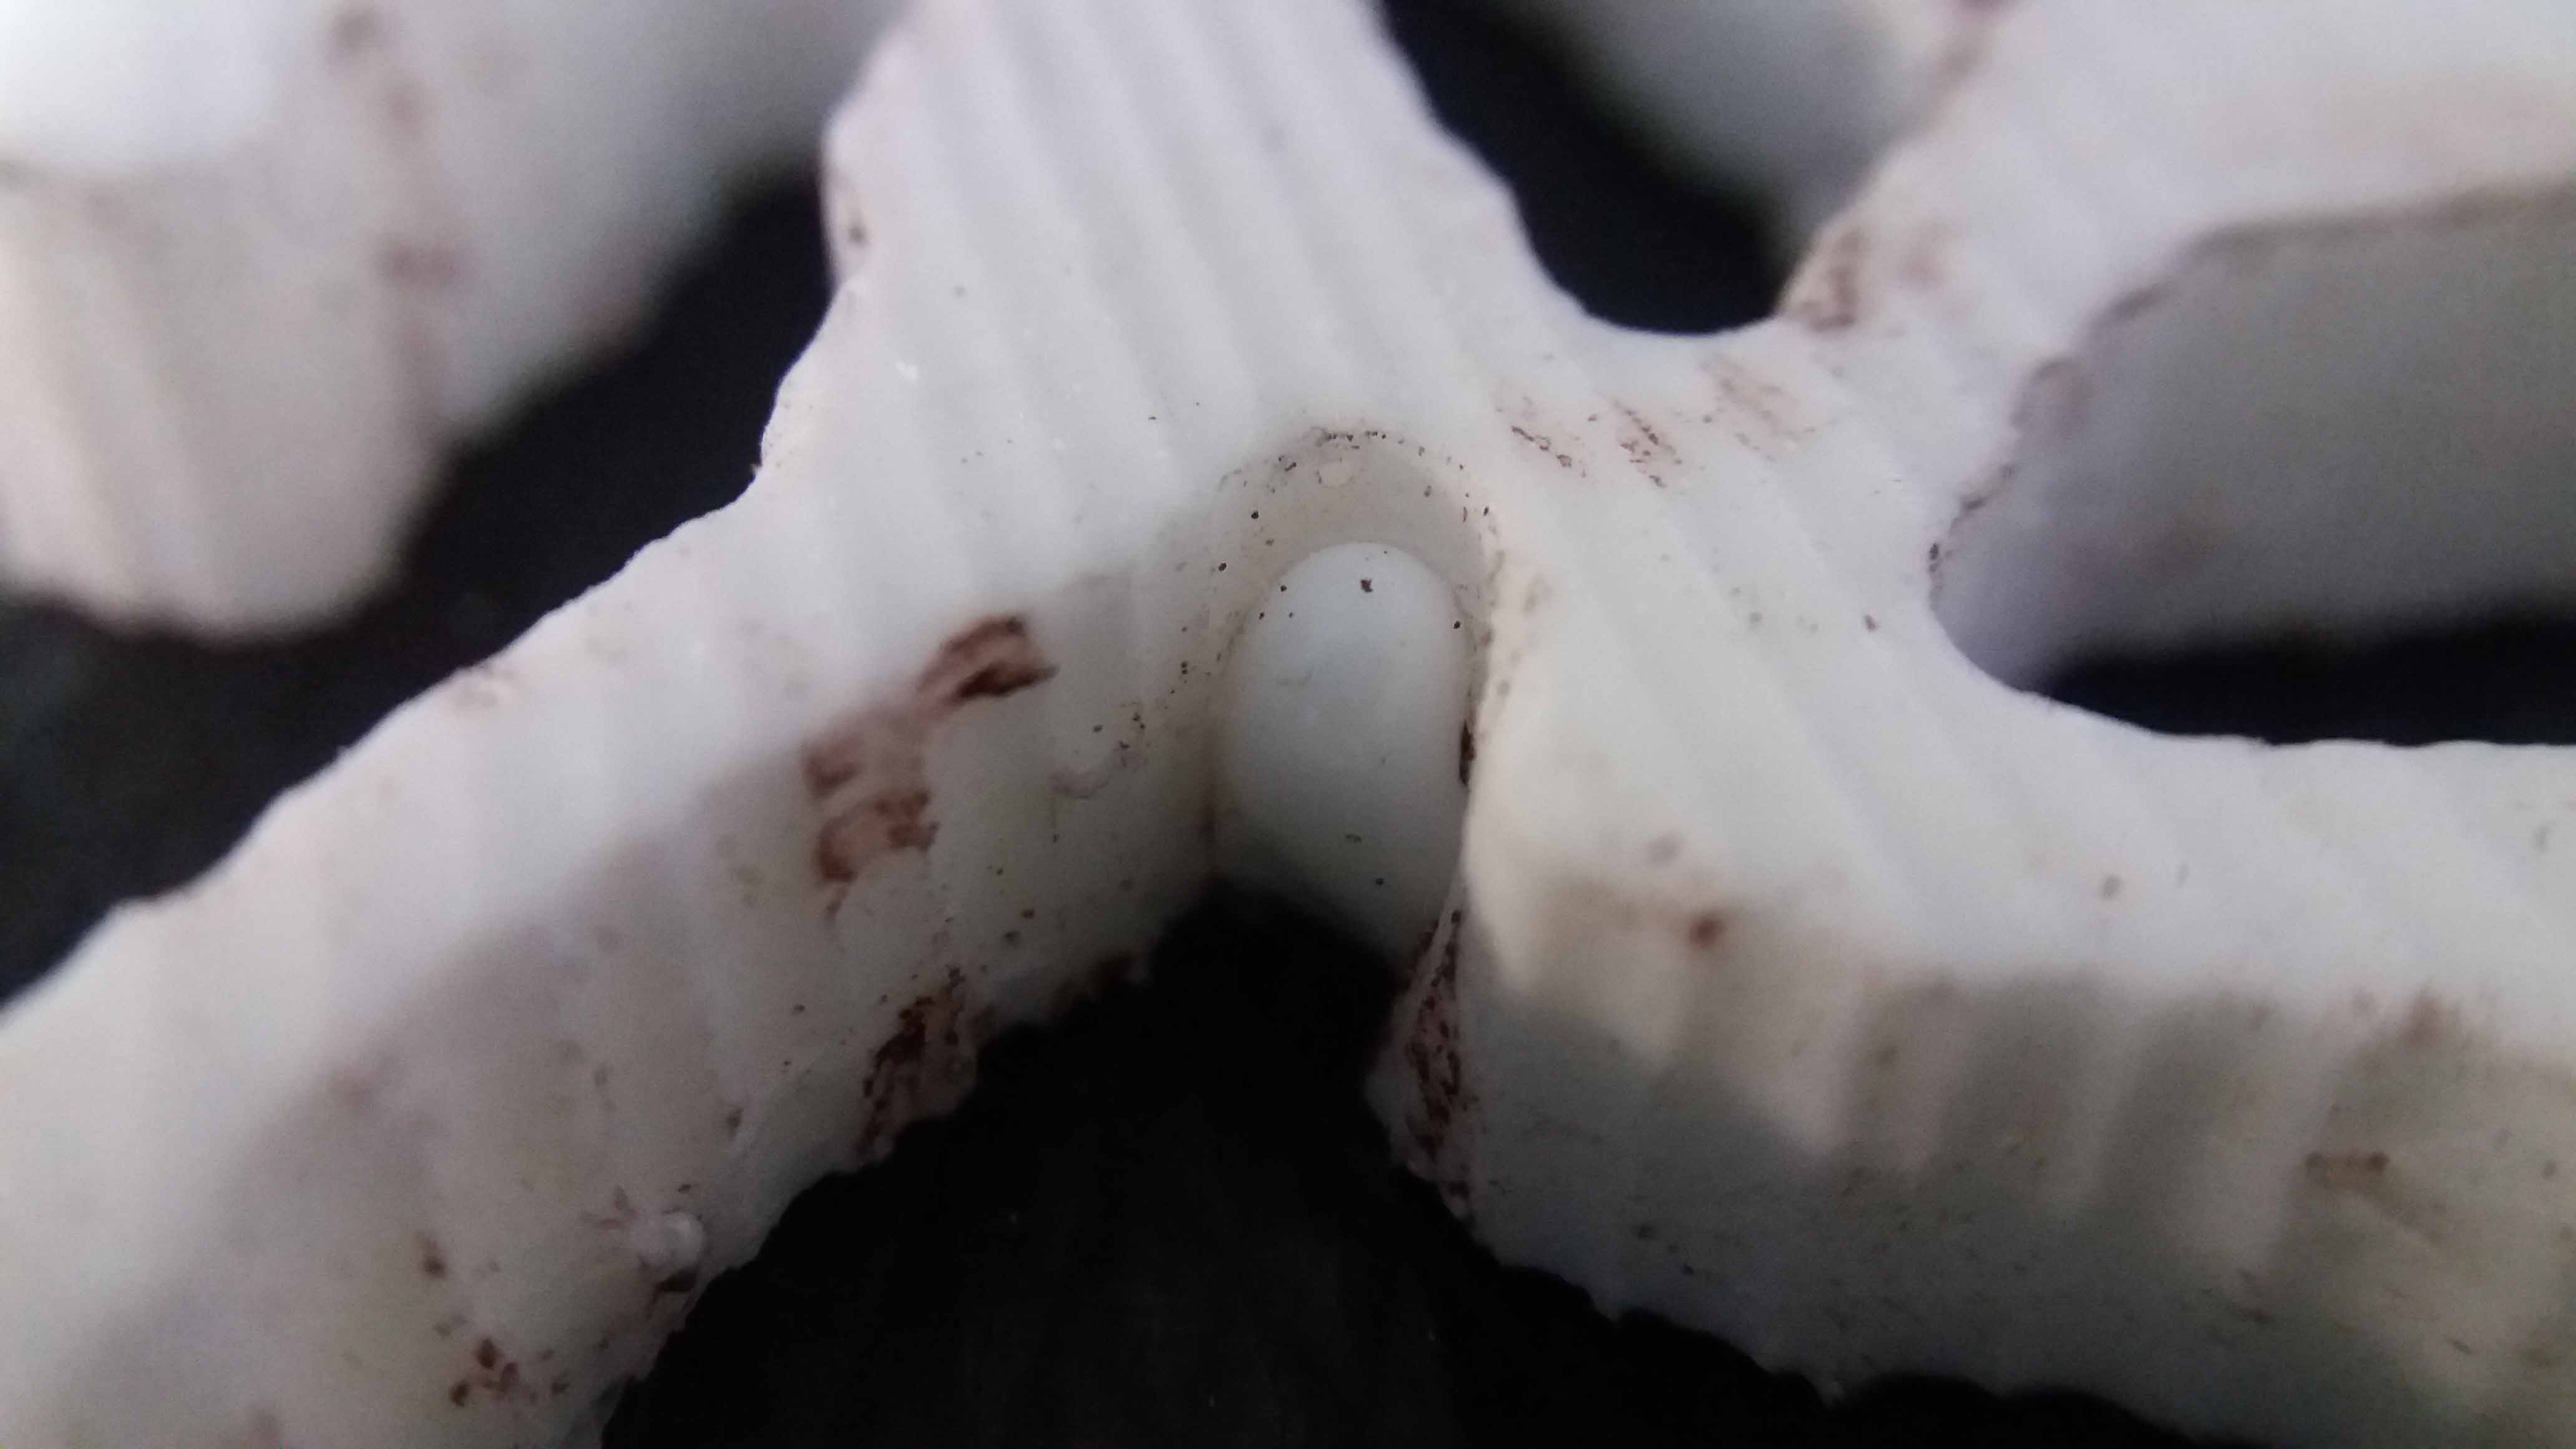
In this close-up we can see the details picked up by the mold...
...compared to the parafin positive.
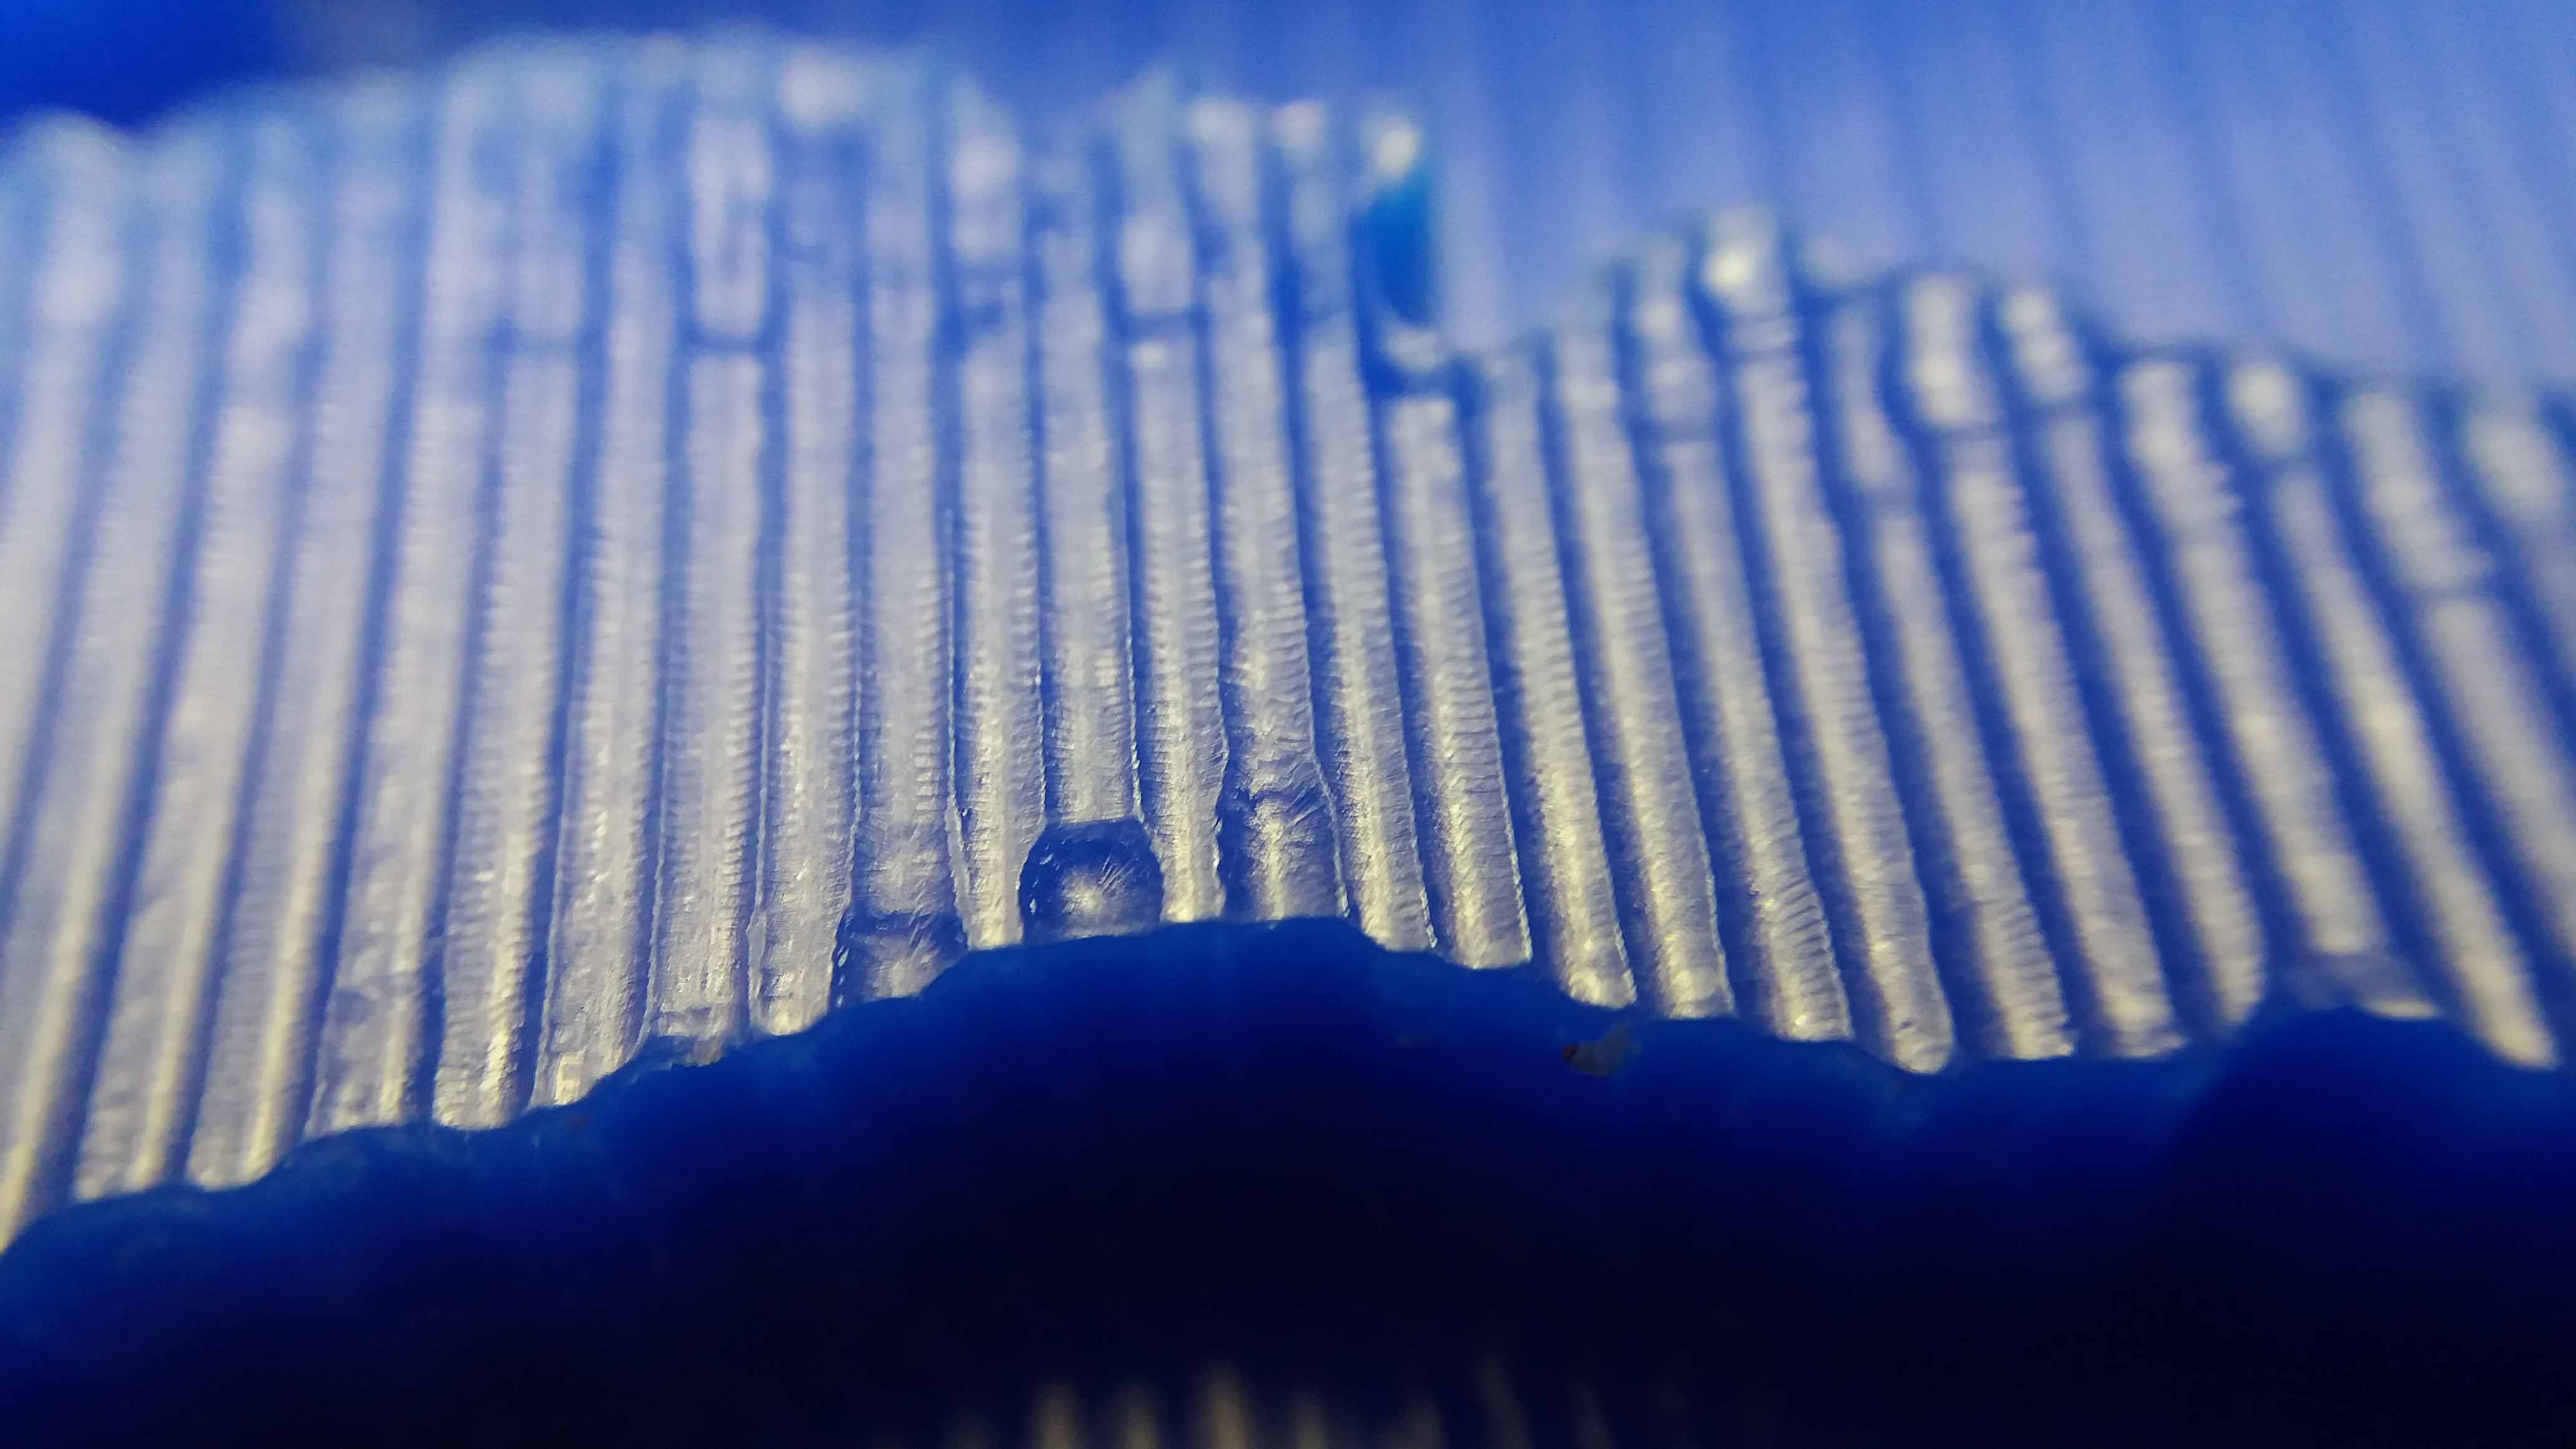
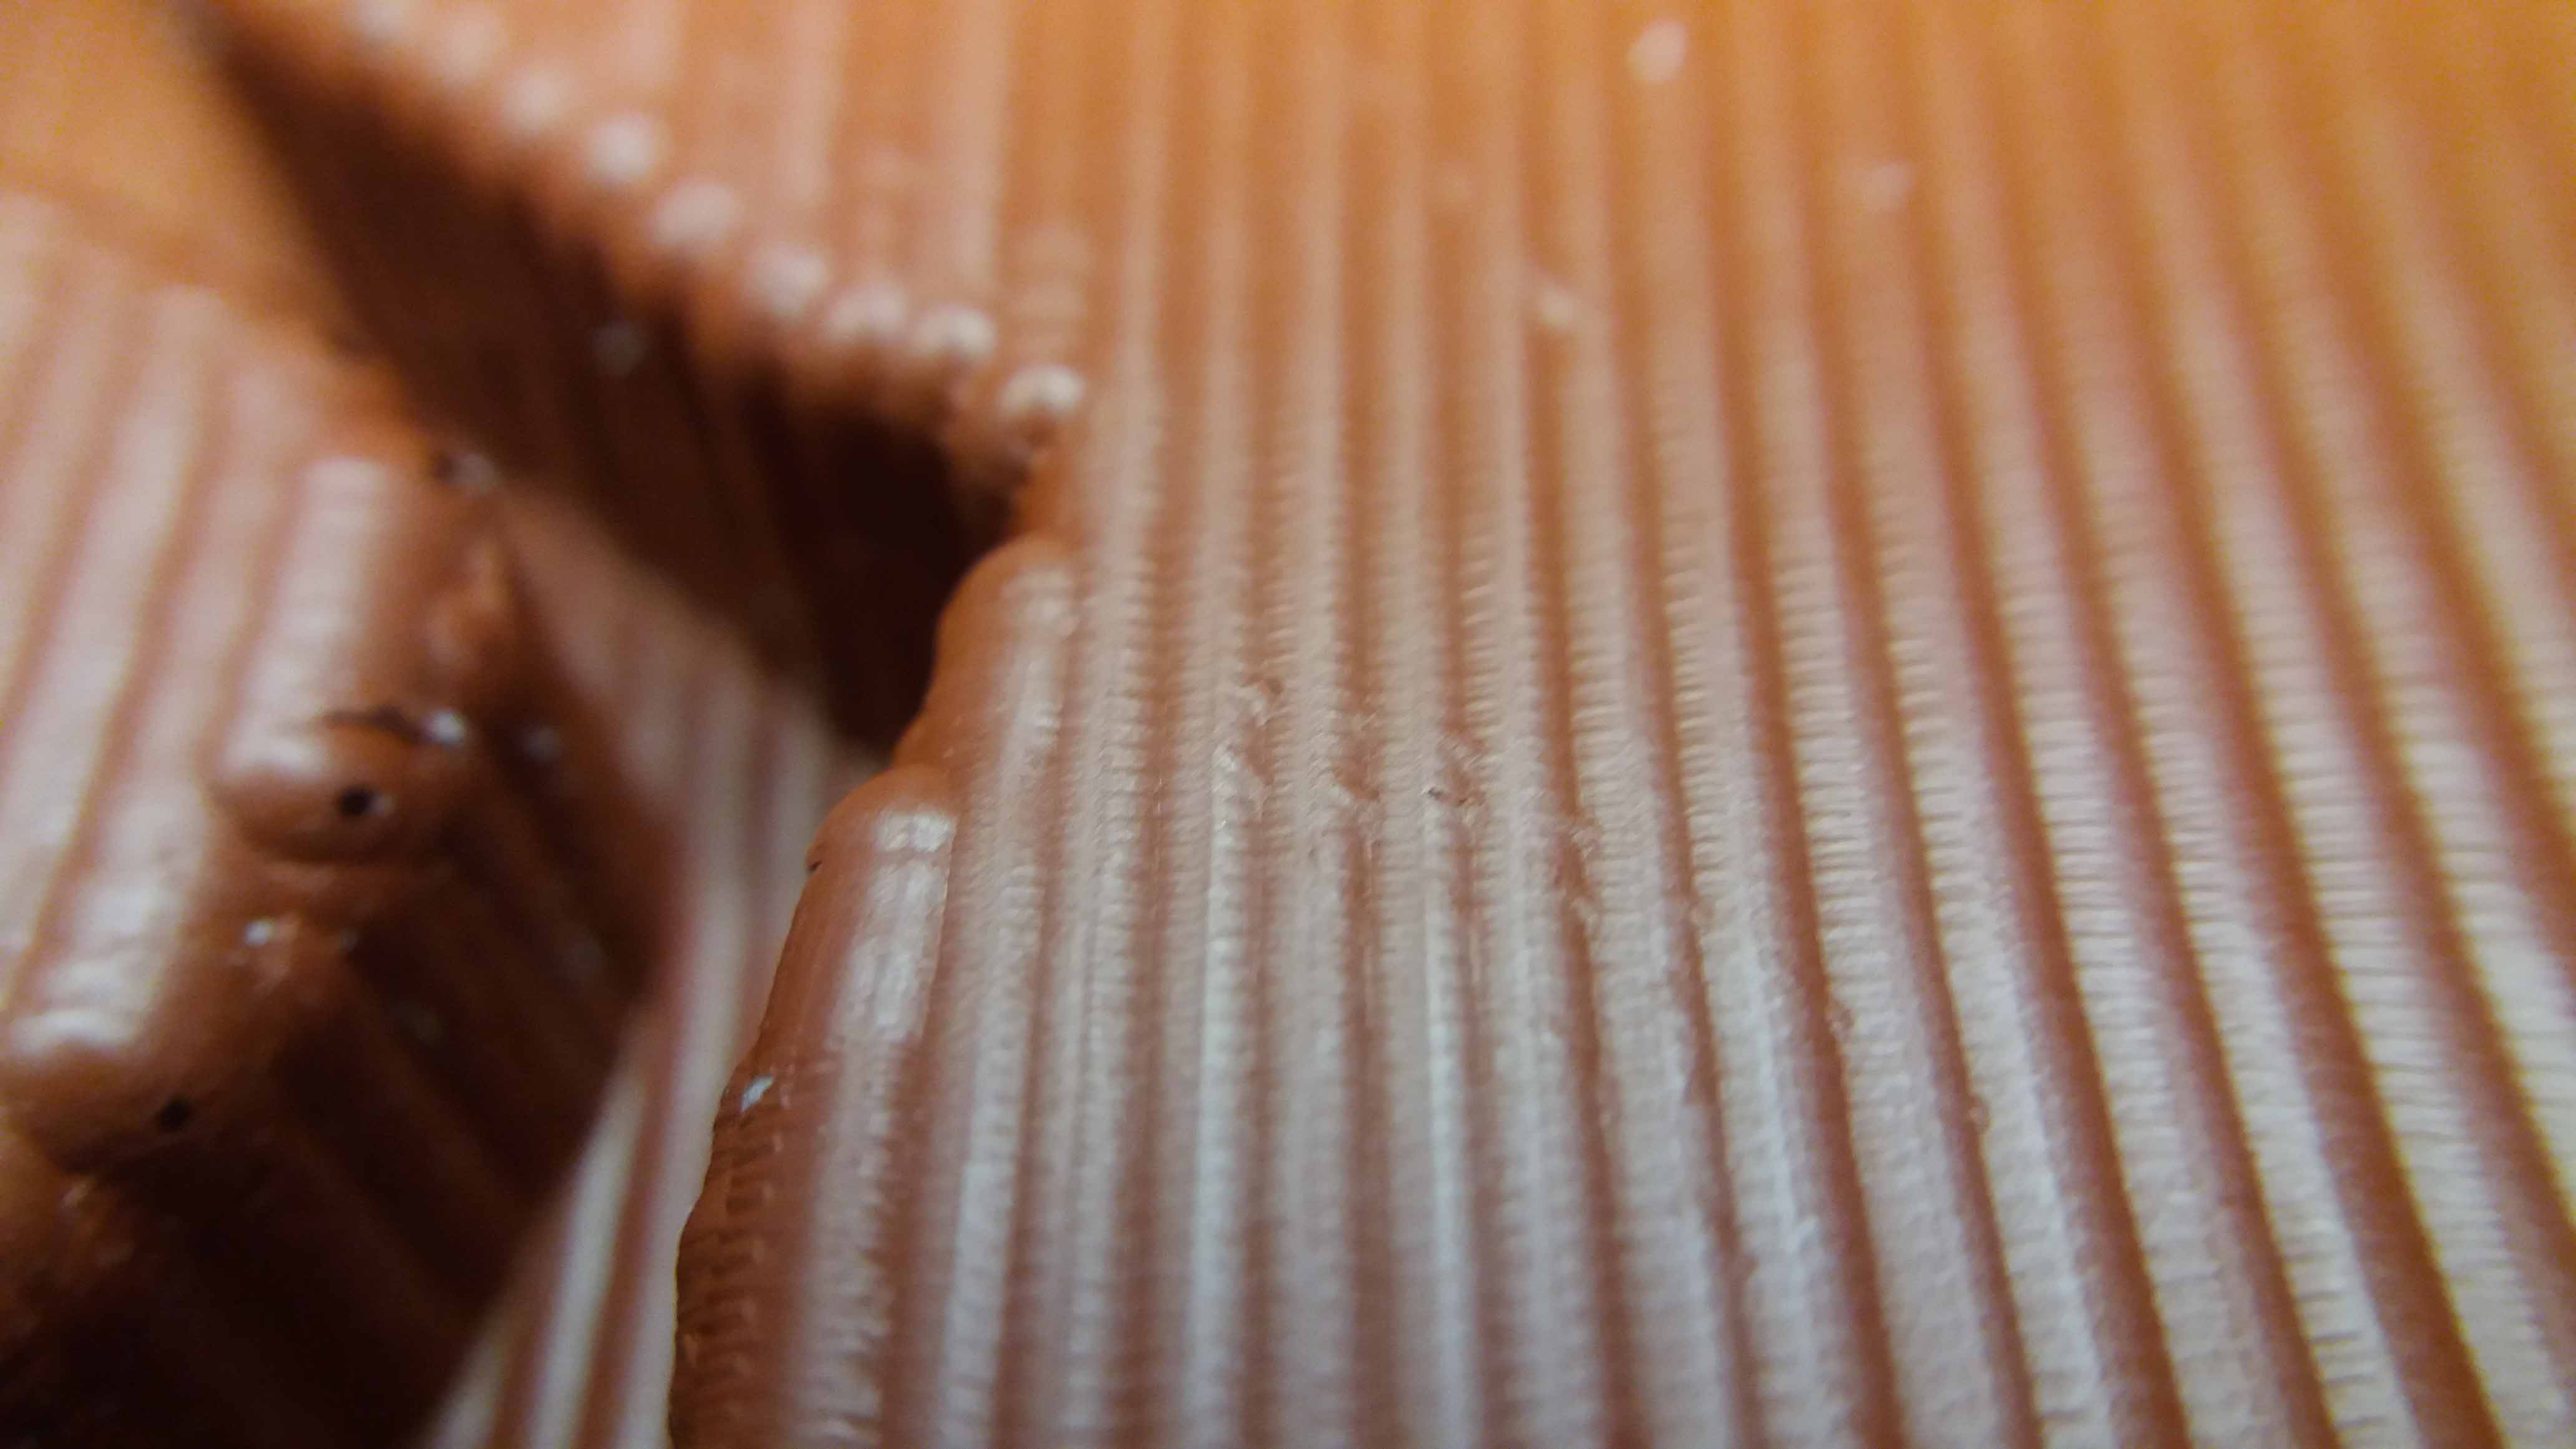
Here we can see even smaller details captured by the rubber mold in contact with a flat surface.
We use rice again to estimate the volume of the cast material we will need for the casting.
For the cast material we are going to use Smoth-Cast 305™ The INSTRUCTIONS and DATASHEET can be found following the marked link: Smooth-Cast_300
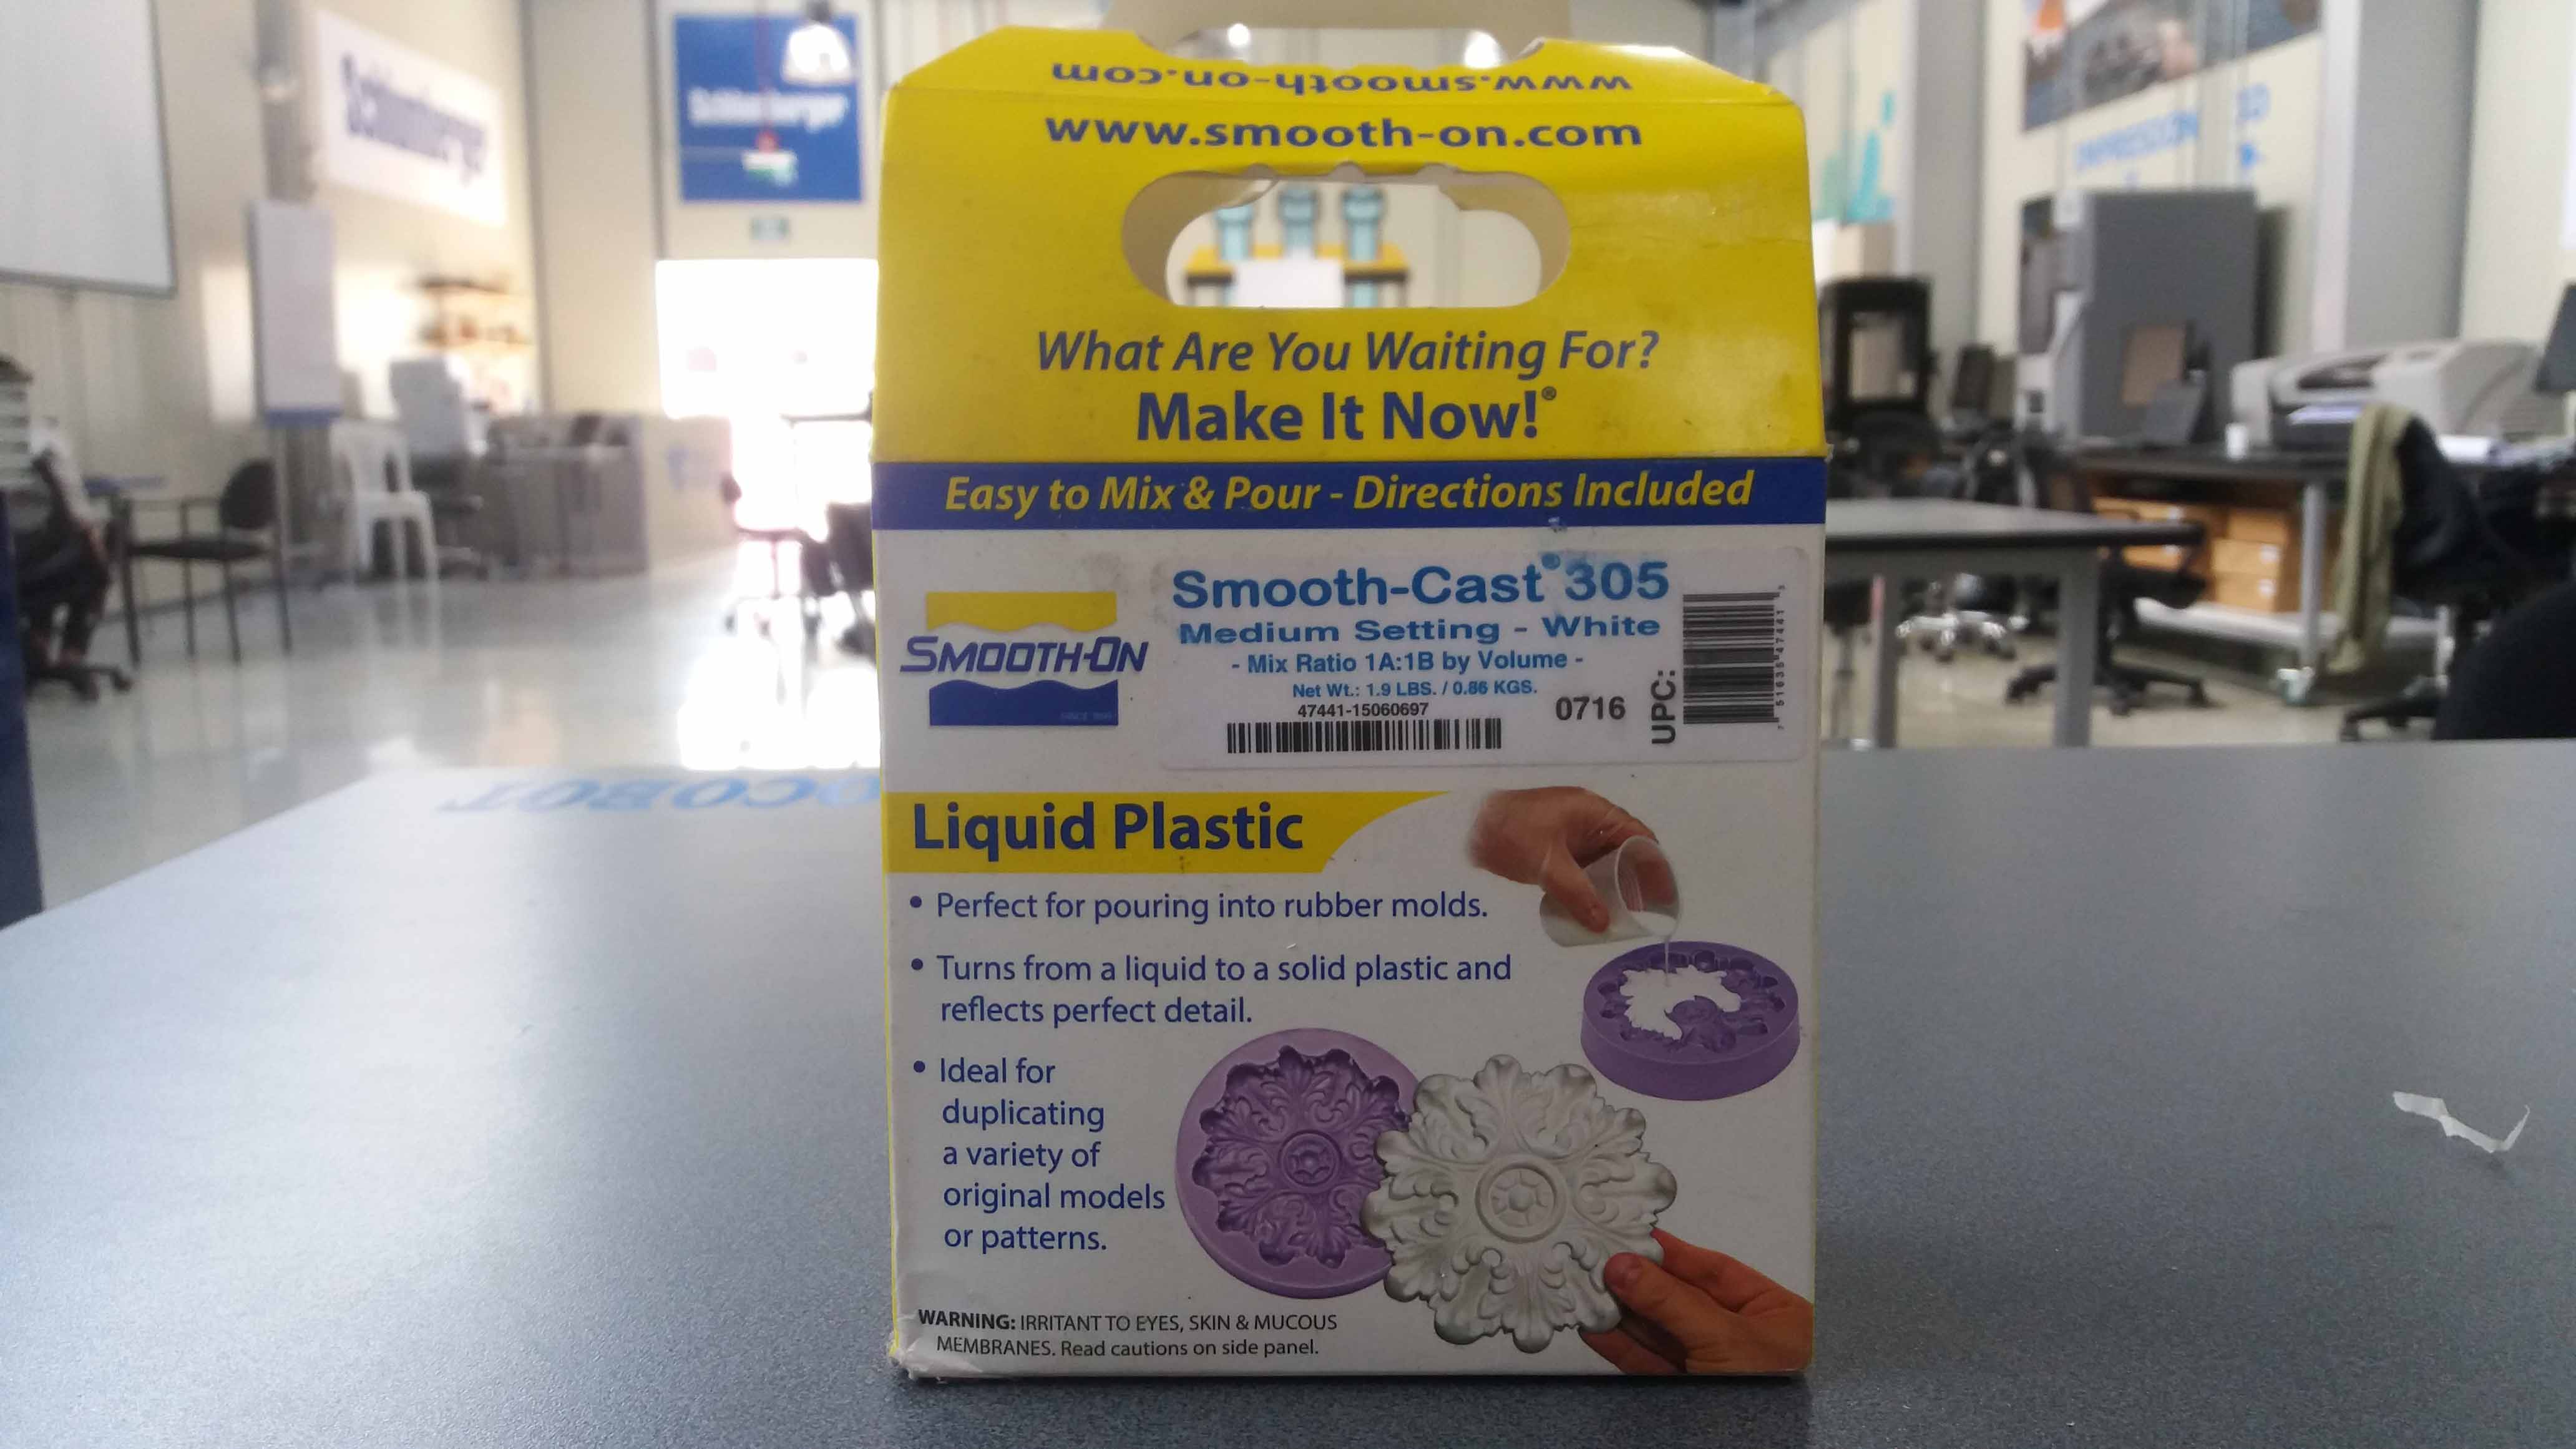
As the proportion of the casting material is A1:B1, we divide this volume by two (this time, the vendor specifies for volume). Then, we mix the components A and B for one minute sharp. They are both transparent and low viscosity, and after we mix them, we don't see any difference in appearance (at the beginning). But be careful... as the exotermic reaccion advances, the temperature rises. Take that in mind if you are going to cast a large volume.
Then, we pour the mixture in the mold. Soon after we see a little white "cloud" appearing. This is a signal of polimerization.
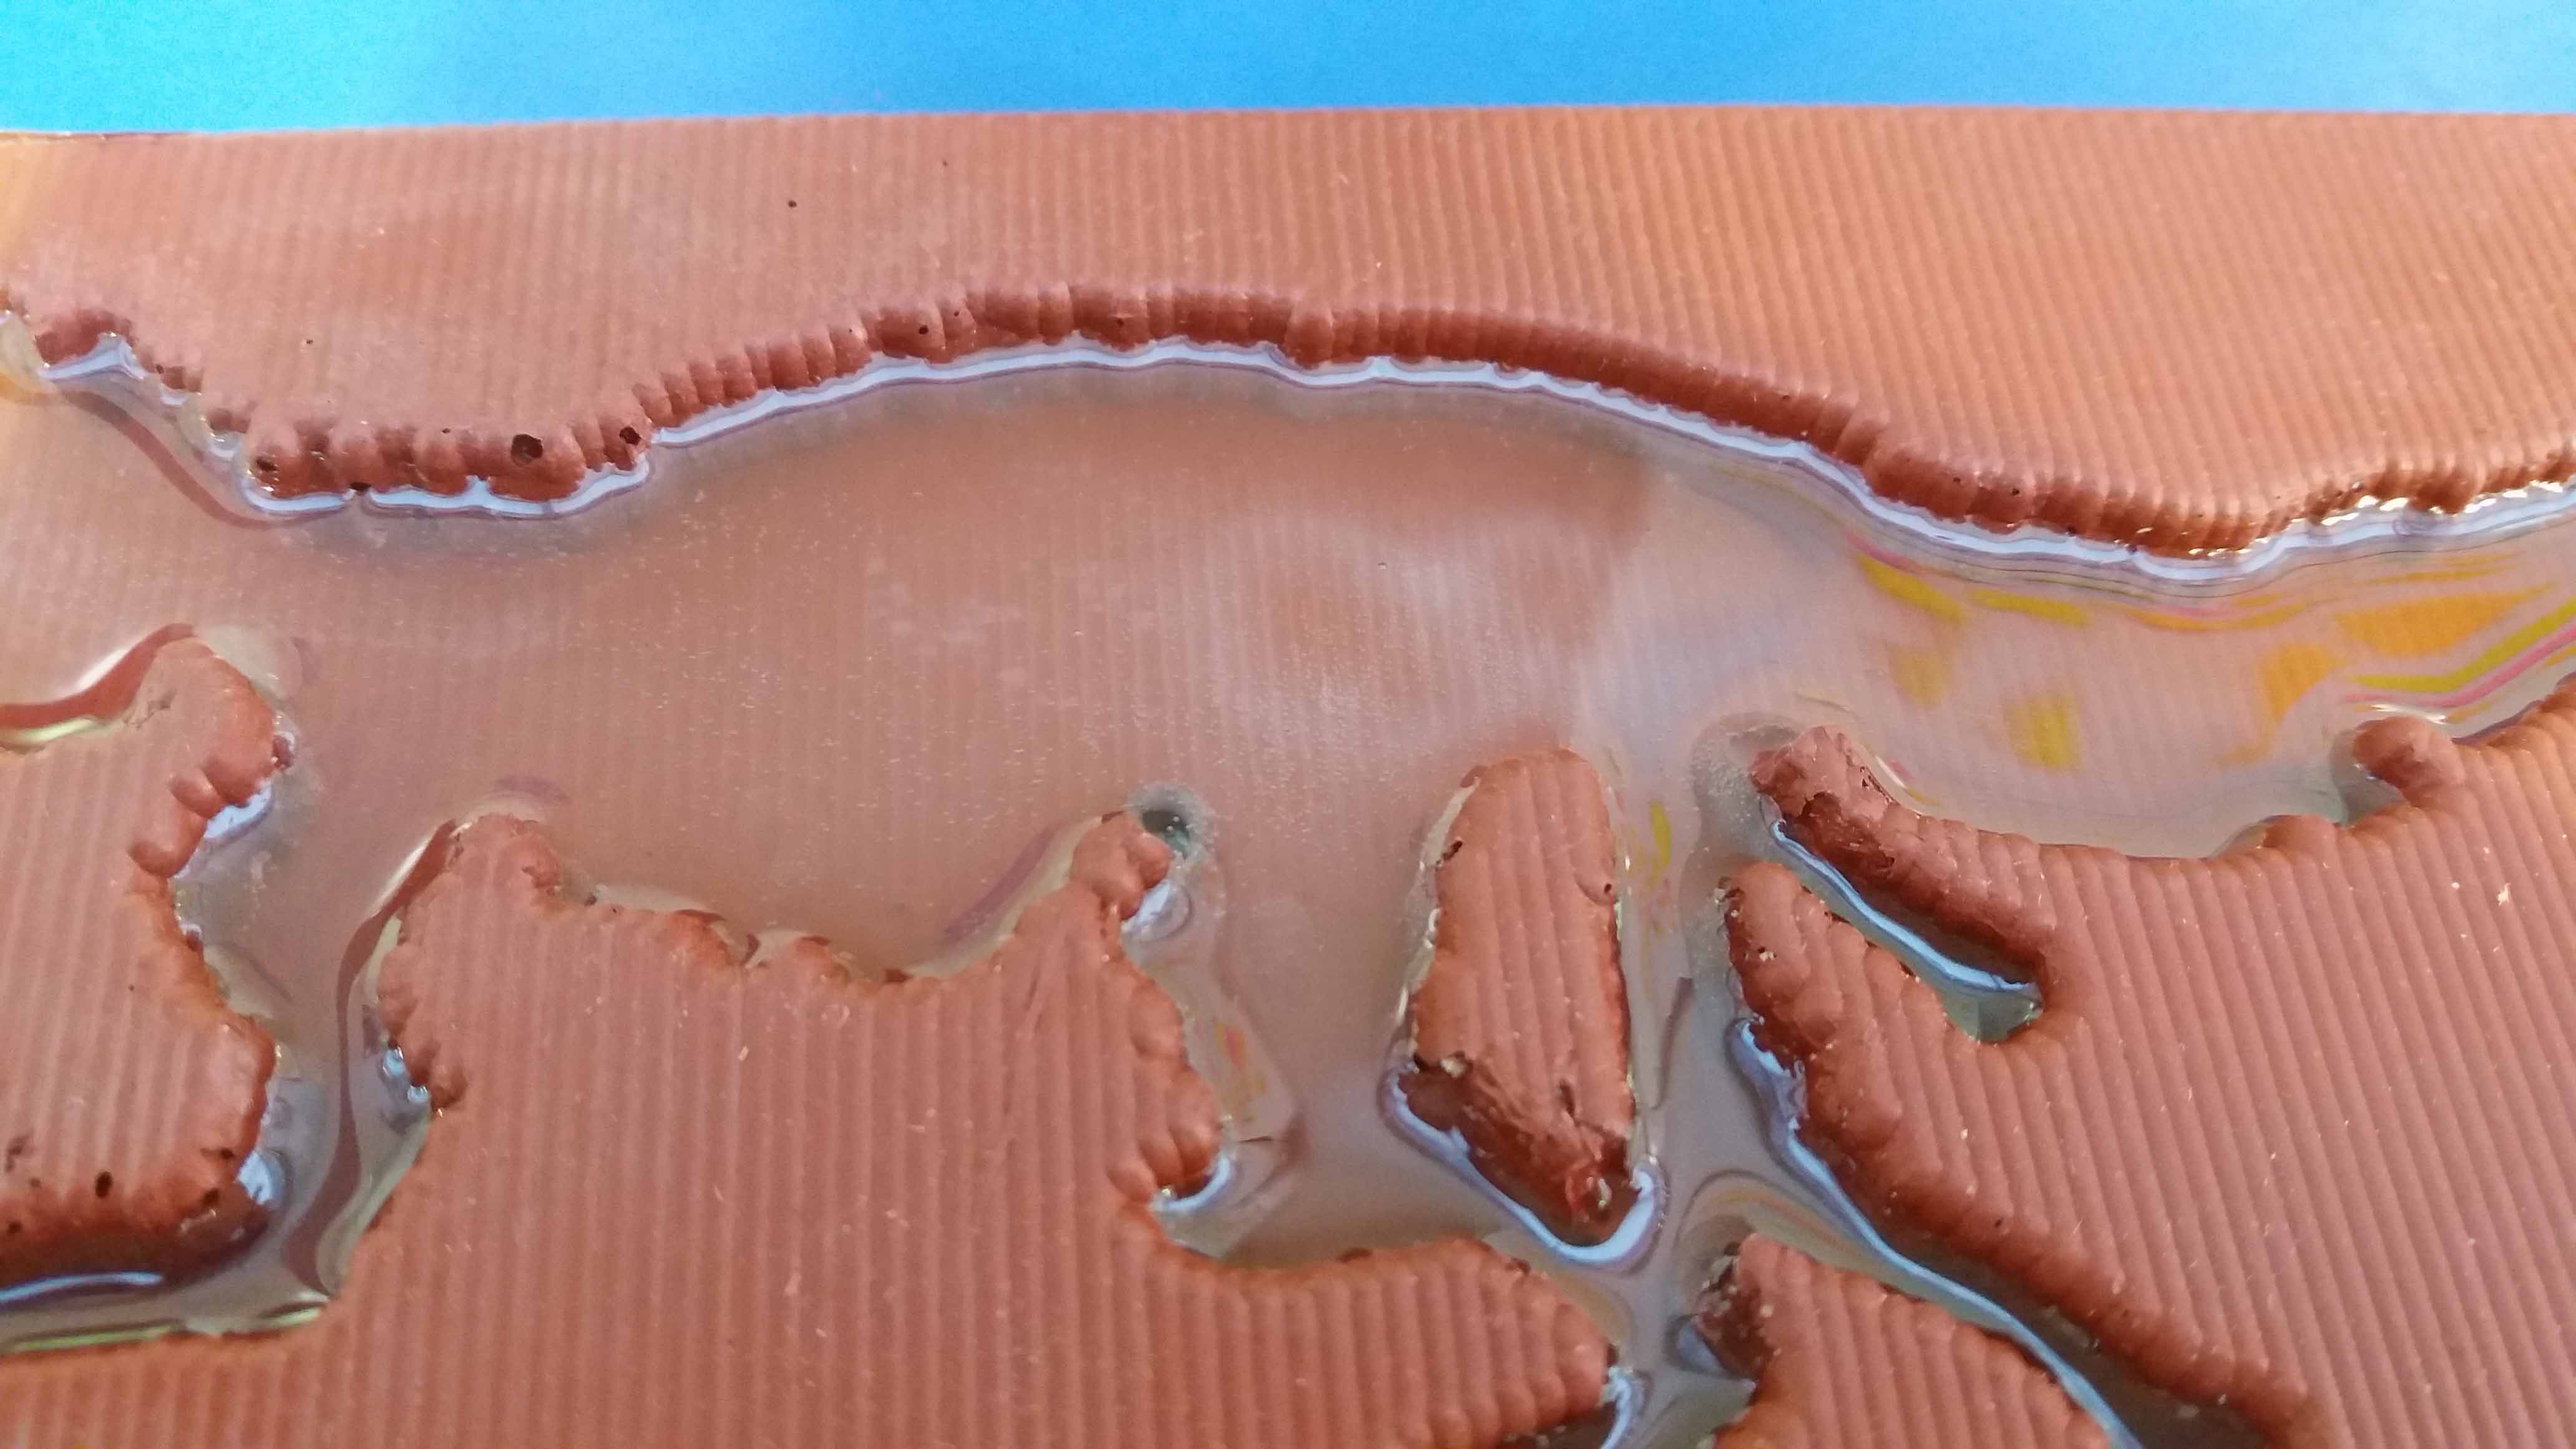
I saved the plastic containers of both mold and cast material. Thay is useful to check the advance of the reaccion. Also help us to see the fidelity of the copy surface.
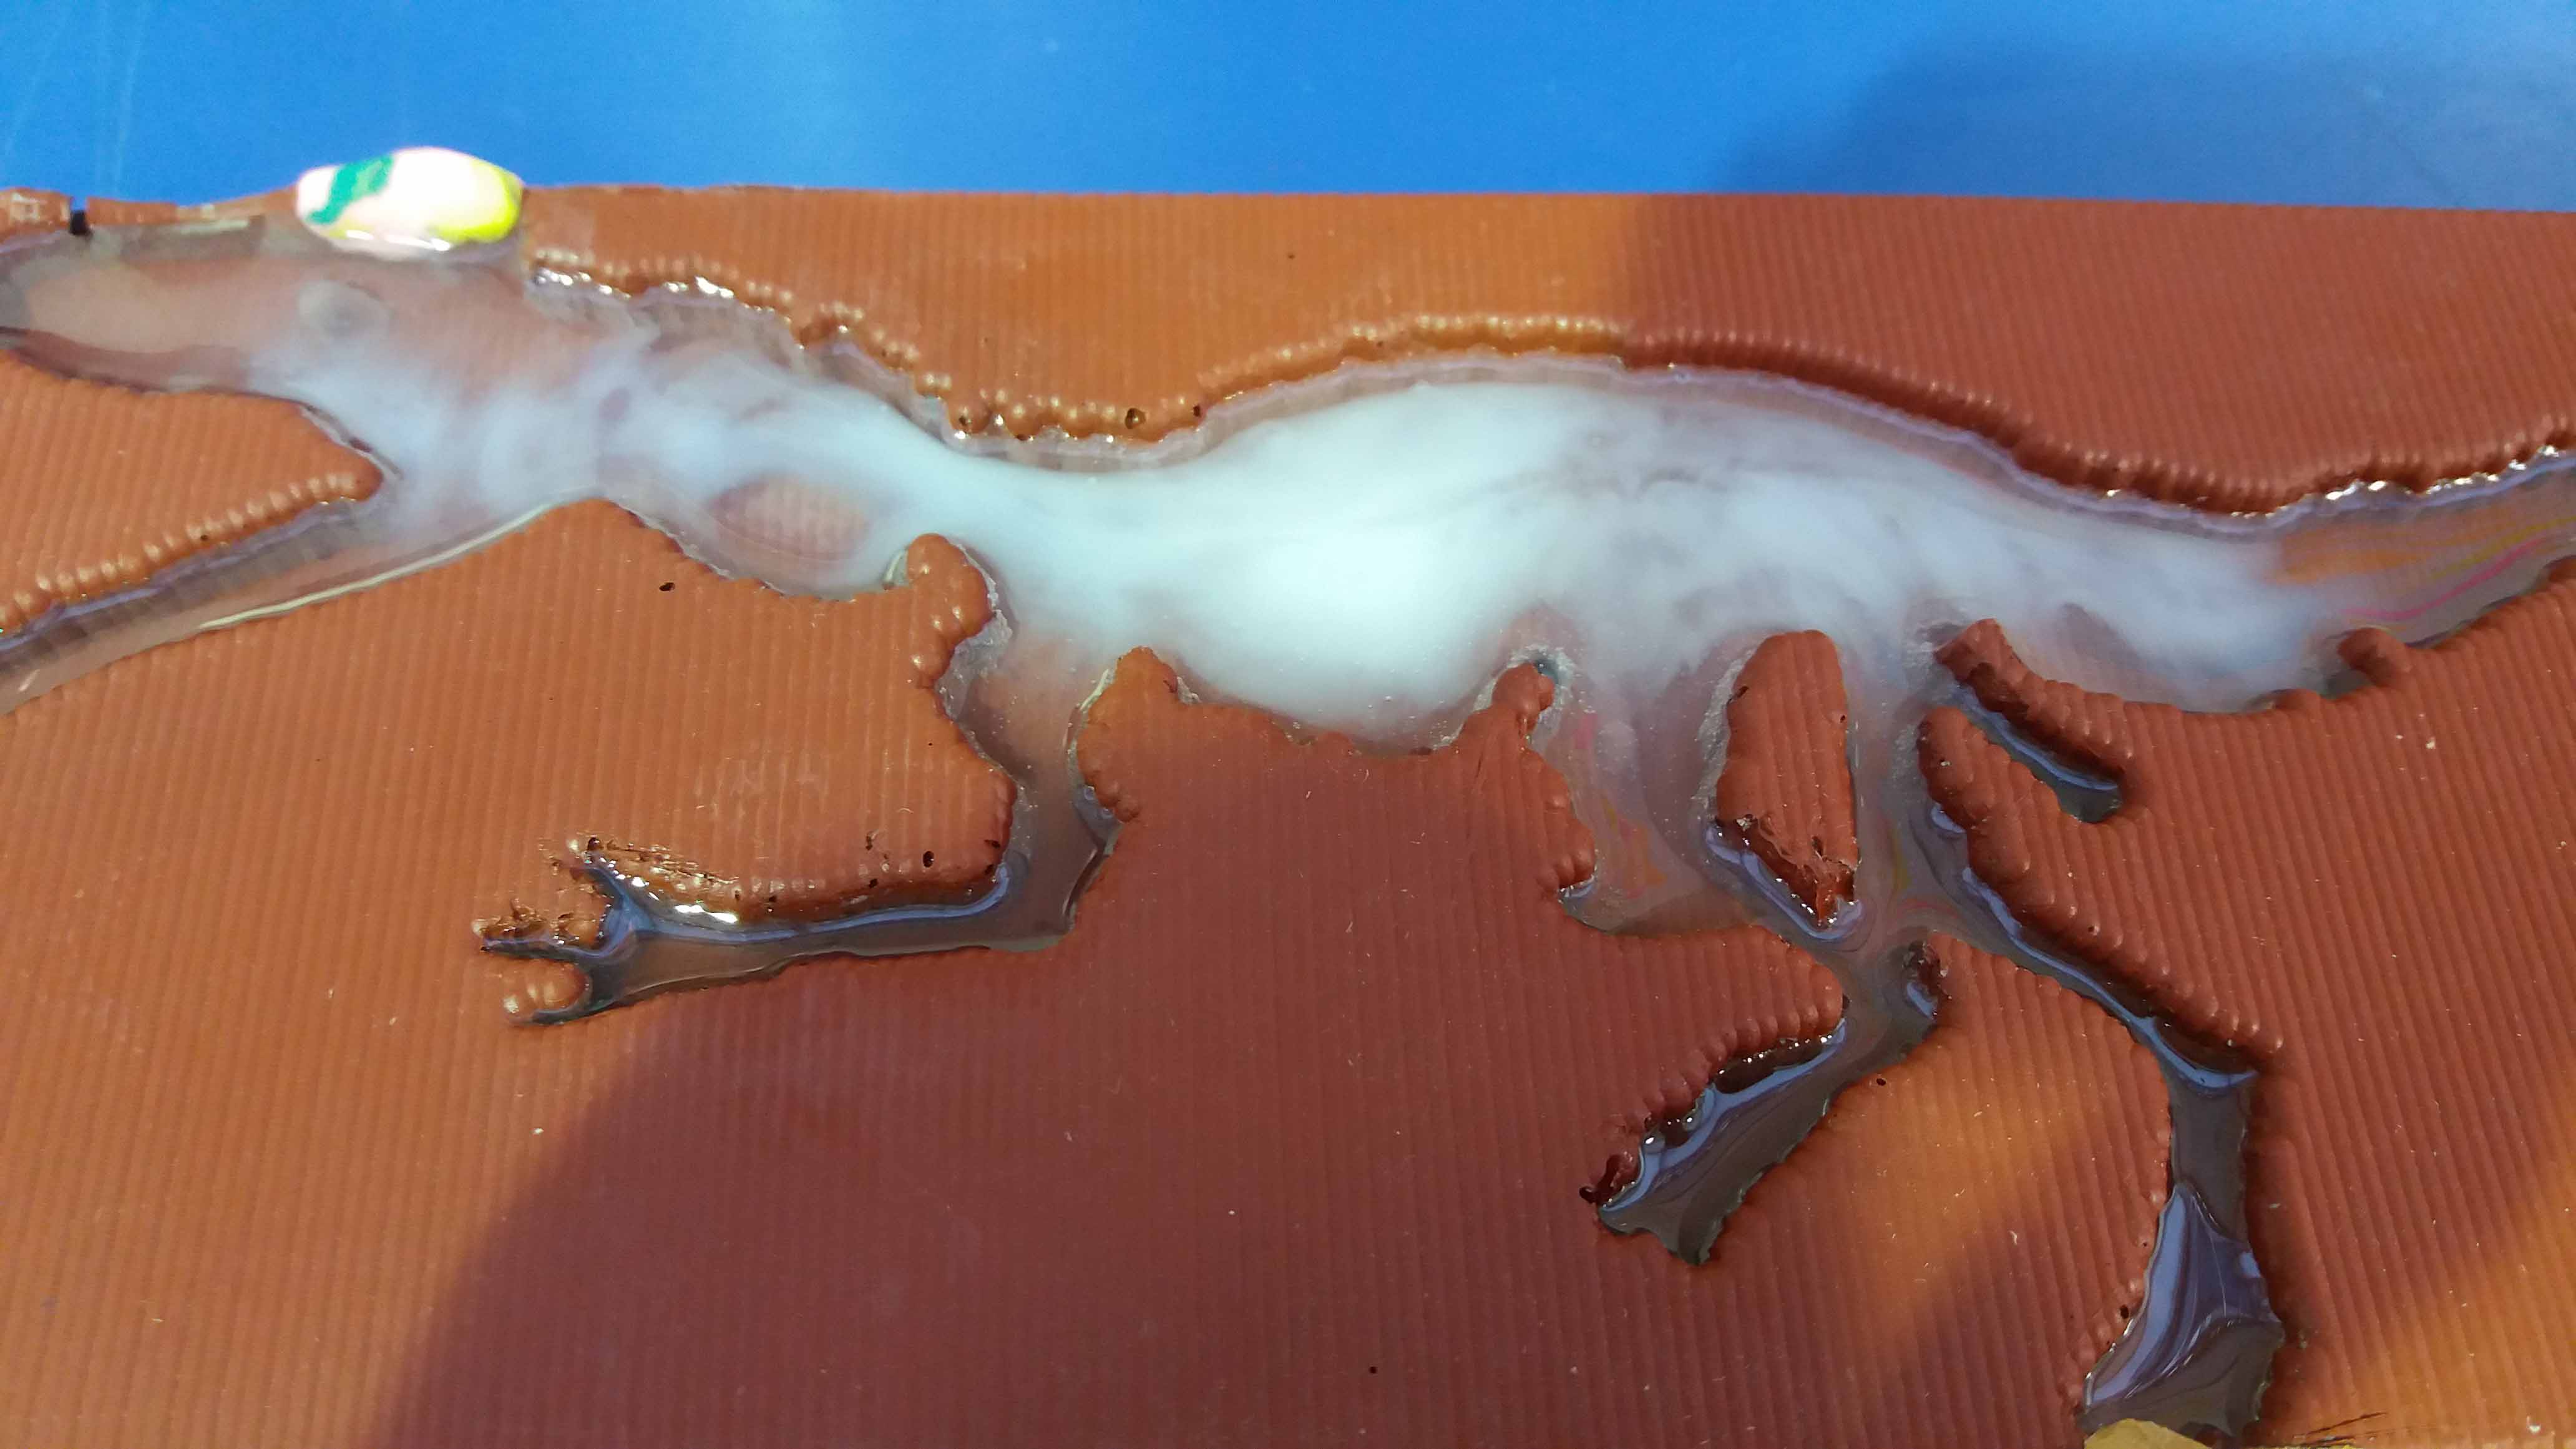
A few minutes later, the "cloud" almost covers the entire volume. I had to put a little of molding clay on top of the mold. I had to leave a bigger margin around the piece, and I was affraid it would leak out otherwise. I'll have that in mind the next time.
After 30 minutes, according to the vendor, the casting is suposed to be ready. I left it overnight, because it was done at the end of the day.
Even with the irregular borders of the design, the demolding was relativelly easy. The flexibility of the mold material helped a lot.
Then, the piece was under a cleaning process.
Unfortunatelly, some bubbles were expresed in the mold, and so in the cast. With the help of a spinning tool I removed this errors.
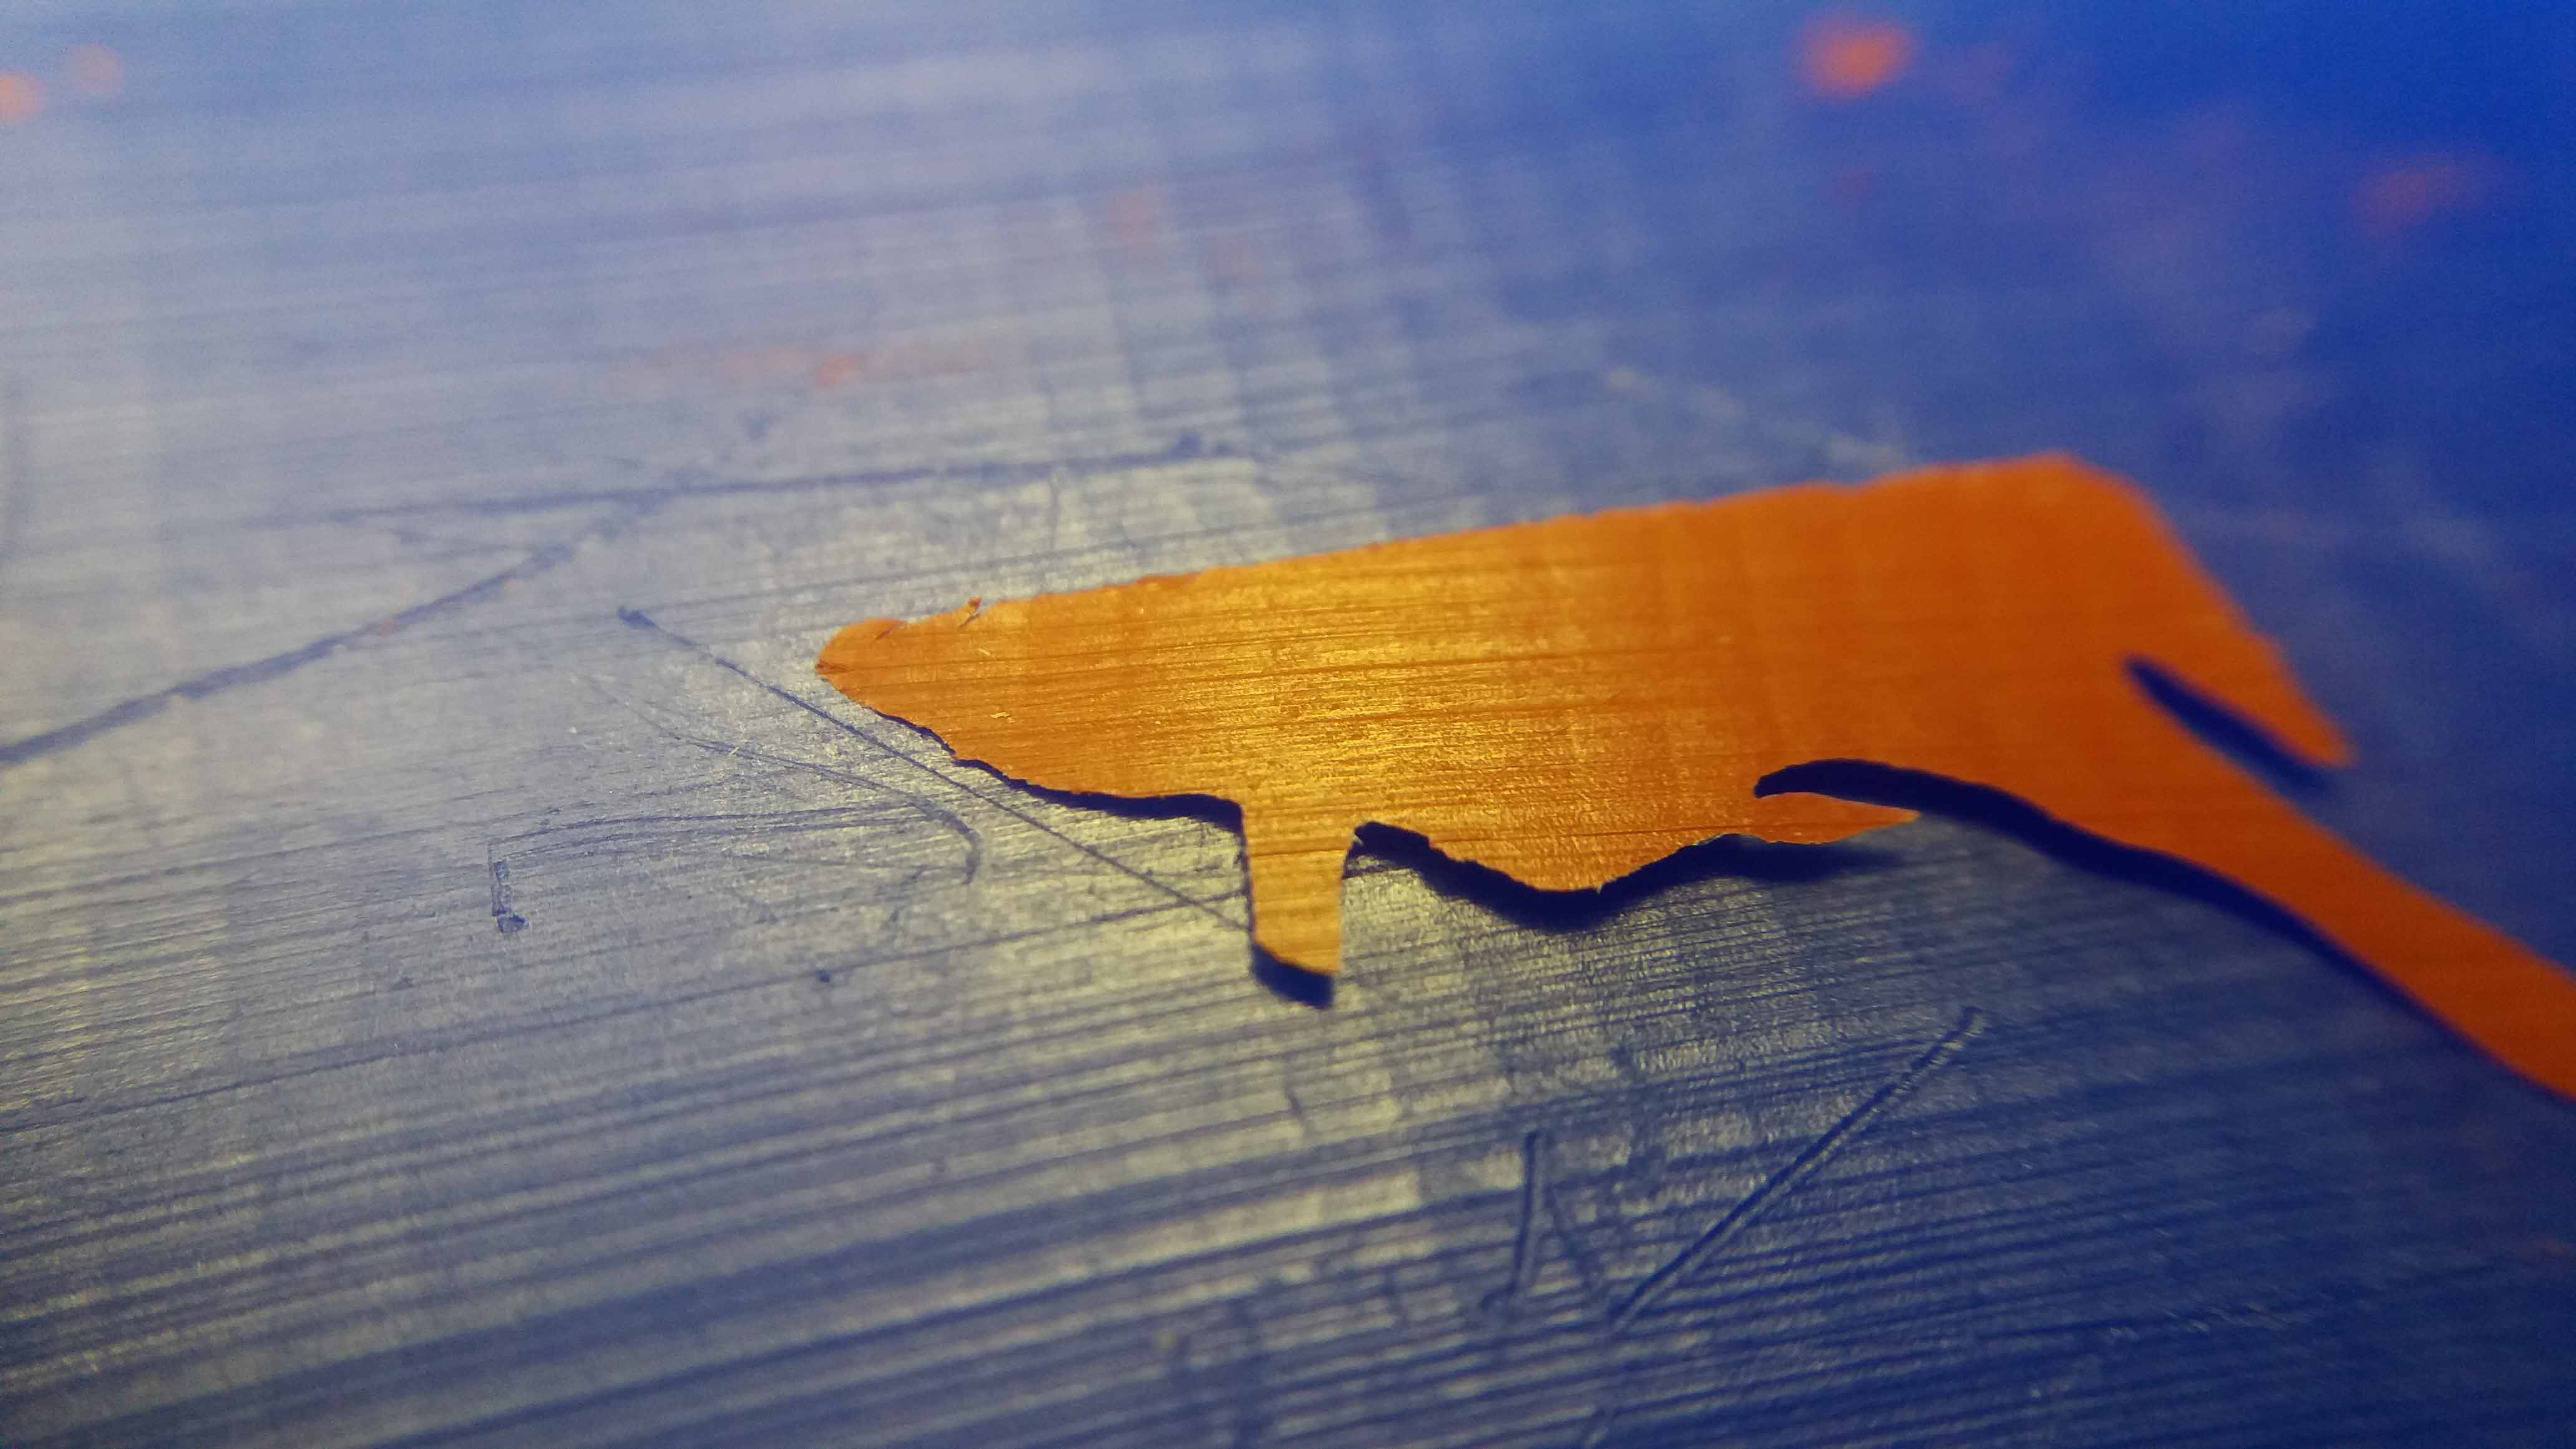
Here is the final product.
And here it is, from the other side, and compared with the mold.
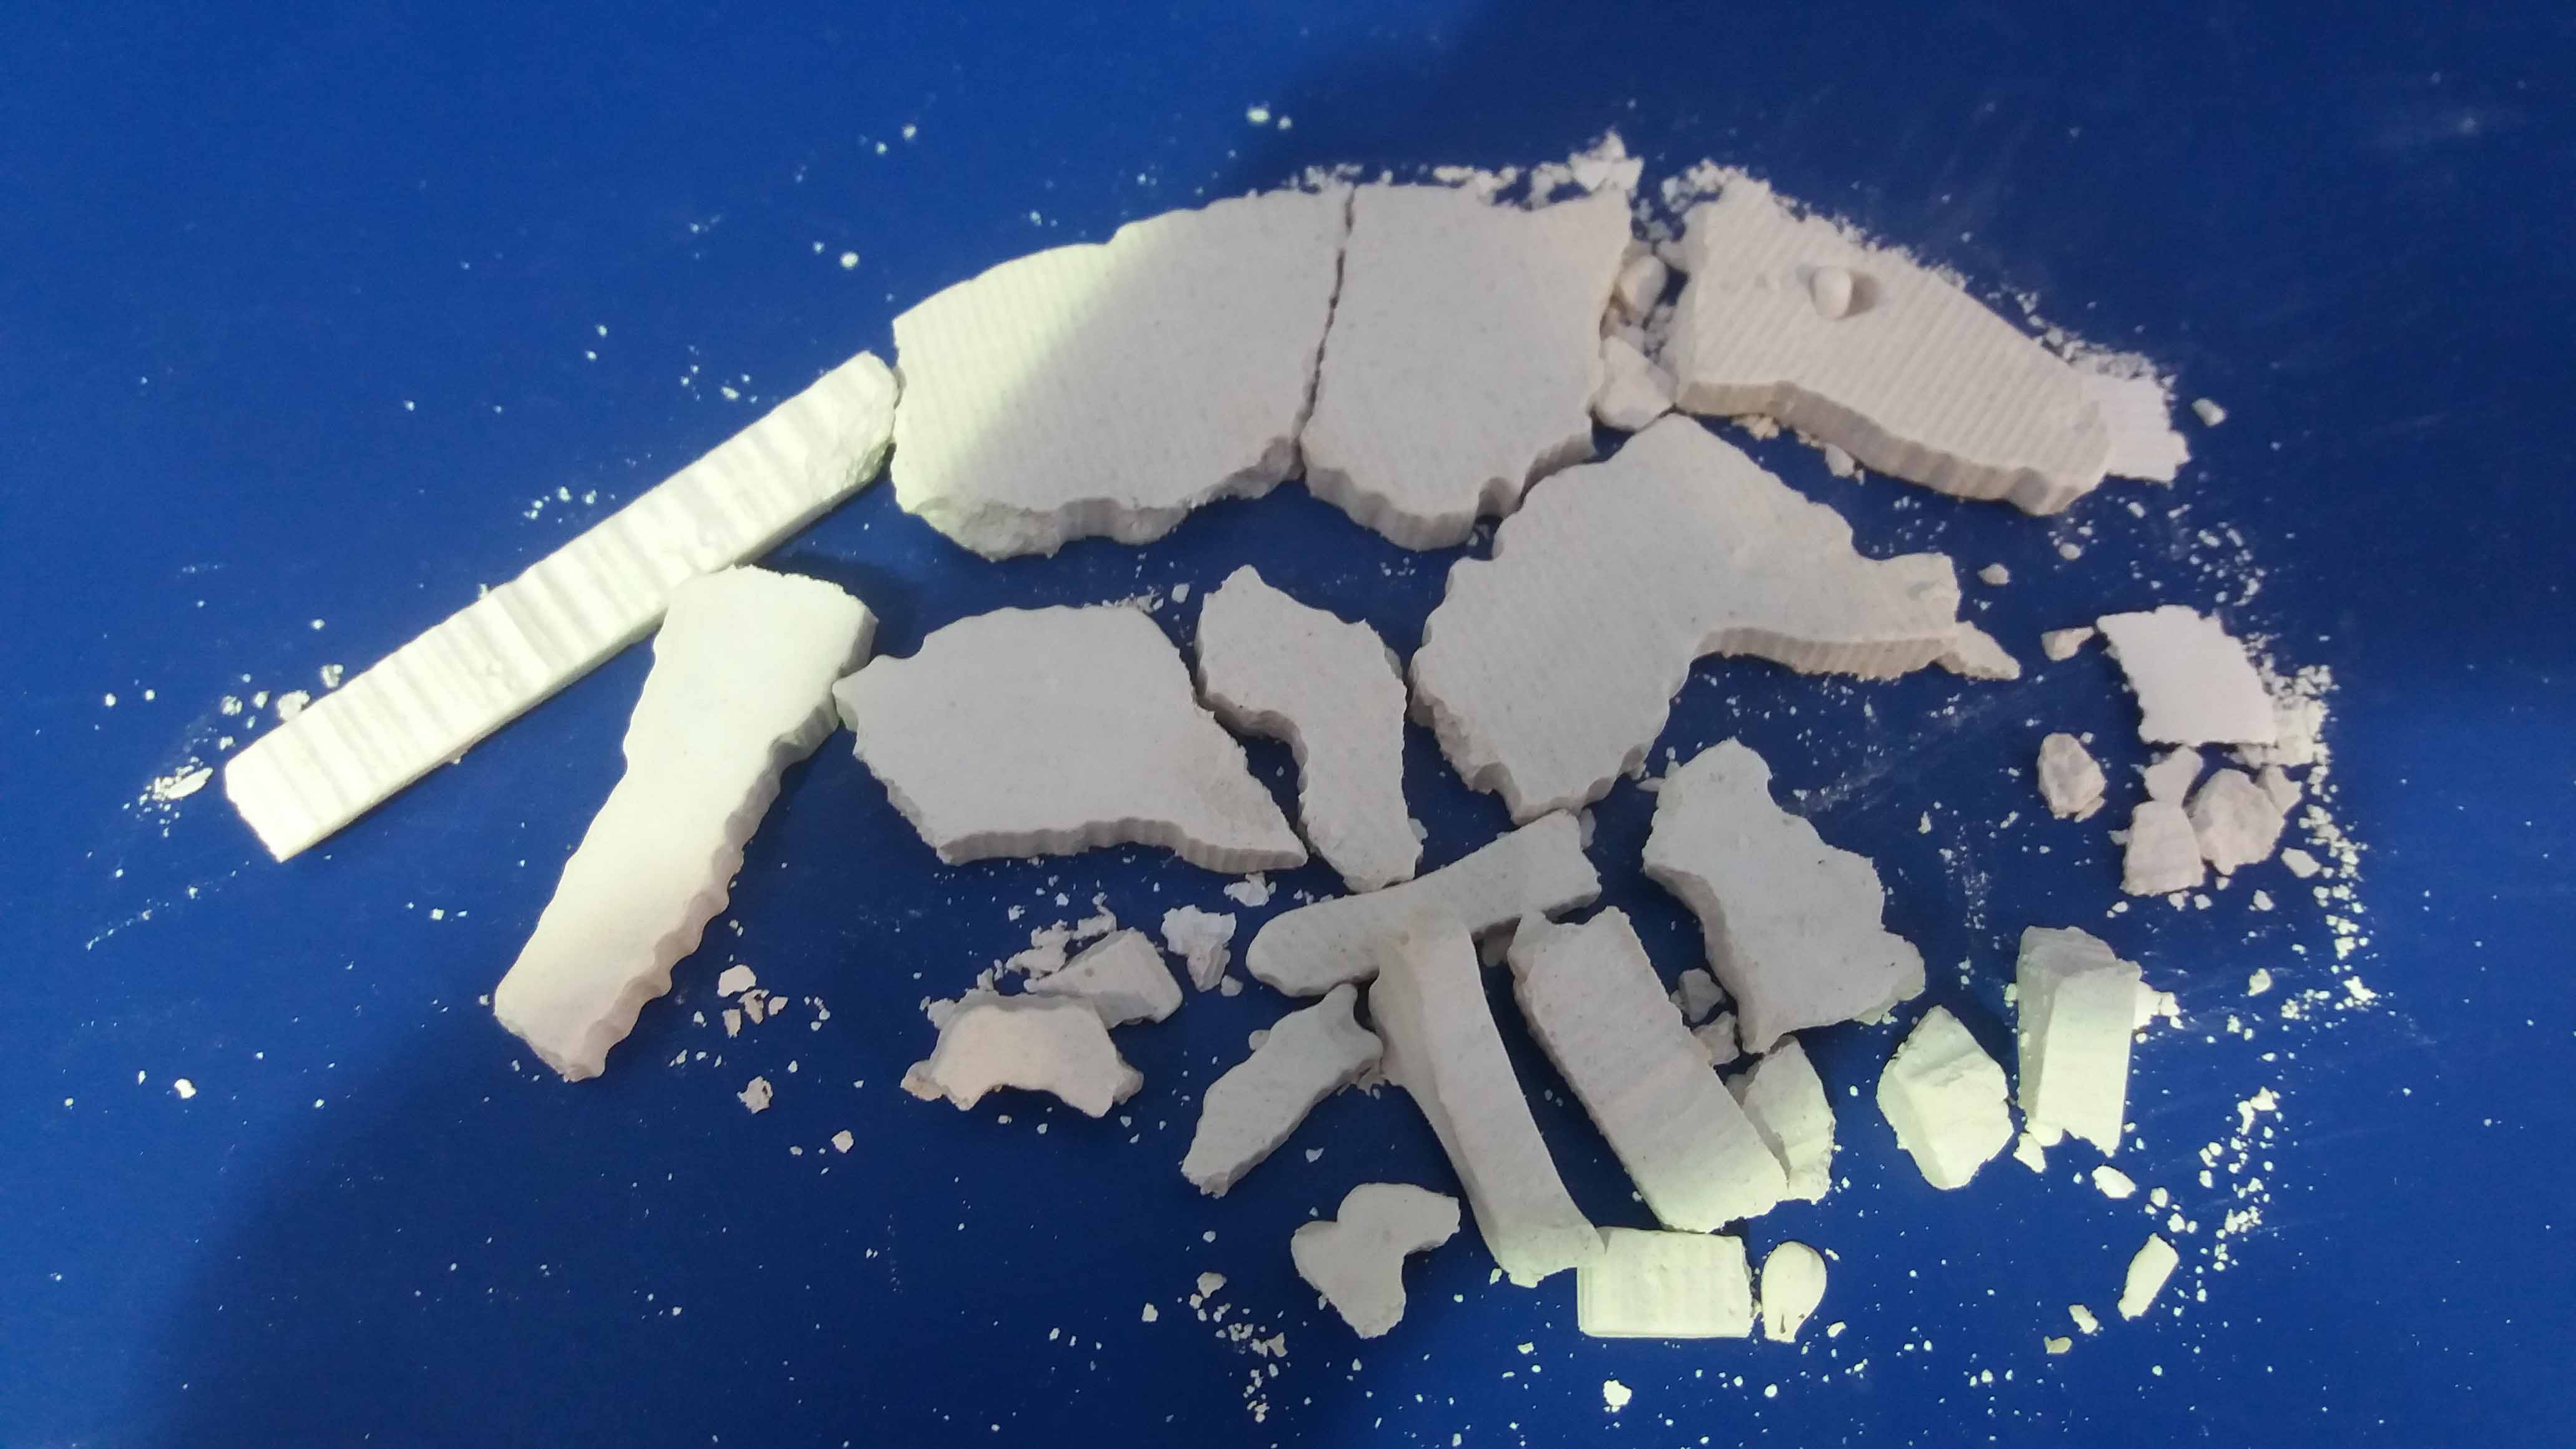
I also tried casting with plaster...
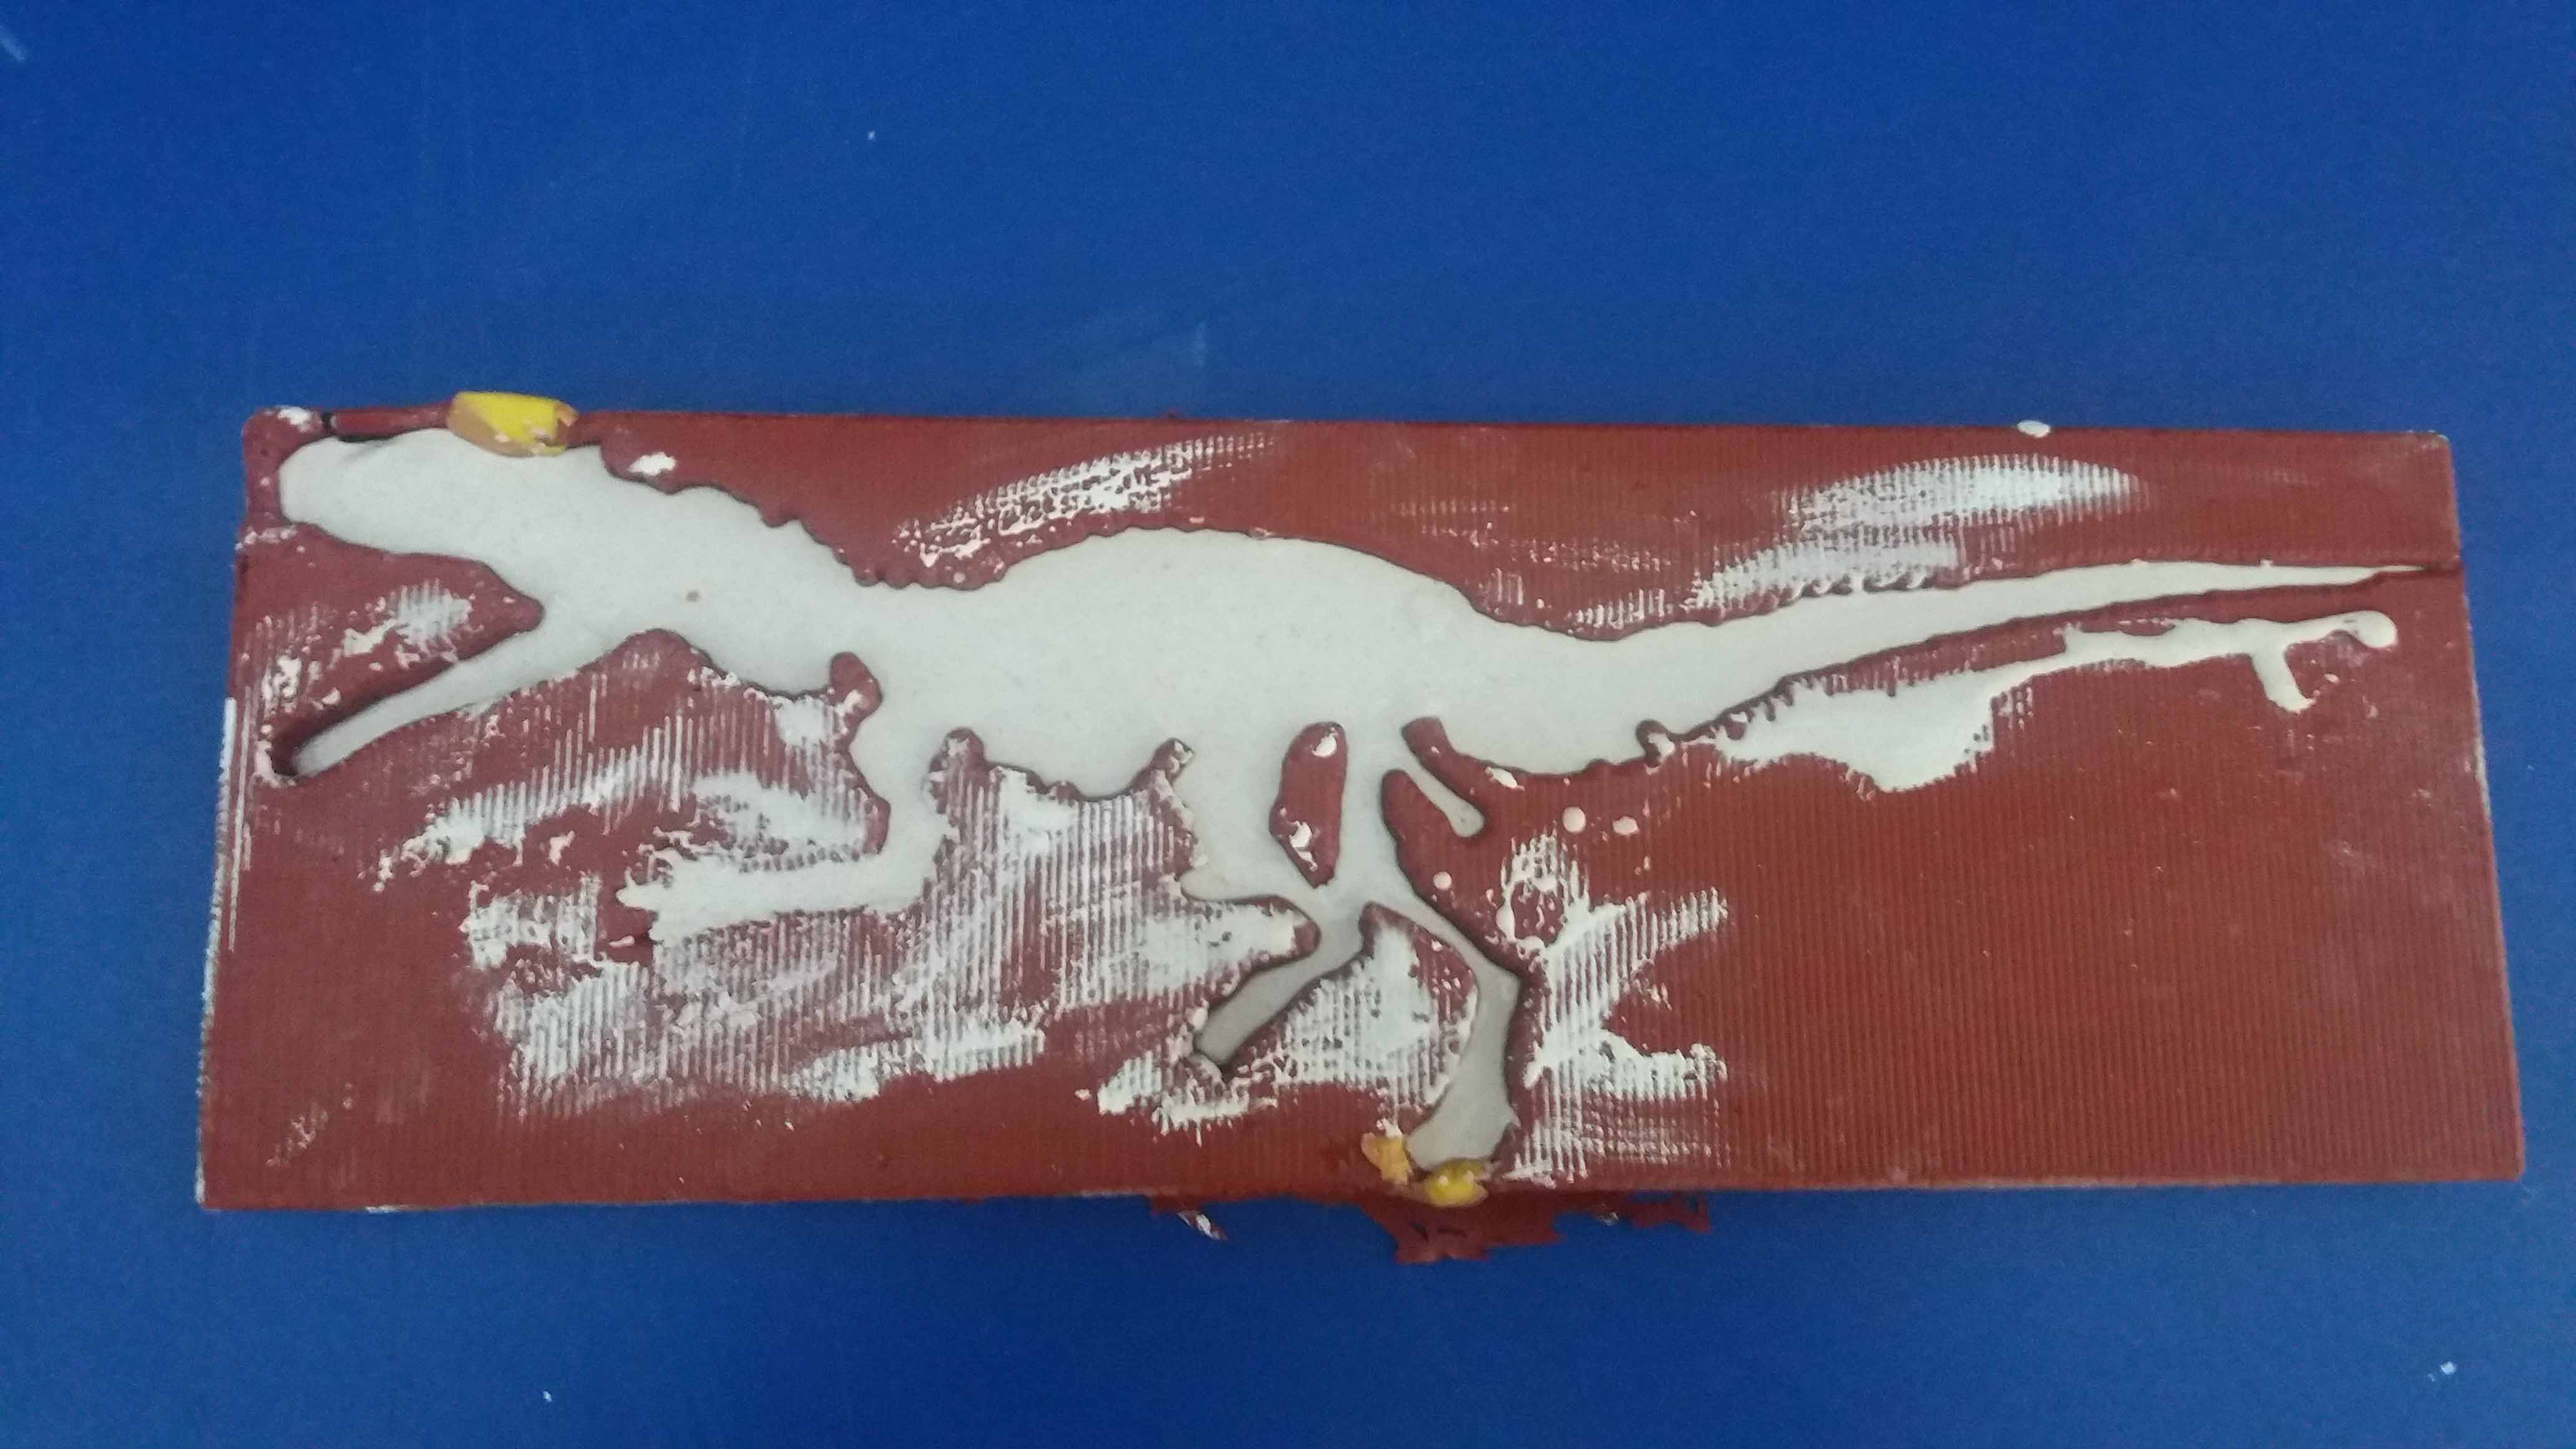
Buy it didn't came out well. Maybe it was the time the plaster was in storage (it accumulates moisture), or I made a mistake in the water/plaster proportion. The material just broke appart uppon demolding.
But, for the parts that hardened well, the details are remarkable.
Unfortunatelly, we don't have the plaster datasheet. It was on an old batch, and we didn't have it. Nevertheless, the material is common, and the information can be found on the web.
Here are the files to download: RawFile, Fusion 360, SolidWorks file.
