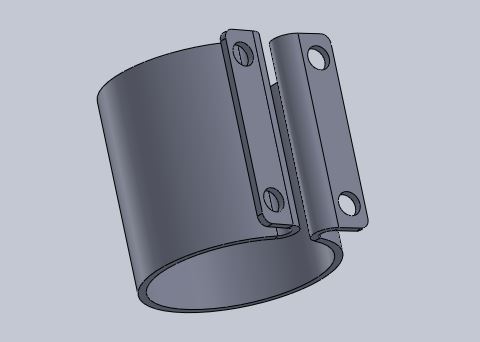
For this assigment, I was in charge of the milling motor/mill holder. I experimented with bended acrylic.
assignment
Individual contribution
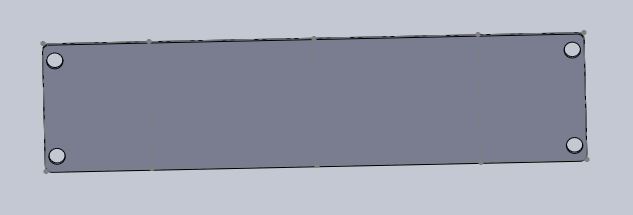
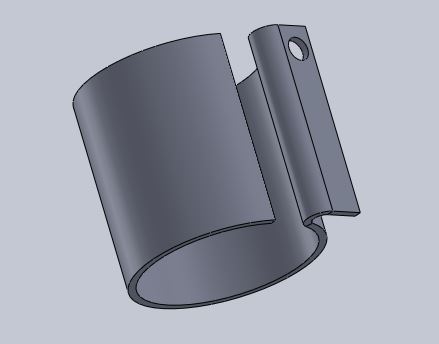
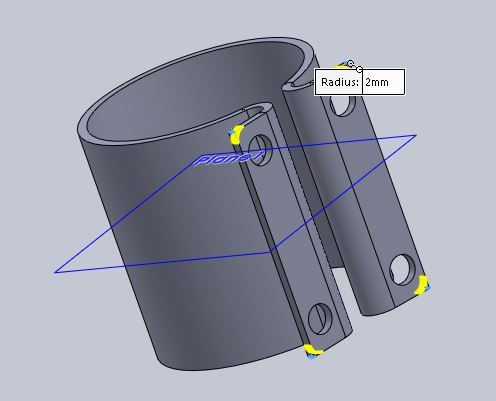
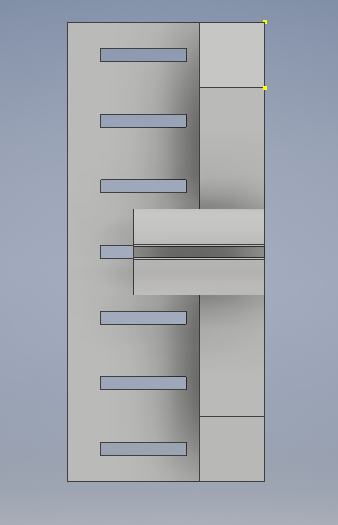
Here is the design. The last operation is shown. 2mm chanfer in all corners (mainly for security, so there's no sharp edges).
Design
First, I created a thin sketch and revolve it.
Then, I flattened the bends.
And created a sheet metal part from the design. After that, I created a flange.
And created a hole with the data my Fablab fellows gave me. This will fit in the machine counterpart.
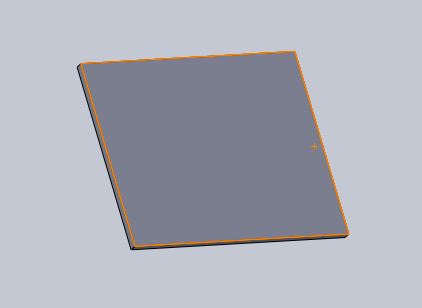
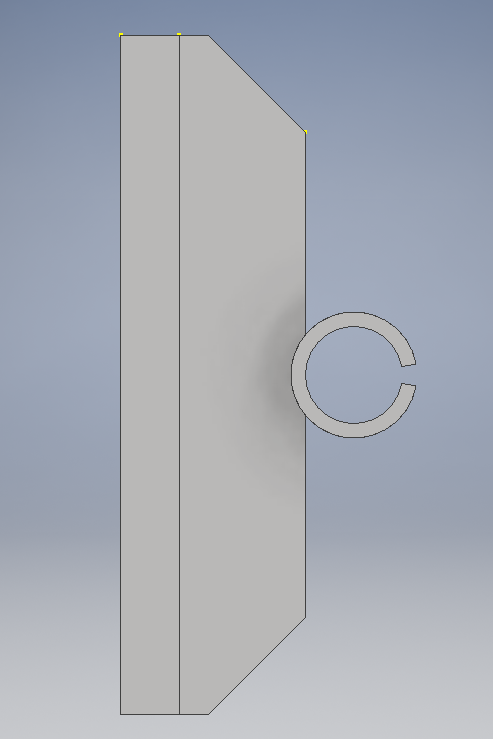
after creating a plane I mirrored the hole.
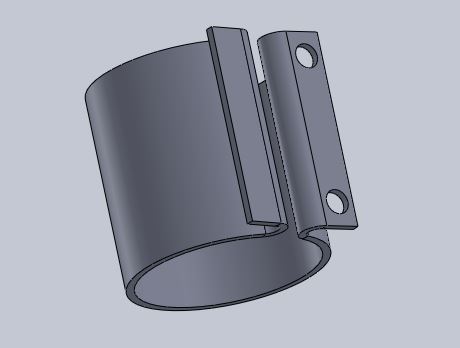
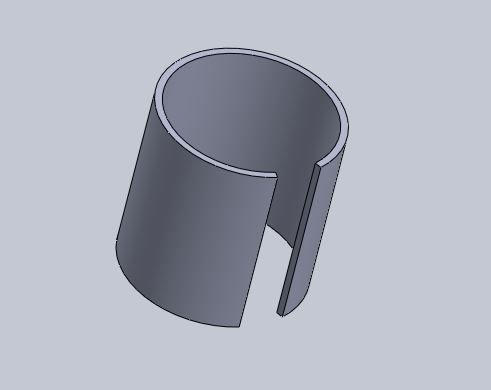
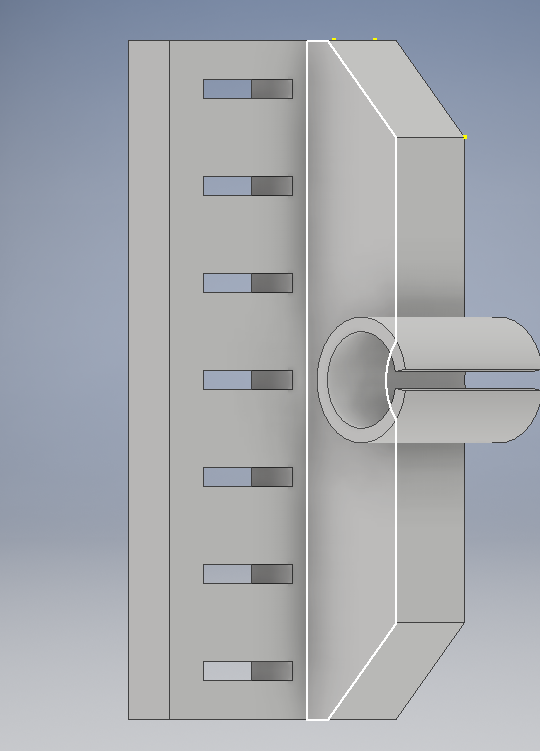
I created another flange, and made another hole with the extruded cut tool
And then, mirrored it too.
Then I created some fillets.
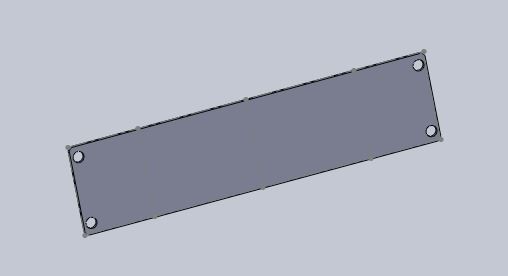
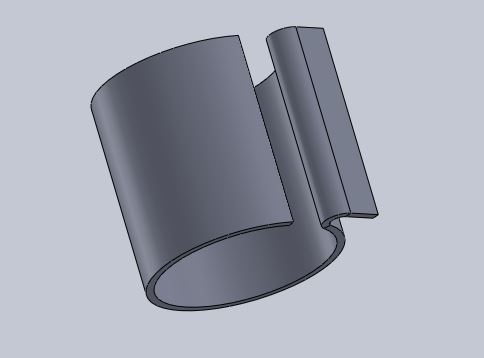
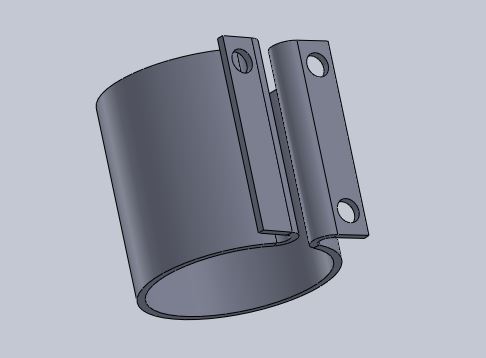
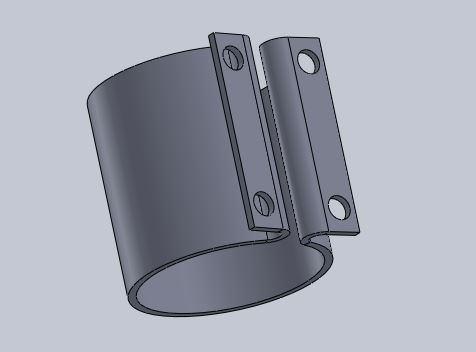
Here is the final piece. I designed as sheet metal Solidworks part, so we can unfold it for cutting. Other alternative would be to 3D print it, exported previouslly as STL file.
With the command "unfold", it is possible to flat the piece, so we can cut it with a CNC/laser machine before folding.
The fabrication is in progress.
Fabrication update.
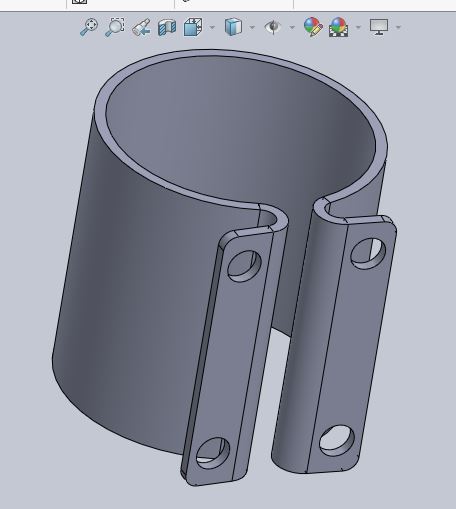
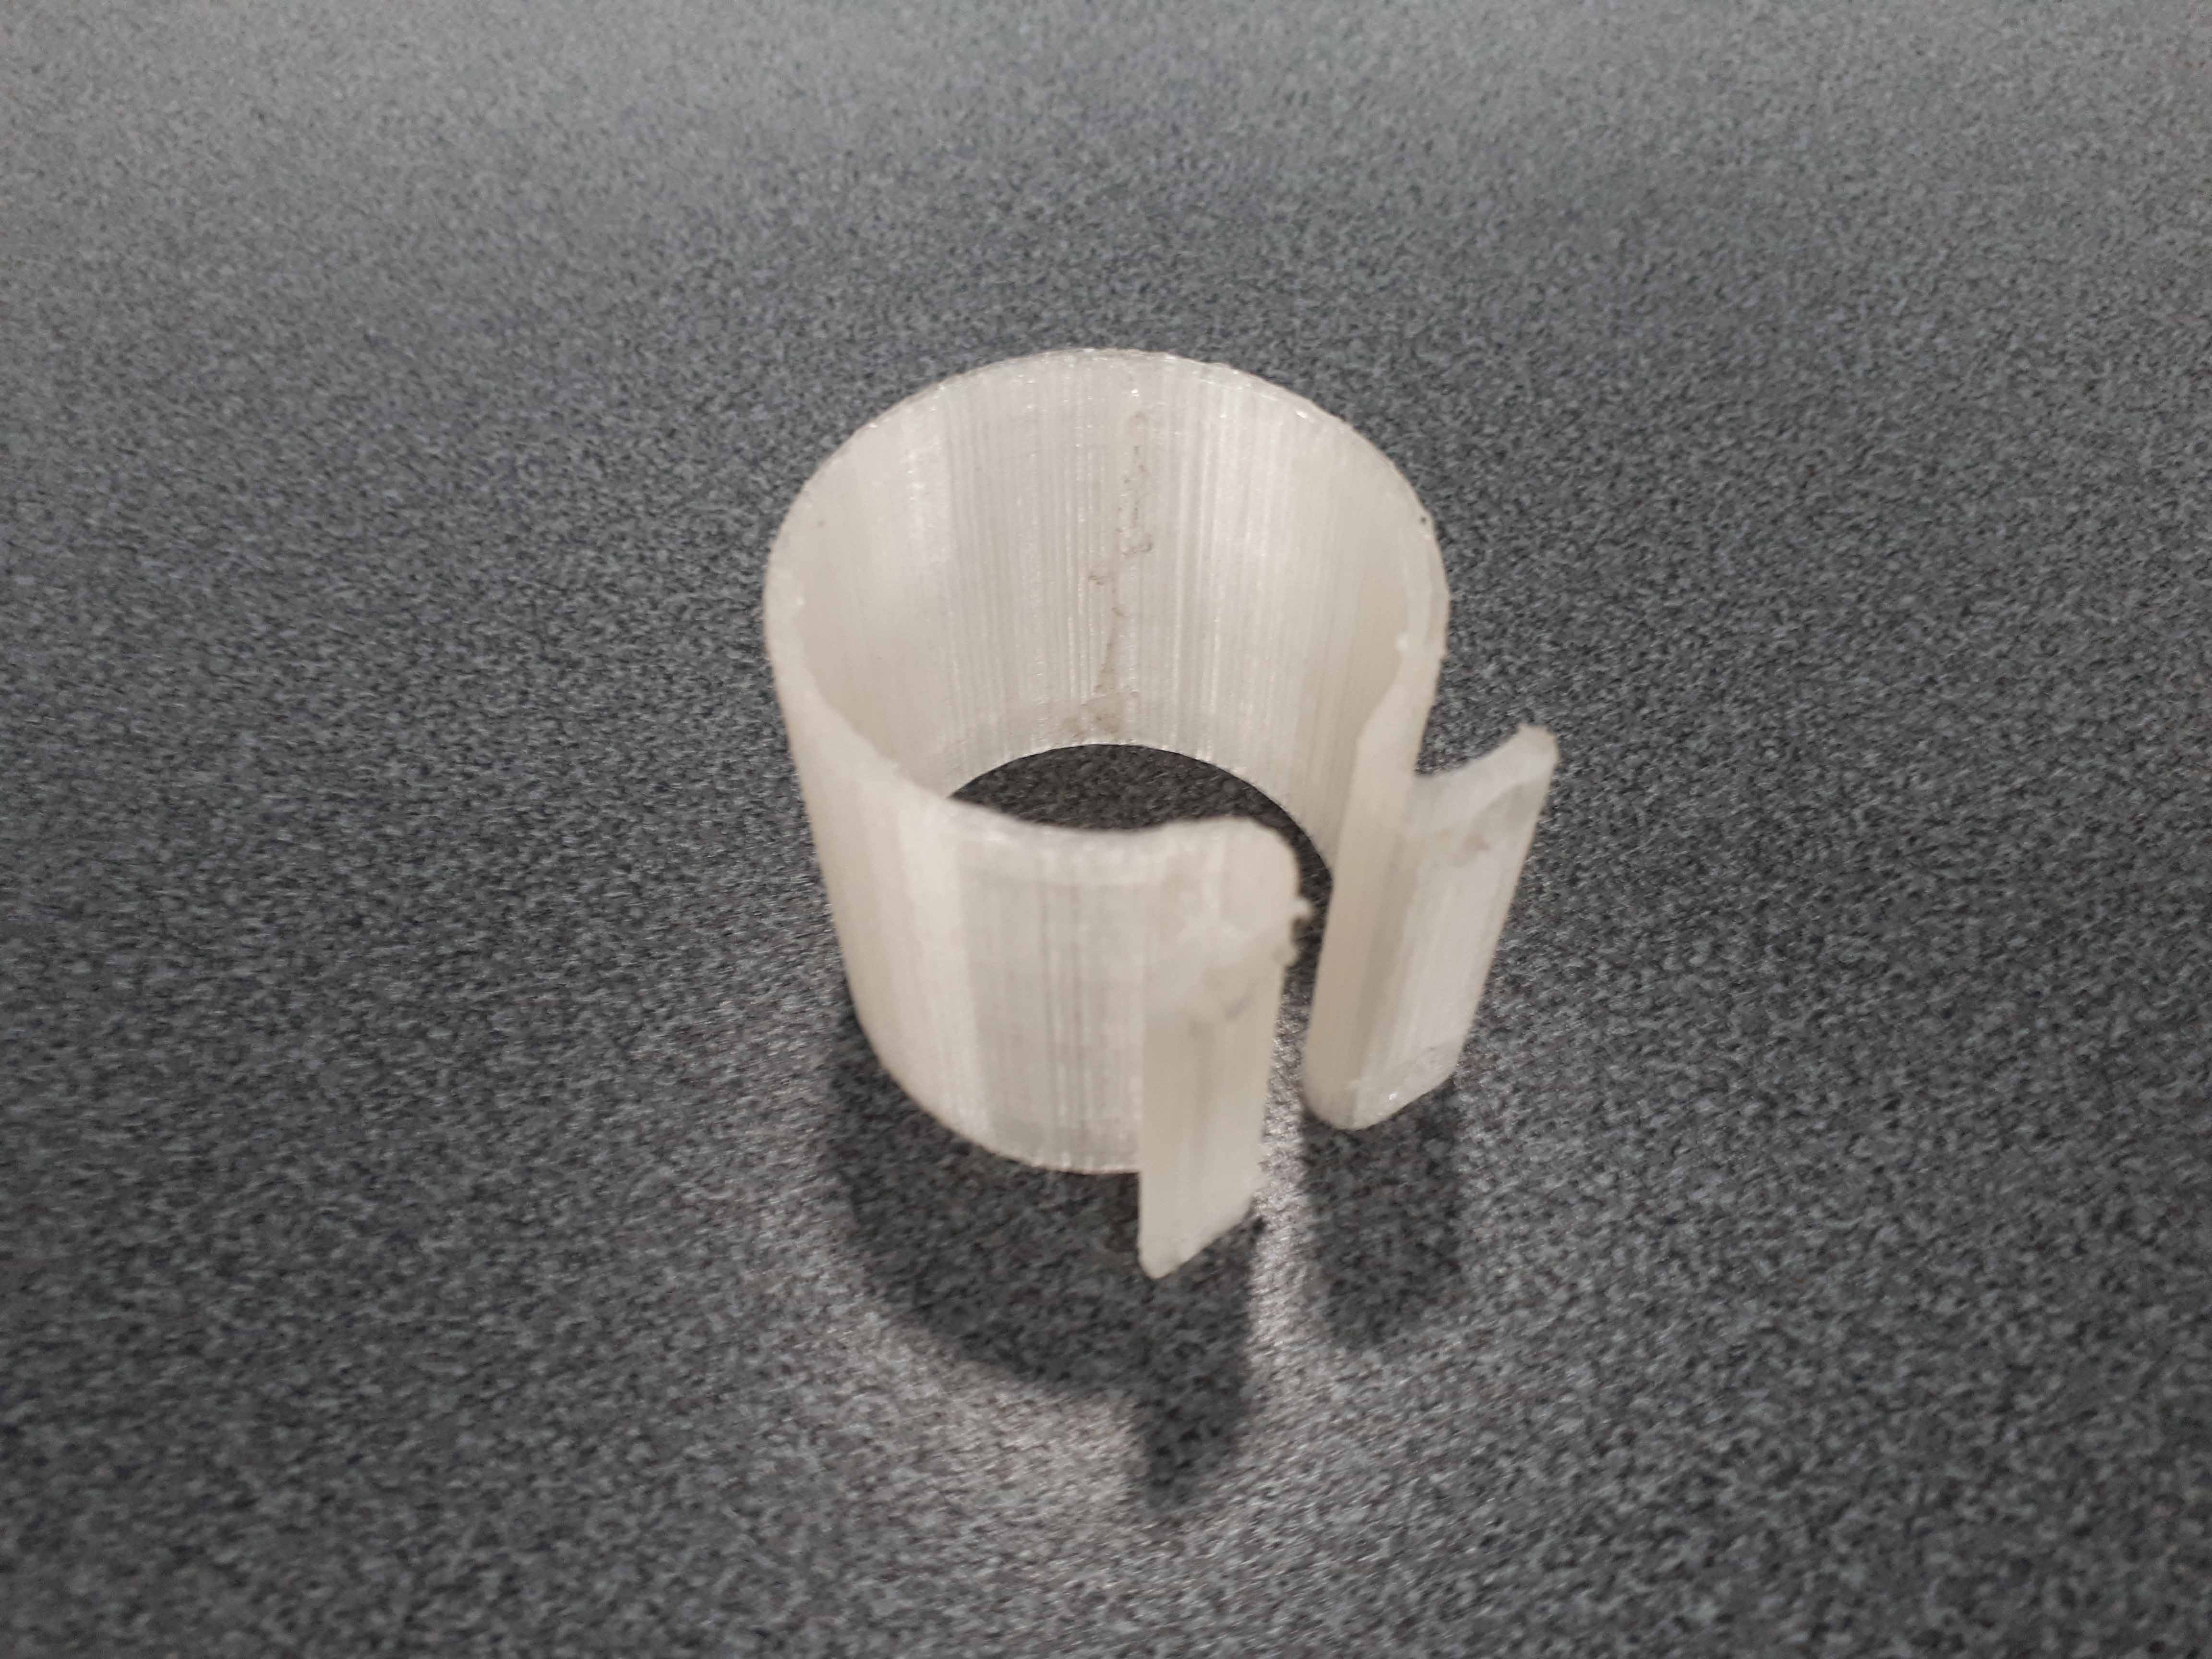
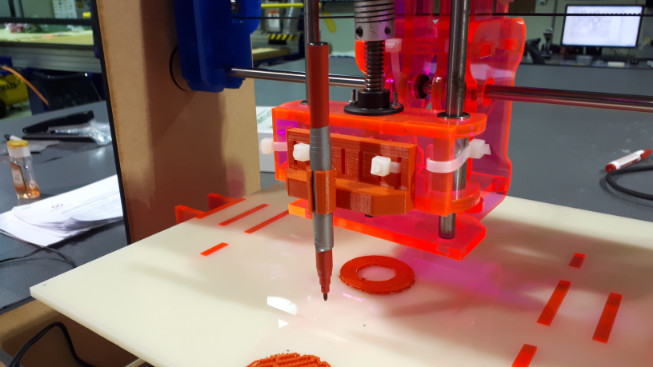
We 3D printed the object. The holder definetivelly works. The holes allow the grasp of the piece to be regulated.
Here it is from another angle.
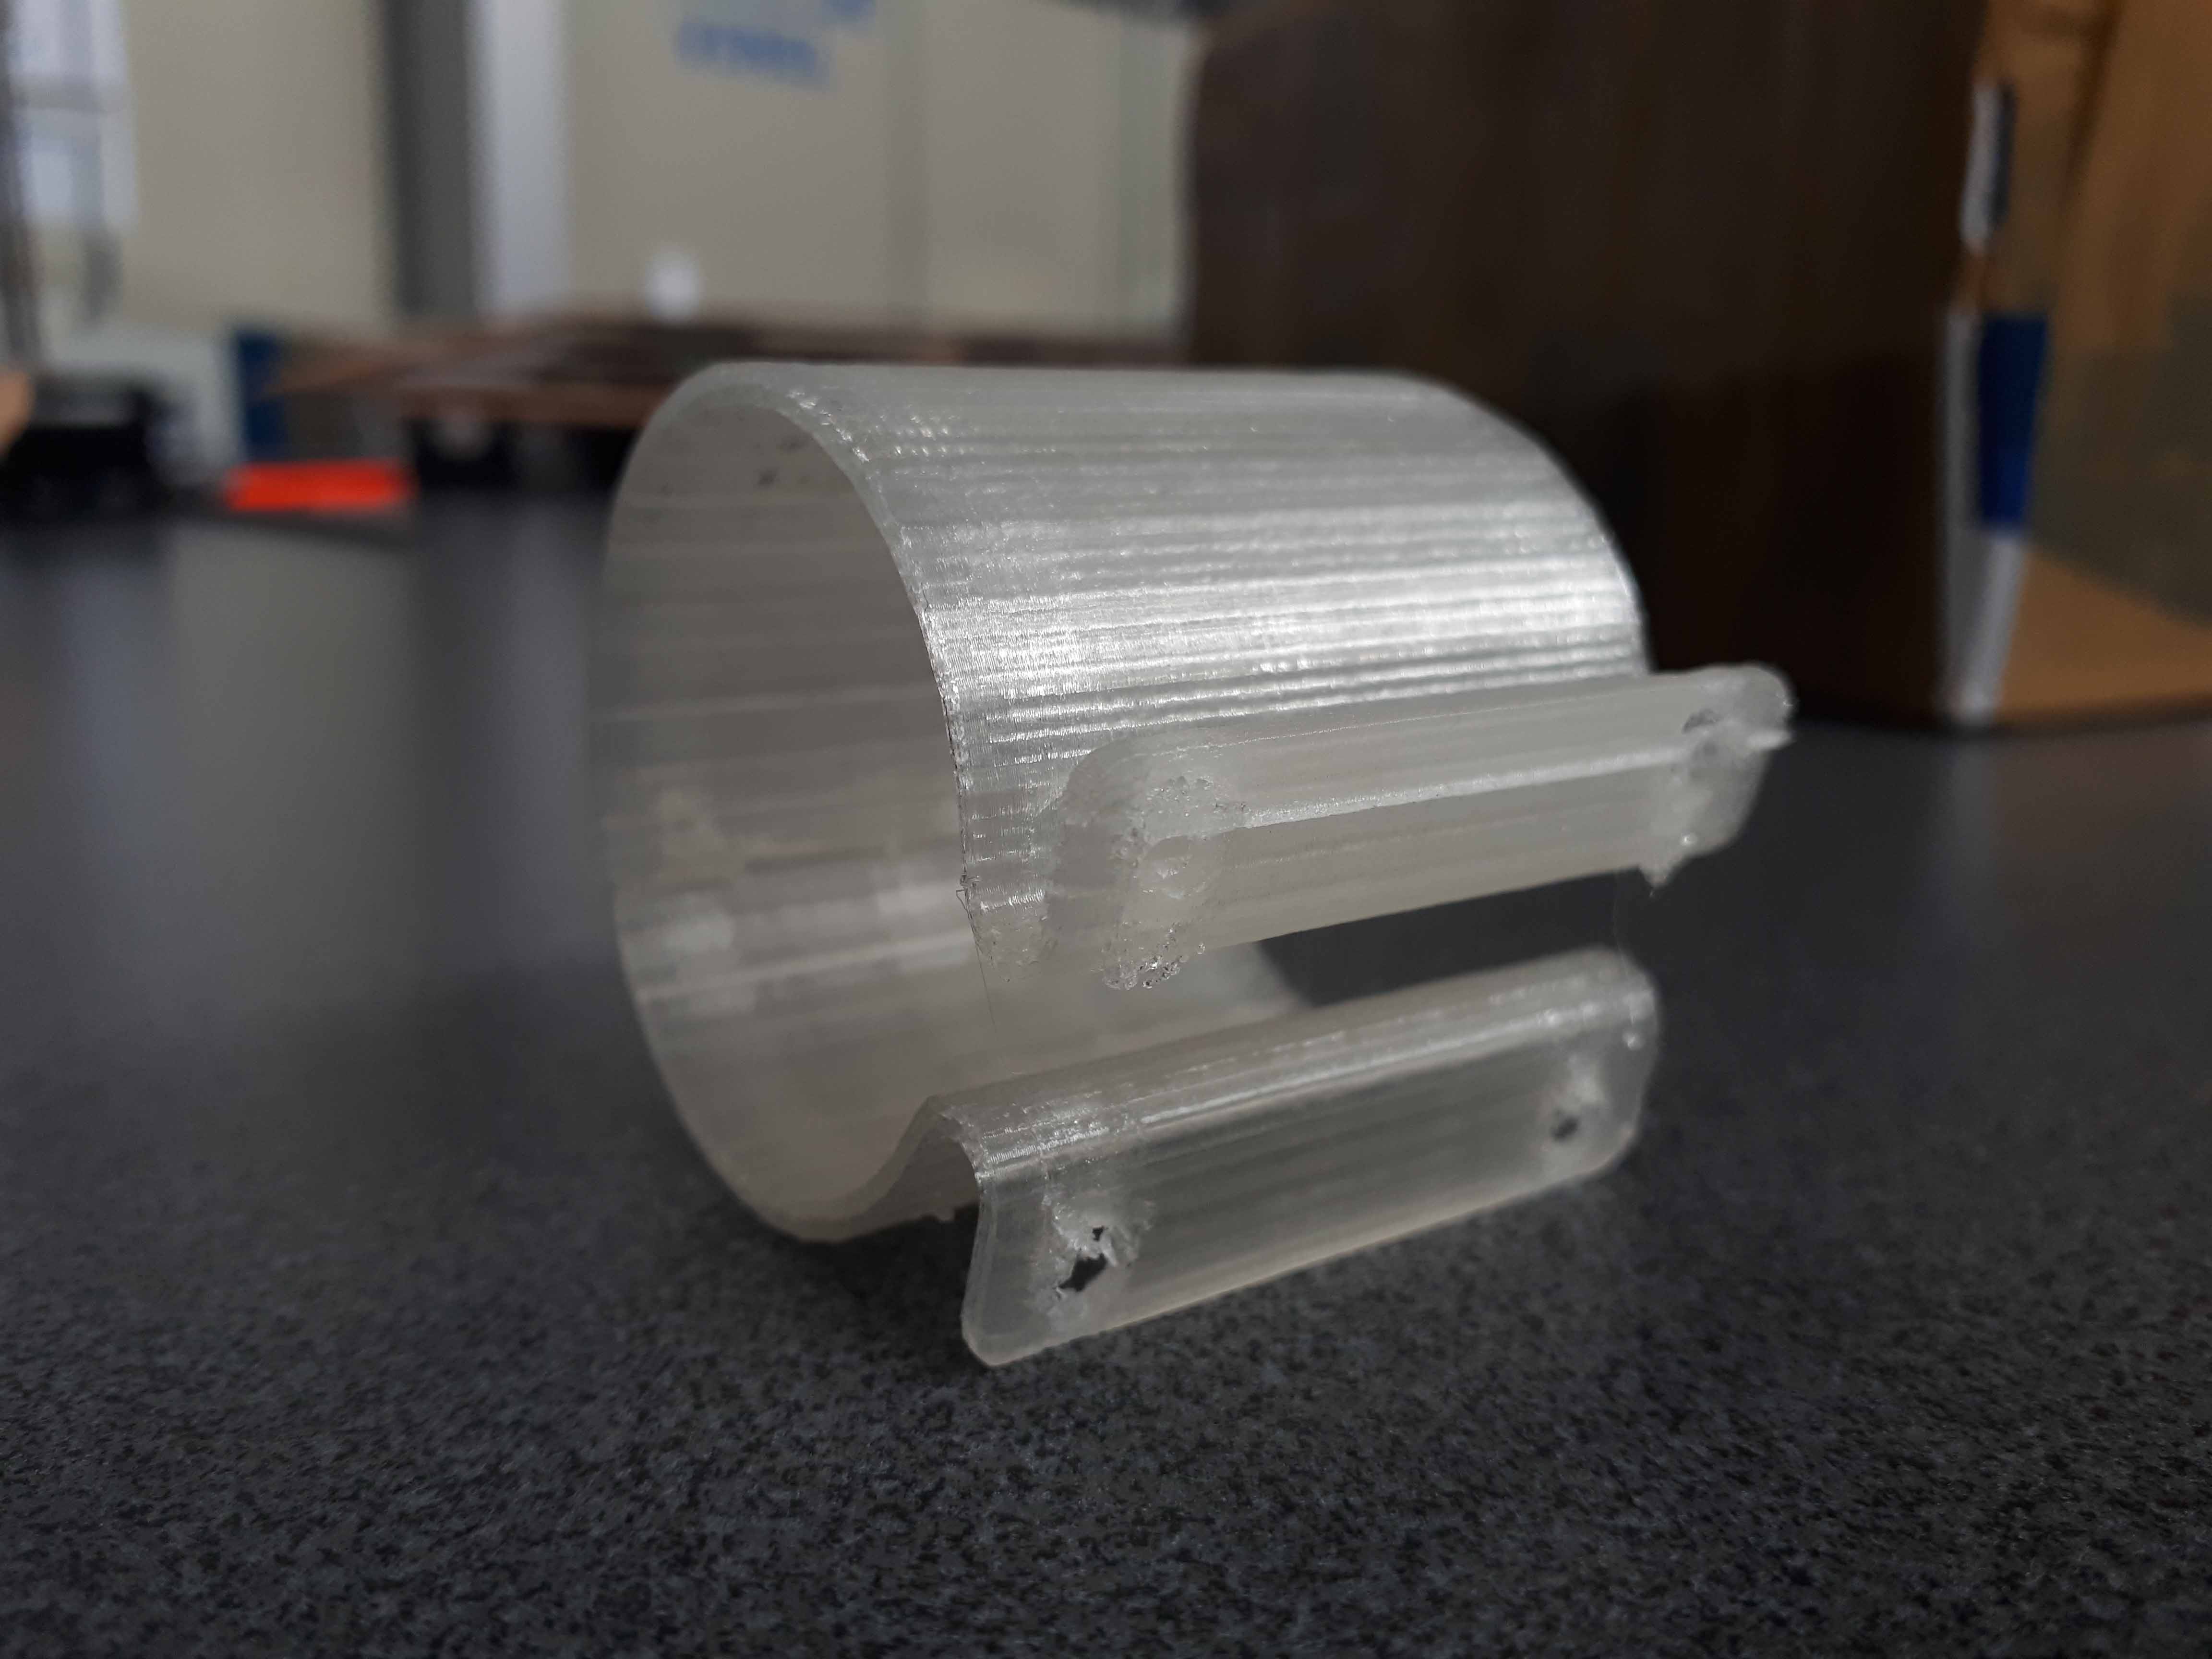
Other aproach was to laser cut and bend arcrylic board. So we did it. The flat piece was bended using a normal soldering iron. The same could be achieved with a heatgun, with better results.

Here it is from another angle.
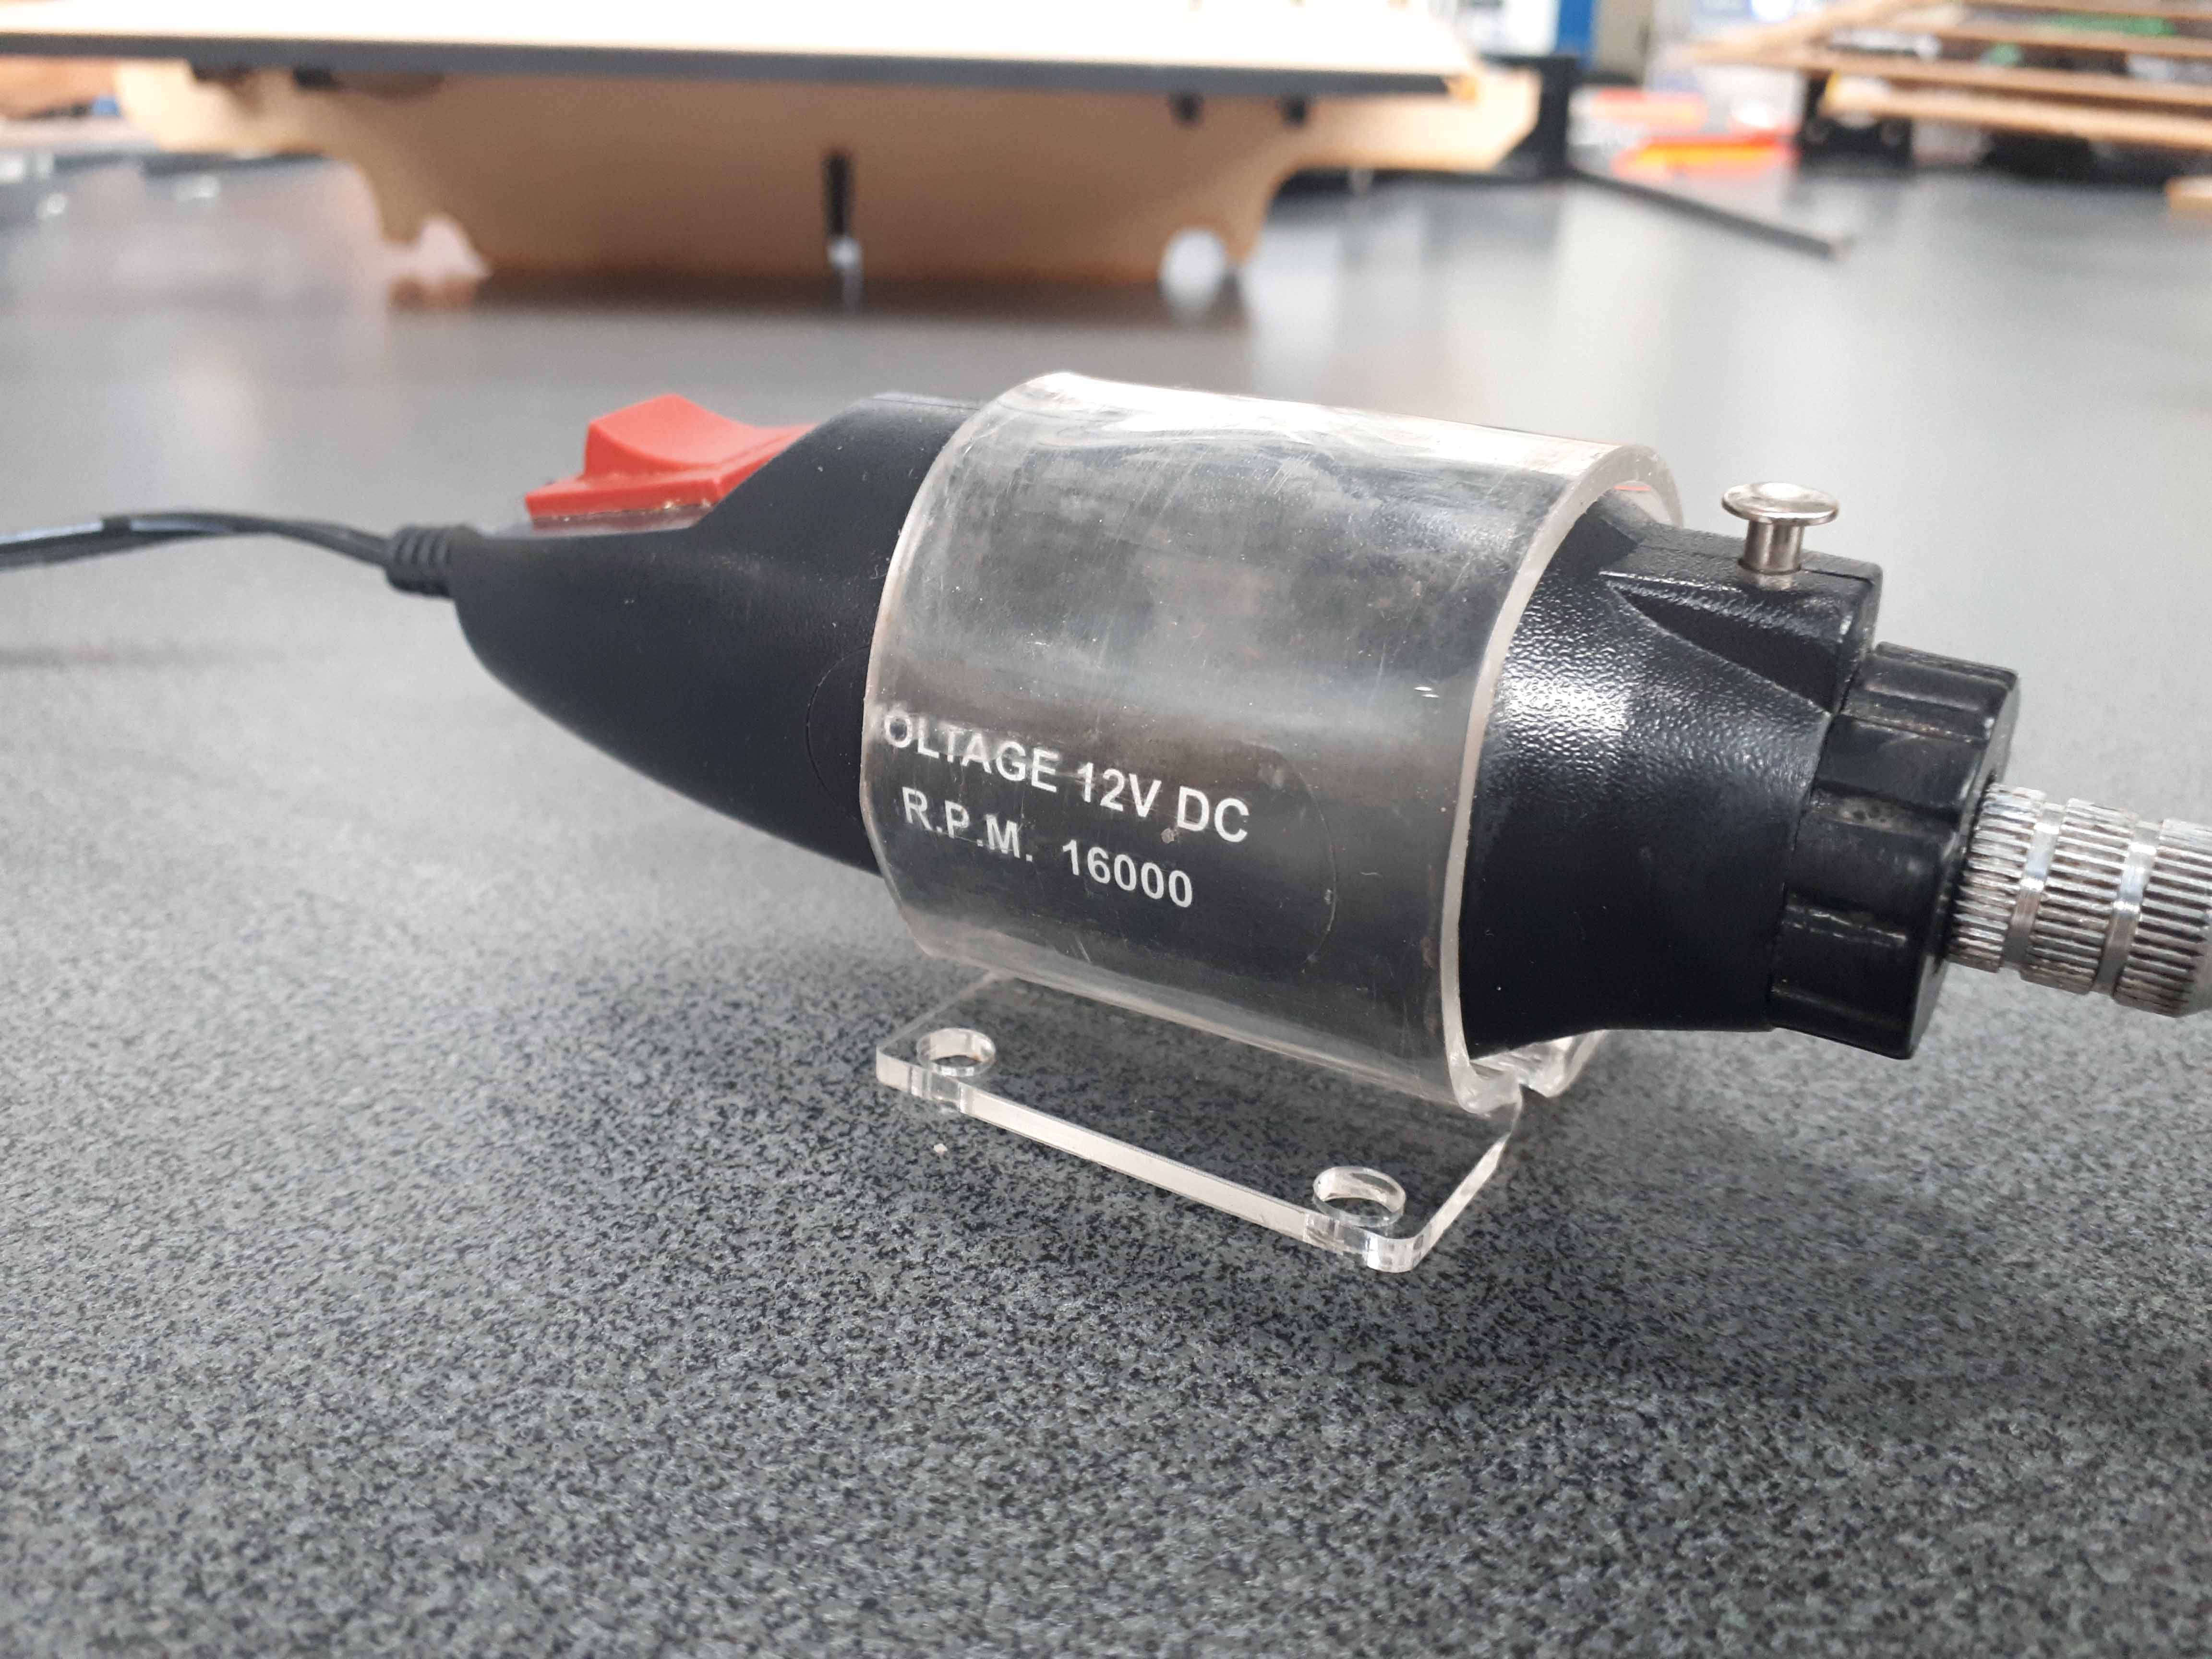
Then we test the holder-tool fitting of our 3D printed object. With the right tighten of the fittings, the milling motor is not going anywhere (we don't want).

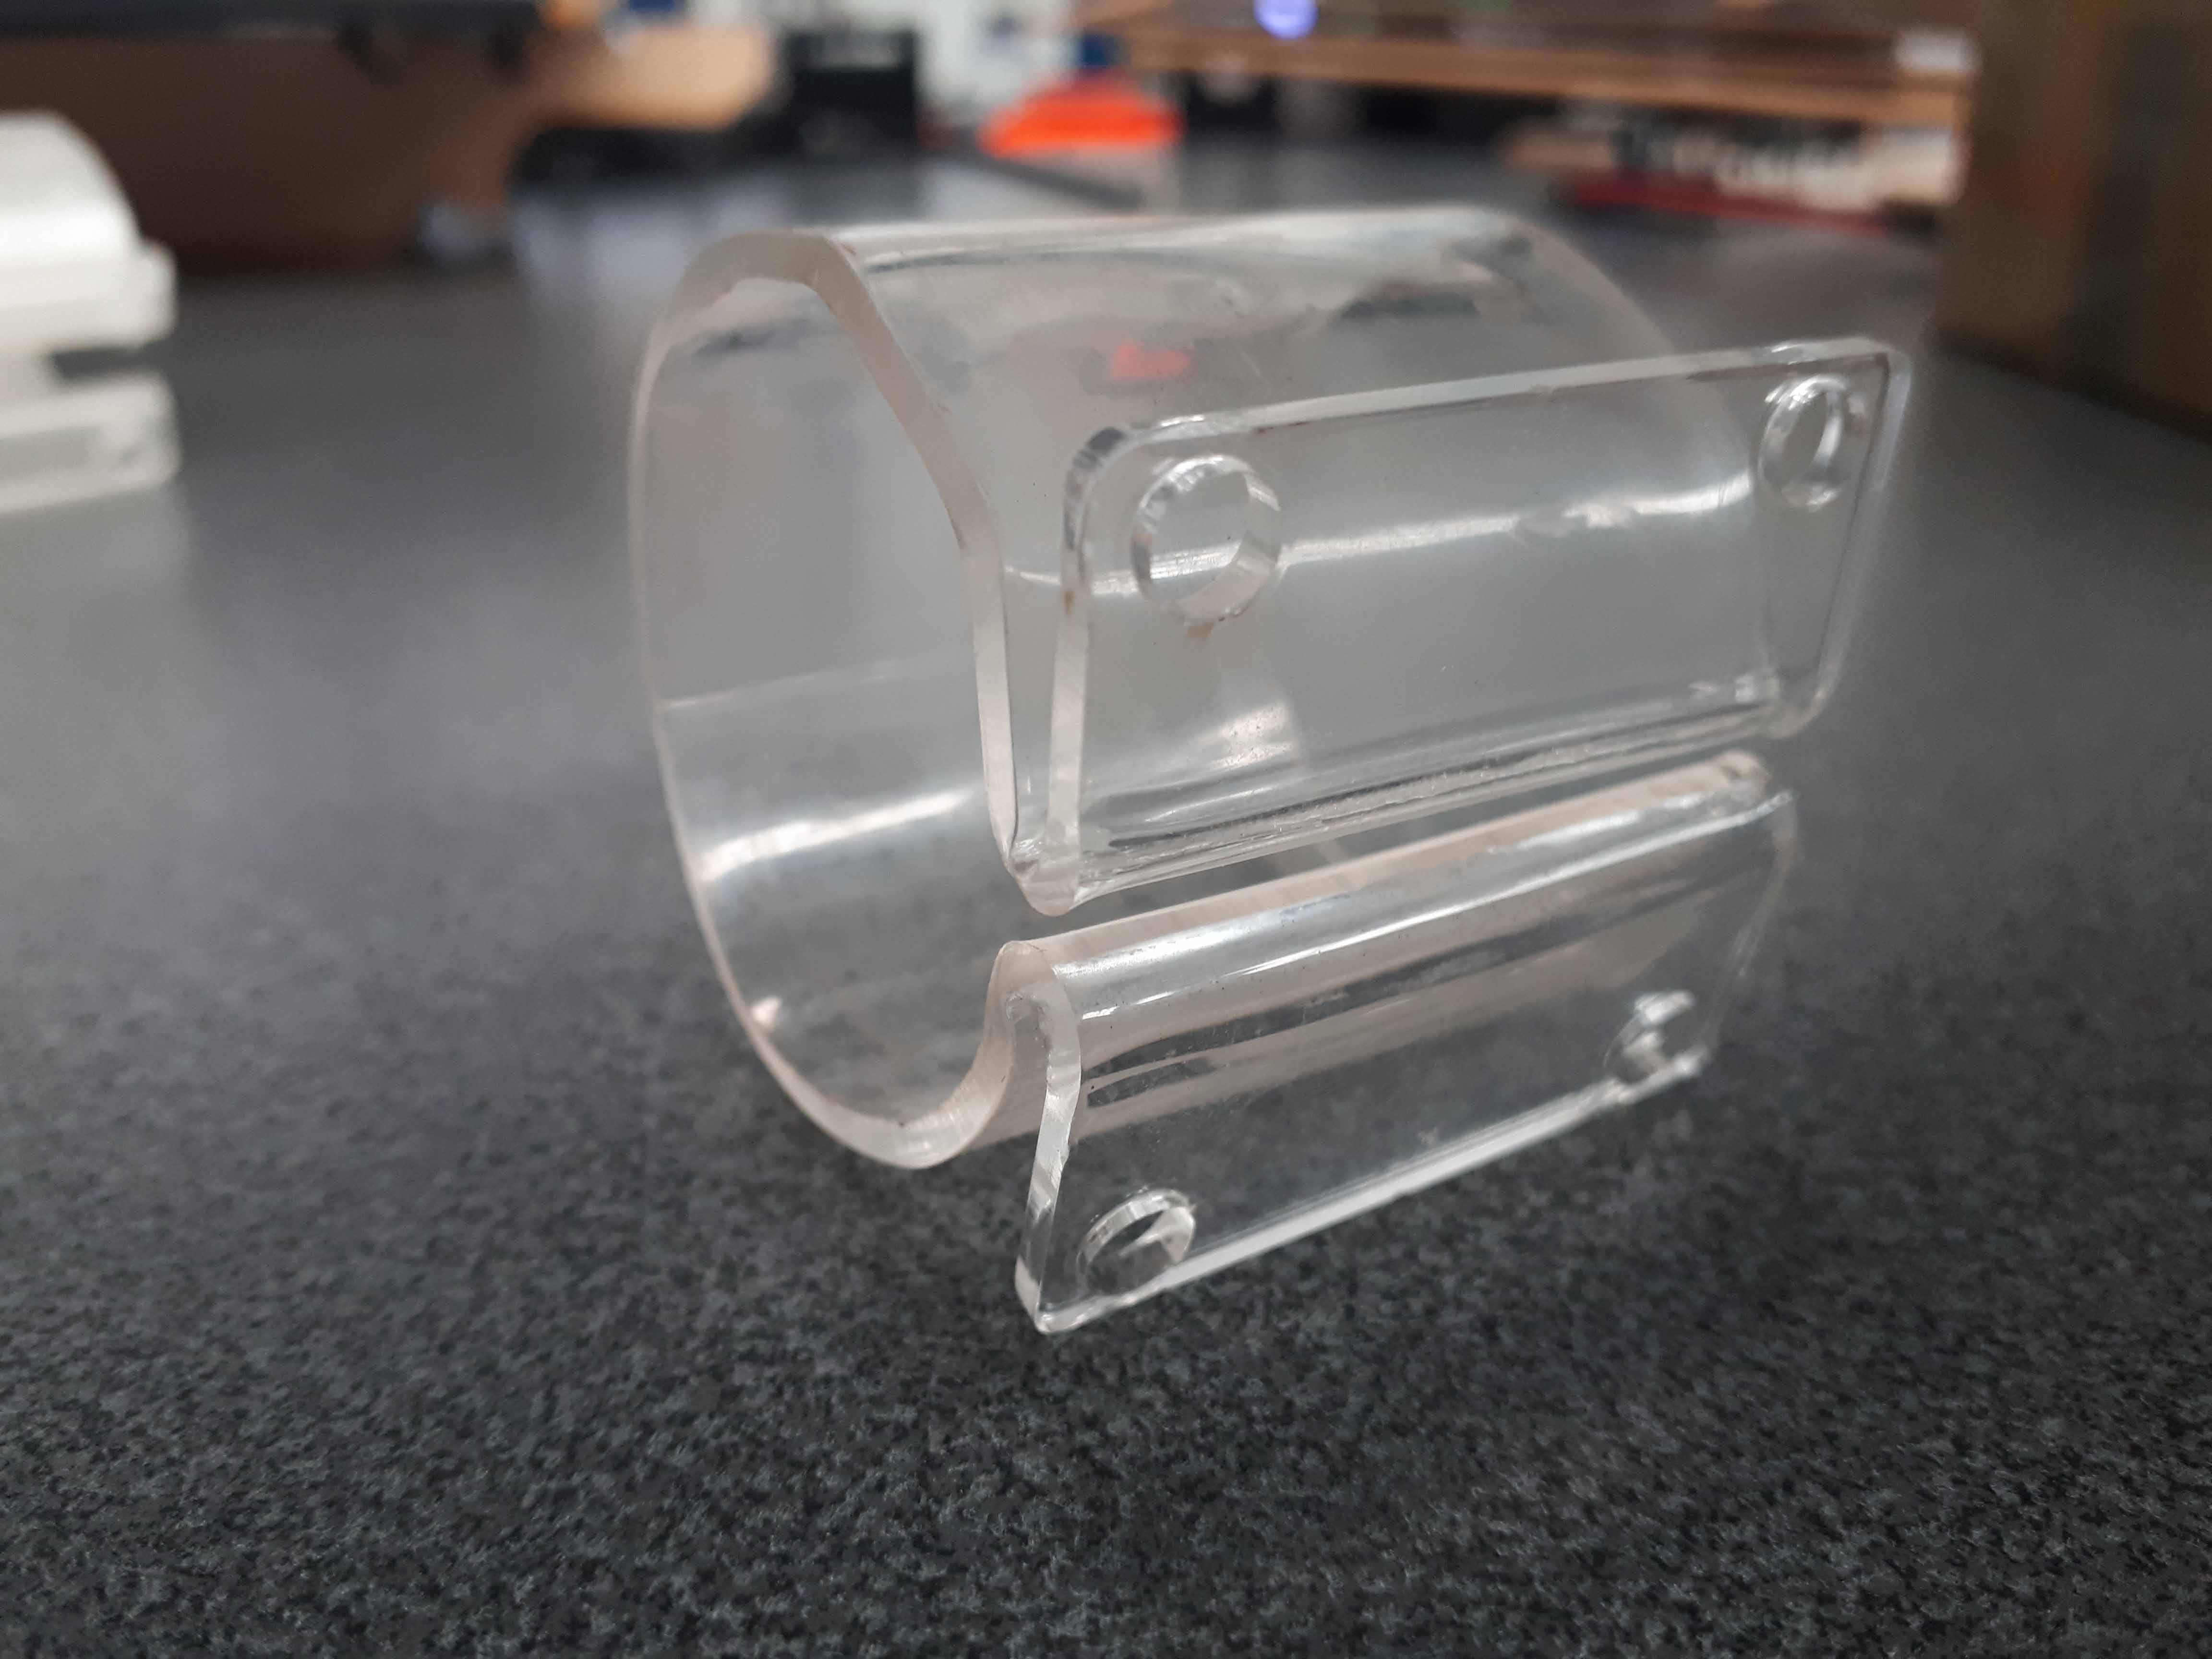
We tested the holder-tool fitting of the acrylic version. It works nice.
As we see, there is more than one way to skin a cat. In my opinion, the acrylic fabrication is supperior for this kind of pieces. The 3D printing took less than 40 minutues, given the simplcity of the design, but the acylic cutting took seconds. The bending took aprox. 10 minutes, still beating the printer in fabrication time.
Besides that, the acylic material is solid and continous, so it will be more resistant then the printing version, with the layer interfase problem they have, due to the interlayer temperature diference. For heavy dutty applications, I would definetivelly go with the Acylic bended version.
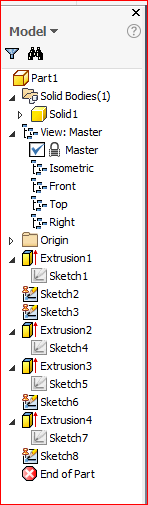
Autodesk Inventor
I tested another program, Autodesk Inventor. The learning curve was complicated, but finally I went through it.
The basis are the same as other programs. It is posible to extrude, extrude cut, and create schetchen on faces. The navigation was complicated at the beggining.
But finally I got a grasp of it. I still have lots to learn, though.
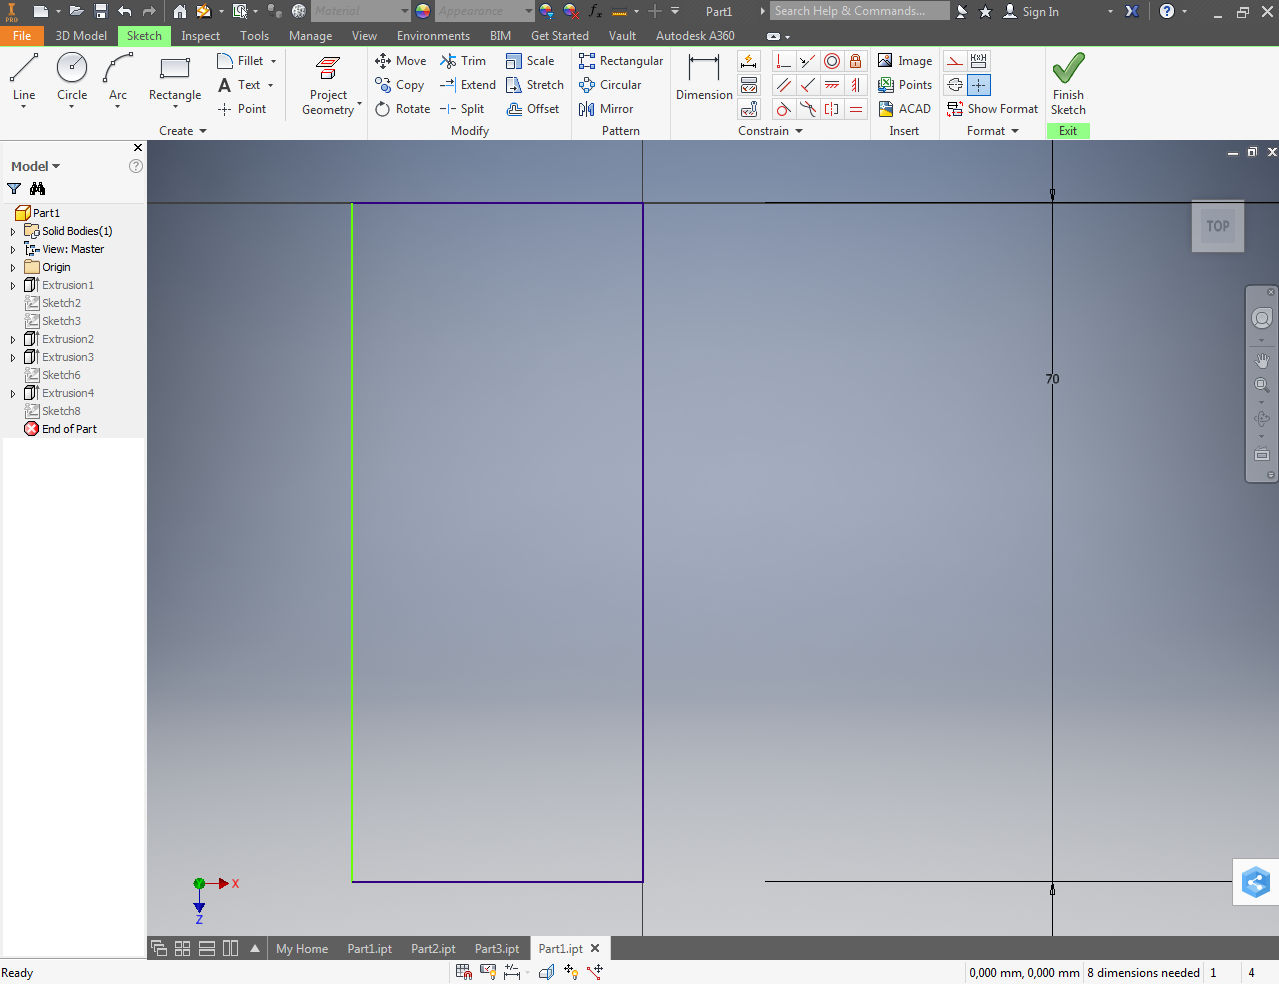
Here is how the upper bar looks like, in sketch mode:

And how the interface looks like.
The object bar allow us to apply features to our sketches.

Link in other 3D design software programms, we also have a working tree.
And how we navigate through the part, using our 3D positioning tool.
And here we see the other interchangable part. This one is designed to hold something with a very less diameter, like a pen. Here we can see it, holding a marker.
This is the link to the Machine we made with our development team.
Here are the files to download: Motor/tool holder, Motor/tool holder STL, Motor/tool holder DXF, holder drawing, holder Acrylic, machine part, Motor/tool PDF.
