3D printing is a technology that, using additive manufacturing, allow us to translate a digital object (bits) to a physical object (atoms). This is practical in some circumstances, but it is slow and the integrity of the piece is subject to anisotropic weaknesses dependent on the direction of the addition extrusion. It should be used wiselly, and if the piece we are going to print is doable with other means (aka. Sustractive fabrication), it should be done that way.
The process of 3D scanning does the opposite operation. It takes a physical object (made of atoms, of course), and takes information from it. That information could be just point is space (in the cartesian system), but might include data as color or texture. Again, if the object could be modeled parametrically, this should be the preferred method.
Learning outcomes:
- Identify the advantages and limitations of 3D printing and scanning technology
- Apply design methods and production processes to show your understanding
assignment
Described what you learned by testing the 3D printers, Shown how you designed and made your object and explained why it could not be made subtractively:
First part: Design.
I decided to try Fusion 360. I'm new to the program, but the concepts still the same, and the interface is easy to learn.
So, I chose a plane, created an sketch and drawed a five side poligon, created all the needed parametric relations, dimenision it, intersect a triangle and created a circular patern with the center in the pentagon vertex.
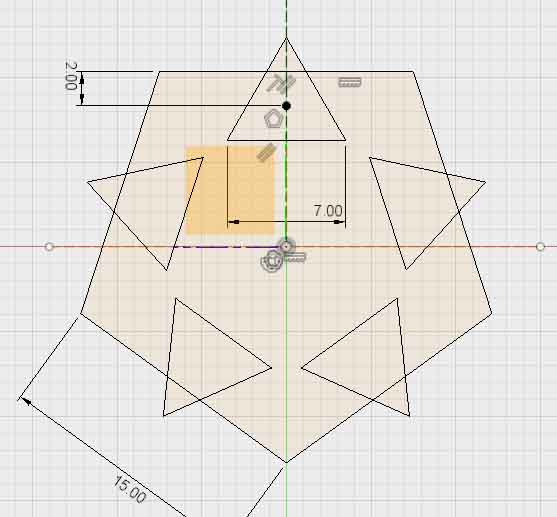
Then, I extruded it in the model mode of Fusion 360. I still had to create a solid using Boundary Fill.
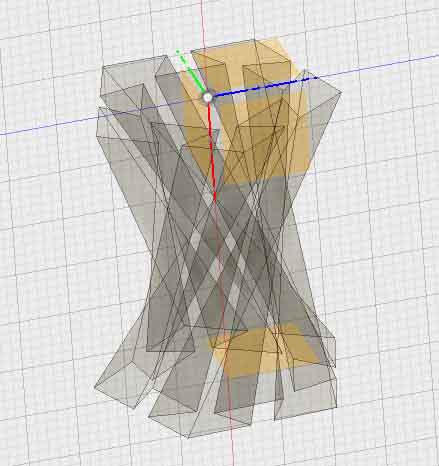
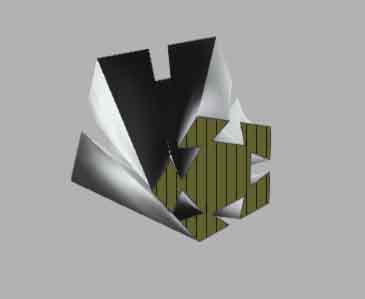
Here we can see an stl file (green frame) exported from the desing. Feel free to move it around and play with the tools. If you wish, you could also follow the next snapshots in the interactive model.
This is the model showing the base. The complexity of the profile makes it dificult to make with a sustractive machine tool.
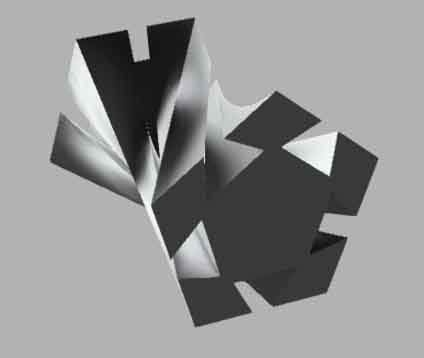
If you click on the button of cutting inspection, shown in red...
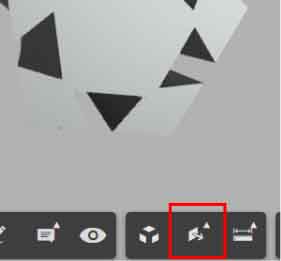
It is possible to explore the object internally. We can see that, for a 3 axis milling machine this could be a tough work.
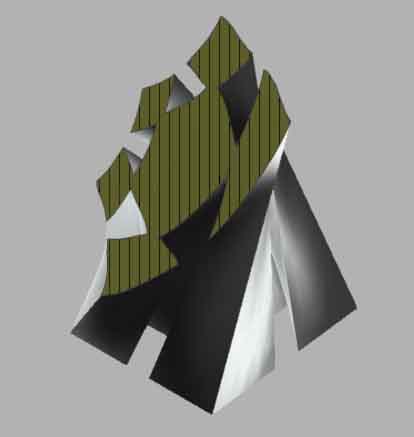
In this other cut (a litte twicked) we can see that in some parts the gap between external parts segments is very small. If we exagerate the twist, we can make internal cavities or objects. In this case, it would be imposible for a machine to substract material. If hard to decide of wich method to use to materialize the object, you can think of substractive working from the outside to the inside, and the 3D printer (not really so, but like), working from inside out.
Here is the 3D printed object:
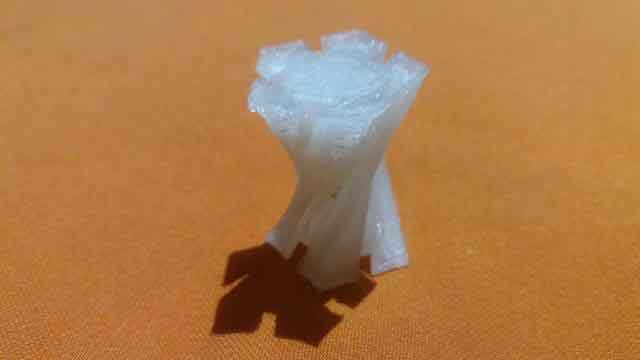
And here, a pattern of the path followed by the filament:
Here is another angle:

Here we can barelly see the thickness of the filament extrussion:

Something did not go well here...
We see that the plastic in this section is more transparent and the finish is not as smoth as in the rest of the object.
Also, here we can see some "bridges" where should be none. I guess we have to check our settings.
Here are some models that still need to be printed. They are intended for calibration.
Impossible part
The part designed in Fusion 360 is really hard to make with substractive fabrication, but not impossible. If, in the future, a milling tool with very tiny tools and mutidirection heads could potencially do it. Under this logic, the "fabrication" of virus proteins, provided the virus injects the information in the form of RNA or DNA through the host membrane, need just a tiny hole.
Thus, the only object really impossible to do with substractive fabrication is the one with an hermetic shell and forms inside. An object like that was designed using Solidworks. Here is the outside view of the part:
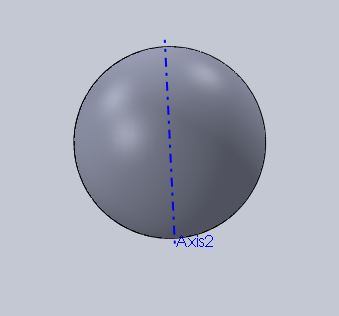
And here the piece in cut view. No tool can reach the inside.

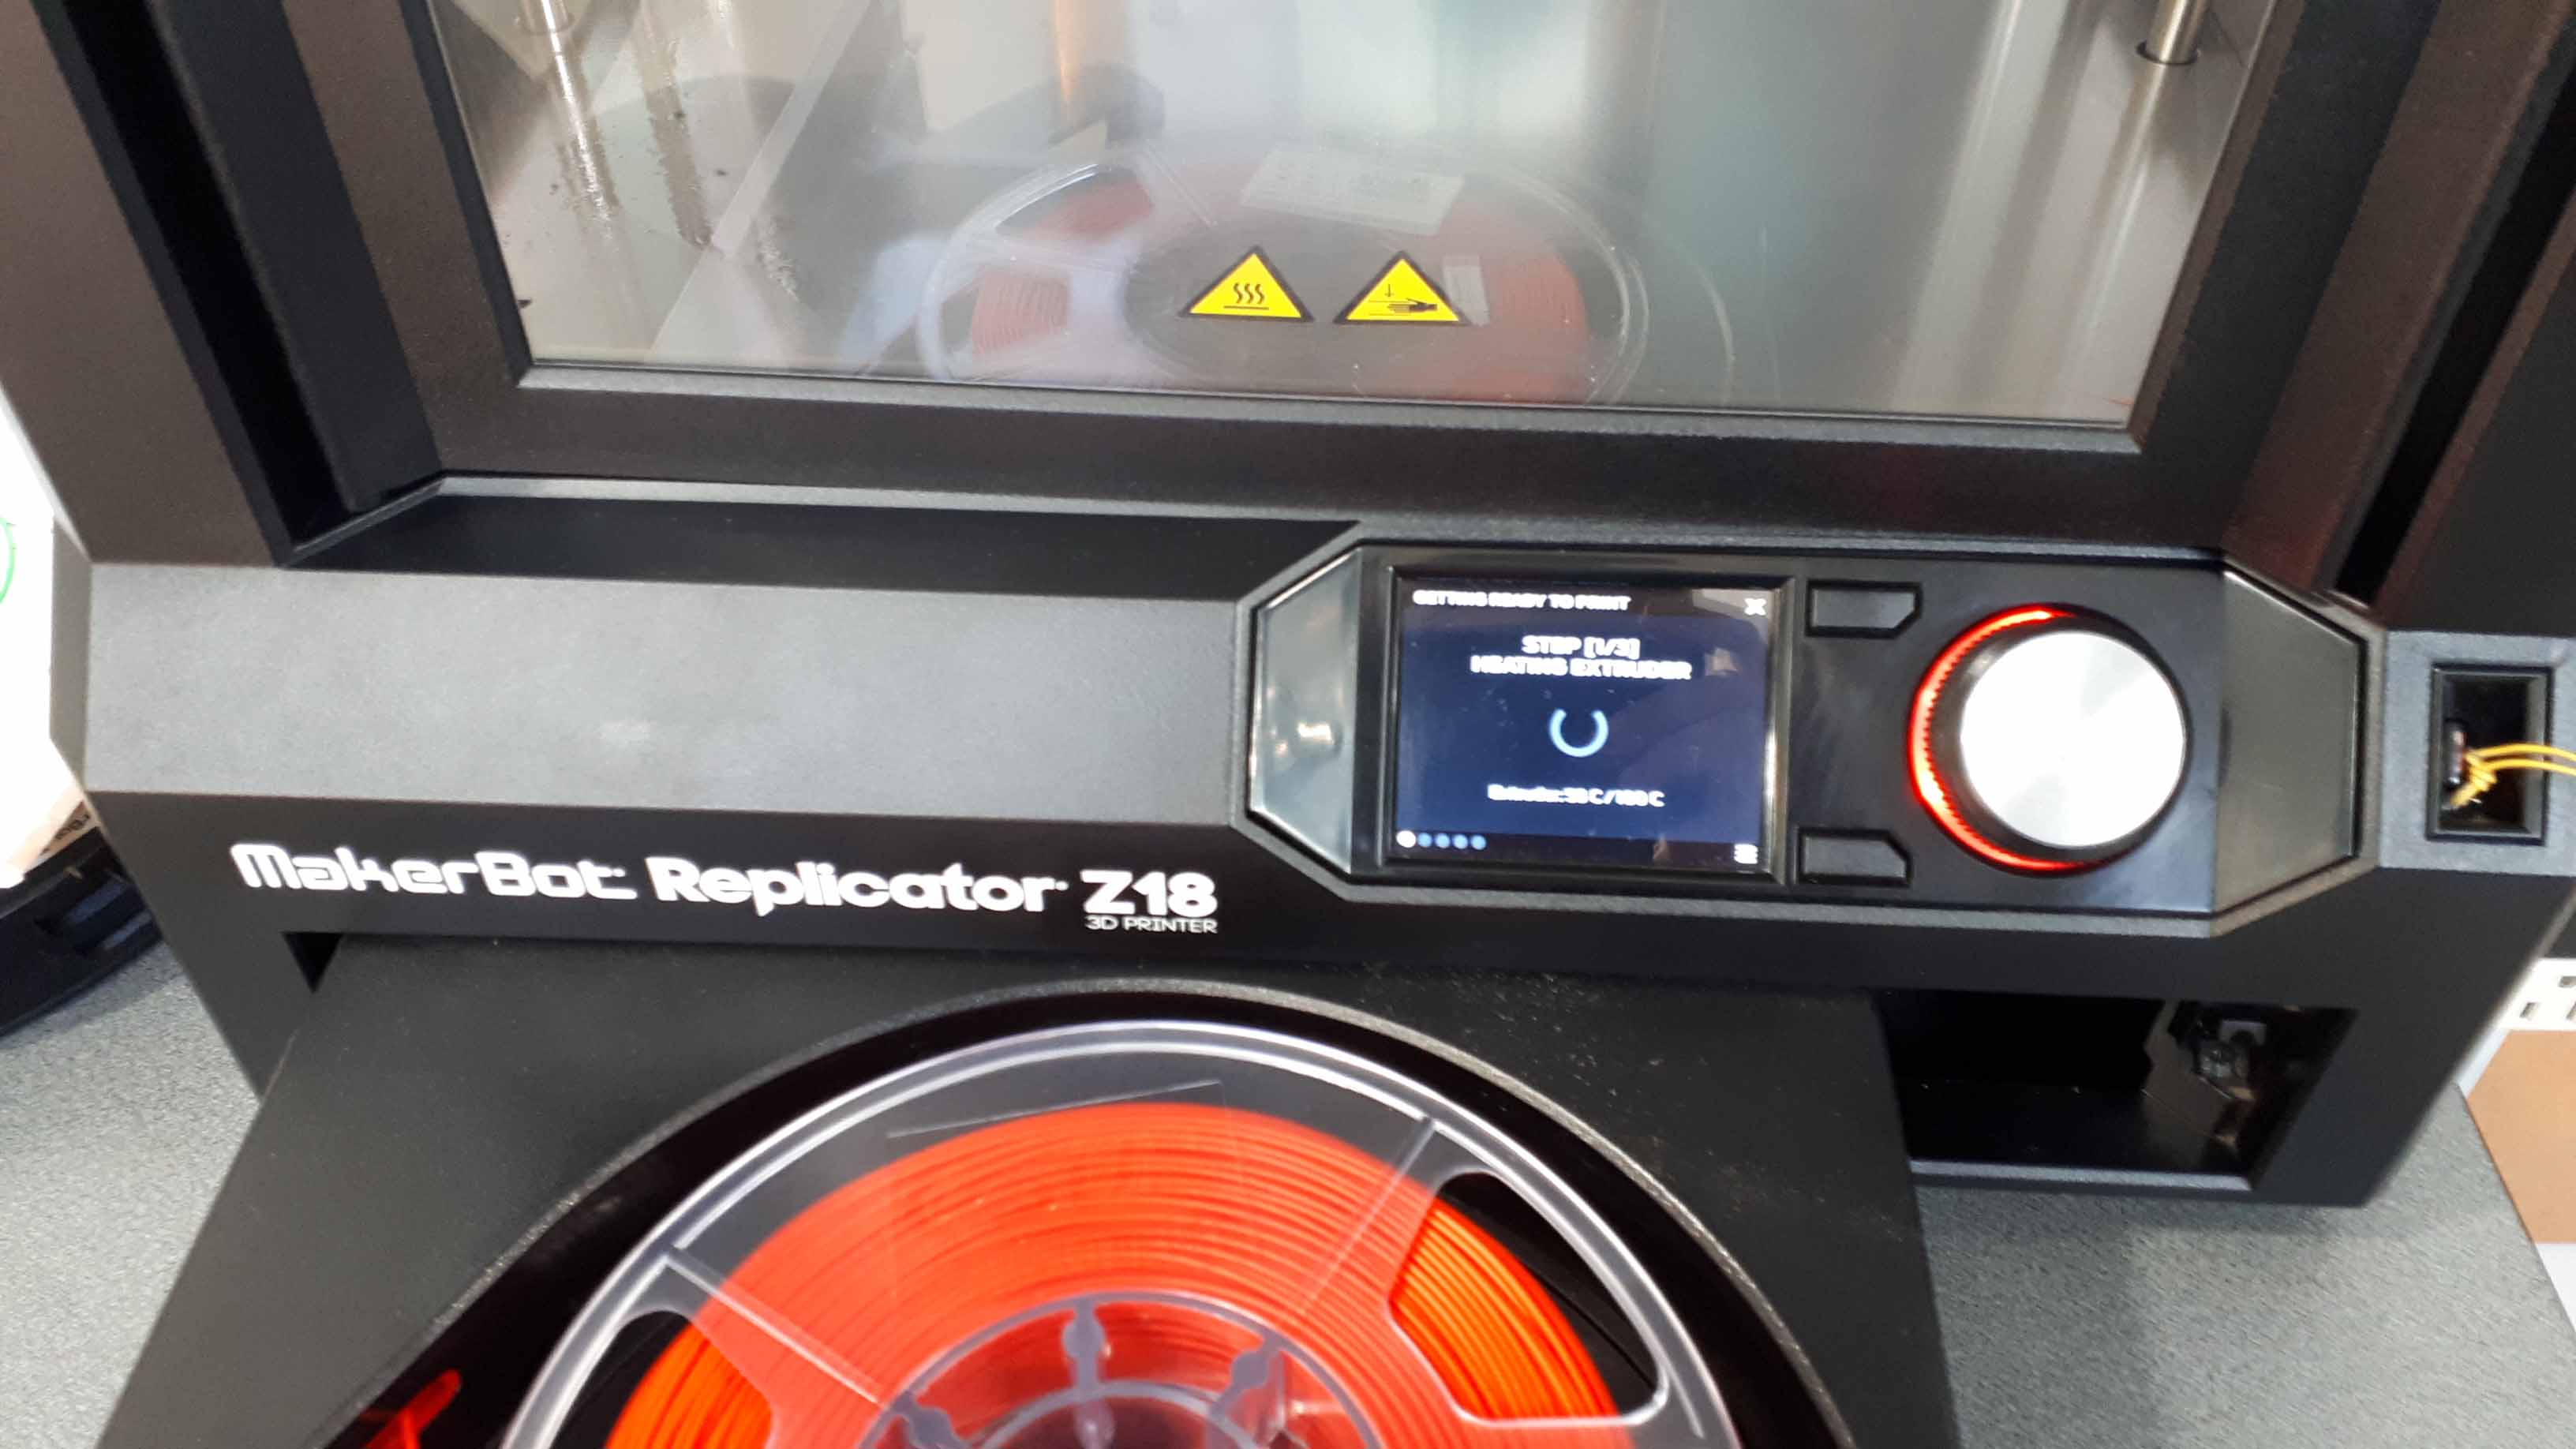
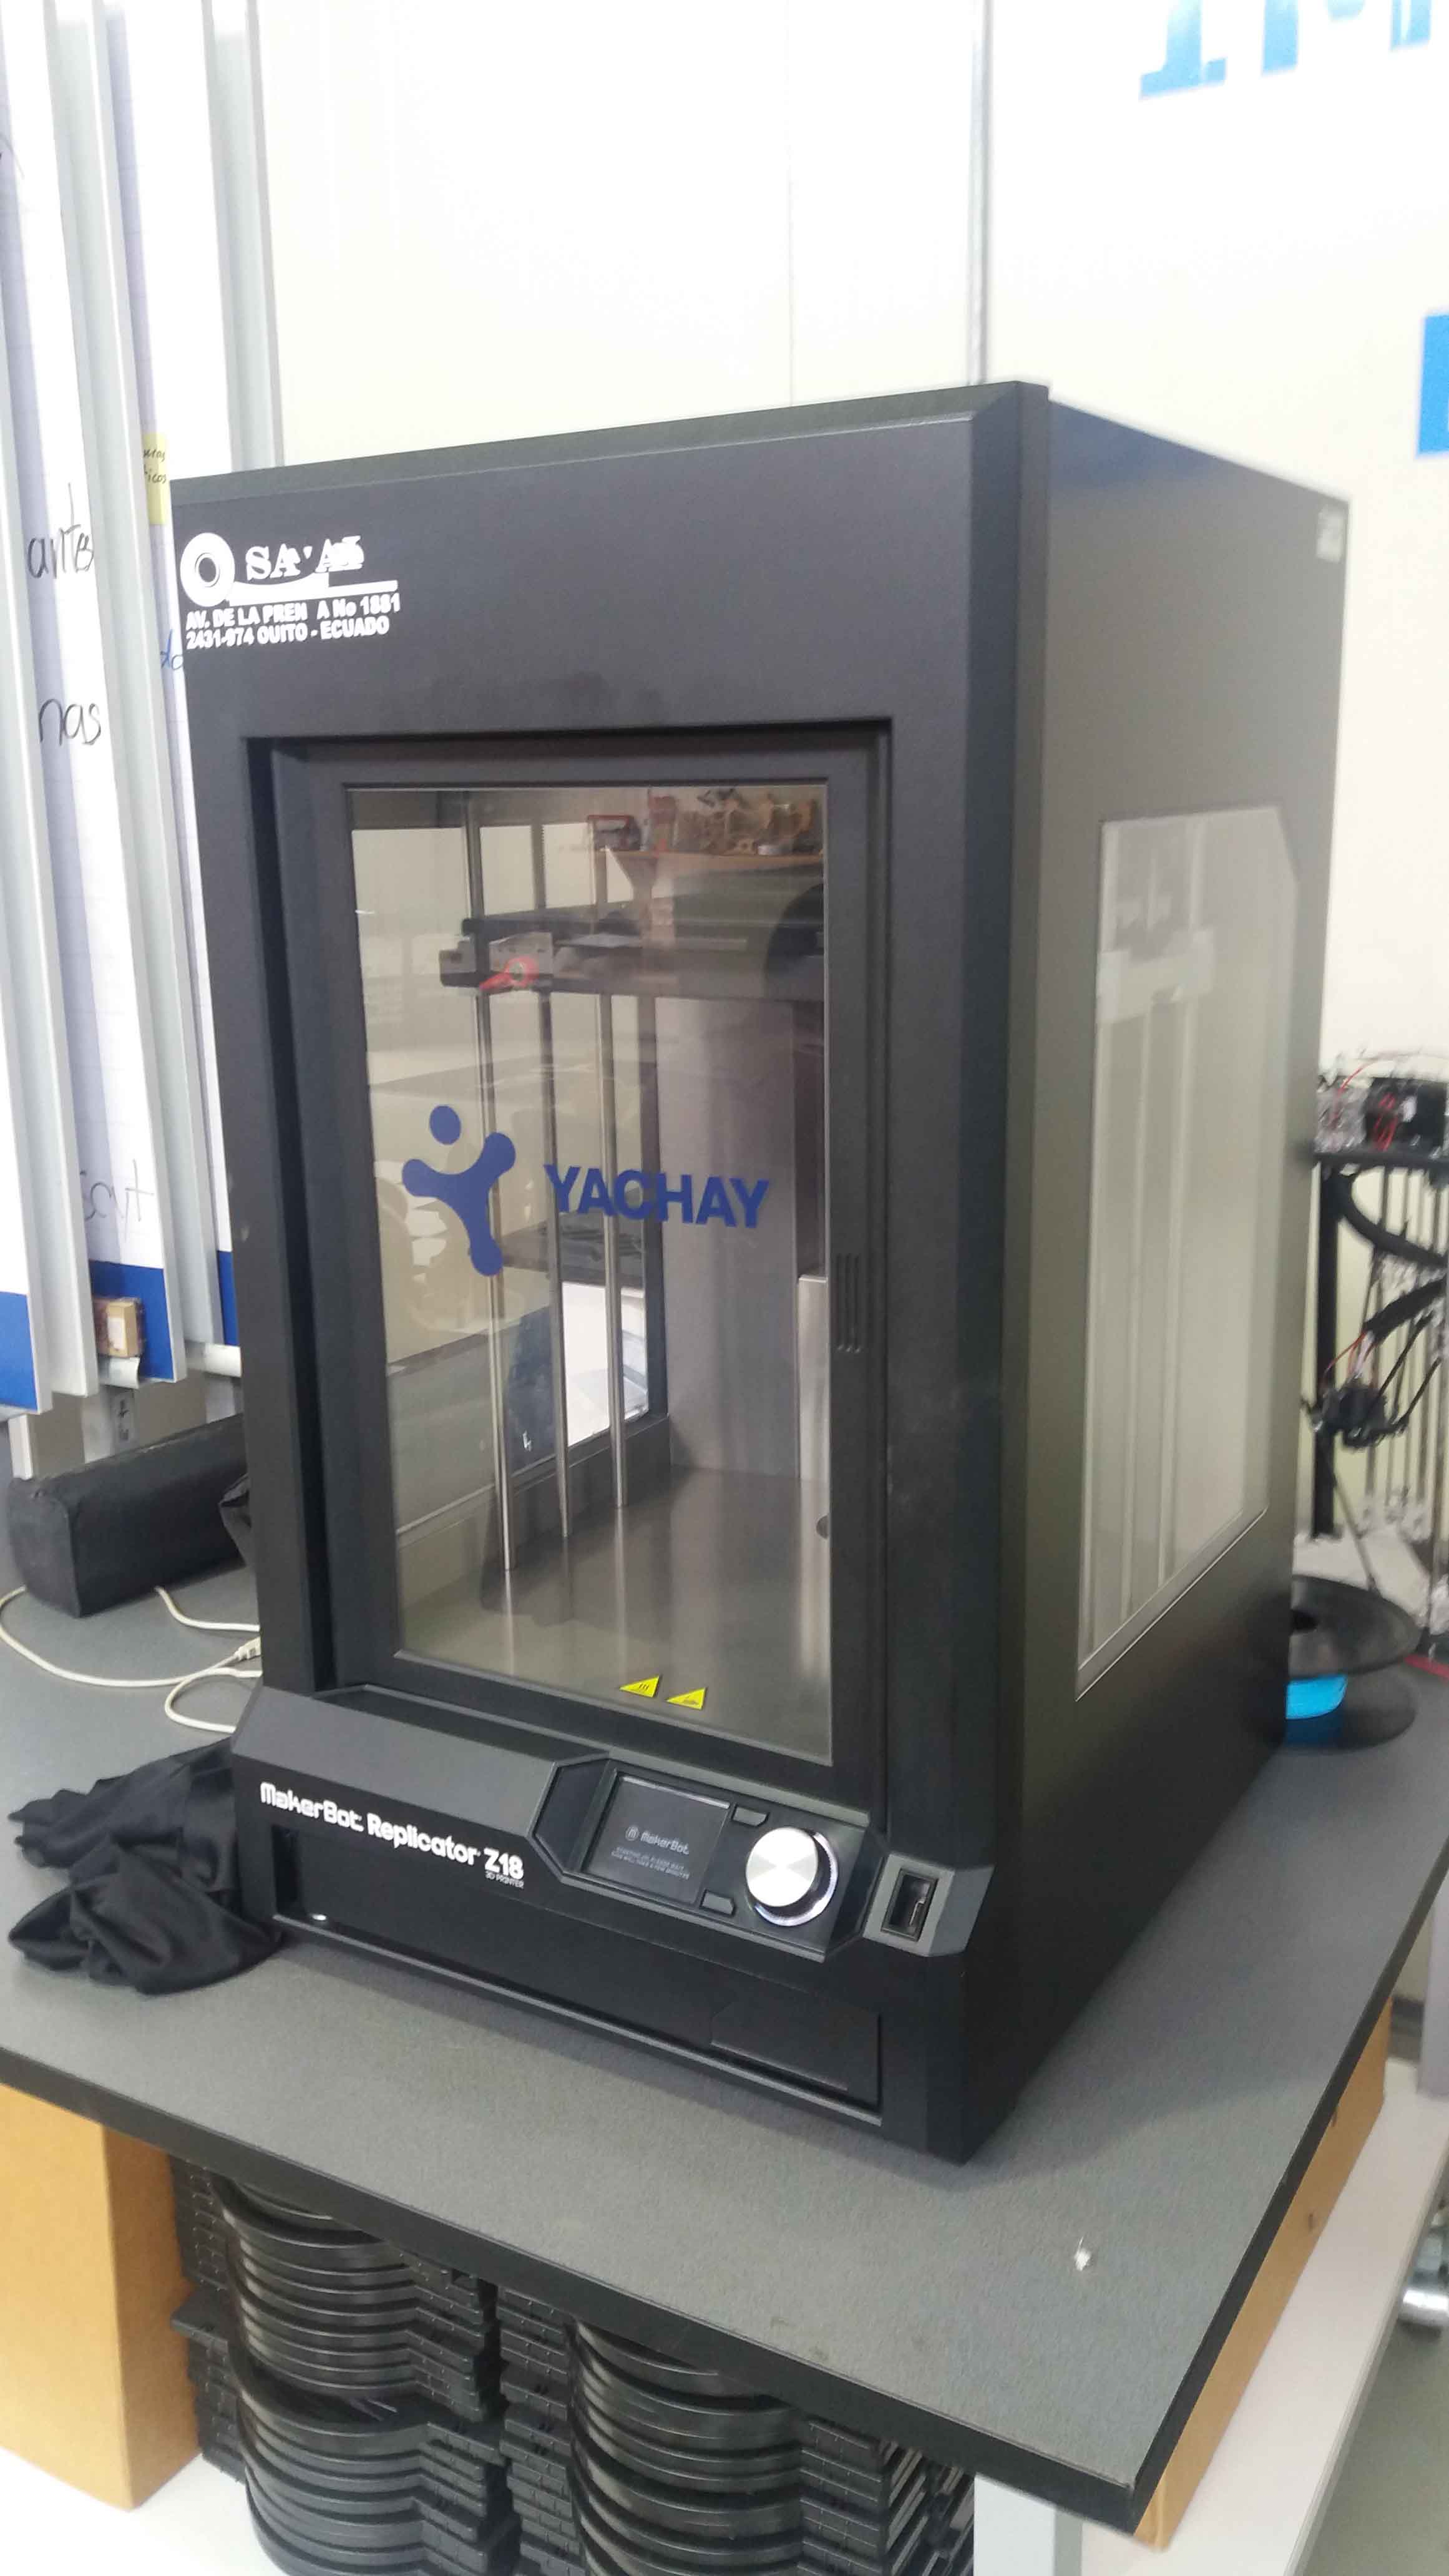
Then, we proceed to test it. We will use the MakerBot Replicator Z18.
We start the 3D printing...
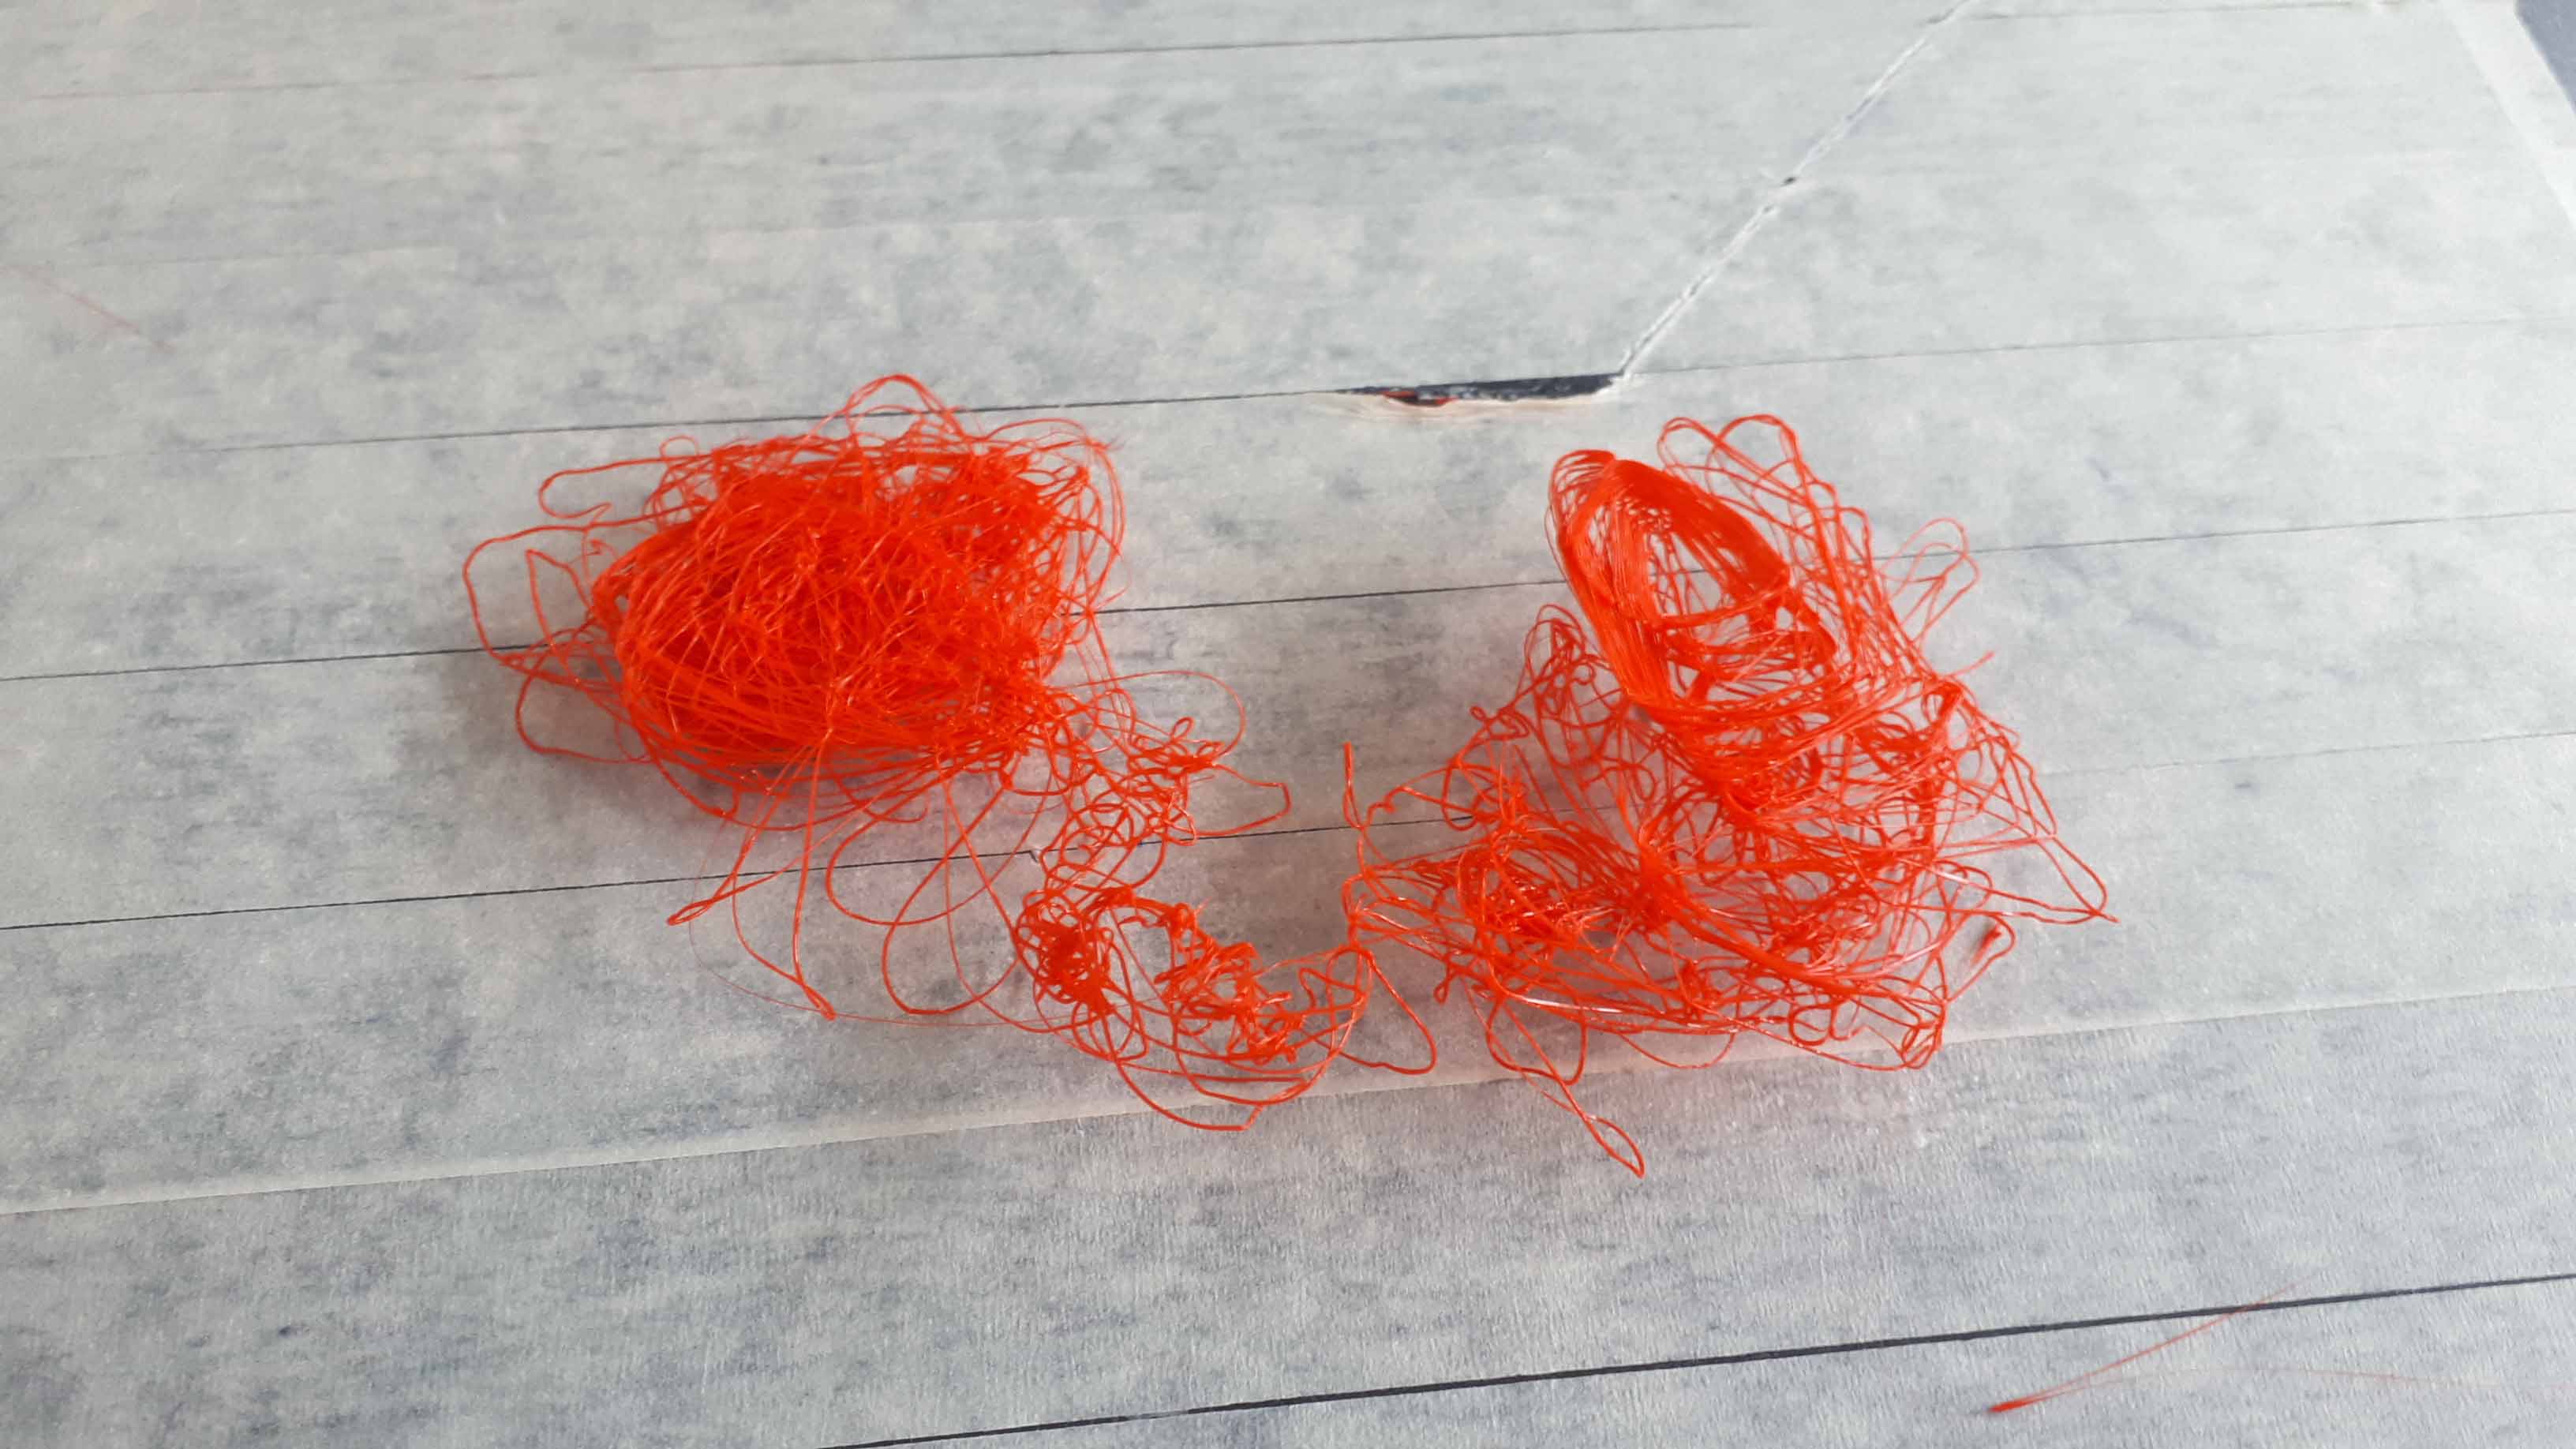
... and found that the impossible figure was really giving us problems. The small point of initial contact destroyed the result, producing a continuous melted filament without form.
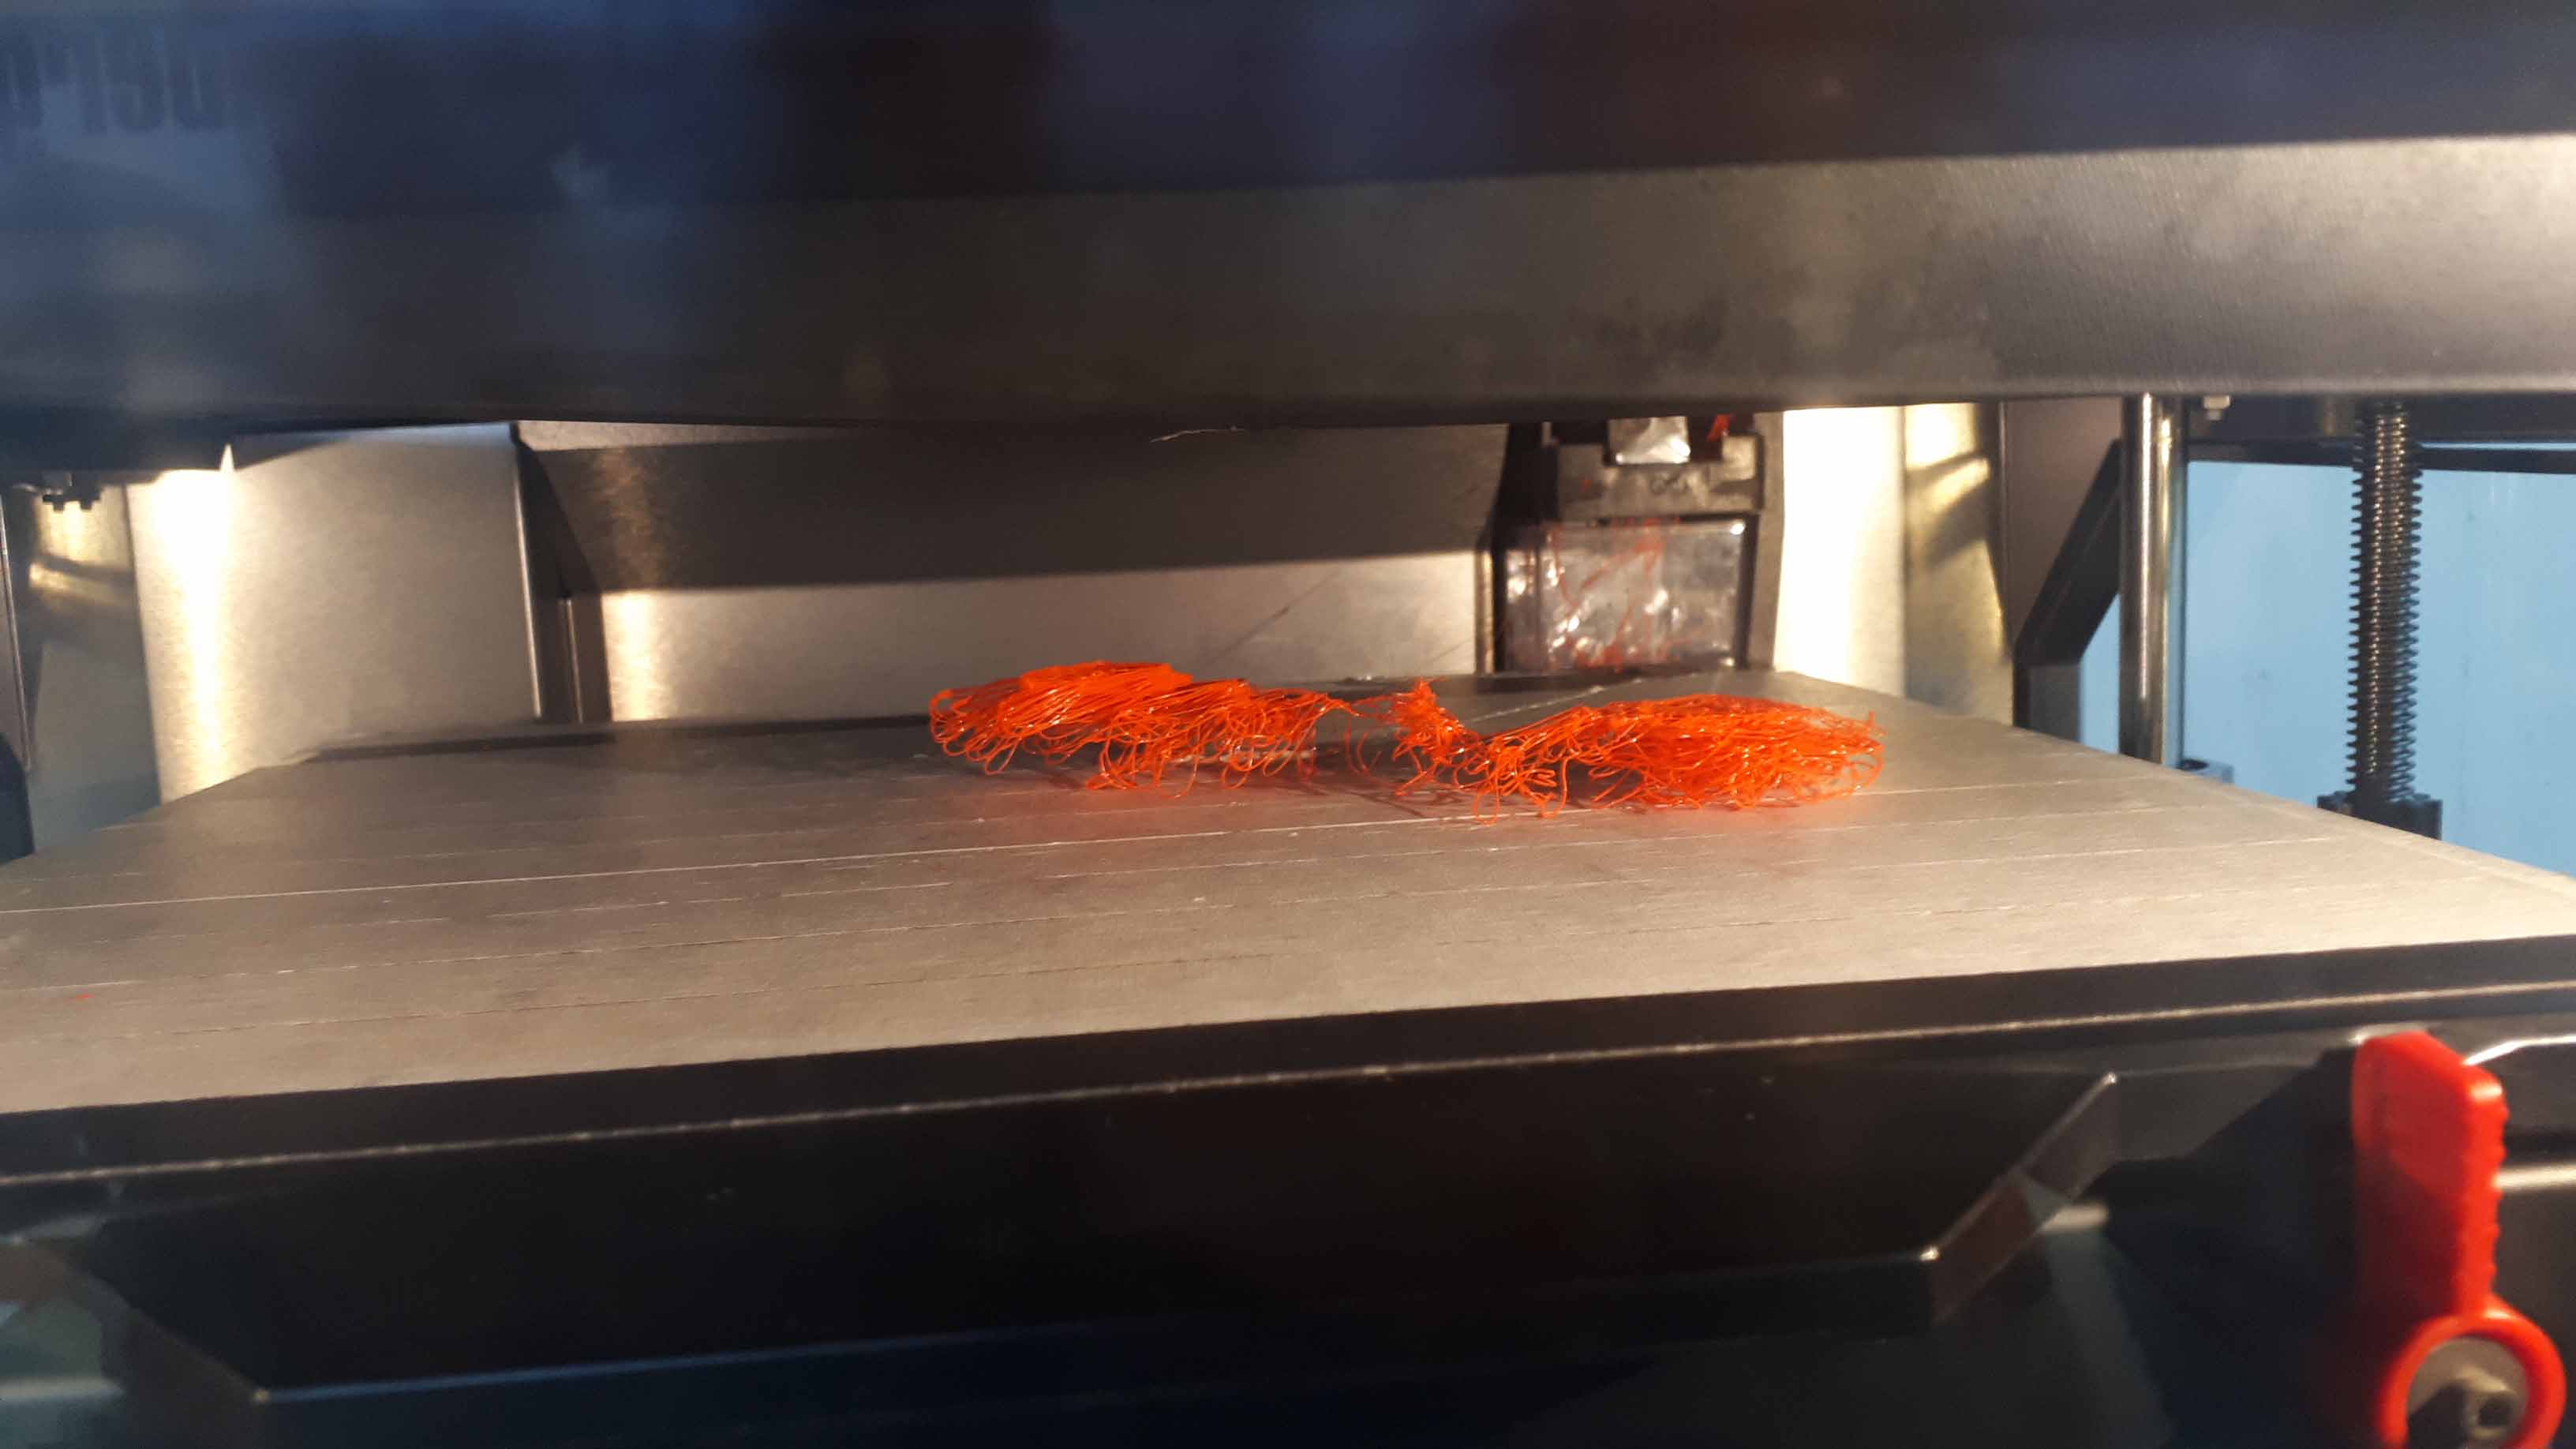
Here is the end result.
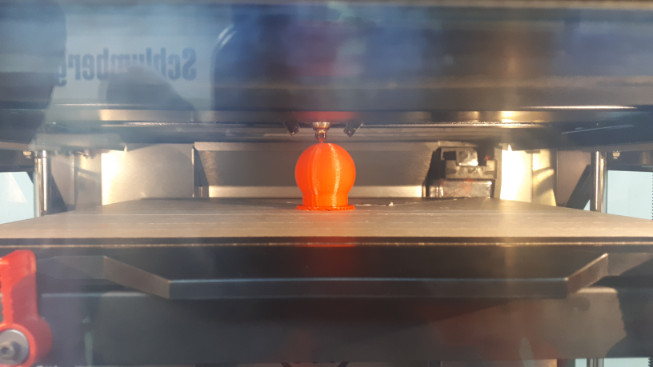
I added a wider base, and the printing resulted in a figure with a sphere inside. If you shake the model you can hear there is something hiden.

This is the printing, finishing.
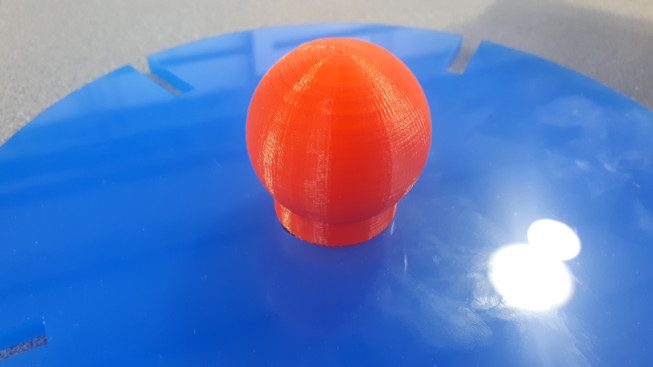
Here is the final product with a wider support.
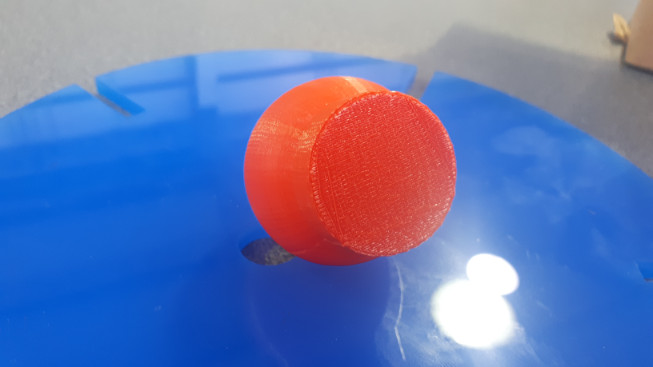
And here, as seen from bellow.
Scanned an object:
3D printer used in this print:
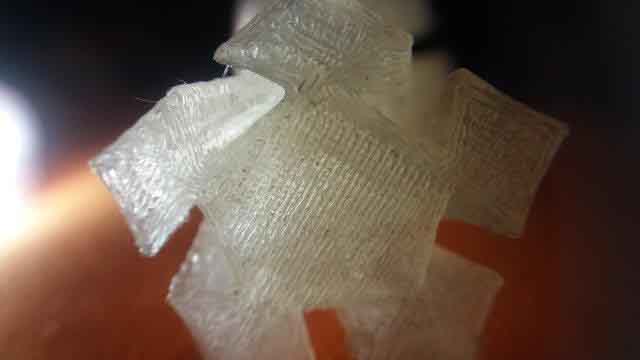
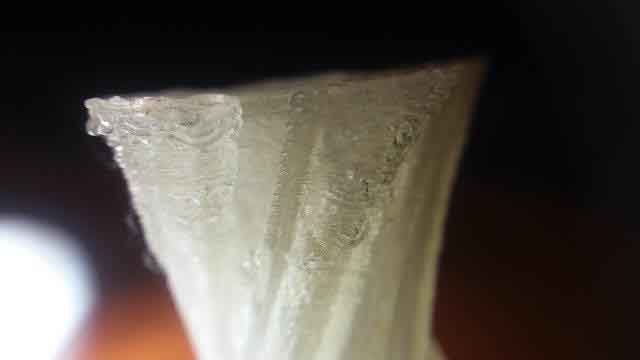
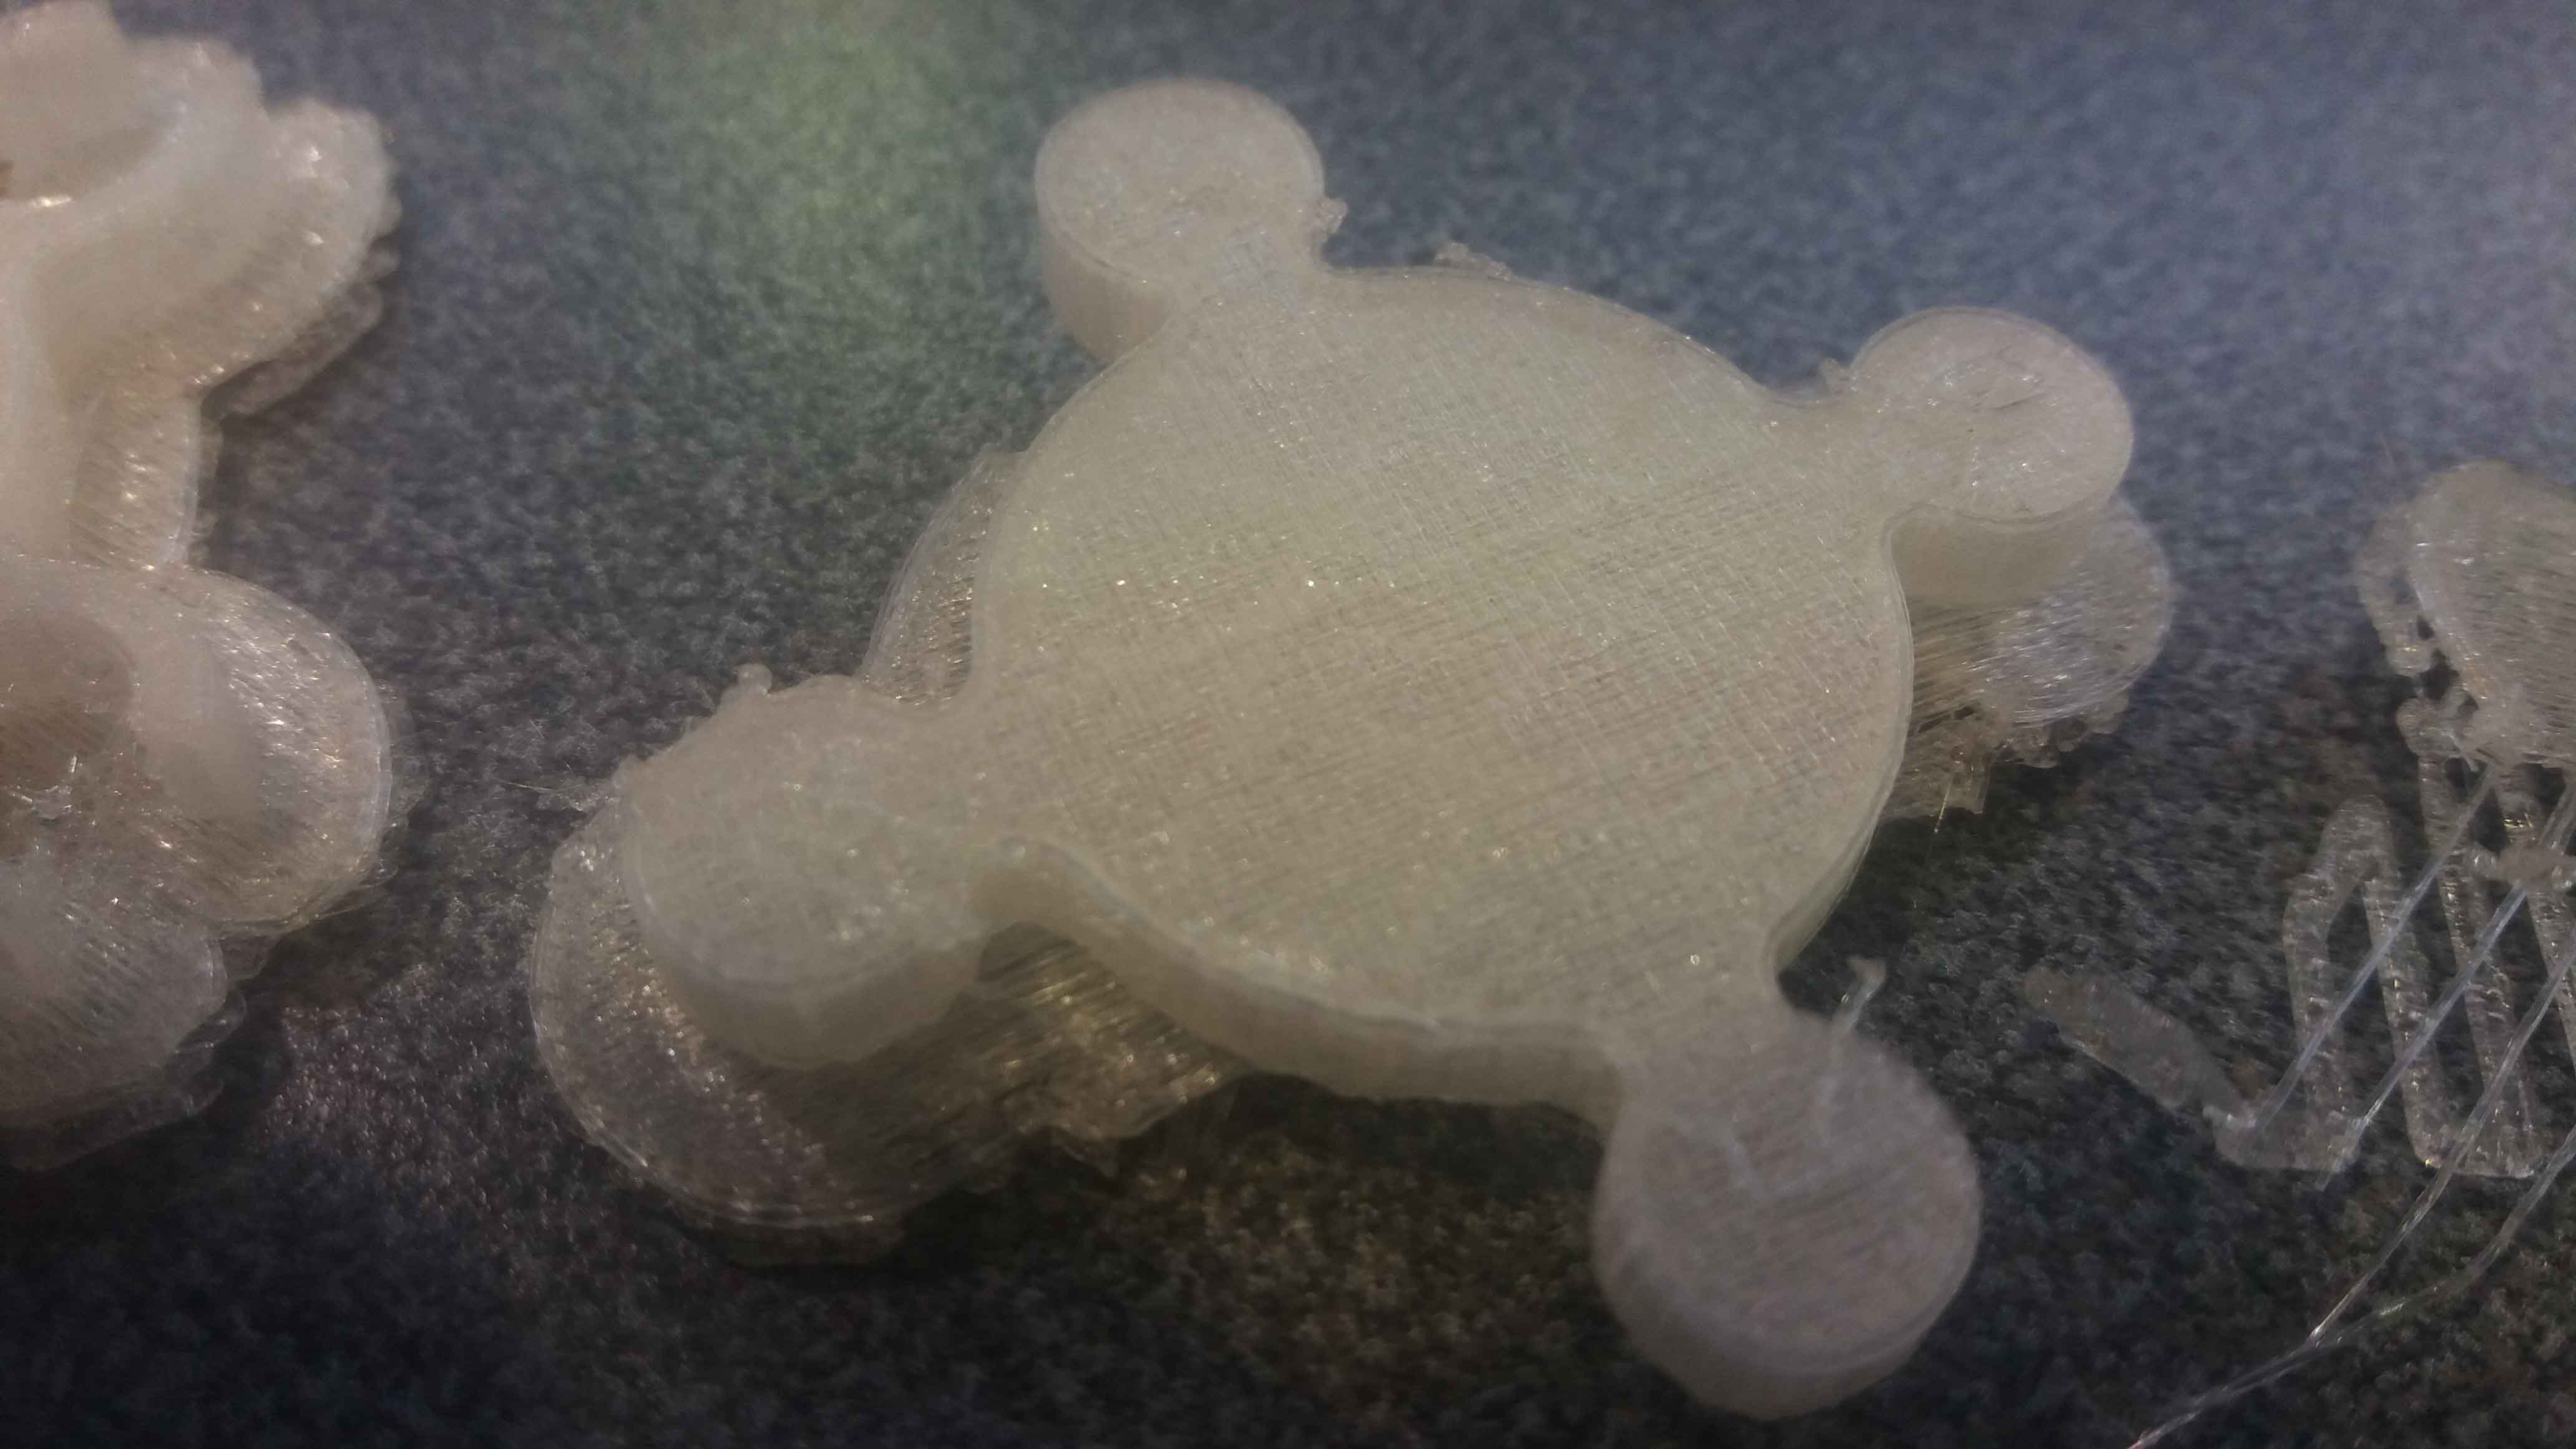
Calibration tool used for determining the 3D printer kerf.
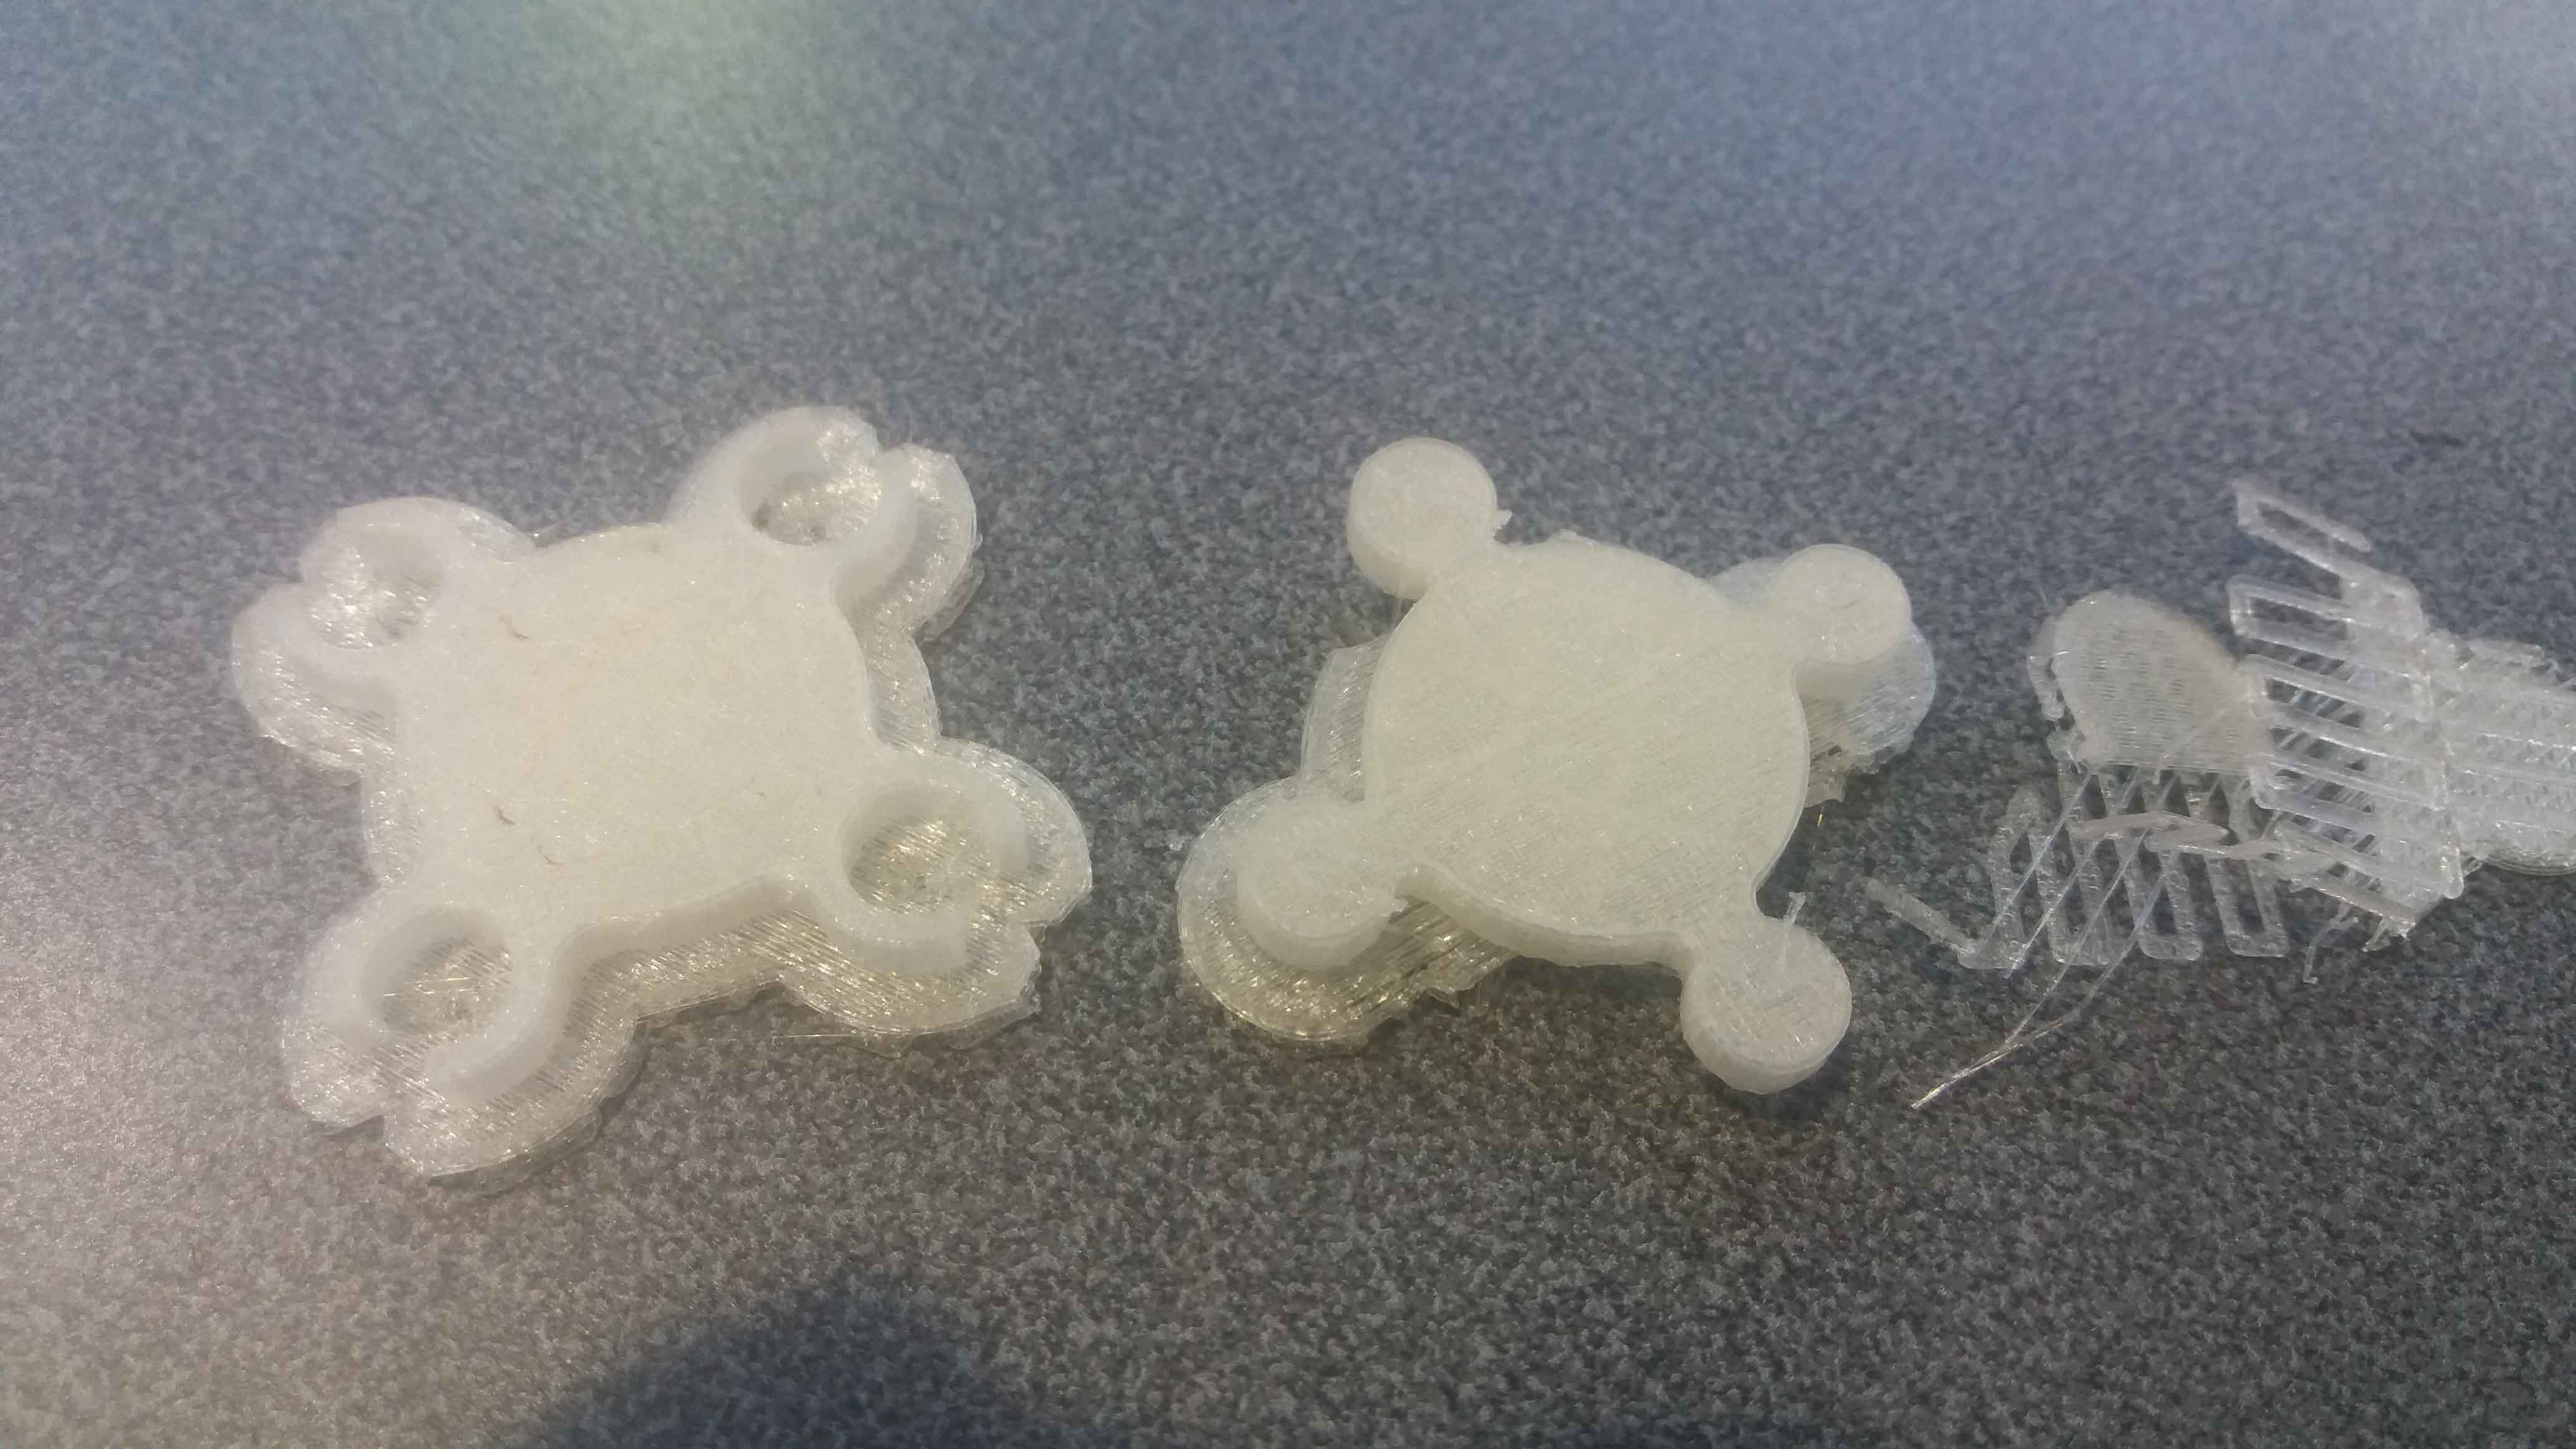
3D printer calibration print detail:
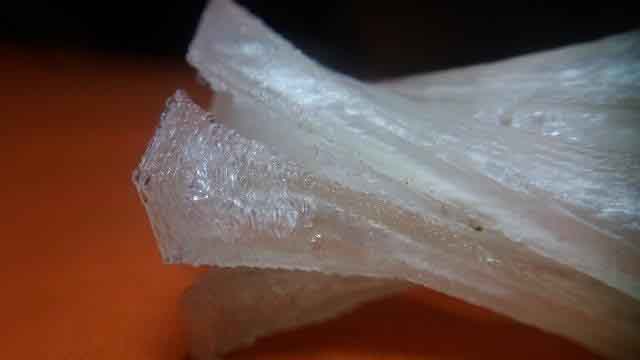
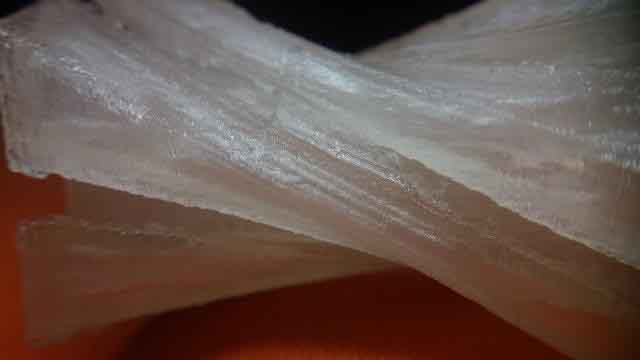
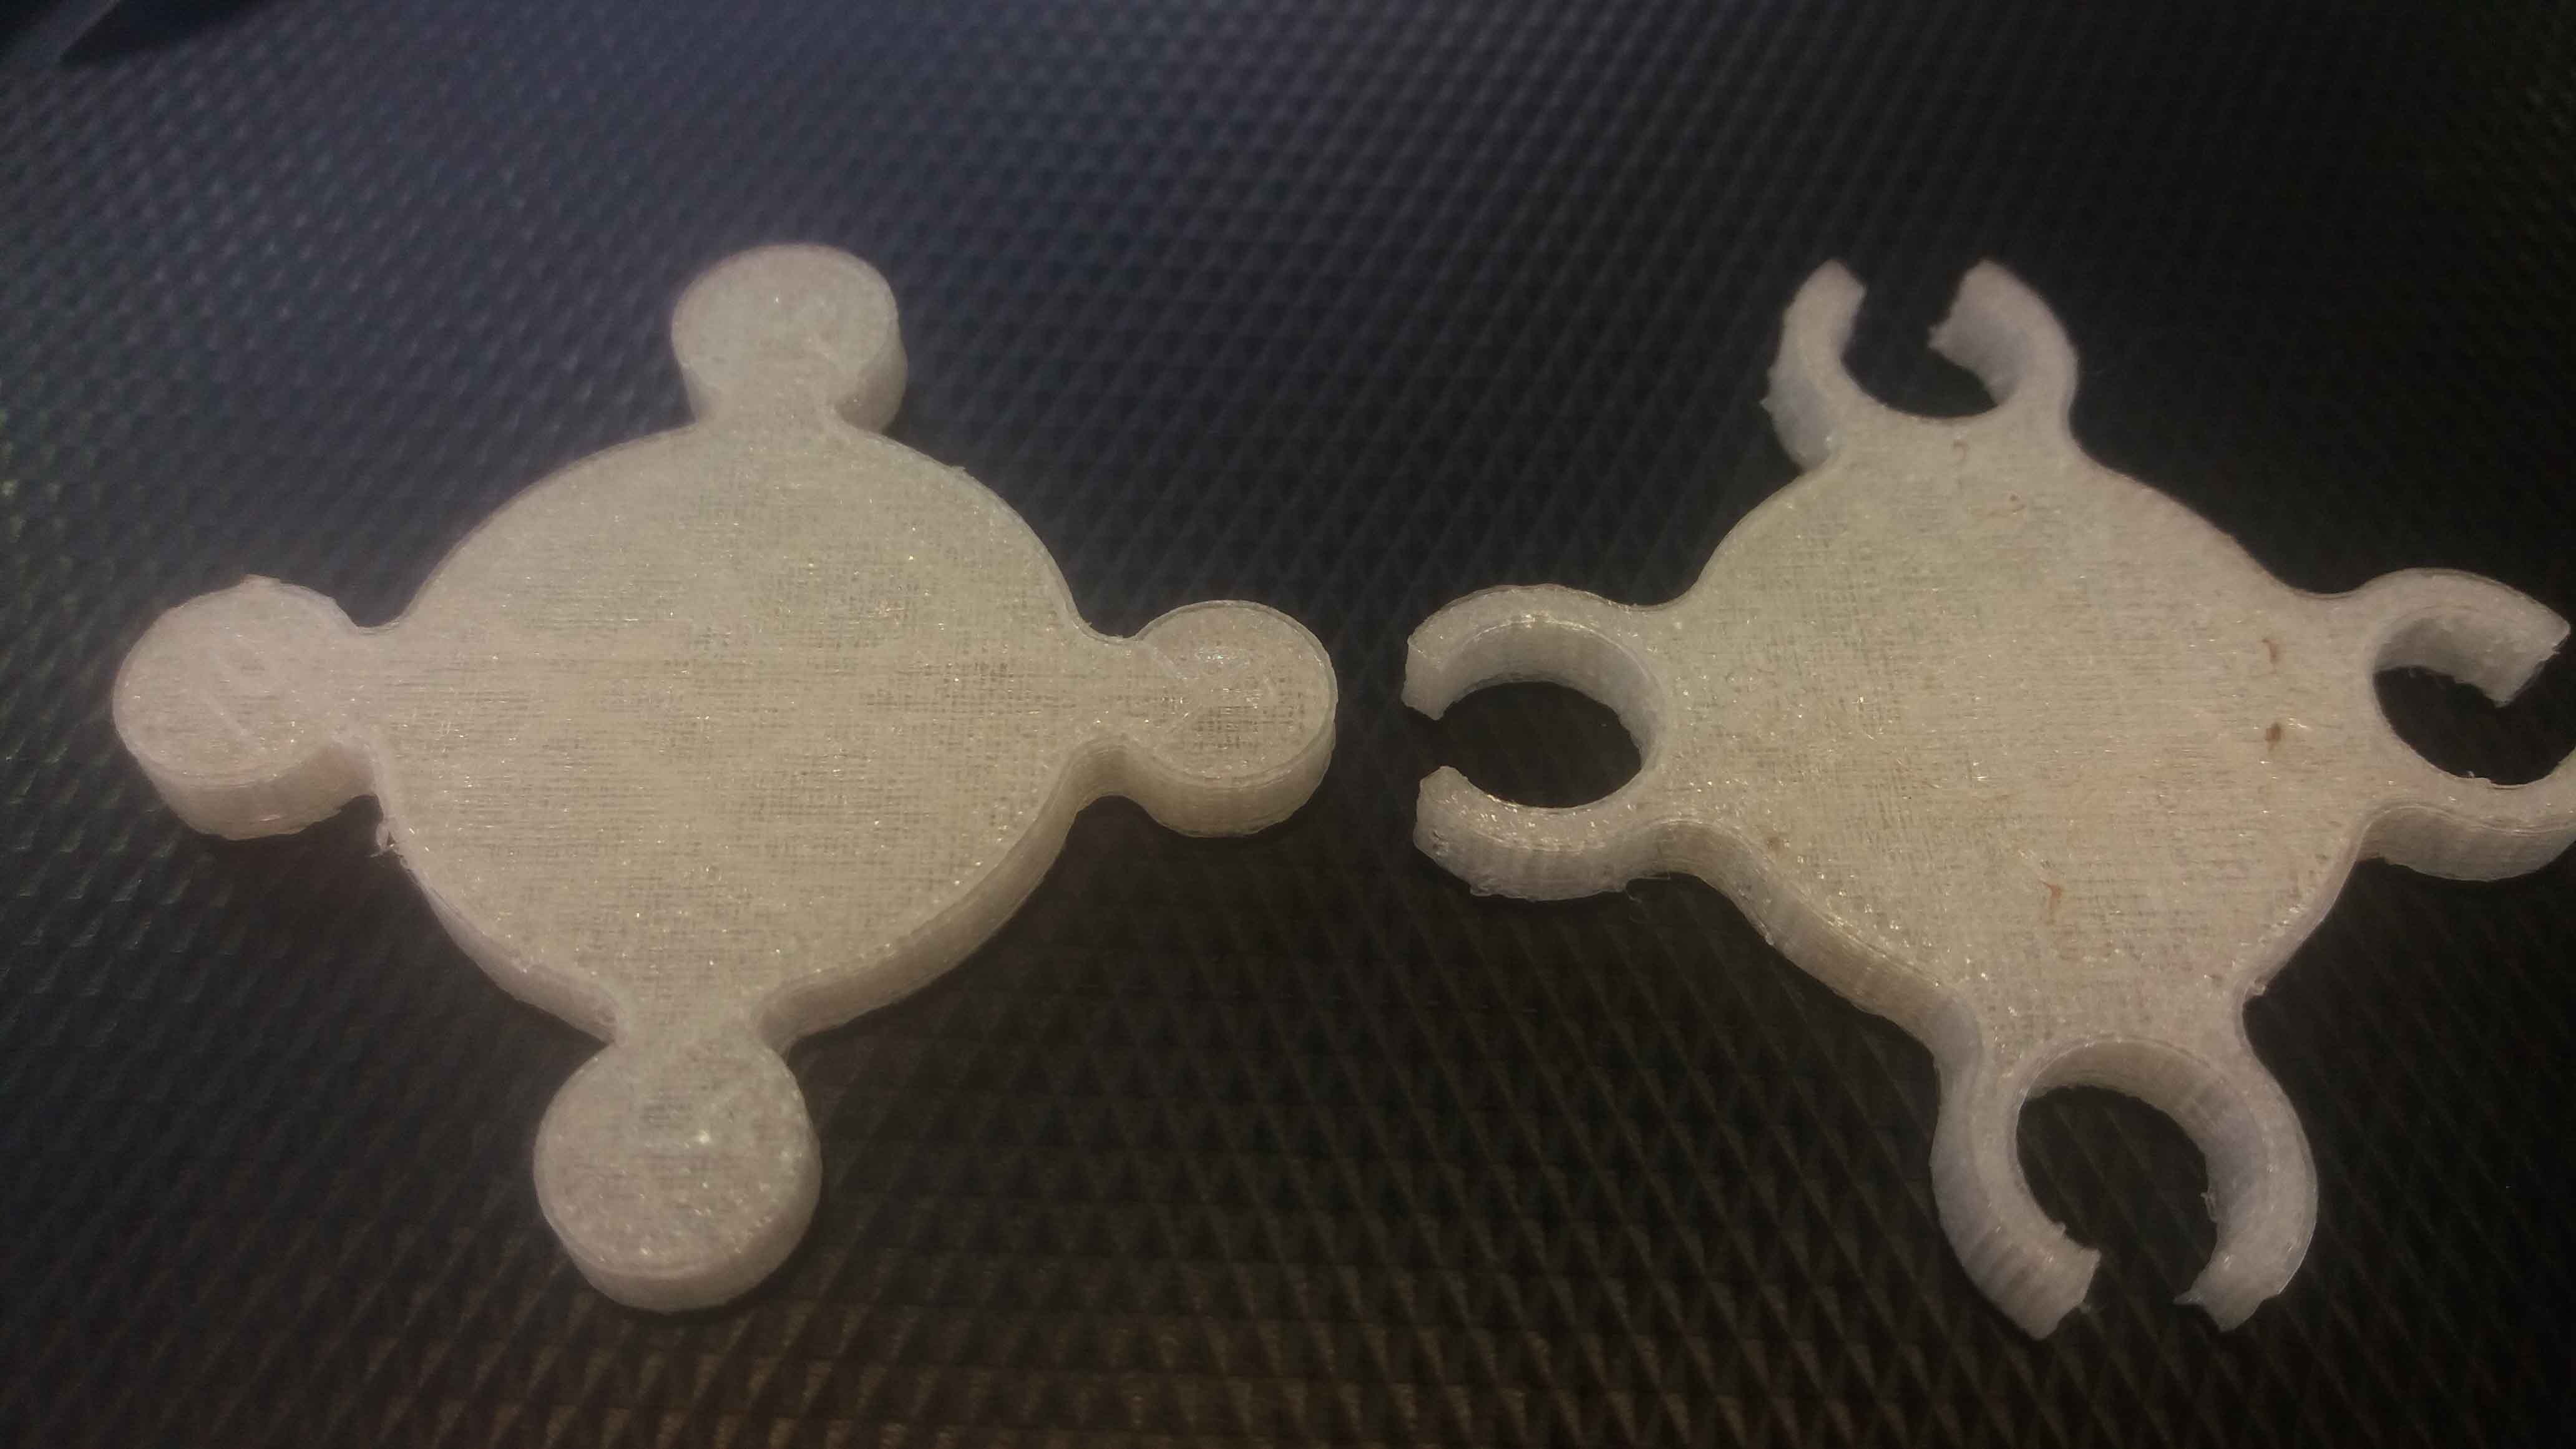
Two pieces separated:
The pieces where designed with a nominal diameter of the outside contact surface and three other protrusions with 100 microns increments. The other piece was designed with a nominal diameter and and outside contact surface increments of 100 microns. The nominal/nominal contact was loose (my guess is that the material contracts when it cools down). The 100 Outside/nominal, and the nominal/100 Inside where a little more thight. The 100 Outside/100 Inside where even more thight.
Depending on the application (moving/sliding parts vs. secure fit) we can decide which kerf modification we will choose.
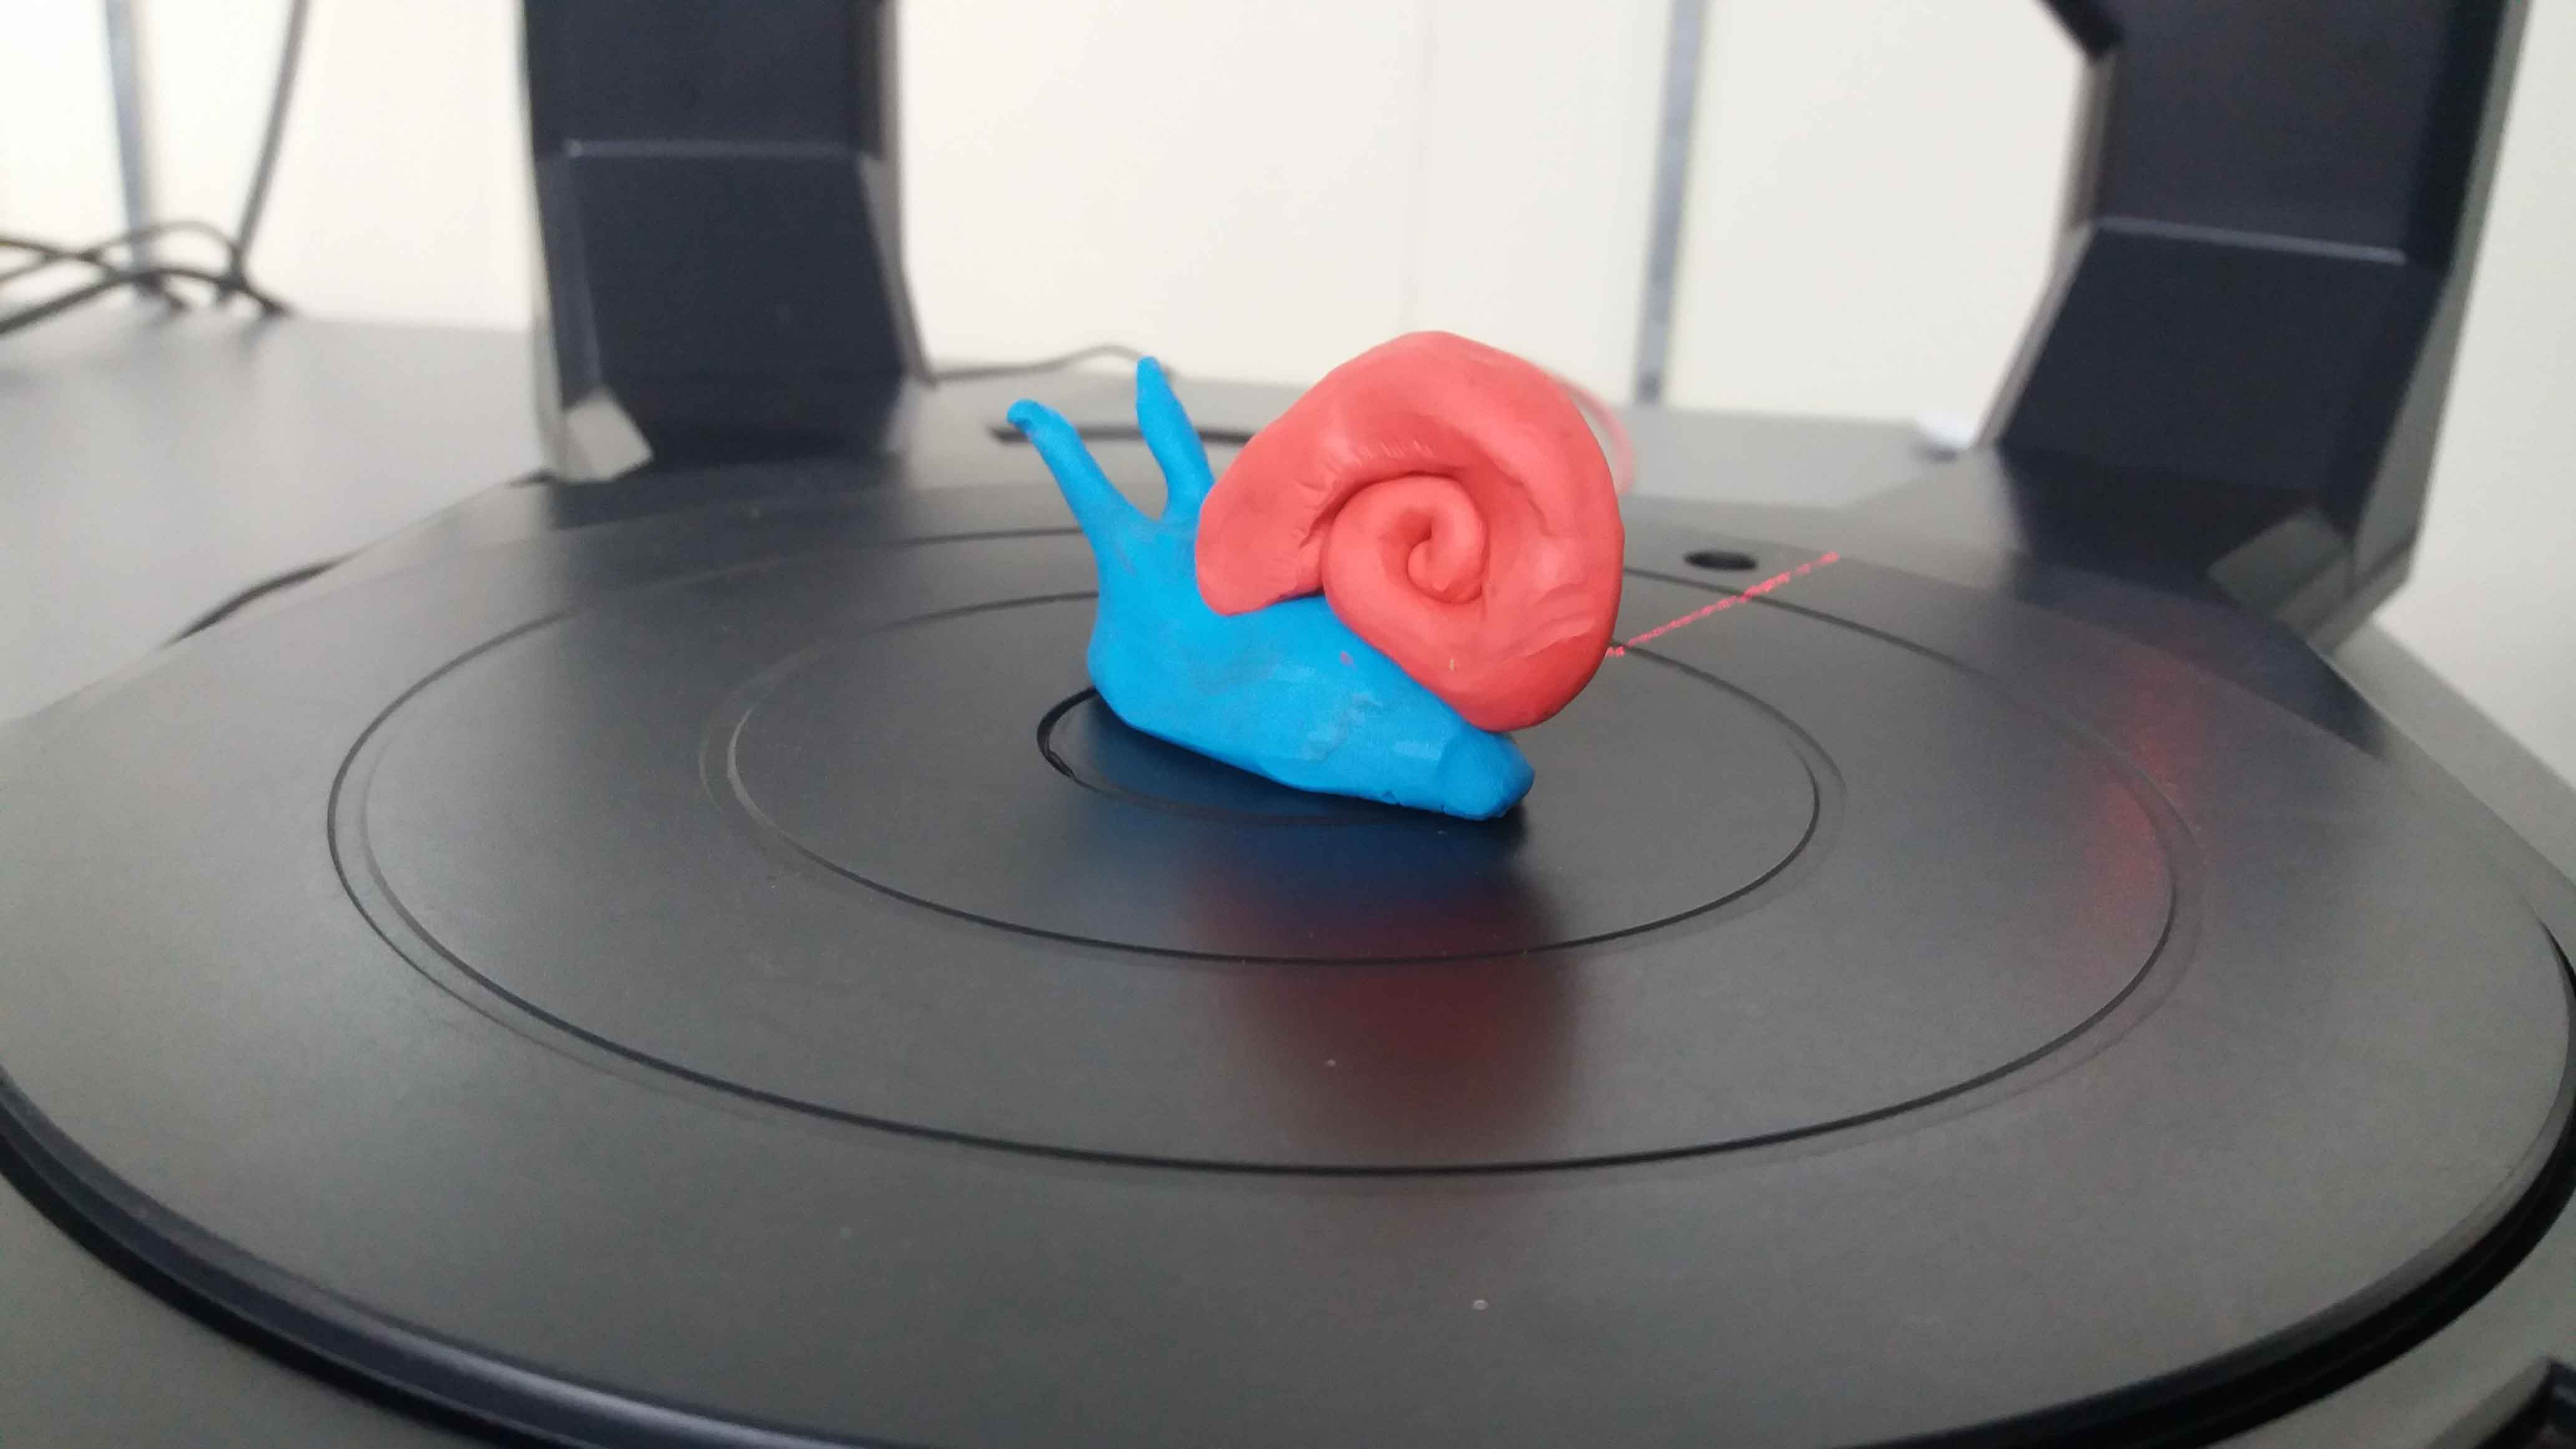
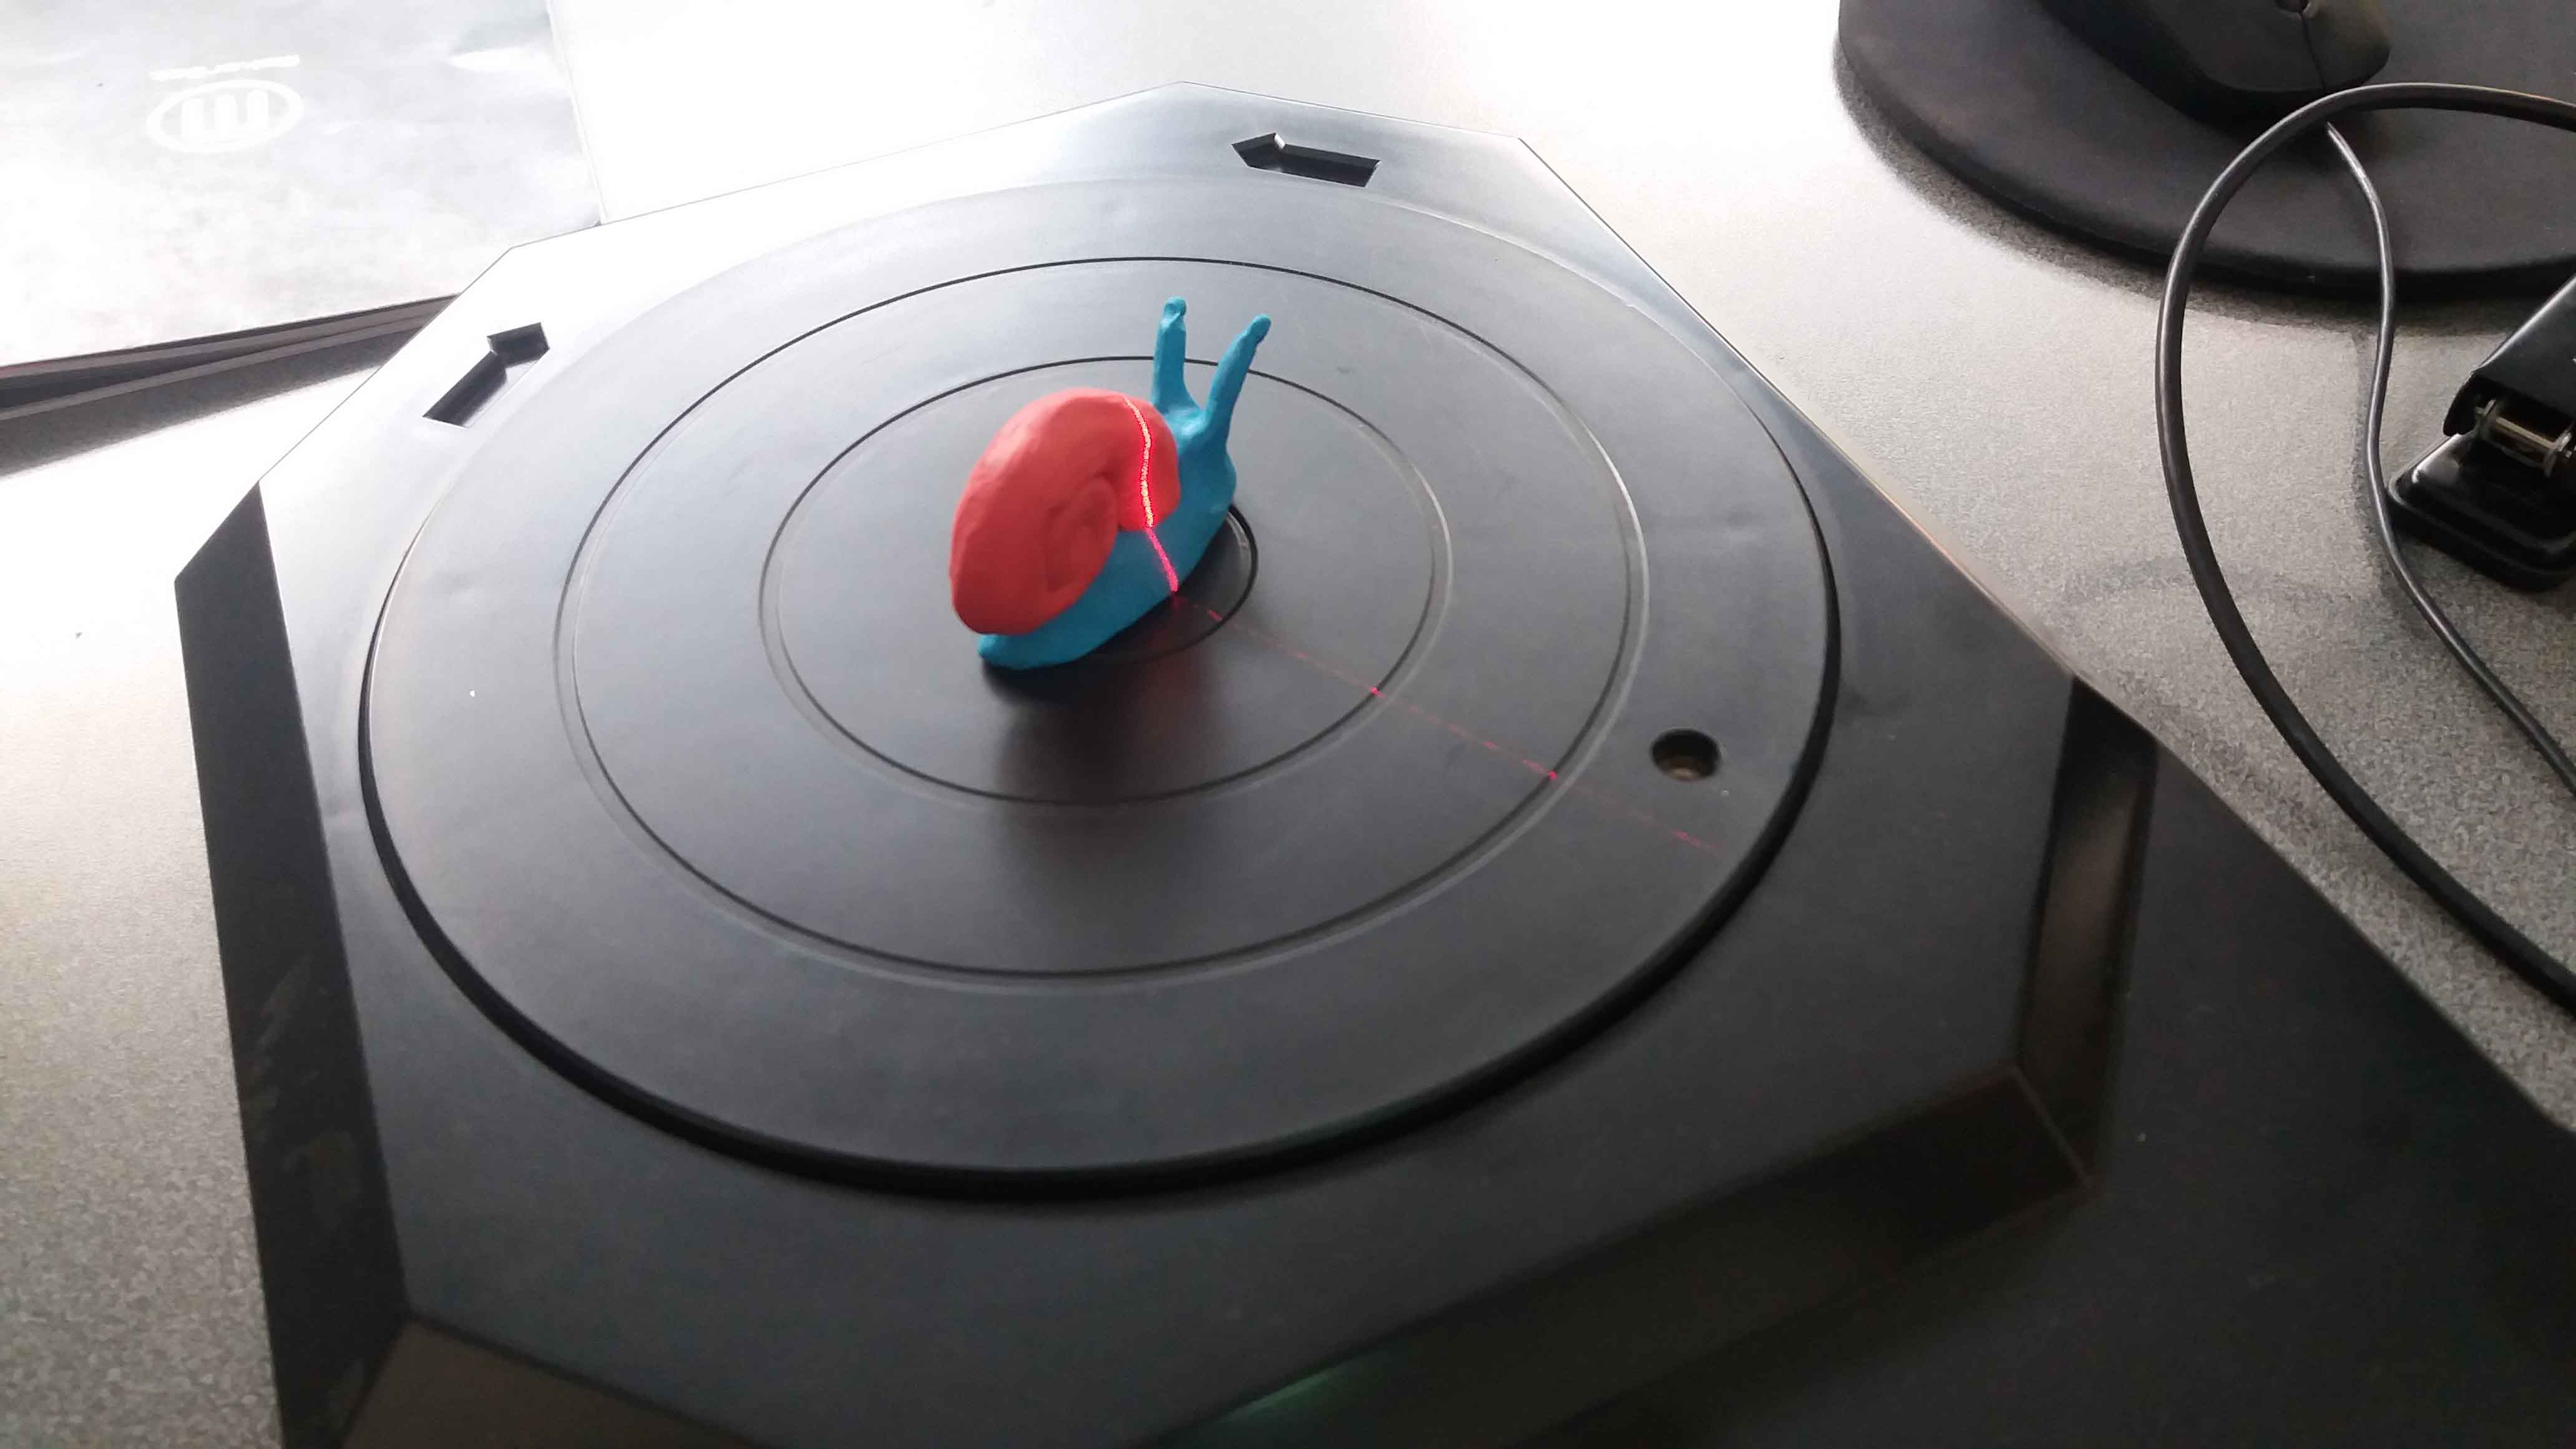
A simple model in clay. A molusc (snail).

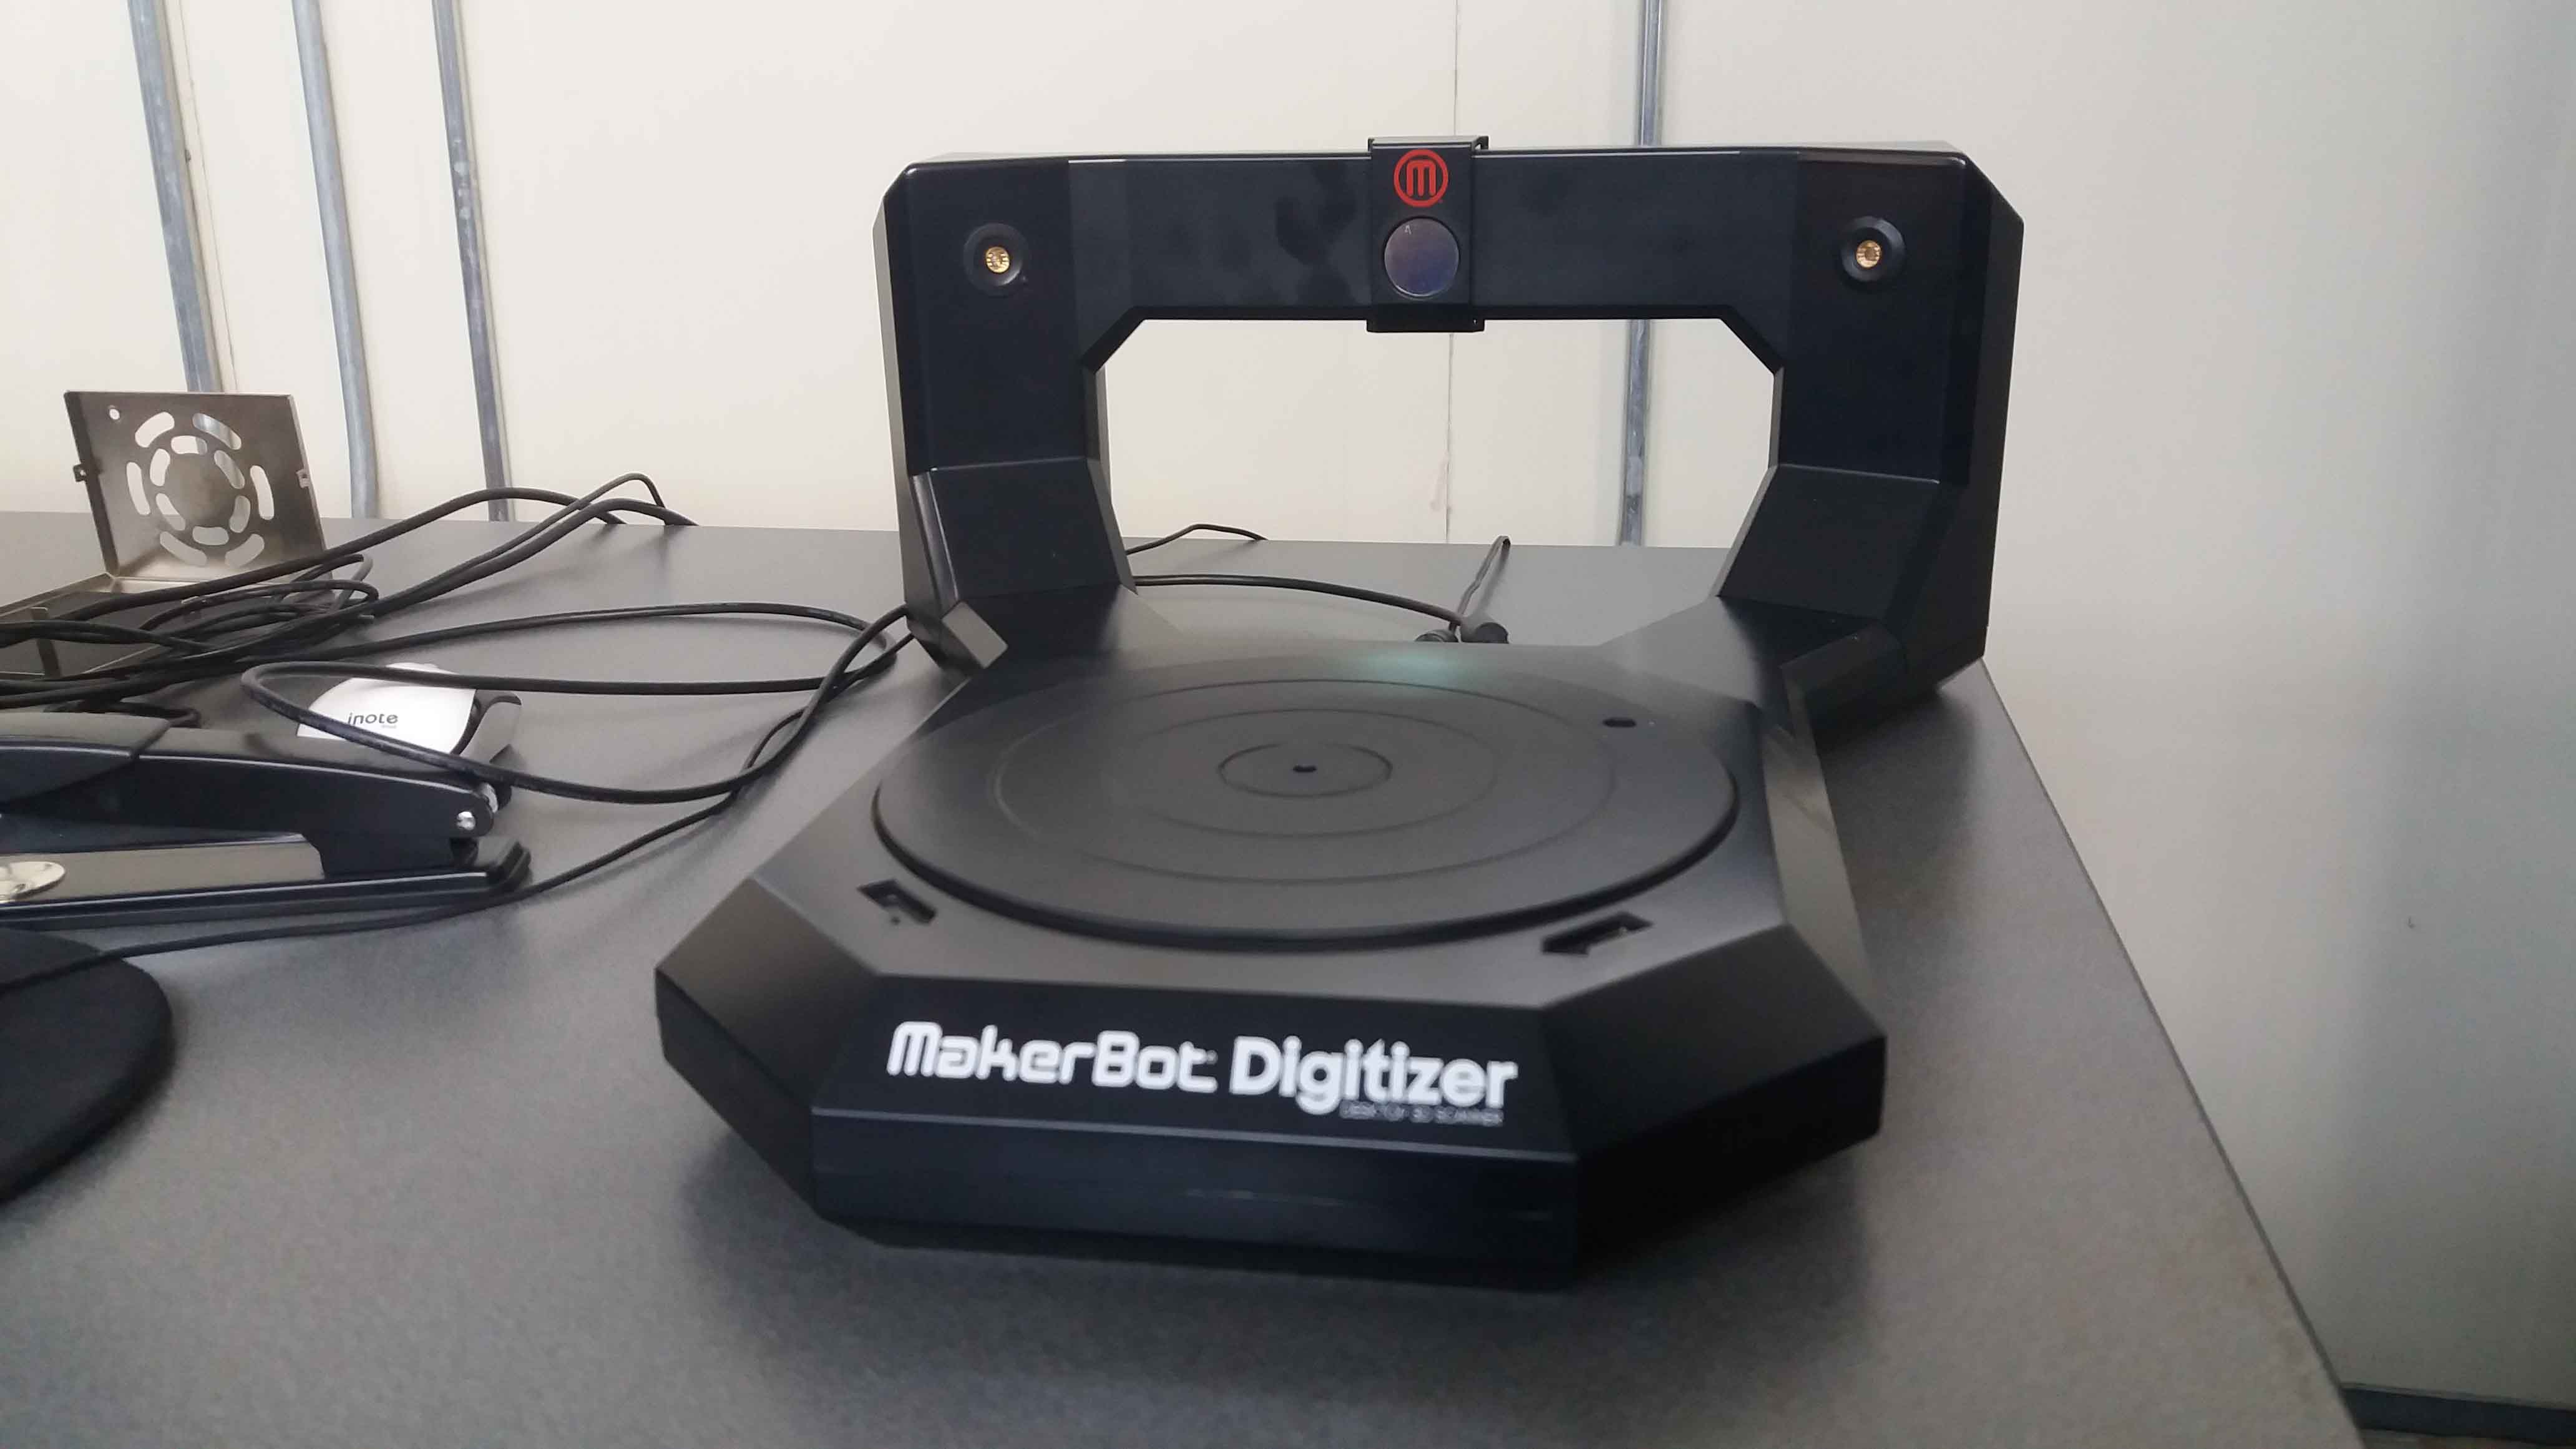
MakerBot digitaizer:
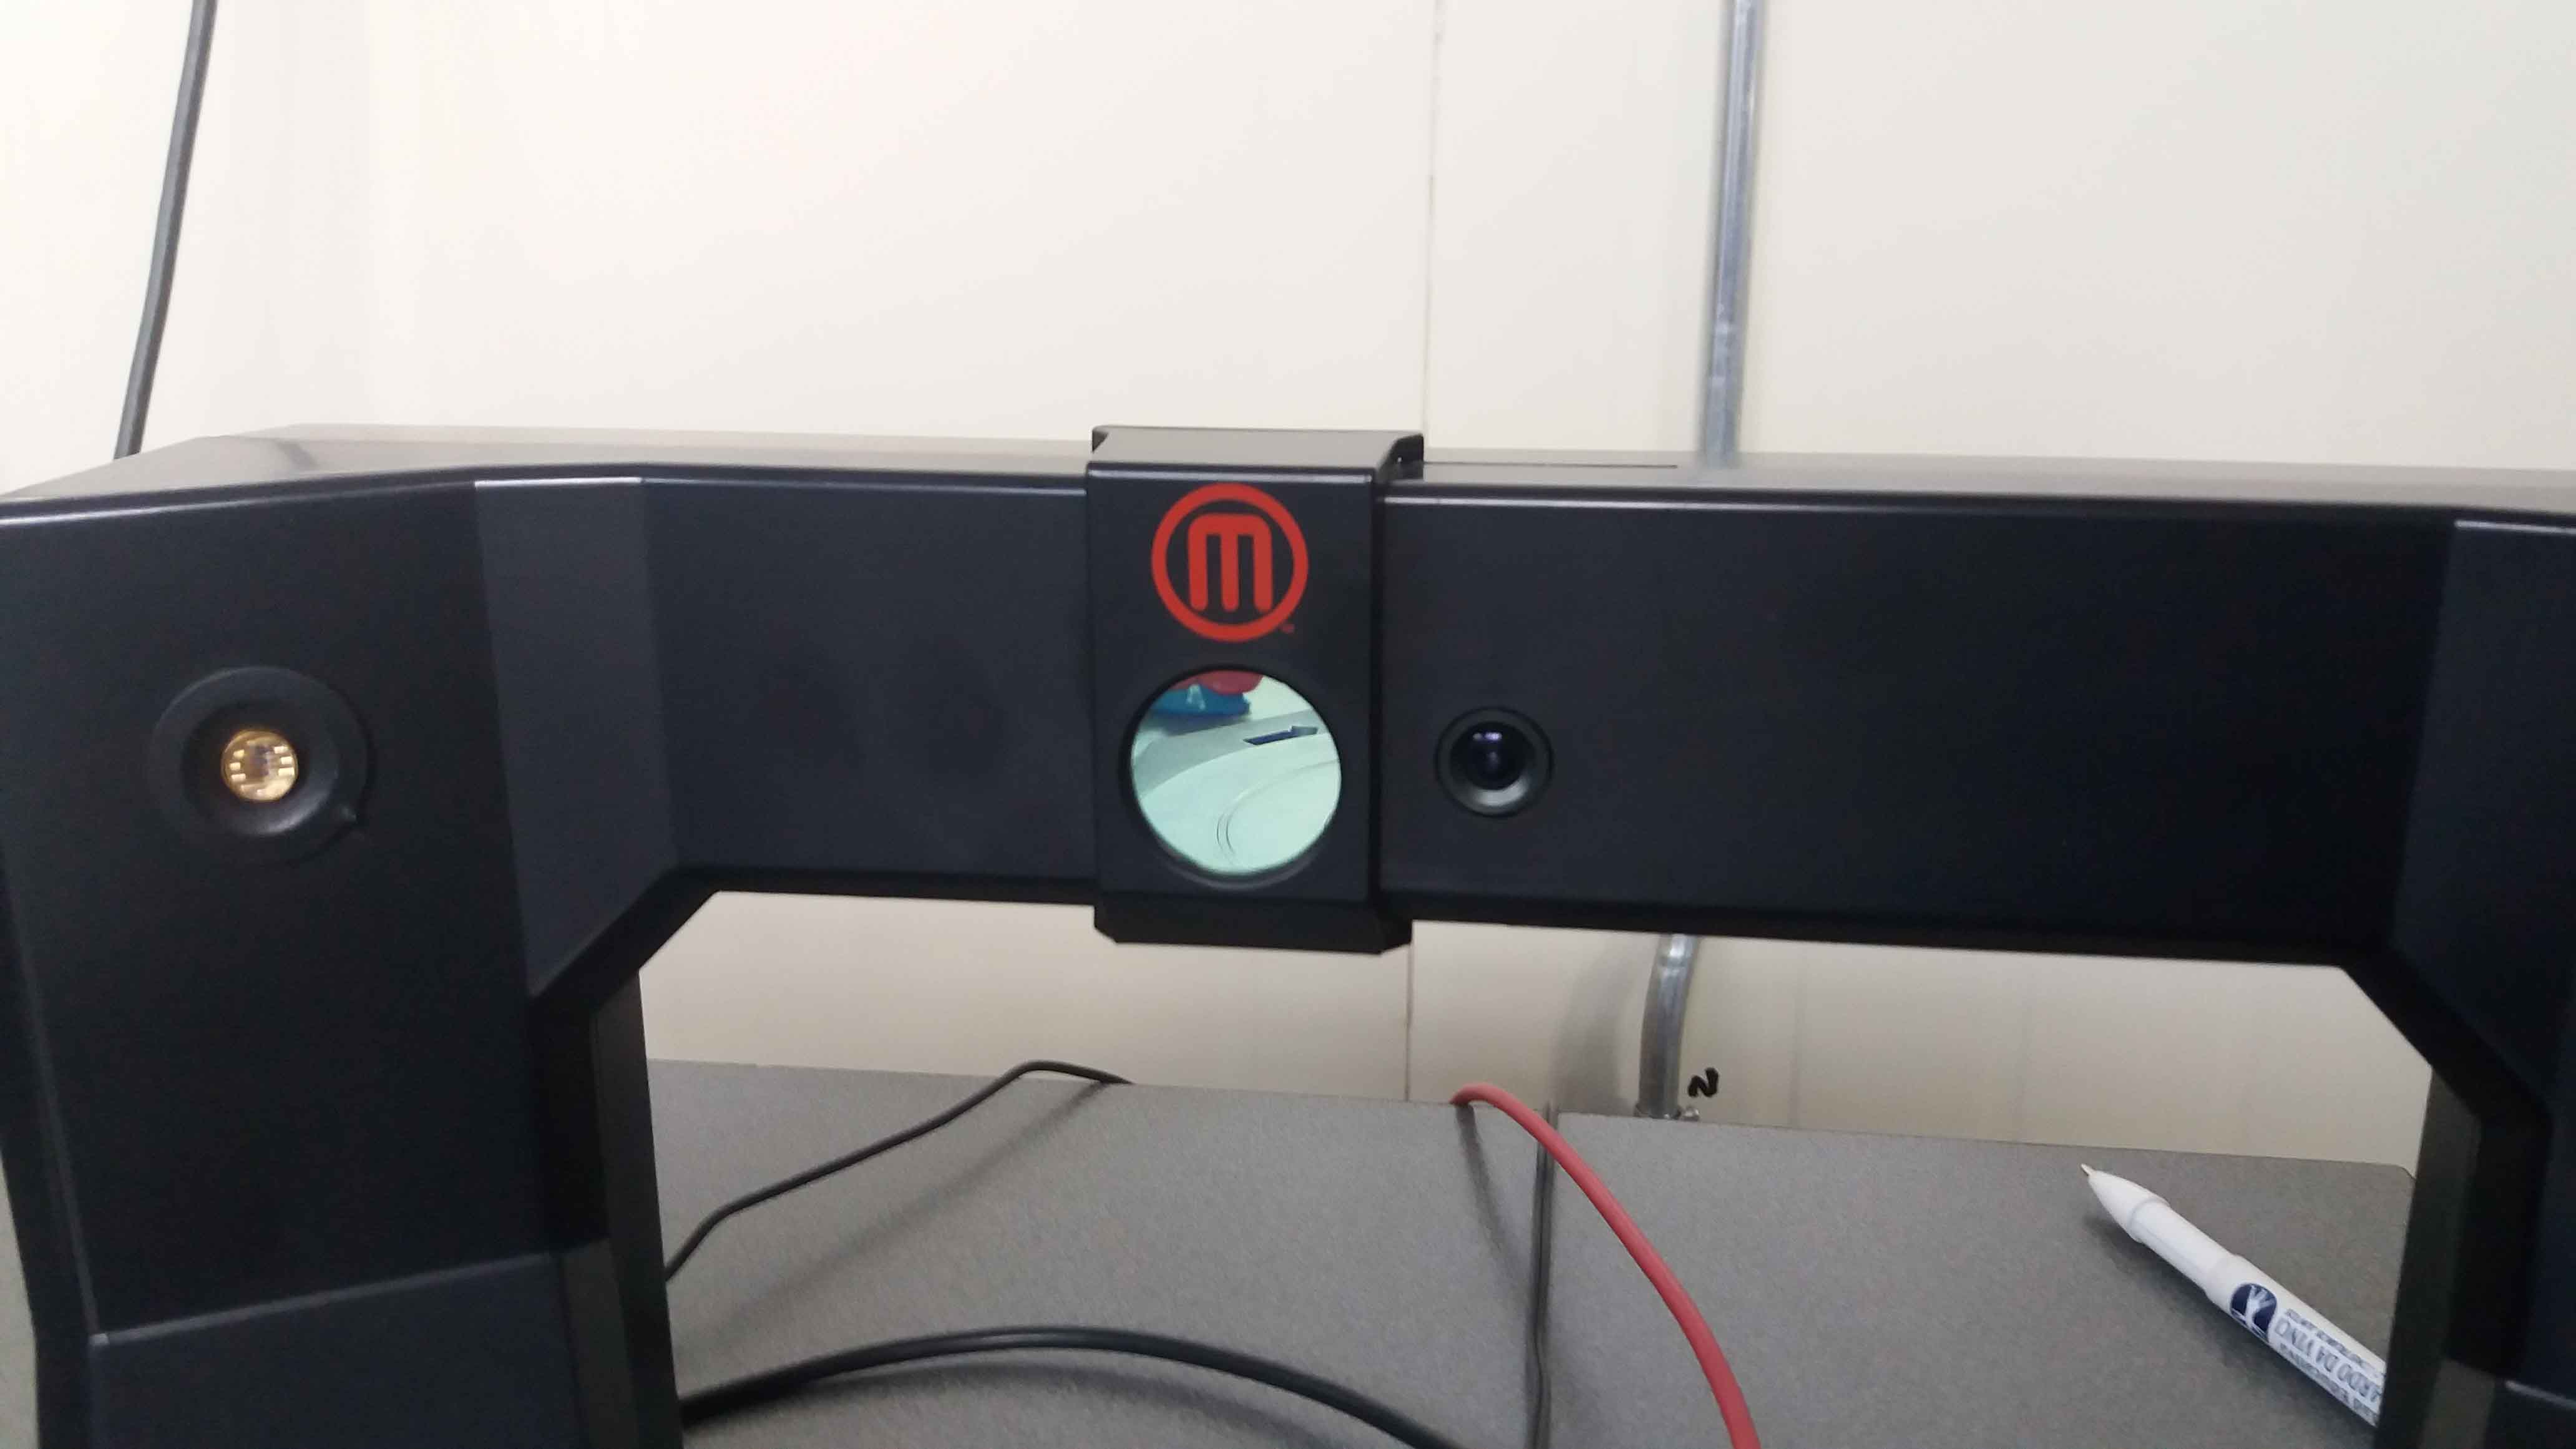
MakerBot digitazer, close up:

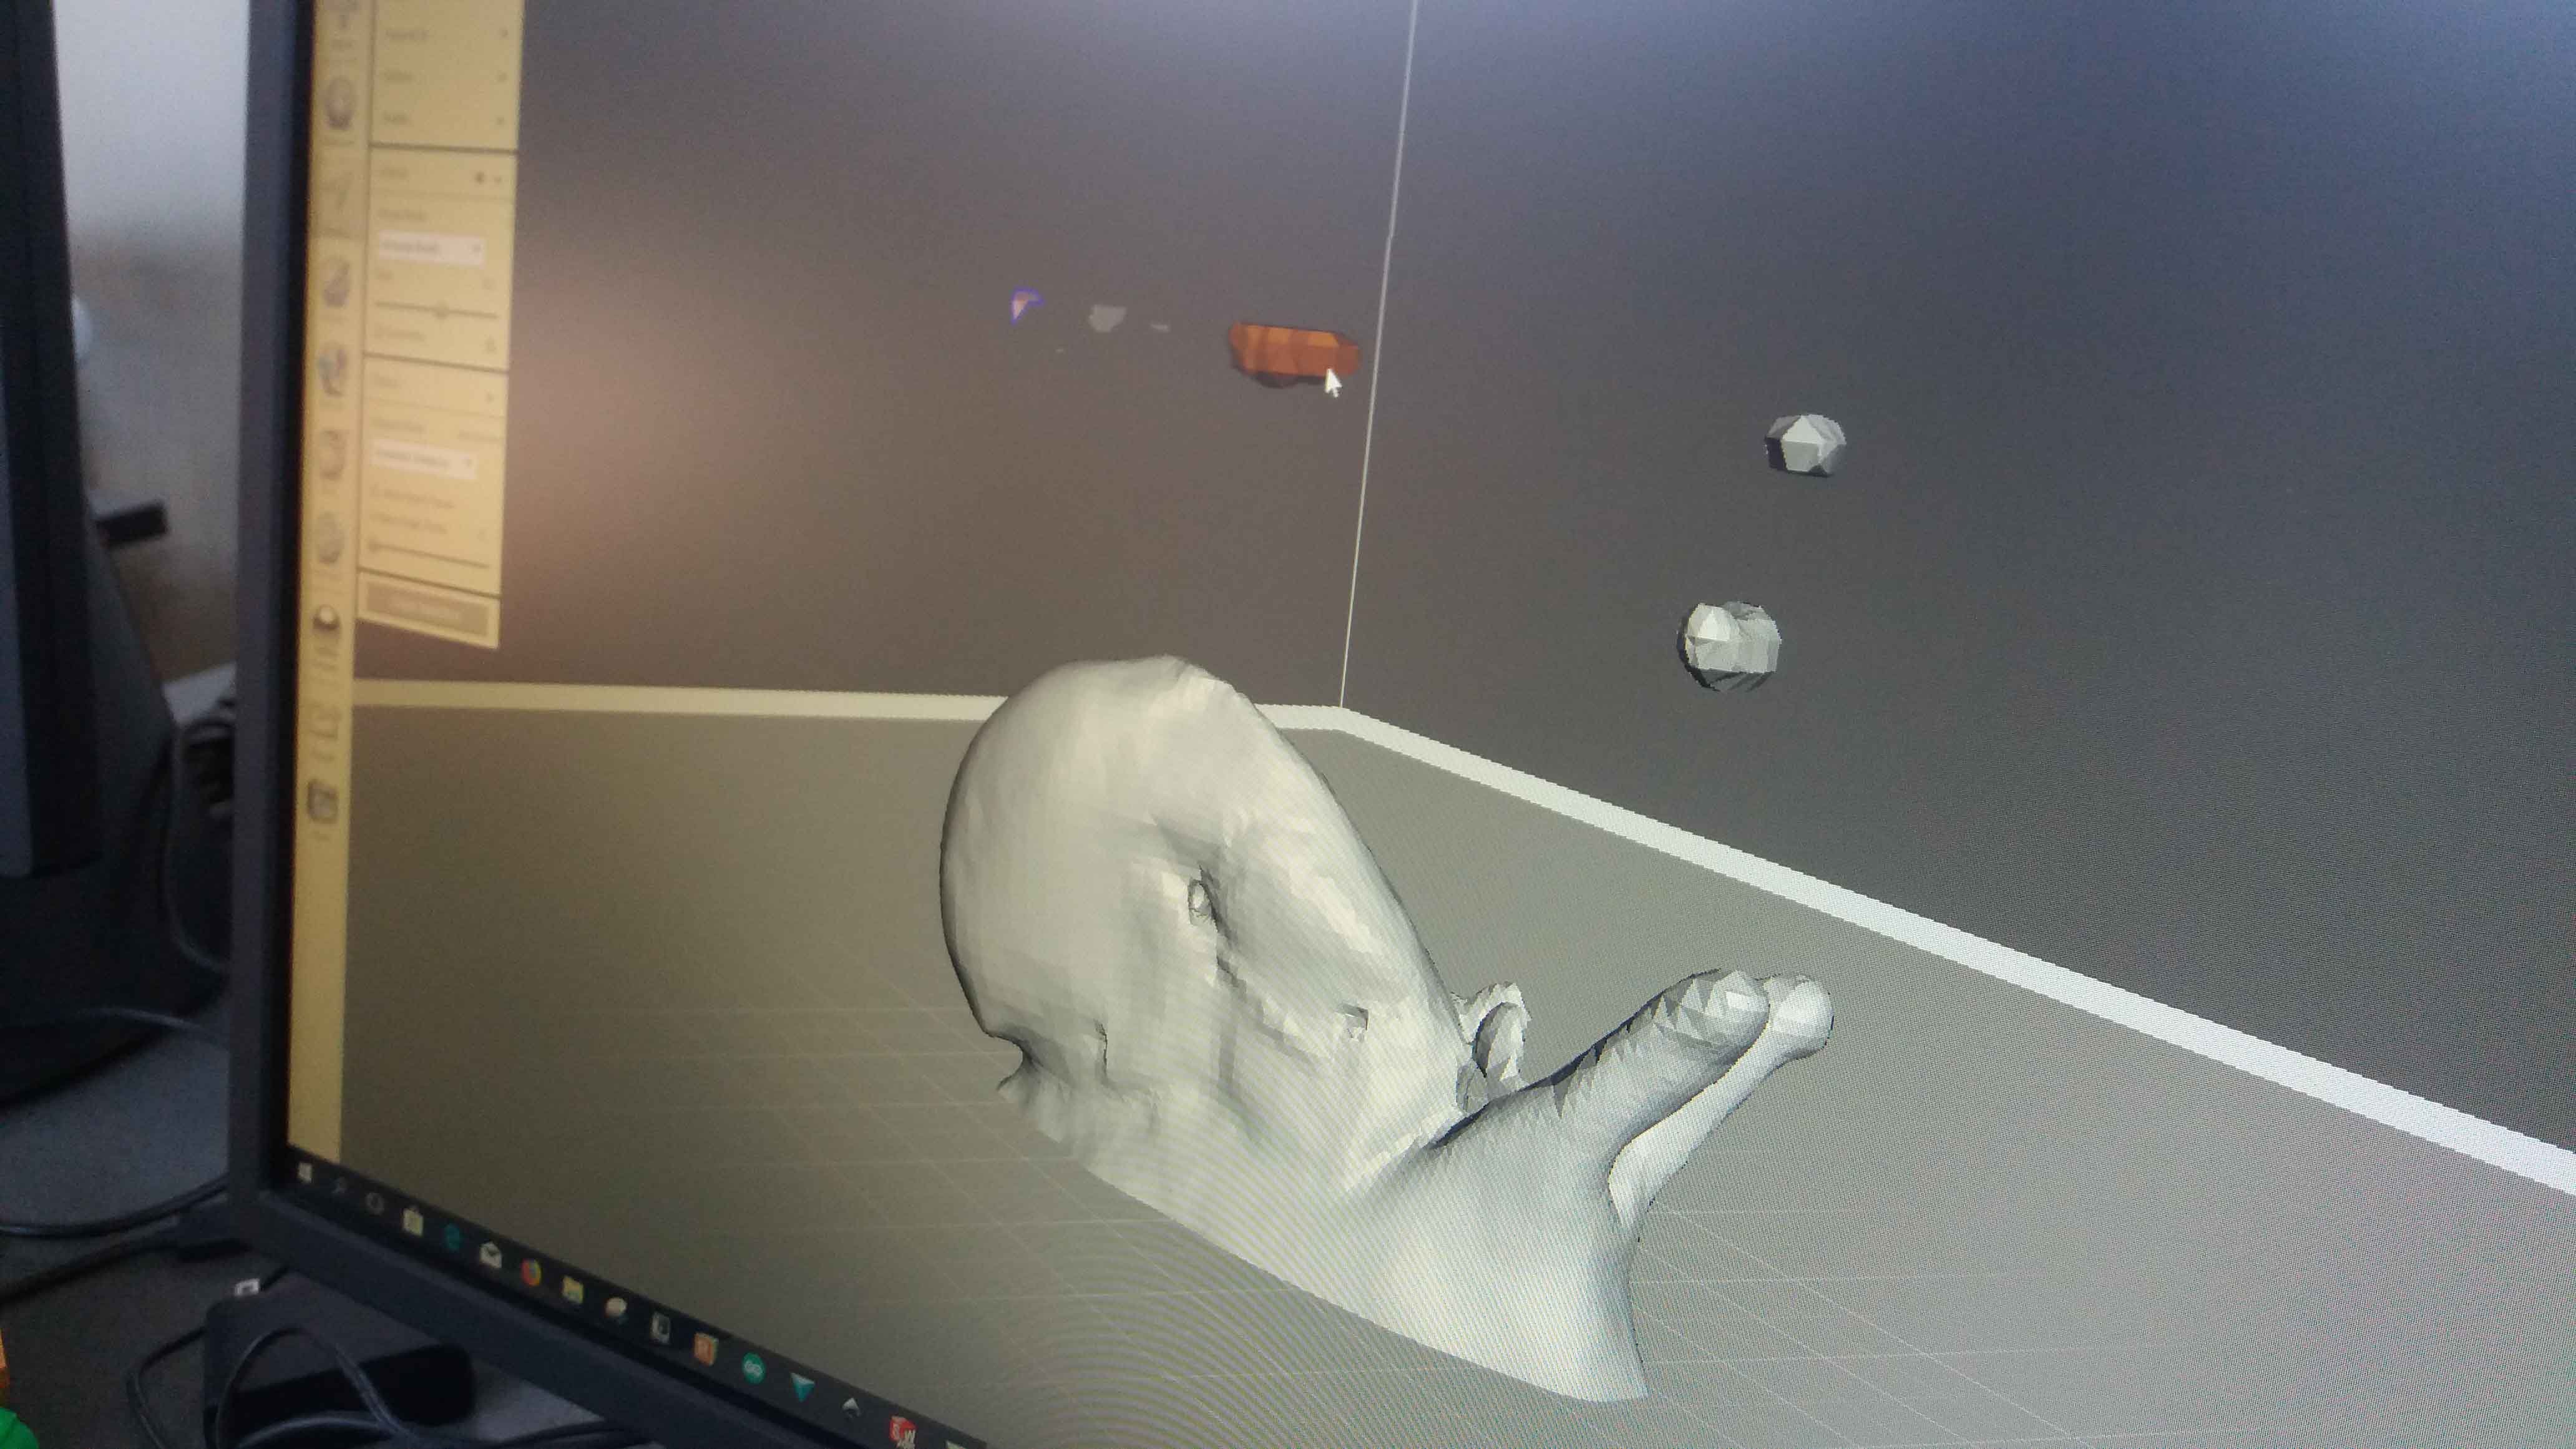
Image digitized:
Lens open. Captures light without color restriction:
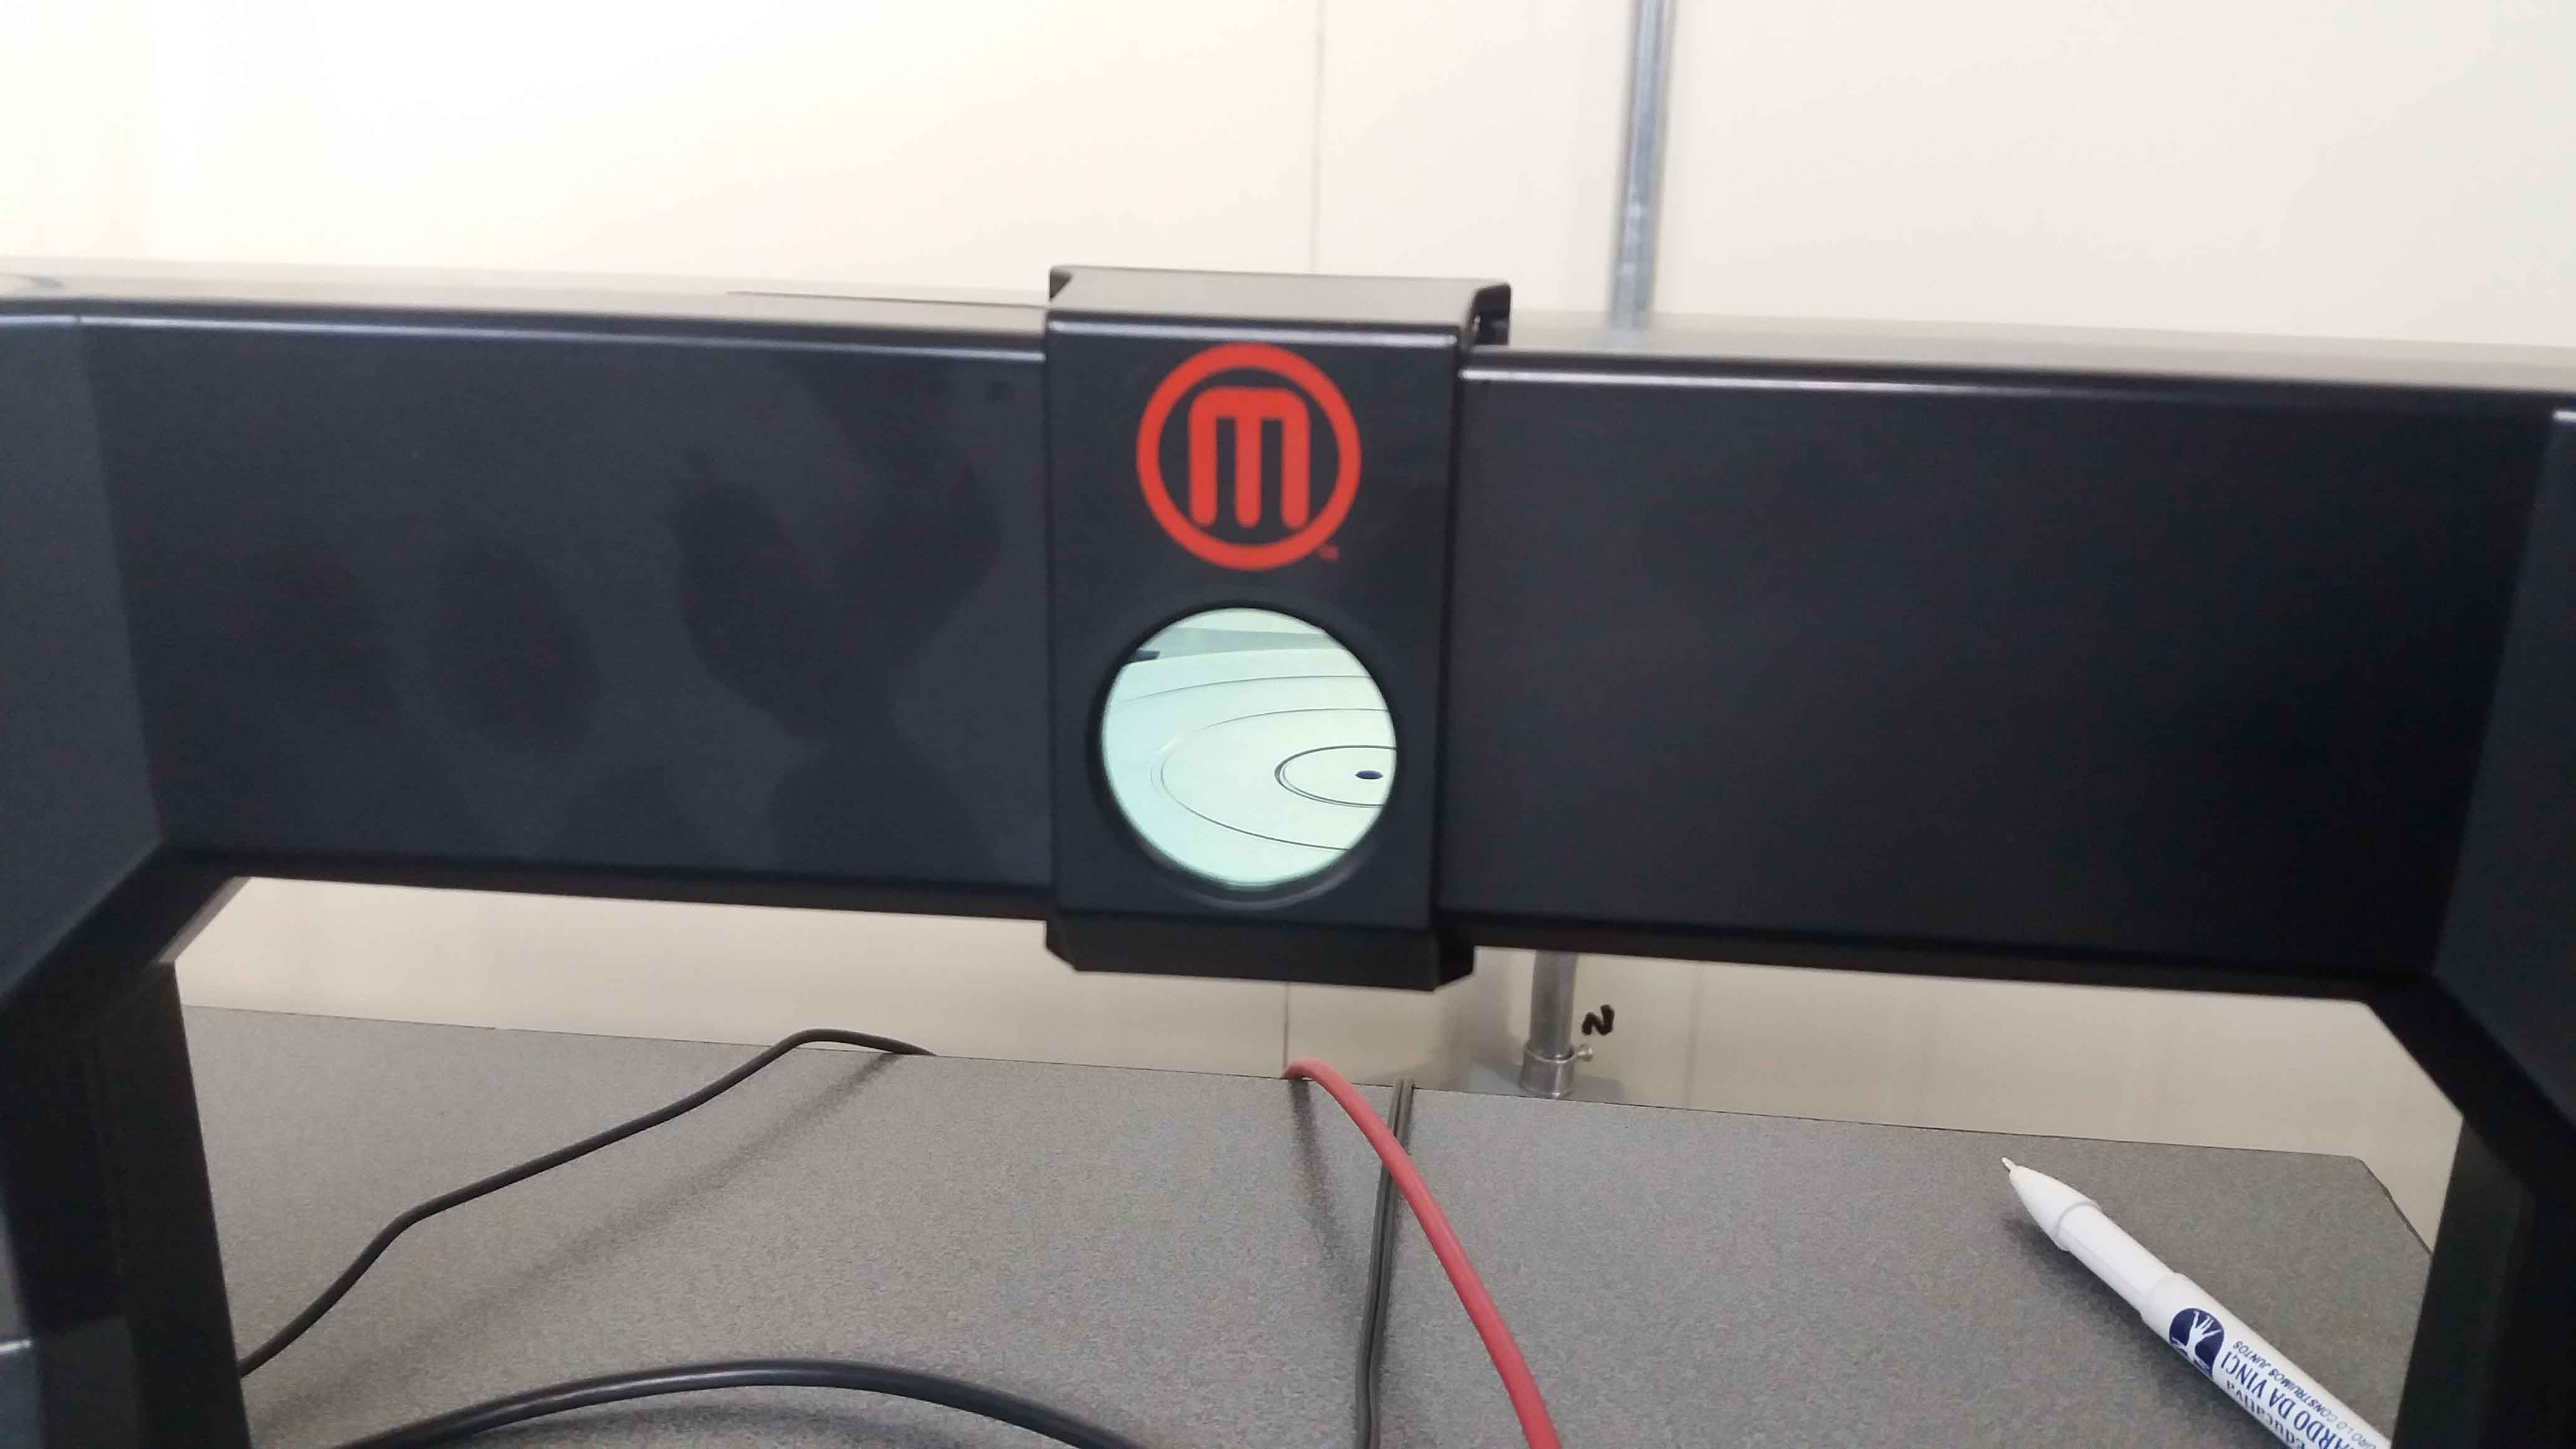
Lens, with filter on. Filters all collor but red. Lasers are coherent, monochromatic light, so the filter might help in accurancy:
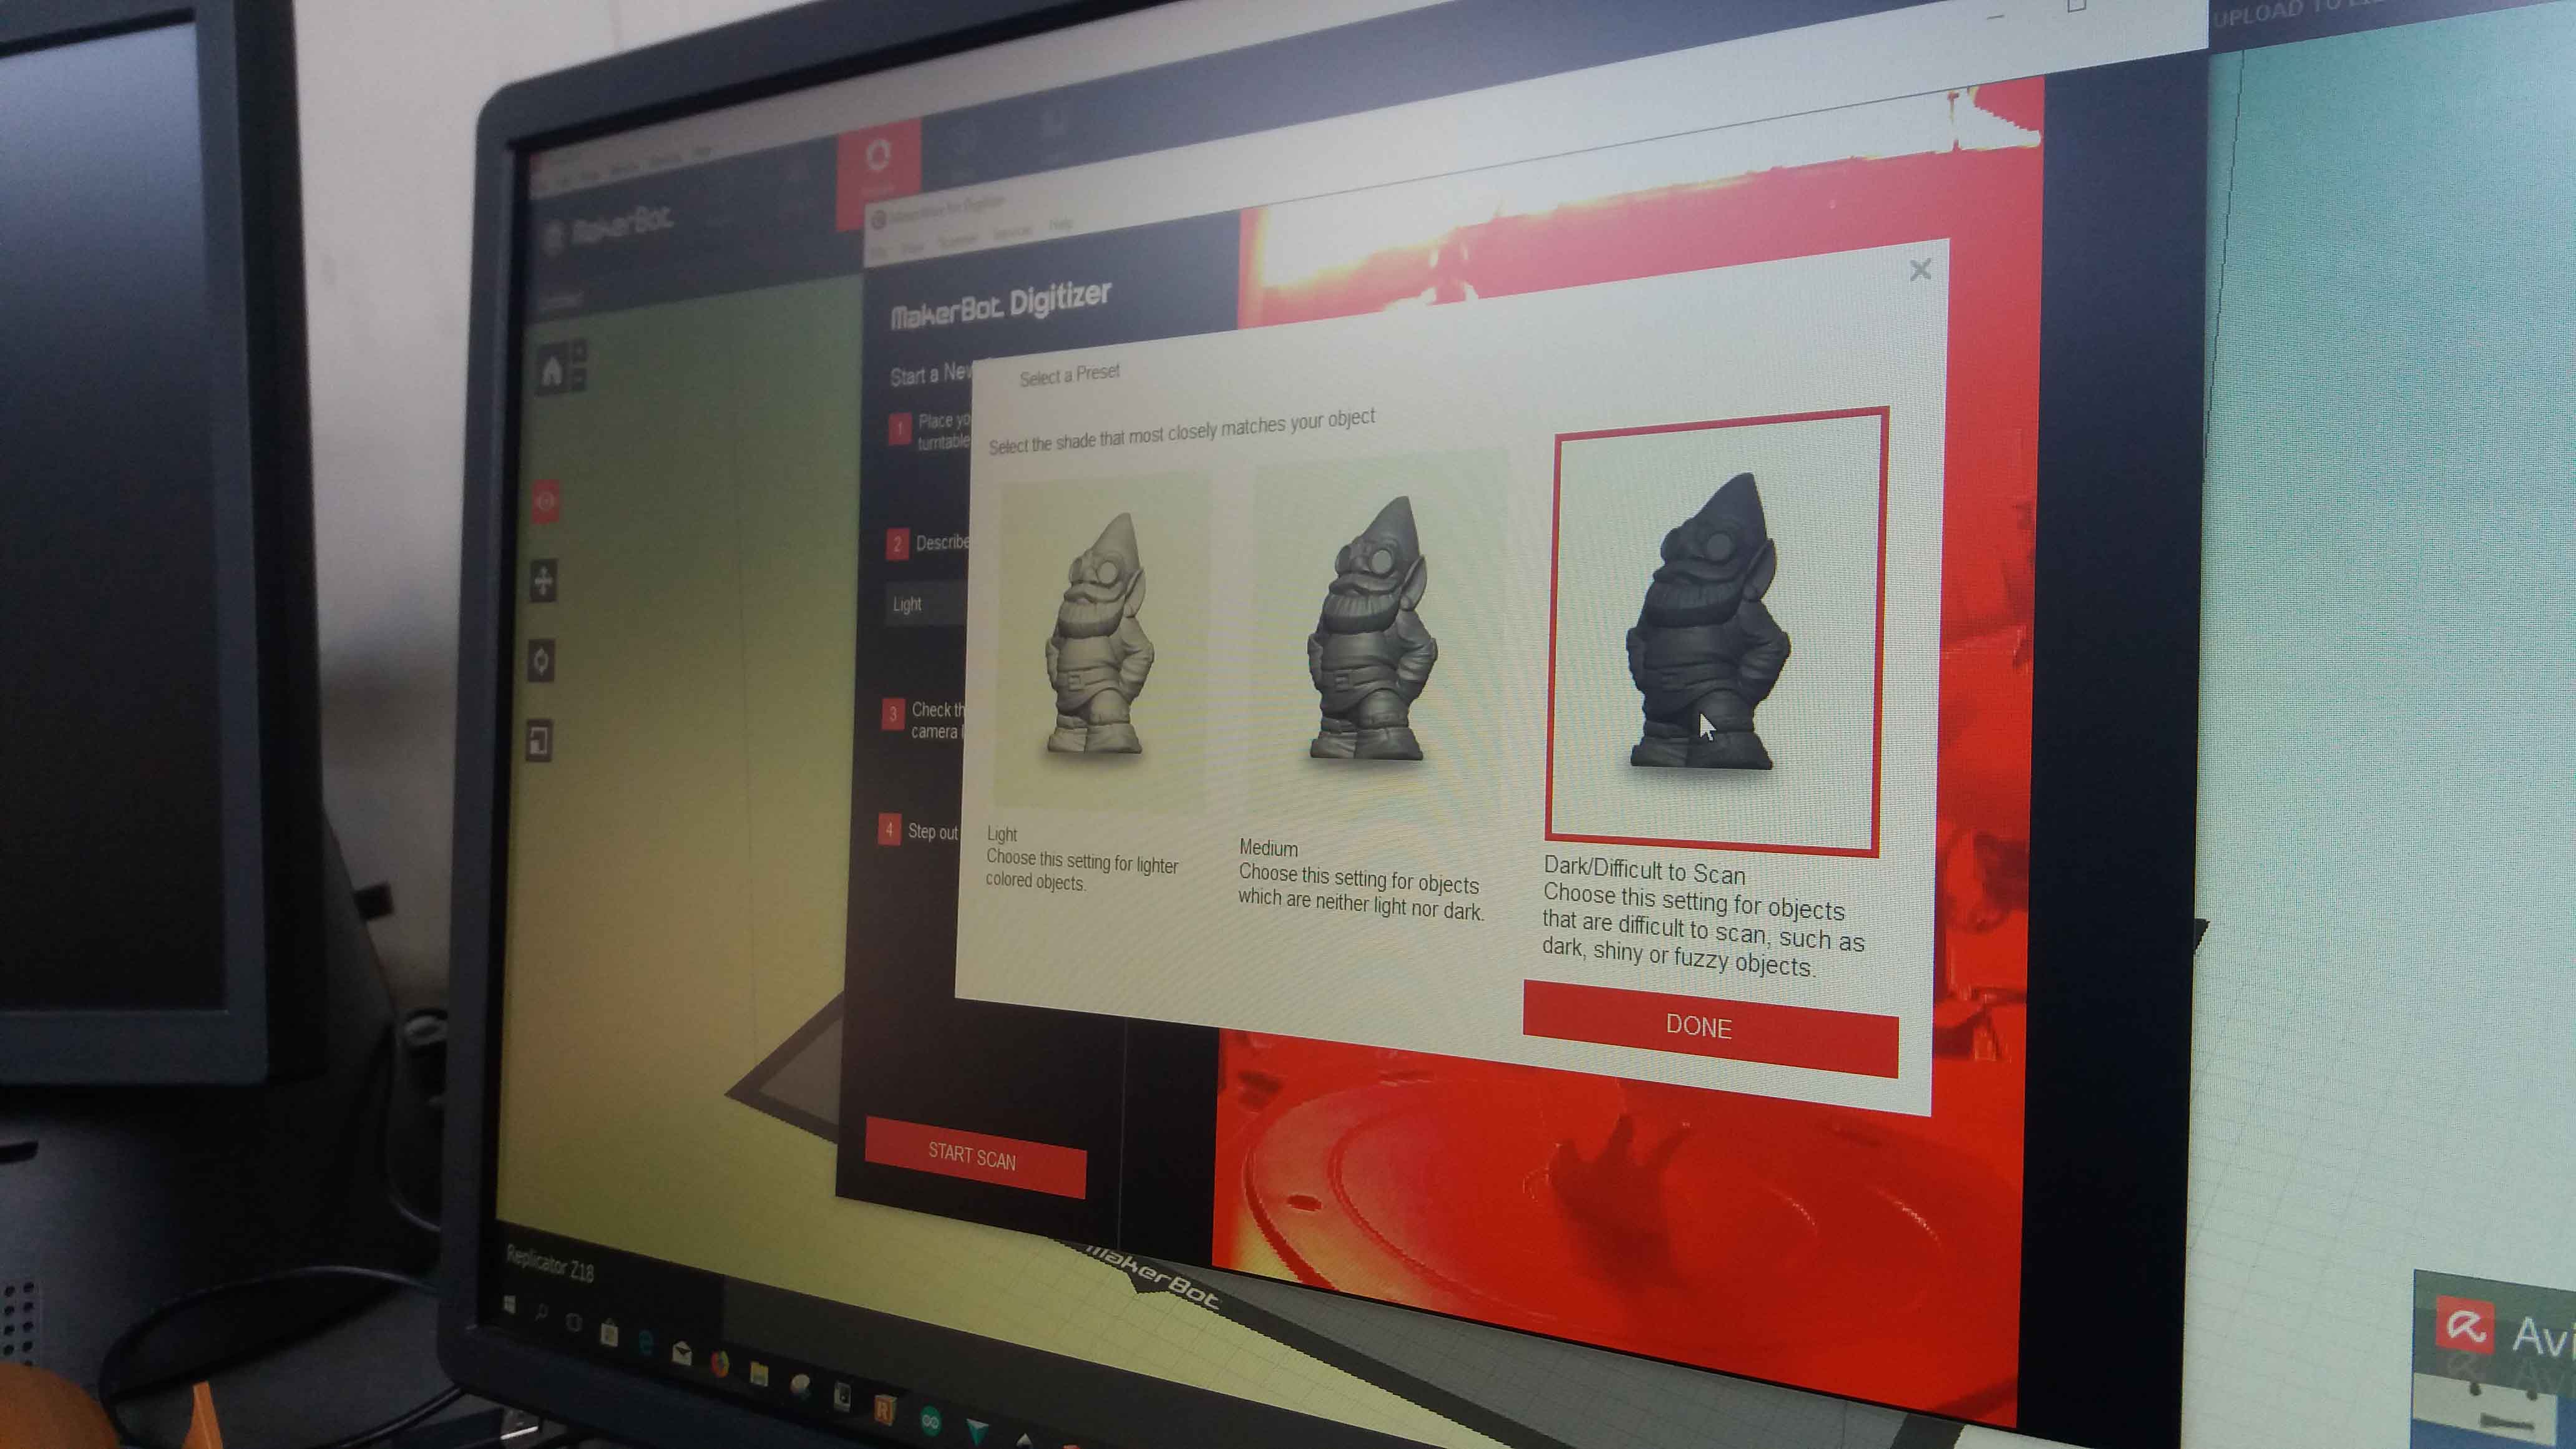
Detail setting for scanning:
Object in bed. Scanning started.
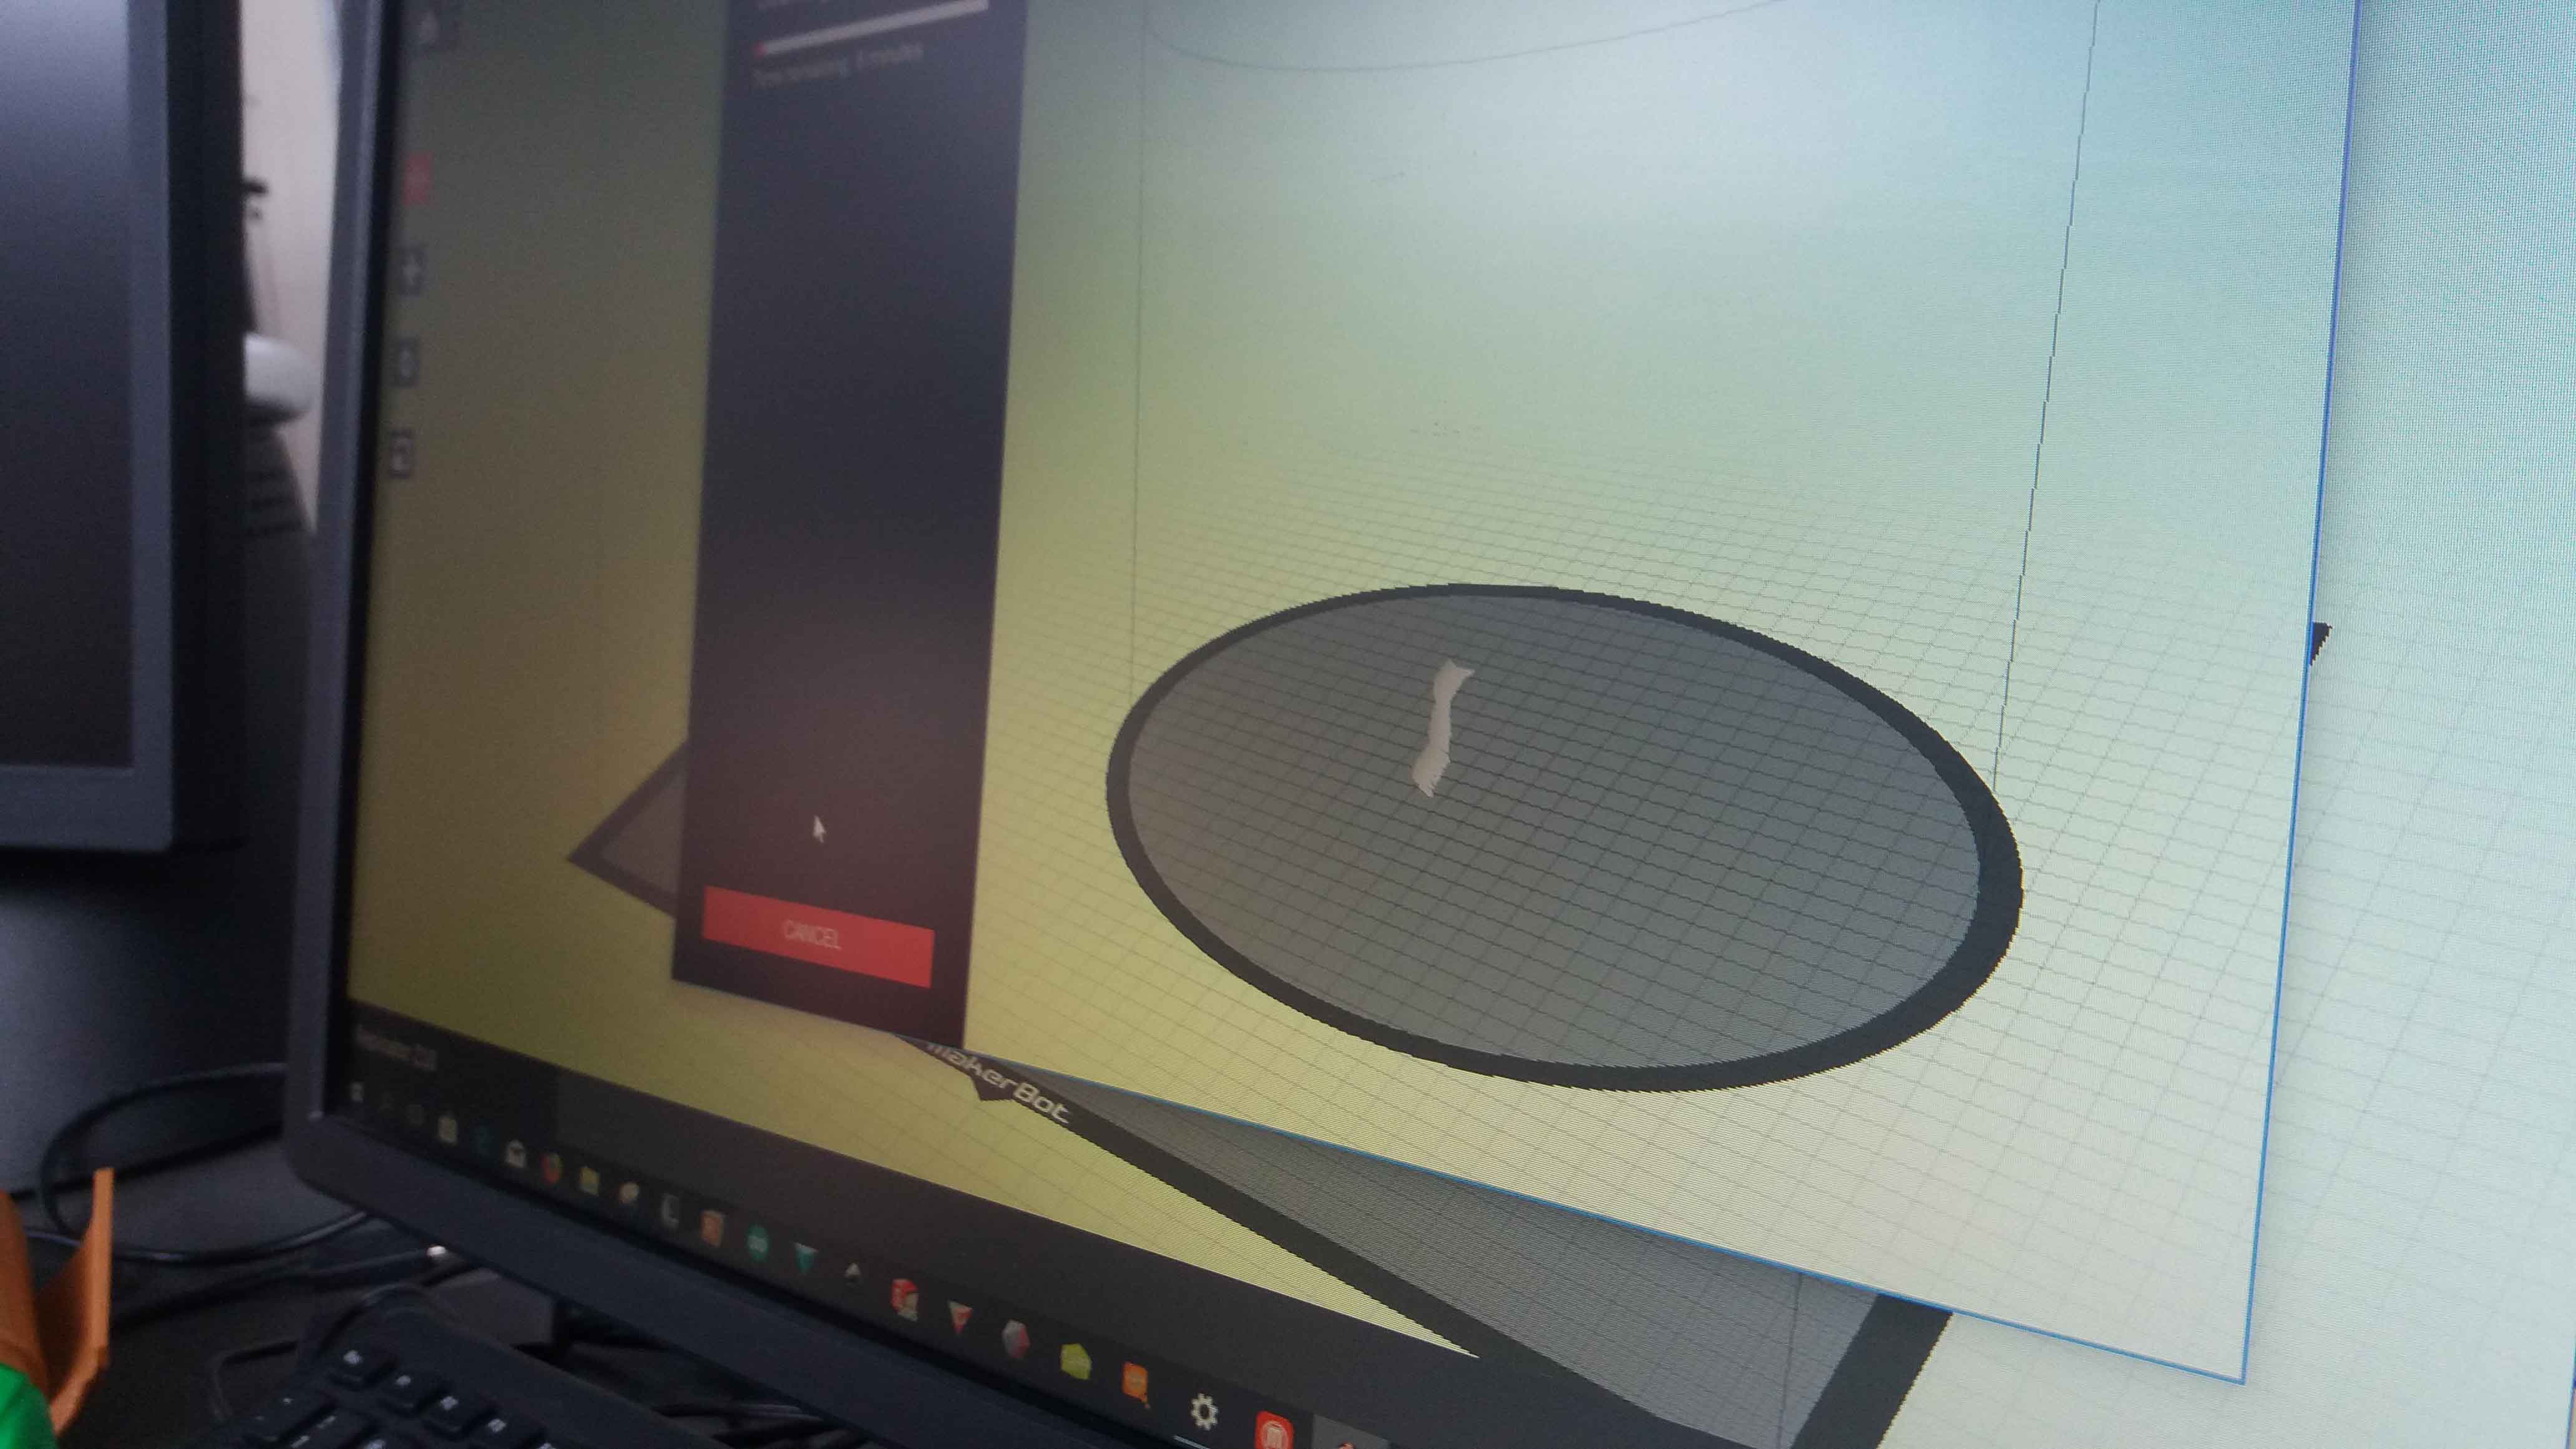
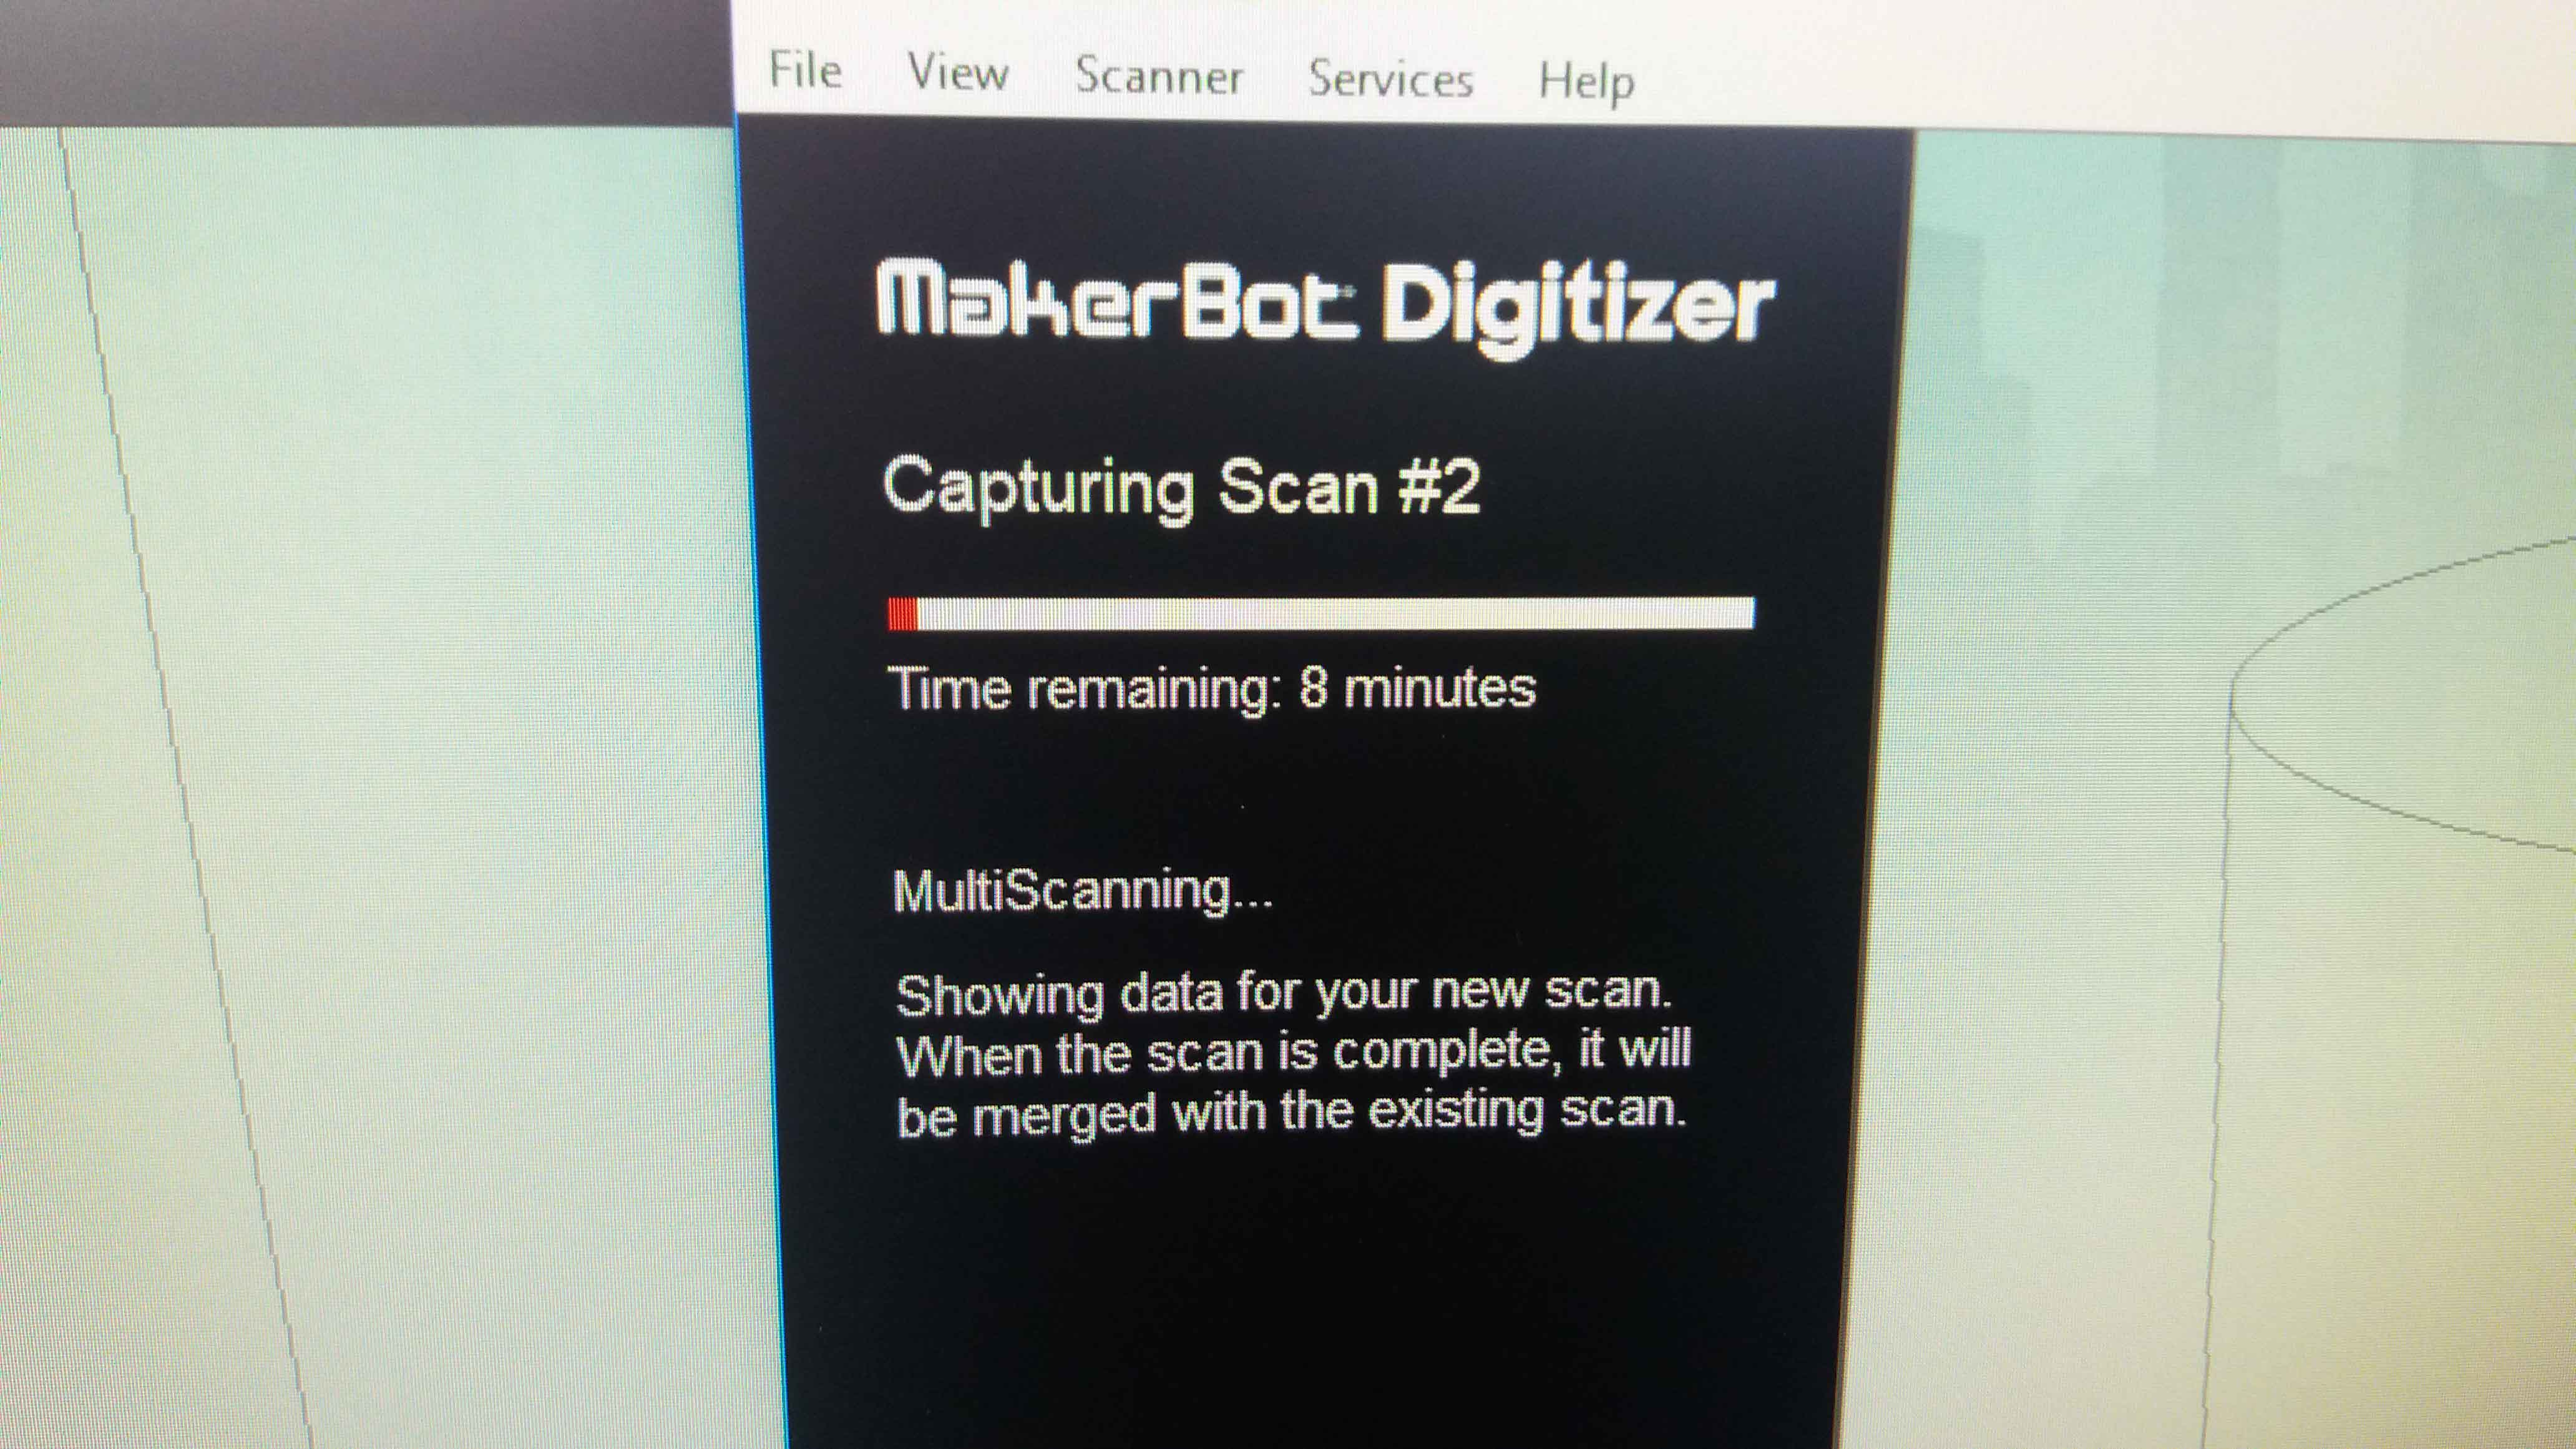
Scanning in progress...
Insidence of the laser light over the object being scanned:
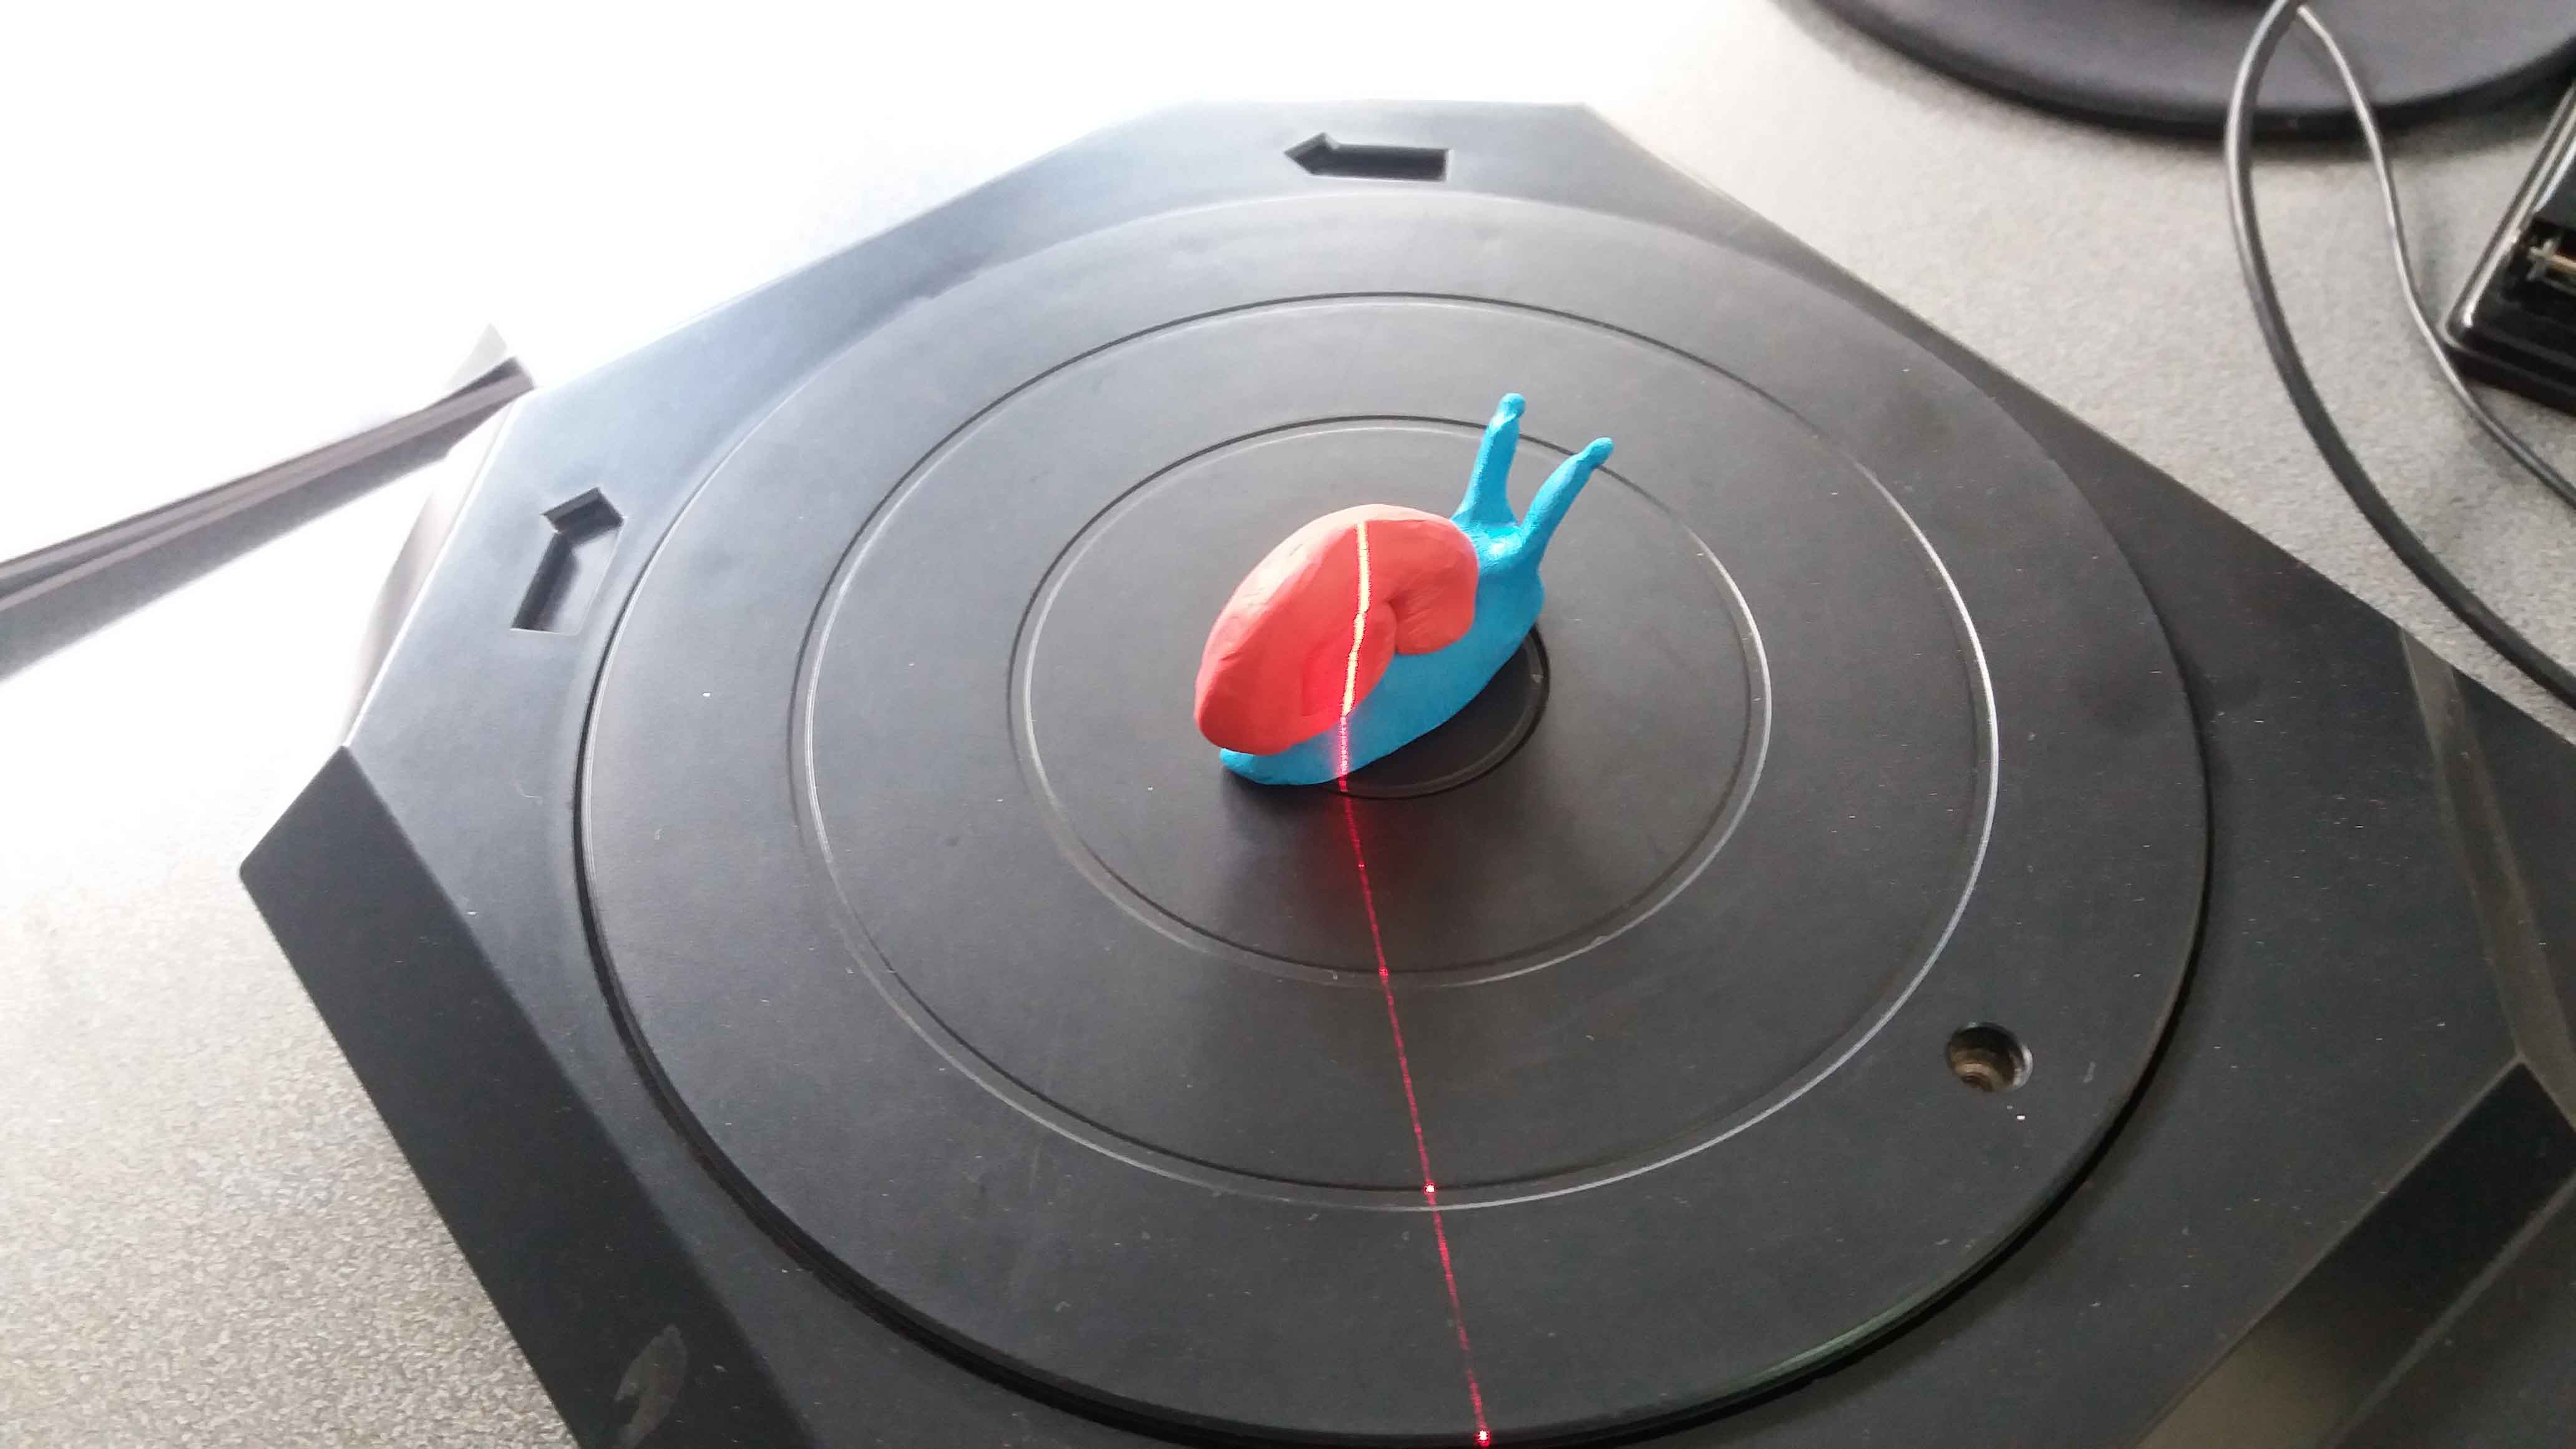
The piece turn over the disc (moving plate), catching the points from different angles.
It is possible to repeat the scanning to capture places not reached before, or to refine details.
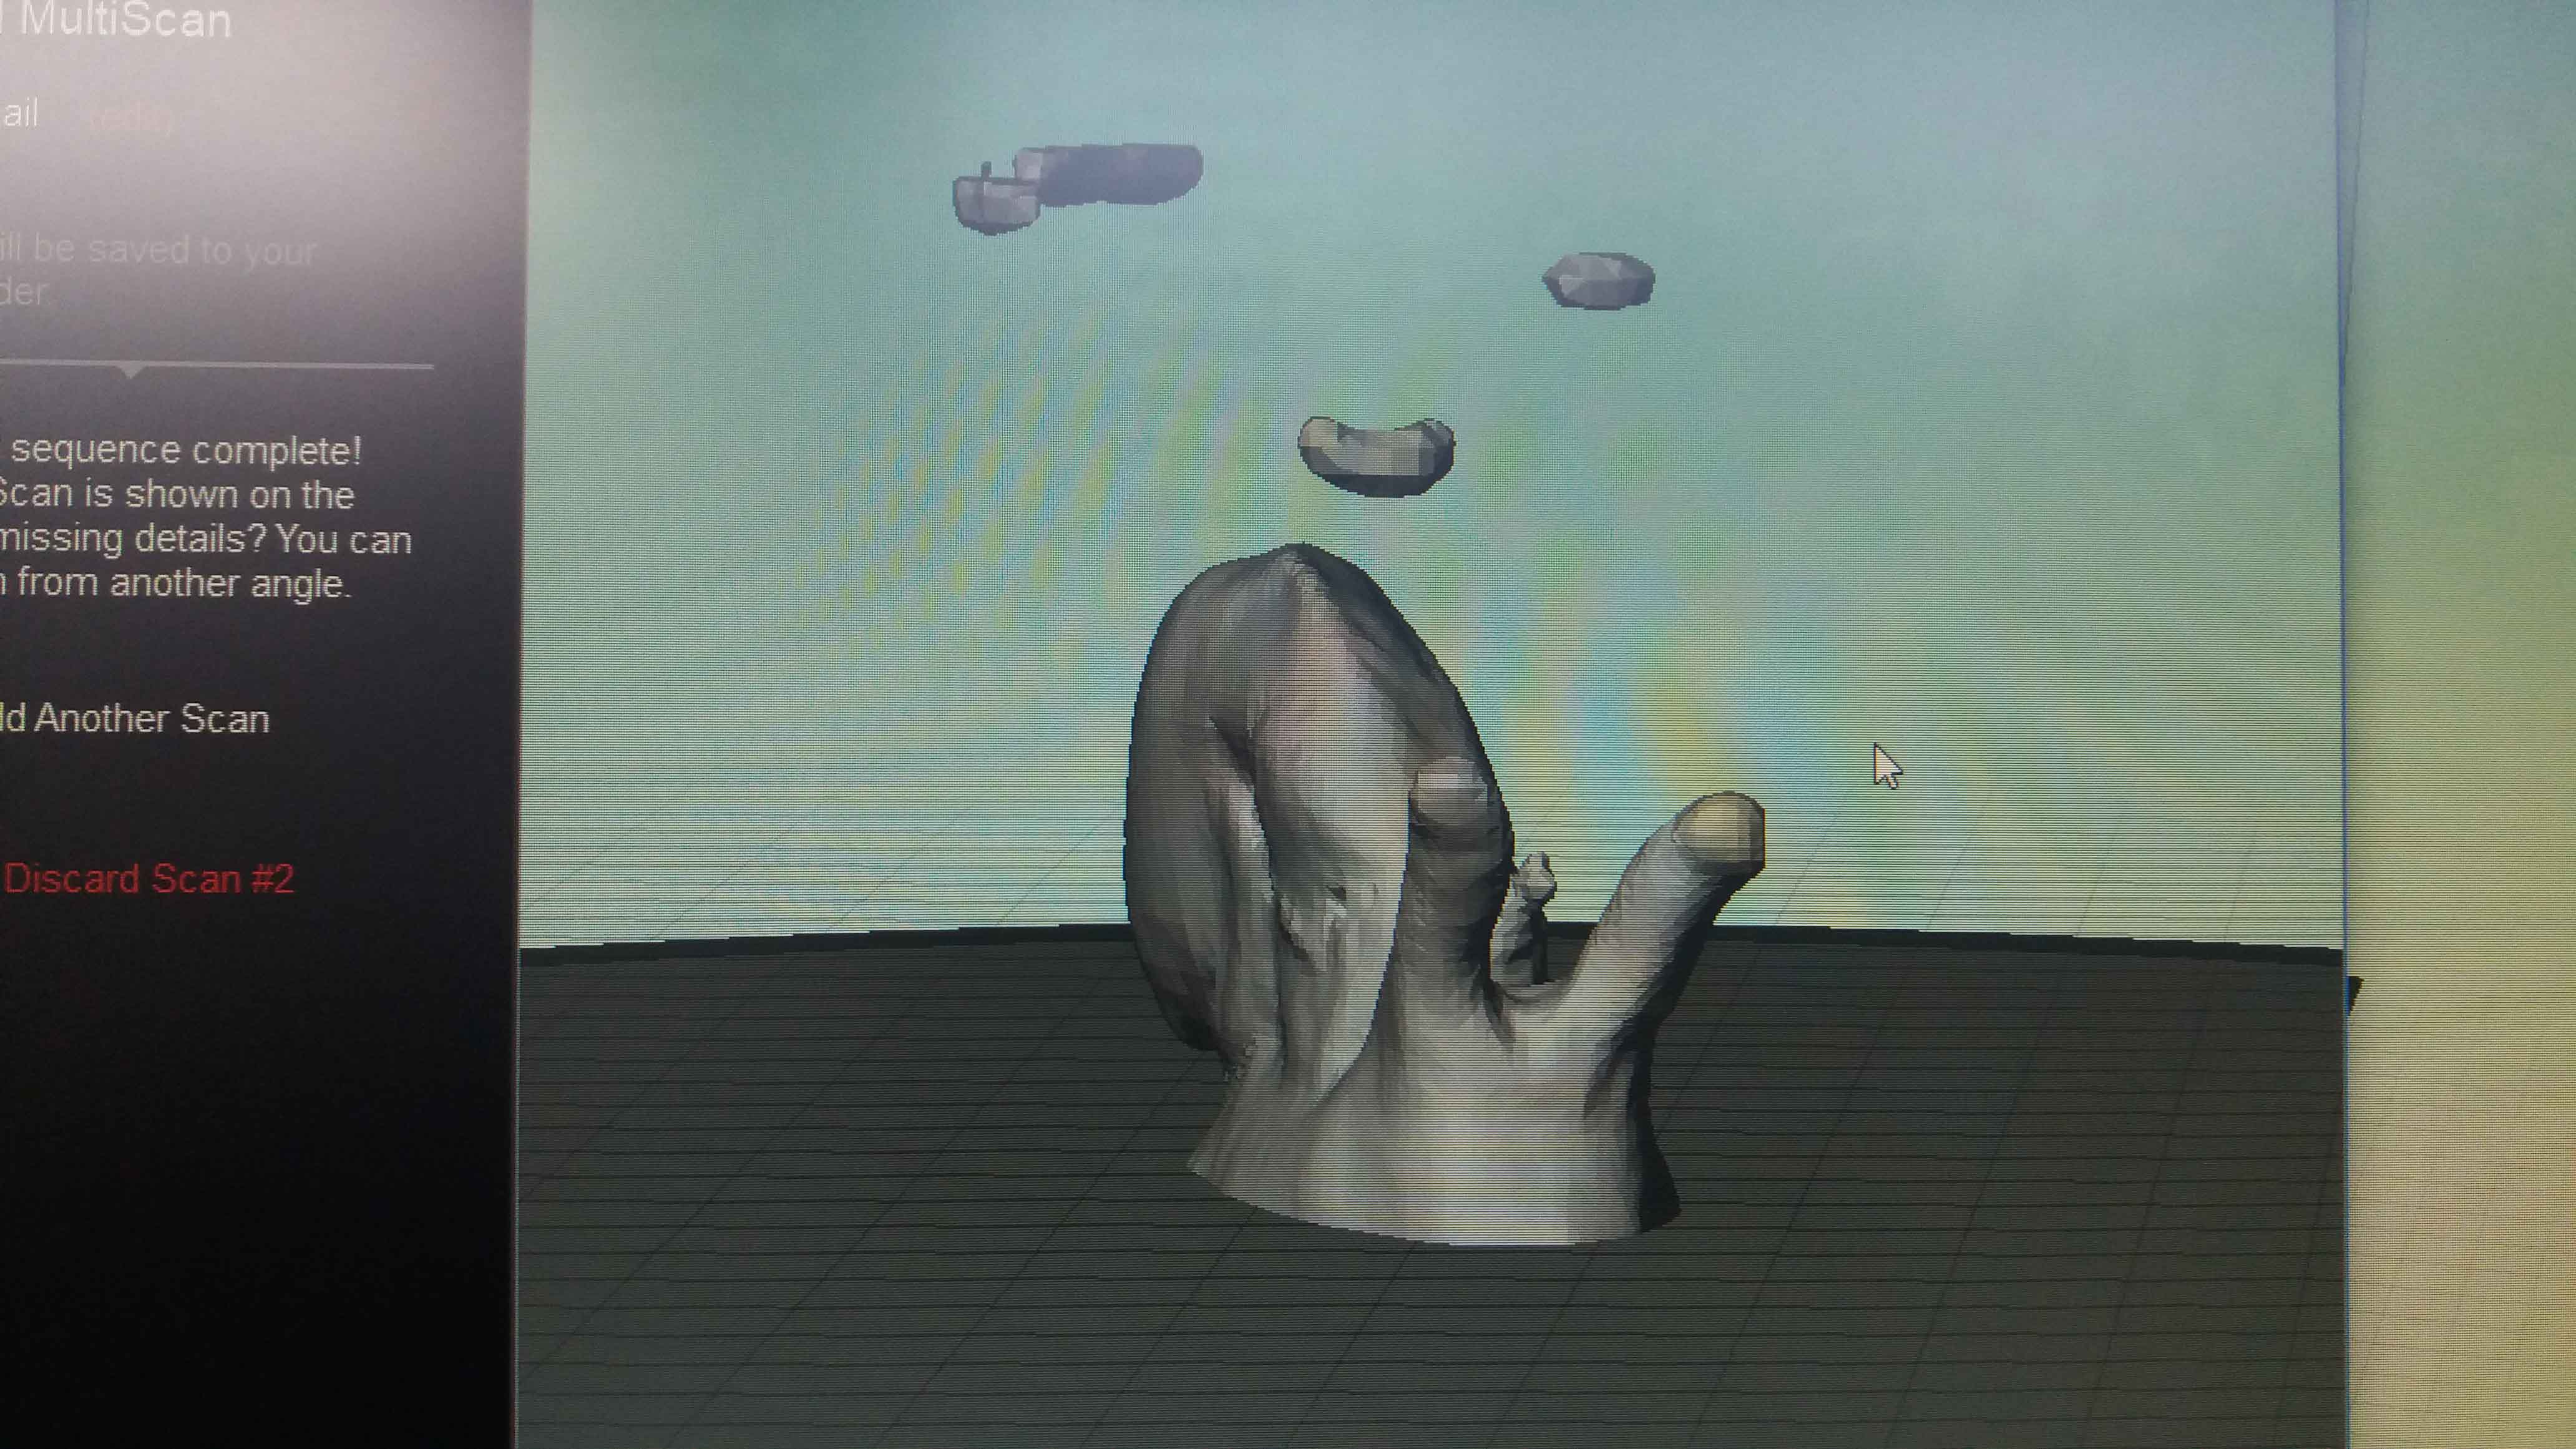
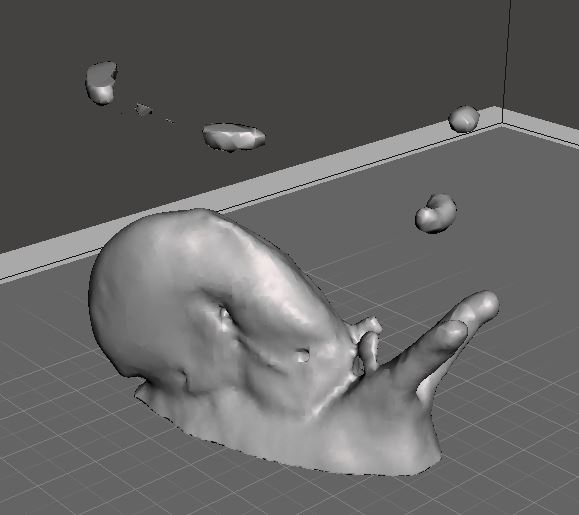
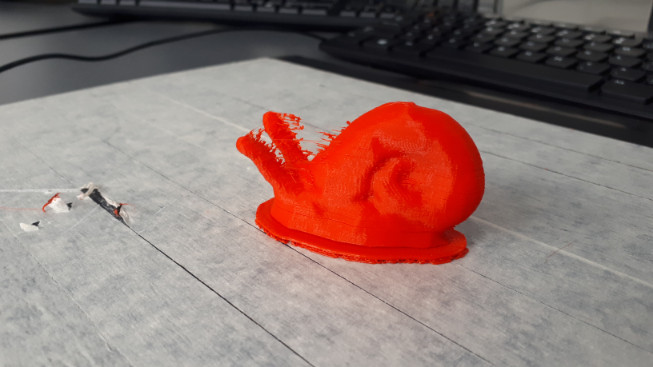
Object scanned with errors. The raw file, as generated from the 3D scanner in here: Snail Raw.
Type of files for export:

Editing and error correction. I did this with Meshmixer:
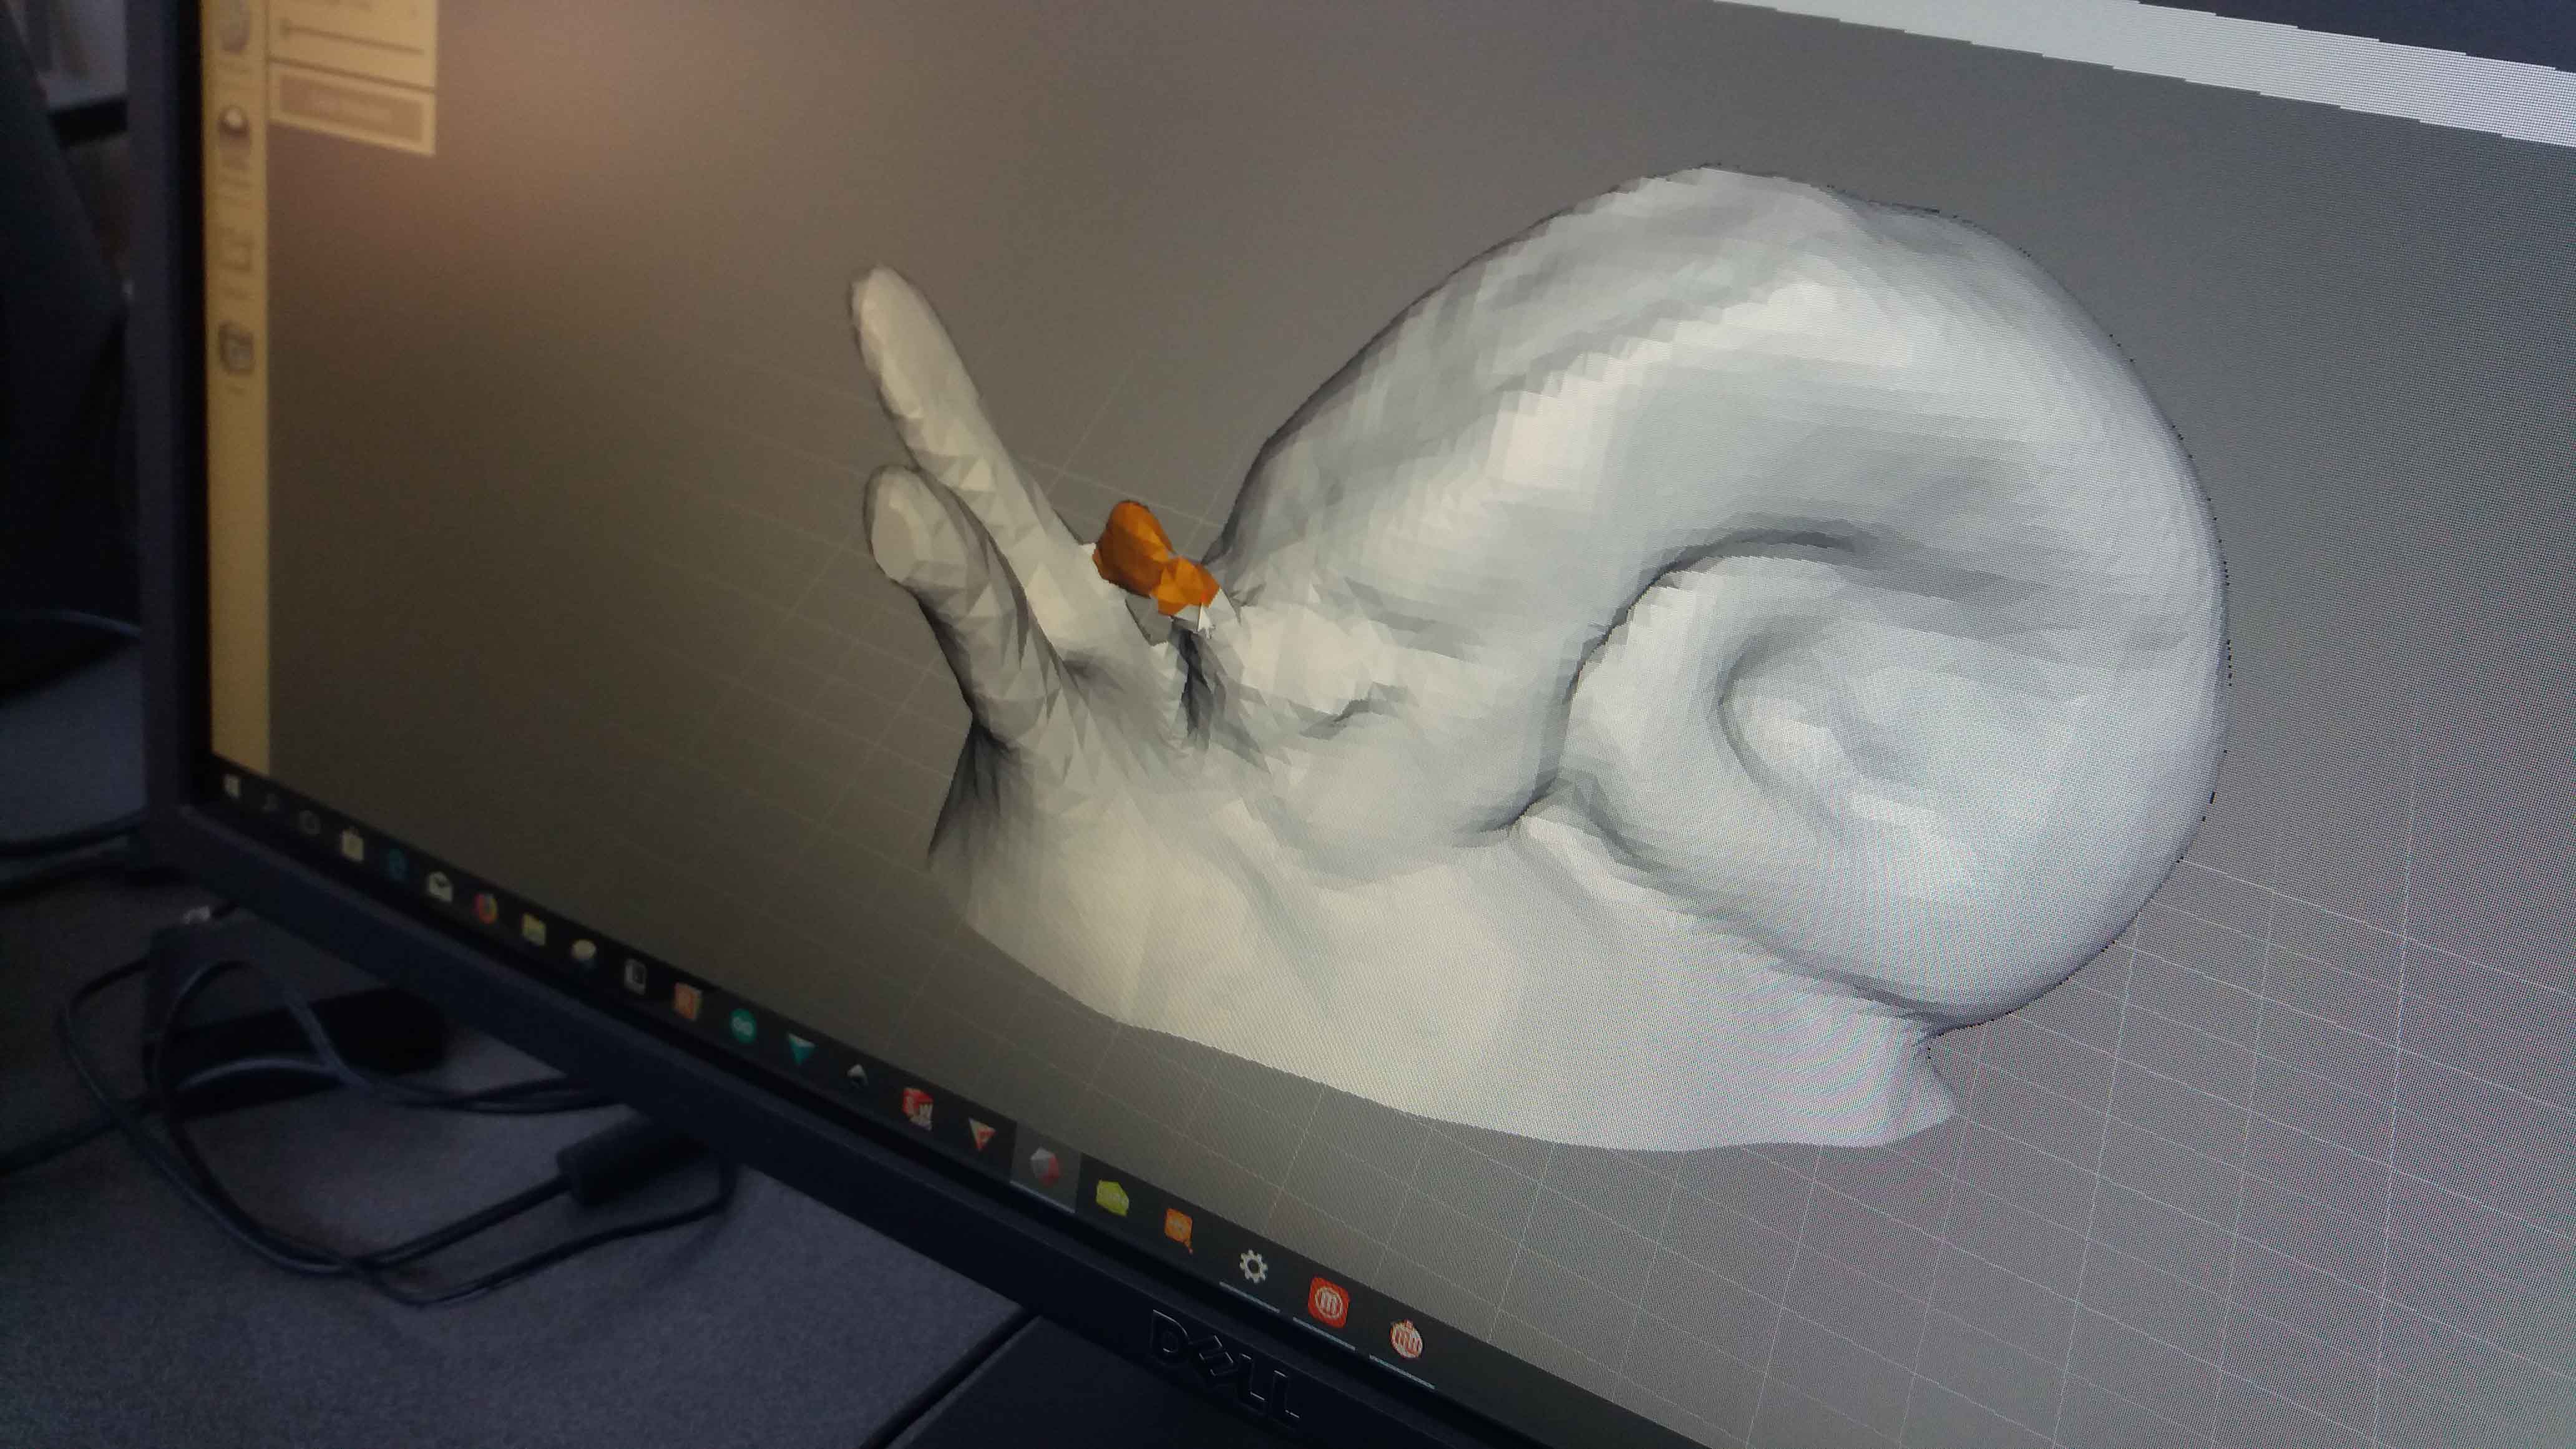
Due to an error, the fixed original snail file was lost. I took advantage of the opportunity, and re-do it, using a local install of meshmixer. Here, we can see the "floating" objects scanned incorrectly with the device. With meshmixer, I first selected de faces and then hit the delete key.
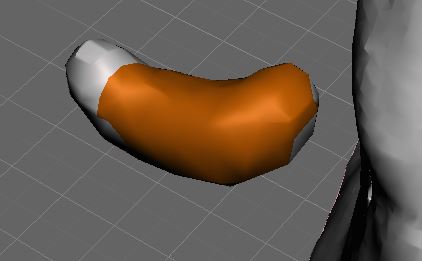
Here is the surface selected before deletion. For minor corrections, the sculpturing tools were used.
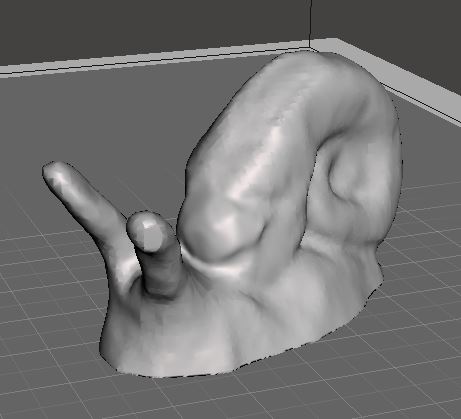
Finally, the piece was corrected. Here is the file in Meshmixer readable format (.mix) Snail fixed .mix, and here the Snail fixed .stl exported version for 3D printing.
Preparing for 3D printing:
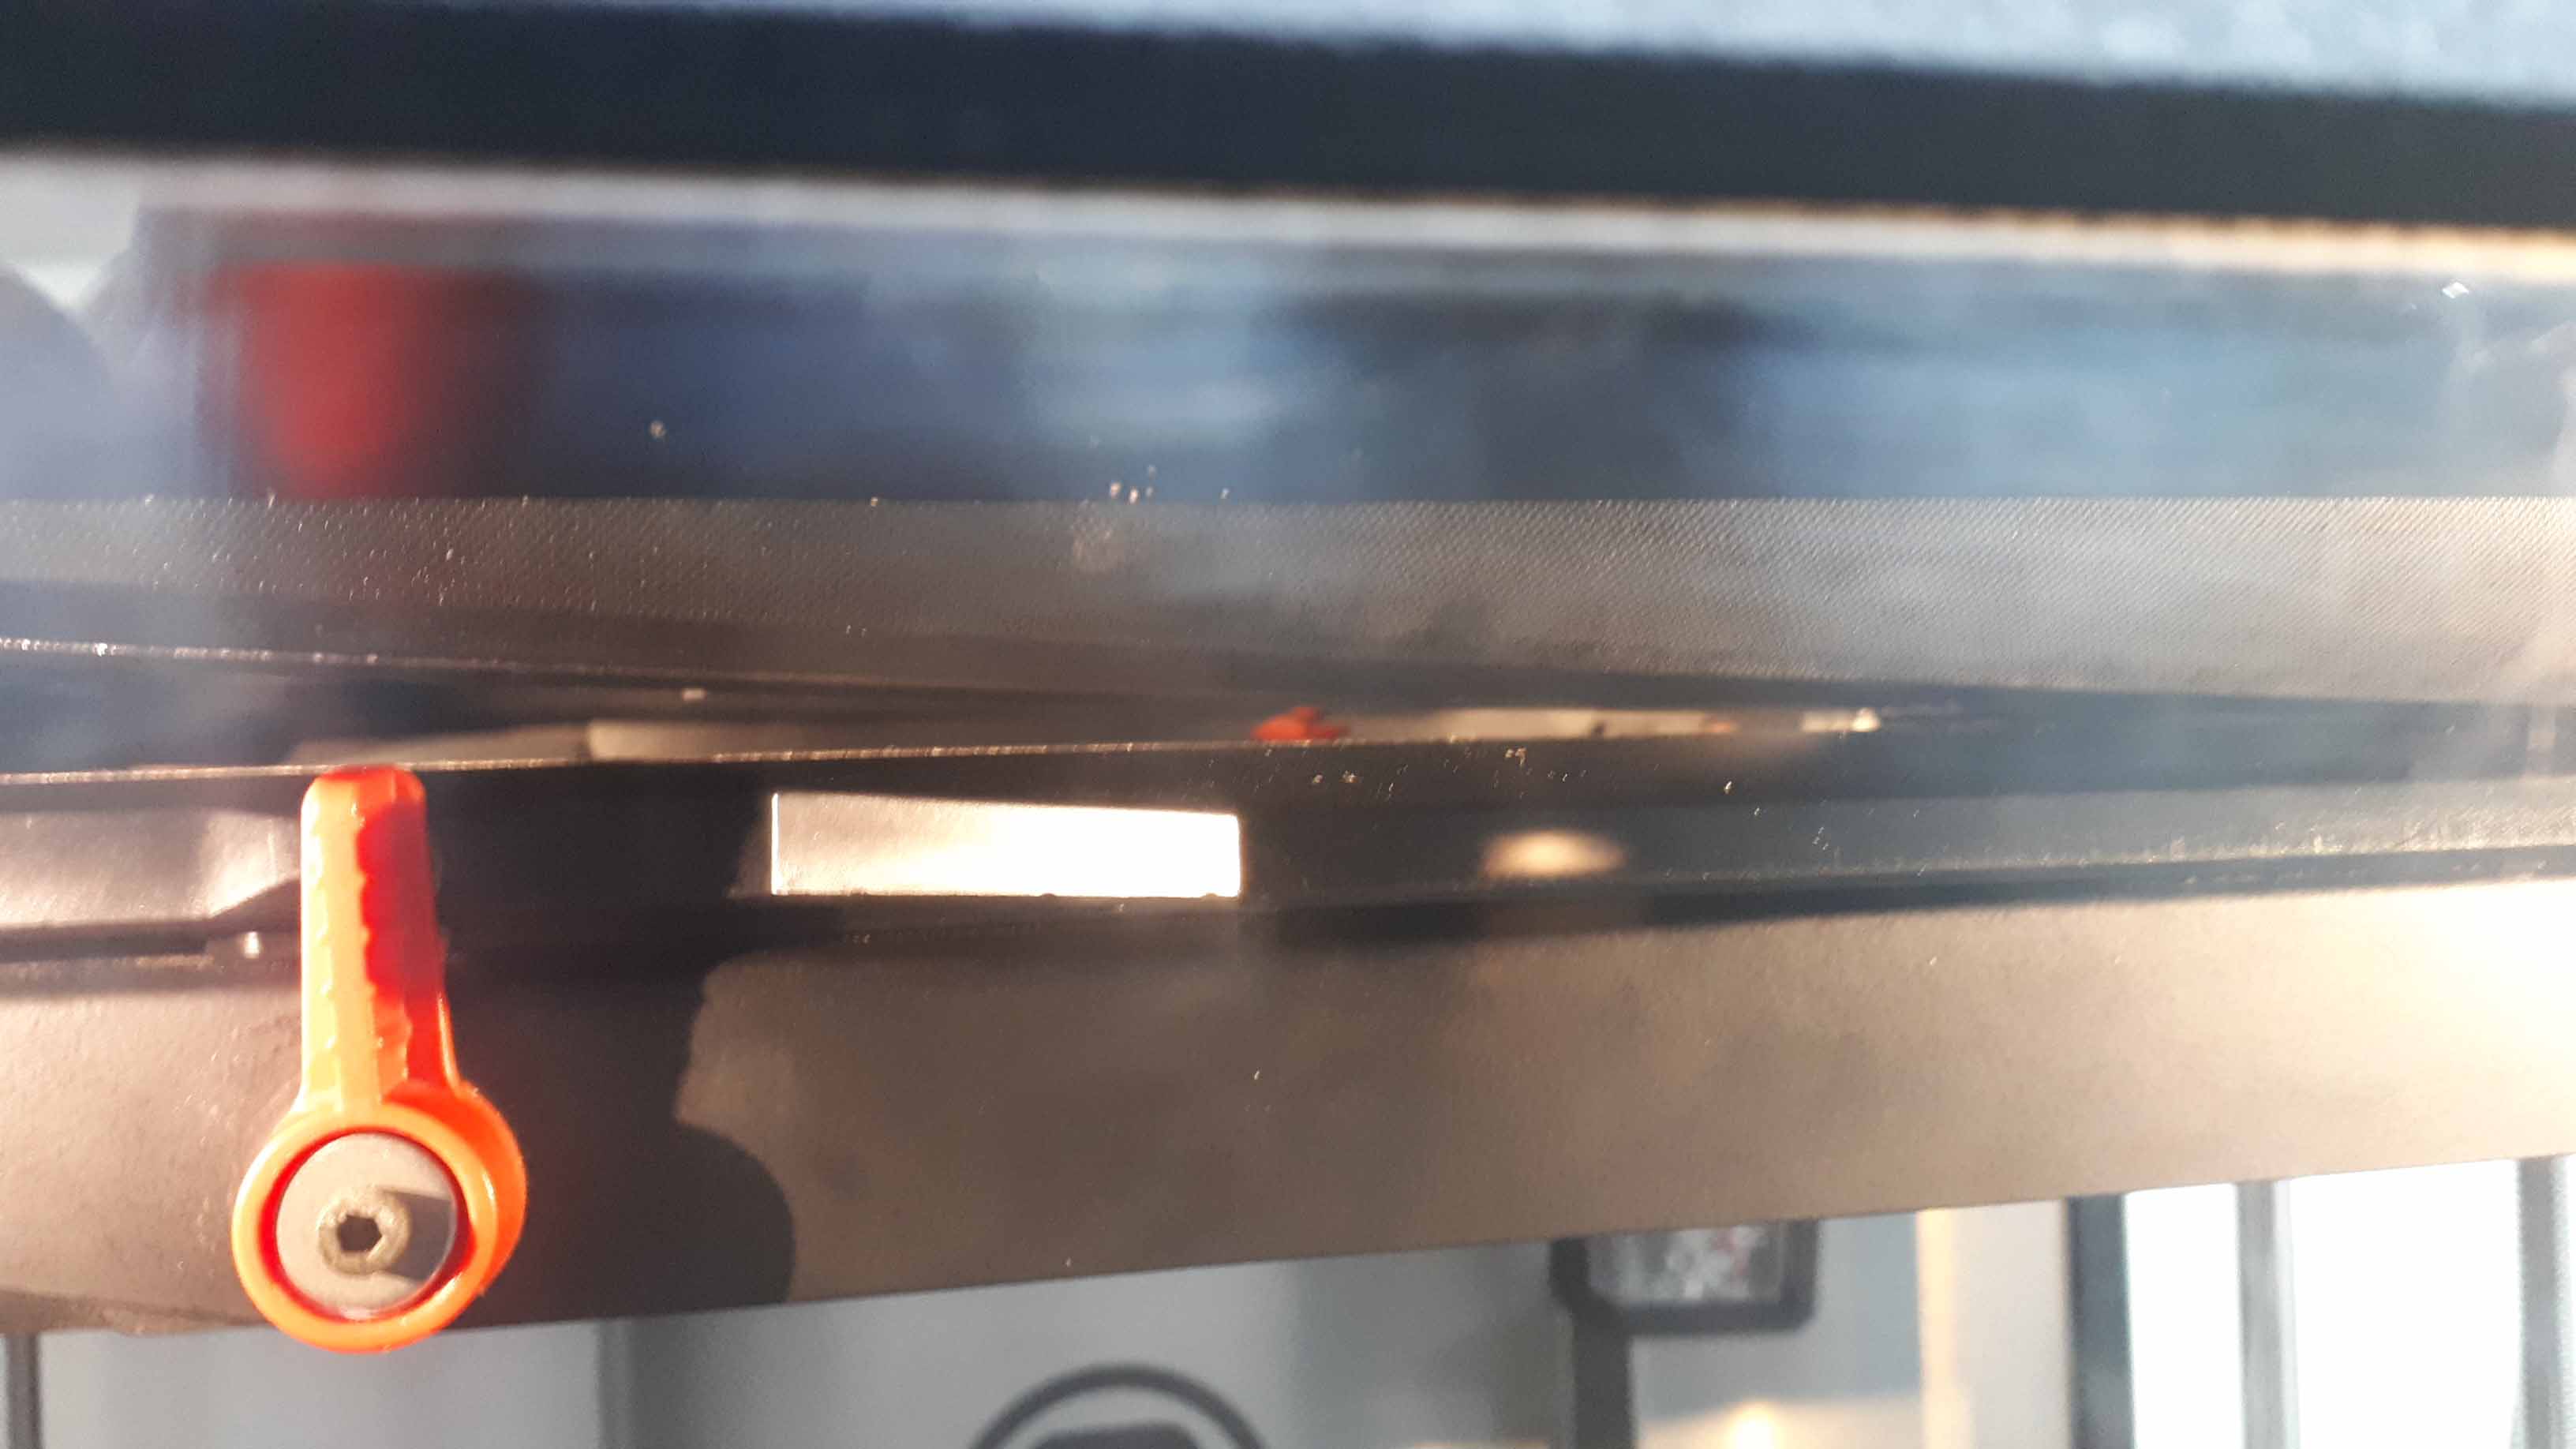
We found a bug in our 3D printer. I guess workinkg in the countryside give us this suprises. We "debug" it, and continued.
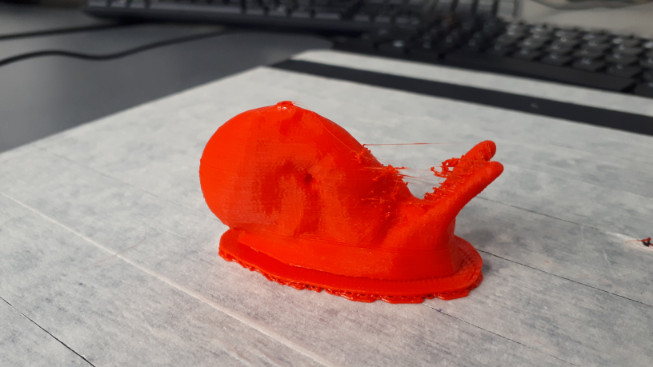
Here is the result:
Other angle:
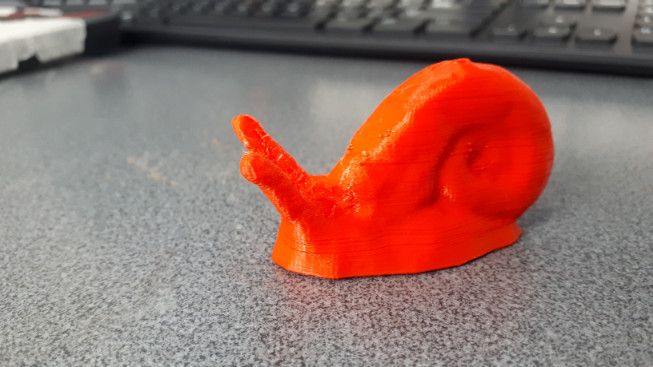
And with a some post processing and clean up.
PLA filament used in this practice. Scanning the barcode lead us to vendors and specifications:
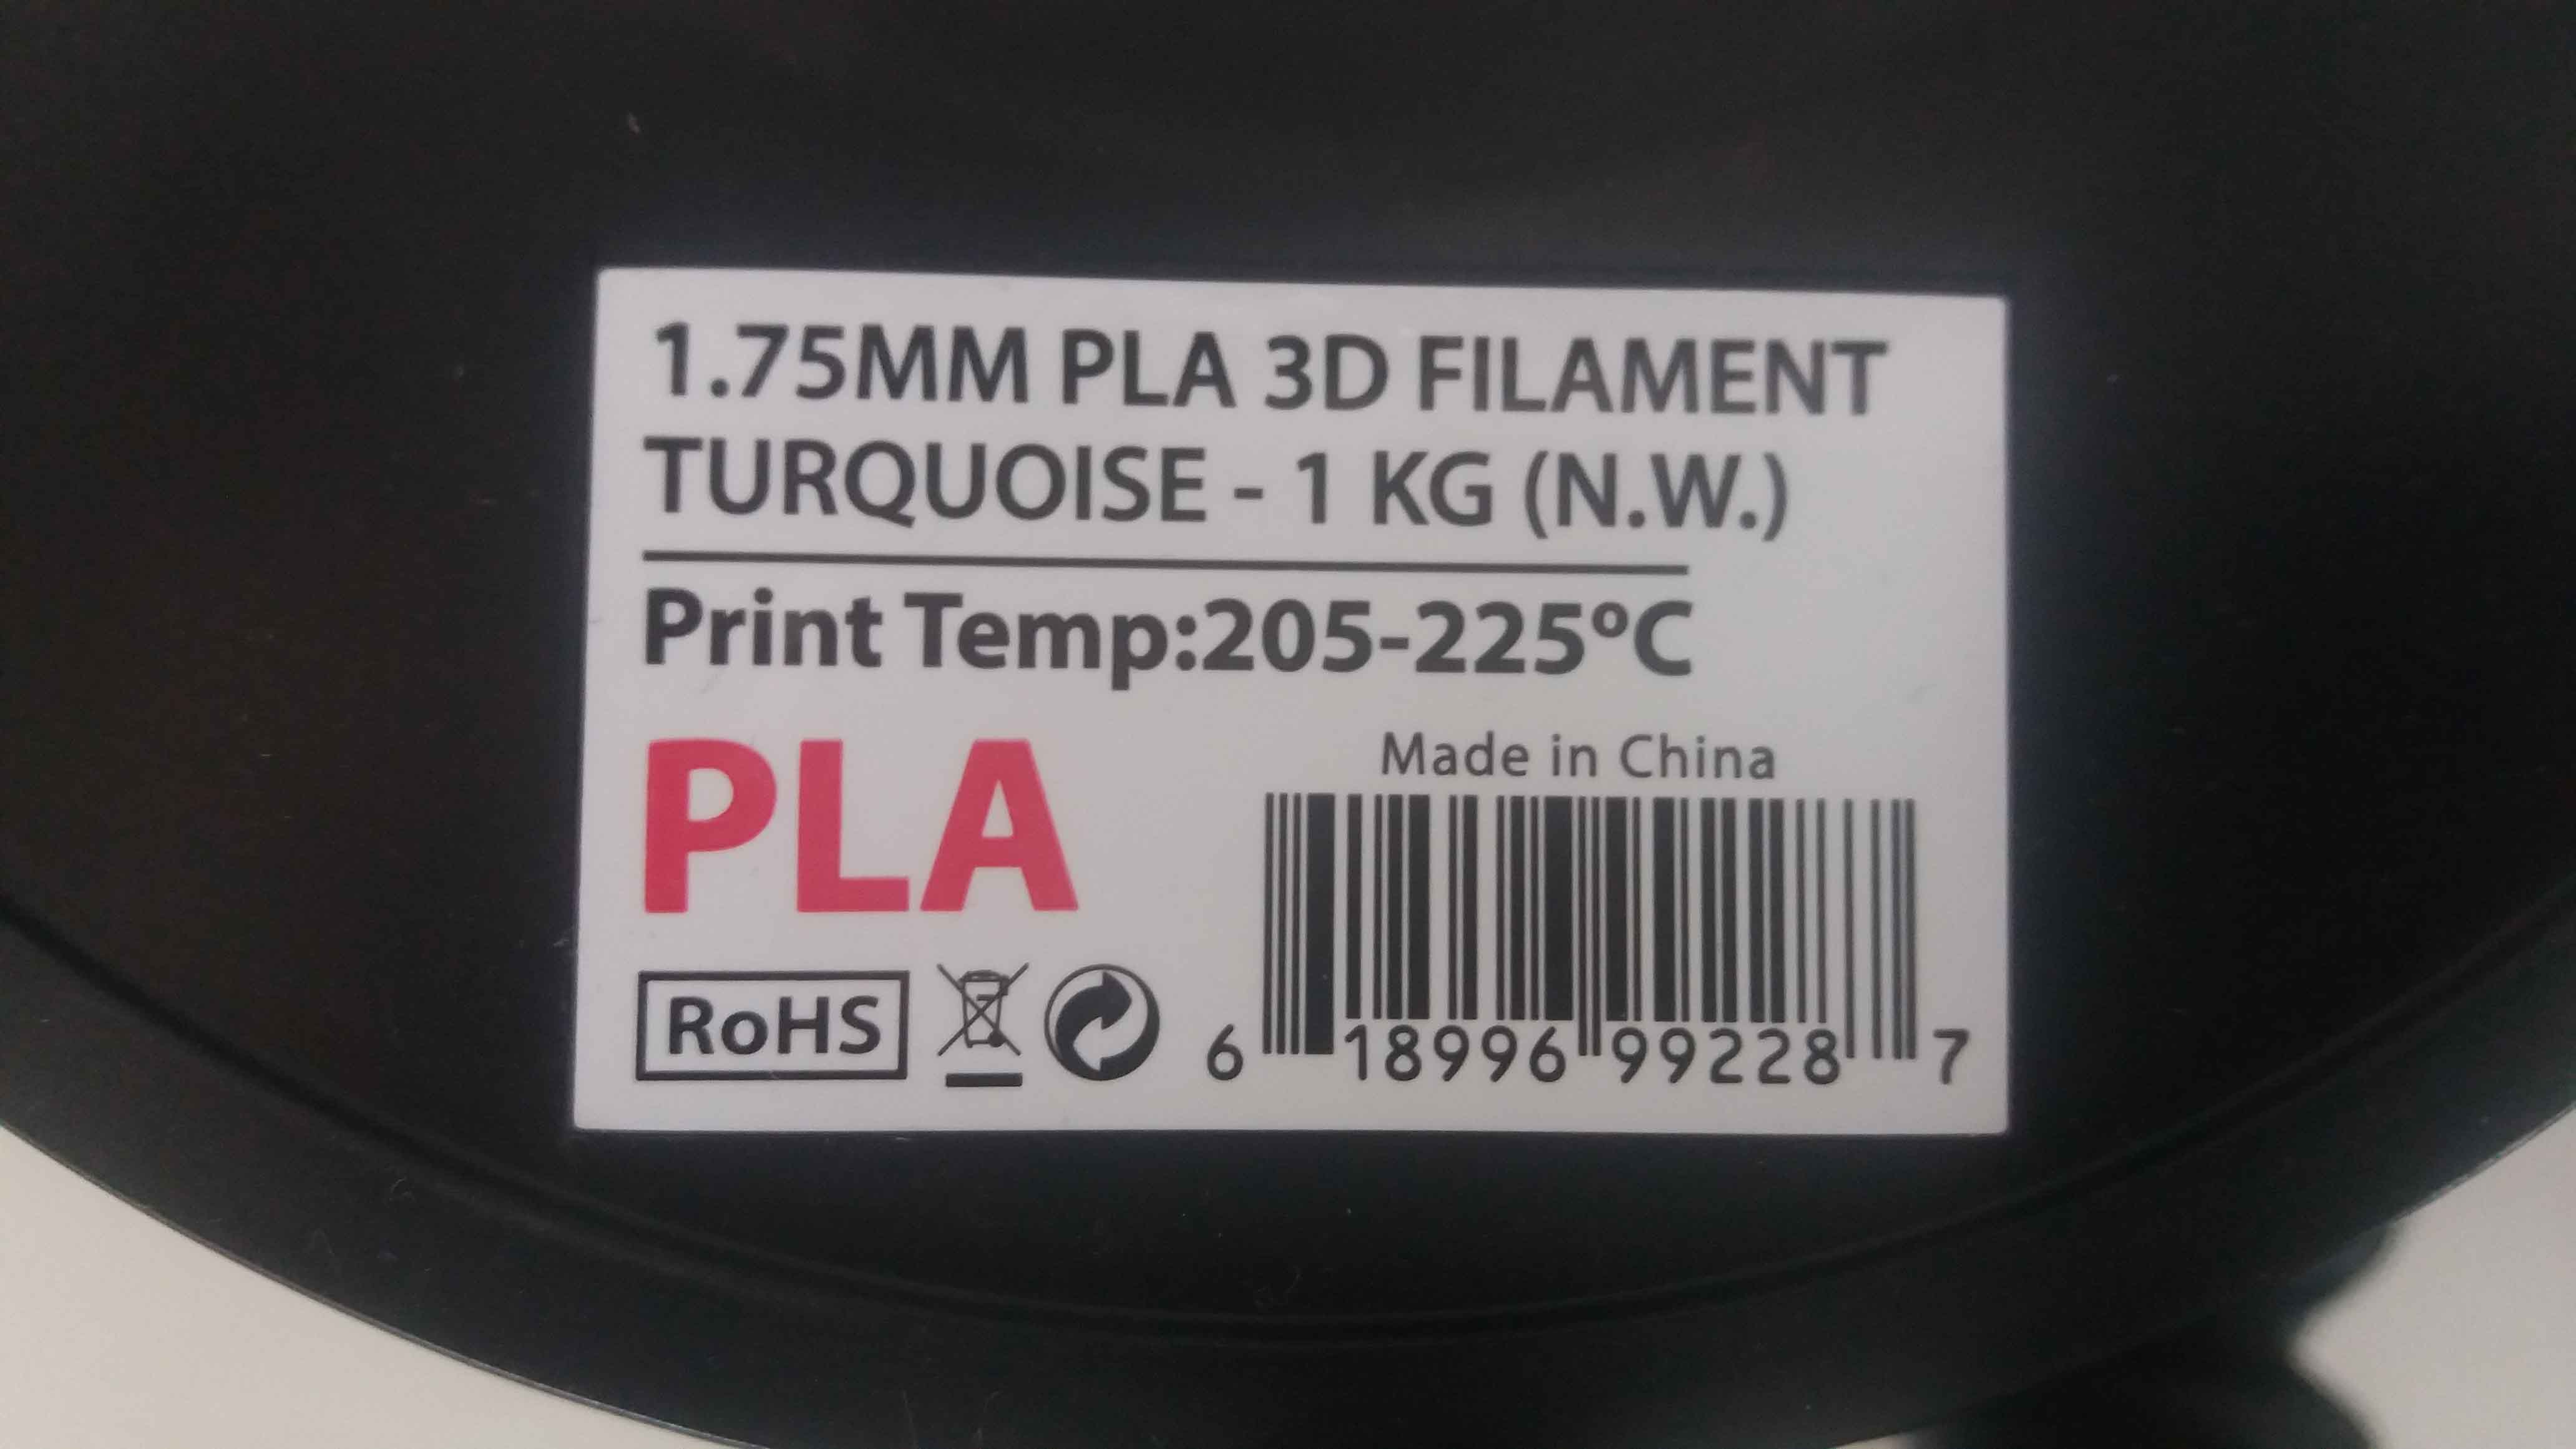
The product scanning of the code lead us to the search 618996992287, with a list of products and vendors of the material. The 3D Printer was already set. The group project was set with according to this settings (pictures from Edu Cartagena, design, David Arias):
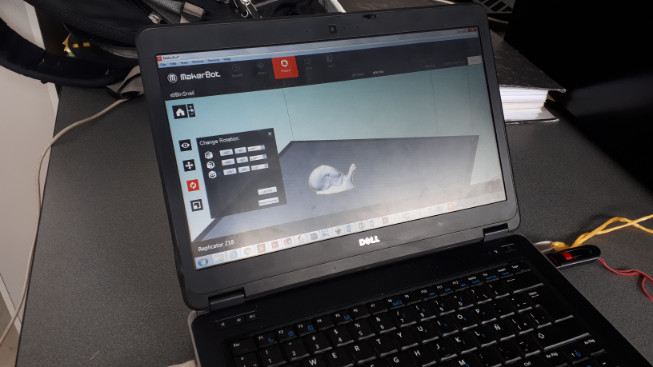
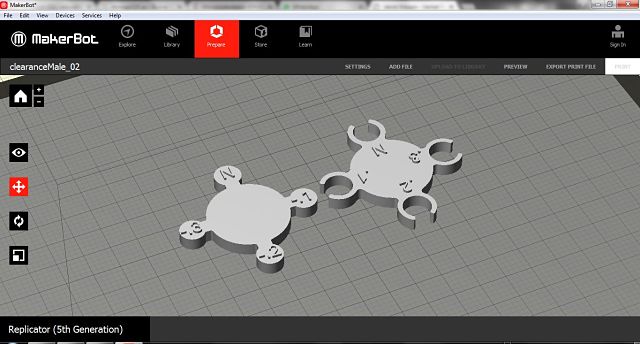
Here, we have the model, placed on the virtual bed of the program Makerbot:
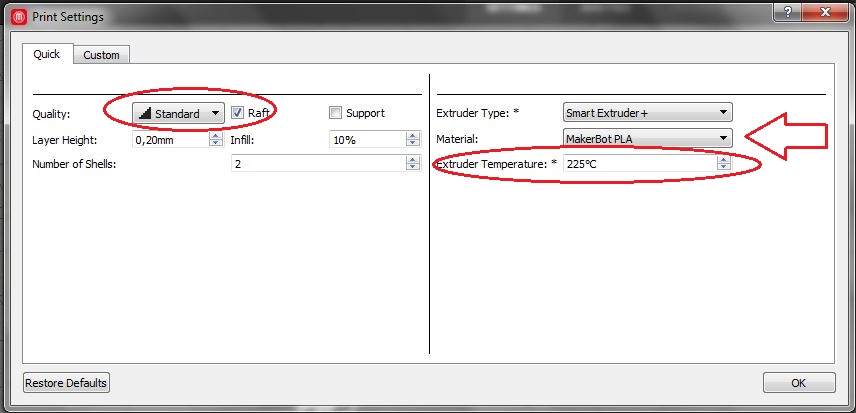
And here, the settings for the printer:
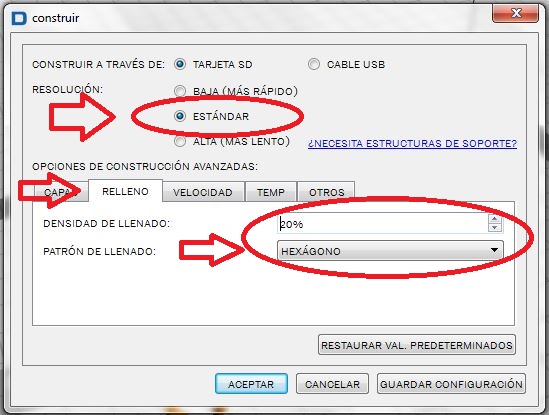
We locate the virtual object on the virtual bed of the dedicated program of the printer (Dremel 3D Idea Builder):
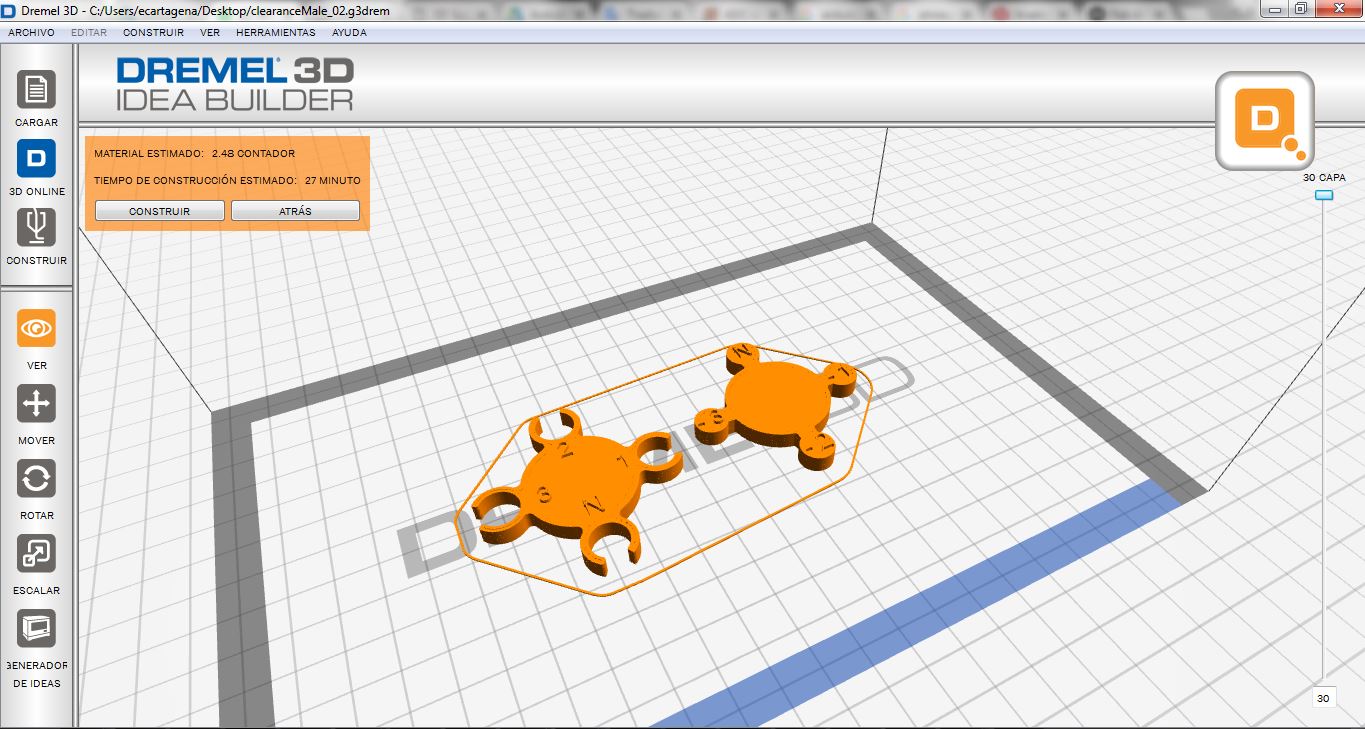
And the settings for the 3D print. We set it with a Standard resolution, with a filling density of 20% and exagons as filling form.
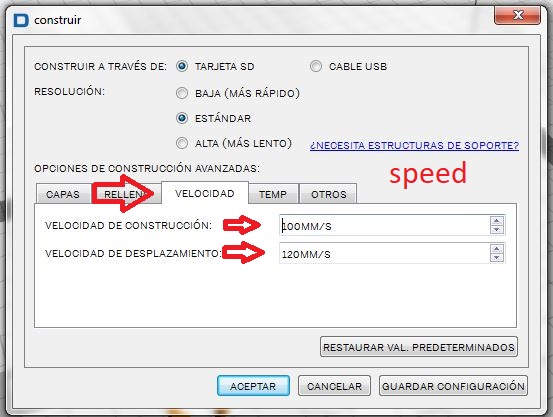
These are the construction speed and movement speed:
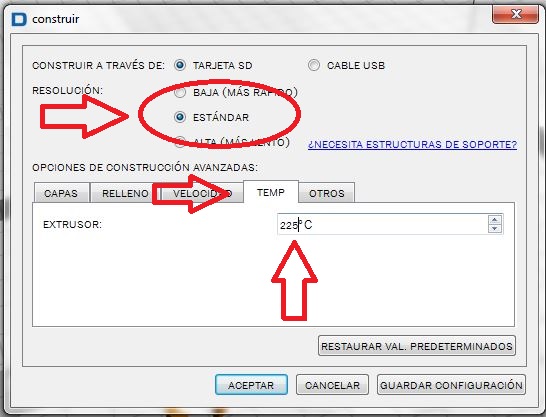
And the temperature of the extruder (225°C). The climate here is warm, so my guess is that a little cooler temperatura should give us better results, but it wasn't tested due to time constrains.
The files mentioned in this page can be found here:
Clearance Female STL, Printing test, female part.
Clearance Male STL, Printing test, male part.
Twisted STL, First hard to make model, STL.
Twisted f3d, First hard to make model, f3d.
Snail, Snail. STL.
Clearance Female STL.
Clearance Male STL.
Impossible, STL.
Impossible 2 STL.
