Casting curves
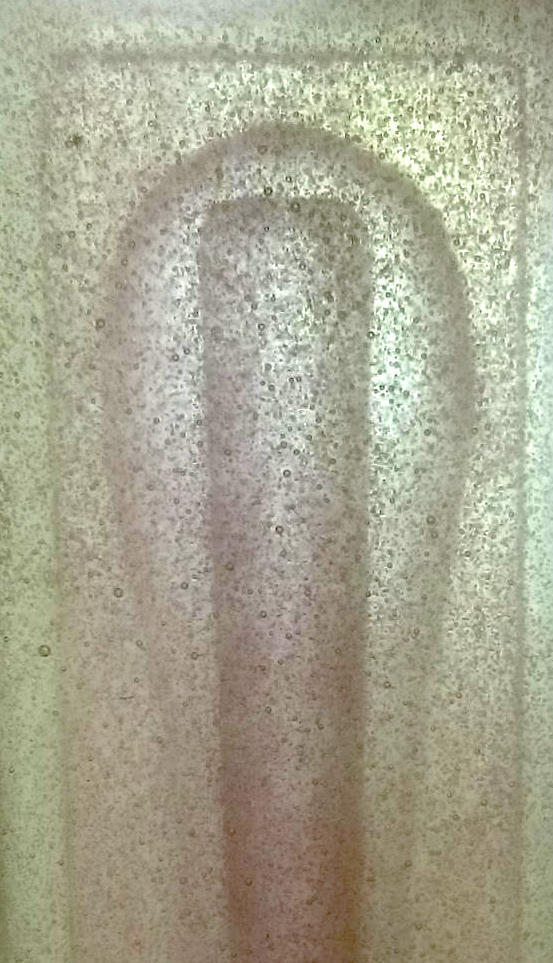
For Molding and casting I made two different attempts. The first one ended up being a cliché case of the lazy (wo)mans burden and the second one isn't far from that. At least it acheived the results I was looking for. Below is a picture of the final result. It's mainly a test to see what silicone I'd be using for my final project and how the shape dimensions would come out.

First Attempt = Failed Attempt
This week I wanted to get it over with as soon as possible, the same thing I've been saying for the last 3 weeks and I was just as (un)successfull this time. I aimed for making a simple shape but in the stress left out locators and walls. Me and Craig milled out our shapes on the same piece  on the same piece and then separated them with a simple hand saw.
As you might be able to see the two shapes are different sizes. I was thinking I would make a negative out of the bigger positive and then place the smaller positive inside the bigger negative to then make a mold of silicone in the space left over. I'm glad I abandoned this idea since it would've been a whole lot of work without any assurance of good final results.
We thought about making the locators and walls by hand but decided that it would be just as well (and just as much work) to simply make a new one.
Second Attempt = Winning
On Tuesday (which is the day of Regional Reviews here in the future time zone of New Zealand) of the week of molding and casting I wrote the following about my progress at the time.
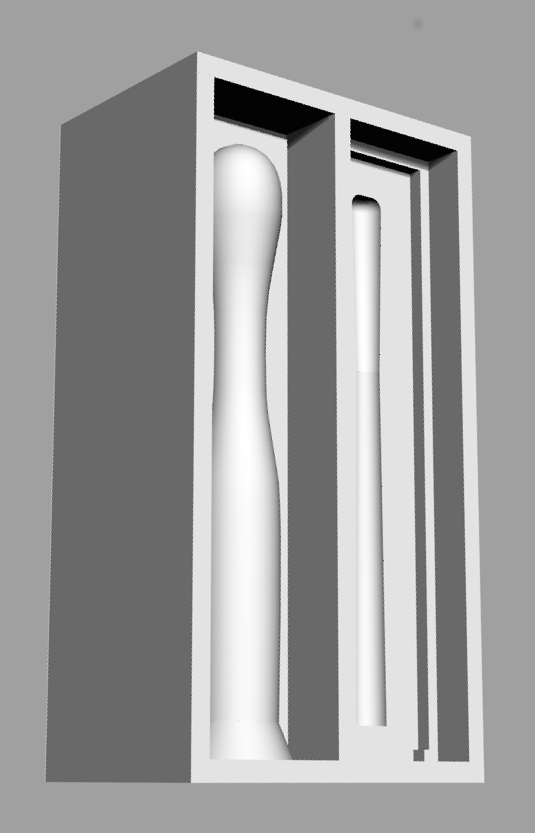
Since we'd forgotten to add walls I decided I could just as well make a new one. I wanted an inside and an outside which the first one also had but this time, after a good talk with Wendy I realized that I could just as well make the inside a negative-positive instead of doing it positive-negative-positive.  It looks something like this as of now and is still missing the locators. I'll be doing my second milling this evening, hopefully the SRP player will have evolved since the last time I used it and will be a beautiful swan by now.
But no swan was to find. What I did find was the new mold I'd made. Even though it was  pretty snowy at the time of birth. The snow is a great thing though in the recycle-ecosystem FabLab wgtn has developed, all the flakes are gathered into a box under the mill which is later
 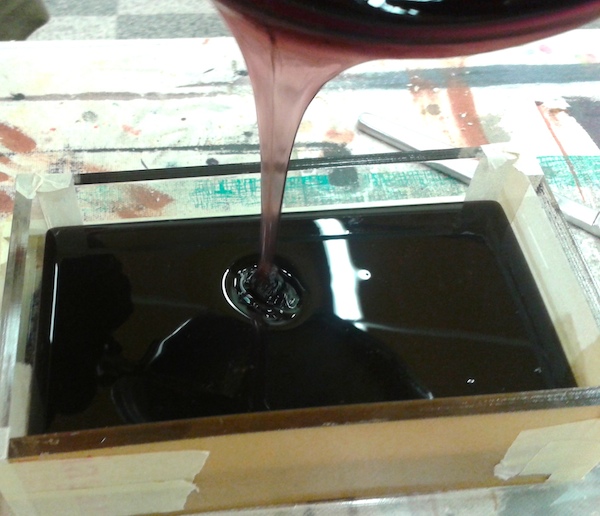 melted into new blocks of wax.
The Honeymoon period ended quick
I made the new design in Rhino, just as I had with the previous design. This time it was different. Although me and Rhino had quite an intense relationship in the beginning, almost passionate, the slope came quick and excrusiating.
The Locators
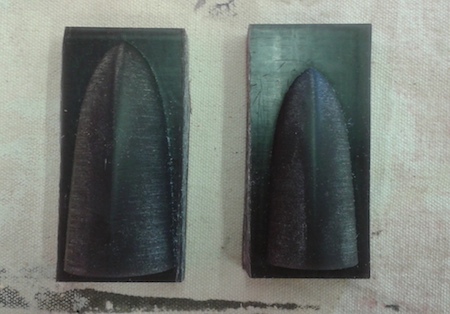
There were tooooooooooooooons of issues with making the 3d mold and I made several different versions. 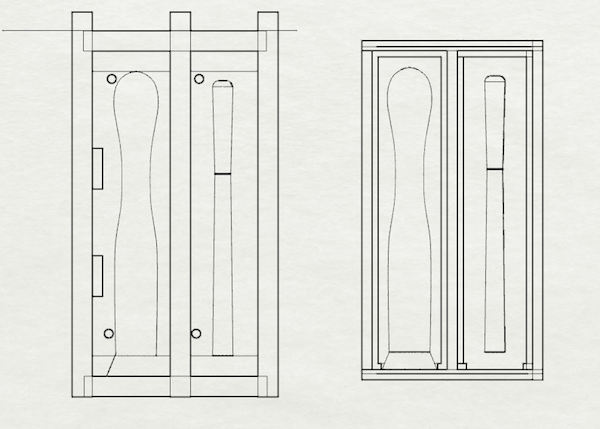 Here are two of them. The one to the right is the final and the one to the left shows some of my different ideas for how to make the locators. I'm very glad I went with the one I did because already it was difficult to keep the silicone from escaping, if I'd only used pins or rectangles I believe it would've let even more escape.
Another reason I didn't use the circles as locators was because the mill bit wouldn't be able to get through the space inbetween the positive mold and the walls.
When Rhino ran me over
A big issue I kept having with rhino was when using the boolean tools. I simply couldn't get it to work for no apparent reason, it doesn't give any details on why it doesn't work but simply, very clearly, states that it didn't. I eventually figured out why I was having these issues in one case; when trying to do a boolean subraction of the negative mold I had a rotation on the object if I turned this so the lines were aligned it eventually worked. Such a simple problem becoming such a huge time drain.
Settings for milling and "this"
Daniel helped me get the settings right and I eventually went for 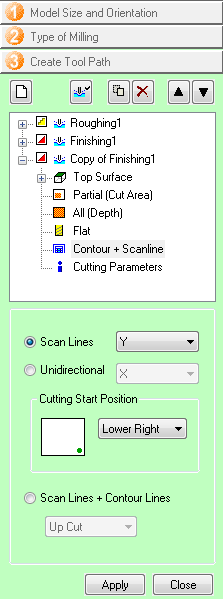 this y-axis setting,
 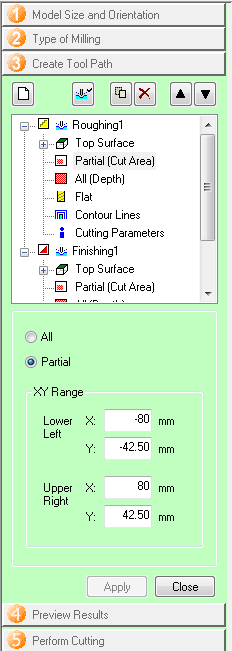 this which later gave me
 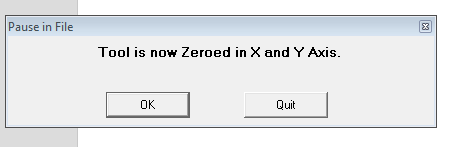 this for the xy-axis setting. And first
 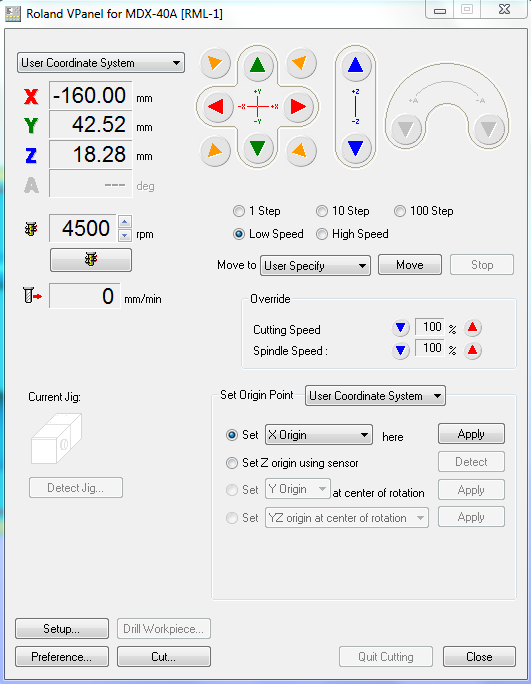 this but then
 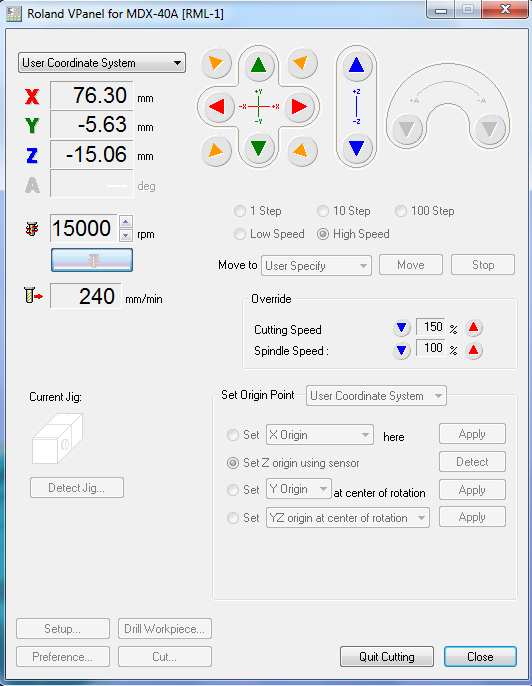 this. I ended up getting a very nice finish and super walls, which I unfortunately forgot to give a draft angle.
Getting Physical
Casting while I mold
I started casting the first positive-negative and the negative-positive. I made sure to  mix the poly-urethane very well. I wasn't using silicone since my final cast would be a silicone one and silicone would bind to silicone. Poly-urethane doesn't need to be vacume suctioned in order to get the air bubbles out so I skipped this step and focused on
 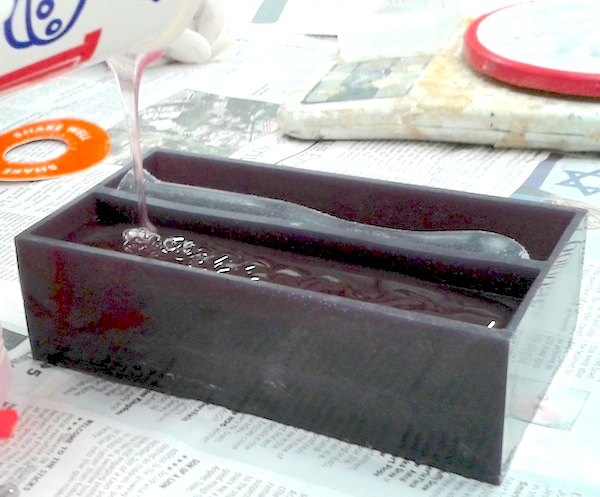 pouring it slowly and very thinly instead. I had
 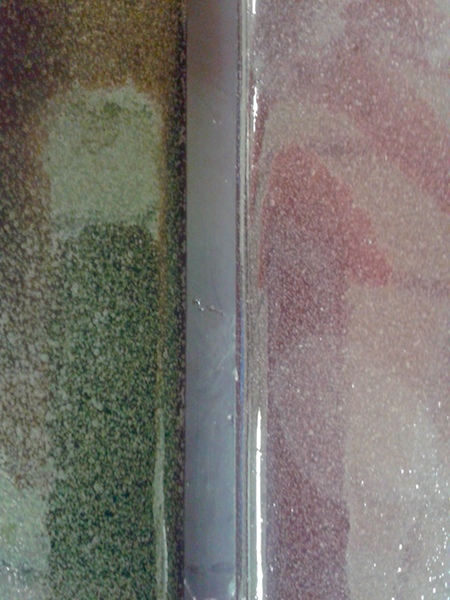 a few air bubbles but not to the extent that they could create an issue.
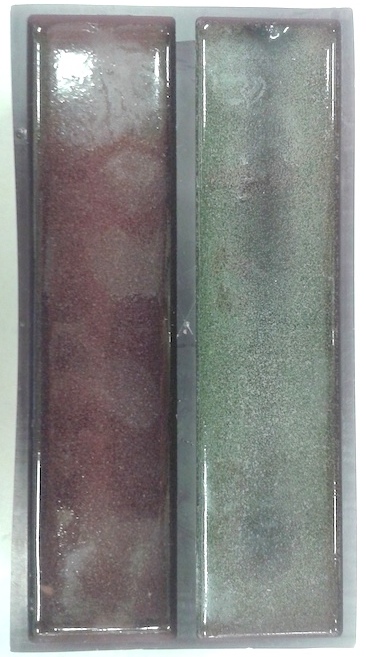
To get the molds out of the case I ended up having to break the wax but they came out just fine and fit quite well. They looked beautiful in the light. I'd added colors to keep them seperate and also for the simple effect of nice aesthetics.