Tasks of this week:
The weekly assignment started with the simple tasks:
Starting with the Simple three tasks.
1. Group Assignment:
Test the design rules for your printer.
2. Design and 3D print a small object that could not be made subtractively.
3. 3D scan an object.
What is 3D Printing.
3D printing refers to processes in which material is joined or solidified under computer control to create a three-dimensional object, with material being added together. 3D printing is used in both rapid prototyping and additive manufacturing.SO we have two 3D Printers in Vigyan Ashram.
1. Fractel Works Julia V2
We are using fracktol Software for Julia.
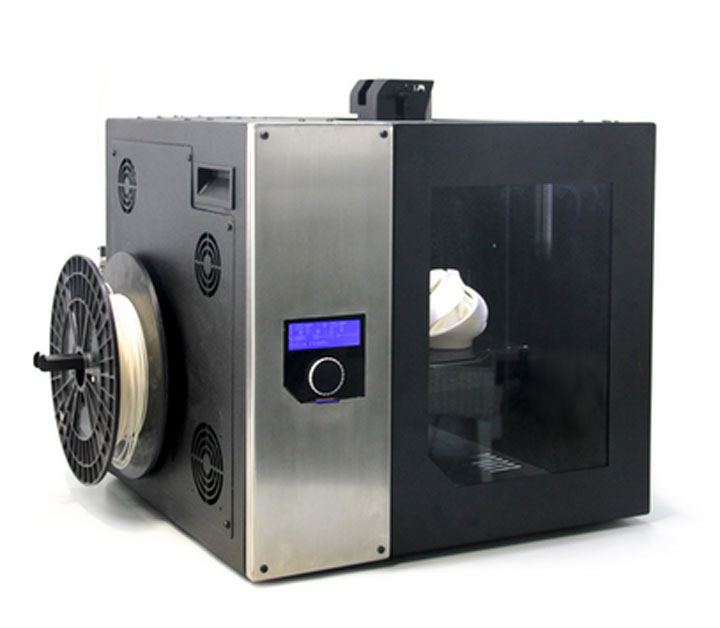
1. This printer has a bed size of 210mm X 250mm X 260mm
2. The printer is commanded by software named as 'Fracktory', which respectively generates the CAM path for the nossle.
3. It supports a filament diameter of 1.75mm
4. Has a nozzle diameter of 0.40mm
2.Accucraft i250+
We are using Repeteier host for Accuraft.
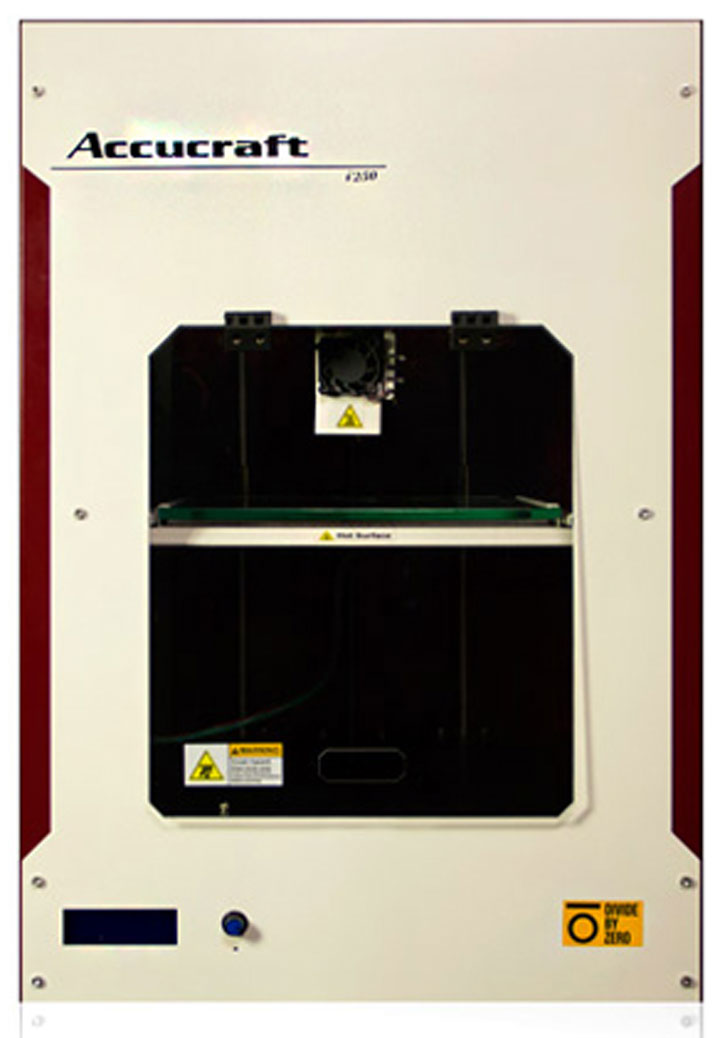
1. This printer has a bed size of 300mm X 250mm X 200mm.
2. The printer is commanded by software named as 'Key Slicer'
which respectively generates the CAM path for the nossle.
3. It supports a filament diameter of 1.75mm
4. Has a nozzle diameter of 0.45mm
Design and 3D print a small object that could not be made subtractively.
What is additive and subtractive?
1. ADDITIVE - It is a process of build any object in layer by depositing any material.
2. SUBTRACTIVE - a process by which 3D objects are constructed by successively
cutting material away from a solid block of material.
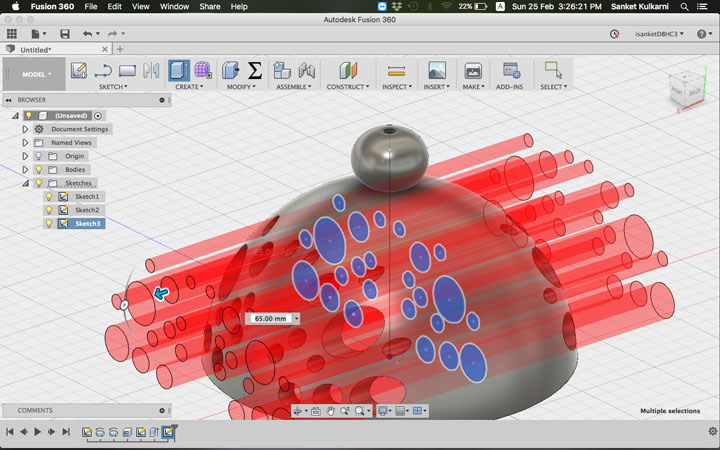
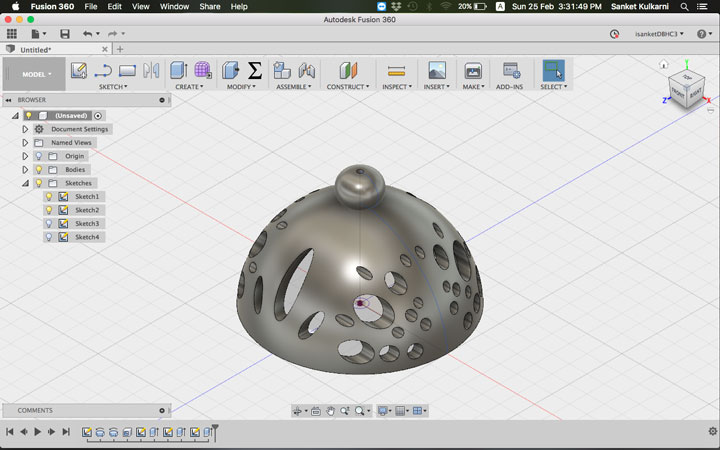
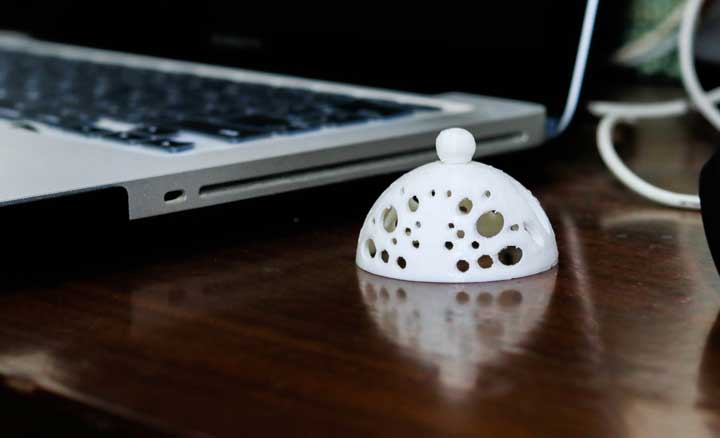
For this task I decide to make a small geodesic dome shape lamp cap. I feel that Lamps are very fascinating to me. So i thought about small lamp cap.
I selected the plan. And gave the paramatric daimentions. Went to sketch and drew an arc and went to revolve. to make some hole I drew some circles and made them through out. and saved my file as .stl to print.

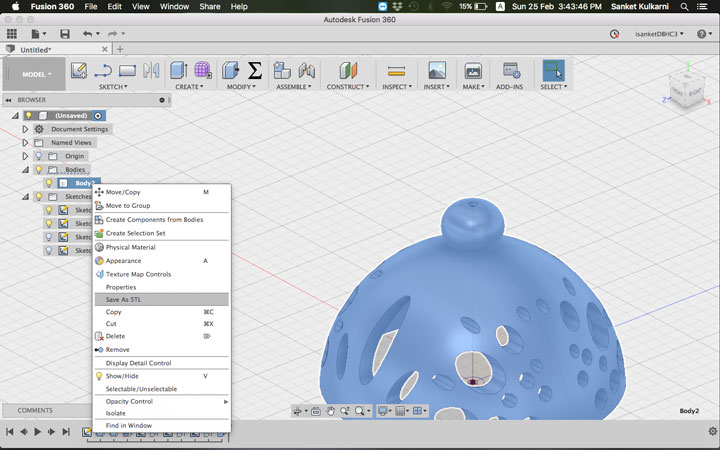
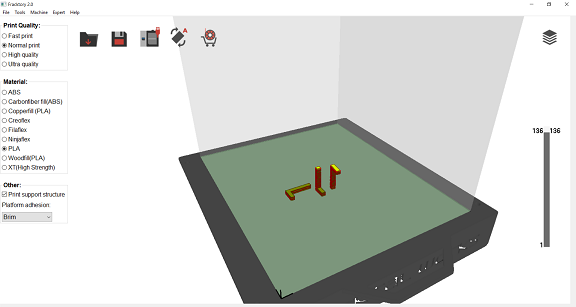
I opned that .stl file in printer's software i.e frcaktory.
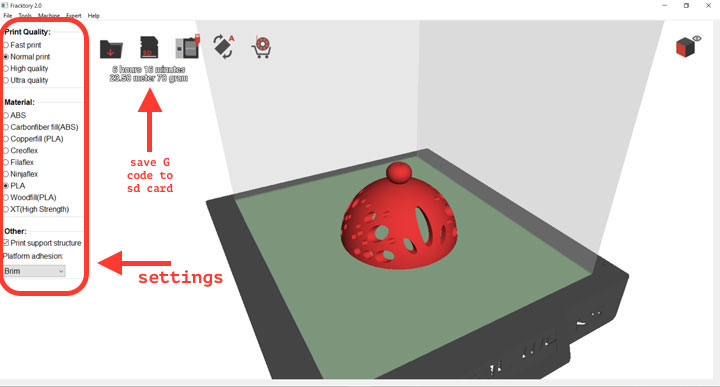
I set the print quality as medium. set the material to the PLA.
there was not need rotate the object. saved the file as G code in the
memory card. Saved that file into memory card and impoted into printer.
Cleaned the bed.
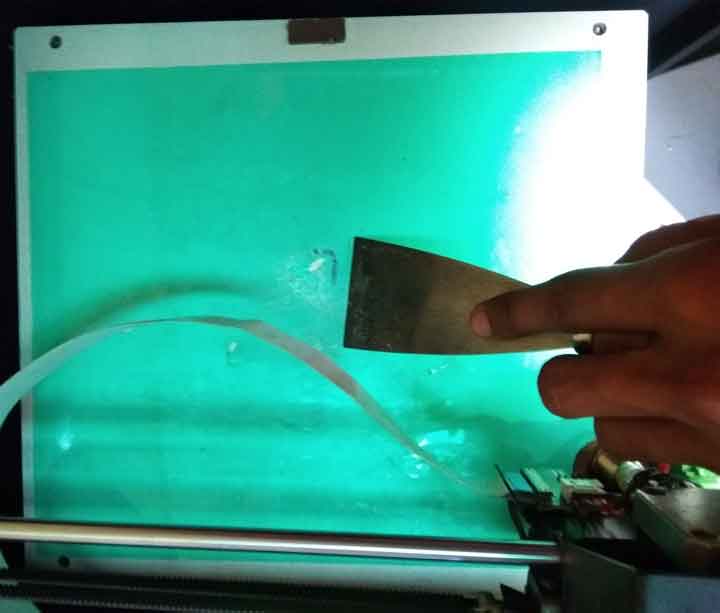
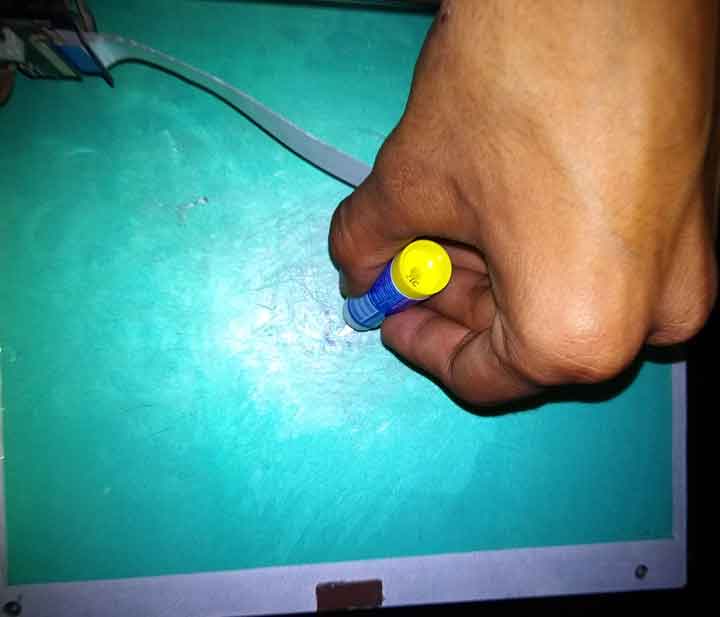
Applied the glue on the bed to stick the printed part on bed.
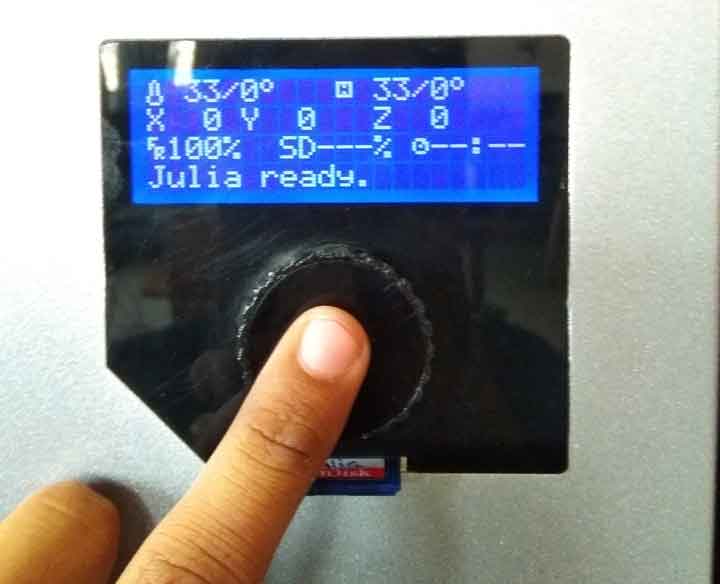
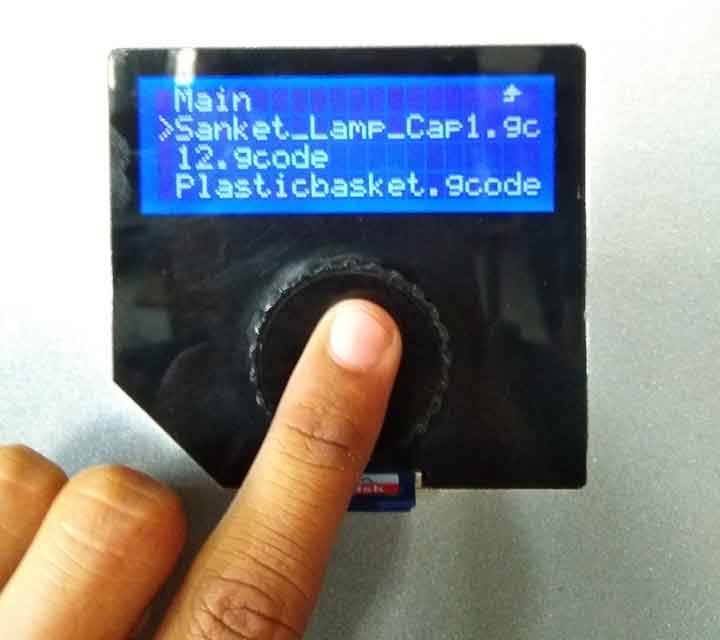
Selected the print from sd card.

Selected the part.
Bed Started Heating.
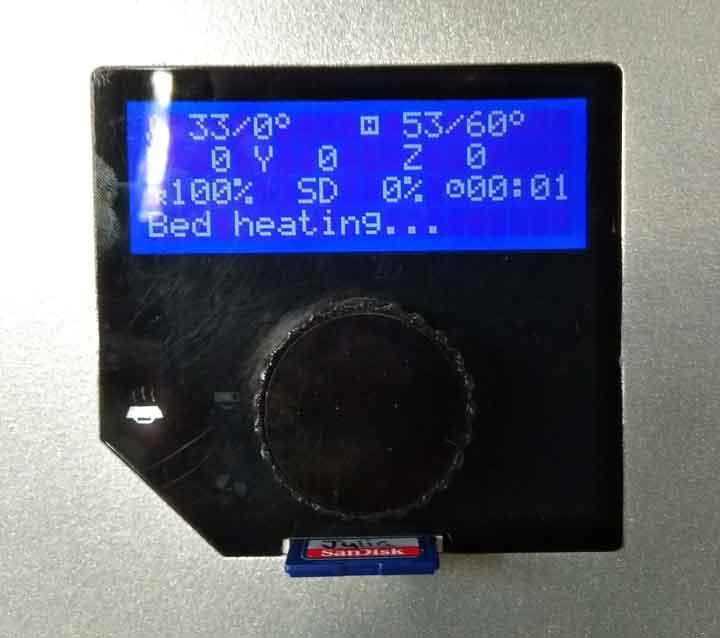
And it started printing.

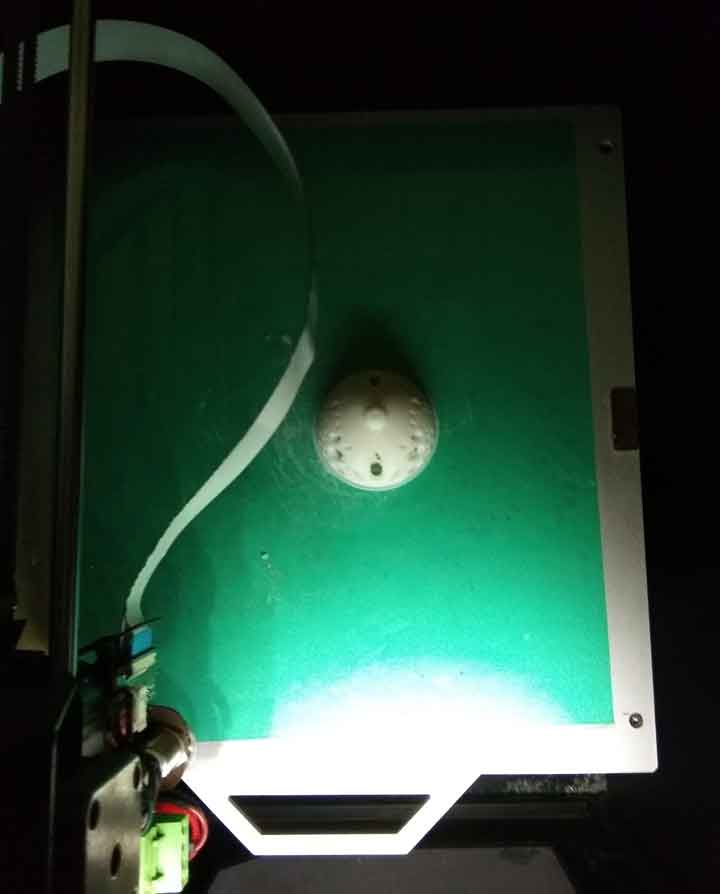
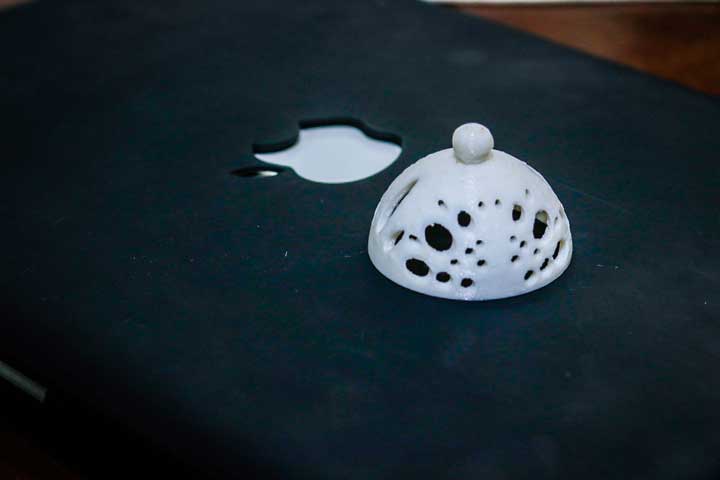
Done the printing.
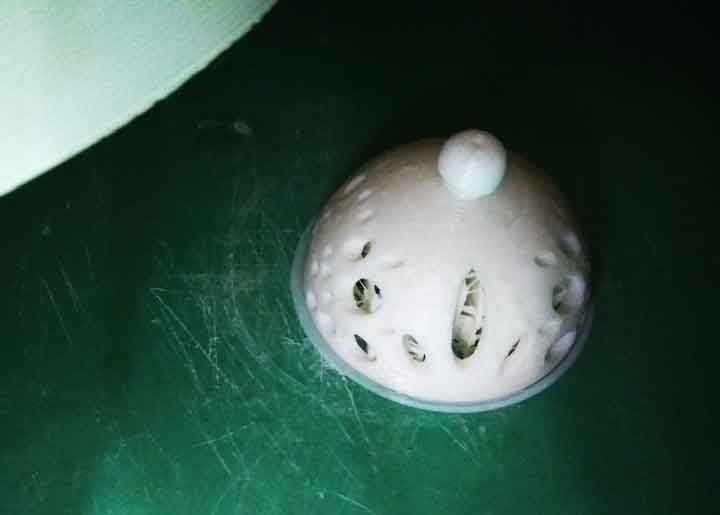
The Final Printed part.
1. group assignment:
In this part of the assignment we had to describe various properties of the printer.
This week we had group assignment, this may cause the same image to appear on pages of multiple students.
The placement of objects, this was one of the most important test:For this we made an "L" shaped object, and arranged it in the positions shown below.
we got a result as follows
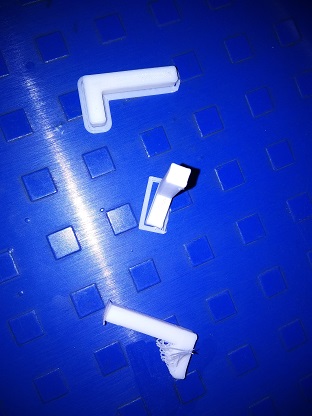
1. The shape which was laying down was having good strenght.
2. The standing 'L' was also having good structural strength.
3. The second standing 'L' was hanging from its base and the strength was too poor.
Hence to conclude was the object having maximum surface area at the base will have a good strenght.
The Process and Specifications of 3D Scanner.
The Sense is designed to be handheld vertically using the grip, but you can also put it on a tripod because of the treaded mounting hole on the bottom. On the front you can see the 3D Systems logo, followed by a window from which an invisible infrared laser pattern is projected onto the object you want to scan.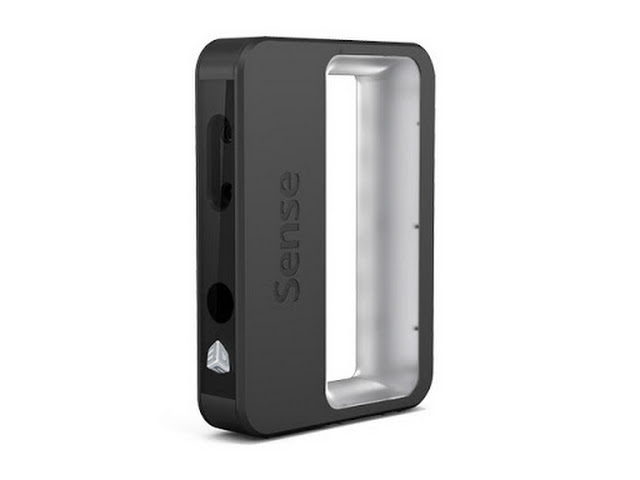
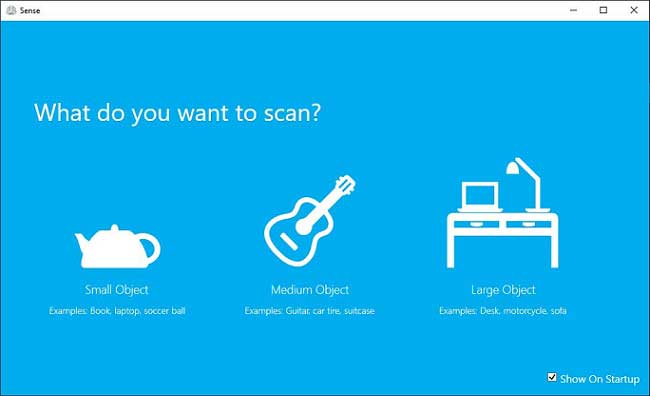
Things to do:
1. Connect the scanner to the laptop.
2. The software will open up.
3. Select the thing which you want to scan.
you need to keep your object somewhere from you can scan it. In my case
I tried few times but I could't scan it properly. I was loosing my path
again and again.
I tried to rotate my self insted of rotating the scanner. And at the end
I could not scan it properly.
As it did not happend properly I decided to do it once again.
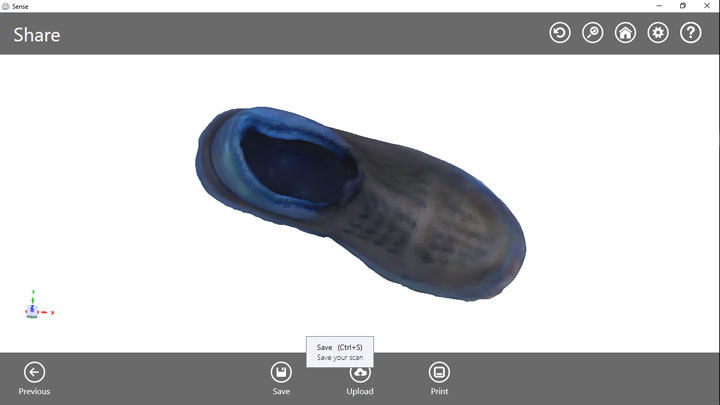
This time I took my shoe to scan. Becouse it is small and looks danm cool. :)
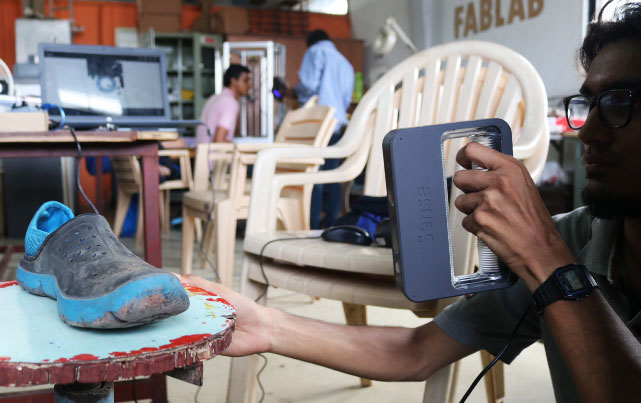
So many time I lost the tracking. but I did not give up on it. I tried so many times. Finally the end result is here. I am so happy with that.
Advantages:
Advantages of 3D printing:You can make what ever you have imagined and design in CAD. It is very easy to print and use. instead of manufacturing you can build and creat your own things. You can devolope your creativity.
Limitations of 3D printing:
3D printed parts are bit costly other than any metal. it is also time taking process. and after a certian point the matrial can not sastain.
Advantages of 3D scanning:
The ability of scanning is much more easy than masuring and designing. It saves time as well.
Limitations of 3D Scanning:
I would say staibality will me more important in this case. artificial lighting and slow movment. The end result of the scanned image may not be good everytime.
Learning Outcomes:
I learnt how to do scanning properly. I also learnt the advantages and limitations of both 3d printing and Scanning. but the most important thing that I learnt is I can have some more patience!! ;)
You can Download the Files.