Tasks of this week:
The weekly assignment started with the one task:1. individual:
Design and produce something with a digital fabrication process.
The Wildcard Week!!
This week was a free work week, where we had to define our own assignment and the standards of it. For this the basic criteria was to have any task the includes digital fabrication of involvement of computer aided tasks, and should be other than the ones we had covered.
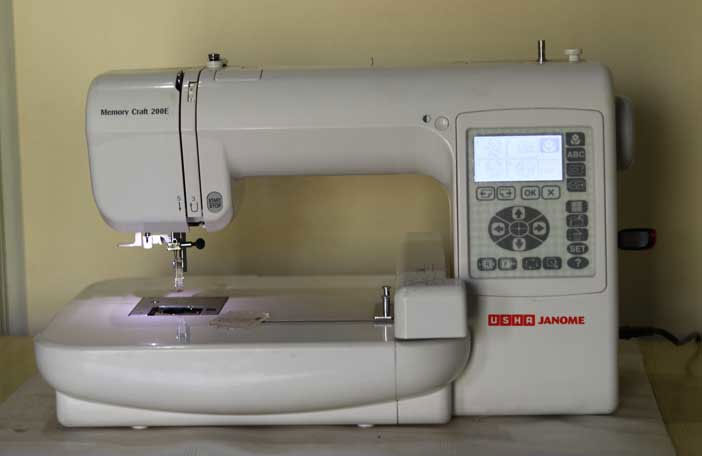
Usha Janome
For this week I went for embroidery fabrication. Where I can design anything and stich it on cloth. The machine is operated by a machine software named as Digitizer, that which takes image formats and converts it to the file containing the path of operation.
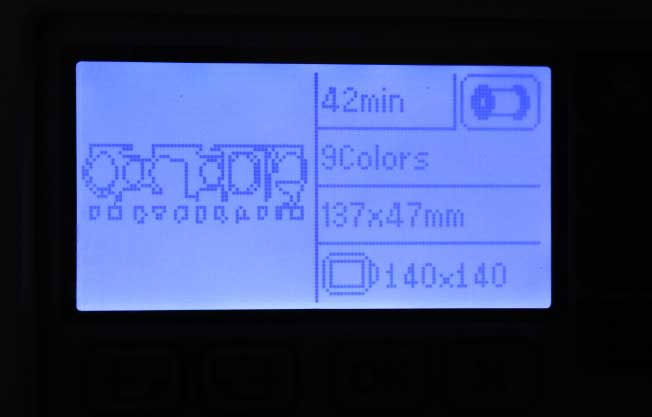
1. Maximum embroidery size is 5 inch by 5 inch.
2. file size is Built in 700 KB
3. Machine has USB port for pendrive attachment or direct communication
4. Supports *.jef format
5. Supports 650 SPM (stitches per minute)
This is the machine which I used.
This is a small dongle which comunnicates with the software.

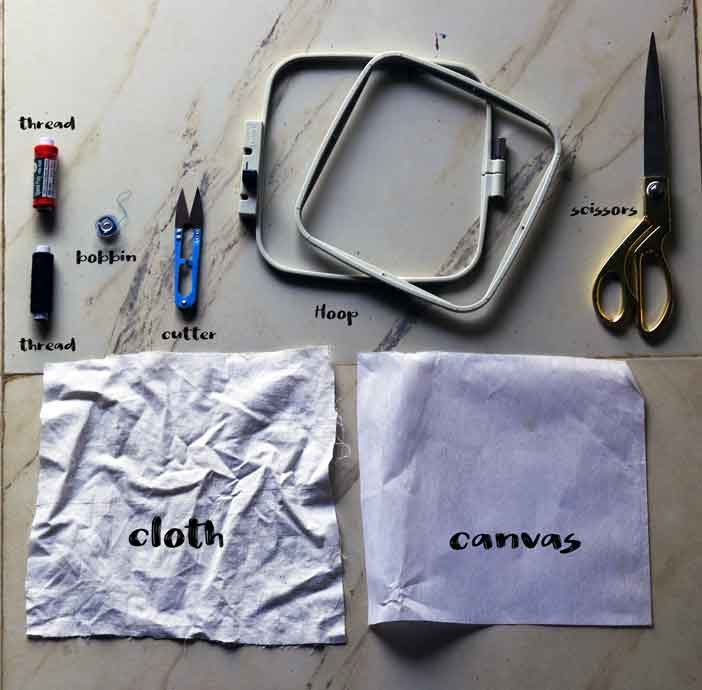
Here are the material I used.
I Deciede to make my own logo. Which I have designed for myself. 'Kalakar photographics'

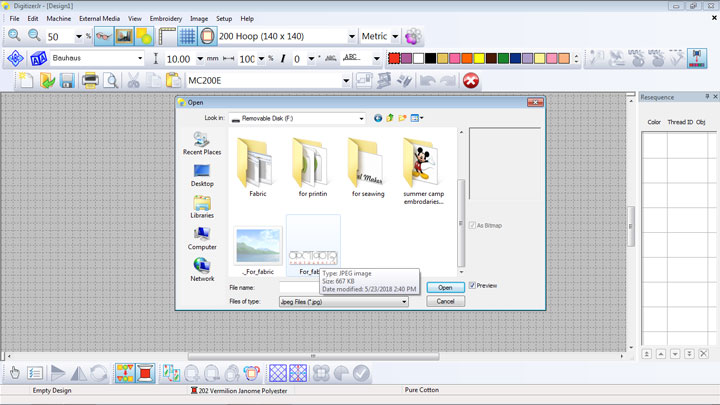
I opend the design file in Digitizer jr software. This is how it looks.

for importing an image clicked on 'Insert image' option.

Then I selected the main image which I will use for this assignment.
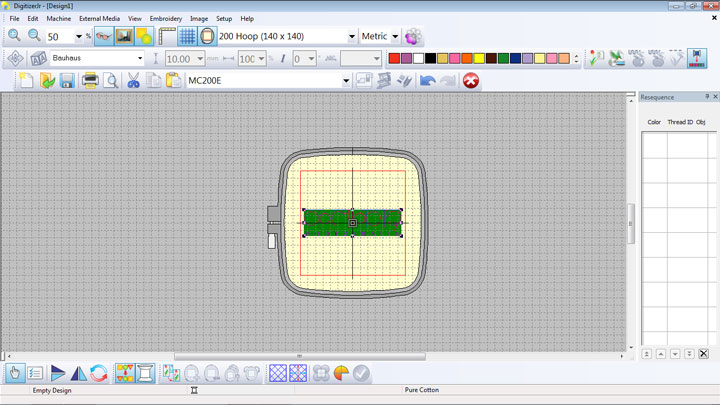
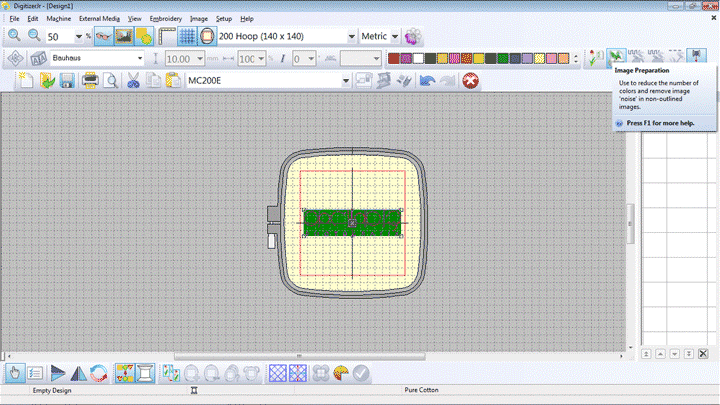
I placed the image in the bed size of the machine.
Then I clicked on Image preparation to reduce the number of
colors. I reduced the number of colors as you can see by defualt it was 7.
As per my requirnment I changed it to 3.
I clicked on the parllel weave fill to make the stiches.
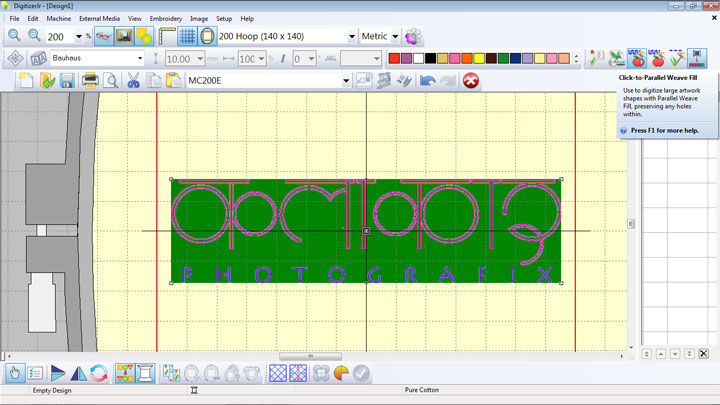
As you can see I selected the path line to make stiches.
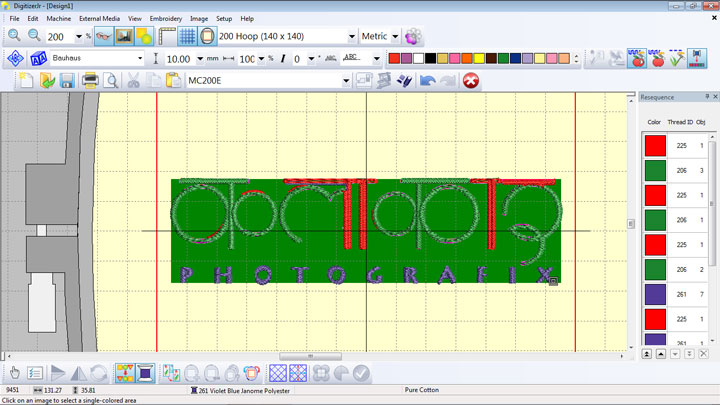
And I saved that file in the pendrive.
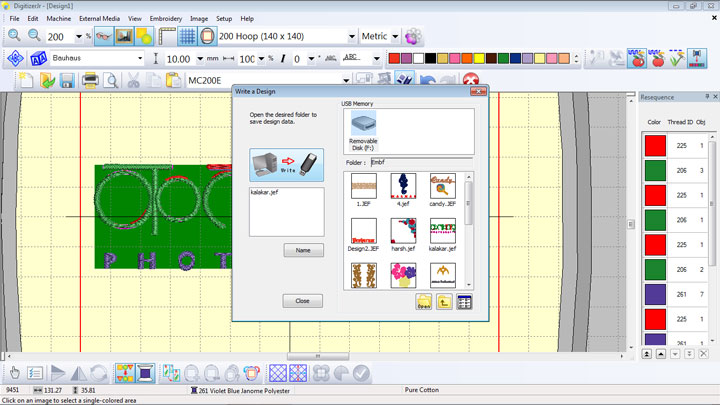
I attached the prndrive to the machine and opend my file.
After that I attached the thread to the machine.

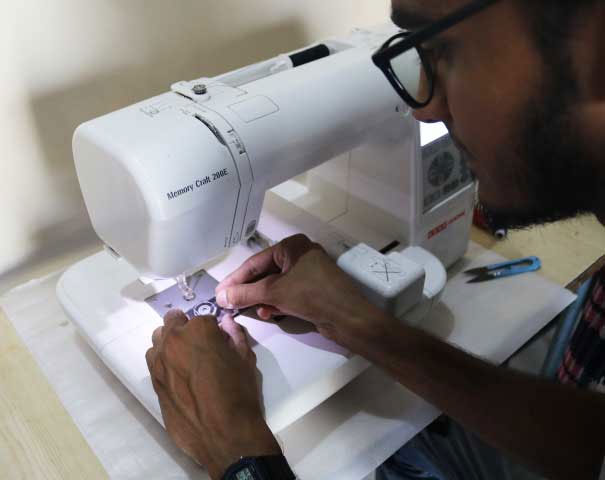

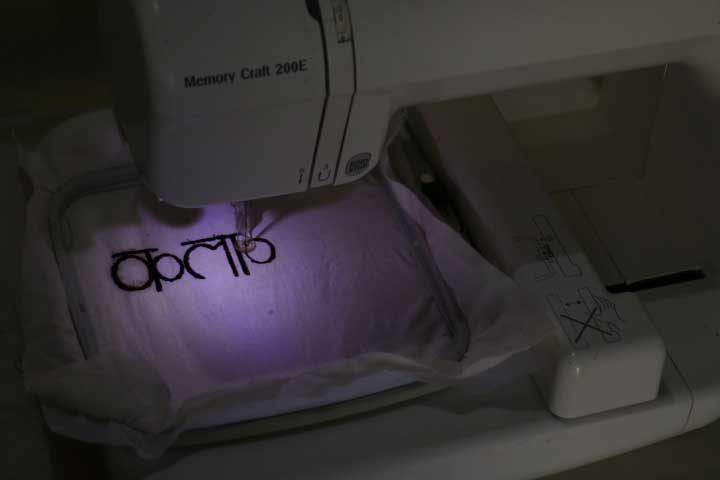
And the machine started sweing.
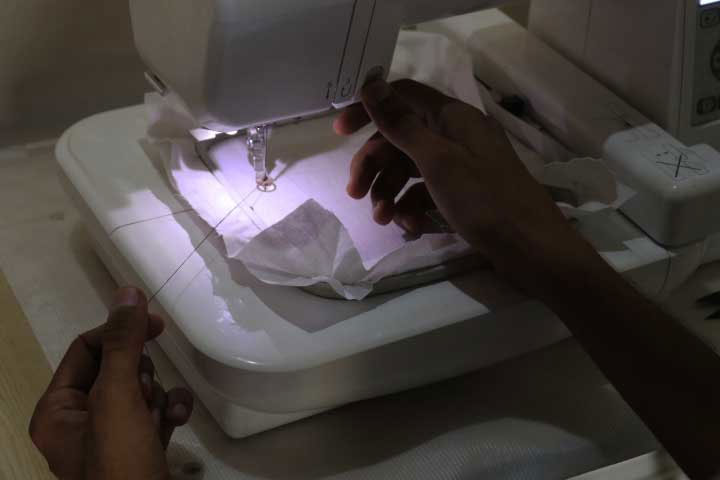
This is how it was looking.
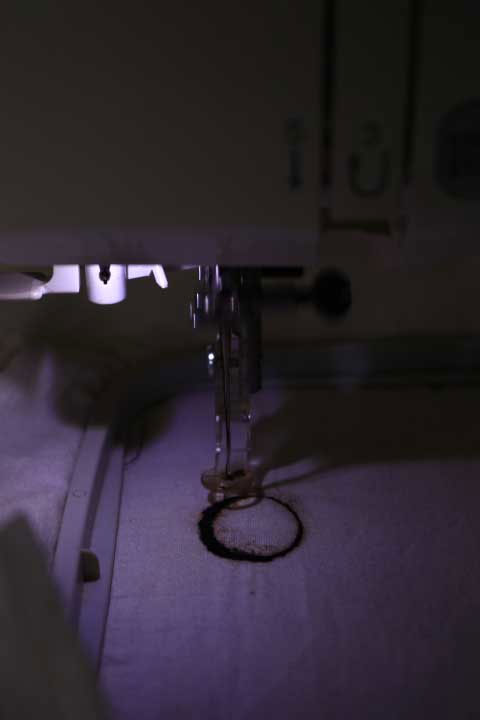
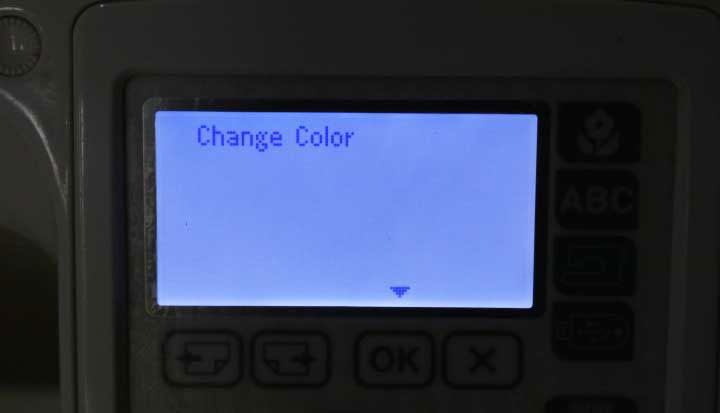
I wanted to do it in two colors so I had to change the thread in between.
The machine gave me an indication.
And I changed the black color thread to the red color thread.
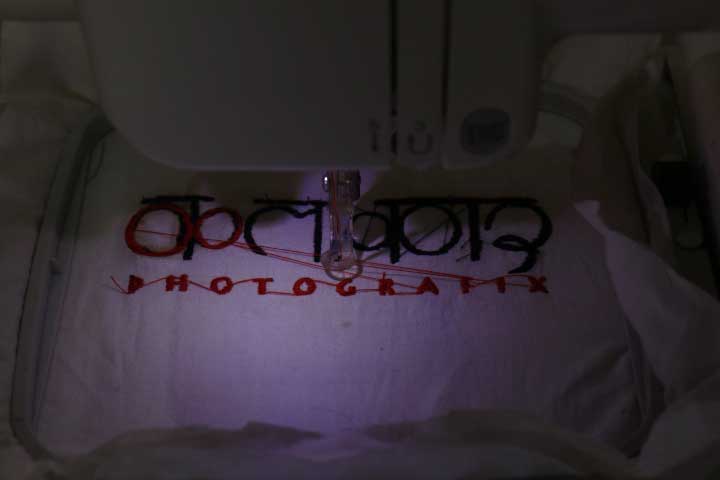
Here it is done!!
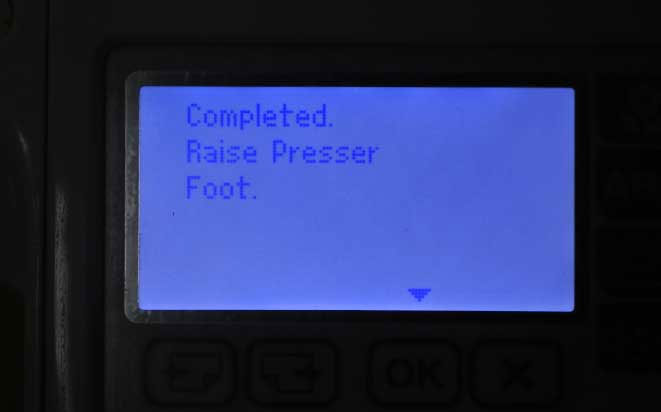
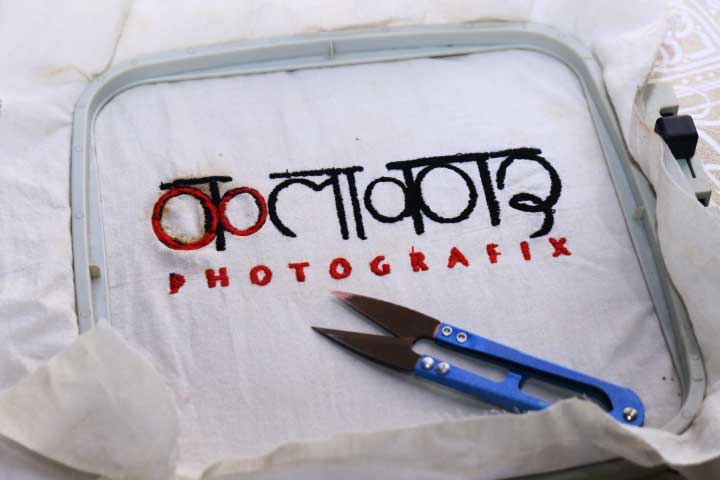
after completing it I took out the hoop and the cloth.

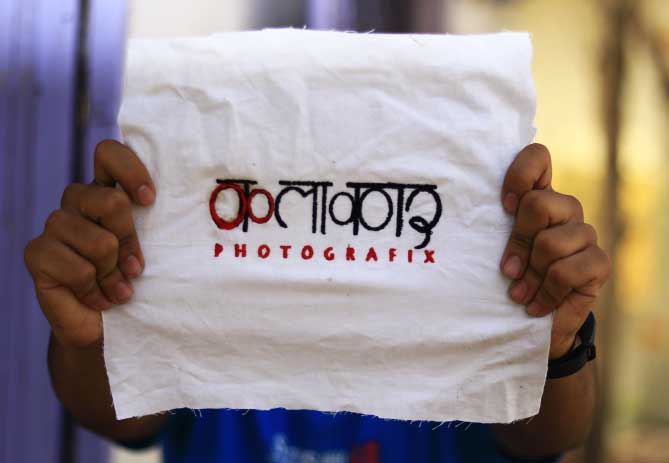
At the end this is how it looks.
Learning Outcomes:
In this assignment I came to know that the cloth sweing can be so easily done. CNC machining is very simple to use. anyone can learn from this machine and can make thier own cloths.You can Download the Files.