Tasks of this week:
The weekly assignment started with the simple tasks:
1. Group assignment:
review the safety data sheets for each of your molding and casting materials, then make and compare test casts with each of them
2. Indivisual:
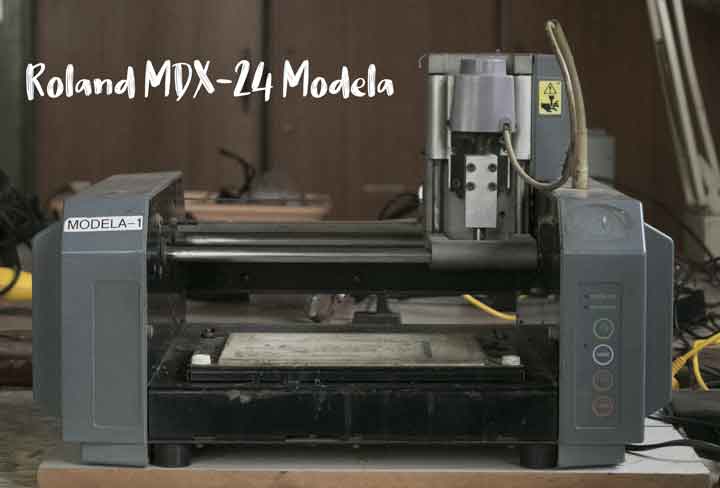
design a 3D mold around the stock and tooling that you'll be using, machine it, and use it to cast parts.
1. group assignment:
Molding and Casting:
Molding:Molding is the process of manufacturing by shaping liquid or pliable raw material using a rigid frame called a mold. molding is the preferred process for manufacturing plastic parts. Injection molding is used to create many things such as electronic housings, containers, bottle caps, automotive interiors, combs, and most other plastic products available today. It is ideal for producing high volumes of plastic parts due to the fact that several parts can be produced in each cycle by using multi-cavity injection molds. Some advantages of injection molding are high tolerance precision, repeatability, large material selection, low labor cost, minimal scrap losses, and little need to finish parts after molding. Some disadvantages of this process are expensive upfront tooling investment and process limitations.
Casting:
casting involves pouring liquid metal into a mold, which contains a hollow cavity of the desired shape, and then allowing it to cool and solidify. The solidified part is also known as a casting, which is ejected or broken out of the mold to complete the process. Casting is most often used for making complex shapes that would be difficult or uneconomical to make by other methods.
Machinable wax:
This is an extremely hard synthetic wax that machines faster than polyurethane and epoxy tooling boards or metals without sacrificing quality of finish, surface detail, or dimensional accuracy. It is used to produce accurate molds and prototypes and is recyclable and reusable, non-abrasive, non-toxic, self-lubricating and able to be glued.
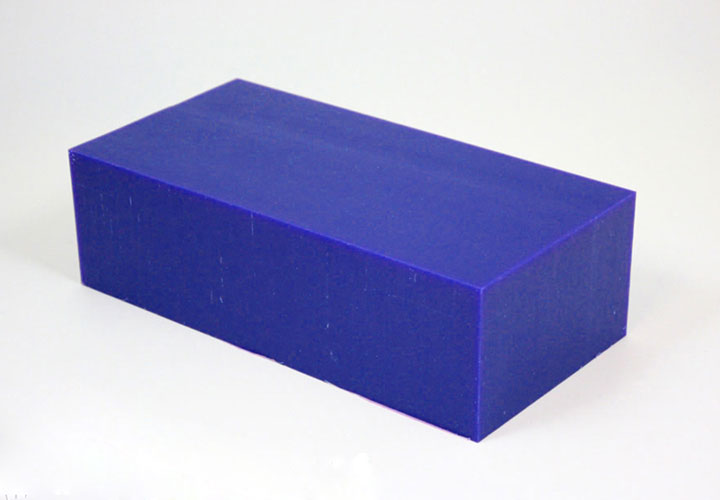
Technical Data:
Color (visual): Blue
Specific Gravity: .92
Hardness (Shore D): 50-55
Softening Point: 226° F
Flash Point: 575° F
Volumetric Shrinkage @ Room Temp.: 7%
Coefficient of Thermal Expansion (in/in/°F): 9.5 × 10 -6
Silicon Rubber:
Silicone rubber is an elastomer (rubber-like material) composed of silicone—itself a polymer—containing silicon together with carbon, hydrogen, and oxygen. Silicone rubbers are widely used in industry, and there are multiple formulations. Silicone rubbers are often one- or two-part polymers, and may contain fillers to improve properties or reduce cost. Silicone rubber is generally non-reactive, stable, and resistant to extreme environments and temperatures from -55 °C to +300 °C while still maintaining its useful properties. Due to these properties and its ease of manufacturing and shaping, silicone rubber can be found in a wide variety of products, including: automotive applications; cooking, baking, and food storage products; apparel such as undergarments, sportswear, and footwear; electronics; medical devices and implants; and in home repair and hardware with products such as silicone sealants.

Epoxy:
Epoxy is either any of the basic components or the cured end products of epoxy resins, as well as a colloquial name for the epoxide functional group. Epoxy resins, also known as polyepoxides, are a class of reactive prepolymers and polymers which contain epoxide groups. Epoxy resins may be reacted either with themselves through catalytic homopolymerisation, or with a wide range of co-reactants including polyfunctional amines, acids (and acid anhydrides), phenols, alcohols and Thiols (usually called mercaptans). These co-reactants are often referred to as hardeners or curatives, and the cross-linking reaction is commonly referred to as curing.
I refered this datasheet of Epoxy. but here in vigyan ashram, The Epoxy and hardener bottles had no specification on it. as per the shopkeeper of epoxy the recommended ratio is 1:2 i.e. for 1 part of hardener and 2 part epoxy to get hard properly. Normally it takes almost 3-4 hrs to cure.
Designing:
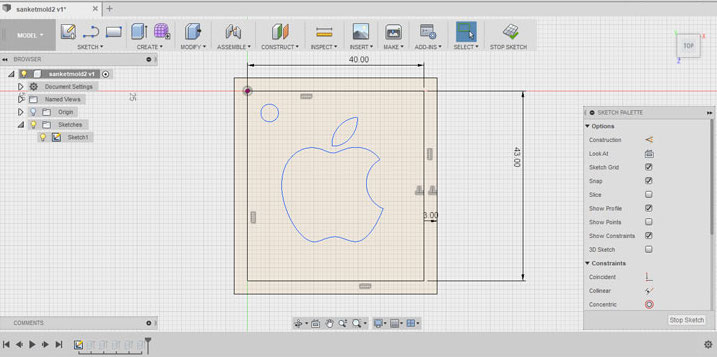
So here I started the Designing part. I refered last year's student's website. And I decided to make something intersting and small. like always I thought about too many things. finally at the end I finilized the apple's logo becouse I am a mac user and a fan of steve jobs. So I took a vector of the apple's logo edited in illustrator and saved as dxf. I imported it into fusion 360.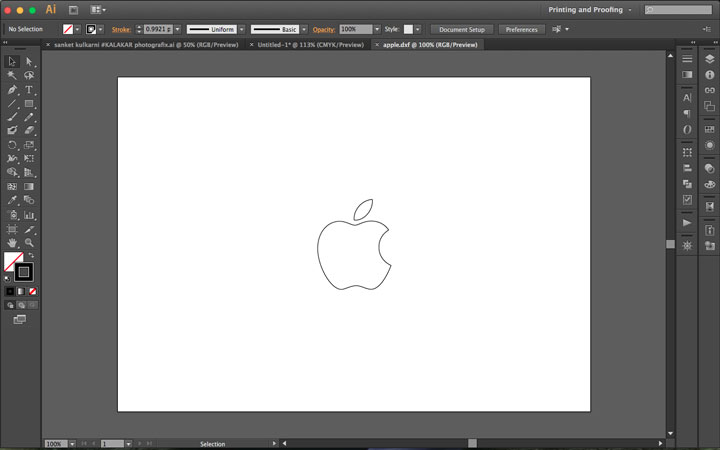
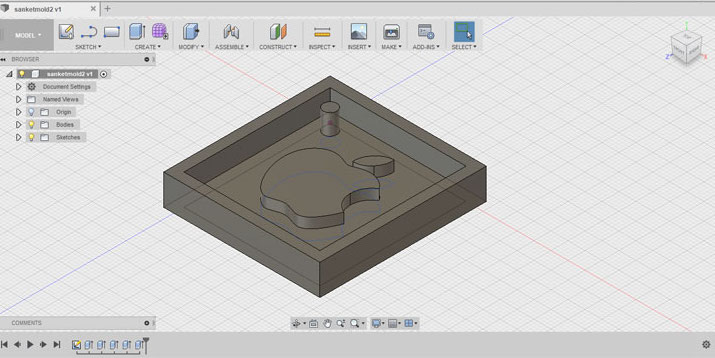
As I imported the .dxf in fusion 360. by using the extrude tool I made that 2D design in 3D.
I saved that file into .stl format becouse the modela accepts only .stl format to do the 3D milling.
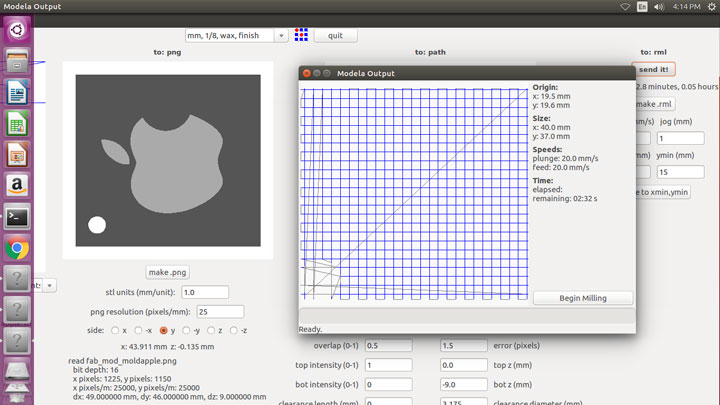
I opned that .stl file in mods. So this time I set the tool to 1/8(0.3175mm), rough. at this intital stage I used rough and to make the mold smoth I selected the 1/8 wax, finish. In both the process I used the same tool. that is 1/8. Then I followed the following steps:
1. clicked on Make .png
2. selected the front face
3. Selected the tool (1/8 rough cut)
4. clicked on Make path
5. clicked on Make RML
6. lastly clicked on send it and one window poped up. Before clicking on Begin I set the tool.
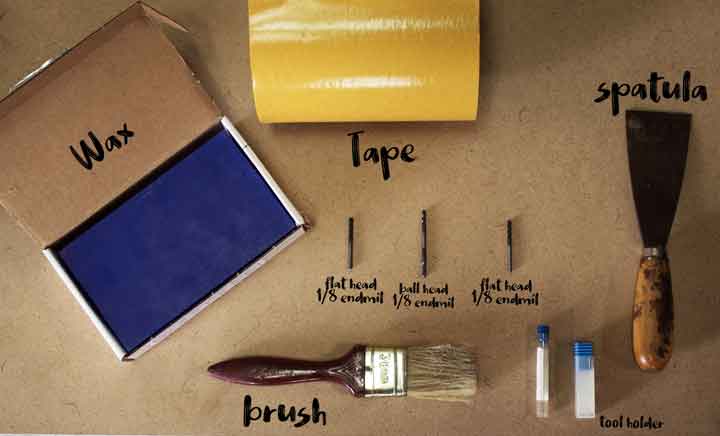
This are all the tools that I am gonna use for this assignment.

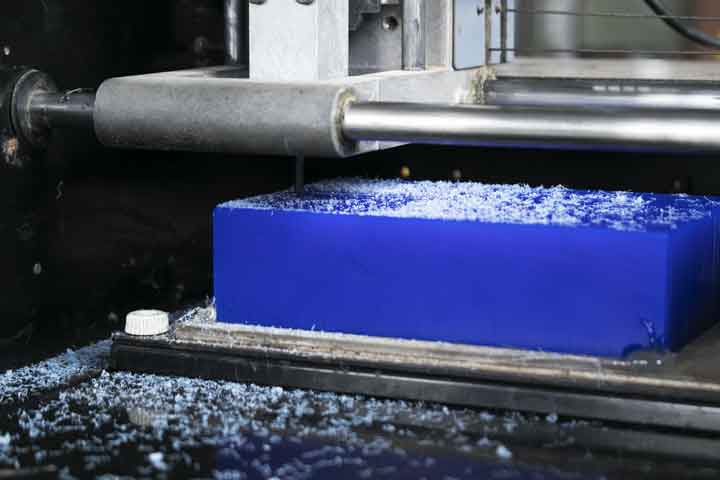
finally clicked on Begin!!
while milling the wax.
after the rough cut I set the tool on 1.8 wax, finish.
and again clicked on make path, make RML, send it and Begin.
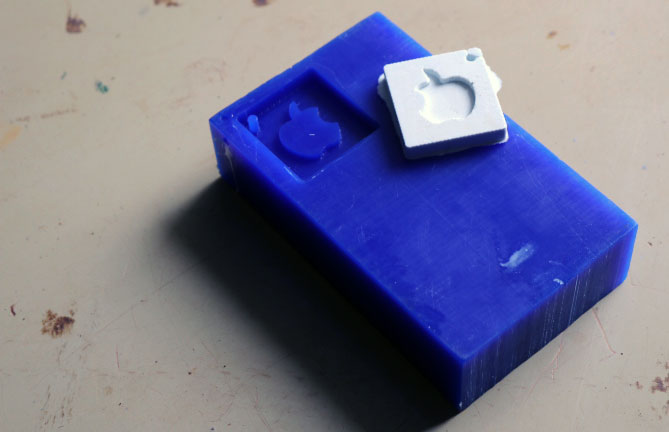
so This is how it looked after the finish cut.
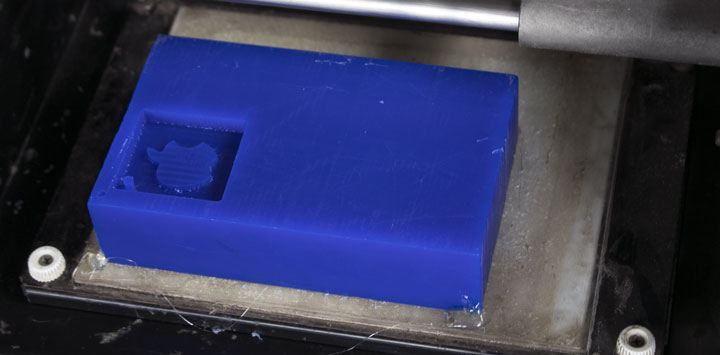
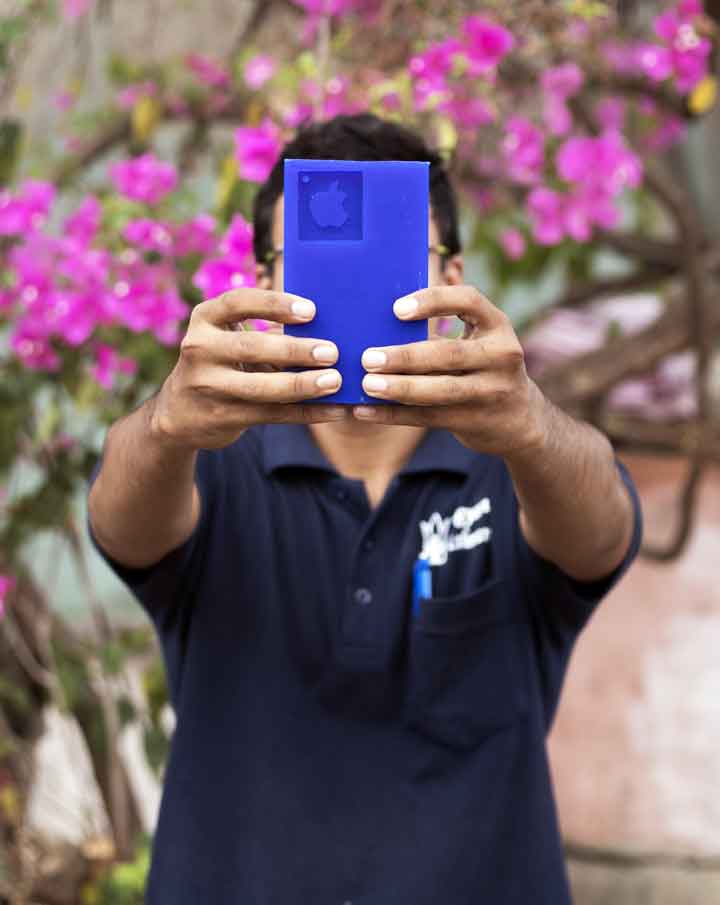
And here it is my mold. I am so happy to see it
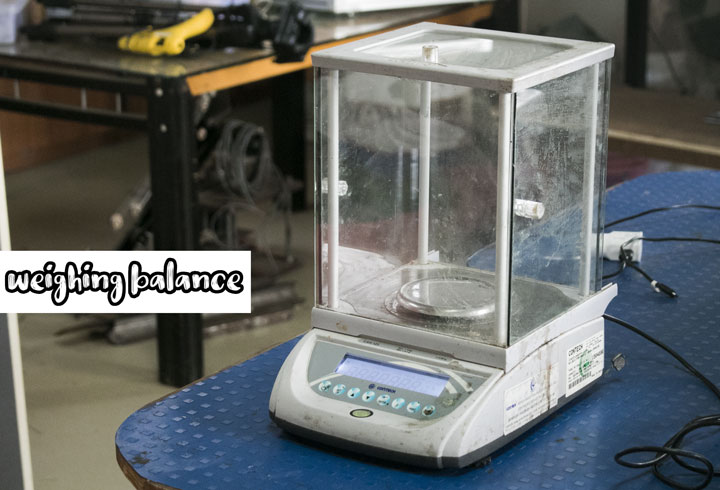
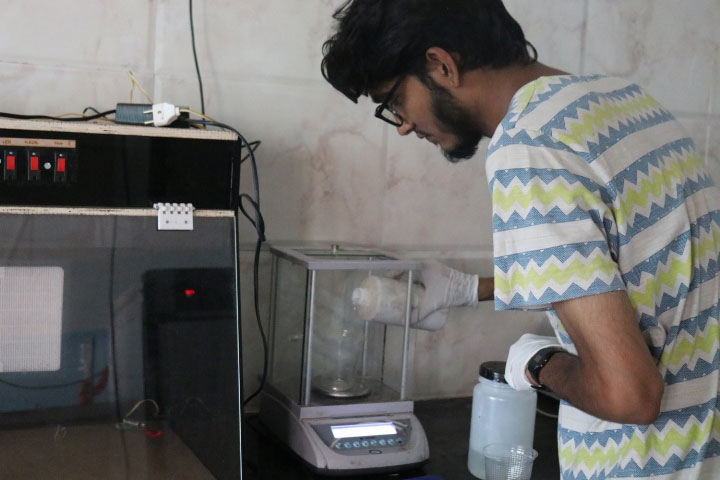
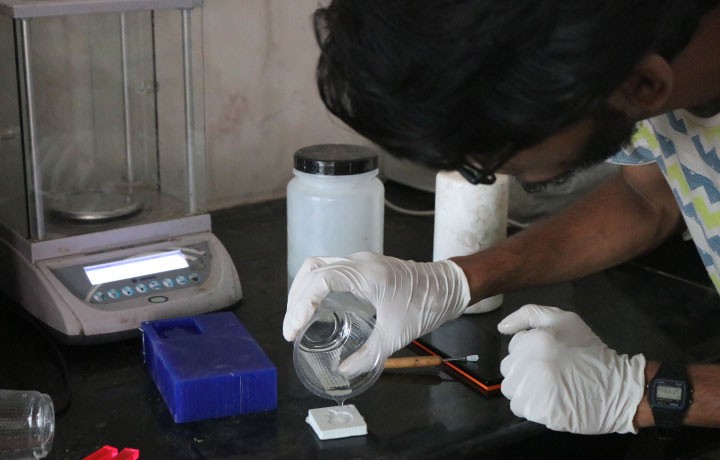
Now the challenging part starts here. as I decided to use the epoxy, for that I had to make the nagative of this mold. which I made by using sillicone rubber. I borrowed the weighing balance from the microbiology lab.
one of my fab academy friend rohan already stared doing the assignment before me. he found that a ratio of 1:10 was excellent. To calculate the approx silicone I poured the water in it and took out and masured. then I took silicone upto that level. Then added equivalent amount (1:10) of hardner. In this process my friend komal helped me.
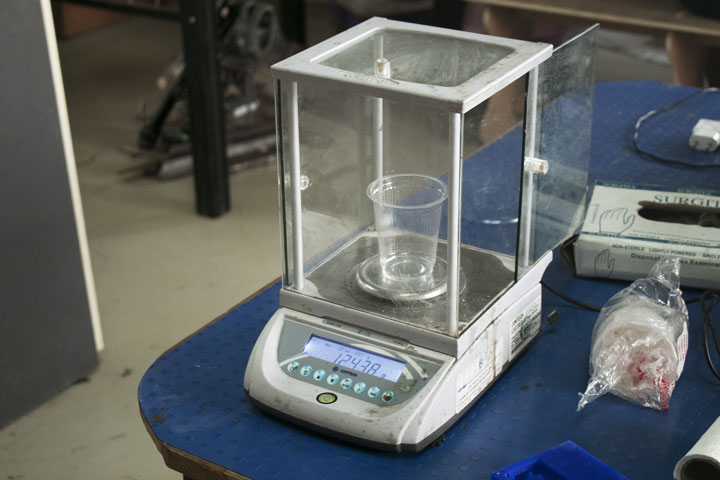
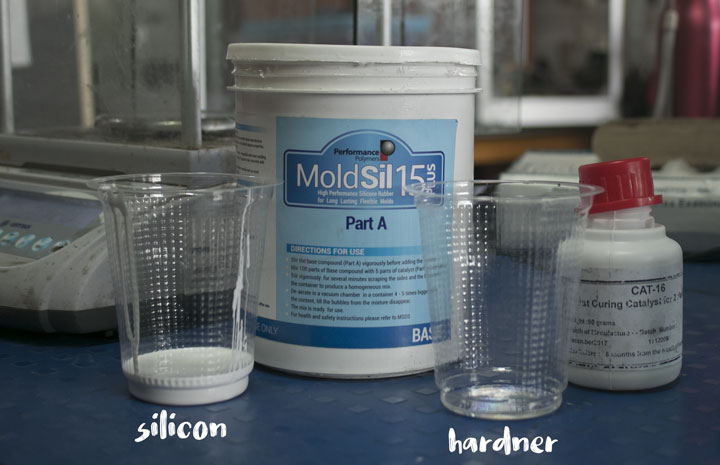
Here I masured the silicone.
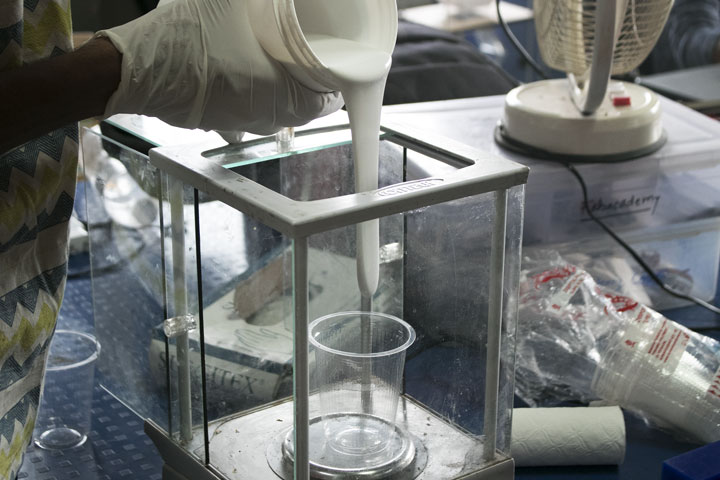
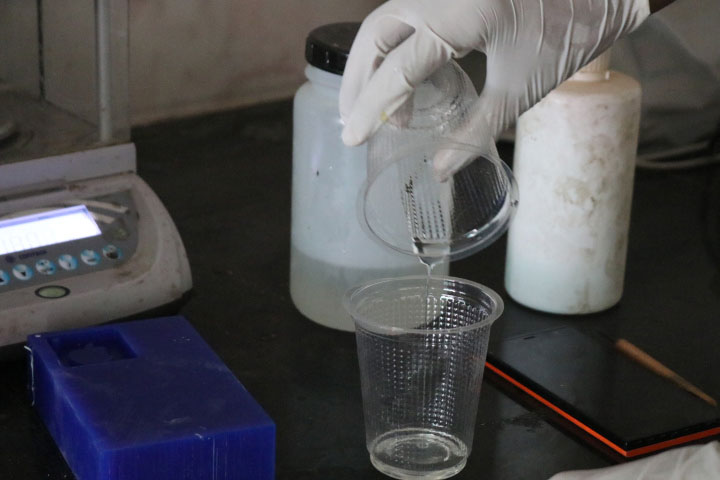
I took the silicone and hardner.
Right after mixing them I poured the mixture in to mold.
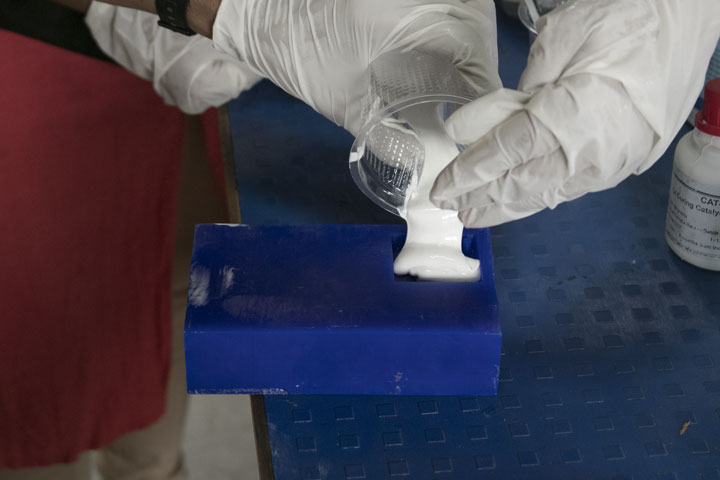
I shaked it and used an acrylic stick to level it up. komal did it very nicly.
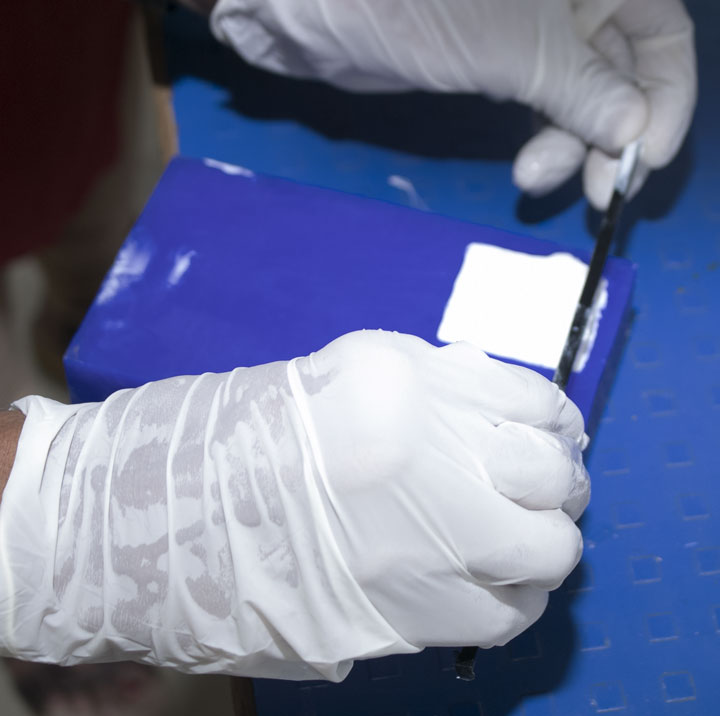
Then I kept the mold to cure. normally it takes 3-4 hrs. but for safer side I kept it overnight.
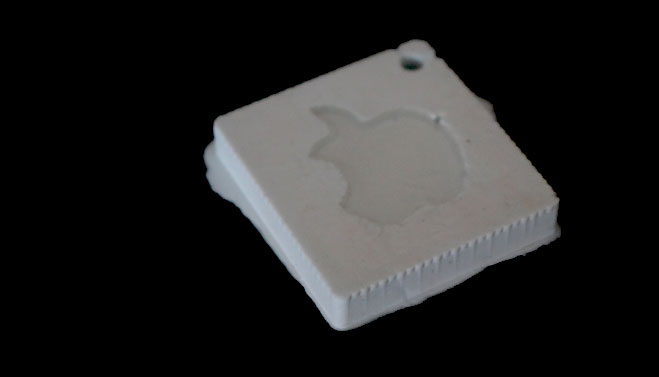
Bingo!!! the silicone was ready to come out.

This time I had to go to microbiology lab to work. as I knew that recommended ratio is 1:2 i.e. for 1 part of hardener and 2 part epoxy to get hard properly. I masured both silicone and hardner.
I mixed them properly. here we have to do the all process very fast. the solution can be hard very fast.
I poured the mixer in to the nagative silicone which gave me final result as possitive.
Now again I kept that mold for over-night to cure. and waited over-night.
due to the rain the epoxy did not get hard. I am still waiting it to get hard.

Learnig outcomes:
I learnt how the moalding and casting can be done nicely. got the chance to play with silicone rubber and epoxy. It is very important to wait for something. and It is always better to take help from others.
You can download the files from here.