This weeks assignment was making and programming a fabISP (making the board by milling a PCB, soldering it's electronic components and programing it) by choosing one of the available designs. Since it was my first time generating a G-Code and milling a PCB I started by downloading Eagle and FlatCAM.
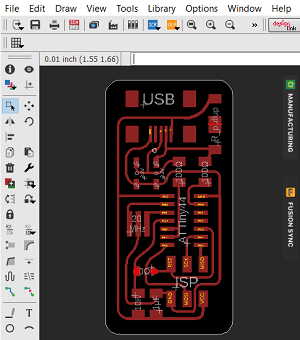
Once these were downloaded I choose to make the ALI fabISP from the options available.

I downloaded the .brd file and opened it using Eagle (remember to change units from inches to mm in the view>grid option) to export it as a gerber file.
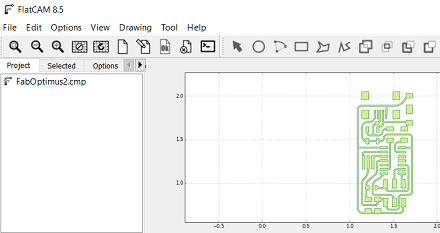
Next I opened FlatCAM and loaded my gerber files and edited the plottong parameters: - Tool Diameter: 0.1 - Width: 1 - Pass Overlap: 0.15
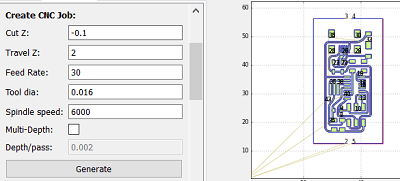
Once the plottong parameters and geometry were ready I edited the cutting parameters. - Cut Z: -0.1 - Travel Z: 2 - Feed Rate: 30 - Spindle Speed: 6000 rpm
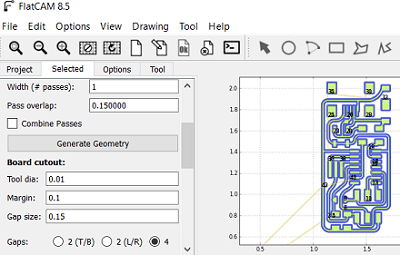
After I generated my G-Code I continued to do the same steps (different parameters) for the board cutout. - Tool Diameter: 2 - Margin: 3 - Gap: 0.5 (Space not to be cut) - Gap: T/B(2)
Once the plottong parameters and geometry were ready I edited the cutting parameters with the same parameters as before. Finally I exported my G-Code.
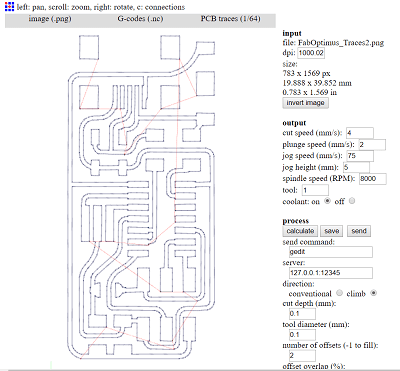
Later I found out a much easier way. I downloaded the traces png and inserted it into fab modules (Image(.png)>G-codes(.nc)>PCB traces (1/64)) and selected
- Spindle Speed: 8000rpm
- Tool Diameter: 0.1mm
- Tool Depth: 0.1mm
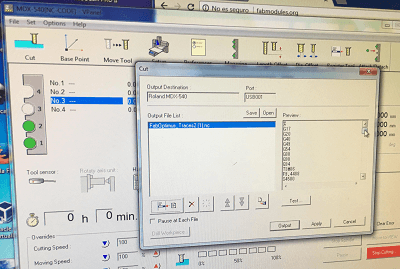
In the lab we use a Wegstr CNC machine which uses its own software (Later the new Modela 540 was also available in the lab).
I started by positioning the tool on the board to mark a "zero or origin".
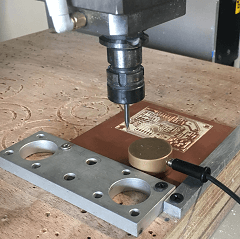
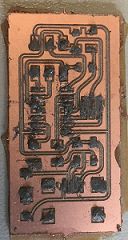
After I loaded the G-Code and milled my PCB.
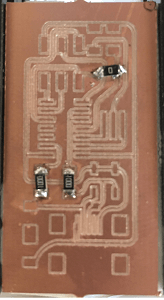
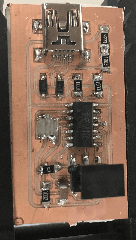
Once I had my board it was time to get to work.
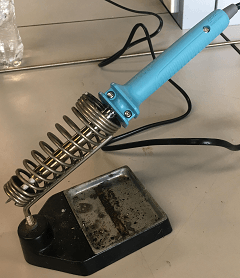
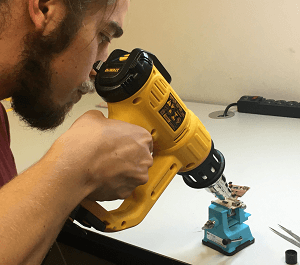
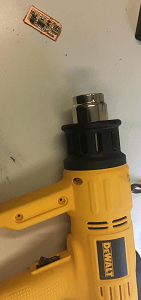
I started soldering my components. First 2 attempts were a failure using a soldering iron and lead. Finally, one of the students in our fab lab suggested Flux so I gave it a shot and it looked much better than the previous attempts once I heated the flux with a heat gun.
When I tried programming my board it didnt work for the first 3 attempts, but once I checked all my components with the multimeter for continuity I discovered little errors with the USB and the 20 Mhz resonator.
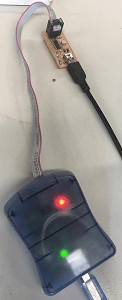
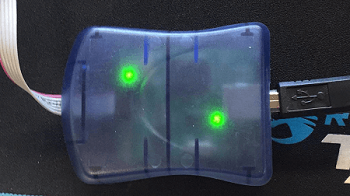
I did small soldering fixes for both components with my soldering iron and lead and bam! it worked, the red light turned off and both lights became green as soon as my FabISP was connected.
The programming commands run smoothly and
Finally I de-soldered the 0 Ohms resistance to remove the option of my fabISP being re-programmed since it was gonna be my personal driver to program microcontrollers.
Now it was time to program my FabISP, I tried everything, my computer runs on Windows 10 (yep I know its the worst) and I tried about 7 different tutorials to no avail.
Once I run out of tutorials and hope I made 3 extra fabISP's to make sure it wasn't a soldering issue (it wasn't). On the verge of desperation my friend Fabricio told me to try his computer because it runs in Linux, it worked on the first try!
so I have one recomendation for everyone, don't try to fix programming issues if your computer runs on Windows 10, theres cheap options available for Linux and Macs you can upgrade easily with some extra RAM and have as a programming station, trust me.
I followed this tutorial "http://fab.cba.mit.edu/classes/863.16/doc/tutorials/fabisp_programming/" and started by downloading AVR Dude and GCC.
Next I opened up the terminal and wrote:
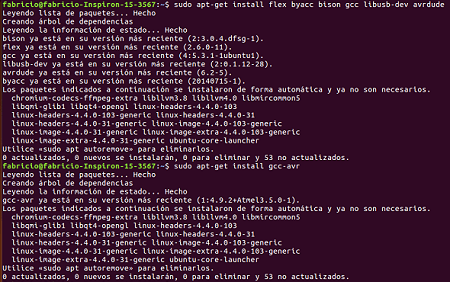
1st: sudo apt-get install flex byacc bison gcc libusb-dev avrdude.
2nd: sudo apt-get install gcc-avr.
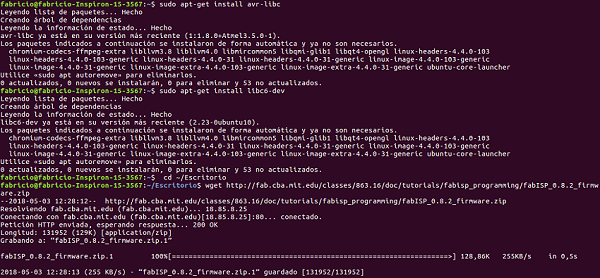
3rd: sudo apt-get install avr-libc.
4rd: sudo apt-get install libc6-dev.
5th: "cd ~/Desktop" although Fabricio's laptop is in spanish so it was "Escritorio" instead of "Desktop".
6th: wget http://fab.cba.mit.edu/classes/863.16/doc/tutorials/fabisp_programming/fabISP_0.8.2_firmware.zip.
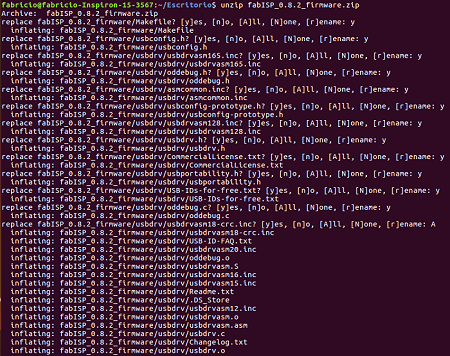
7th: unzip fabISP_0.8.2_firmware.zip.
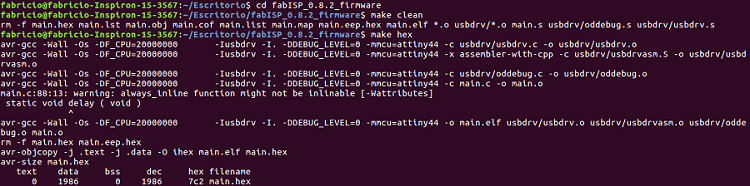
8th: cd fabISP_0.8.2_firmware.
9th: make clean.
10th: make hex.
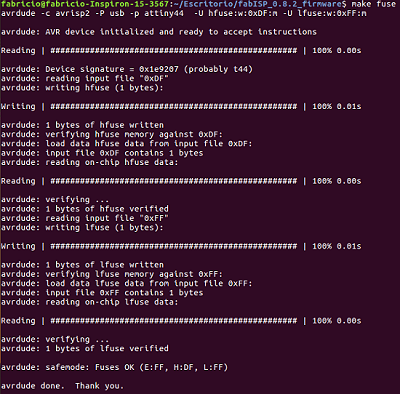
11th: make fuse.
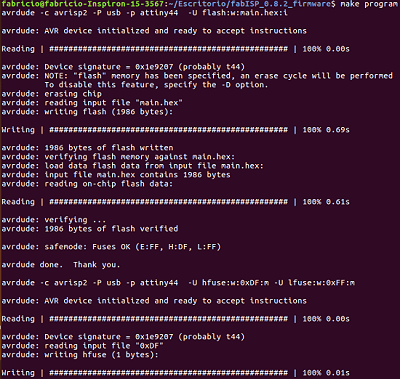
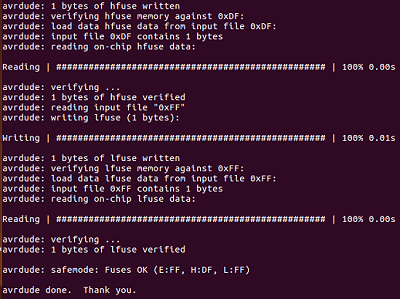
12th: make program.
I went into devices on my laptop to check if my fabISP was recognized.
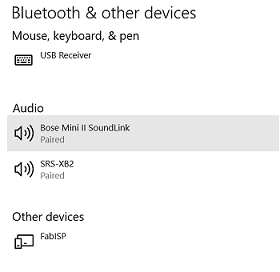
Long live Linux the operating system that works.