As it was the first time I've actually coded in HTML5 (or any HTML versions for that matter) I turned to a youtube tutorial to find out the basics.

I selected ECLIPSE from the plethora of free IDE's for web development out there to make my website after checking others such as BlueJ, JDeveloper, JEdit and many more.
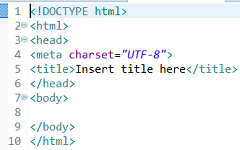
To begin you start a new static web project in which you will be able to create different javascript, html and css files. (Its important to know that all this files will be stored in a folder and I will have to copy them into the folder I create to upload to the repo in the next section of this week). When you create a new Html file with Eclipse it looks like this.
The doctype tells the page that the following code will use the html programming language. All the code we are to write to make our website will be inside the html tag. The head tag will contain information about the page and not information that you put within the page as the title you see on the tab inside your browser(title tag is used for this).
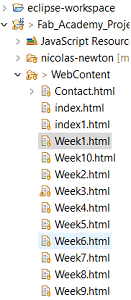
Finally, the body tag will contain all the information that is to be shown within the page. I understood HTML files are like the content in my page and I need to give them paths in order to make the navigation through my webpage smoother and the interface more user friendly. In order to do so I first created several html files to start linking between them.
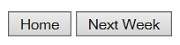
Following this step I generated buttons for users to be able to either go back to the Home Page or to the next week's assignment with the following code.

The buttons before I adapted them with CSS looked like this.
I started trying simple things like adding images and different heading formats as shown in the screenshots below.

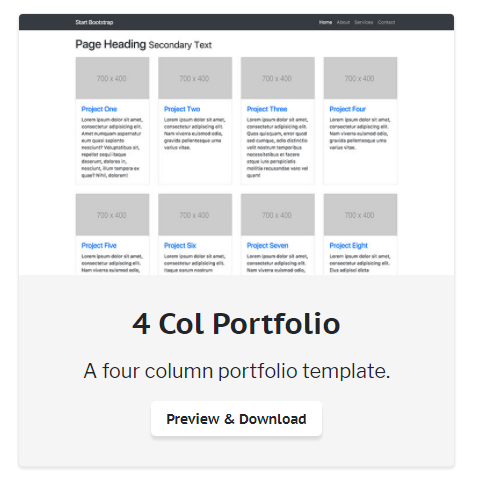
Having learned the basics I moved on towards finding a free template I could use. I checked several pages(listed below) before finding a template I found apropriate:
Finally, I decided to go for this one (As an engineer I always try to start with what looks good and fits my needs. Once projects are in a more advanced phase I attempt at improving the details).
Choosing the template is only the beginning, you still need to download the zip file, extract it and save it inside your repo folder for it to be even usable.
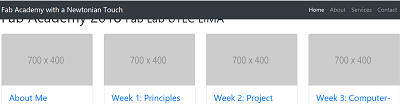
Once the template is usable we have to start altering its code for it to interact with the content created for the webpage. I started by changing the titles of the different parts as shown below.
CSS was the last piece of the puzzle to have my web page, running the way I wanted it to look. I started by doing a small tutorial from Dash (interactive user friendly tutorials to learn HTML and CSS)
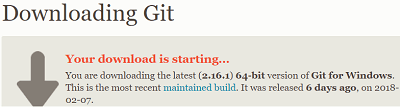
After reading a bit about git I got the general idea. In order to push GIT repositories you have to follow several steps but once its done its quite simple. As I wanted to use Windows knowing its limitations I downloaded GIT Bash for 64 pix Windows from https://git-scm.com/download/win.
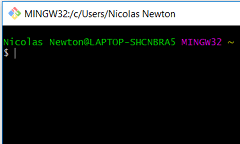
Once downloaded the initial window looks like this.
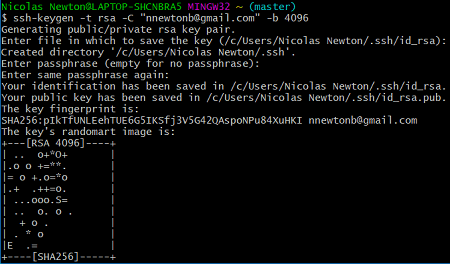
For you to be able to push first you need an SSH Key. I followed steps on "https://docs.gitlab.com/ce/gitlab-basics/start-using-git.html" to do so as shown in the screenshot below.
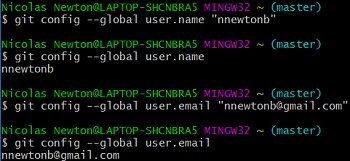
The next step was to configure my global username and email as shown in the next image.
Once these were set I cloned my git repository through git bash using the command: git clone.

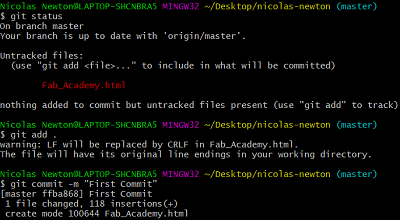
The next step was to check the status of the repo (Command:git status). This checks the tracked and untracked files yet to be added in the repo. In order to add the files I used the command "git add ." Once the files were added I used the git commit -m "Message here" command to do version control.
Finally in order to update the webpage I used the command git push to upload my html to GitLab.
