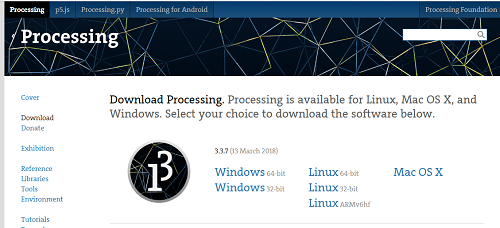
I decided to use Processing as I had seen some animations that didn't seem too complex but had a decent quality so I started by downloading the software.
I started by following tutorials (shown below).
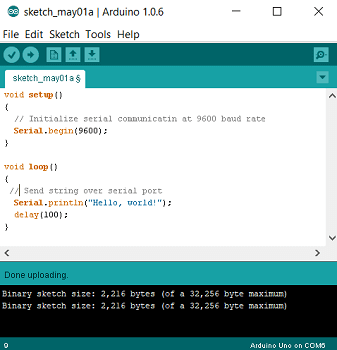
Next I tried to learn how to make Arduino IDE and Processing communicate. I learned by following a tutorial from Spark Fun. First, I wrote the code for Arduino to send data.
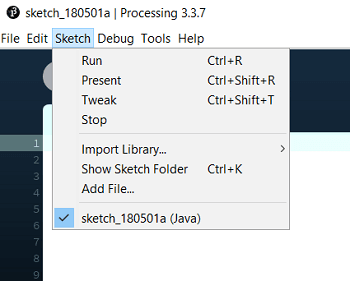
Next was the Processing side. I imported the processing.serial library and then added the code to recieve the data sent on Processing as shown below.
Following, I wrote the code for Processing to send data.
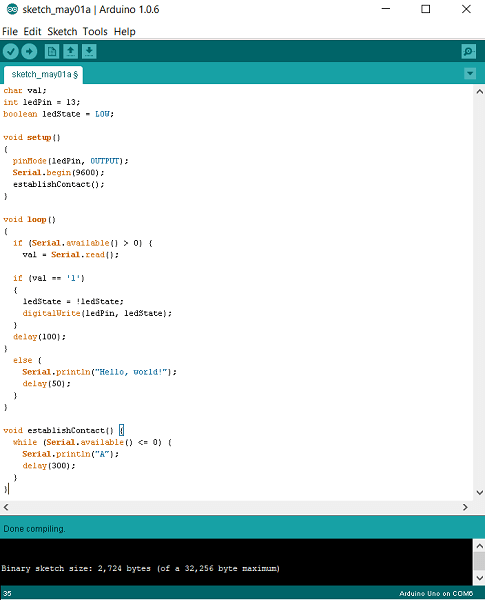
Next, the code for arduino to interpret the data recieved by turning on and off an LED on my arduino.

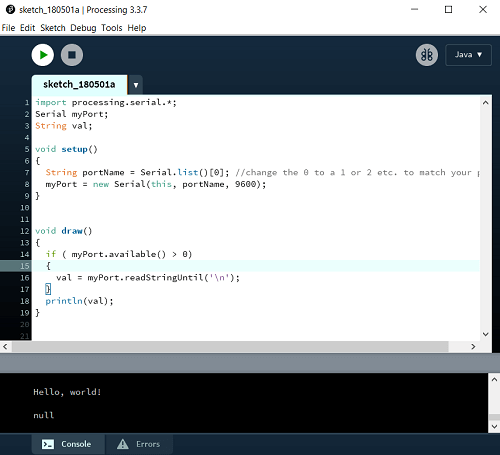
Up to this point I could either send data from Arduino to Processing and vice versa, but not at the same time.
If you can do both at the same time then you can do a virtual handshake. I started by writing the Arduino side of the code.
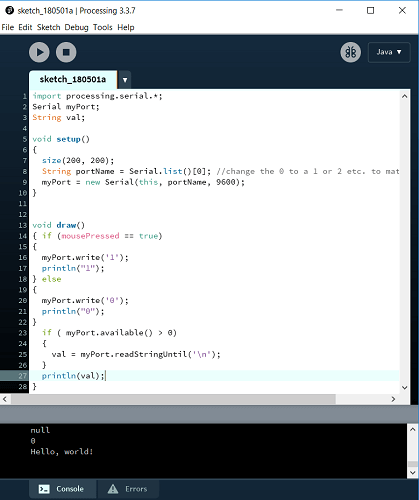
Finally, I wrote the Processing side of the code(always following the tutorial from Spark Fun mentioned before.)

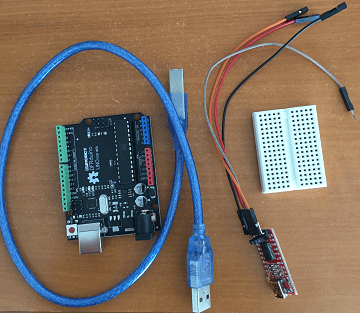
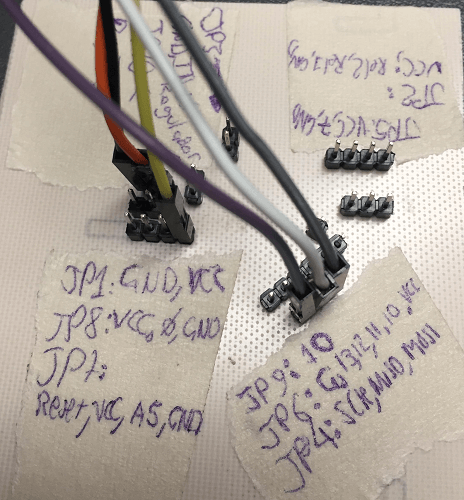
I had to design, and solder my control board with 4 buttons and a satcha kit to control it.
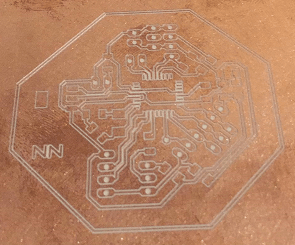
At this point I've gotten fairly good with Eagle so I started with the Schematic right away.

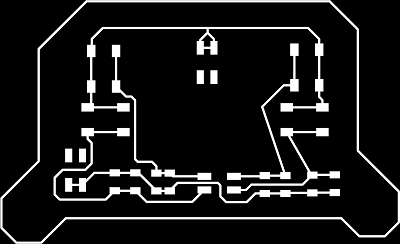
Next I routed my board.
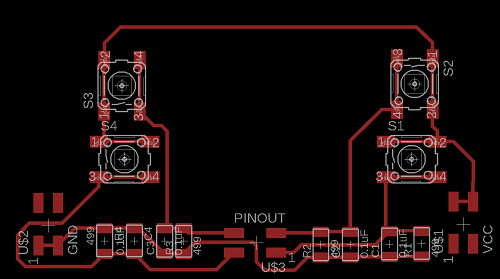
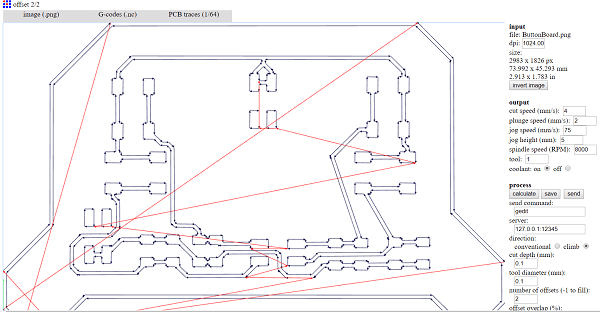
Exported the .png monochrome.
Processed it with fab modules to get the G-code.
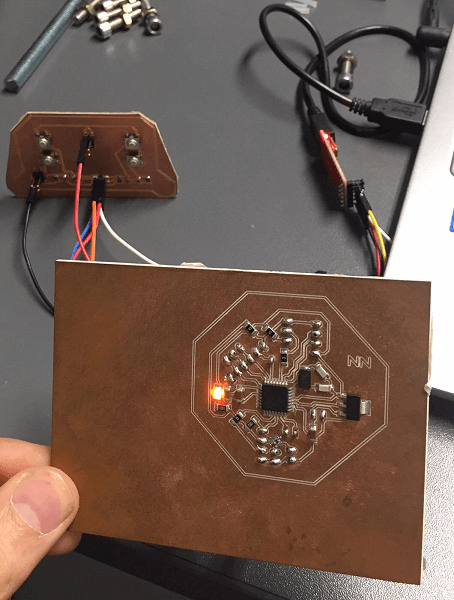
Next I milled it in the Modella MDX-540 and soldered it with flux.
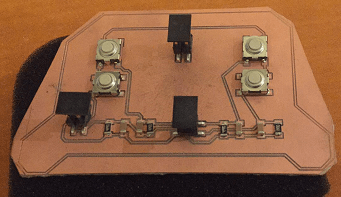
And tested if the buttons were working(they were!).
They were!
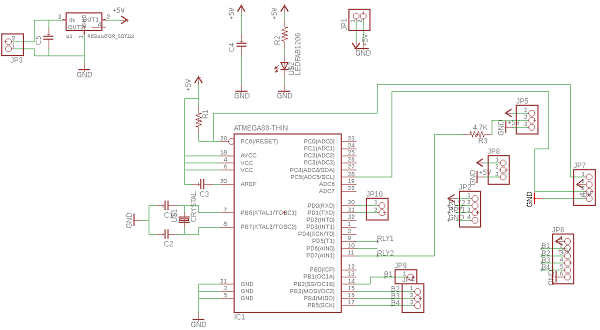
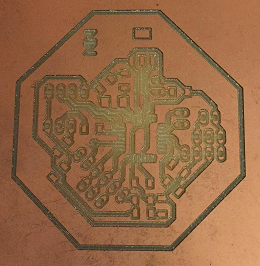
I designed my satcha kit's schematic.
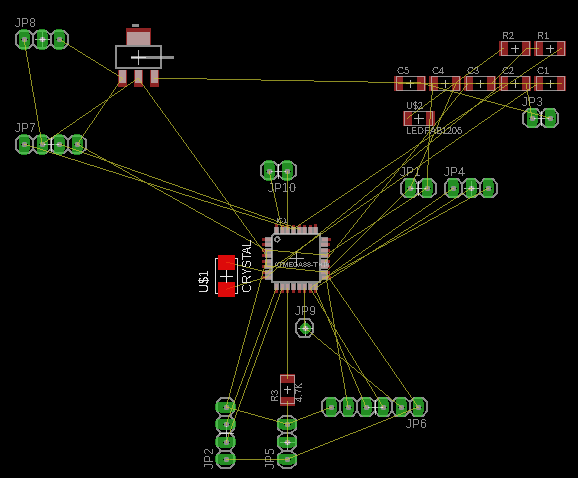
Next I started routing the board.
It was hard so I added some 0 ohms resistors to use as bridges.
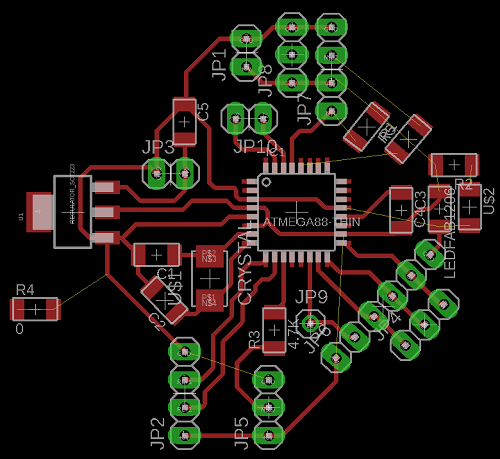

I finished routing.
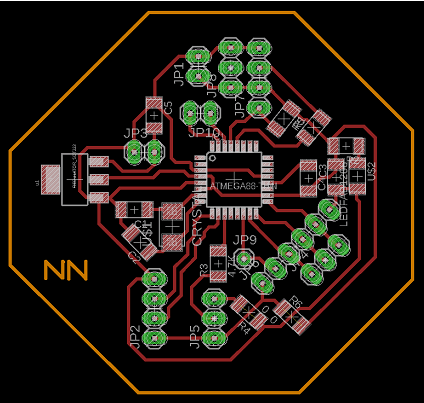
Following, I exported the monochrome .png and passed it through fab modules.

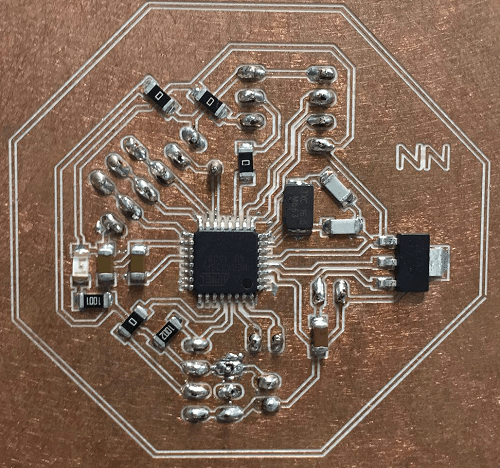
Next, I tried to mill the board but it worked on the second try.
After, I soldered it with flux and drilled the through holes for my pins.
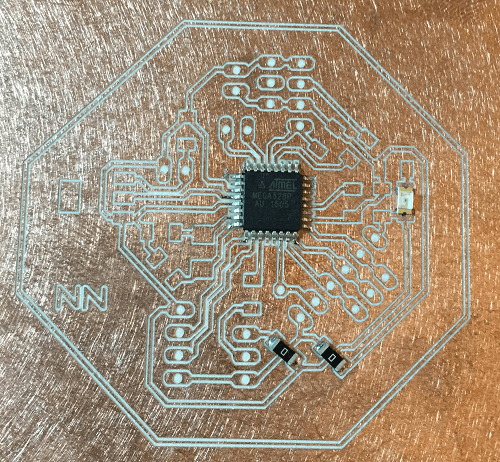

Finally, it was soldered and ready to program
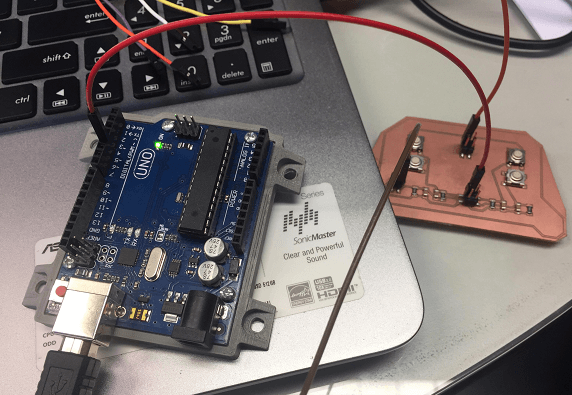
Time to program my satchakit.
The bootloader burned successfully and I uploaded my arduino code (downloadable at the end of this page).
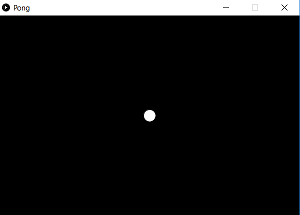
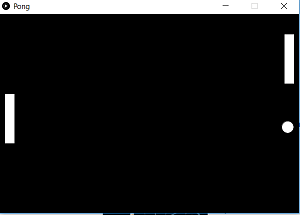
Now it was time to play some PONG!!!
AAAND!!! Me playing pong :)
Not perfect but it worked!
Download the original files from the links below:
Modified Satchakit Schematic: Eagle (.sch file)
Modified Satchakit Board: Eagle (.brd file)
Modified Satchakit G-Code: FabModule (.nc file)
Buttonboard Schematic: Eagle (.sch file)
Buttonboard Board: Eagle (.brd file)
Buttonboard G-Code: FabModule (.nc file)
Pong Code:Pong-Processing (.pde files)
Pong Code:Paddle-Processing (.pde files)
Pong Code:Puck-Processing (.pde files)
Pong Code: Arduino (.ino file)