Wheek 11: Input Devicess.
In this asigments speak about the made a sensor since the desing on Eagle to probe on python application. This way is important because growup in to development new sensor. In my case I decided made the board hallefect, the first time need to learn about the sensor linear analog SOT23W. For more information the following link:
http://www.digikey.de/product-search/de?keywords=620-1021-1-ND
The next steep need to learn and probe to charged the firmware to ATtiny 45. I leraned previous asigments for to undertood the steep need to work.
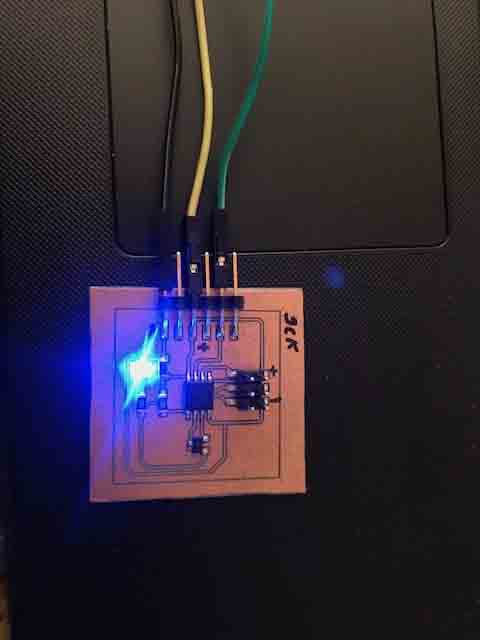
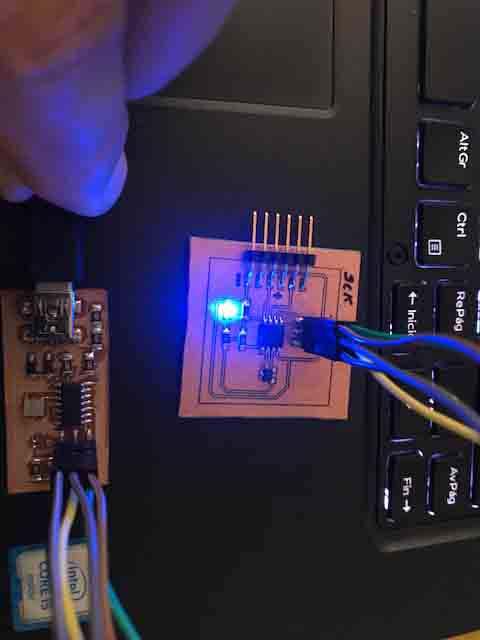
Fig 9. The led blue on the board indicate energized with 5v.
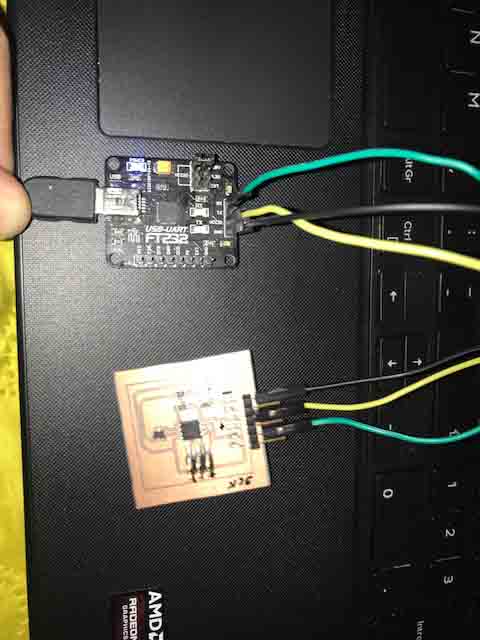
Connecting the CablesWheek
This time we are using Rx, 5v and GND of the FTDI cable and connect to the board hallefect.
Flash Attiny with Neils C code
For programing I saved the make, the c and the python file from the academy site in one directory.
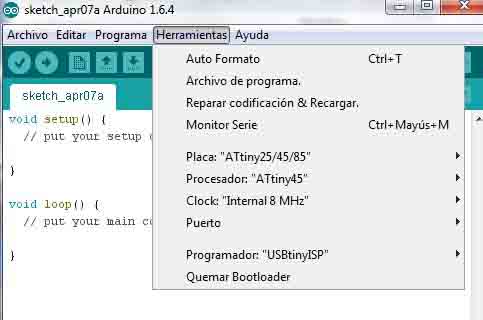
On ide Arduino 1.6.4 because have tool for attiny45. Needed select on tool ide clock internal 8Mhzfor the burn bootloader. The ISPFab is the tool to connect with Arduino ide.
More information abour Arduino Ide 1.6.4 go to the next link: http://highlowtech.org/?p=1695, this is a tutorial shows you how to program an ATtiny45, ATtiny85, ATtiny44 or ATtiny84 microcontroller using the Arduino software.

In this time the firmware now stayed in the ATtiny 45.
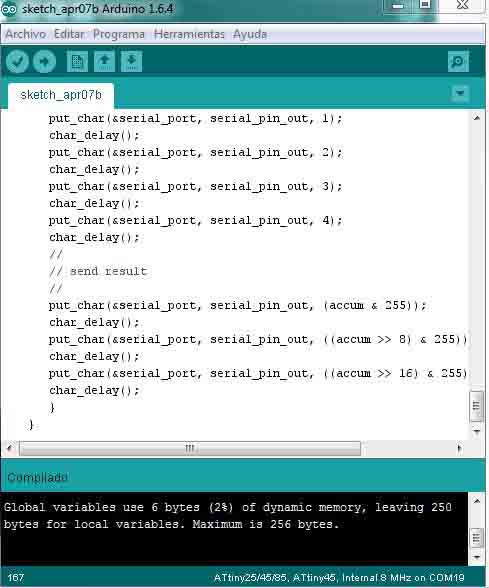
Fig 14. Program to control sensor “hello.mag.45.c” on ATtiny 45.
Program Attiny with
Neils Python Code
For this work I used on the Ubuntu 16.04.
This link show how install some tool for Python Code on Ubuntu:
http://archive.fabacademy.org/2016/fablabbcn2016/students/375/week11/
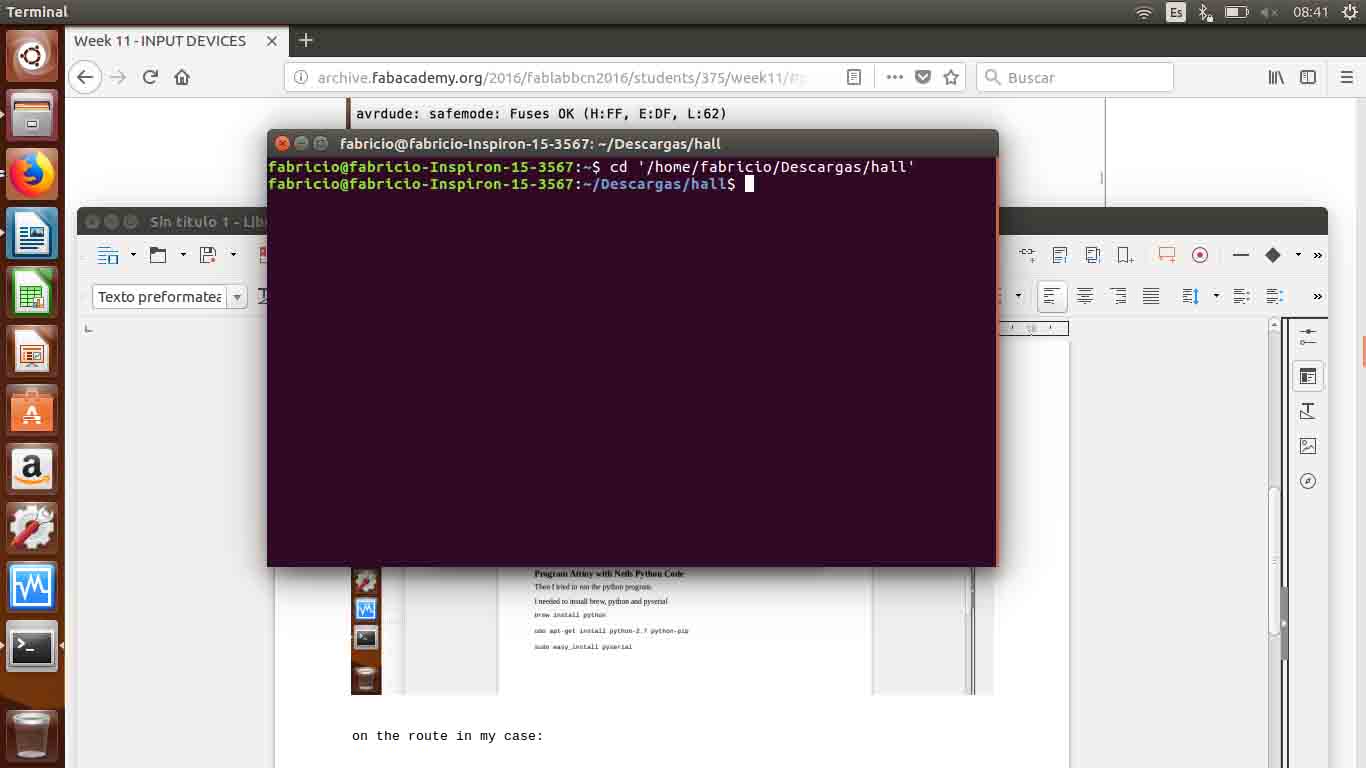
I needed to install tool on Ubuntu, the instruction shows bellow:
• python : on Ubuntu panel : udo apt-get install python-2.7 python-pip
• Brew : on Ubuntu panel : brew install python.
• pyserial: on Ubuntu panel : sudo easy_install pyserial.
Then you Ubuntu is ready for use and acopling with Neils python code.
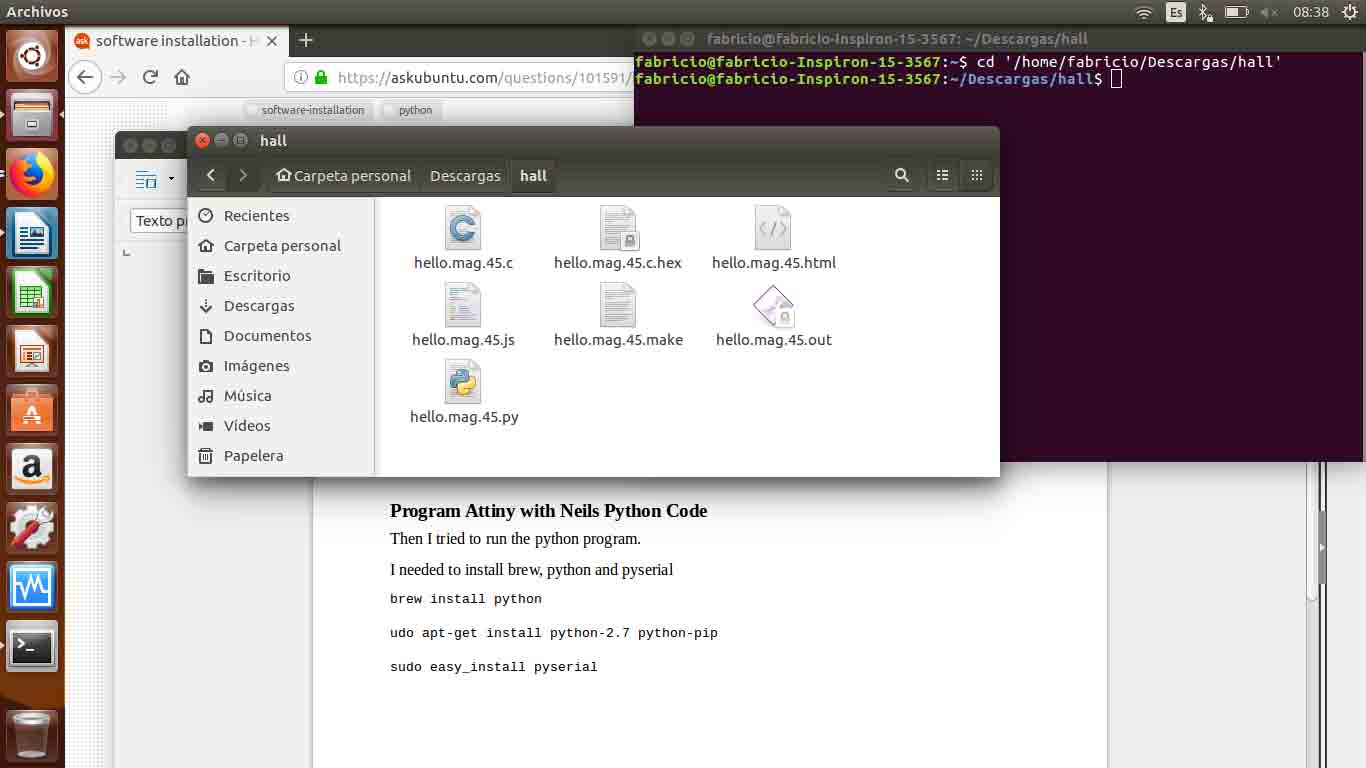
Fig 15. The files need to Program ATtiny.
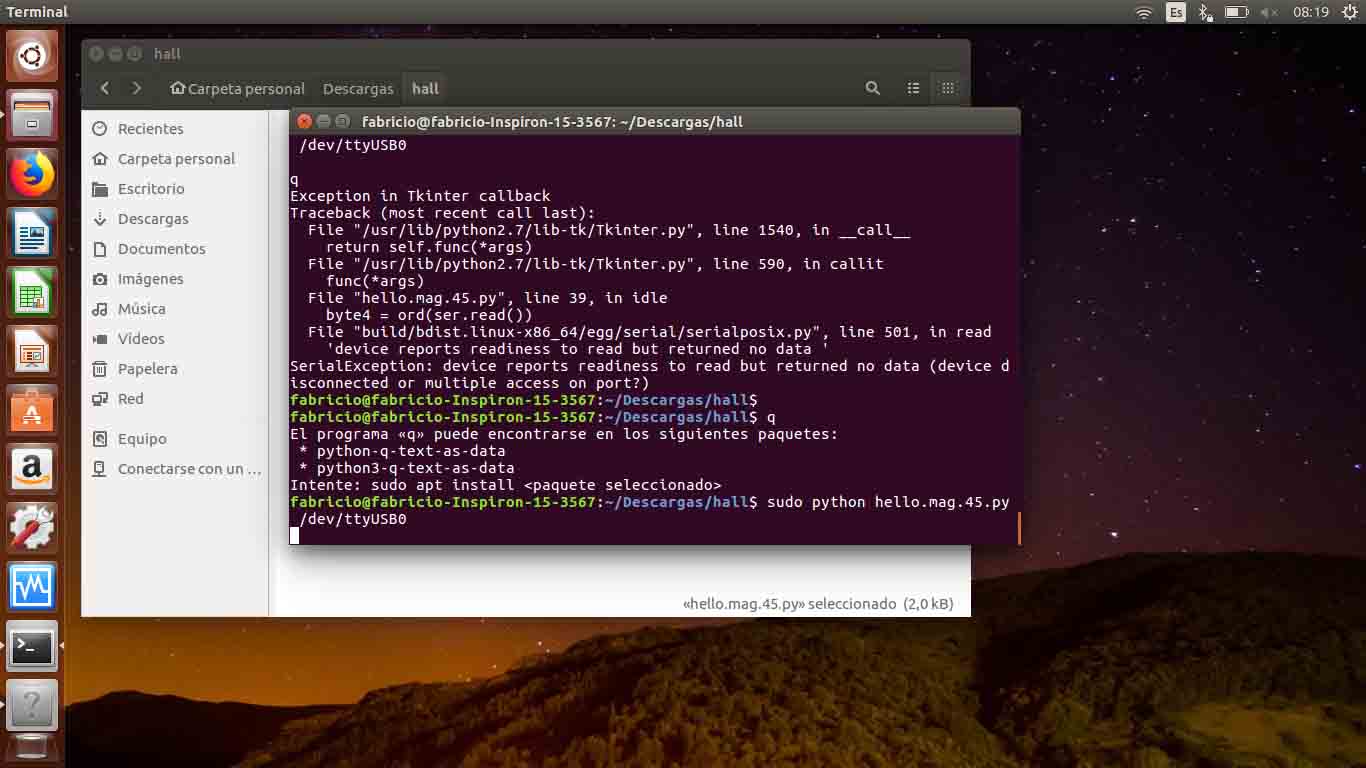
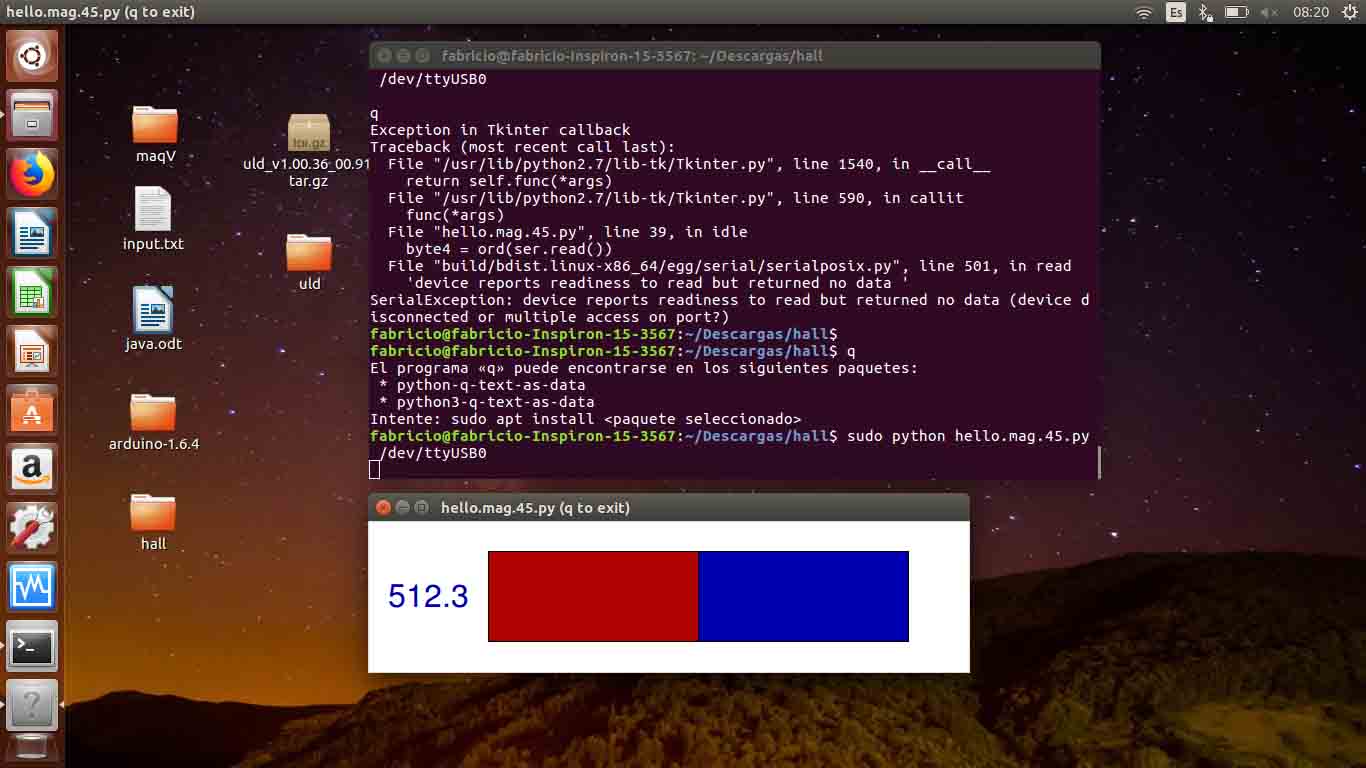
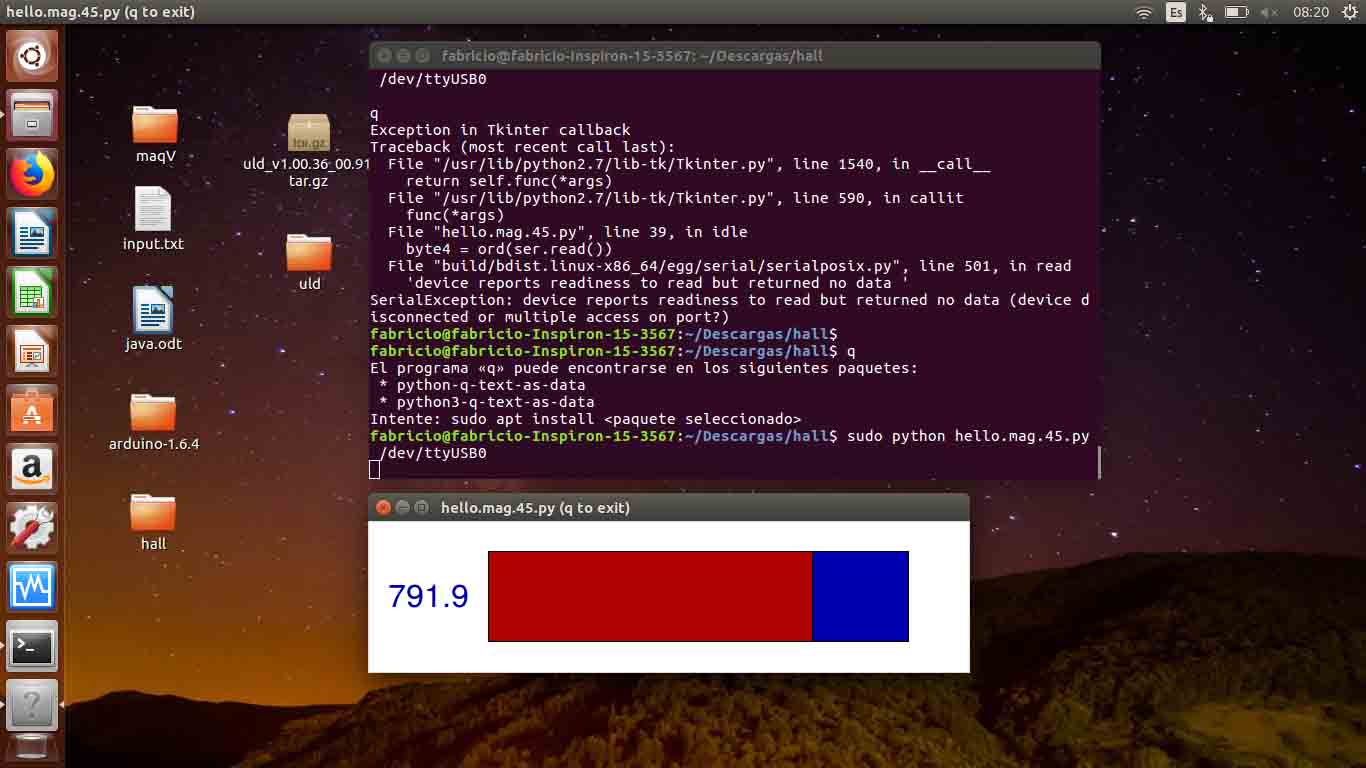
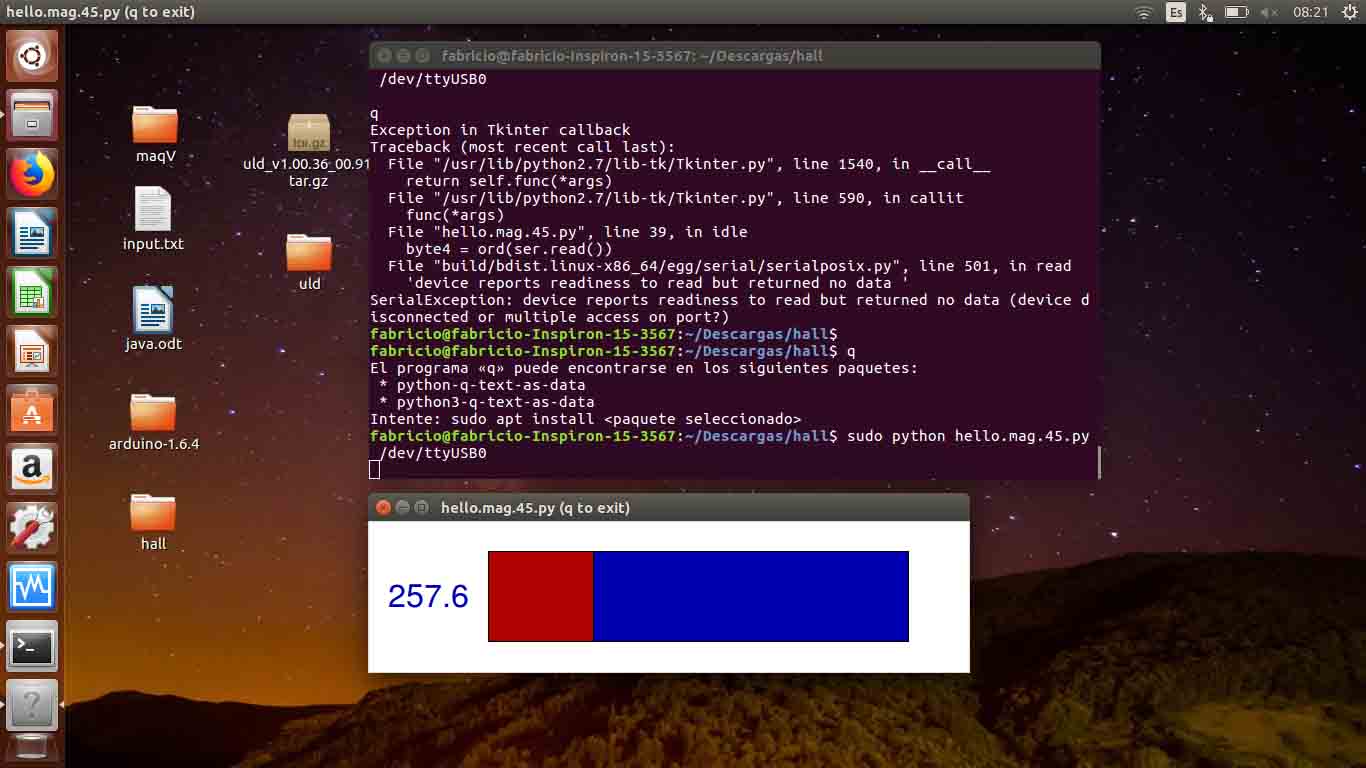
Then need to write in the Ubuntu:
sudo python hello.mag.45.py /dev/ttyUSB0
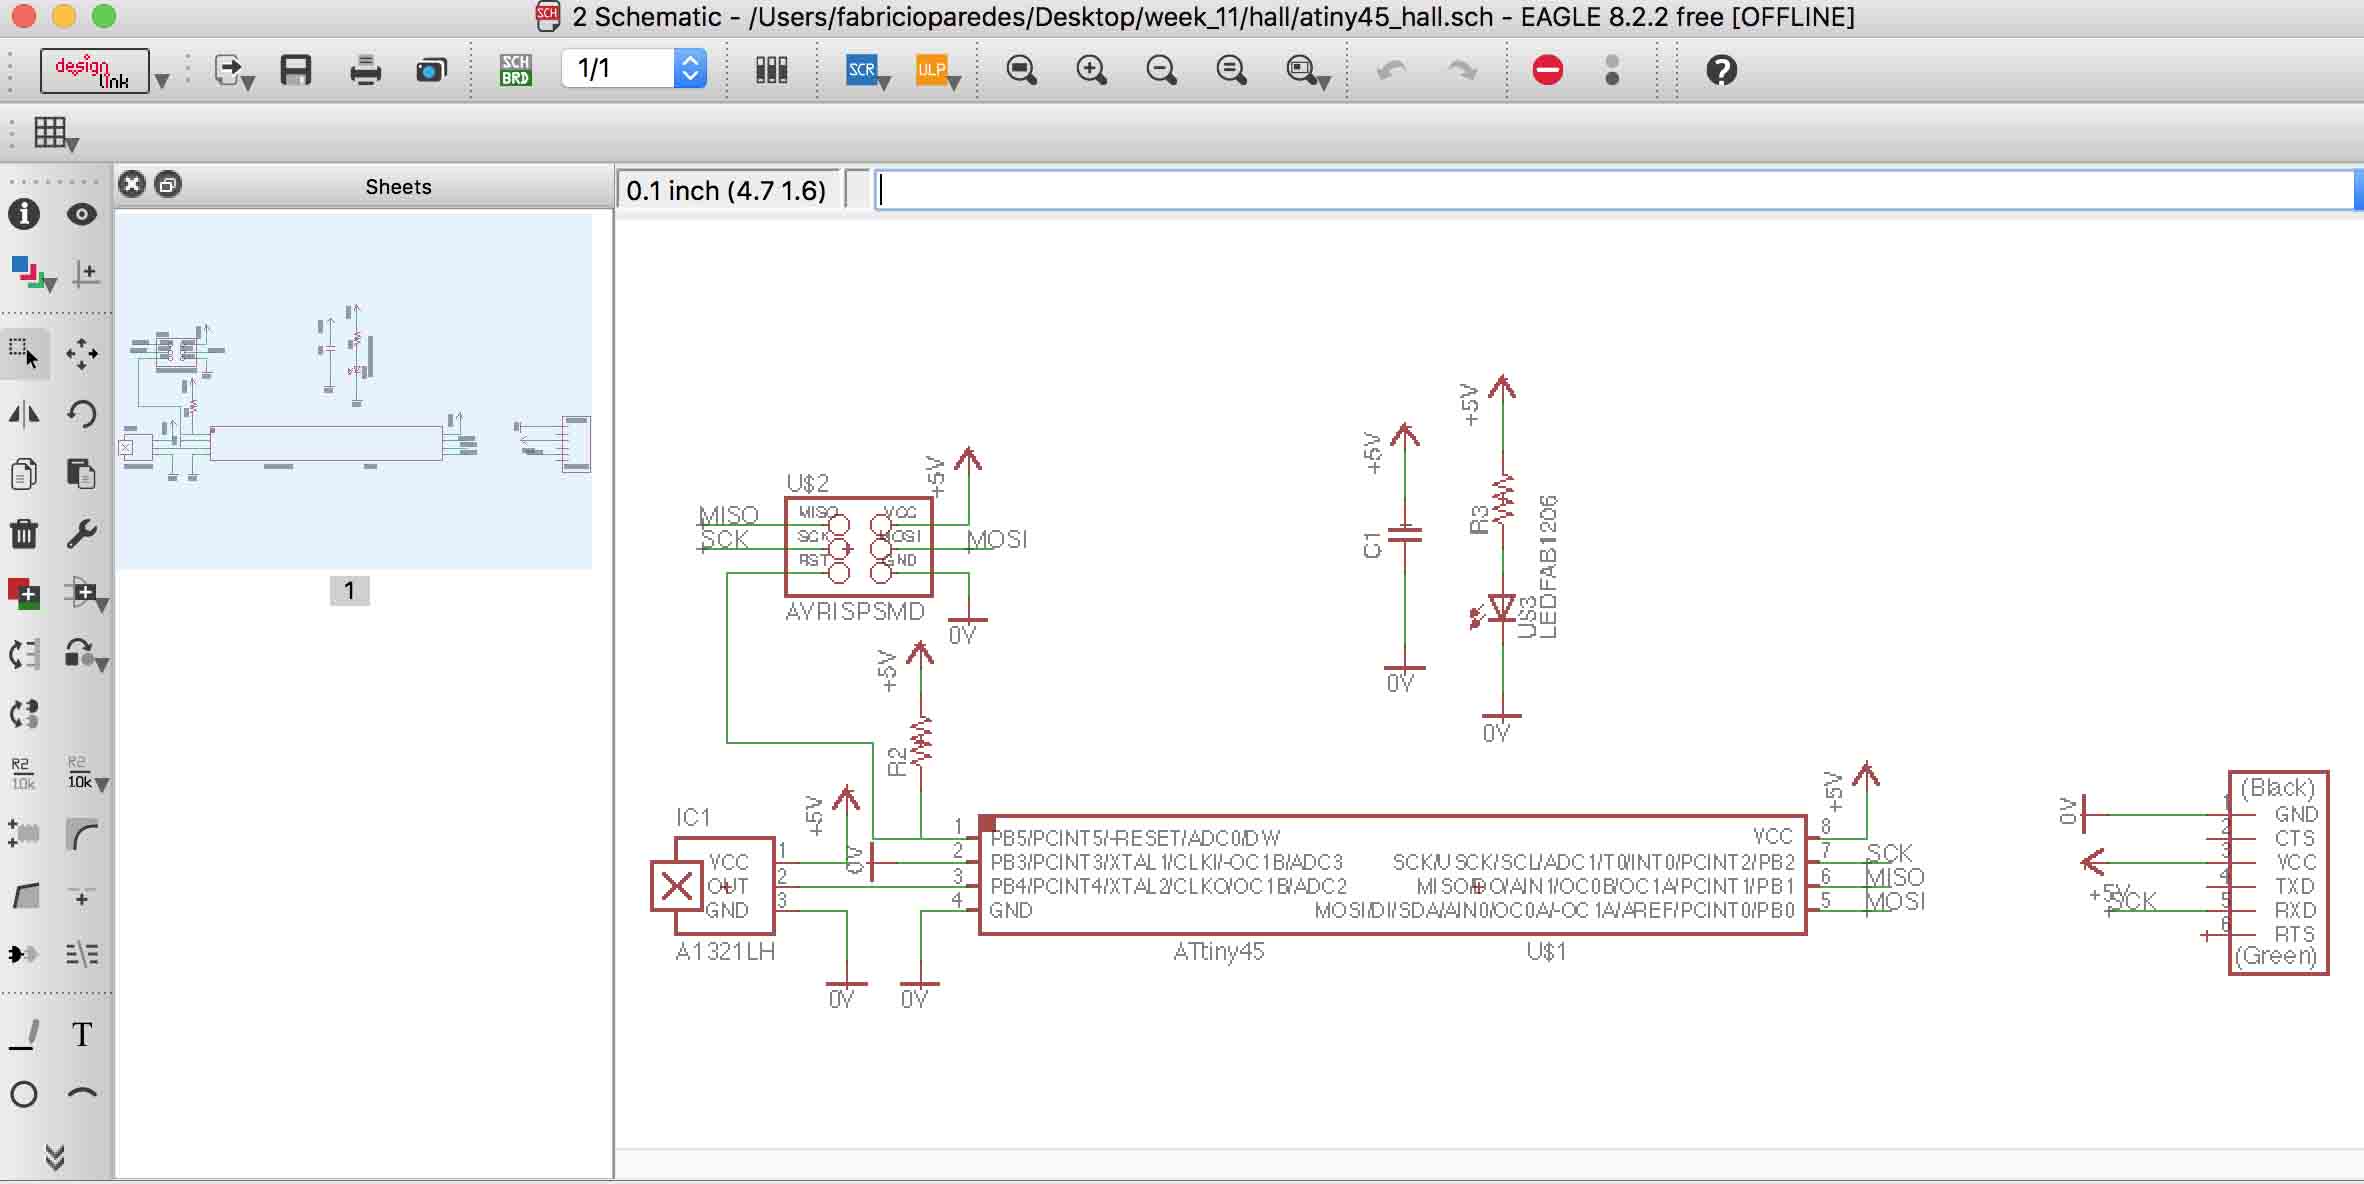
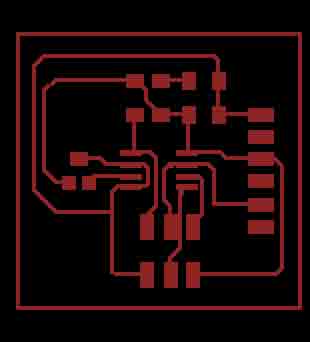
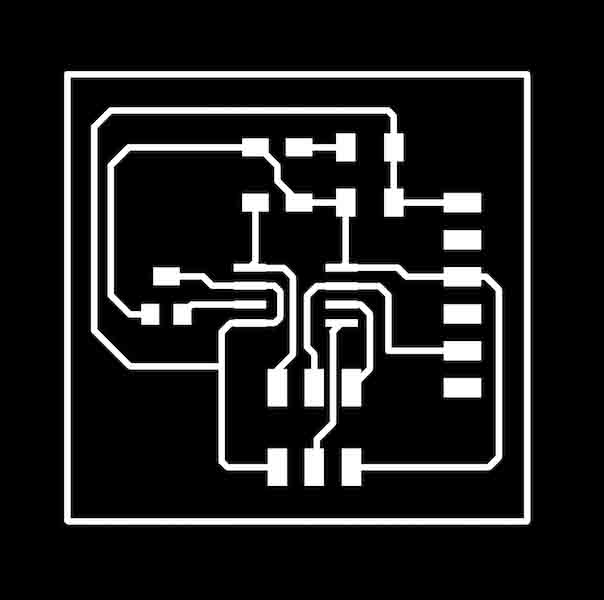
Eagle board
Eagle shematic