WEEK 10: MOULDING AND CASTING
In this week has to assignment Mounding and casting, we use a block of blue machinable wax with the dimensions of 77 mm x 160 mm.
I chose to mill part using the Modella MDX-540 cnc milling machine. We used SRP player as the CAM Software for the Modella. I had use two mills. The first one 1/8 “ Square, straight, diameter 3.18 for roughing. end mill and finishing 1/16” ball mill with 1.59 diameter.
The piece was a lemon with the logo for the lemon squeezer machine. It was designed with the software Inventor 2017. Next, I’ll describe the design.
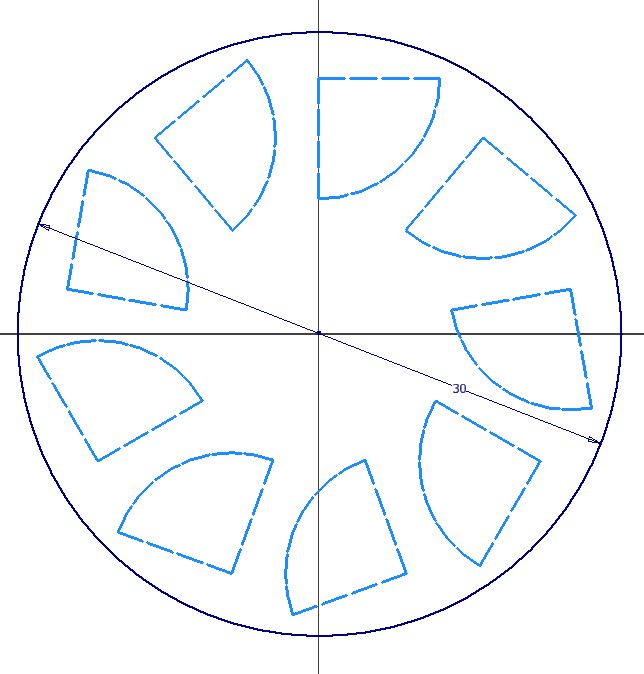
Fig 1. The initial design was circle with diameter 30mm and it was extruded 4mm.
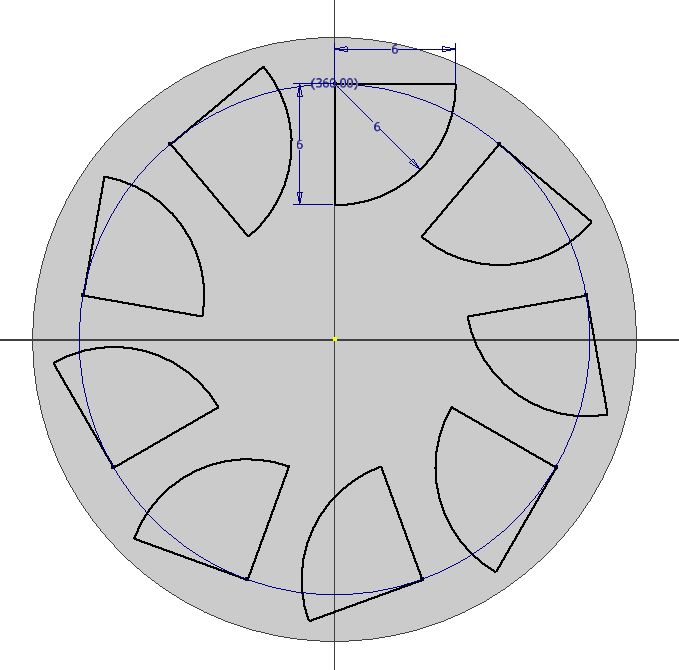
Fig 2. The wall of carpels has a raduis of 6 mm and an extrusion of 4mm.

Fig 3. The radius of the placenta is 8mm and the extrusion is 2 mm.
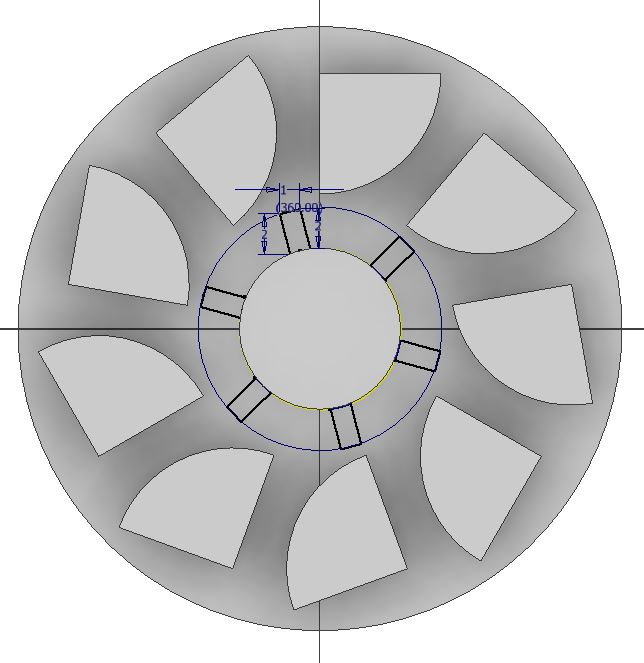
Fig 4. The ribs of the palacenta are rectangles. 2 mm x 1mm and they were extruded 3 mm.
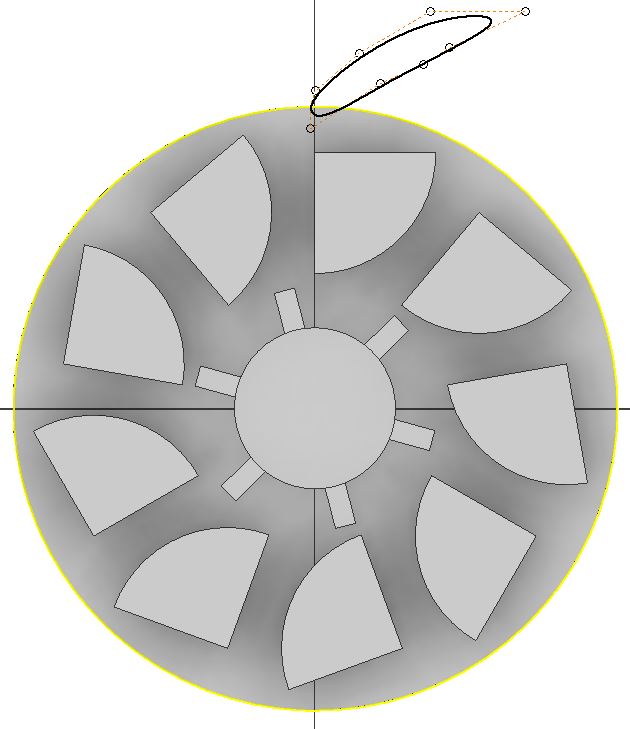
Fig 5. The first leaf has a wave form and it was extruded 4 mm.
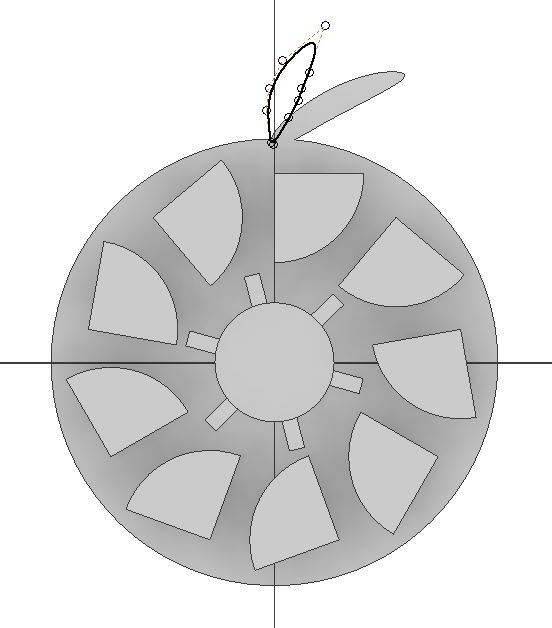
Fig 6. The second leaf has a wave form and it was extruded 4 mm.
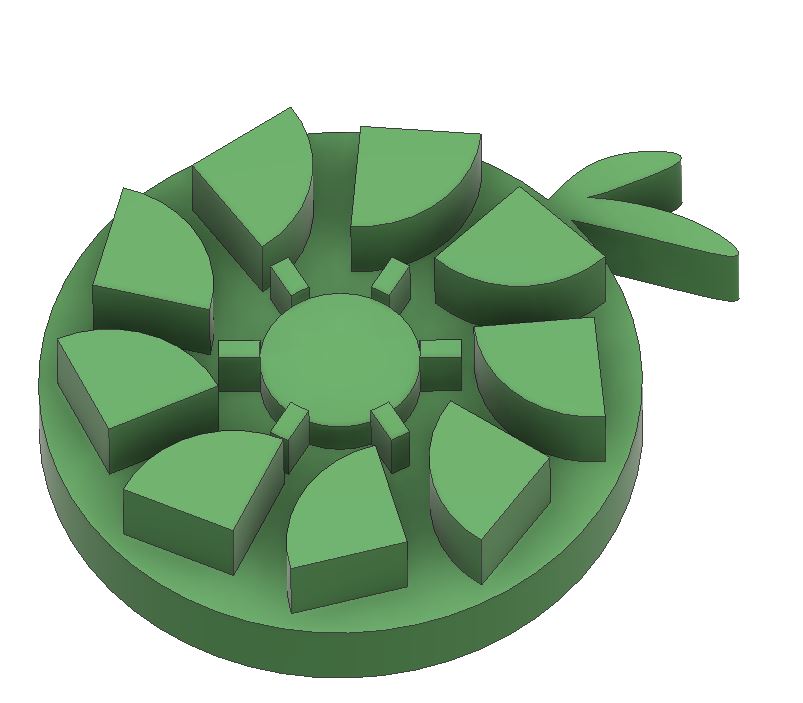
Fig 7. The finished logo for the machine.
The CAM settings:
The cutting pareametrers for the roughing pass:
Feed Rate: 2862 mm/min
Spindle:10000 RPM.
Cutting in Amount : 1,38 mm.
Path Interval: 1,91 mm.
Finish Margin: 0,20 mm.
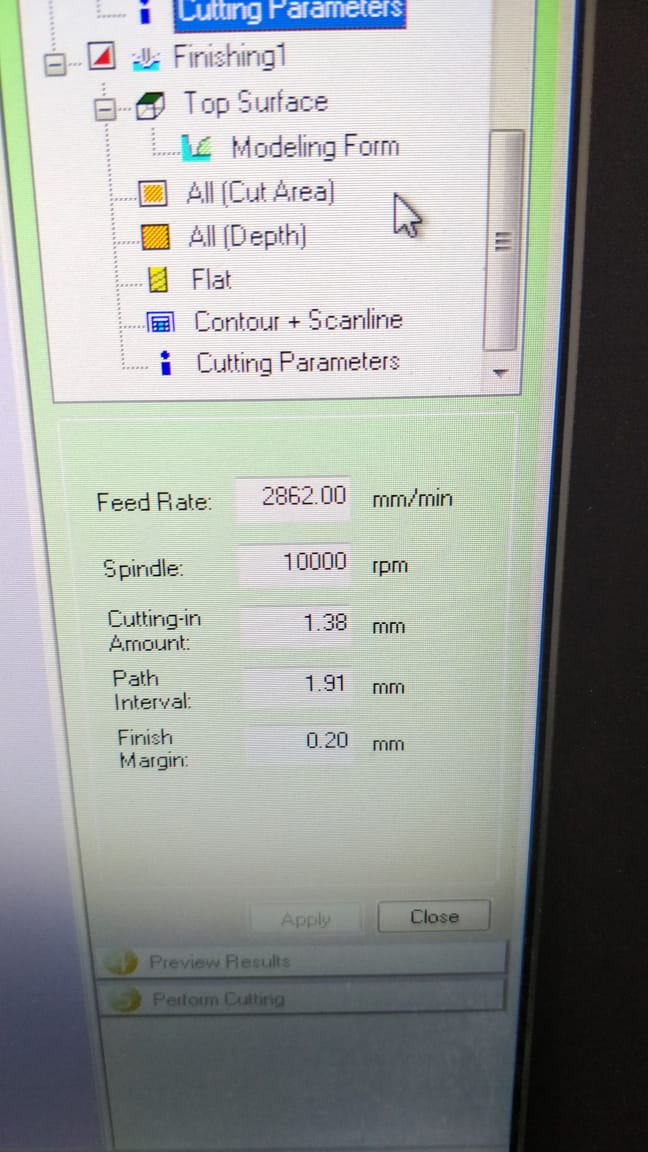
Fig 8. Roughing pass
The cutting pareametrers for the finishing pass:
Feed Rate: 640 mm/min
Spindle:11000 RPM.
Cutting in Amount : 0,10mm.
Path Interval: 0,10 mm.
Finish Margin: 0,0 mm.
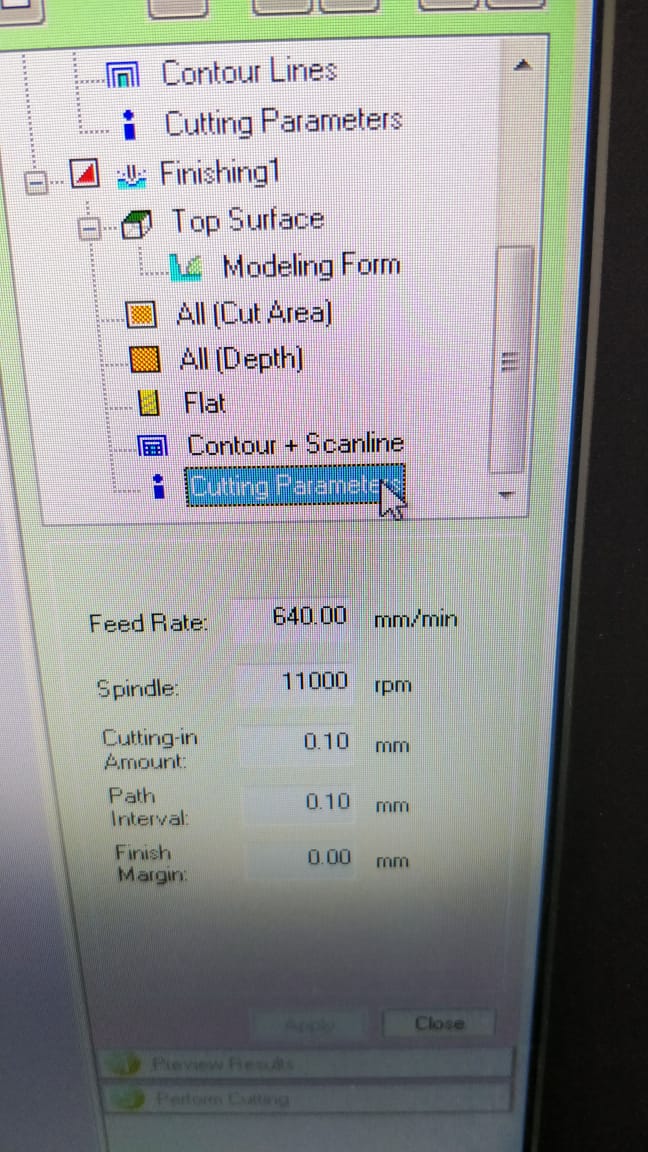
Fig 9. Finishing pass
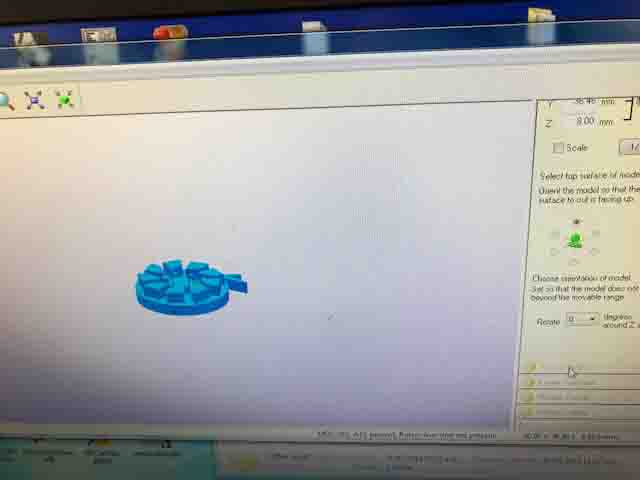
Fig 10. This file made on Inventor and export to SRP players.
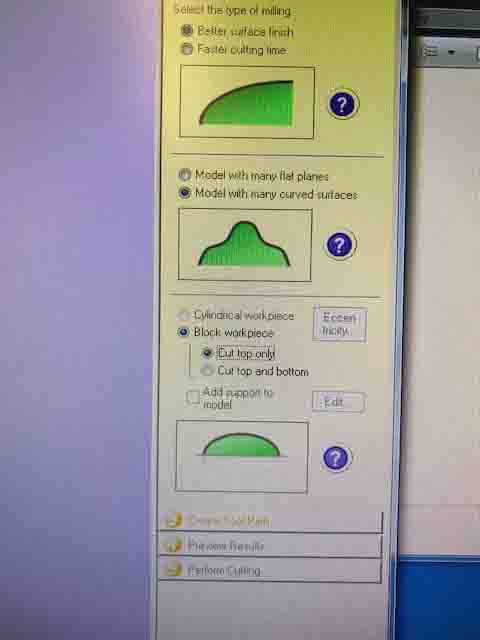
Fig 11. In this case the model to milling and select better surface finish, the model had curved surface and use cup top only.
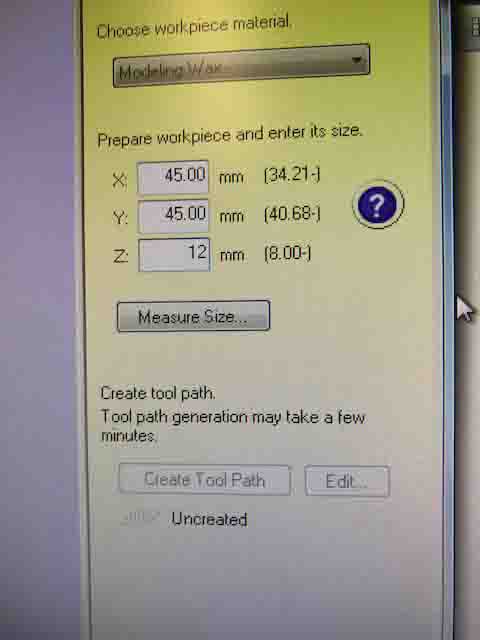
Fig 12. The stock , the material work piece.
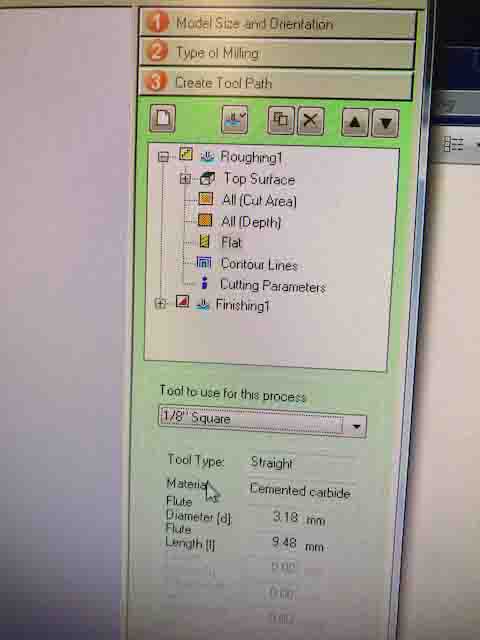
Fig 13. Select the operation and type the milling.

Fig 14. Select the type milling the position on the magazine tool selection the machine CNC.

Fig 15. Need to zero position in the new tool, is mandatory this work for the new tool adding to cnc machine.
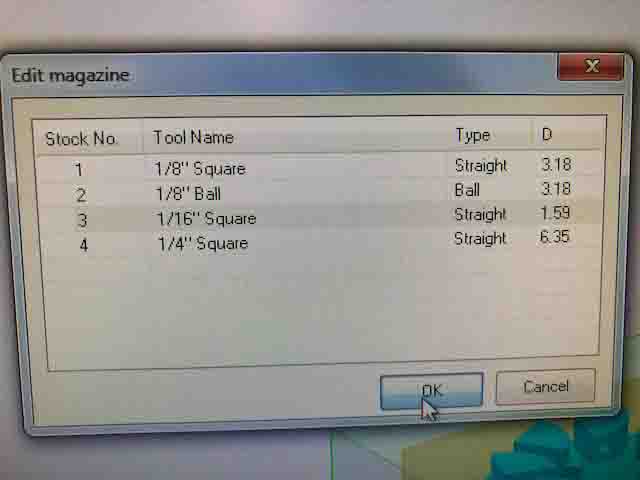
Fig 16. In this picture show all the tool in the magazine machine, for my work use the one and three mills.

Fig 17.Genarate the creating the tool path.
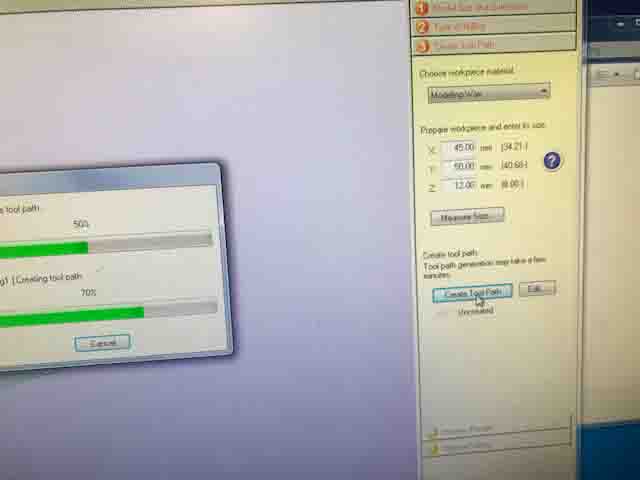
Fig 18. This picture show the process creating the tool path.
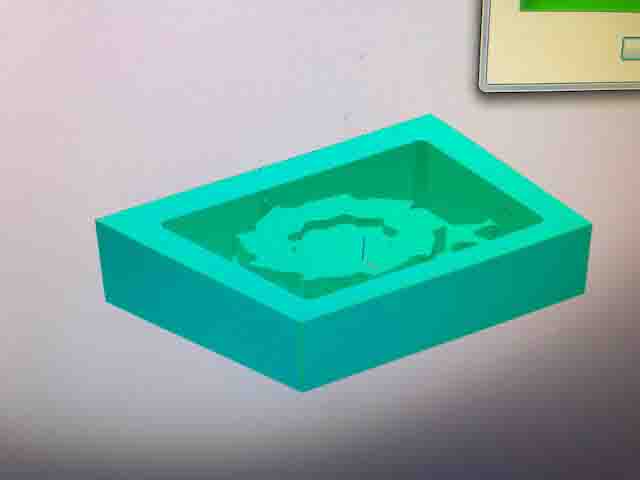
Fig 19. This picture show the final process of tool path.

Fig 20. The stock on the milling machine the mill on the corner.
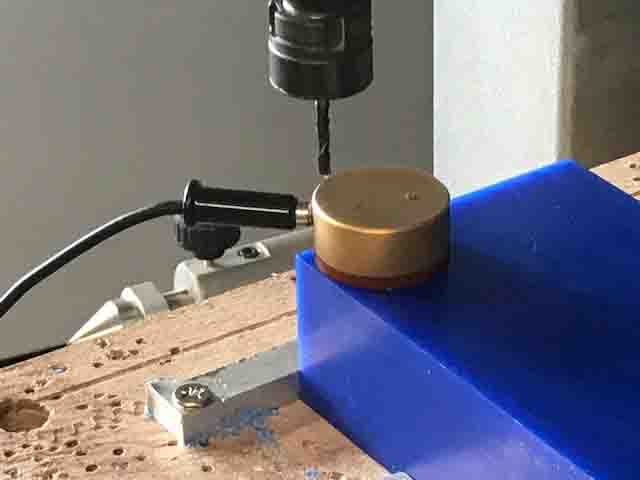
Fig 21. Need the end mill Zero position.

Fig 22. Use specific coordinate system on the CNC machine.
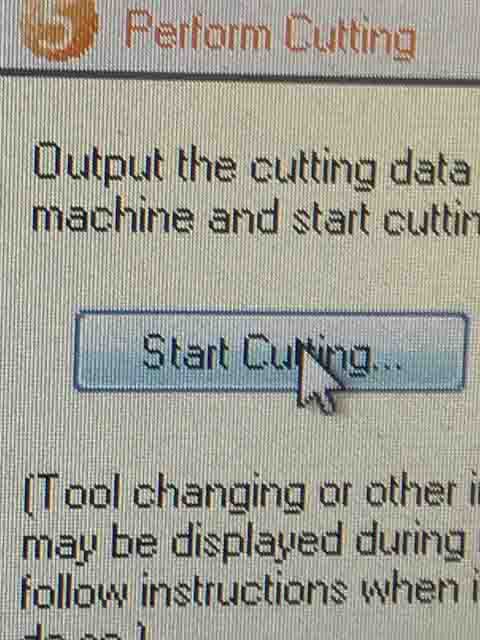
Fig 23. Start cutting on the machine CNC machine.
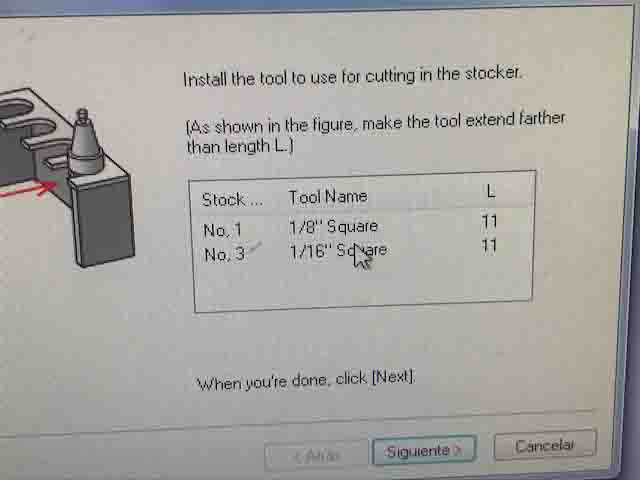
Fig 24. Show the position mill on the stocker, and my case use the mill one and three.

Fig 25. Center of the tool tip the cutting origin point.

Fig 26. Start the cutting.
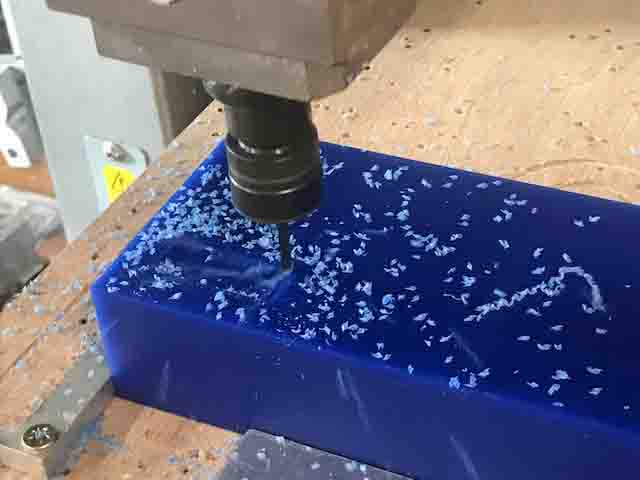
Fig 27. The machine CNC cutting the wax stock.

Fig 28. The final process with 1/16 mill during 56 min.
>
Moulding
I used silicamold and the catalizador for silicone rubber compound to create negative mould, it consists on two compounds.
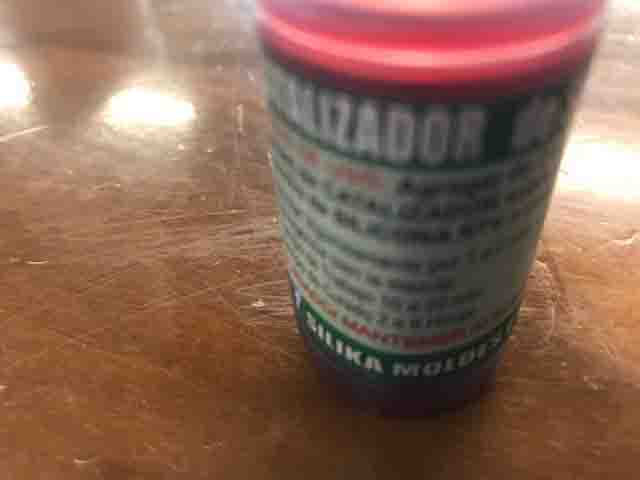
Fig 29. Catalizador for mixing with silikamode, about 30 drops.

Fig 30. The principal compounds silicamolde for crate negative mould.
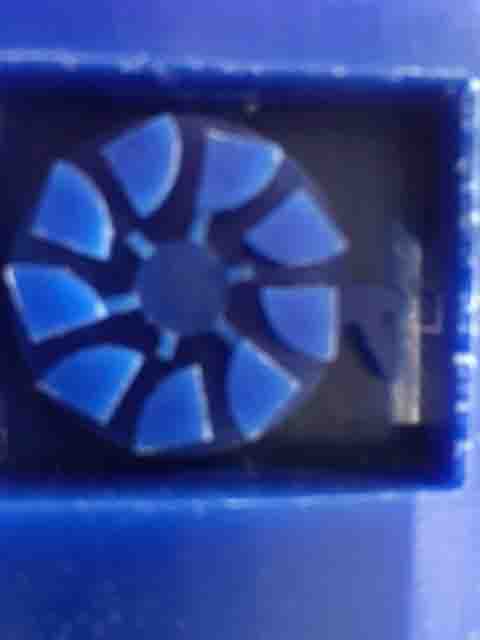
Fig 31. He model to use create the mold, it logo for the final projects, squeezer machine.

Fig 32. Mix the silicamolde and catalizador uniform.
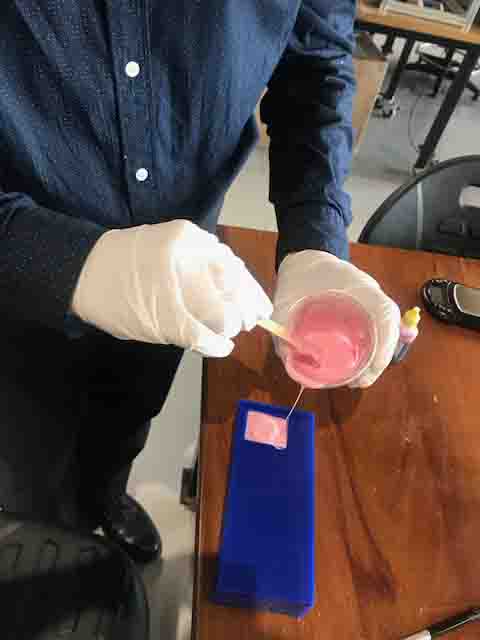
Fig 33. Pour the compounds in the model.
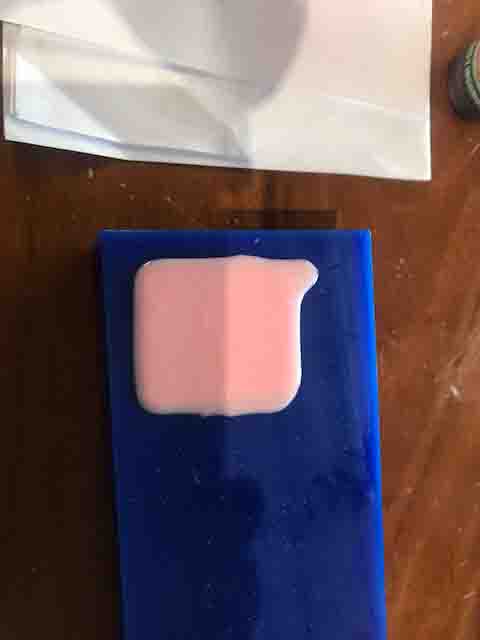
Fig 34. Wait about two hour for harden.
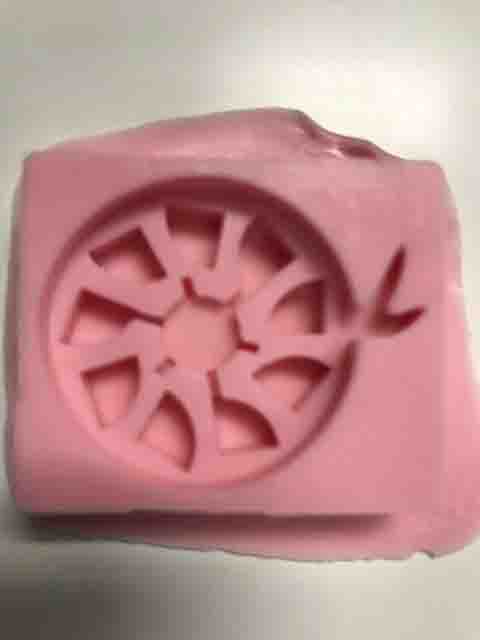
Fig 35. The harden mold, and ready for use,
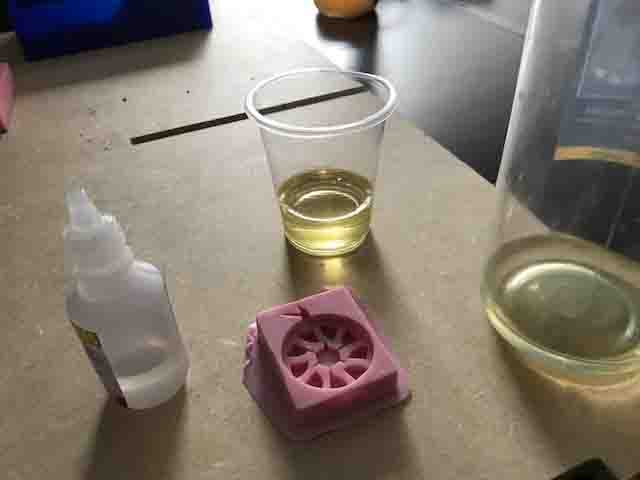
Fig 36. Use poly resina cristal and catalizador for the final piece.

Fig 37. Catalizador for mixing with resina cristal, about 30 drops.
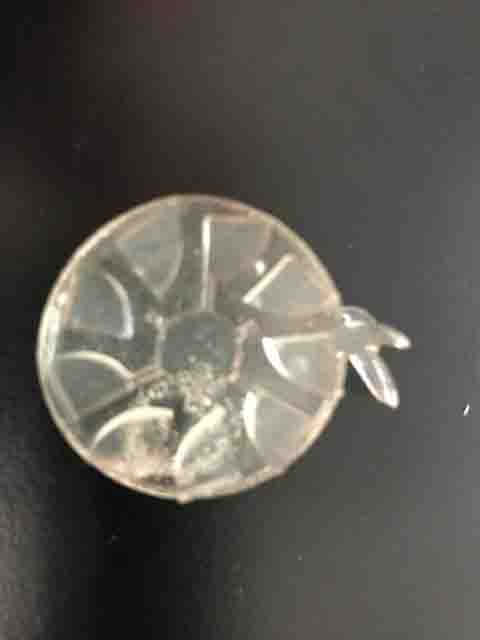
Fig 38. Wait about 15 minute for harden.
Download files here:
logo on Inventor
logo on stl format