This week's assignmet was to experiment with both LASER cutting and Vinyl cutting. I had previously worked with LASER cutting for the Fabricademy and a little bit with vinyl cuting, when generating soft electronic boards. I still wanted to experiment some more with these techniques, and apply them to my final project. I wanted to create a tower's structure prototype using MDF. I say prototype, because the full sized tower will be about 1 meter tall and it wil be made out of 12 mm plywood (most likely).
For my structre, I googled several cold brew tower designs to get inspiration. At first I wanted replicate the classic "Yama Tower", but then I came upon this design.
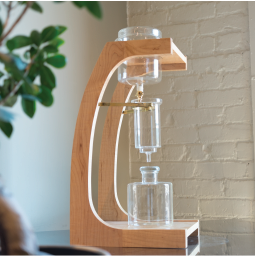
This was my inspiration for the design. However, I had to modify the design in order to add some extra levels. The Fab-Brewer will consist of 5 levels. I designed my tower using Fusion 360. In order to do parametric design in Fusion 360, follow these simple steps:
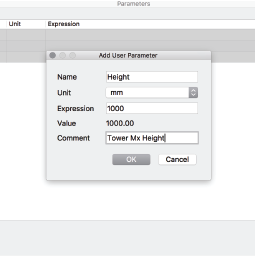
These are the parameters I plan on implementing for my final project:
For this assignment however, I've decided to scale the model, so that I can be able to Laser cut it later. Currently, these are the parameters
DESIGN PROCESS
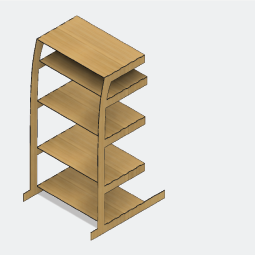
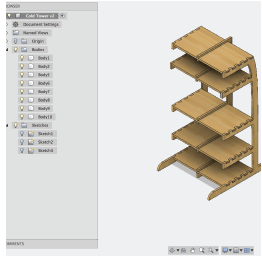
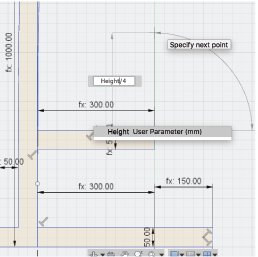
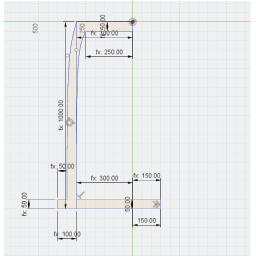
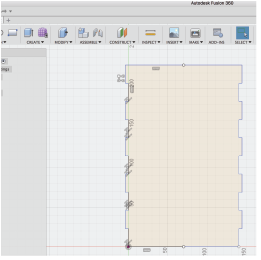
After changing the paramters, I started designing the tower. The first step was creating rectangles and lines using the dimensions defined previously. You'll see that unlike non-parametric modeling, the dimension is defined as a function (fx) rather than just a number.
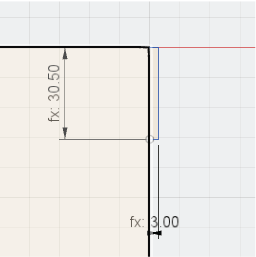
What I really enjoyed about parametric modelling was being able to generate complex function based on the parameters I designated at first.
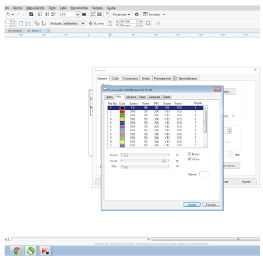
It was now time for cutting. I went to UTEC with my SVG files and loaded them onto Corel Draw. I used to corel to set the stroke of the vectors to a minimum ("Thin"). Afterwards, I hit "Ctrl + P" and sent it to the print environemnt, where i had to set the cutting parameters. These parameters are: "Speed", "Power" and "Frequency". For 3 mm MDF I used a speed of 1.4, 30% power, and 30 PPI for frequency. Luckily, I found there was no kerf. The pieces fit perfectly with one another, so I didn't have to adjust for tolerance.

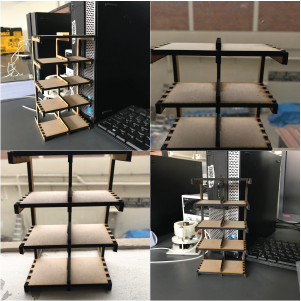
And here's the final result:
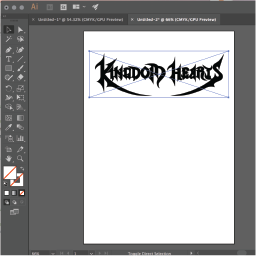
As for vinyl cutting, I fail to see a particular application for my final project, so, just for fun, I decided to experiment with the machine by cutting the logo of one of my favourite Videogames: "Kingdom Hearts".
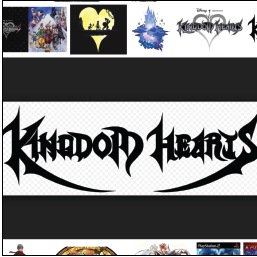
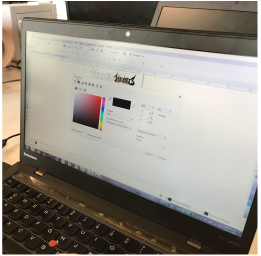
After deciding on which logo to use, I downloaded the image, and opened it with Adobe Illustrator. In order to cut the image, it needs to be composed of a group of vectors. However, when the image is loaded into Illustrator, it is loaded as a bitmap. The vectorization process is fairly simple though. Click on "Image Trace" on the right bottom corner of the screen, and then click on "Expand". Finally, click on "Ungroup" to separate the image into its vectorial components.

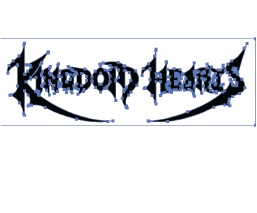
Once the image has been traced, this is what you get:
FInally, if you want to edit the vectors, just click on "Direct Selection Tool", to see each of the control points.
After I processed the Logo, I saved the file as an SVG, and sent it to the vinyl cutter. I used Corel Draw as a printing environment, cause it allows me to edit the cutting parameters, such as speed, strength, material, etc. Before cutting, I had to add a stroke to the border of the image, and eliminate the fill. I gave the border a stroke of 0.01, and black as a color, and selected "None" as an option to the fill.
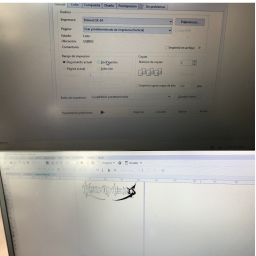
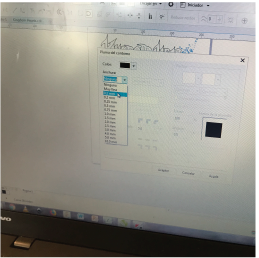
Finally, I hit "Ctrl + P", and sent it to the print environment. Loading the machine is quite easy. In UTEC, we have a Roland Gx-24. First press "Menu", select roll or piece, depending on whether you're using a roll or a piece, and the mahcine will automatically detect the dimensions. Afterward, hit print and that's it. And here's the result:
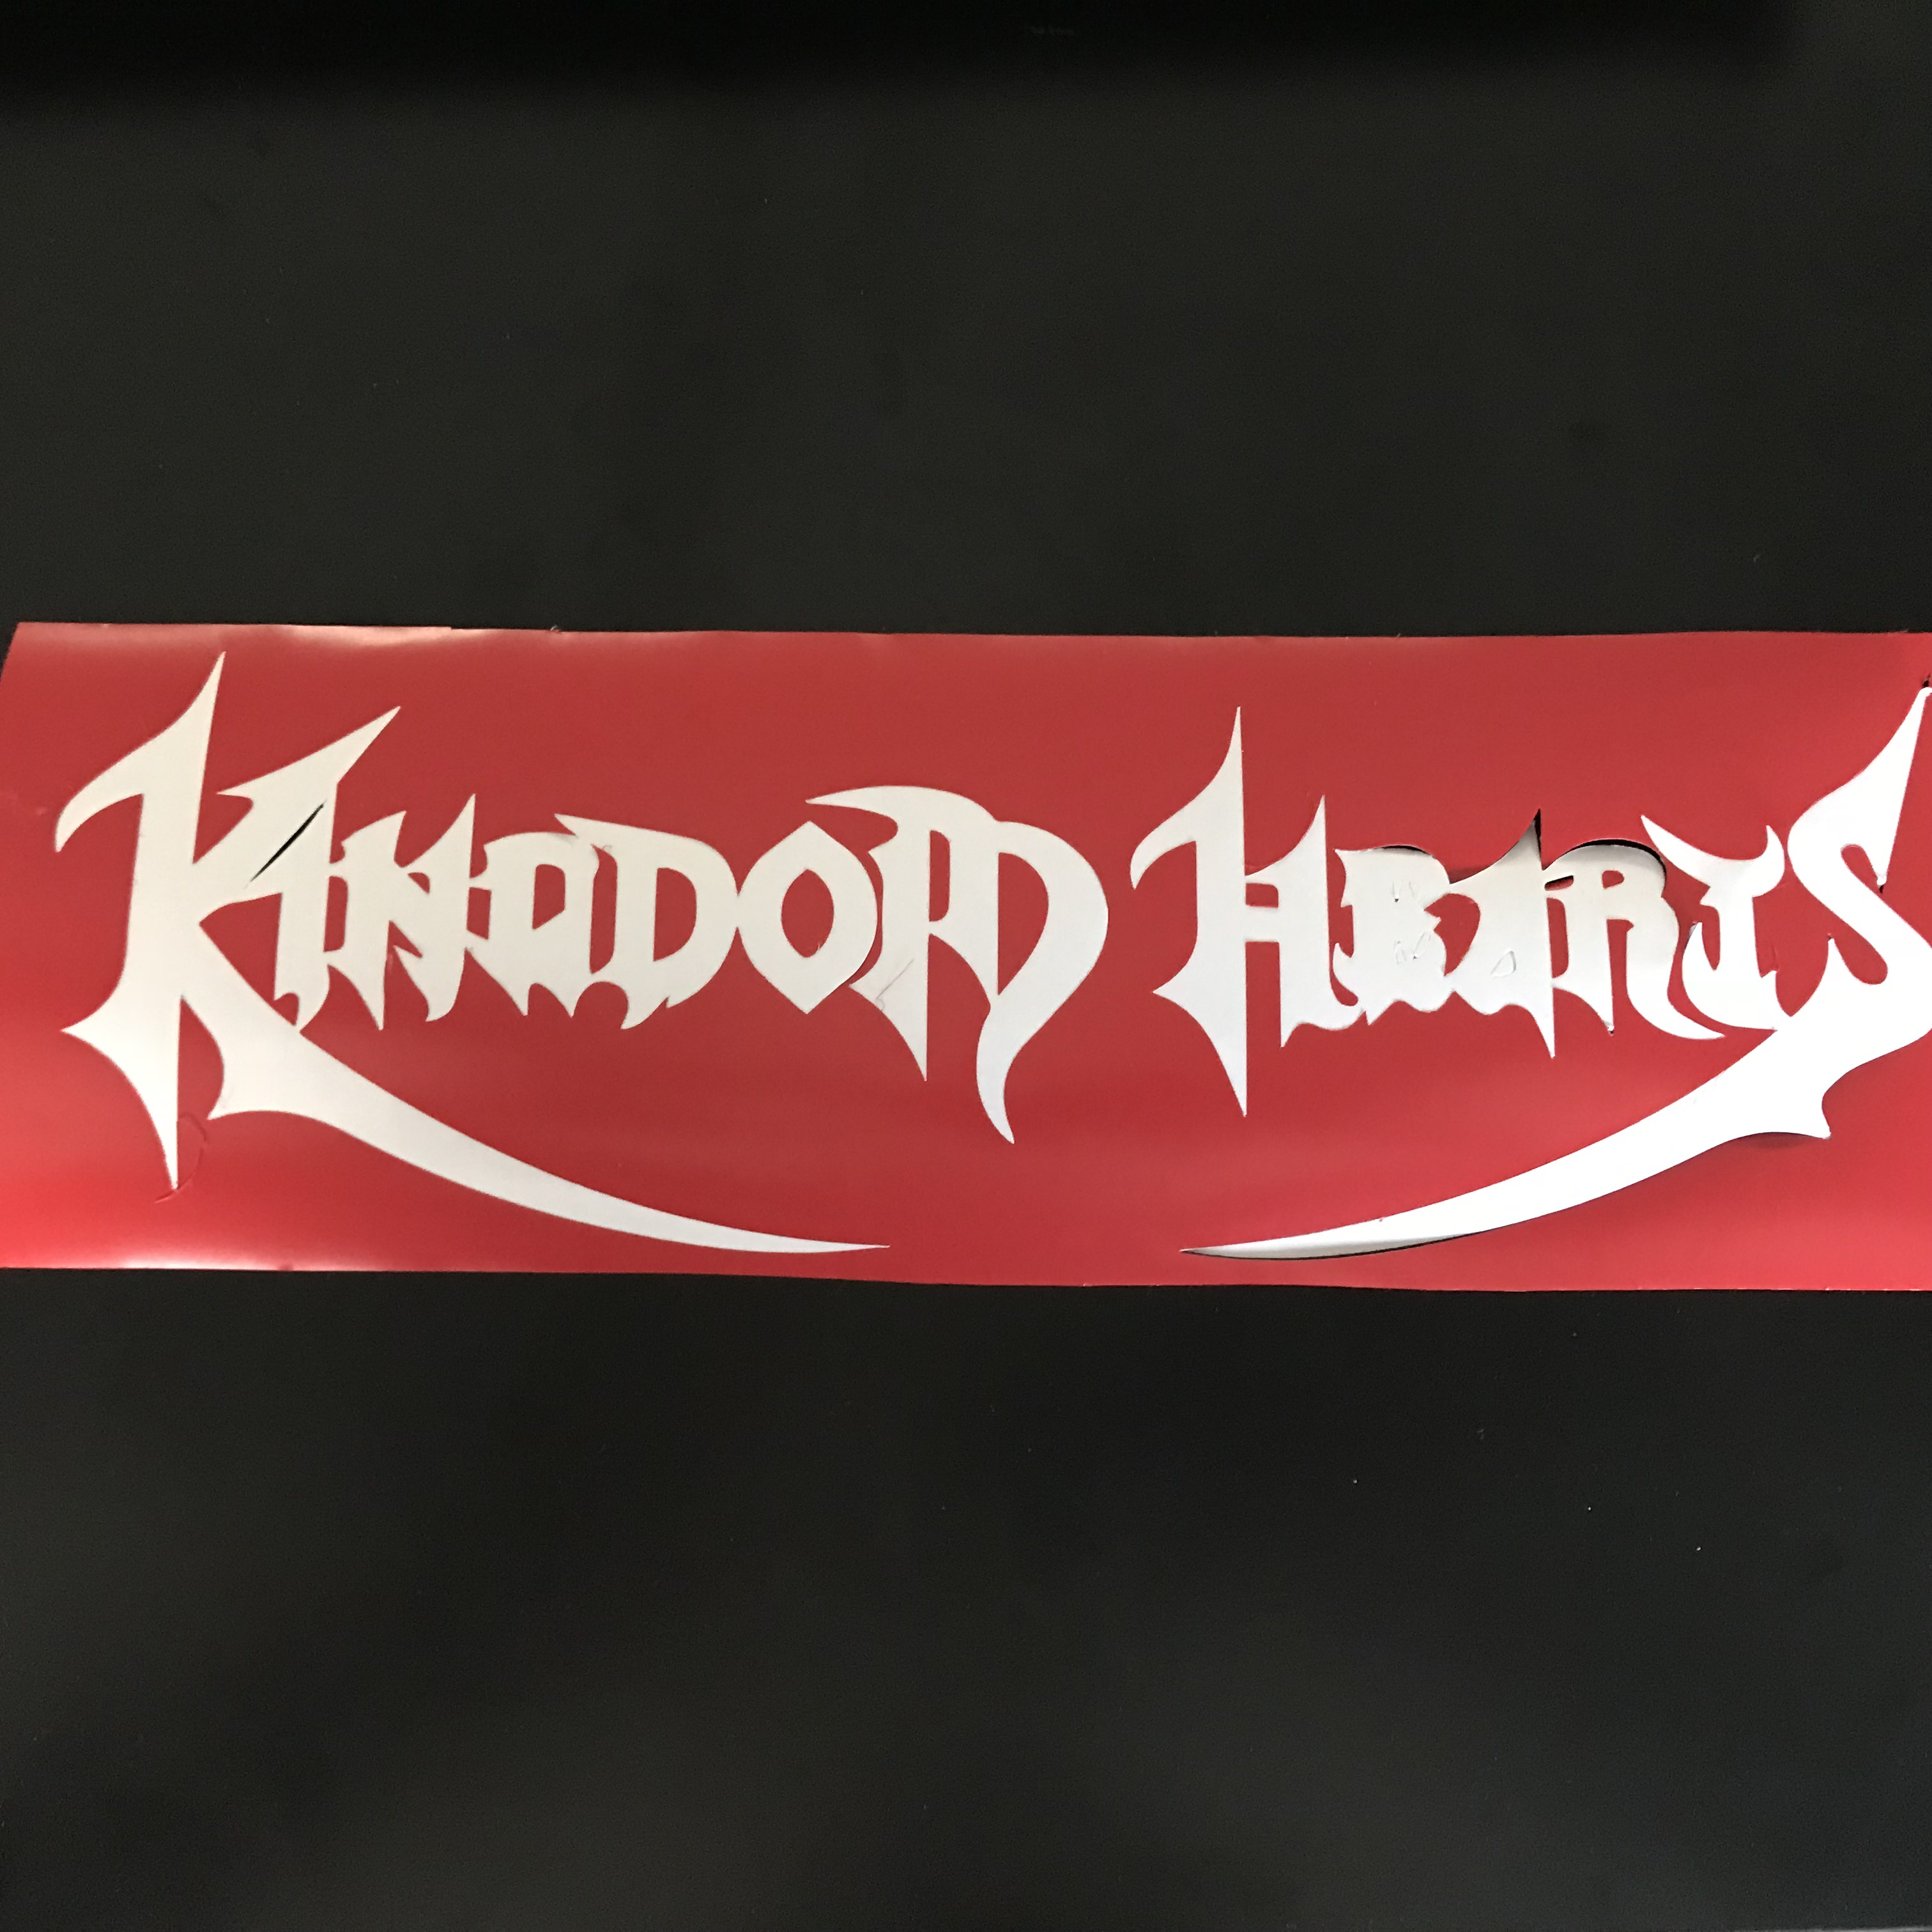
Unfortunately, because of the sharp corners of the design, the vinyl kept coming loose, so the result is not as good as expected. I resent it after resizing it to a bigger scale, and the result is rather better.
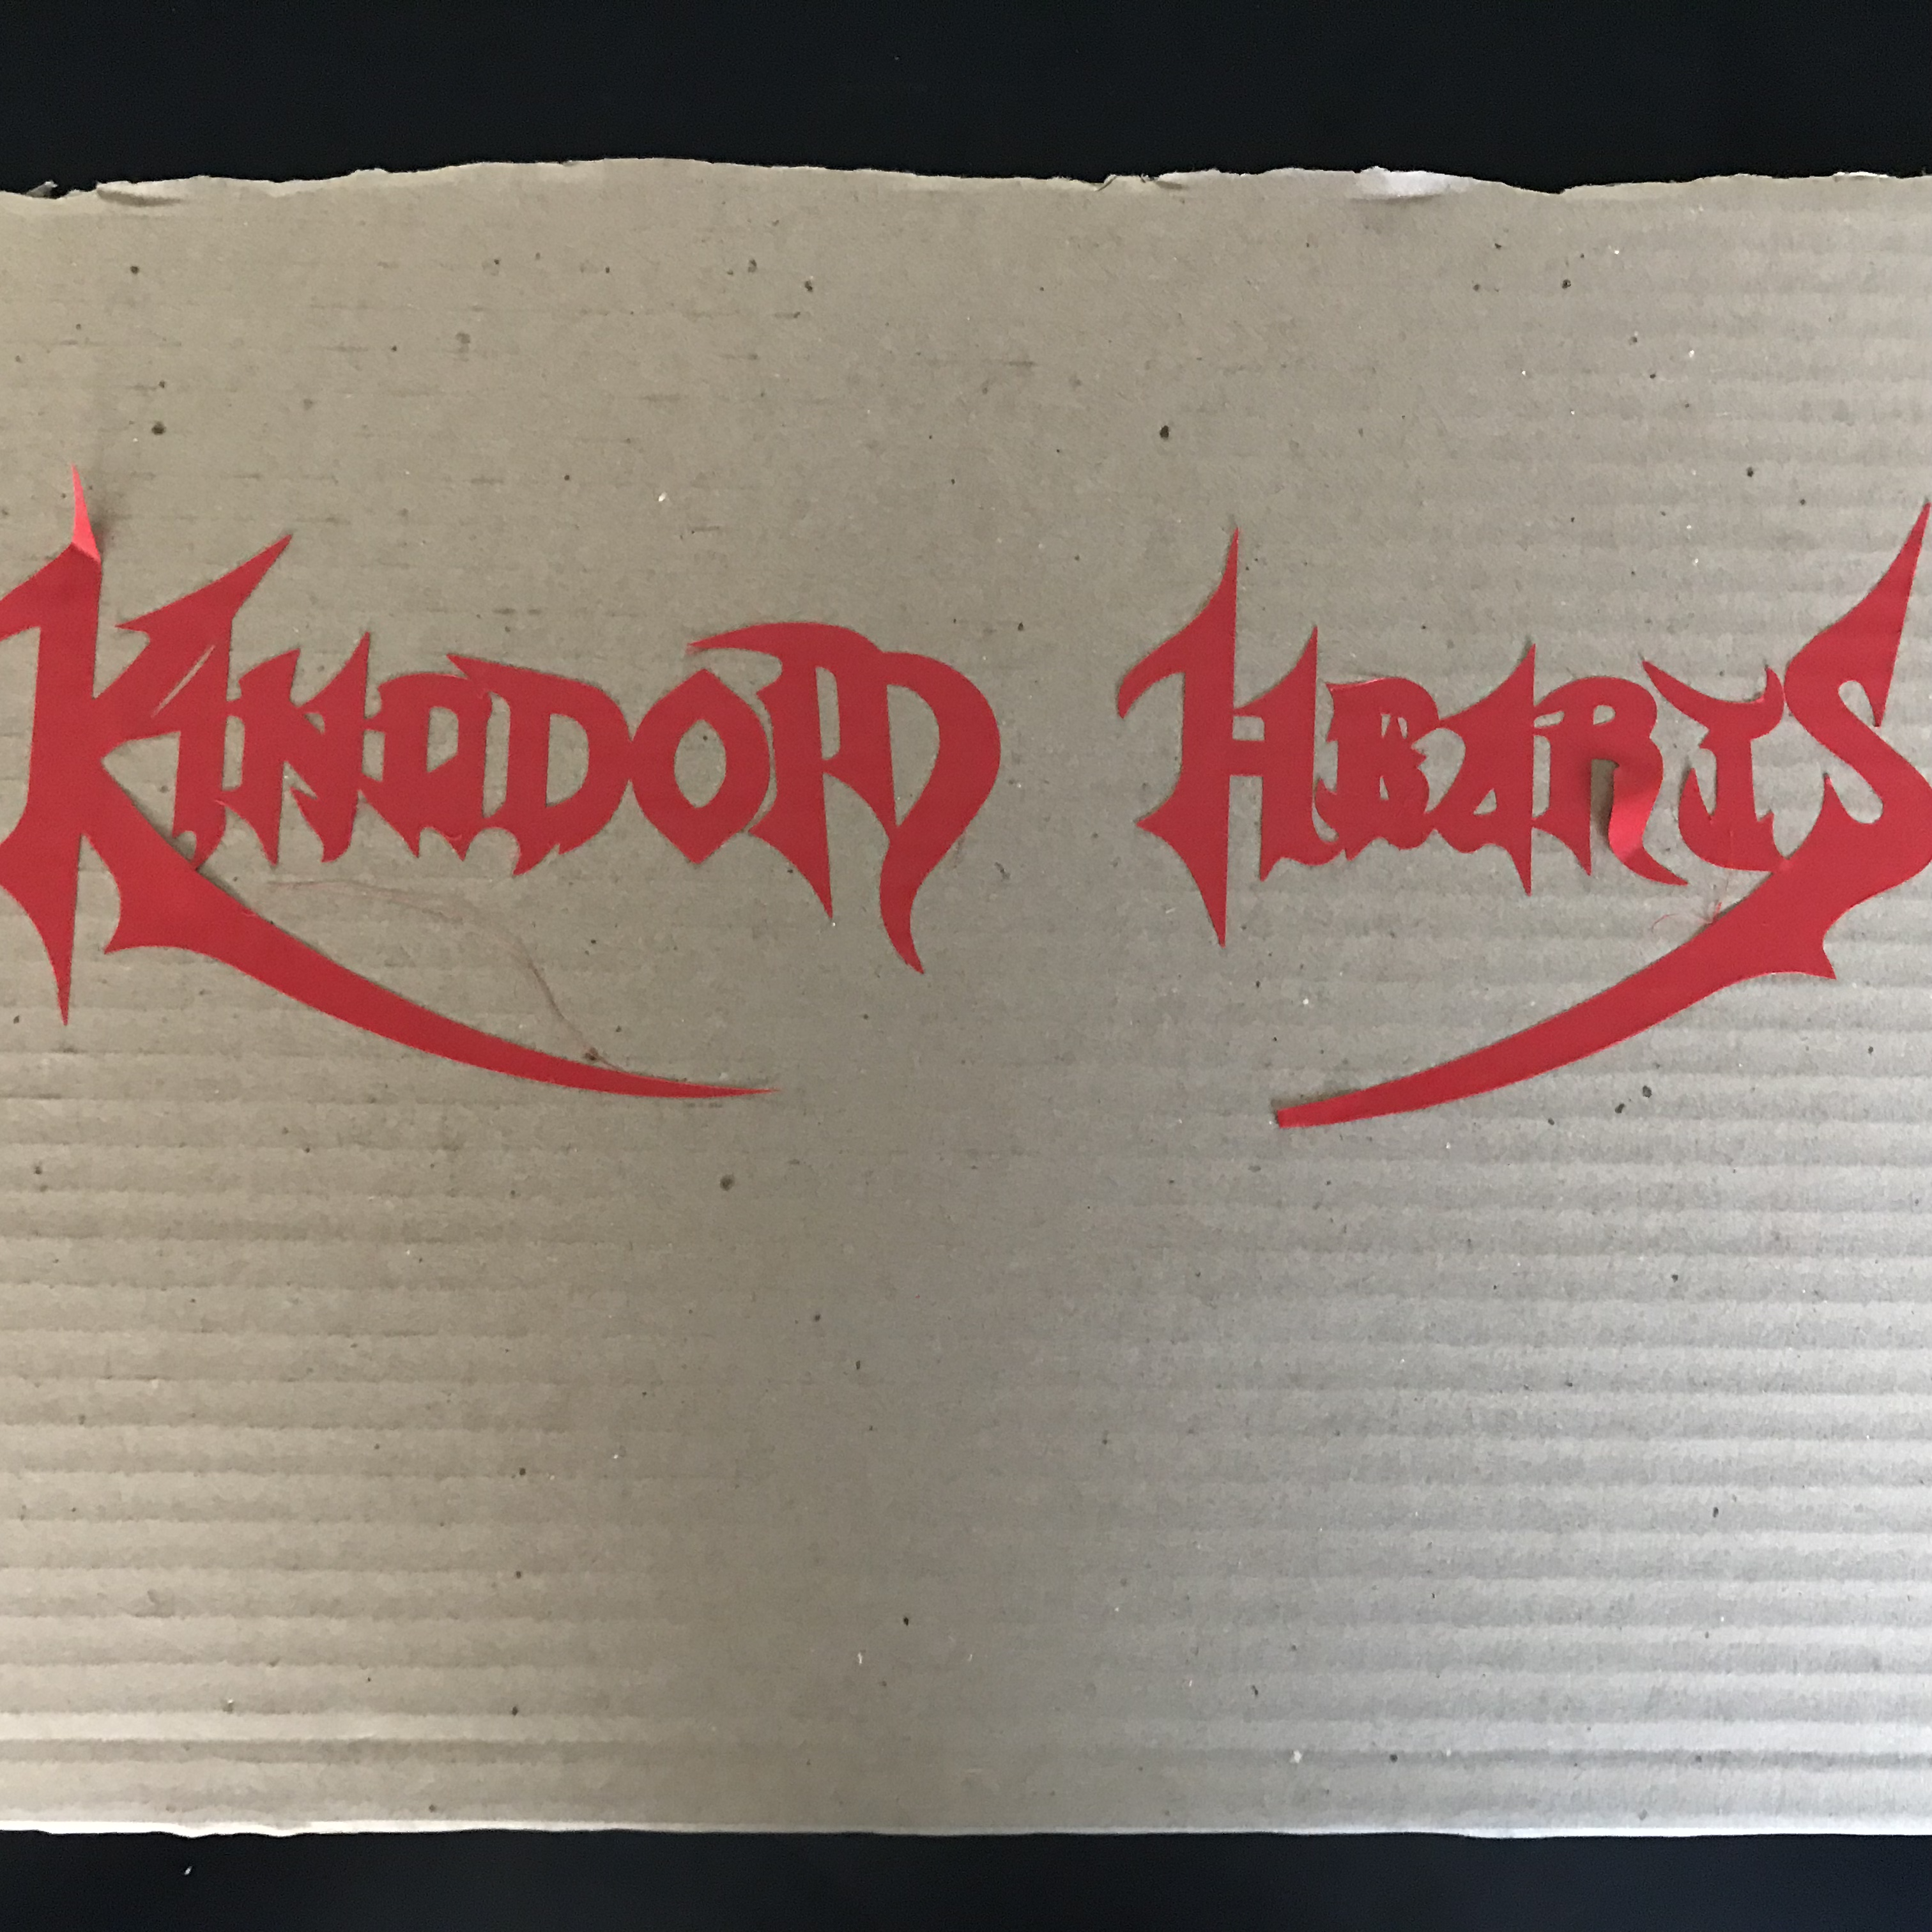
I think I prefer the negative though.
You can find my files here: