
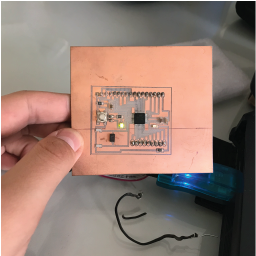
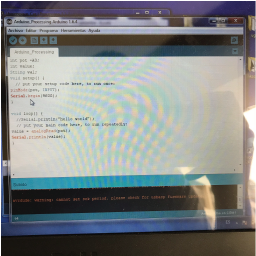
This week I had to design an interface which interacted with an input or output device I had used before. I decided to use my potentiometer as the aforementioned input device. I have zero experience or skill working with interfaces and applications, so I had to check past assignments from UTEC's students. I decided to use Processing as my programming environment and Arduino as a way to program my board. I read that I had to communicate the PCB with processing via the serial port, and my input device from week 11 couldn't do that, because I used an AtTiny 45, which does not support serial communication. Luckily, I had a modified Satsha Kit from week 9 (embedded programming - I knew they'd come handy) and I added a potentiometer board as an extra.
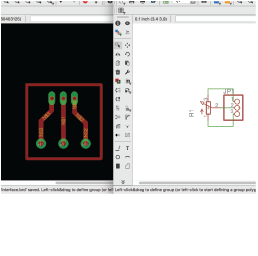
This is the "design" for the potentiometer board. It is quite simple since it does not require any extra resistors or components.
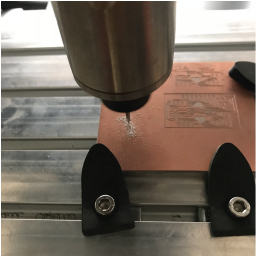
Milling the board. I used Fab Modules as a CAM environment, with the same parameters I used during "Electronics Design".
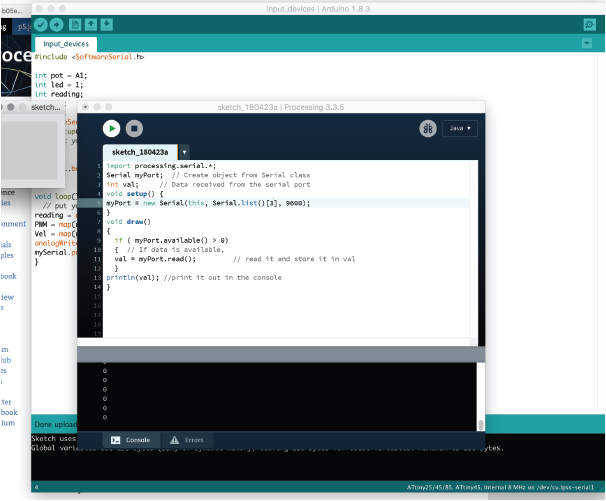
I then started learning how to work with procressing. I started by checking Alejandro's and Alexandra's repositories. They both worked with processing during their academies, and they were willing to help me, so I tried learning and watching some tutorials.
I also started working with Arduino simultaniously, and I followed this tutorial to learn how to communicate both programs.
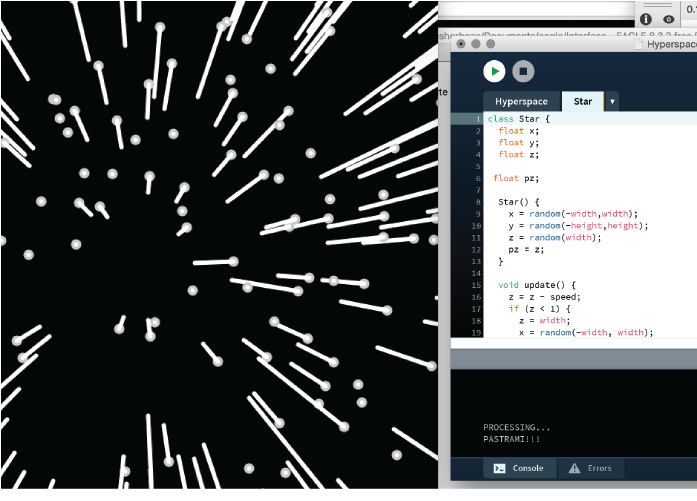
My idea was to create a "Hyperspace" effect, using moving circles as stars, with varying speed. The speed will depend on the information given by the potentiometer through the serial port. The code is rather simple, I receive a string from the serial port, and trim it to eliminate the newline. I then transform the string to a float, and map the information between 0 to 200. This data will represent the speed at which the stars will move. The stars are created within a class, in a different tab.

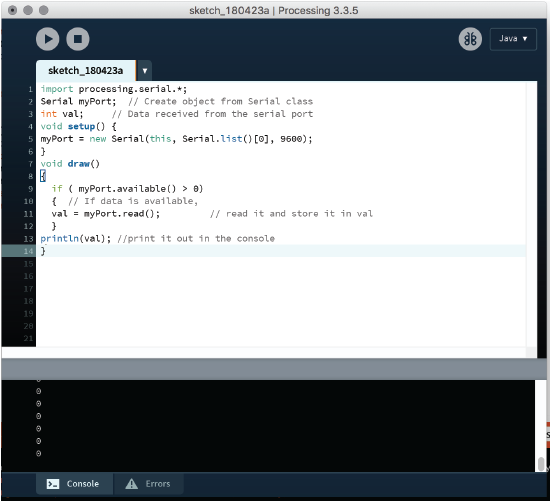
This is a picture of the code working, but not with information given by the potentiometer, but rather from the mouse. The code maps the position of the mouse in the X-axis, and changes the speed.
Finally, I started working with the Arduino IDE. The code is also simple. The potentiometer is connected to an analog input, which reads the incoming data and stores it in a variable. The values are sent via the serial port to processing, using an FTDI cable.
This is a picture of my working environment, the Arduino IDE, and both processing sketches, one for the main code, and one for the stars.
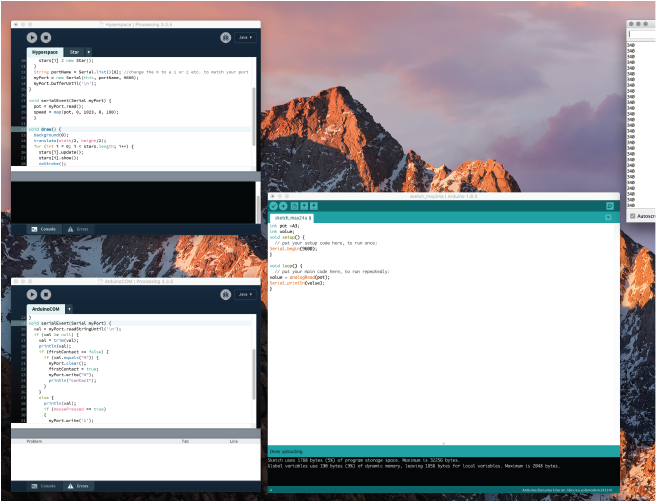
This is how the code works:
Here's a video of the interface working with the potentiometer.
Below, you'll find links to my board and codes: