This week's assignment was to mold and cast a model. At first, I had a crazy idea in which I would 3D mill a scaled version of an actual volcano, and use food friendly silicon to generate a baking mold. Afterwards, I would prepare "Lava cake" dough and cast it in the oven, thus generating an actual-volcano-chocolate-volcano. This is why, my first step was downloading an STL of the Vesuvius.
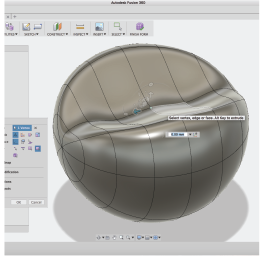
I imported the STL into fusion 360. However, Fusion wouldn't let me use its CAM features unless the model was a body. Thus, I had to reduce the mesh and transform it into a BREP type representation. The problem with this is that in order for me to transform the mesh into a BREP, I need to disable Fusion's history tracker, so I need to be utterly careful with what I do, because I won't be able to look at my steps separately.
After transforming the mesh to a BREP, I started using the CAM environment, and that's when I realized I had a problem. I needed my model to be big enough for a Lava Cake, so I had to use almost all of the available stock material (which still wasn't big enough). The total height of my model was 35 mm, and the longest available mill at UTEC was 1 inch. I wasn't going to be able to mill my model, so I had to think of something else.
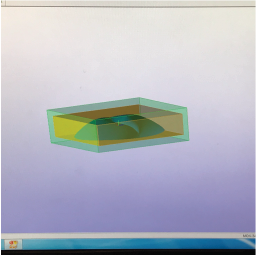
Since I love coffee, and my final project is coffe related, I decided to mold and cast a coffe bean, which would serve as a decoration for my structure. I used fusion's Sculpt environment as my main tool.
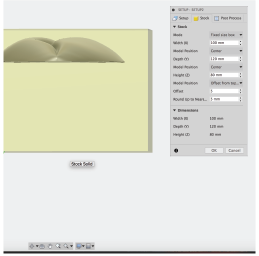
I then used Fusion's patch environment to finish the model, split it in half, and stitch it. Finally, I measured the diameter and made sure everything would fit in the stock.
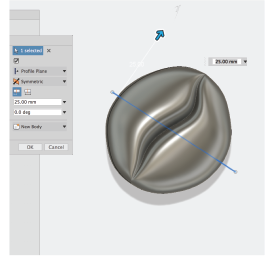
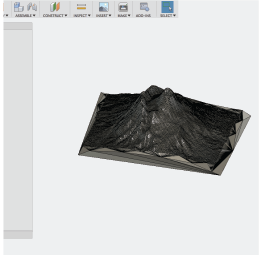
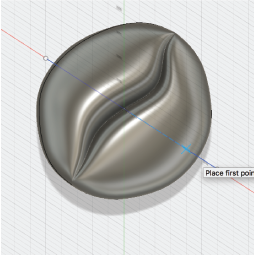
Once done, this is what it looked like:
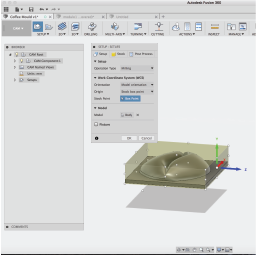
After the design was completed, I sent it to the CAM environment within Fusion. The first steo is setting-up the design.
When setting-up, I had to check the origin point, the size of the stock, the position within the stock, and the material.
Afterwards, I selected the type of operation. In this case, it was a 3D milling operation. And an adaptative operation. Fusion also asks that you select a tool. Becasue my model was basically a curved surface, I used a 1/8 inch ballpoint tool from all of the available tools. Then I had to decide on which parameters to use.
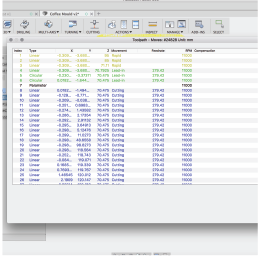
Once all of the parameters have been set, Fusion generates a toolpath and the G code.
And this is the G-code
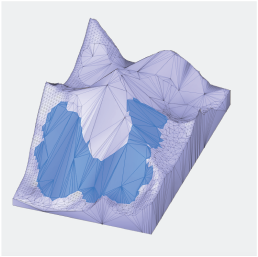
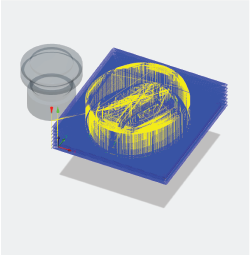
I wanted to check whether or not there were any mistakes, so I started a simulation on Fusion.
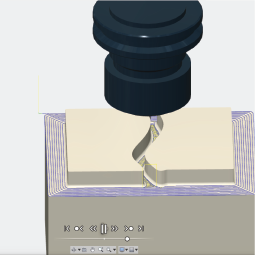
As it turns out, there were some issues with the generated toolpath. Because the program wouldn't let me change the pass depth, the tooplath generated only one pass, and there were crashes.

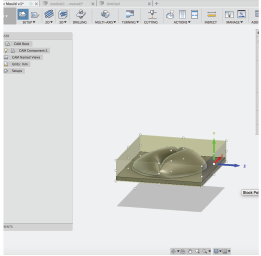
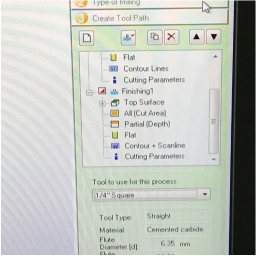
So. I wanted to try and solve the issues, and I found 2 options on google. Use 2D milling options and change the number of passes, or, generate more than one 3D milling toolpath, leaving axial and radial offsets around the model. I do not have experience with any of these options, so I decided to use SRP player as my CAM software. Another advantage, is that SRP player communicates directly with the Modela. First, I imported my STL into SRP player.
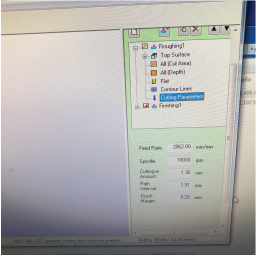
Then, I set the cutting parameters, first for my roughing toolpath, and then for my finishing toolpath. For the roughing path, I used a 1/8 inch sqaure end mill.
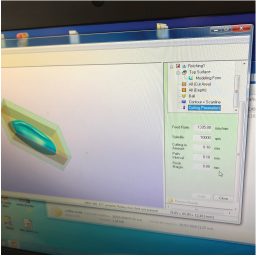
I also changed the feed rate, spindle speed and surface speed, to match what I had done earlier in Fusion 360.
Finally, I changed the parameters for my finishing path. I used a 1/8 inch ballpoint mill.
I set the zero point, and started generating the toolpath.
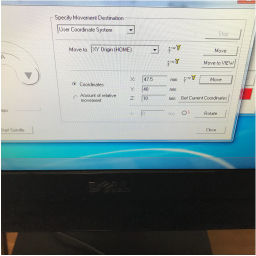
It's important to note that the 0 is meant to be set above the center of the stock's top face.

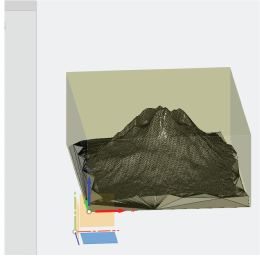
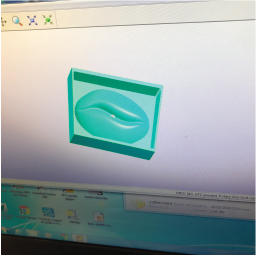
Finally, SRP player generates a preview of my model.
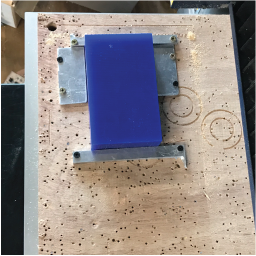
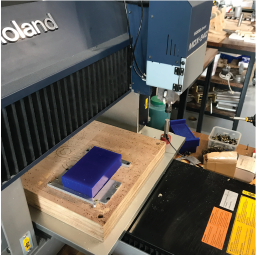
It was now time to start machining. The first thing I did was firmly secure the wax stock to the machine's bed.
Then, I selected the appropriate mills from the ones UTEC had avaliable.
Because I changed the tools, I needed to set the zero point for each of the tools on the tool magazine. This is an automatic process done with the Modela.
Then, I set the zero point for the machine, which was the zero point established on SRP player.

Finally, I started cutting.
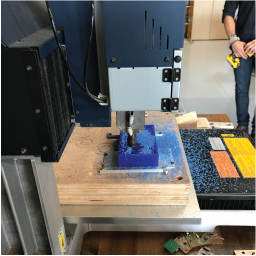
Then I waited.
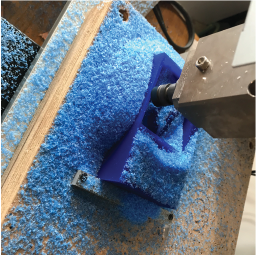
And waited...(The milling process does not stop between toolpaths, beacuse the lab's Modela changes the tool automatically. This might not be the case for everyone, so it is advisable that you do not move your stock in between processes.
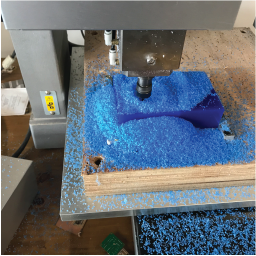
And finally.... I had my milled model. The process was supposed to take about an hour and a half, but we hadn't realized that the Modela was set for 200% speed, so it took 45 minutes.
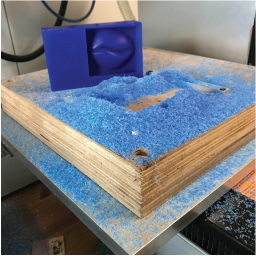
Before I could make my mold, I wanted to clean the model, to avoid any imperfections. I used a painting brush to reach the small places.
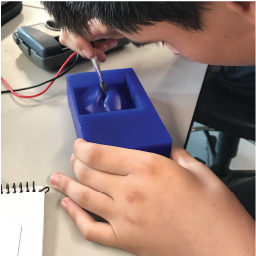
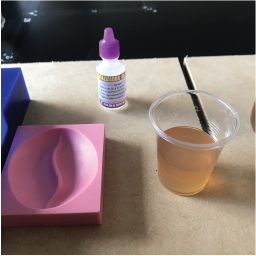
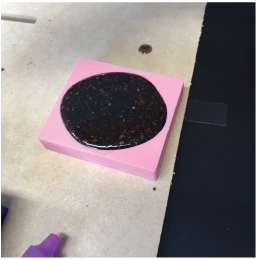
After cleaning up, I started the modling process. I used Silicone and a Catalyzer to make the mold.
I started by weighing the silicone. I used 100 grams for my mold.
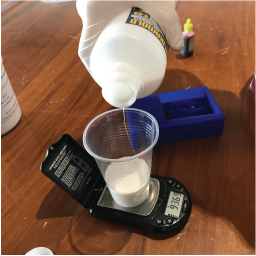
I then weighed the catalyzer. I used 5% of the silicones weigh, that is, 5 grams.
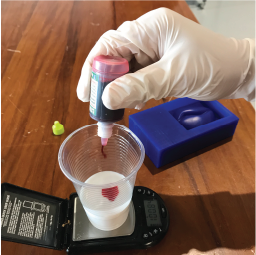
Then I mixed until it was evenly colored.
And mixed...
And then I poured it into the model.
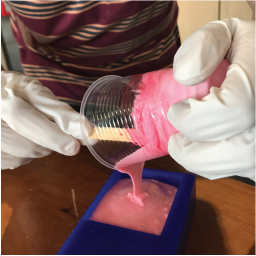
I also had to remove inner bubbles, by means of constantly hitting the mold for a couple of minutes.
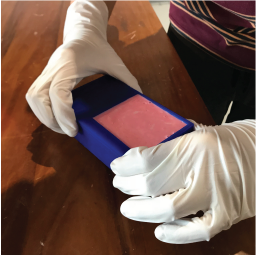
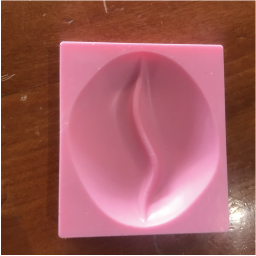
After waiting 2 hours, I obtained my mold. I am befuddled at the precision of the machine and the technique.
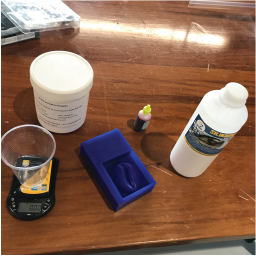
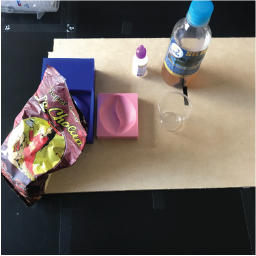
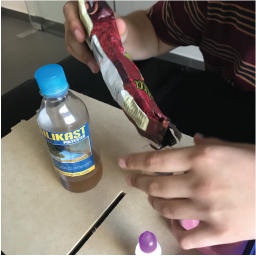
I now had to cast the final product. I wanted to give it a little texture, so I chose to put some ground coffe into the mix and see what happened. Here are the materials I used.
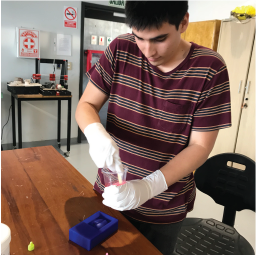
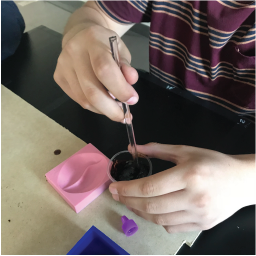
Again, I started by weghing the resin. I used crystal polyresin. I weighed 70 grams.
The resin also needed a catalyzer, which I used in a 3% proportion. For the texture I added about 20 grams of "La Cholita" ground coffee from Cusco.
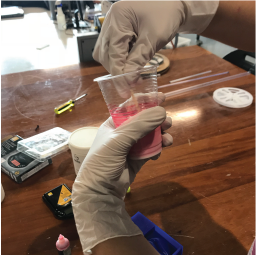
I started mixing so that my coffe grounds wouldn't set on the bottom of the mold, and kept on mixing until the container started to feel a bit hot. This meant that the reaction was taking place and I had to pour the resin, or else, it would solidify in the container. Heat is an good indicator, because the reaction is an exotermic one.
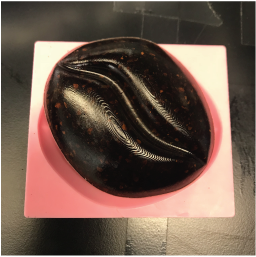
I then poured it into my mold...
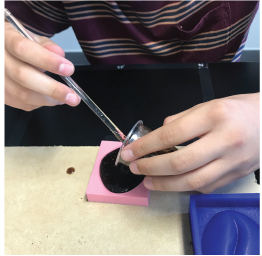
And waited about 20 minutes. The resin is rather toxic, so it was very important that I didn't breathe the fumes directly.
These are the results:
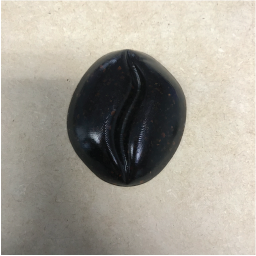
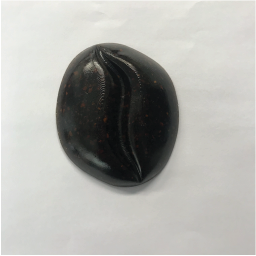
It does look like a coffee bean!
I've linked my .f3d design files here,