Computed Aided Design
Week 3
ASSIGNEMENT
- Evaluate and select 2D and 3D software
- Demonstrate and describe processes used in modelling with 2D and 3D software
SOFTWARE USED
- Fusion 360
- Inkscape
- Gimp
- Meshmixer
LEARNING EXPERIENCE
It was a long time without computer drawing for me,
I am teaching to students who know better than me how to use of software
In my architecture practice , I was designing sketches and collaborators made the 3D model
Vectorworks was the software we were using, it was quite a good for 2D and 3D modeling
FILES
Cariole Fusion 360
Cariole STL
bol nathan Fusion 360
bol nathan STL
bol double Fusion 360
bol double STL
Valentine Inkscape SVG
Valentine DXF
FUSION 360
I choose Fusion 360 because it is a program in the cloud multiplatfrom
And seems very good for the mechanical parts of my final project.
Also preparing files for CAM , 3d printing, rendering
First, I tested the graphic interface trying to understand the program basics.
Discovered the different menus, mode and played with it.
It was to difficult and to different from Vectorworks to be able to learn alone
Then I decided to look at tutorials on the net
Choose the ones who are close to what I need to design
There is a lot of tutorials out there to learn mechanical design with fusion
I went to autodesk academy
And started by this one
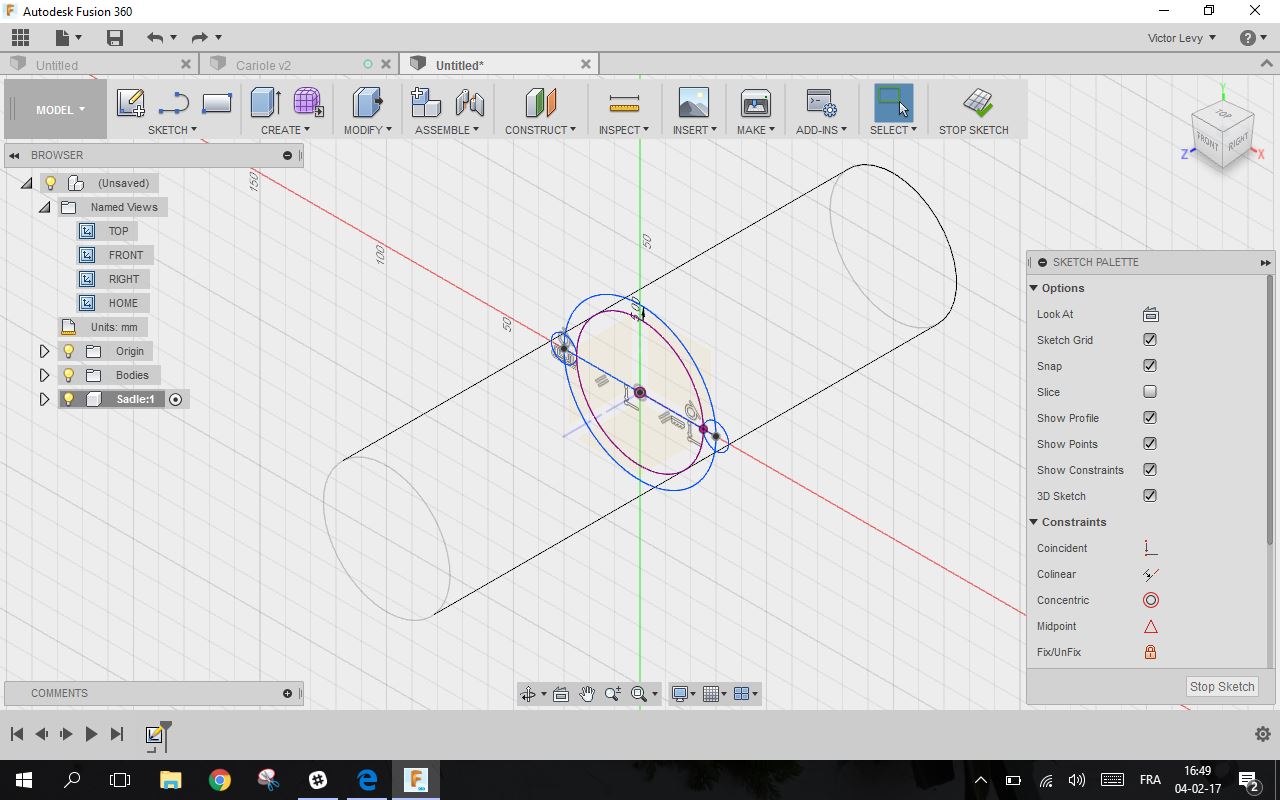
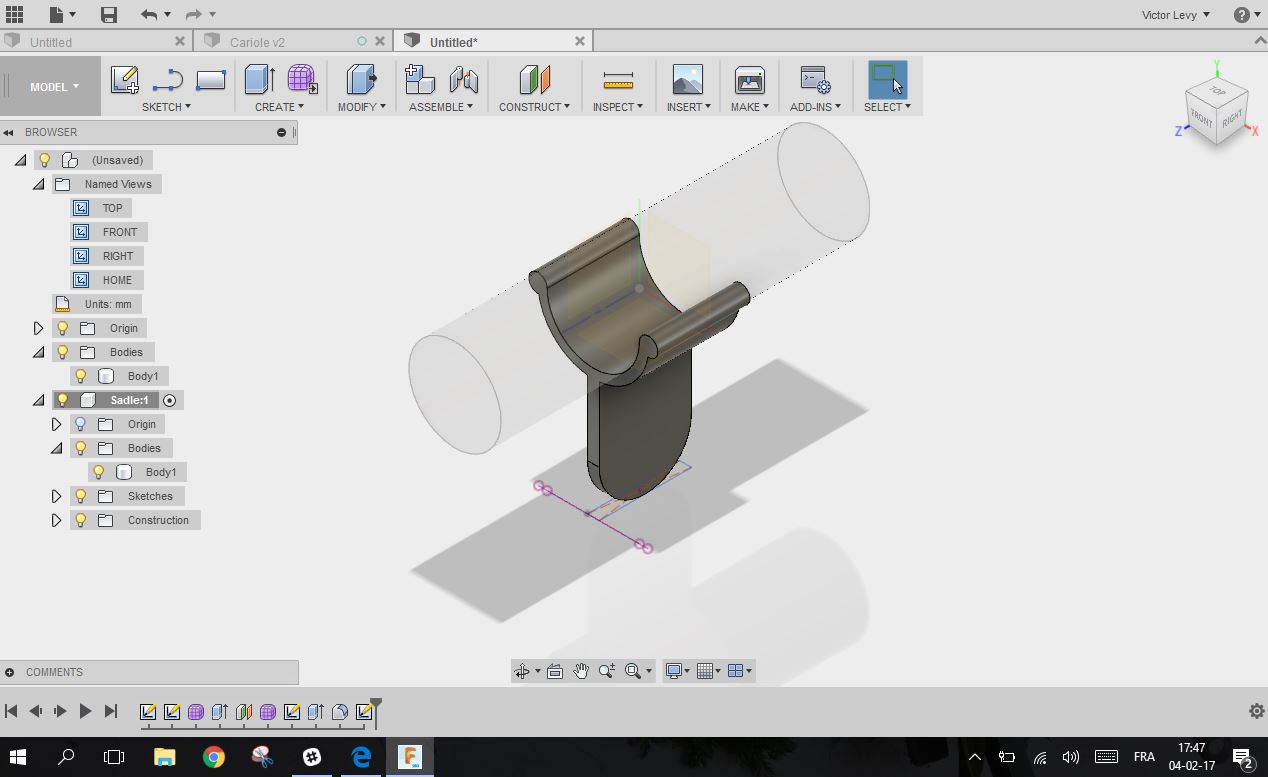
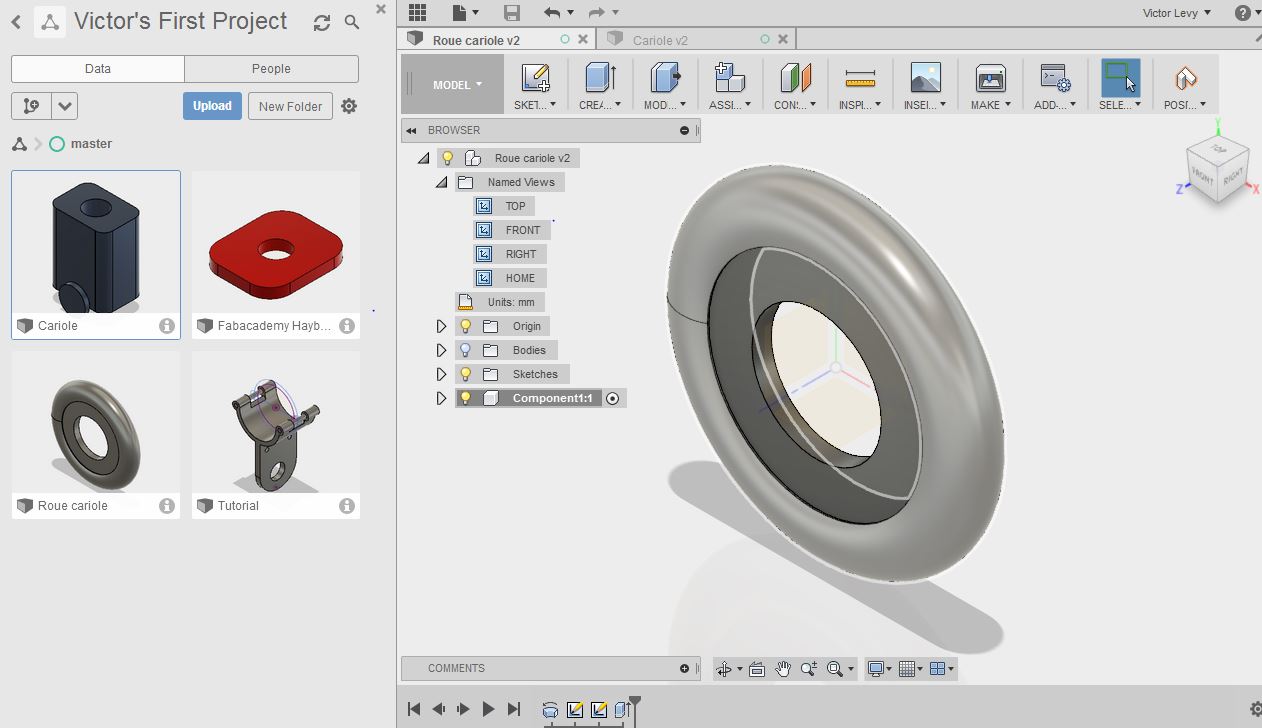
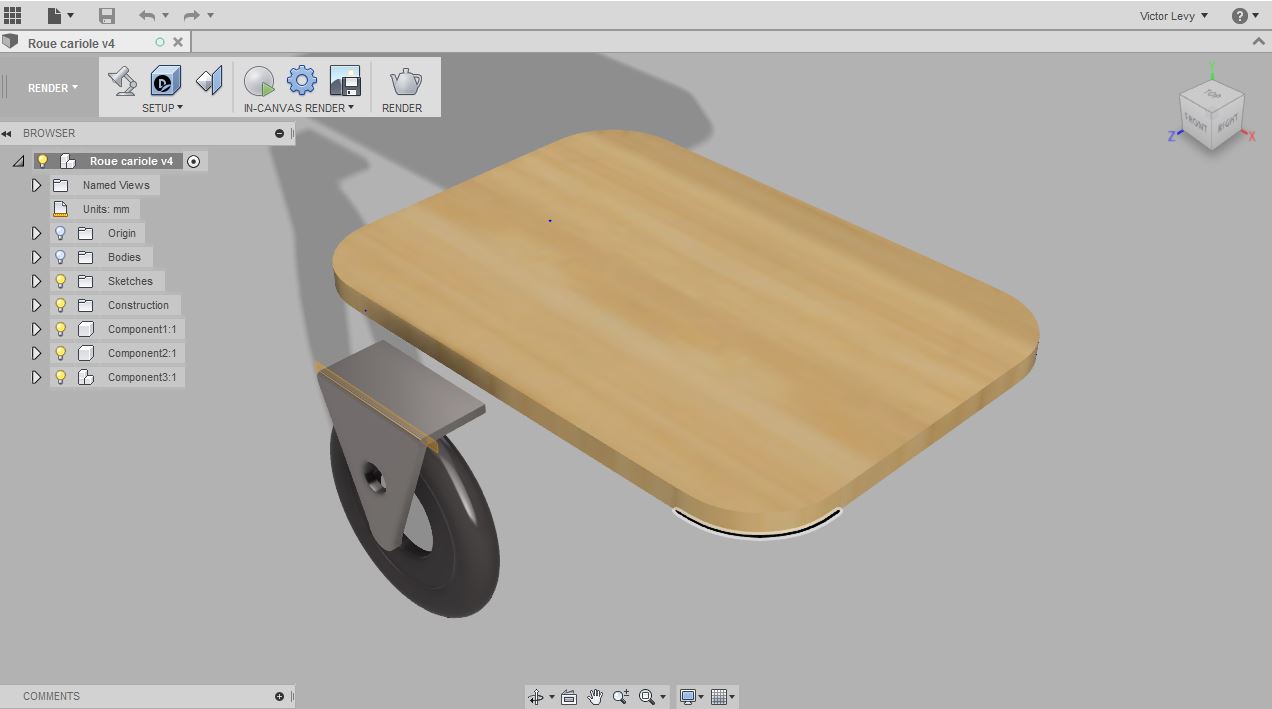
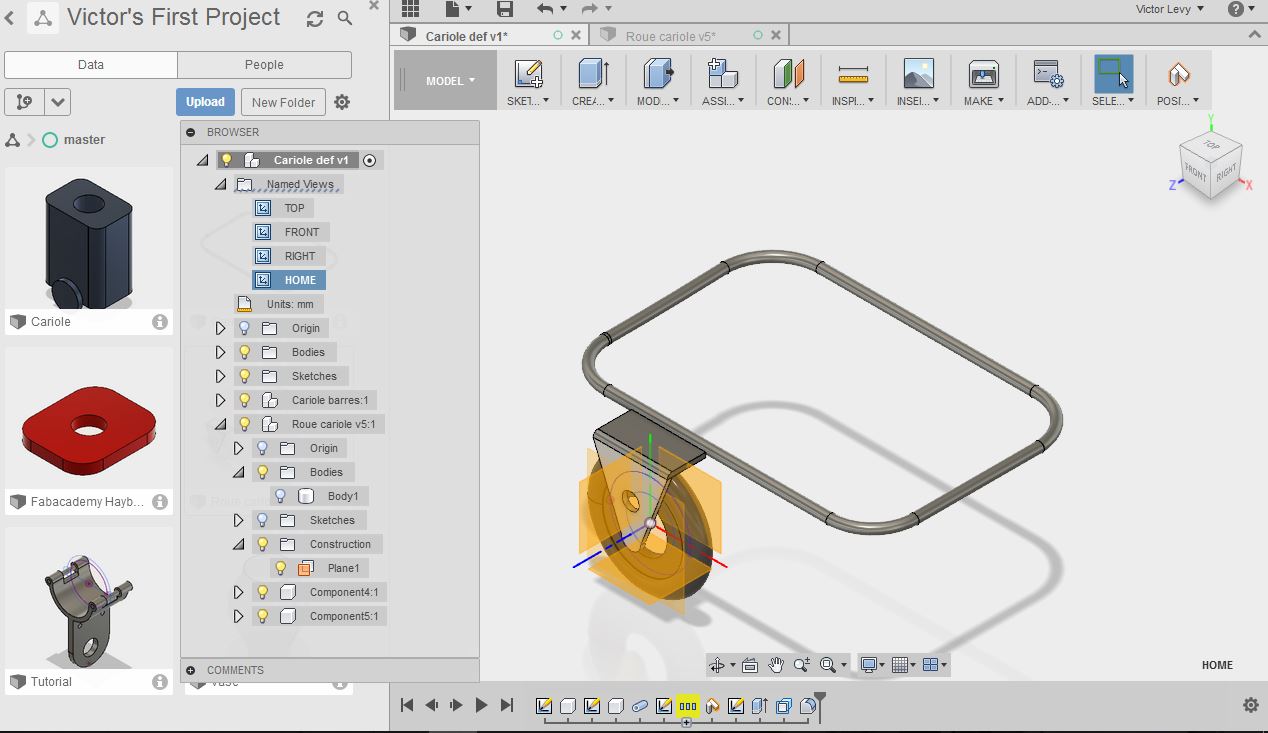
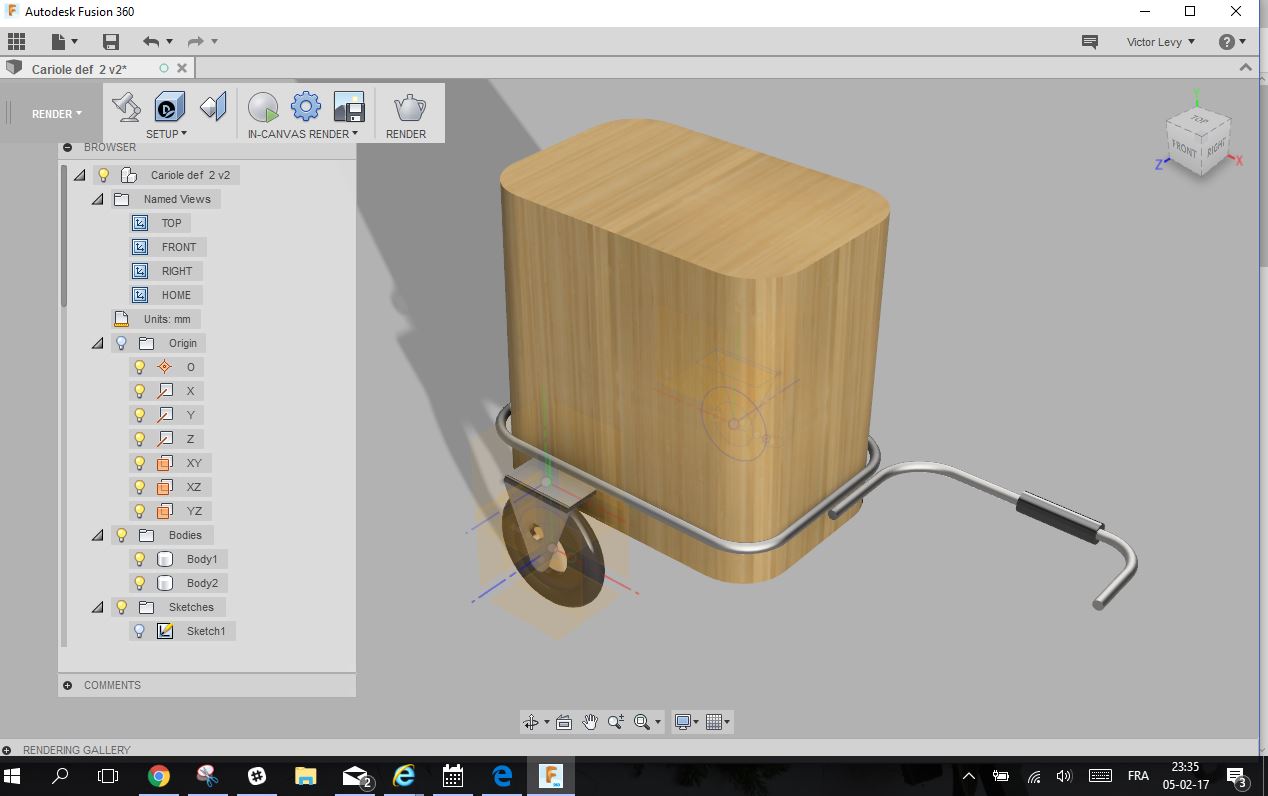
Then, I decided to design the trailer I intend to use to practice and to fulfill the assignments.
INKSKAPE
I downloaded Inkscape, a 2D vector software, equivalent to illustrator from the website above
I tested some tools: line, square, rectangle ...
For the design I wanted to do for the trailer
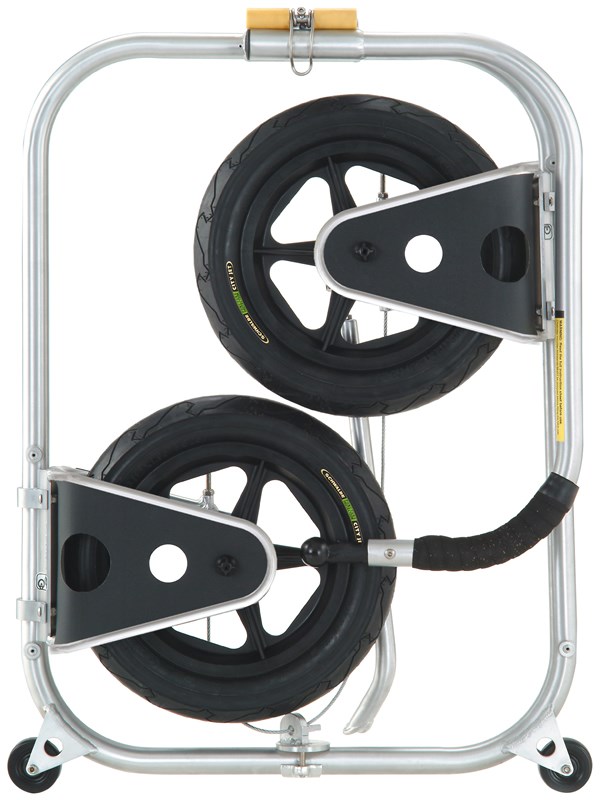
I imported the image of the structure of the folded trailer
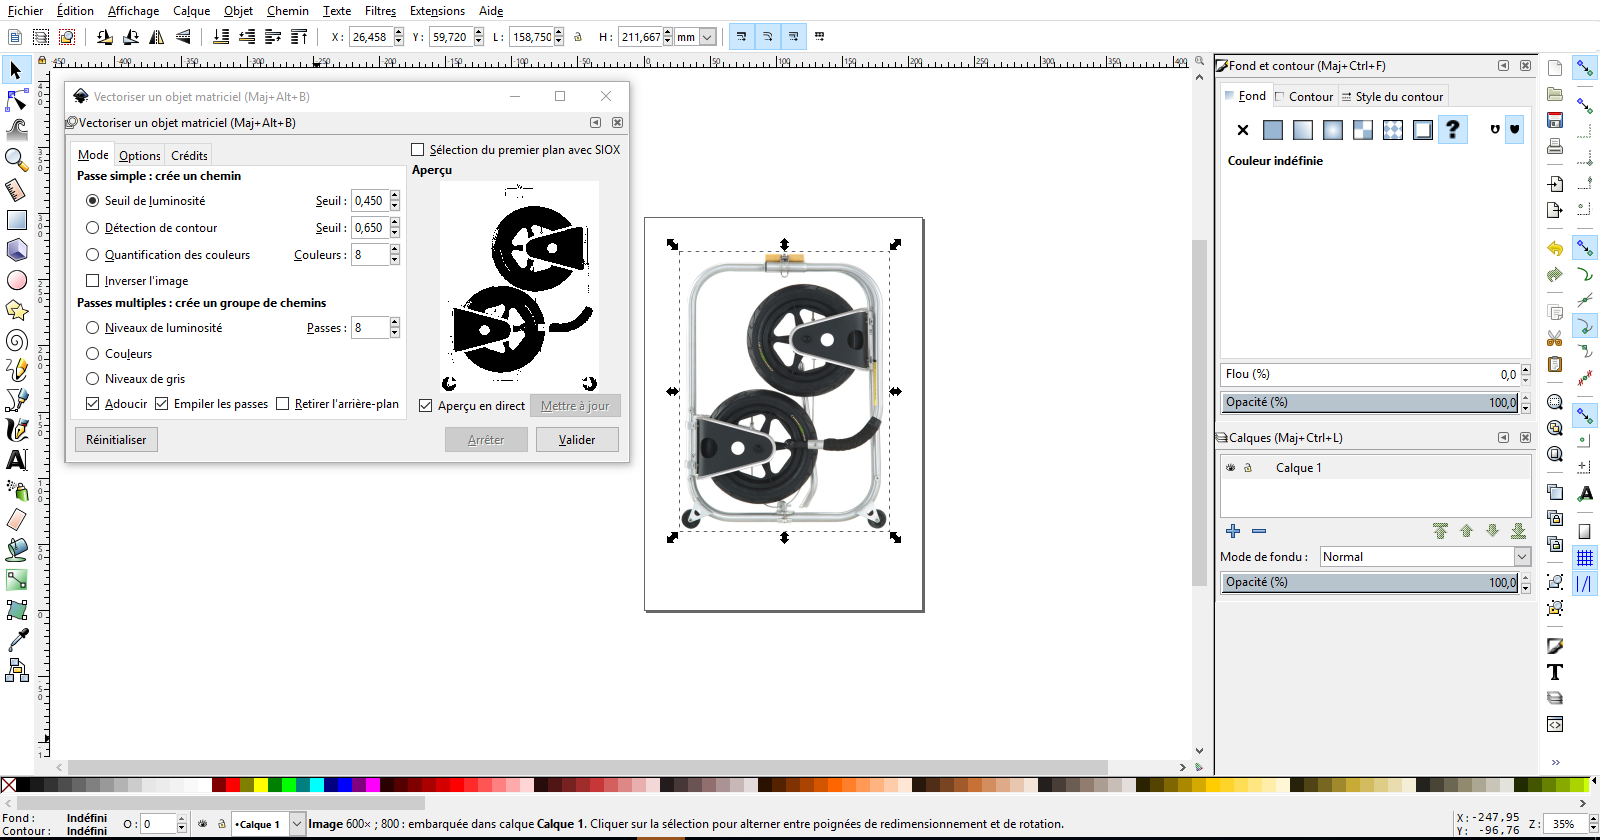
and transform it in vector on Inskape using the vectorized function

FINAL PROJECT
first test
BOWL
Second test
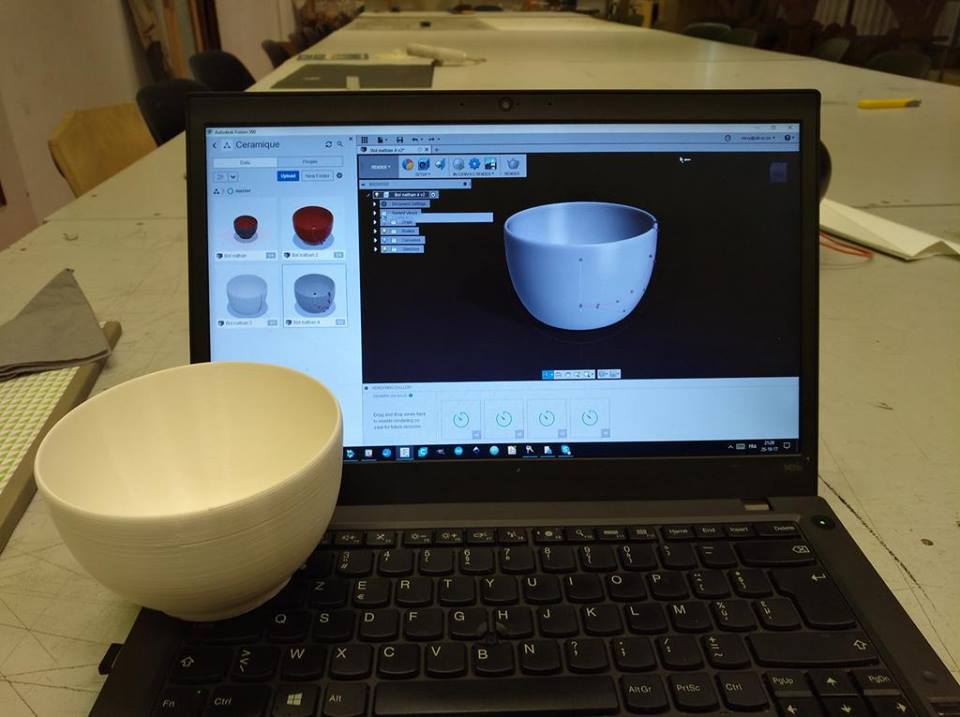
I made a new test using an image that I took as a base for designing a bowl
Using the insert tool and choosing the plane to import
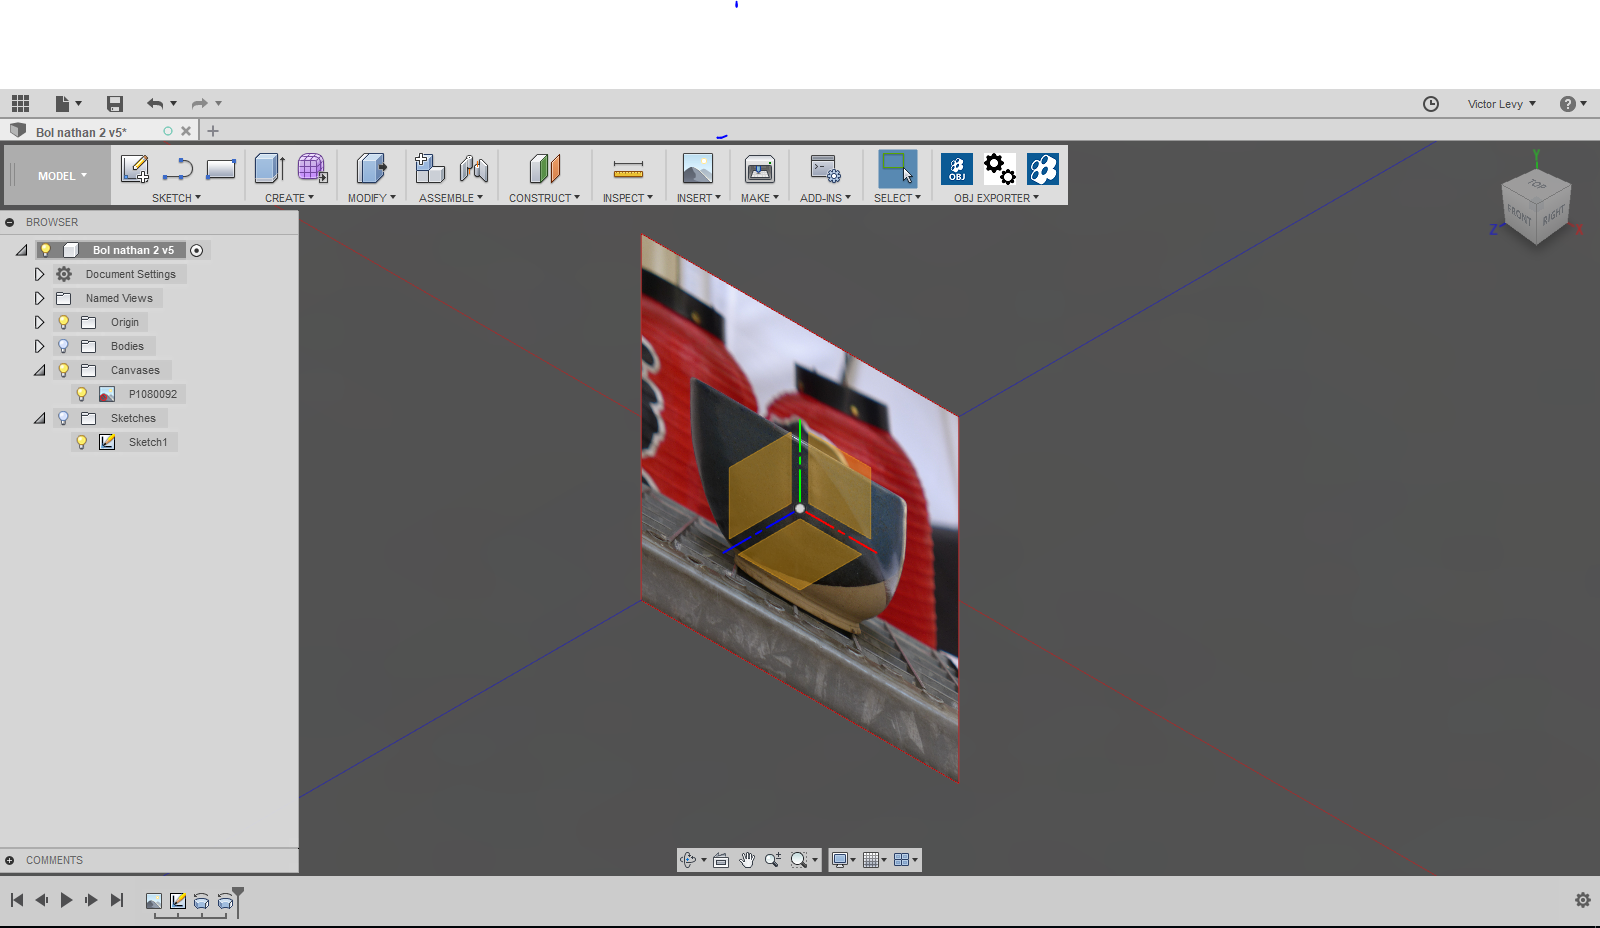
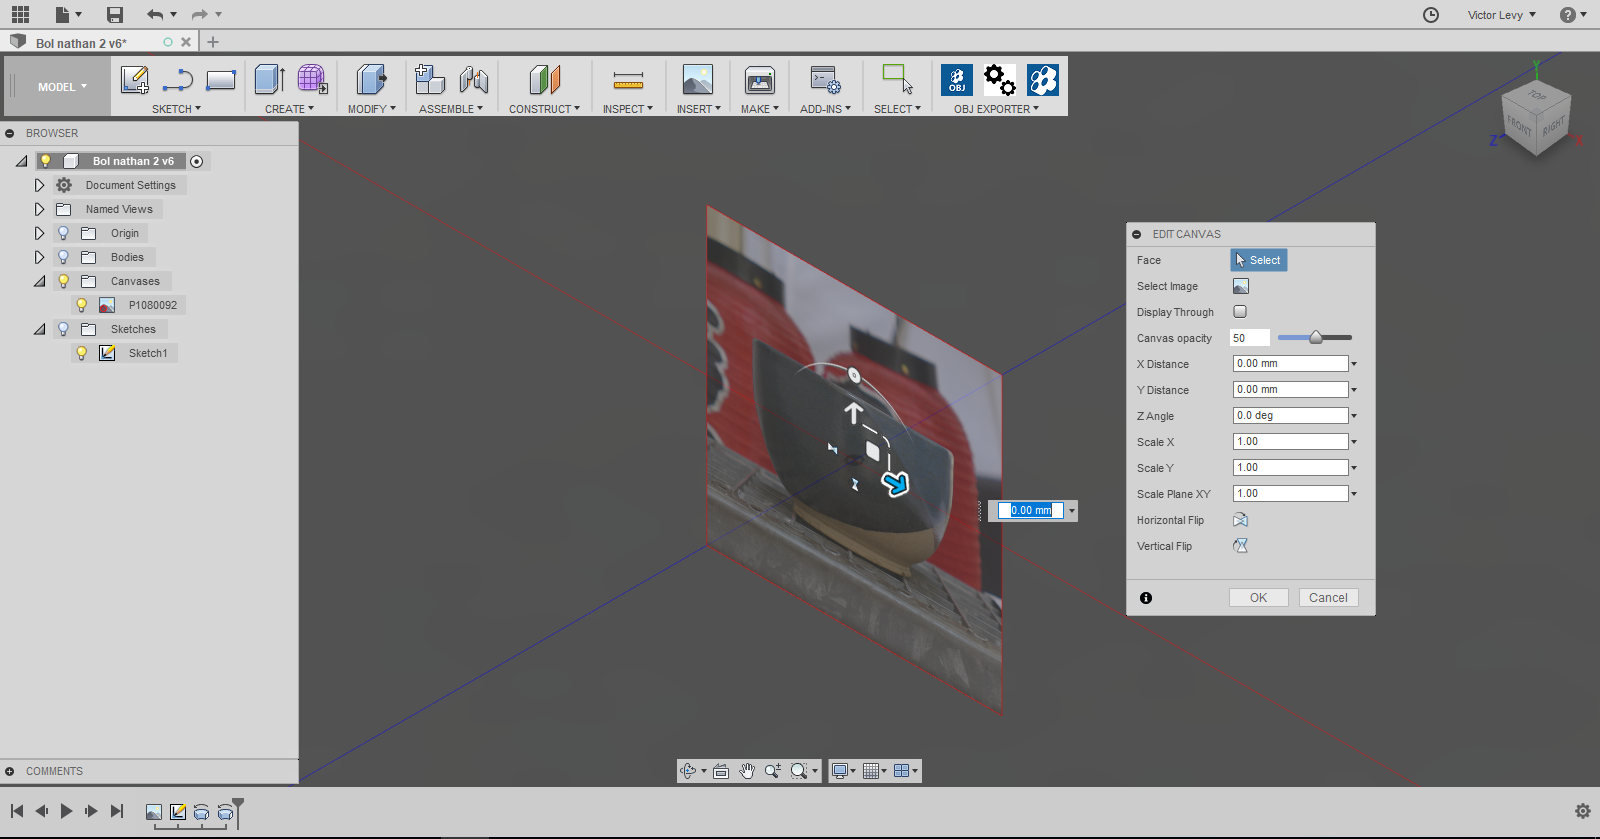
I scaled it to the wanted dimension
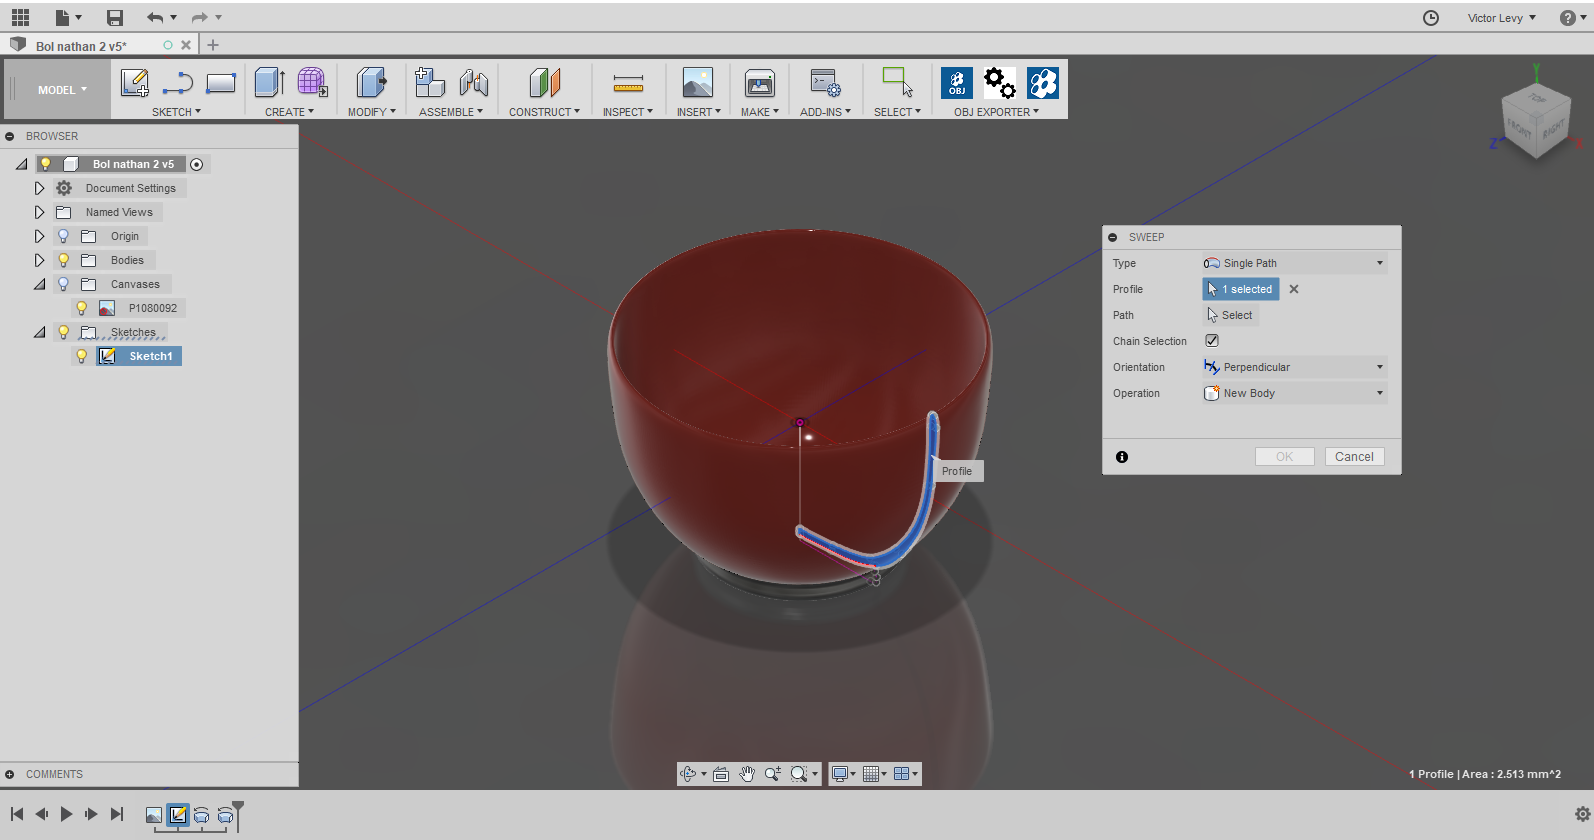
I made a sketch using the image as a base for designing the profile
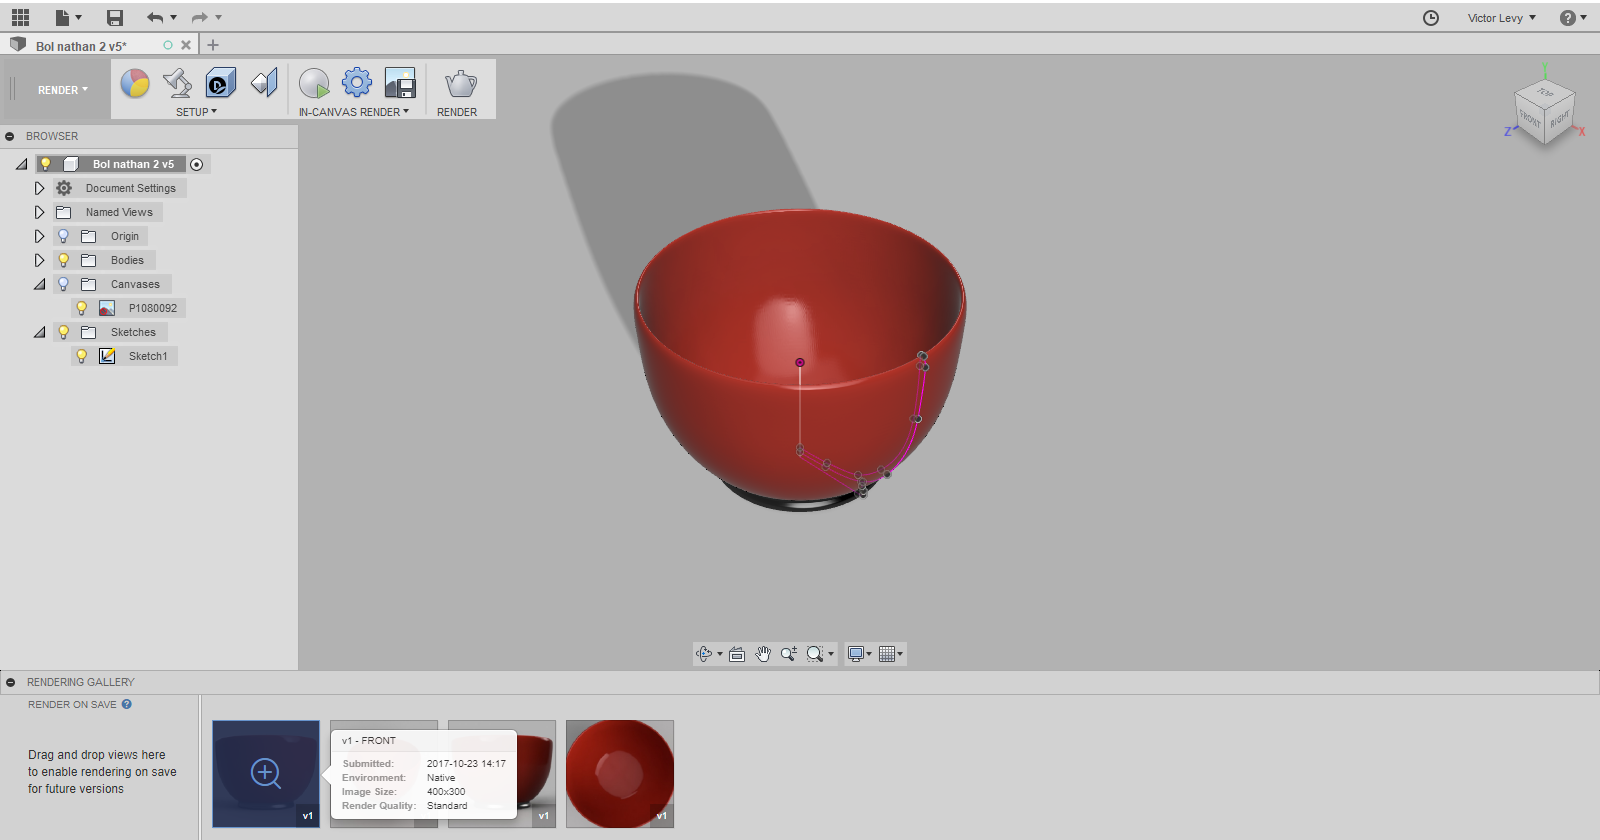
Used the revolve fuction
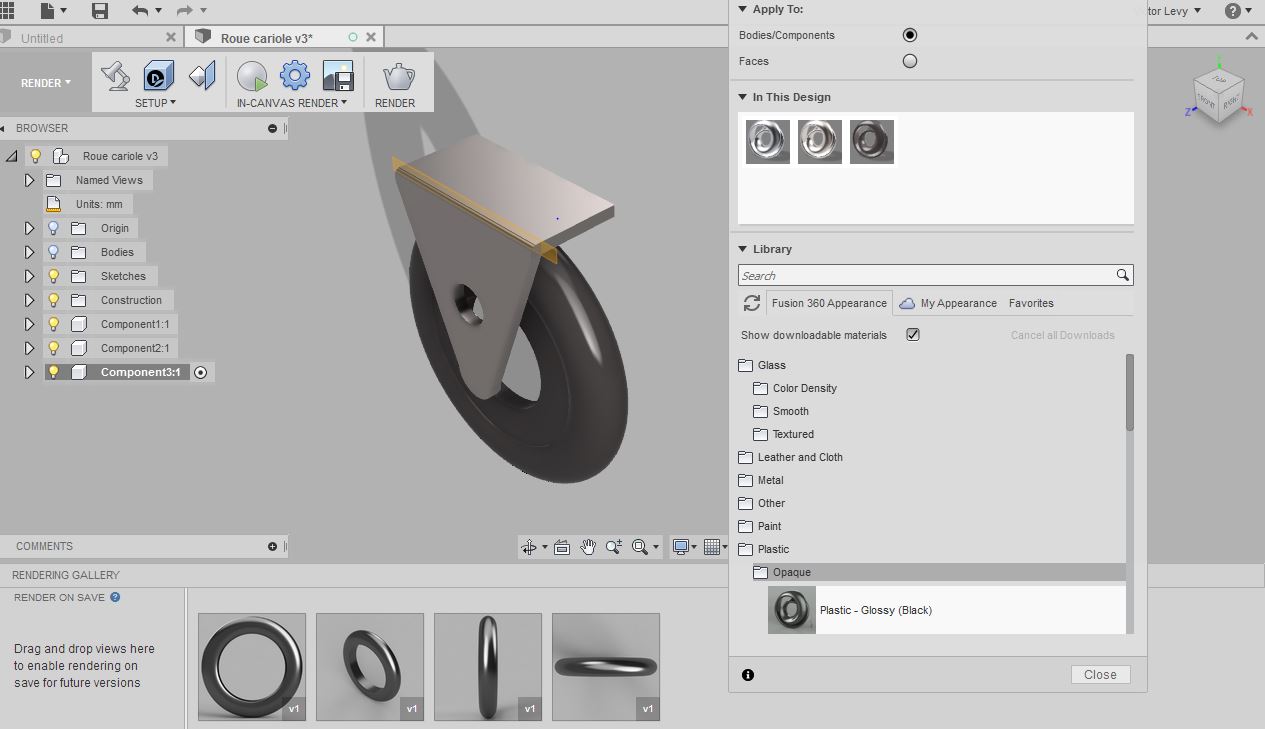
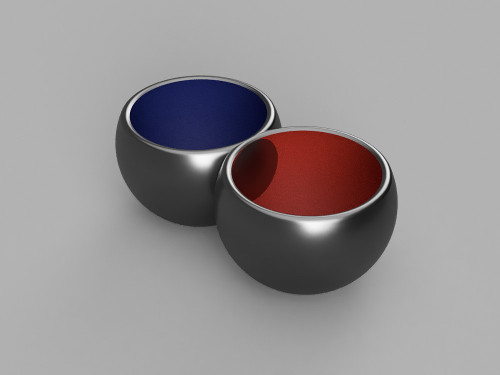
Went to the render module of Fusion and applied material and colour
After practicing Fusion 360
I have a better understanding of the basics of the program
Using different features like:
GIMP
I also tried Gimp to test an open source 2D image editing software.
The exercise was very simple: just to change the shape and the back ground of a SVG image.
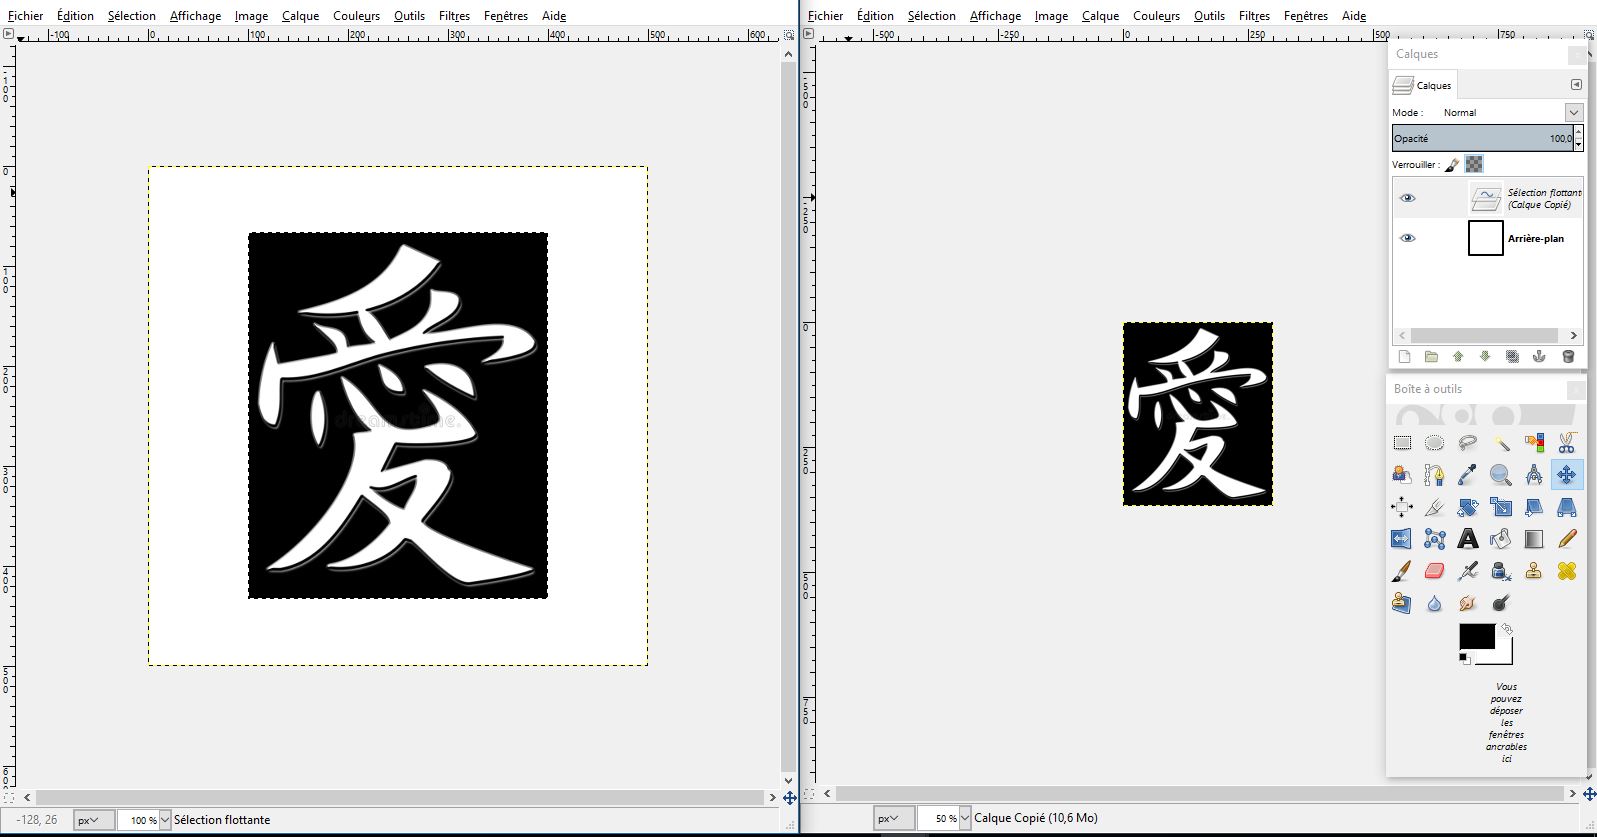
First I opened an image in SVG I used in the week 3.
Inverted it, changed the image size , made a new document, copy paste it.
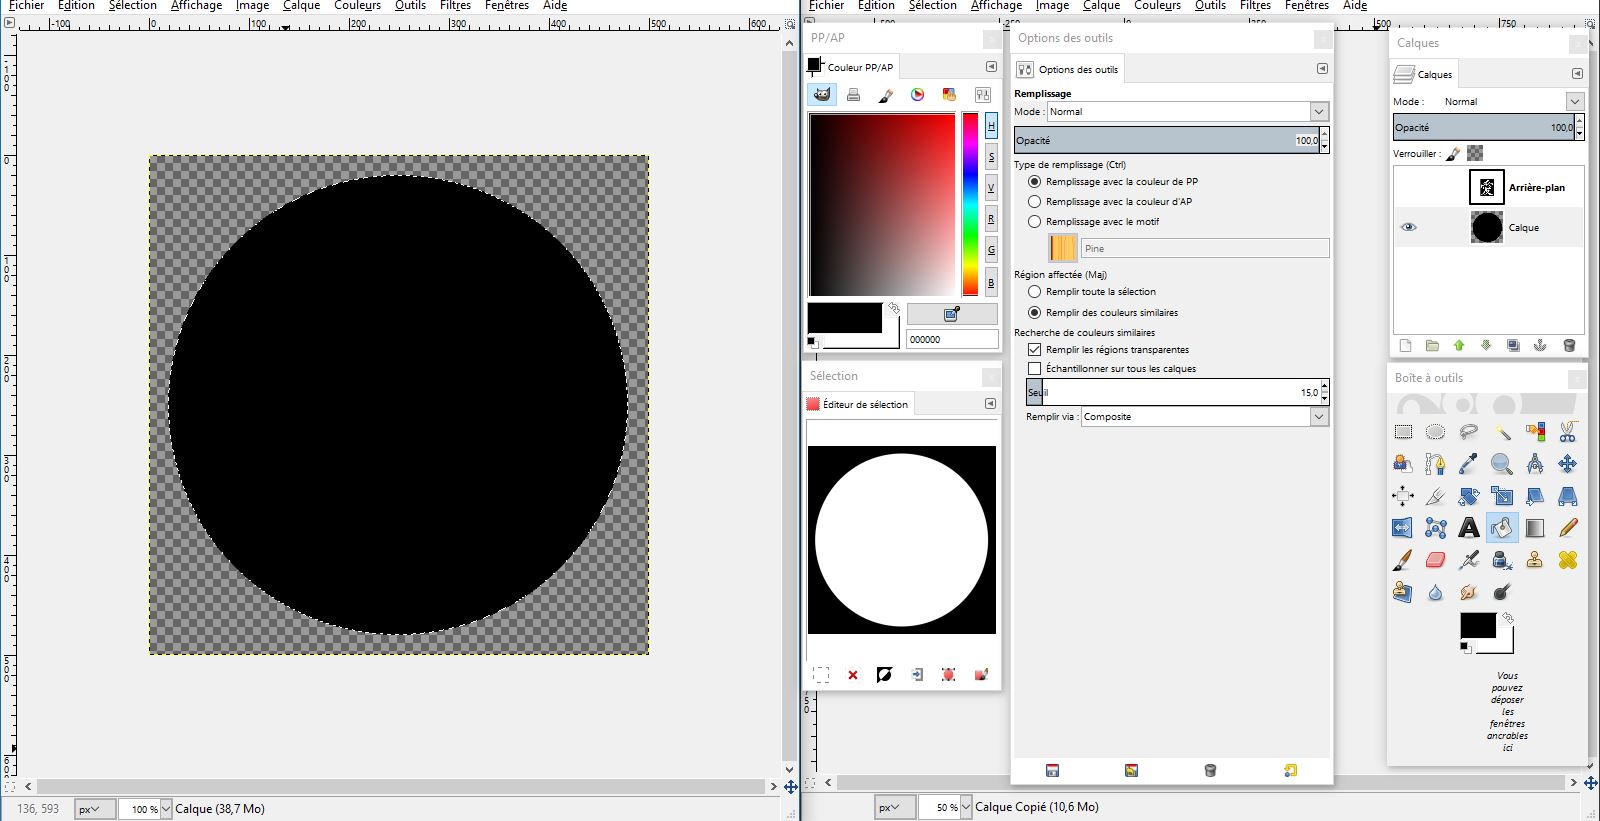
In the new document, I made a new layer, selected a circle and put colour of the foreground(black).
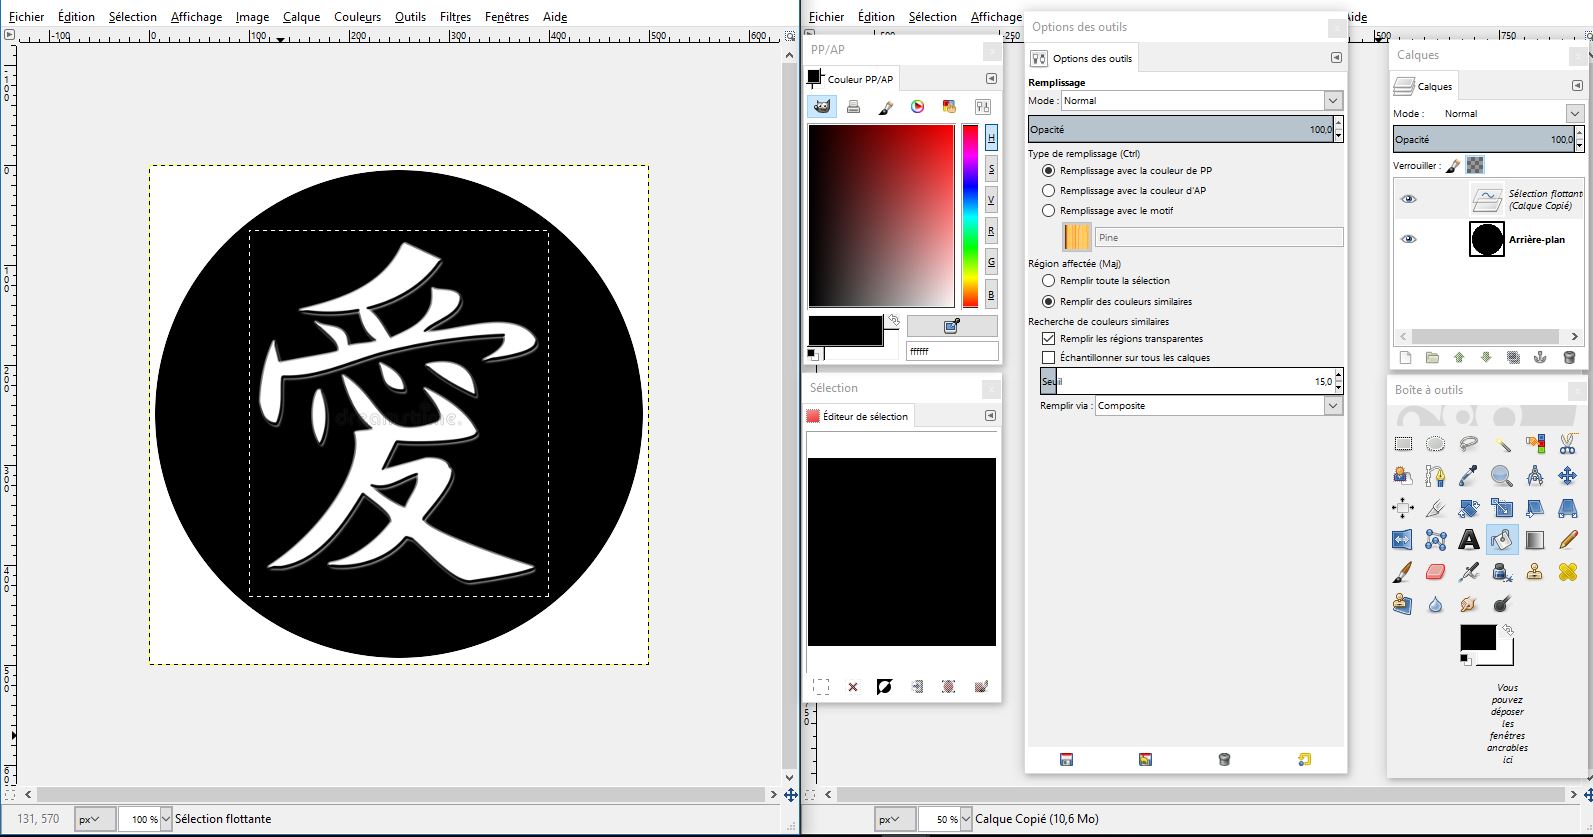
Then I changed position of the layer under the image.
There it was ...
Simple exercise, to understand the structure of the software.