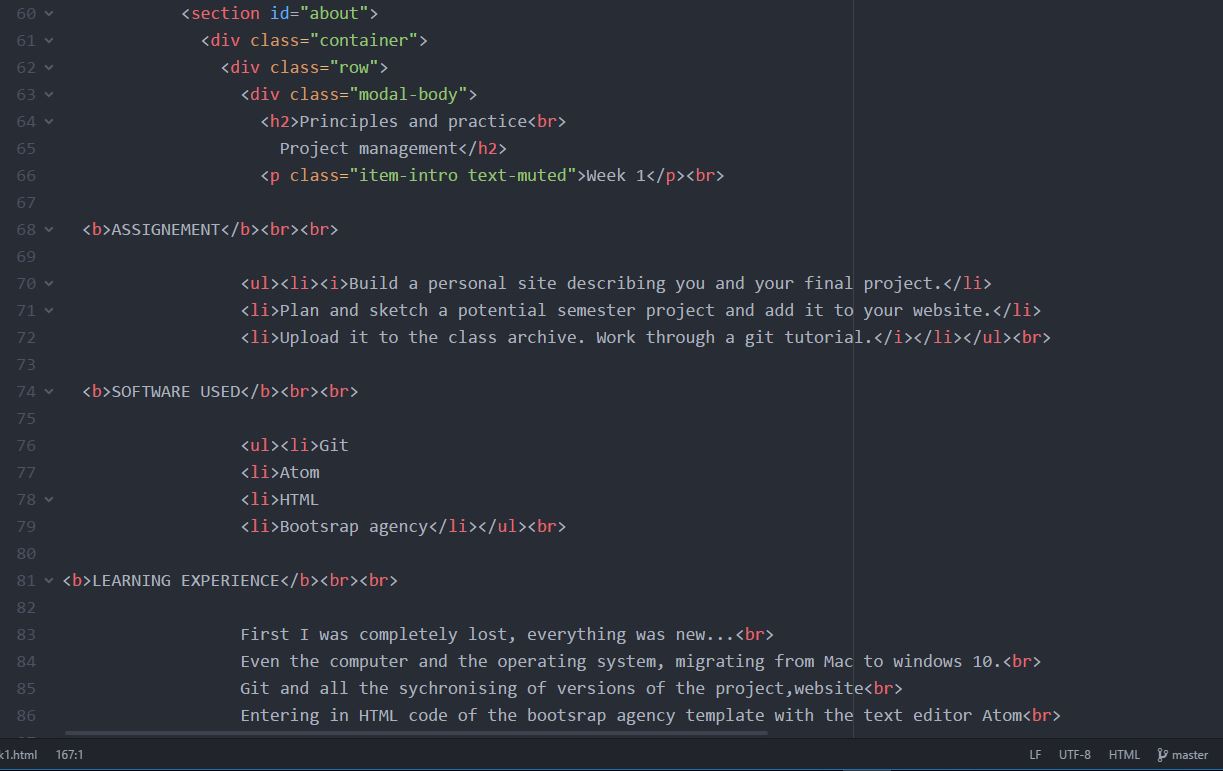
Principles and practice
Project management
Week 1 & 2
ASSIGNEMENT
- Build a personal site describing you and your final project.
- Plan and sketch a potential semester project and add it to your website.
- Upload it to the class archive. Work through a git tutorial.
SOFTWARE USED
- Git
- Atom
- HTML
- Bootsrap agency
LEARNING EXPERIENCE
First I was completely lost, everything was new...
When I started the fabacademy, my computer was only used for email, spreadsheets and text
A long way from there ...
It took me some time to understand GIT and how to use it.
I made several websites, blogs but always using WYSIWYG platforms like Blogger, Wordpress,Jimdo ...
Again, it took me time and some tutorials to be able to make what I wanted.
The process to learn evolved a lot from my first Fabacademy session in 2017.
I feel much more comfortable now to start a new "field" from scratch.
When I have to do an assignment (or something outside the fabacademy),
I first make something very simple to understand the base of a software or a machine and to get confidence.
Then I go deeper and deeper using tutorials, asking people who have more experience or skils.
It is a very different way of learning, more "global", that never ends
It gives me different tools or way of thinking to solve a particular problem or question
I feel much more ready to dive into an unknown field with less fear of failure
WEBSITES
Template: Bootstrap agency
Text editor: Atom
Tutorials: W3schools
GIT
Git is a version control tool for tracking changes in computer files
and coordinating work on those files among multiple people.
GitLab is a web-based Git repository management
To begin the assignment, I generated a SSH Key
It is necessary to do so to secure the communication between Gitlab and a computer
I opened Git bash on my computer and type the command :
ssh-keygen -t rsa -b 4096 -C "my email"
It generated a public and a private file id_rsa and id_rsa pub with the SSH key information in it
I opened the file id_rsa pub wich contains the public key
copied and paste it in the gitlab website in the profile setting
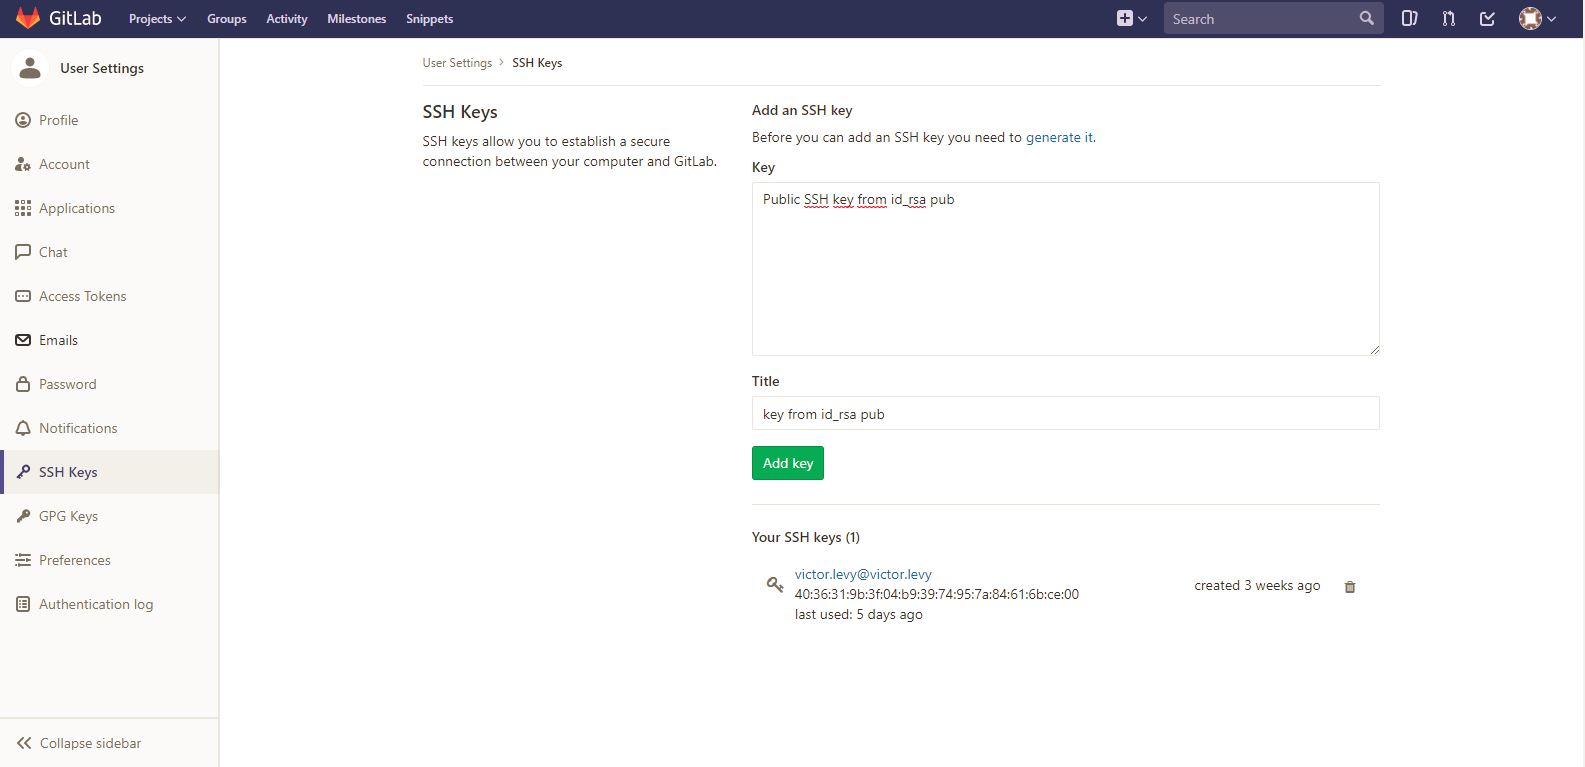
It generated the SSH key on gitlab to communicate safely with my computer.
I configured also Git on the computer with git config to configure user name and email adress
This configuration gives a signature to what is done from my computer on Gitlab
$ git config --global user.name "my name"
$ git config --global user.email my email
TROUBLESHOOTING
I had some problems when I tried to make the first test with my repository
The git clone command worked fine
but when I wanted to make a new file on the repo or change a file on my computer
Gitlab was generating a new fork with the change to be merged
After several trials and errors
I decided to work with Denis and my labmate Nicolas
and found out that I signed in with a wrong userprofile.
I checked the emails send by academany and saw that the email used was my gmail account.
I reset the password, signed in and I passed from "Master" to "developer".
and tested making a new file,
It finally worked.
I did a clone of the repository, using the git clone command
$ git clone git@gitlab.fabcloud.org:academany/fabacademy/2018/labs/fablabulb/students/victor-levy.git
Then git pull command to receive the changes made on the repository
The 3 commands to add my new files where: git add -A, git commit -m"commit name" and git push.
Local repository
git add -A is necessary to add all the files to the index
git commit -m "something" is a way to record changes to the repository + a message
Remote repository
Git push is to send update remote reference along with the assocated objects
Here is a nice website for basic commands on Git
DESIGNING A WEBSITE
To design my webpage, I used a Boostrap wich is a tool to develop webpages in HTML CSS and Javascript
I used a predefined template Agency that I customised to make my own site.

I downloaded Atom, a text editor to change and manage HTML code of the page.
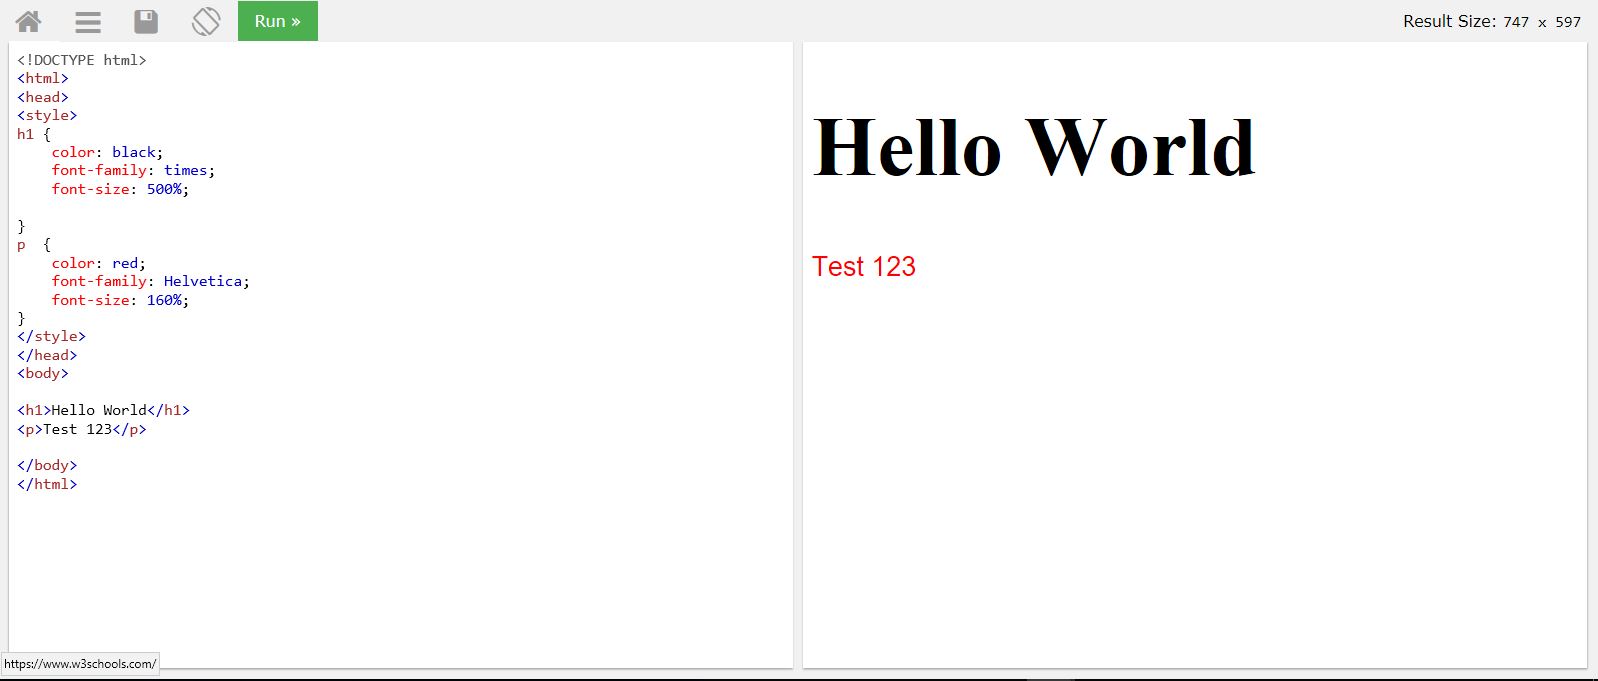
At first it was very difficult for me to understand what part of the code was doing what
I found a very good page to learn HTML : W3 school, where you have tutorials and also possibility of testing the code
I also change the way to structure the website, and made one HTML page per assignment.
CSS
I wanted to change the colour of the typography of the links (a href) of the page
To do so, I first went to the W3school page to make some exercise on CSS
The CSS (Cascading Style Sheets) is a computer language that describes the way HTML is presented
The min.css is the compressed file that is used with all the information in a shorter format to accelerate the access to information
When I understood the structure of it, I first tried to change the colour in the agency.CSS file
It didn't work...
In an HTML page, the general layout is determined by this in the code
link href="css/agency.min.css" rel="stylesheet"
I searched for the difference between css and min.css and found min.css vs css
So I went to change the colour in the Min.CSS directly
To find the reference of the correct blue (#0000ff), I used Color-hex
It worked perfectly in all my website pages.
When I work on my site, I regularly have elements to change, integrate, actions, settings to do ..
For that, I go to the W3schools website.
The work procedure I do is:
Imagine that I want to integrate a video on the site.
I will go to the W3schools website and look at the HTML video tab.
This page will allow me to understand the basics of video integration and HTML code.
For the example of the fabacademy; we have to make our sites as light as possible,
It is therefore necessary to integrate the video that is hosted on another site:
Youtube for example.
So I will go see the youtube HTML tab and do the exercise
that allows me to work on the code of the function that I seek to integrate on my site.
Here I want to embed a video, its size, if I want the video to loop, be controllable.
In short, I will understand with these exercises what is necessary for what I have to accomplish.
What helped me a lot is this way of comparing the code and the graphical result
with the possibility of changing the code and seeing the result in real time.
The procedure described here will be the same for different functions that I use to realize the site:
integration of a hypertext link,
place and sizes of images,
list, integration of a site in the page,
color of text,embeded video, ...
HOME