project management
● My task was to learn the working of above mentioned softwares in order to build this page. Not being from a familiar background, it's definitely challenging to get going with coding and other serious stuff. Patience is the key here, in terms of failing and learning, because it does get tough after sometime.
● My instructor explained me to document each and every step of the process of linking my local repository to online gitlab archive so that when I use a different system to work on, it makes it quite easier for me to follow the below mentioned steps.
● Honestly I enjoyed creating my own webpage using each every tool, the page allows me to express my journey through the Fab Academy, it also is an extension of myself, in terms of the challenges faced and how to overcome the same, also use the page for future reference and personal professional growth.
getting started
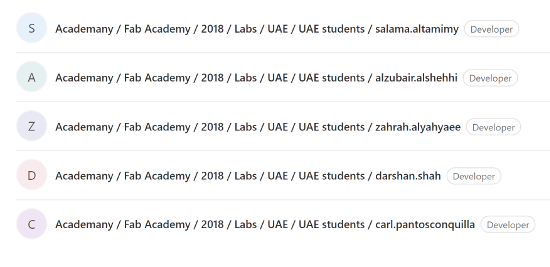
This is what it looks like once you set up yourself on git lab and select the respective lab for this page. Also shows if you're a developer and you can utilize the permissions given to you accordingly.
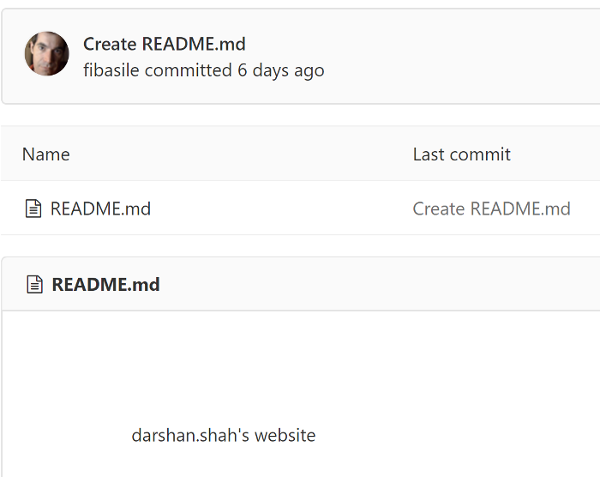
The image is what my personal archive for the webpage looked like on the gitlab page when I first saw it. All the changes added and removed using git bash are presented here and are globally visible.The only changes so far were that Fiore had added a Read.me.
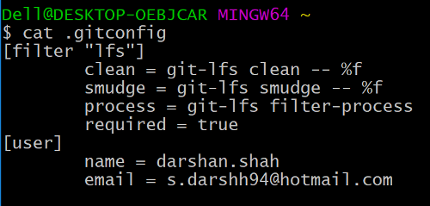
The above image shows how I began to use git bash to configure so that gitlab knows who I am, allowing me to connect with the online archive on git lab for future.
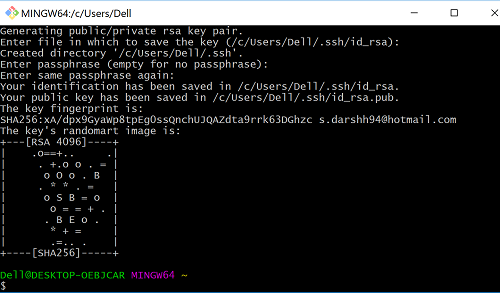
This is what git bash looks like once I created my ssh key and the email associated with the same. A very important step in order to set up securely.
We updated the readme because Wendy suggested that as the first step.
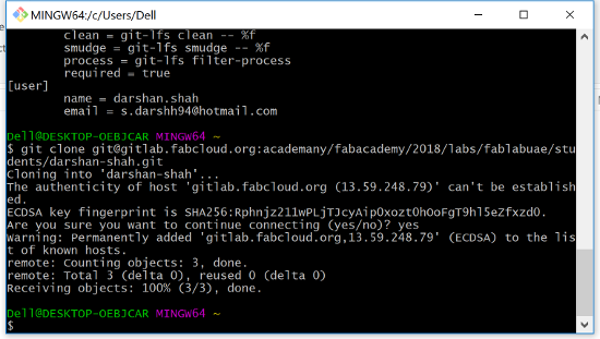
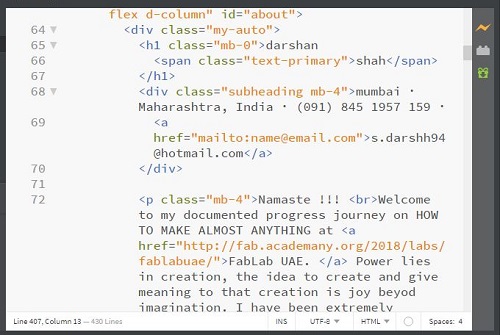
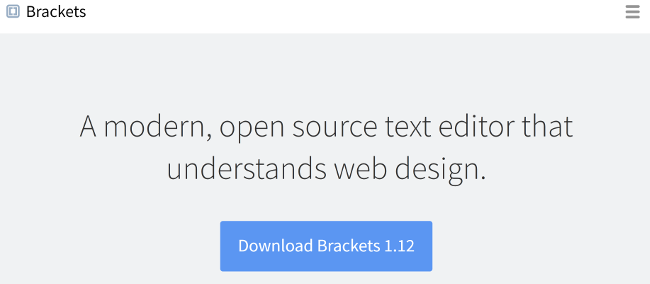
I used git clone and the address to my repo to download the repository and make a local copy on my laptop. I opened the read.me using BRACKETS.IO and modified the text inside.
After saving it, I executed the following commands:
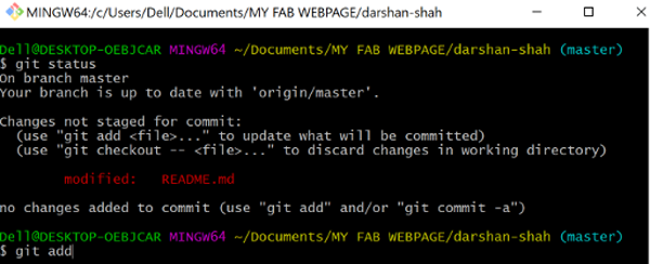
git status this checks the state of the local repository. The read.me showed in red text, meaning that it hasn't been added.

git add -A this adds and/or removes files that have been changed in the local folder to the 'staging area'.
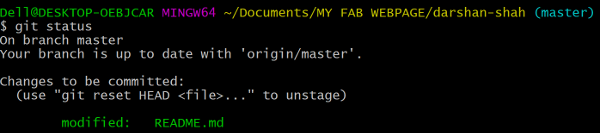
git status to ensure that the previous command worked, and it did, because the text had become greeeeeeeen. Success so far! You can type this command at any time during the process to check.

*git commit -m "useful and informative commit message here"* this helps me in the future to remember what changes I made each time a committed to the gitlab repo. and the final command....

git push which actually sends it from the 'staging area' to the gitlab repo. There are other commands, but these are the ones most frequently used by me, apart from:
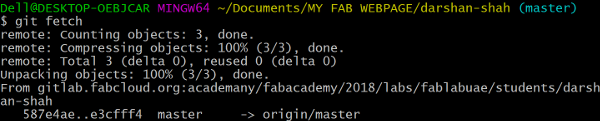
git fetch this should always be done as the first step, especially if you are collaborating or using another device to work on your repo.
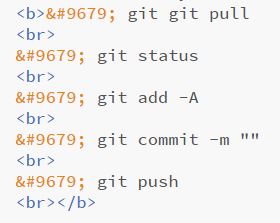
Now that I have made my website, this is what I do in terminal every time I update:
● git git pull
● git status
● git add -A
● git commit -m ""
● git push
ABout Website building
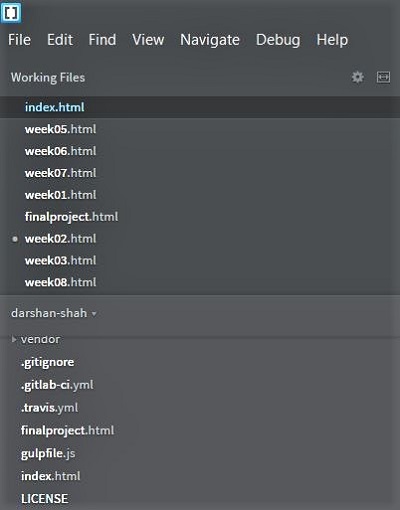
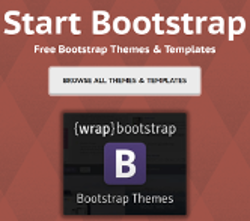
● The template used from bootstrap.com was a typical resume style webpage but I really liked the overall color combination and the feel of it so i had to modified and edited in terms suiting my style of website and the way I wanted to express my progress. The main modification added by me was to edit the navigation tabs according to my description for the week along with steps, links, pictures and add learning outcome at the end of each weeks page. Also create respective folders for each week images in the local laptop for better usability and to have a tidy structure.
The above image is the actual webpage, from bootstrap and then i edit it accordingly.
The below image shows the example of how I work on brackets for live preview of my webpage, which is a very useful technique to add and edit content as you progress.
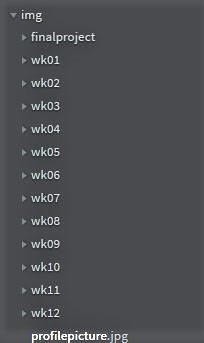
The above image shows how I created the images folder structure to have a tidy outlook and for better understanding of every weeks uploads. This is how it shows itself in brackets app.
● Styling HTML with CSS CSS stands for Cascading Style Sheets.
CSS describes how HTML elements are to be displayed on screen, paper, or in other media.
CSS saves a lot of work. It can control the layout of multiple web pages all at once.
CSS can be added to HTML elements in 3 ways:
Inline - by using the style attribute in HTML elements
Internal - by using a style element in the head section
External - by using an external CSS file
The most common way to add CSS, is to keep the styles in separate CSS files. However, here we will use inline and internal styling, because this is easier to demonstrate, and easier for you to try it yourself.

● The above mentioned html language code is the one used by me in order to edit the tabs accordingly for my webpage tabs, to navigate through the page. This is very helpful and easy to understand the interface of the page. I input the code in brackets to get the respective results.

● The html code for adding a link to any part of your webpage is given in the above page in order to make a user visit the respective page through the link mentioned. A very handy and useful tool to mention and acknowledge the links that are important.

● The code to add an image on your webpage is pretty simple in terms of getting the correct image image source from the local system on to your web page. One of the most commonly used code for the web page and again highly productive and easy to remember.
● In order to achieve break between two text lines, statements or images, links the break command is used as shown in the above picture.
Links / resources
INFORMATION SOURCE FOR essential softwares.
HTML TUTORIAL
The most interesting part of the week a]was getting to learn HTML ( a whole new world of possibilities). The tutorial helped me a major deal to using all the important and codes and tools.A must do tutorial for beginners in order to learn the tips and tricks of html coding to work smartly and efficiently.
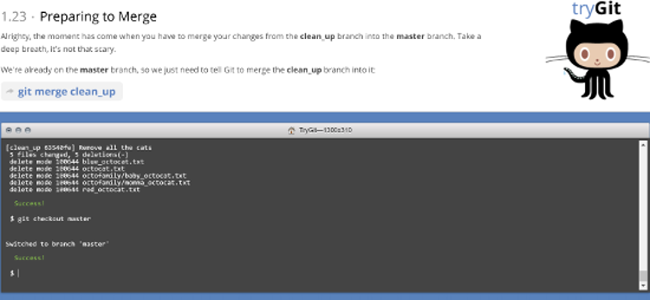
TRY GIT TUTORIAL
Again, the most handy tool which actually lets me push my page and local archive of content form the local machine to the online repository. The most essential part of this week was to understand the application of git n various aspects. GIT Tutorial helped me a great deal to understand the tools and codes for git bash. I'm sure this is going to make a lot of difference.
Download the git software below.
GIT DOWNLOAD
STARTBOOTSTRAP.COM
BRACKETS.IO
my personal progress
● Also created the ssh key on git bash for future reference and security purpose, also downloaded a template from start bootstrap and learn how to edit and align the content.
● It has been a great learning curve to get used to the above mentioned softwares and tools but having patience and the will to learn will help me express myself here.
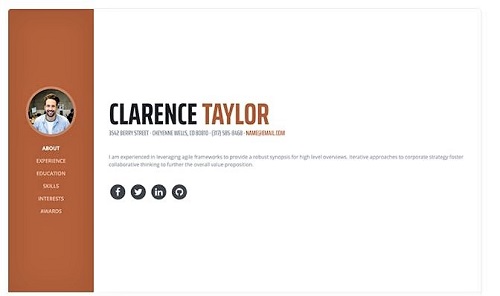
● ABOUT ME
● Namaste !!!Welcome to my documented progress journey on HOW TO MAKE ALMOST ANYTHING at FabLab UAE. For me power lies in creation, the idea to create and give meaning to that creation is joy beyond imagination. I have been extremely passionate to explore the unknown and limitless realms of creation which brings me here. I'm a Plastic Engineer and professionally I have been active in the digital manufacturing industry in terms of product sales, providing services and executing training sessions for diversified industries.
My LOVE for sharing experiences, challenges and stories resulted in me creating awareness, conducting lectures and workshops for the most promising technology of the future to the present generation in various schools, colleges and technical universities. I look forward to make the most of my time here, also embrace this opportunity with an open mind and a wide smile.
learning outcomes
● Honestly speaking this has been an intense week for me, I learned plenty of new things in order to get this page up and running. it's been a challenging week and I feel pretty confident now.
● I learned how to set-up on gitlab, github..also how to use git bash, brackets in terms of coding and editing etc ( it was alien stuff before this week)
● One of the most important aspects of this program is to document all the work i do during this period, so it's definitely going to help throughout my career for reference and knowledge purposes.