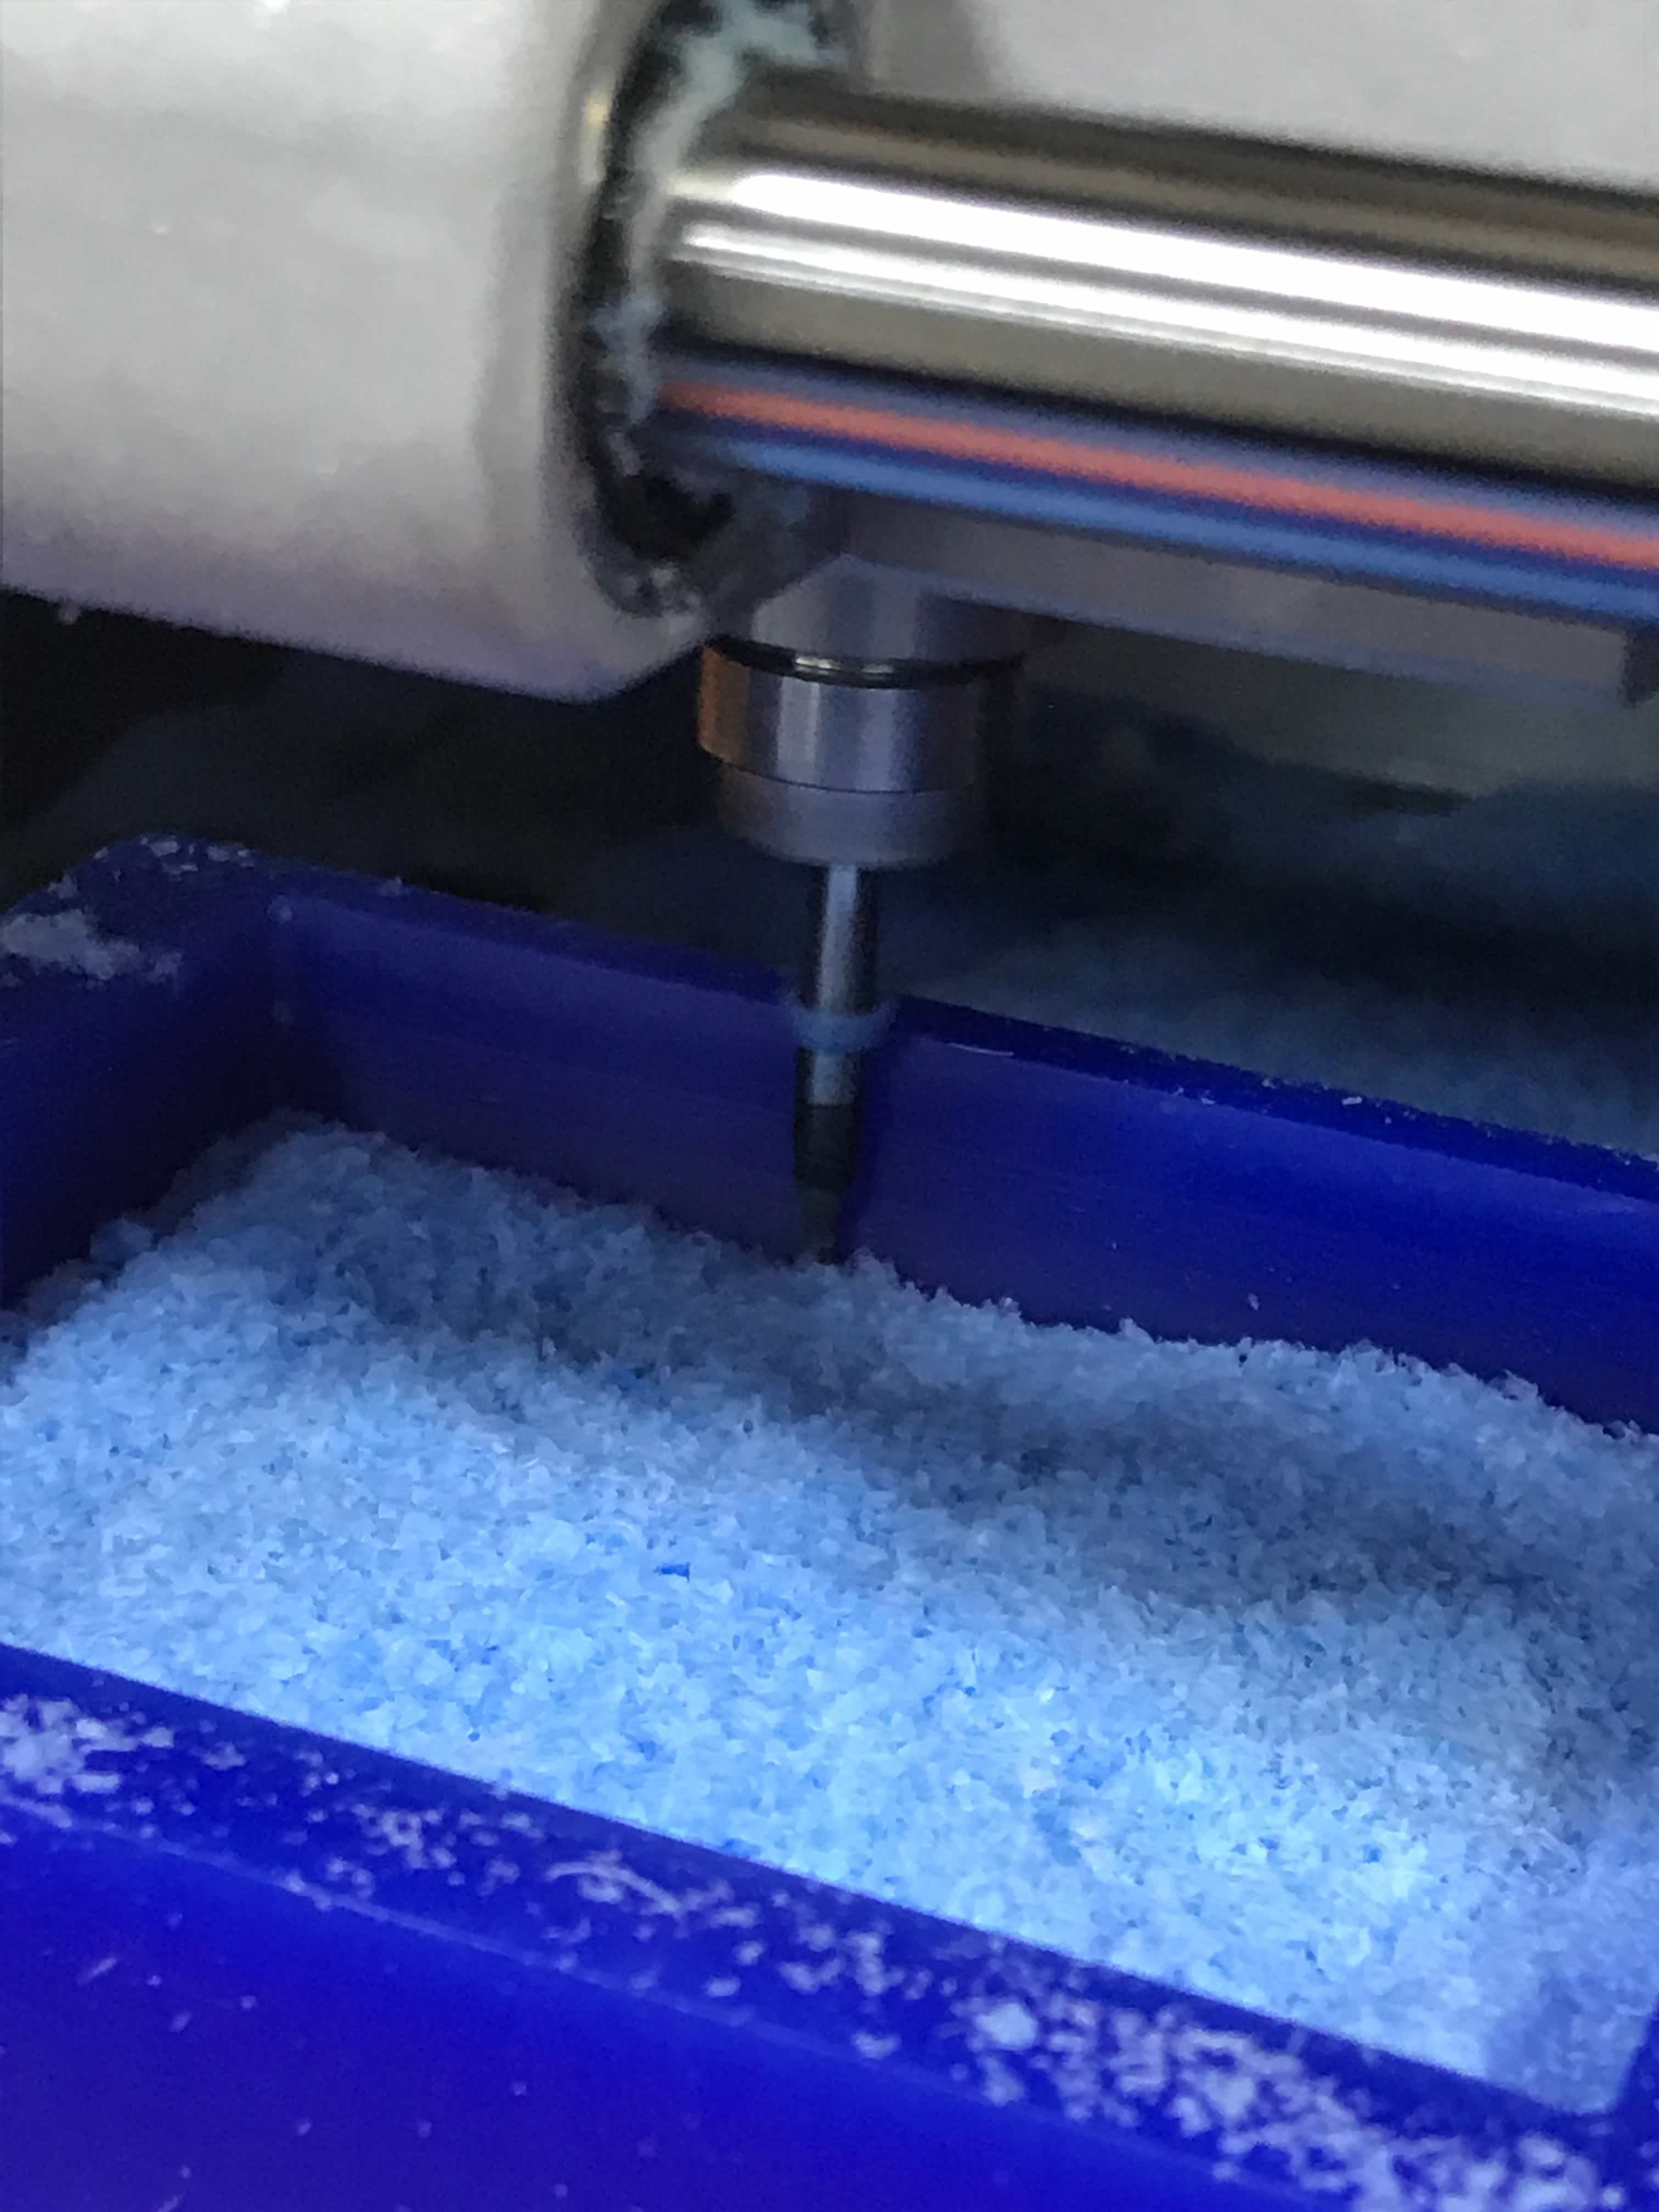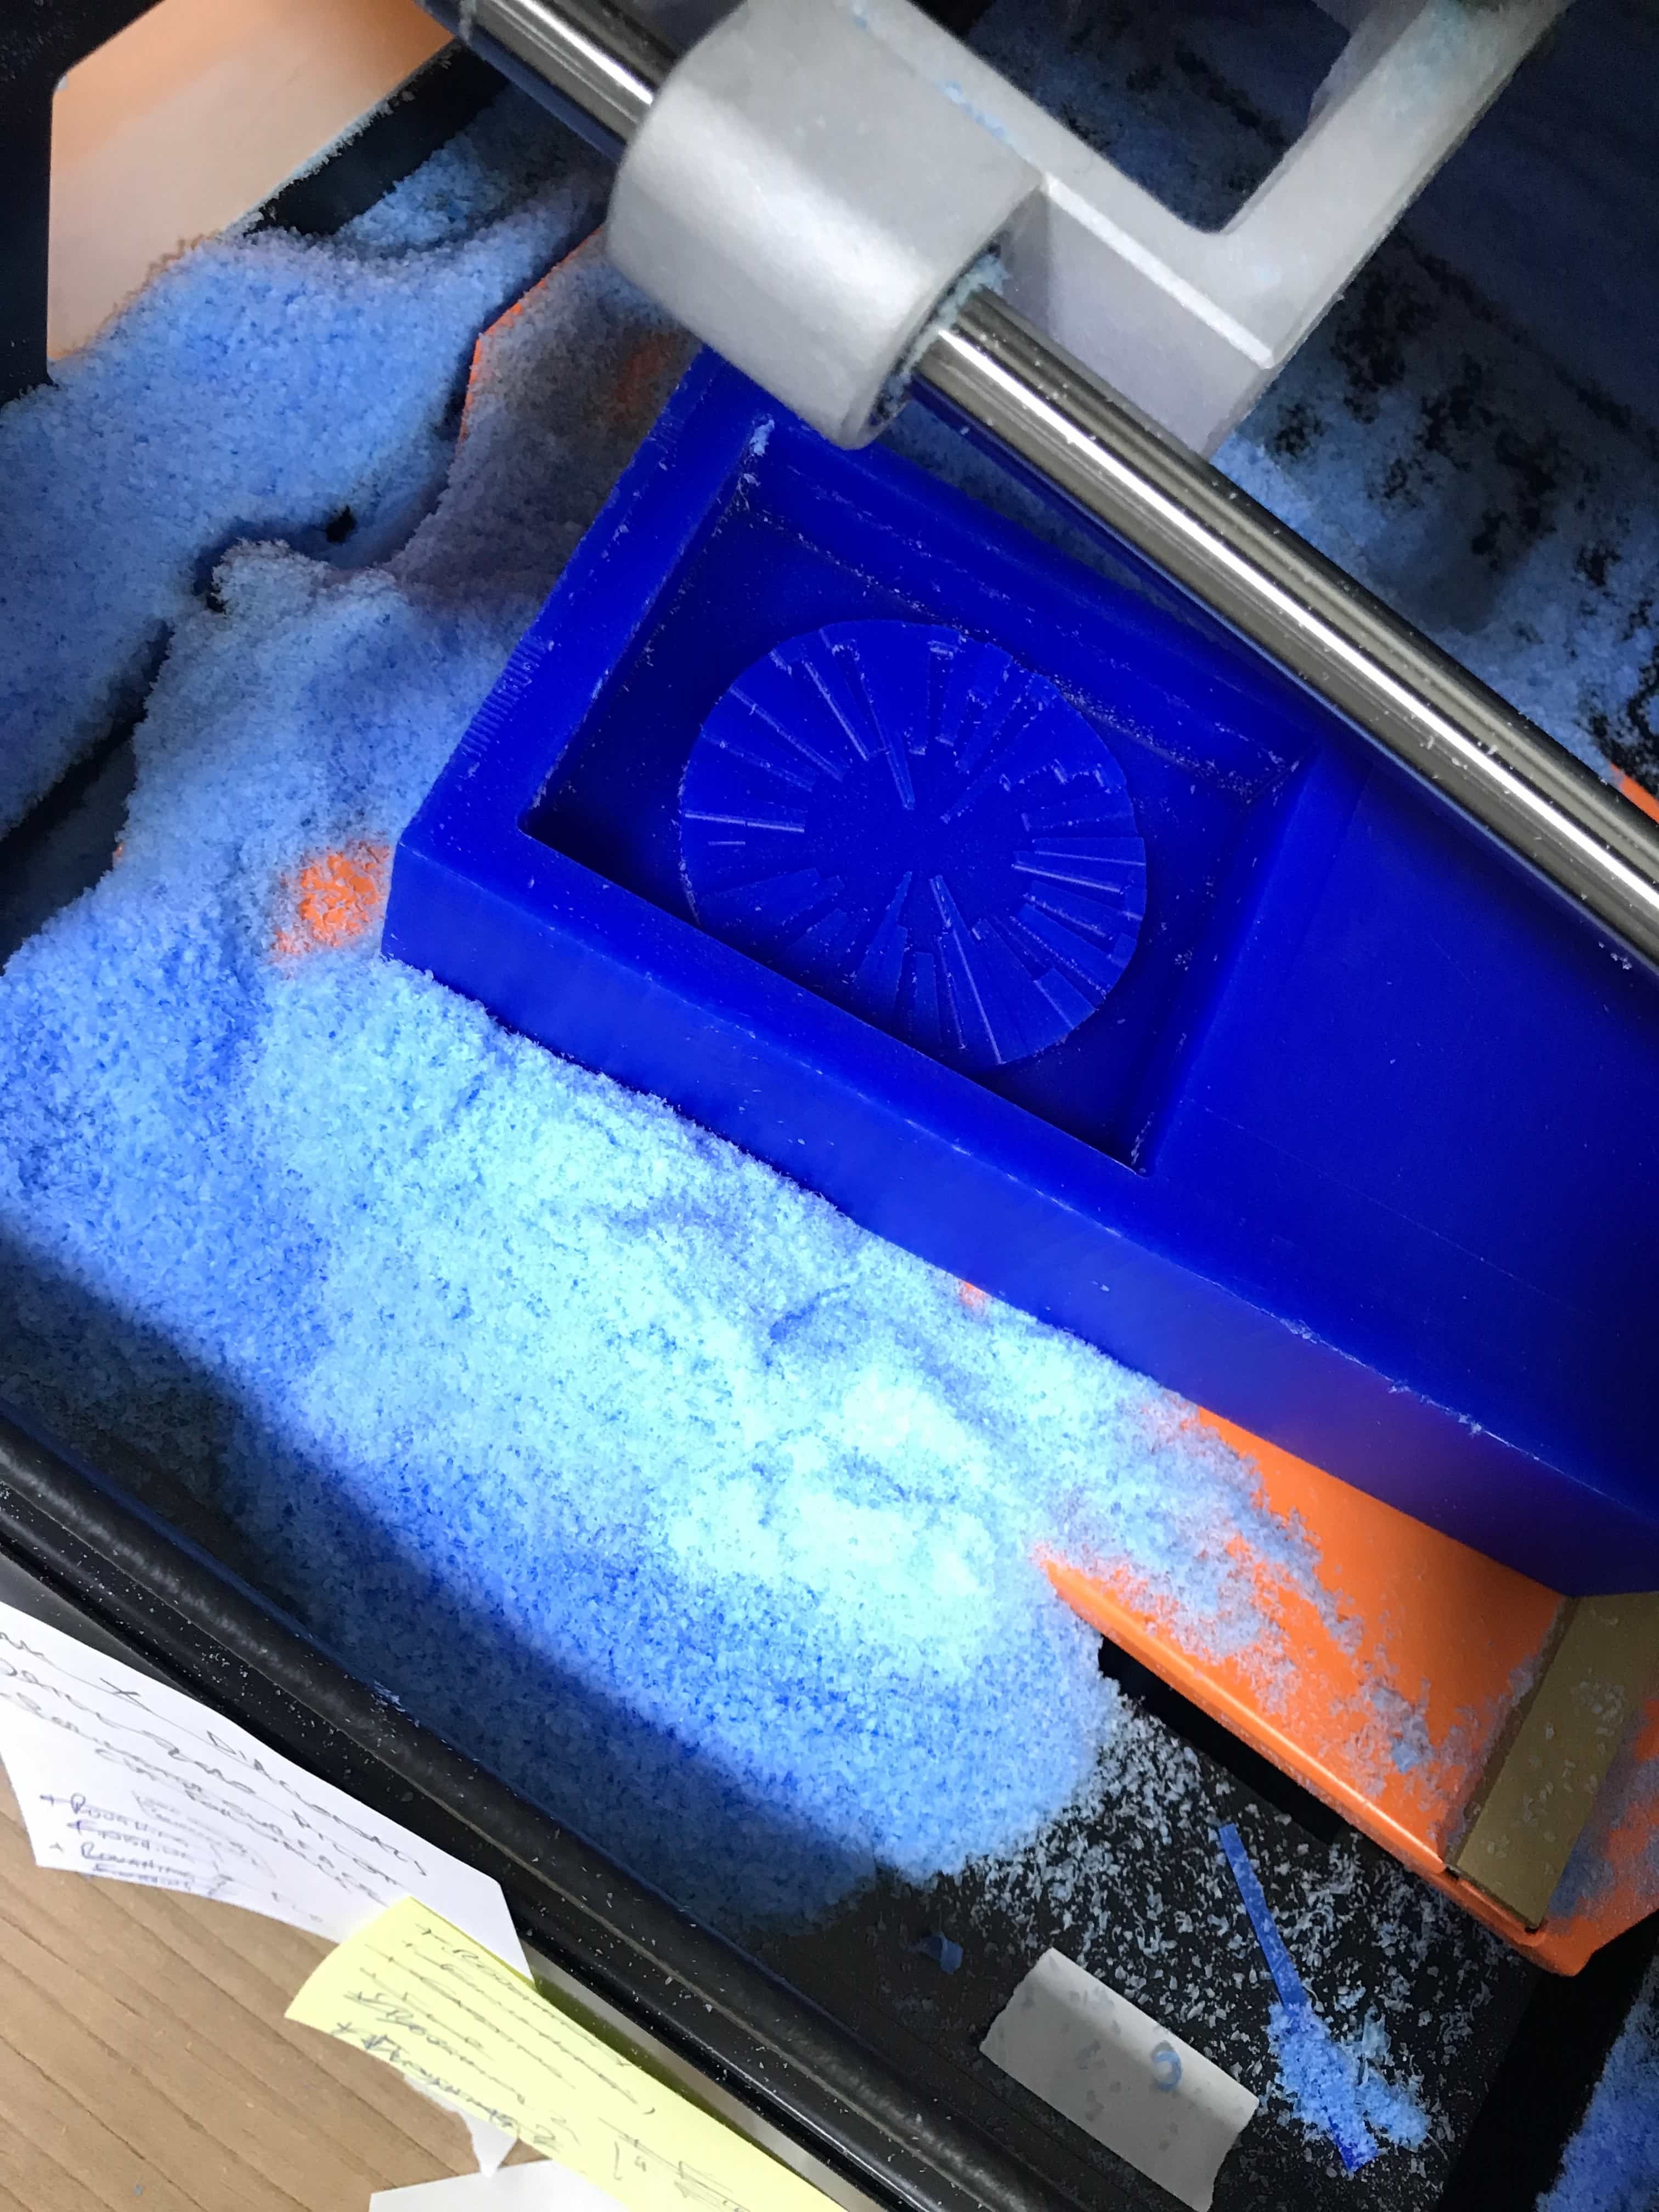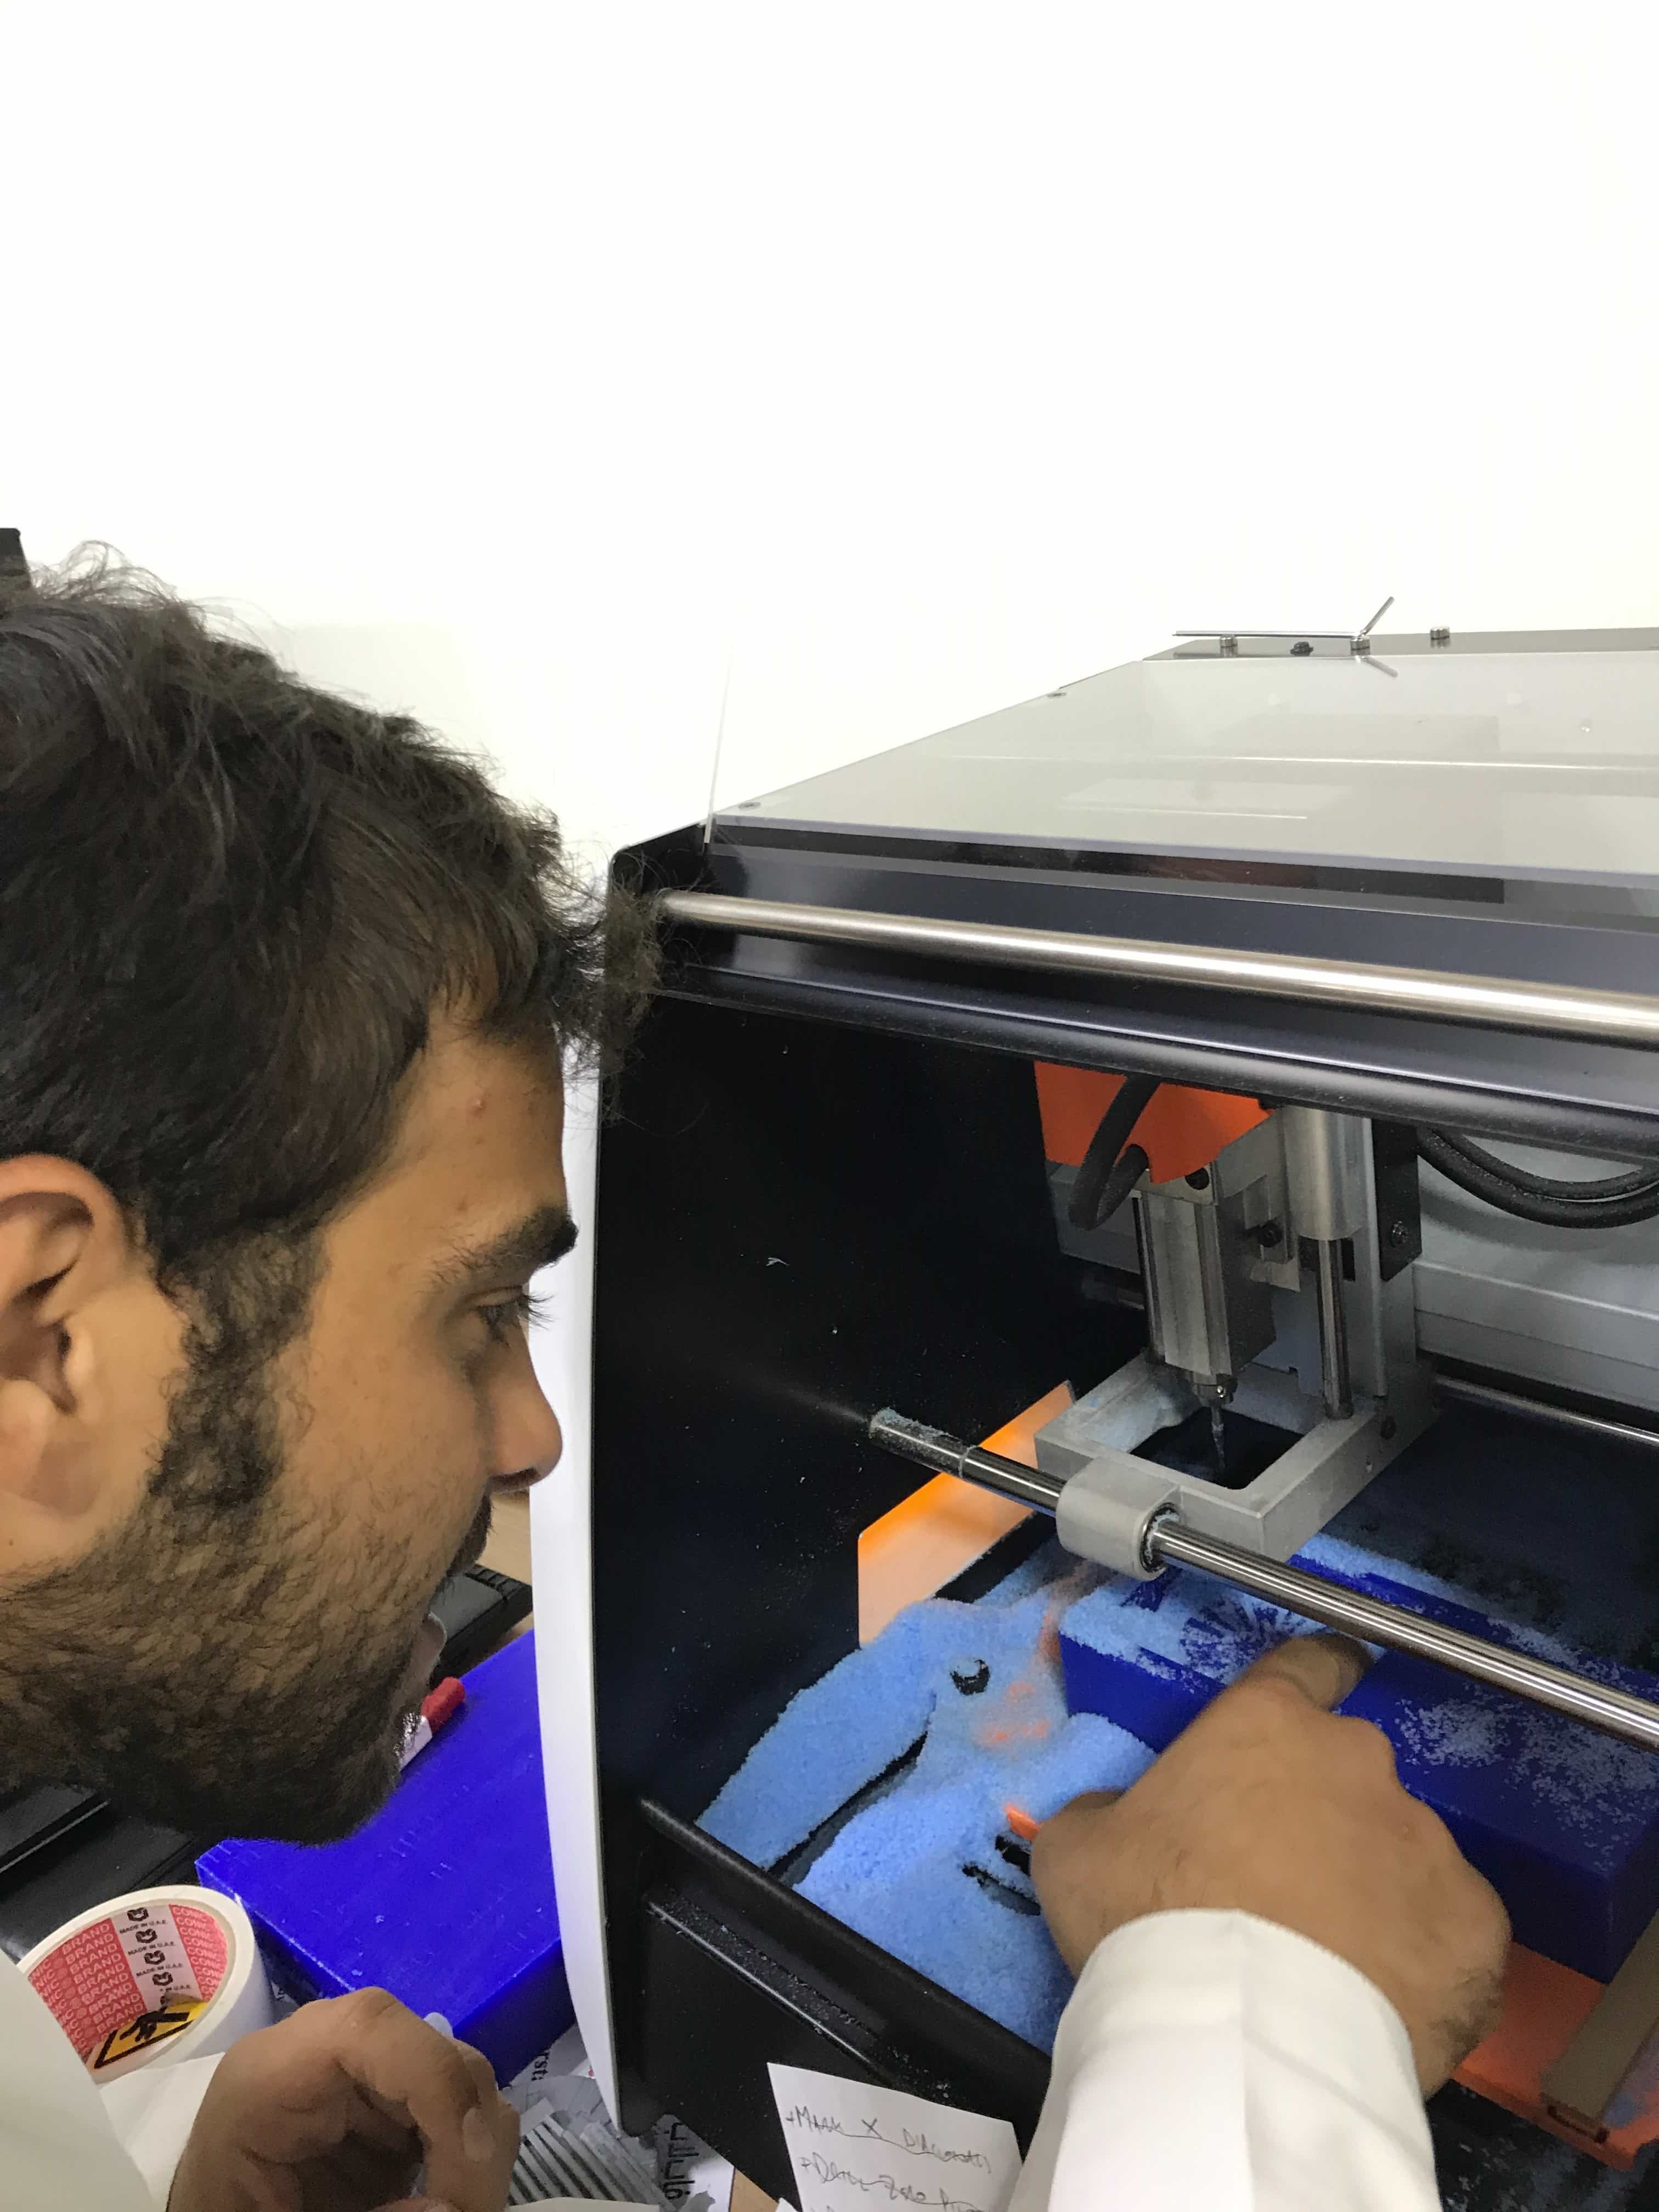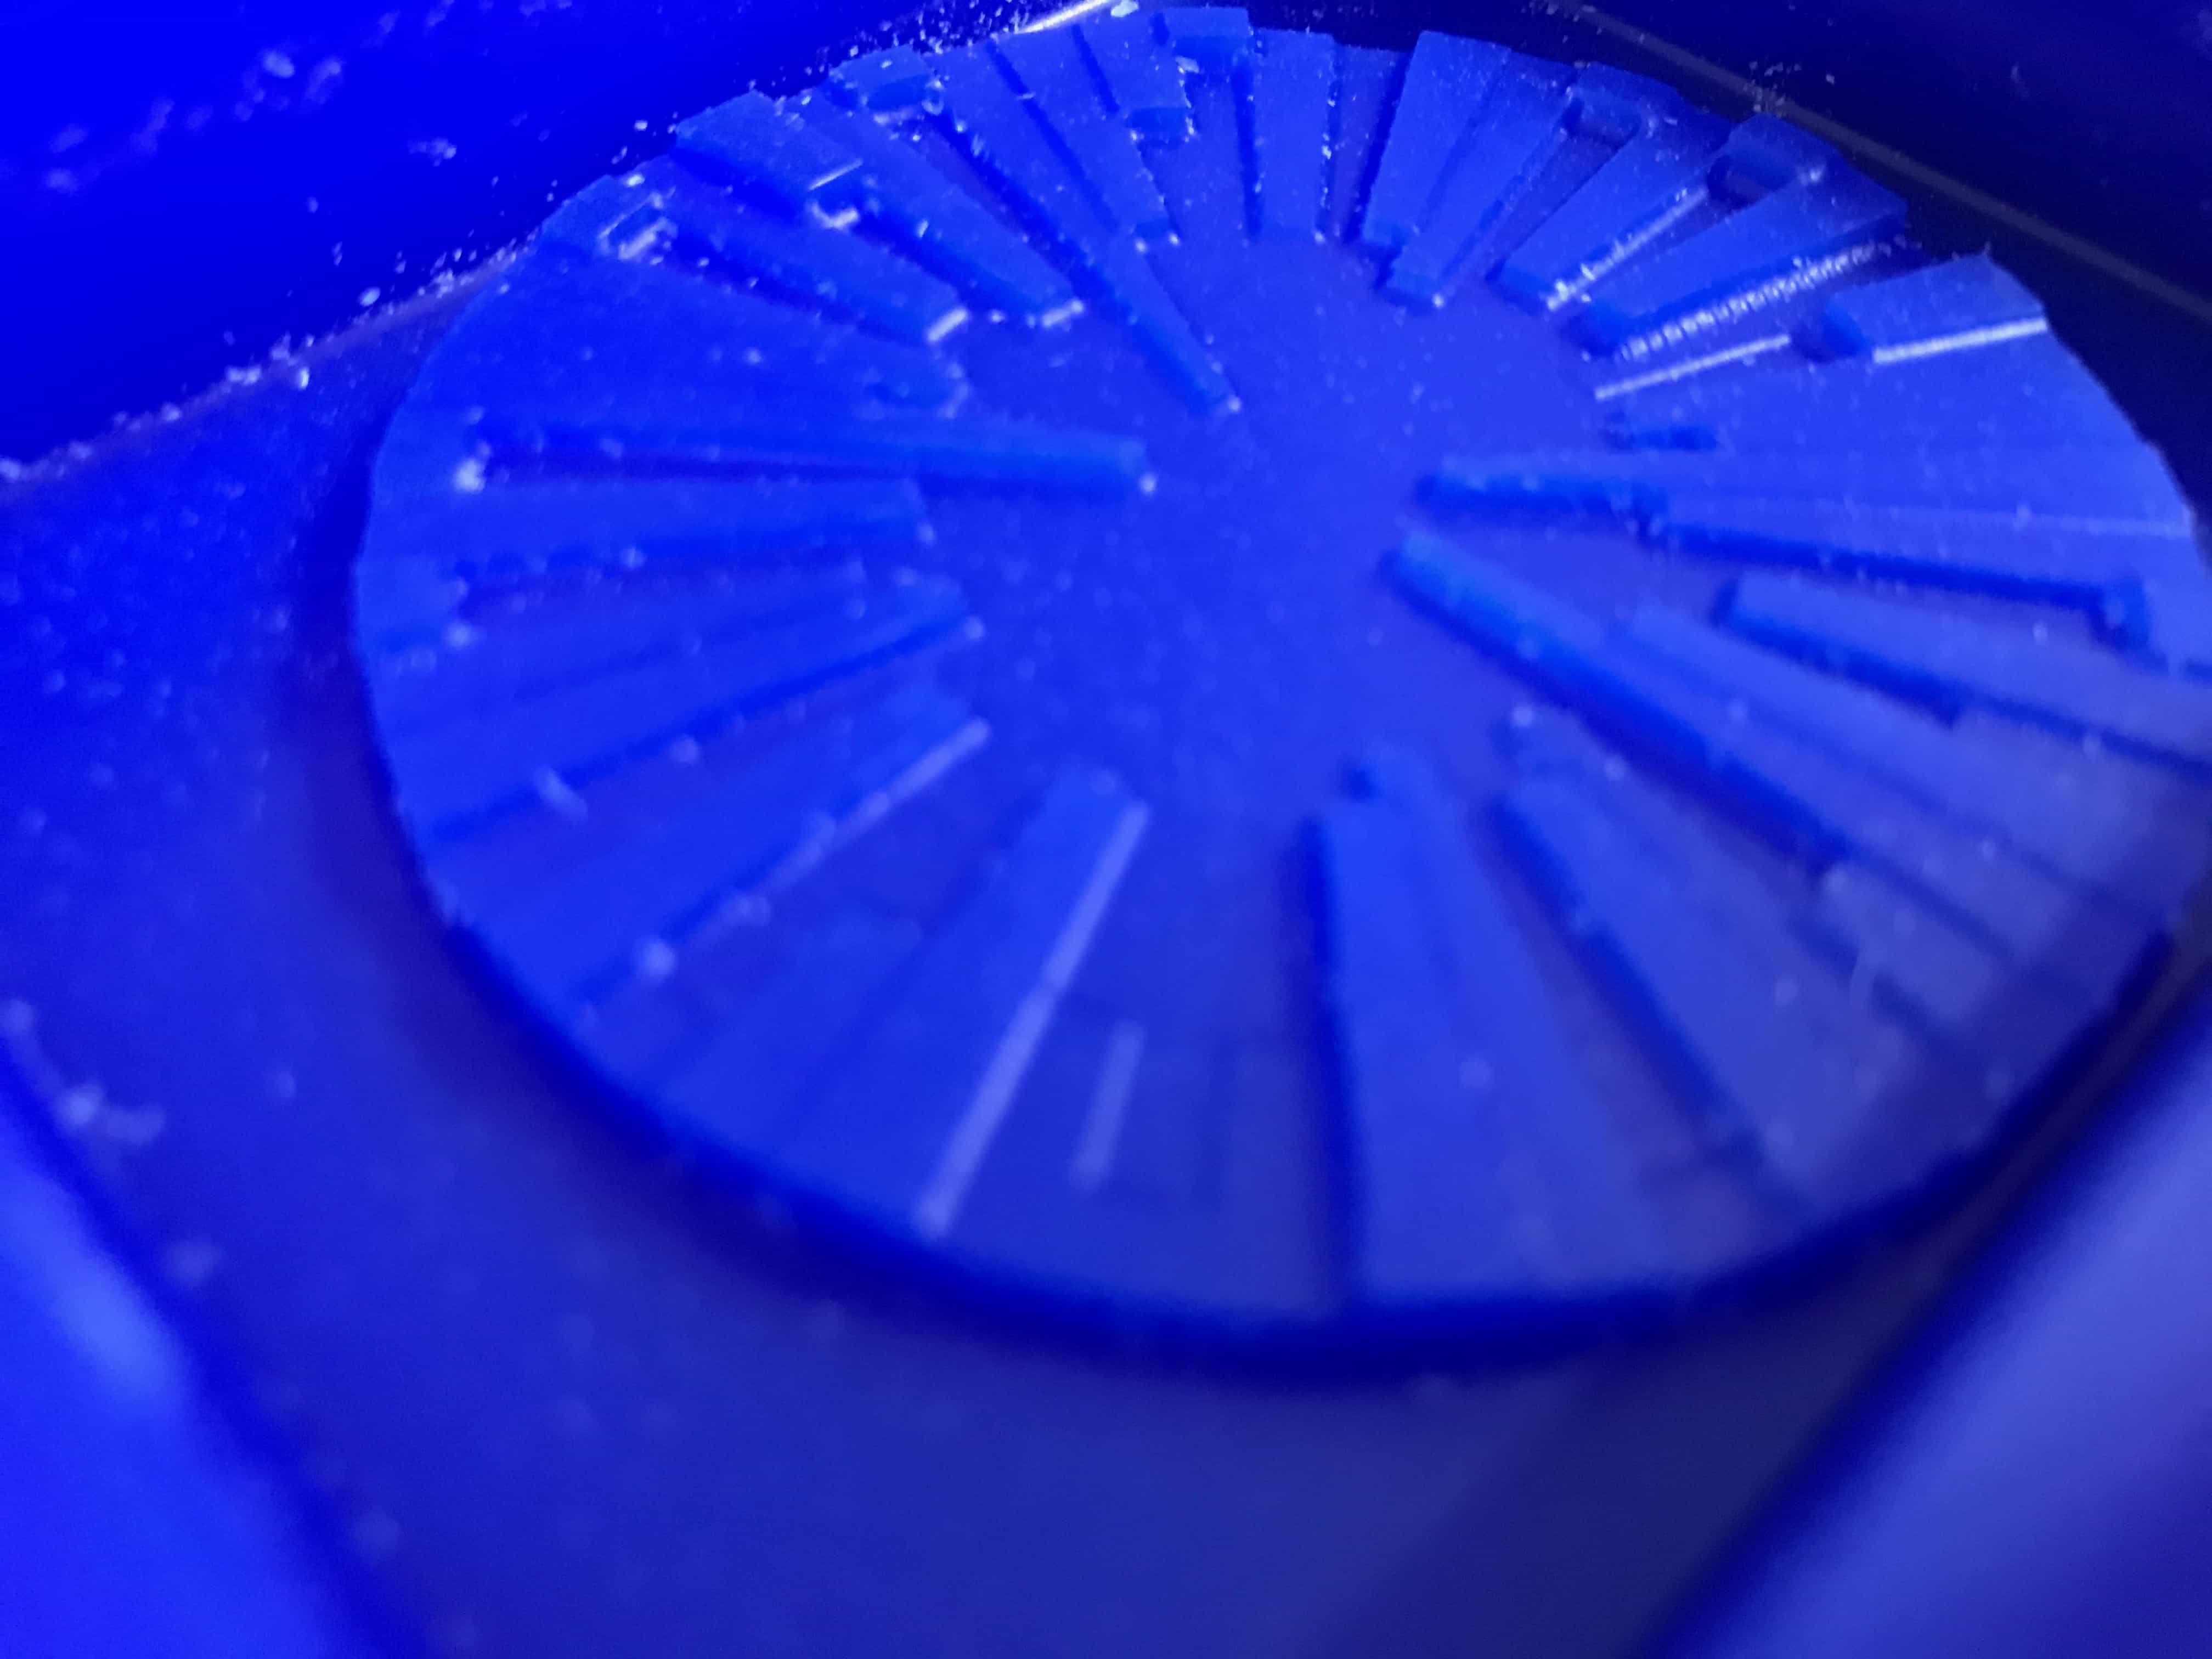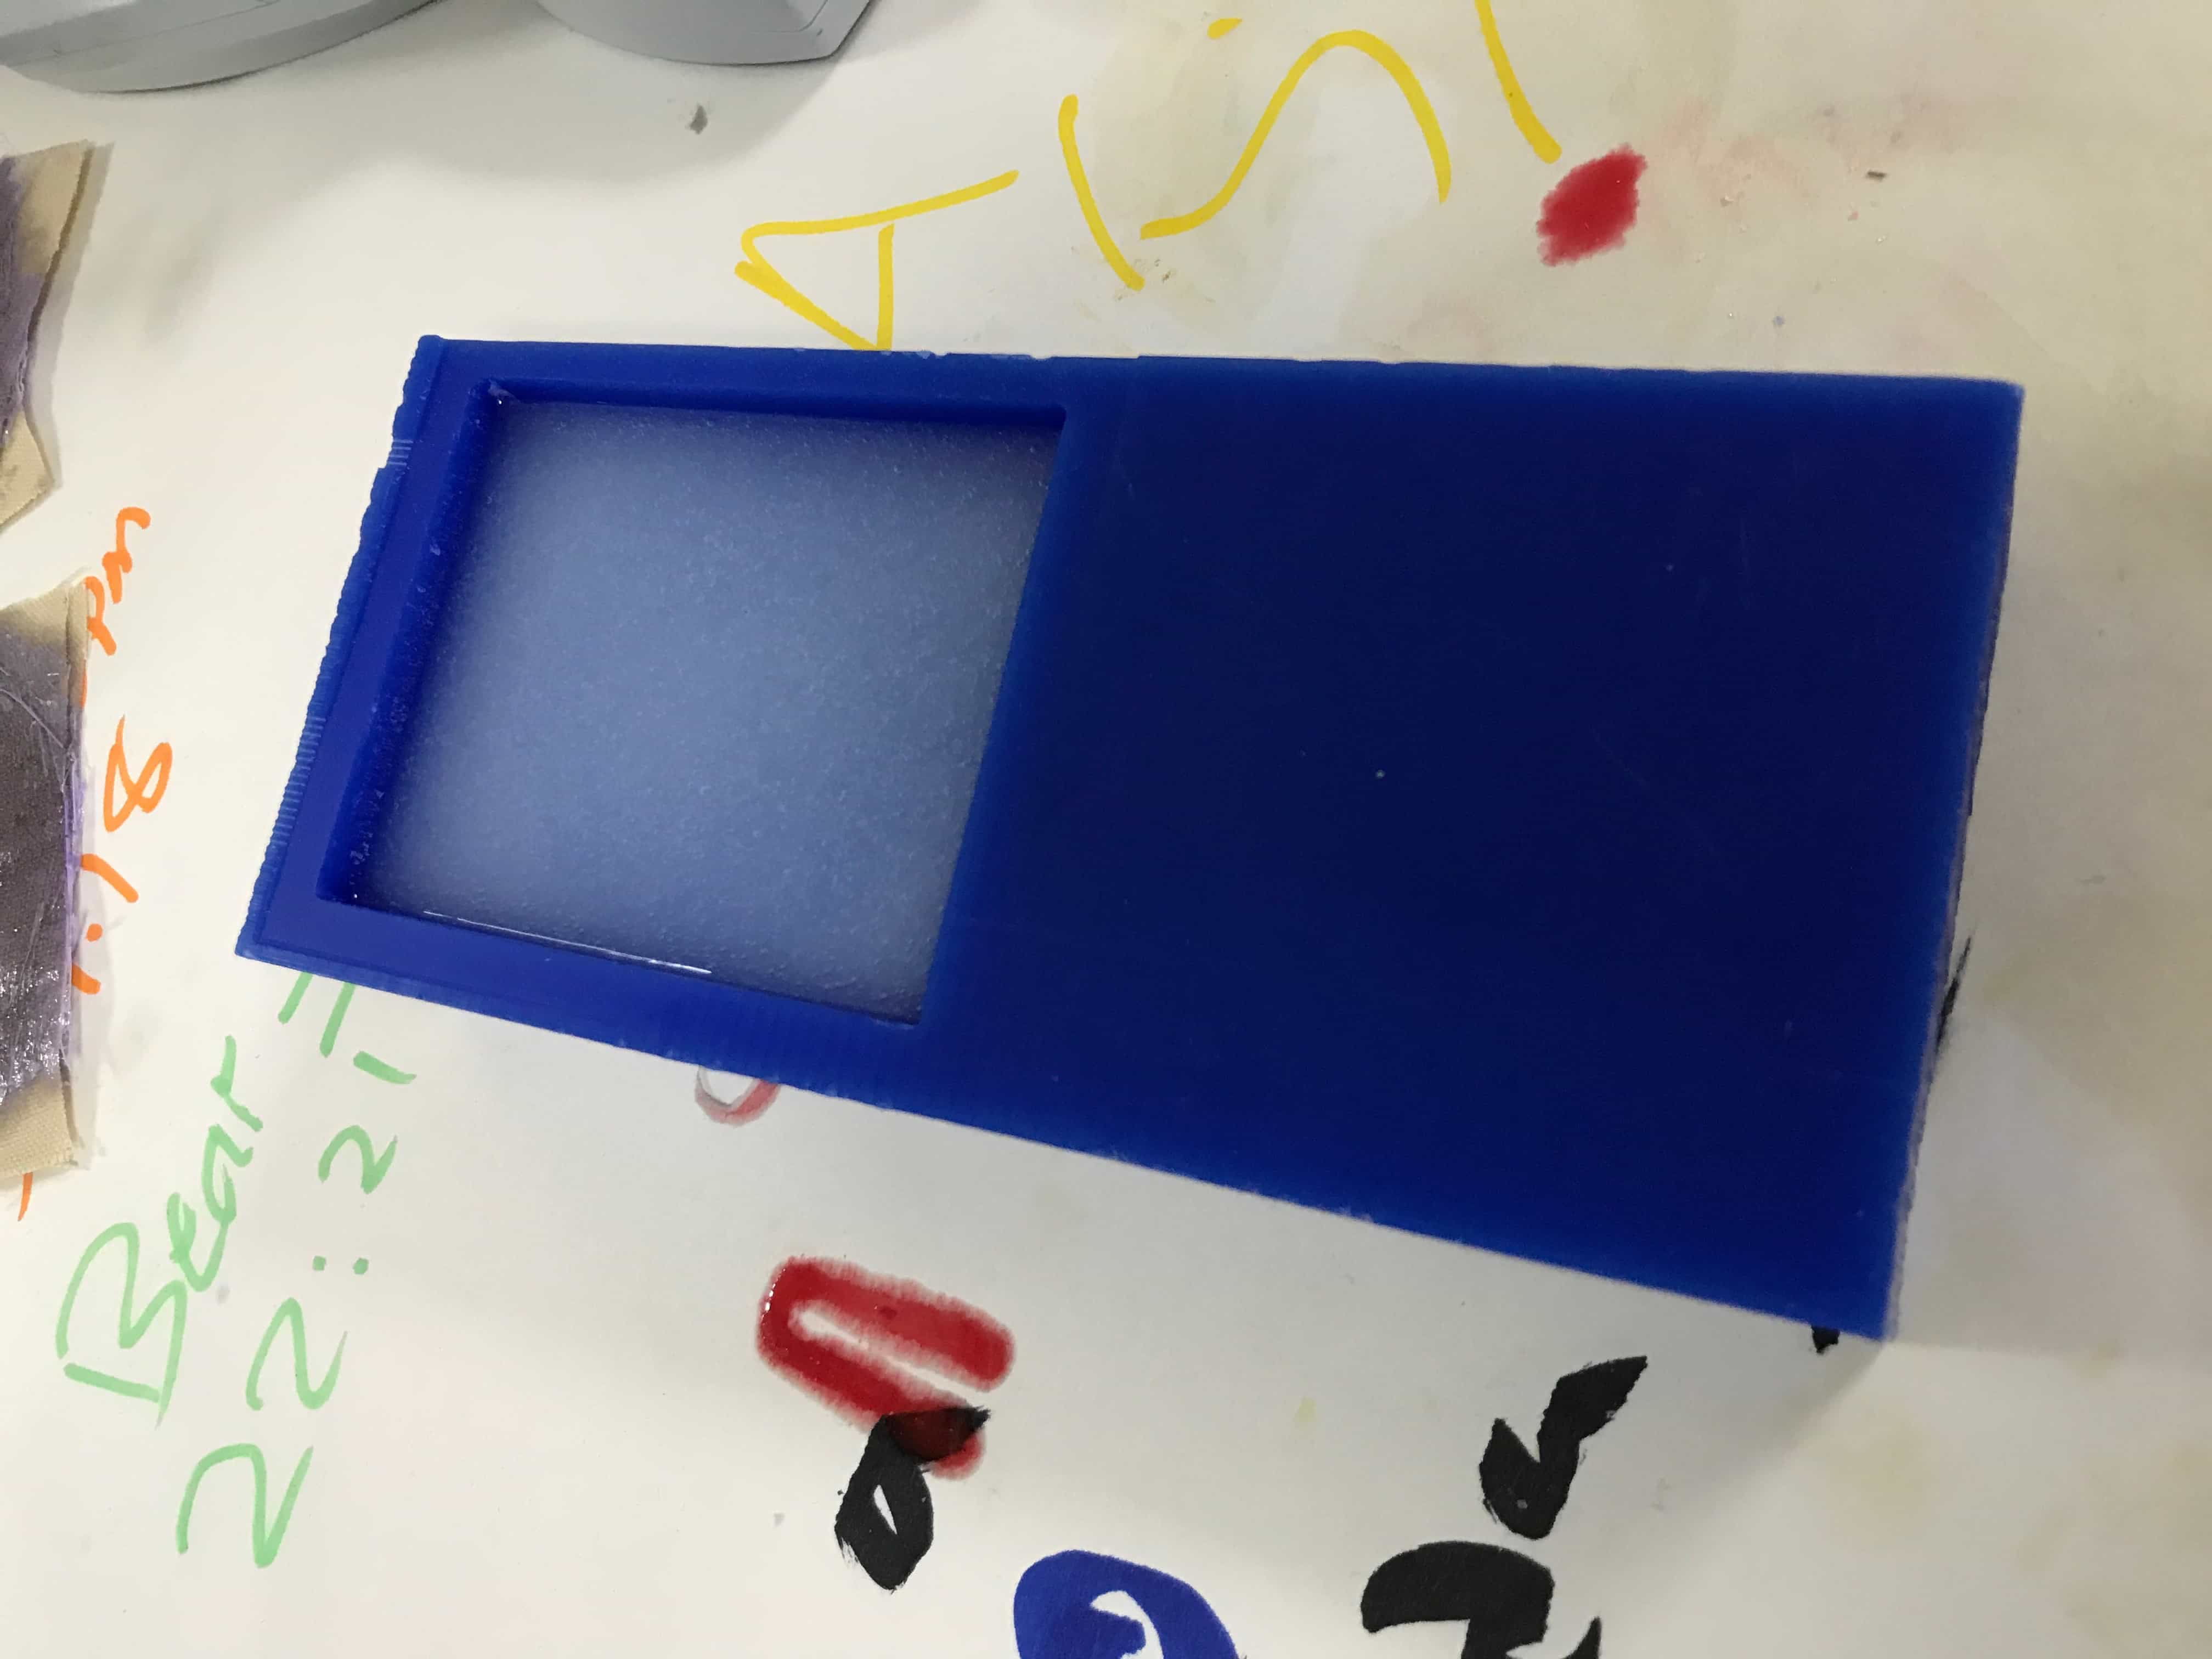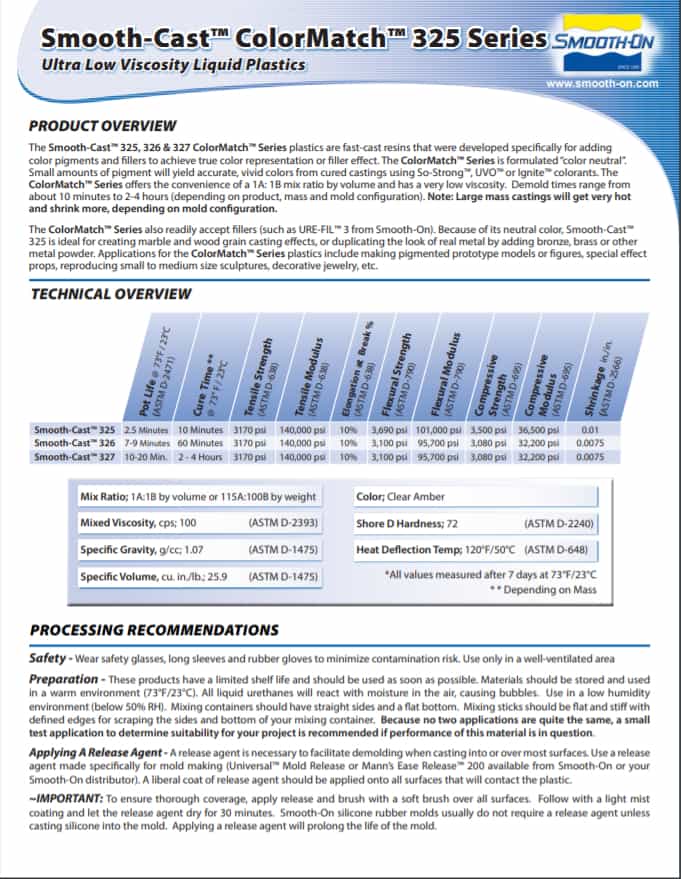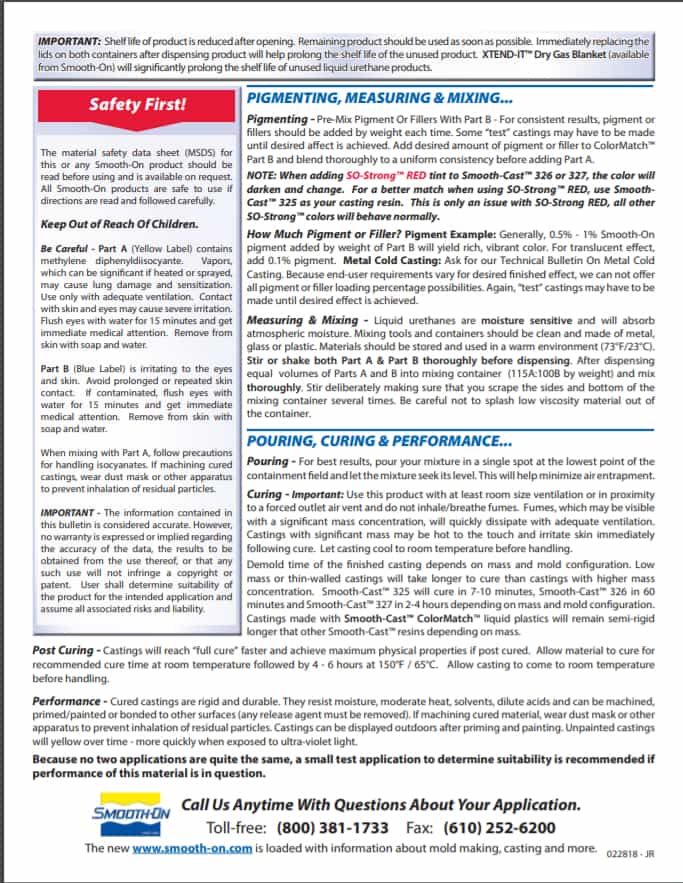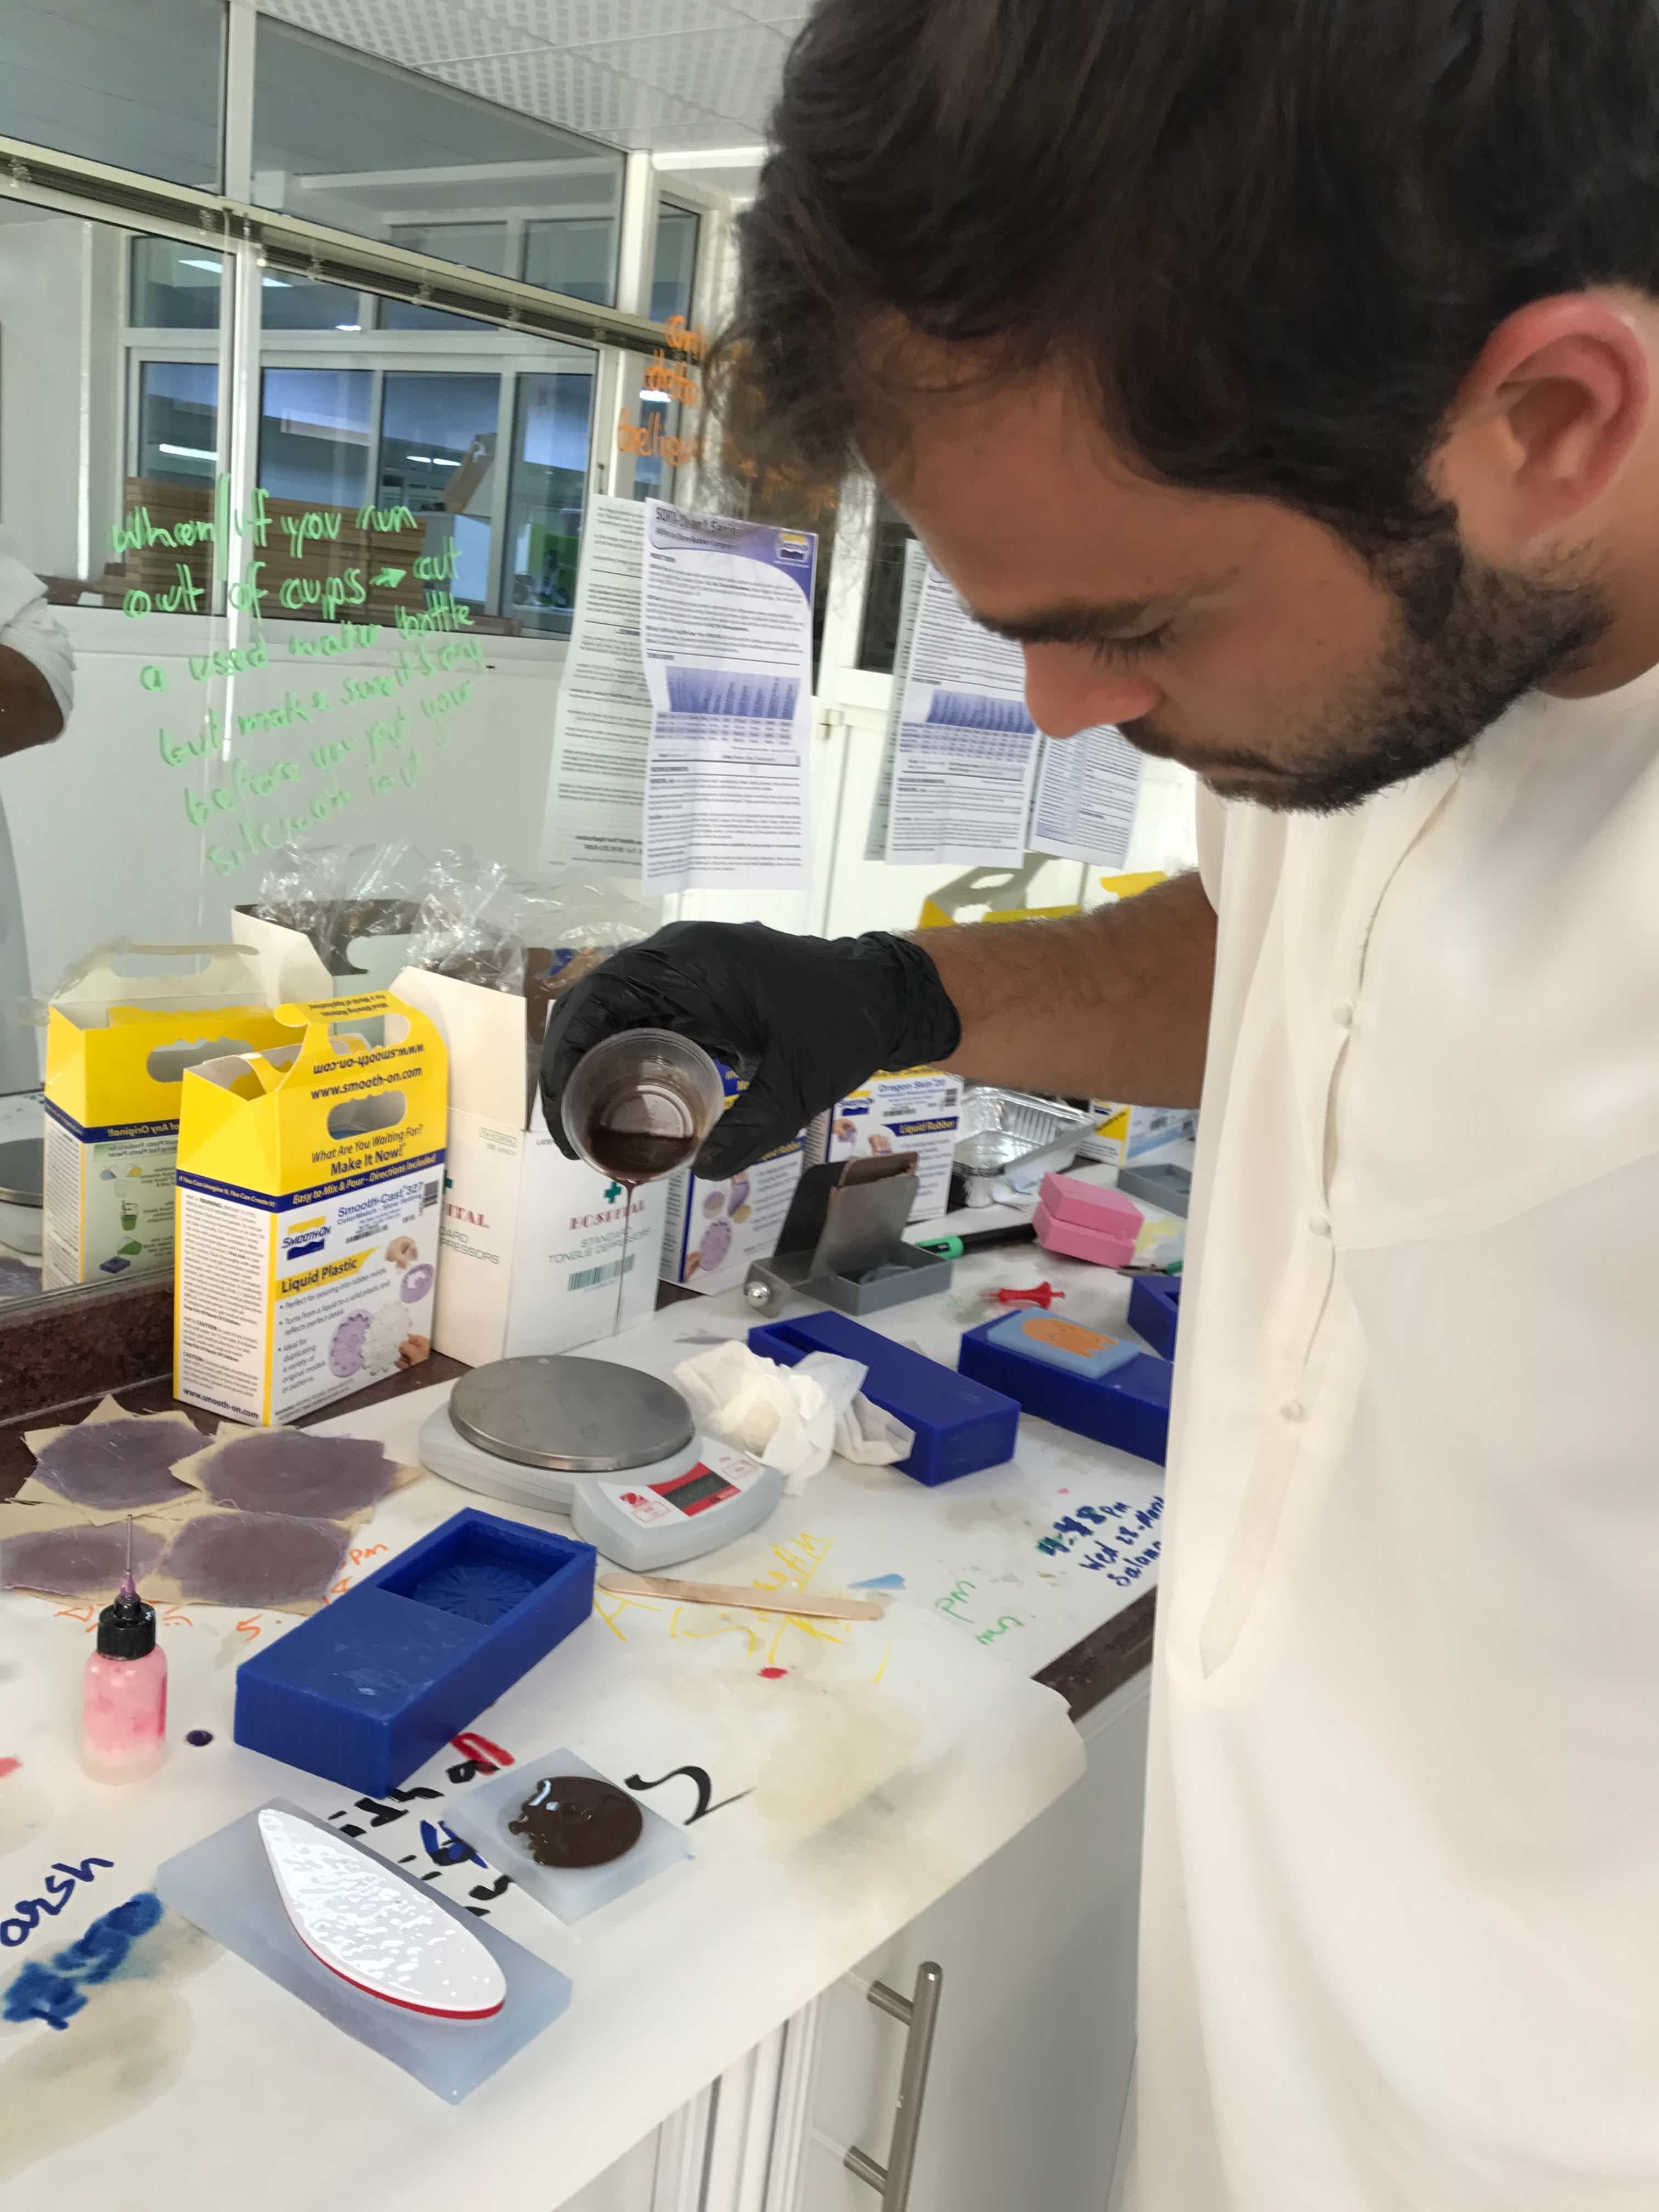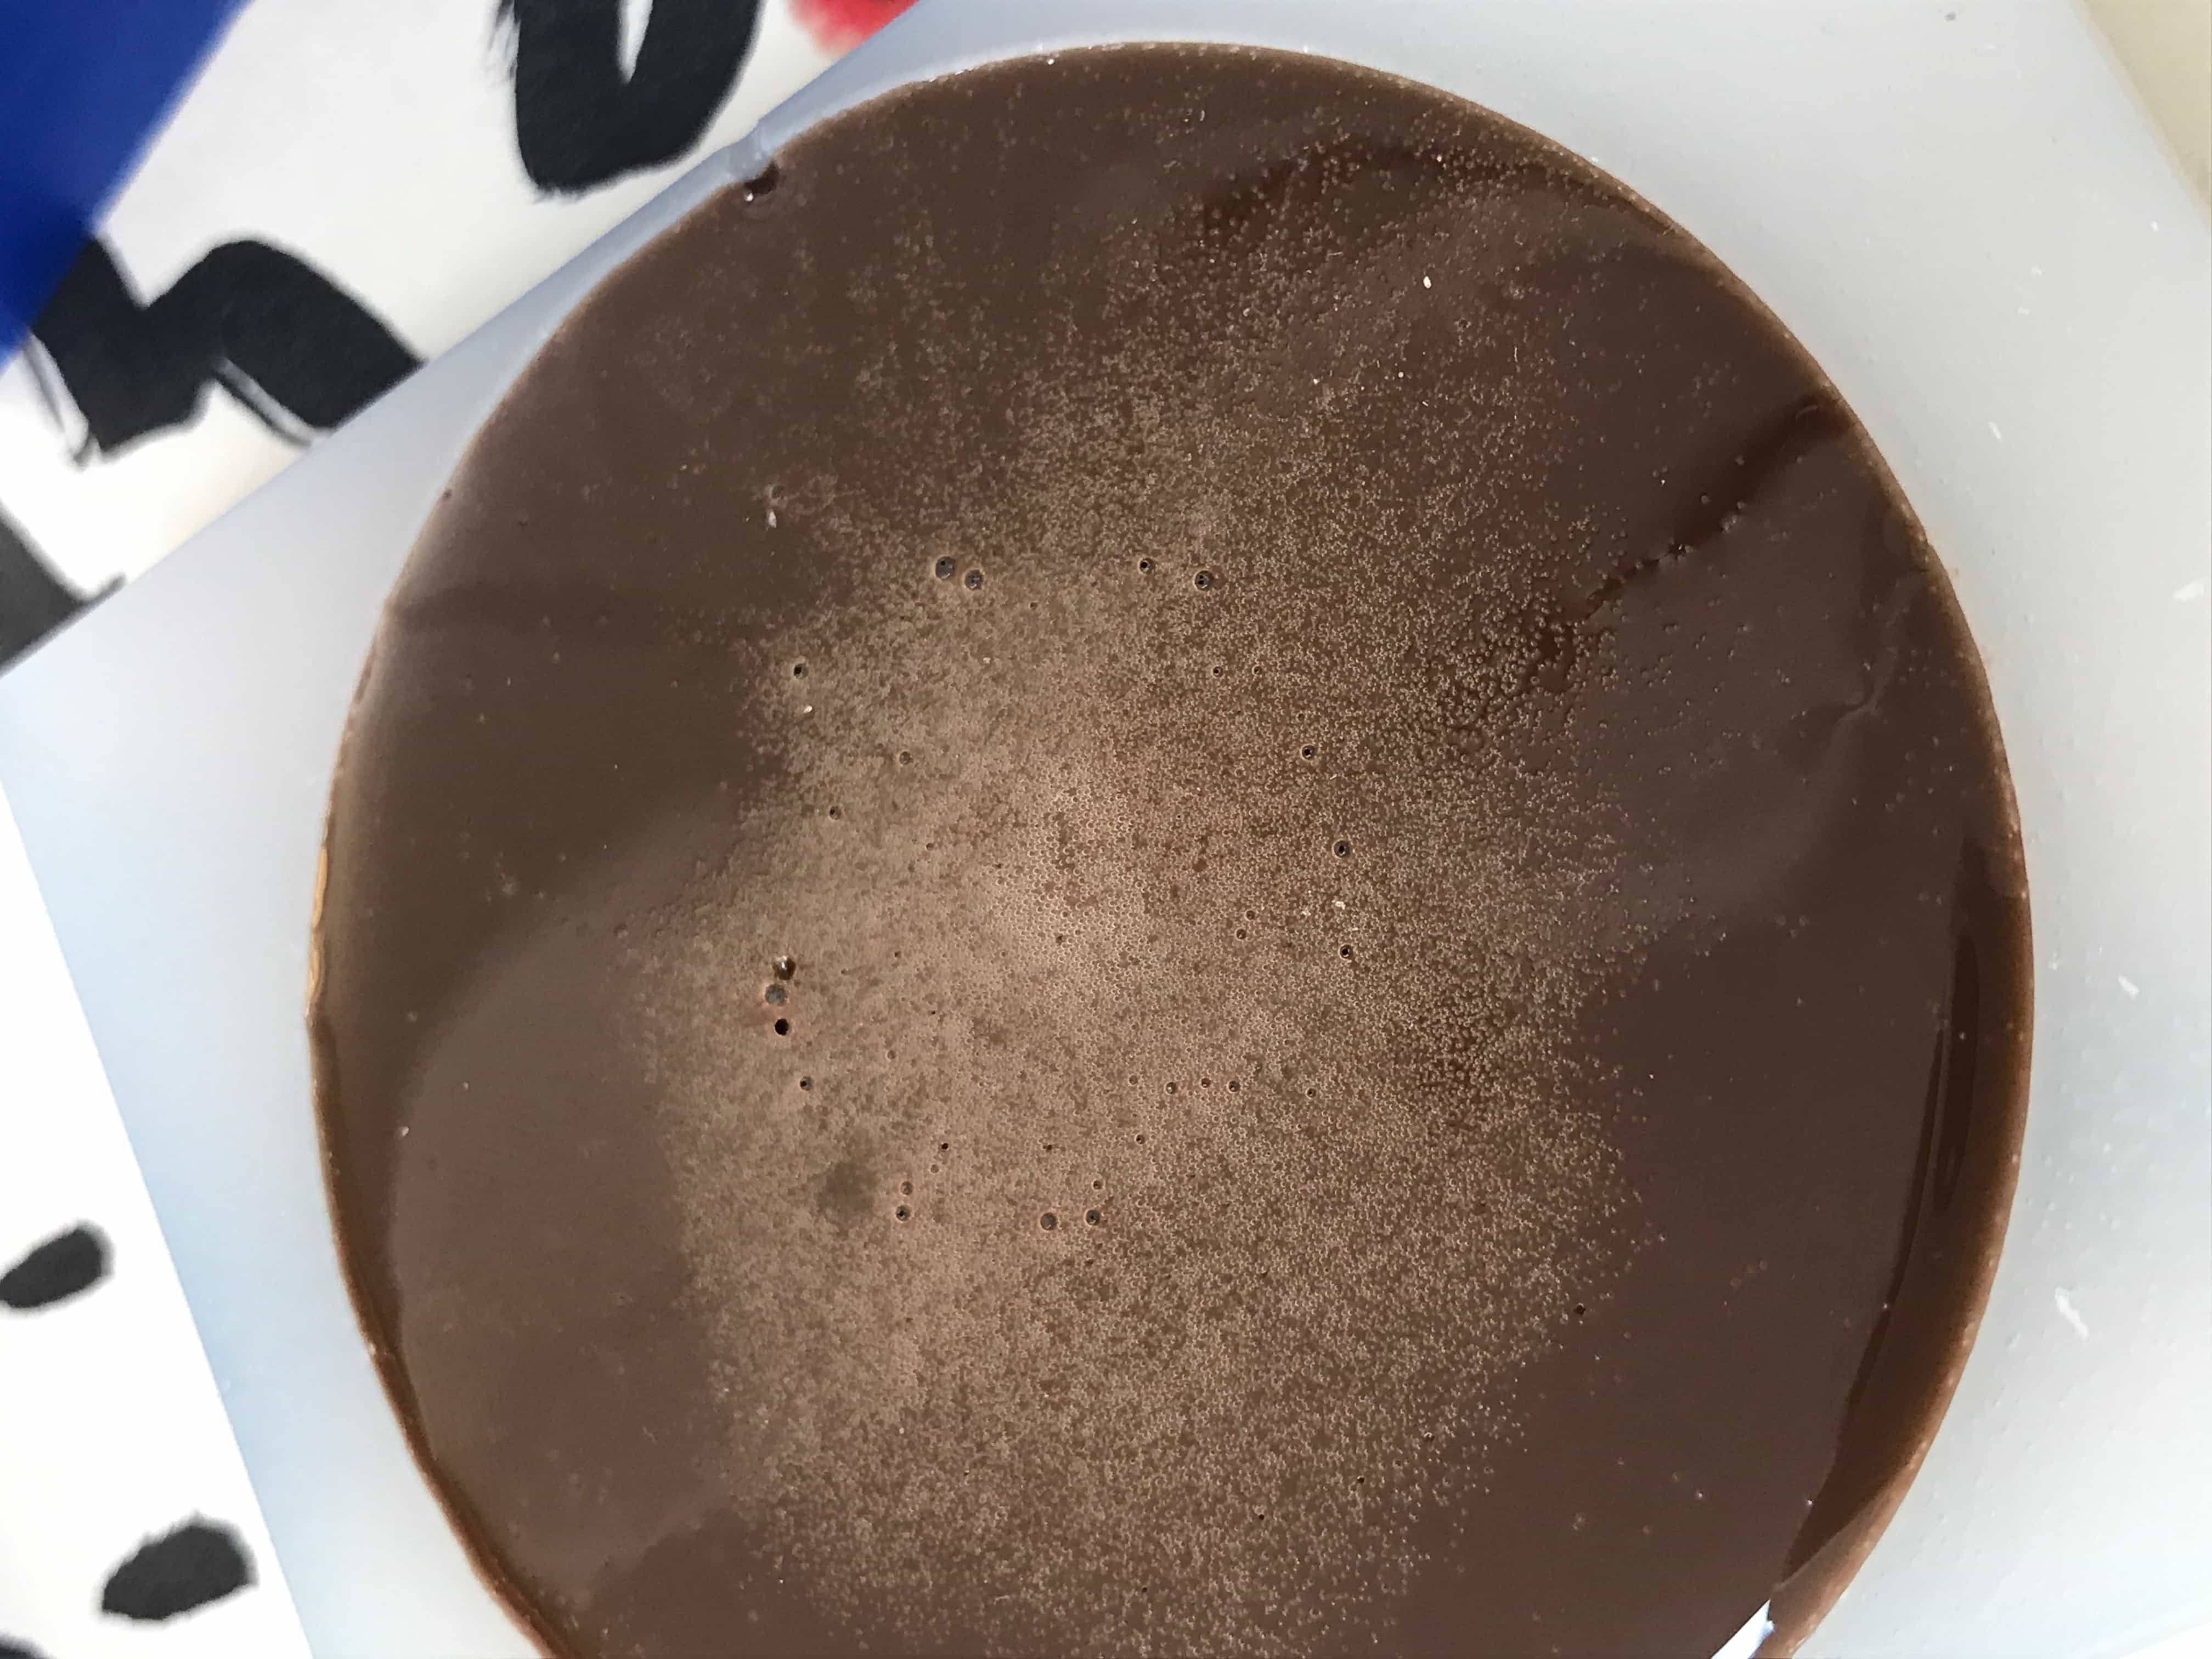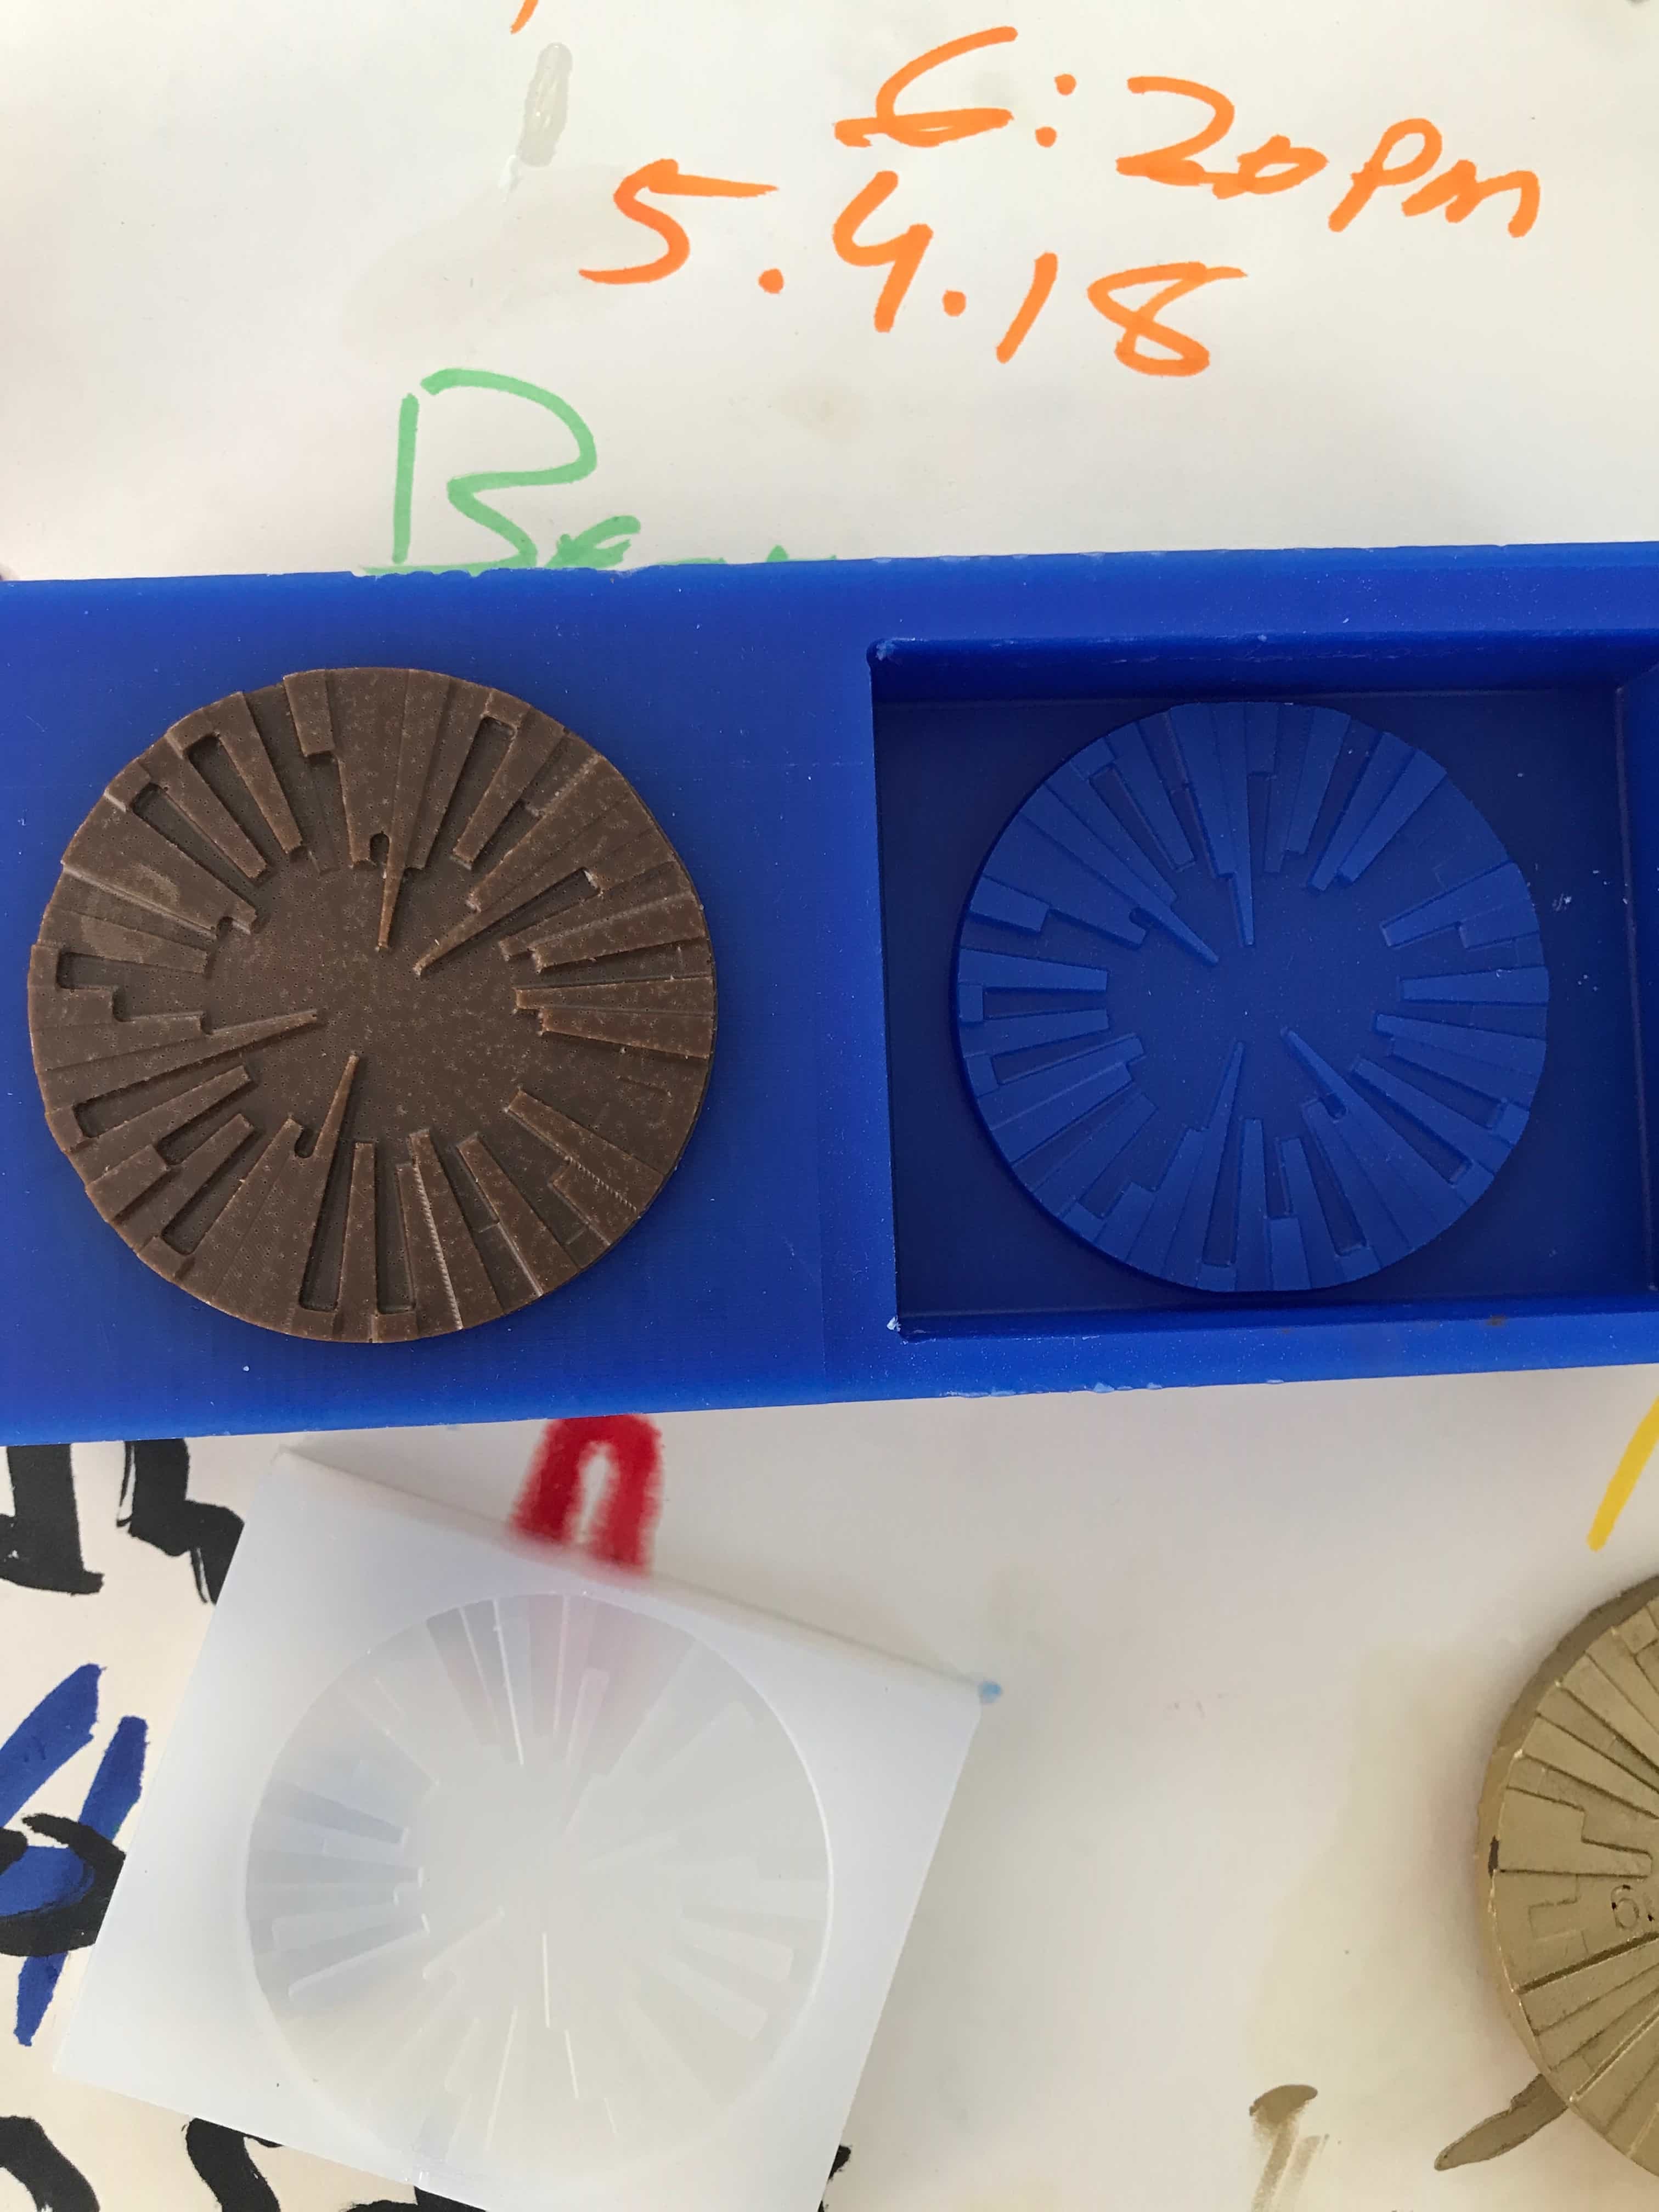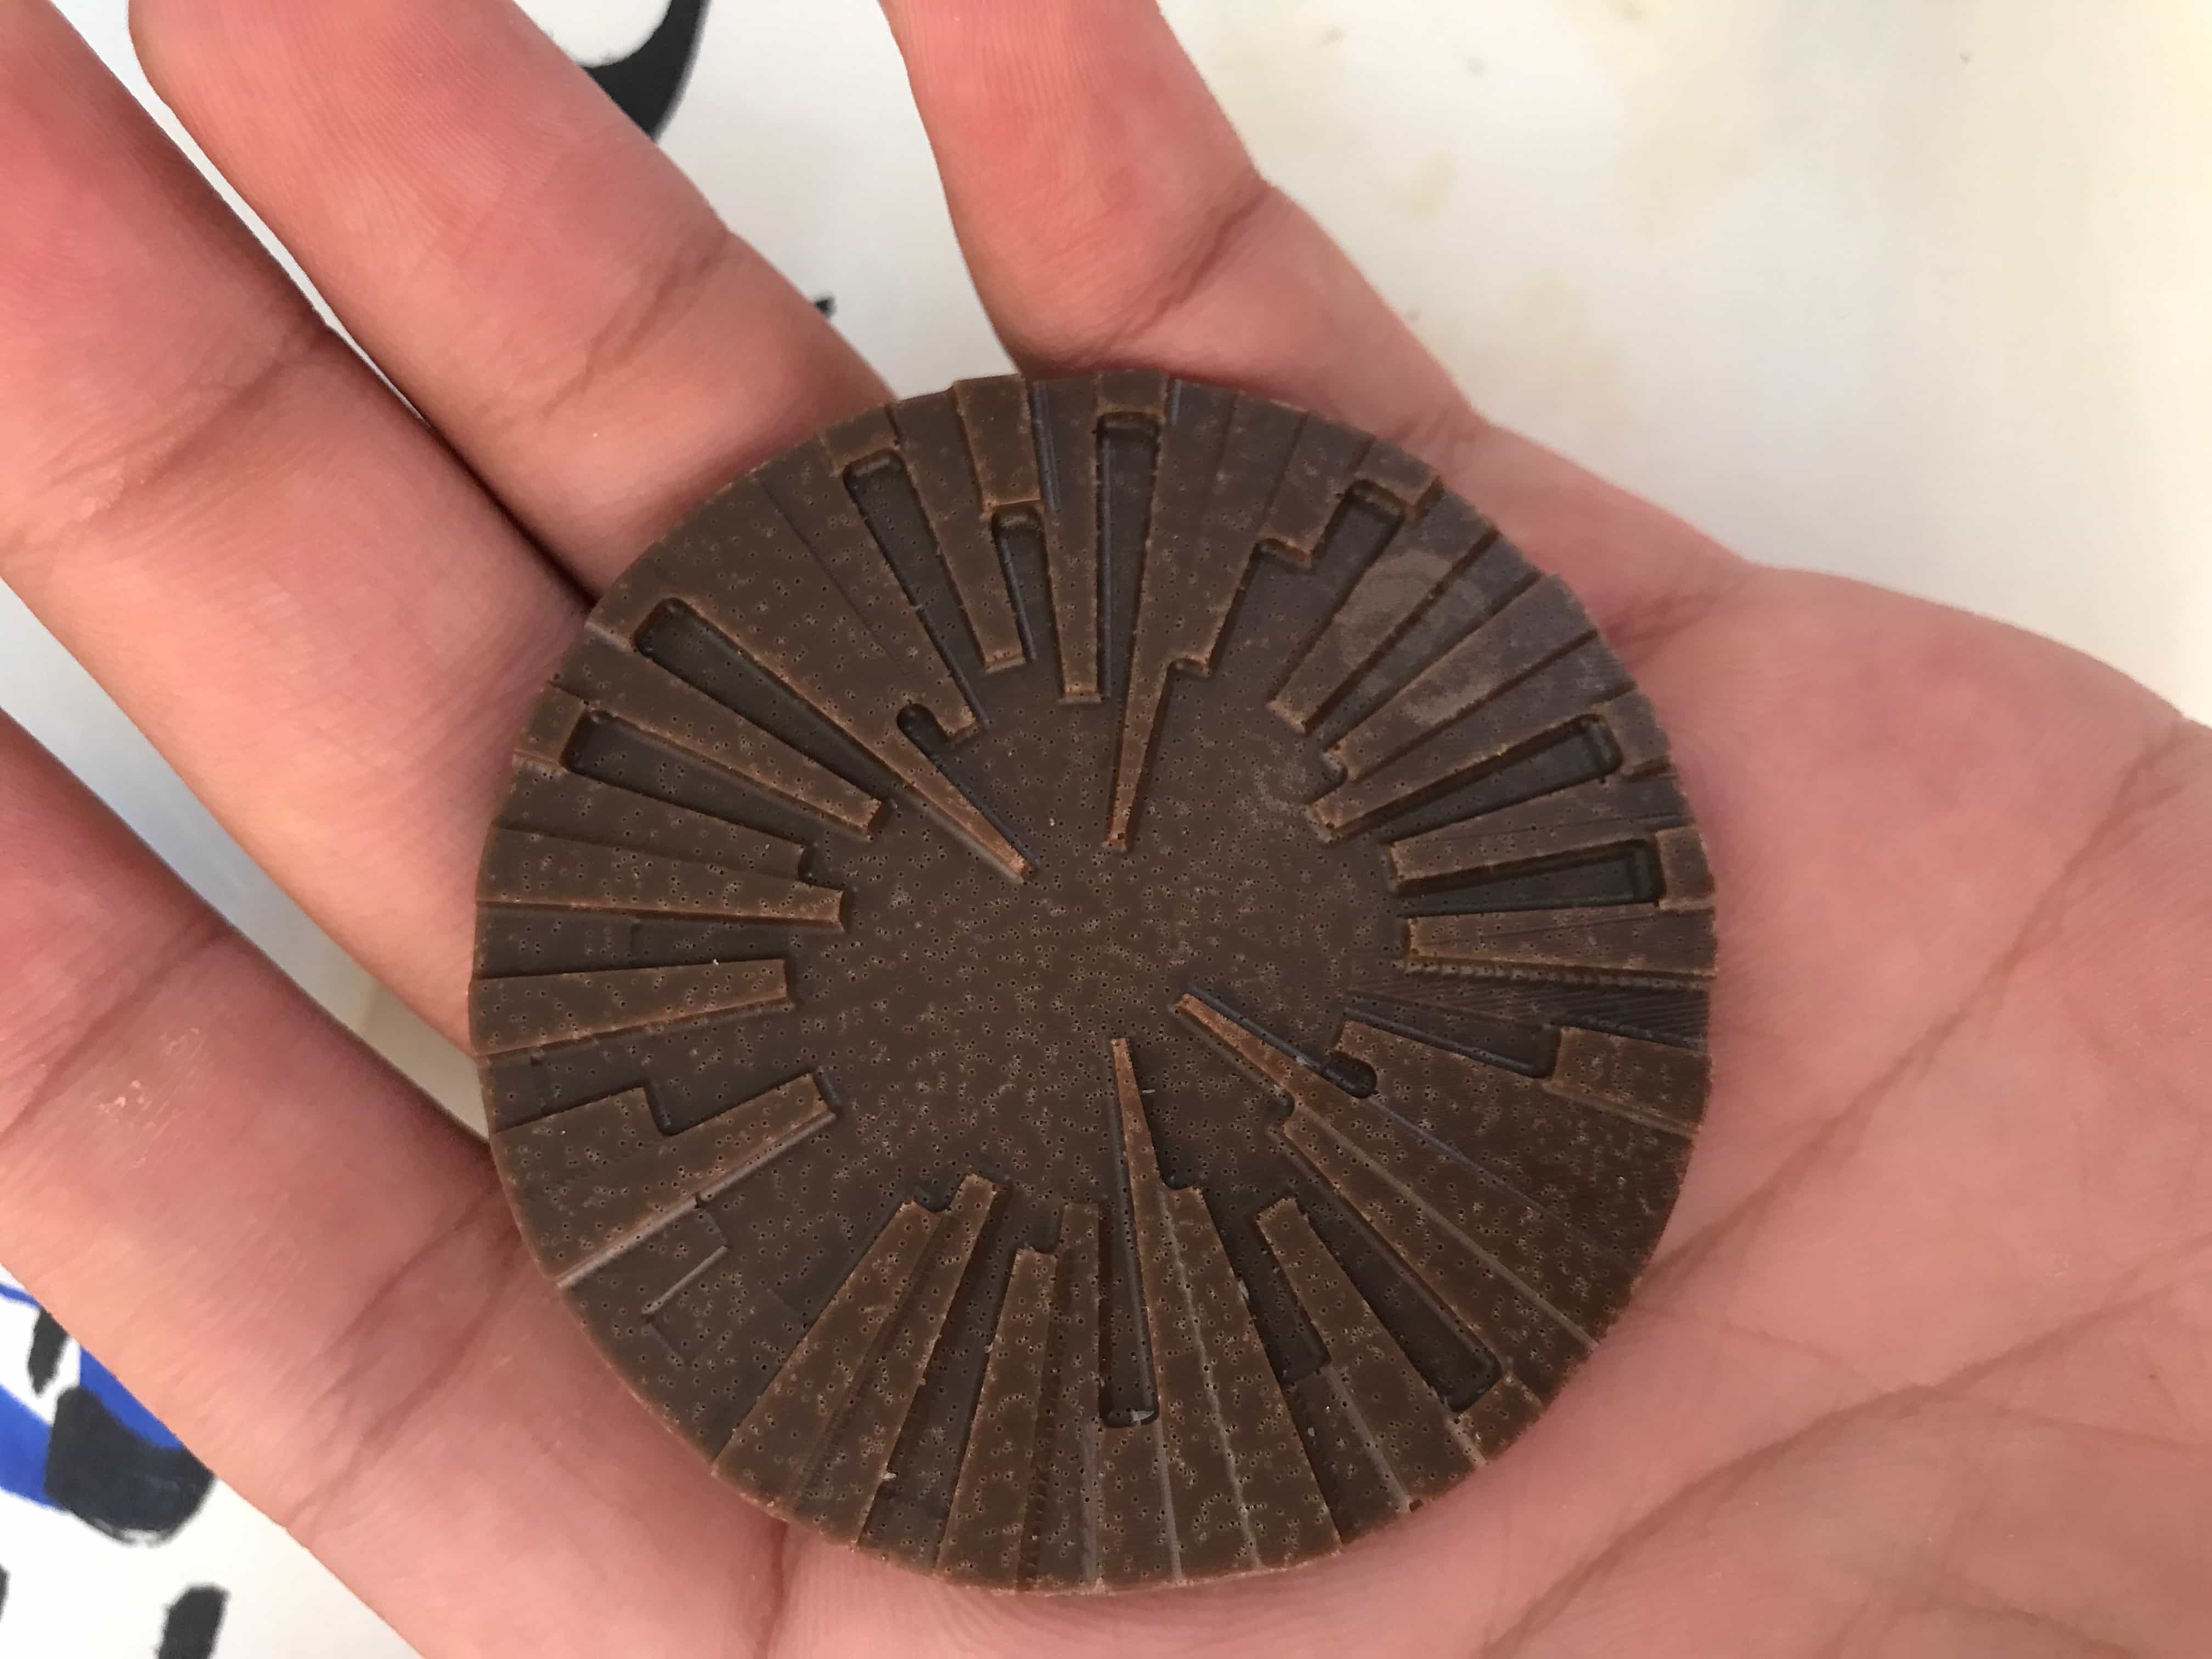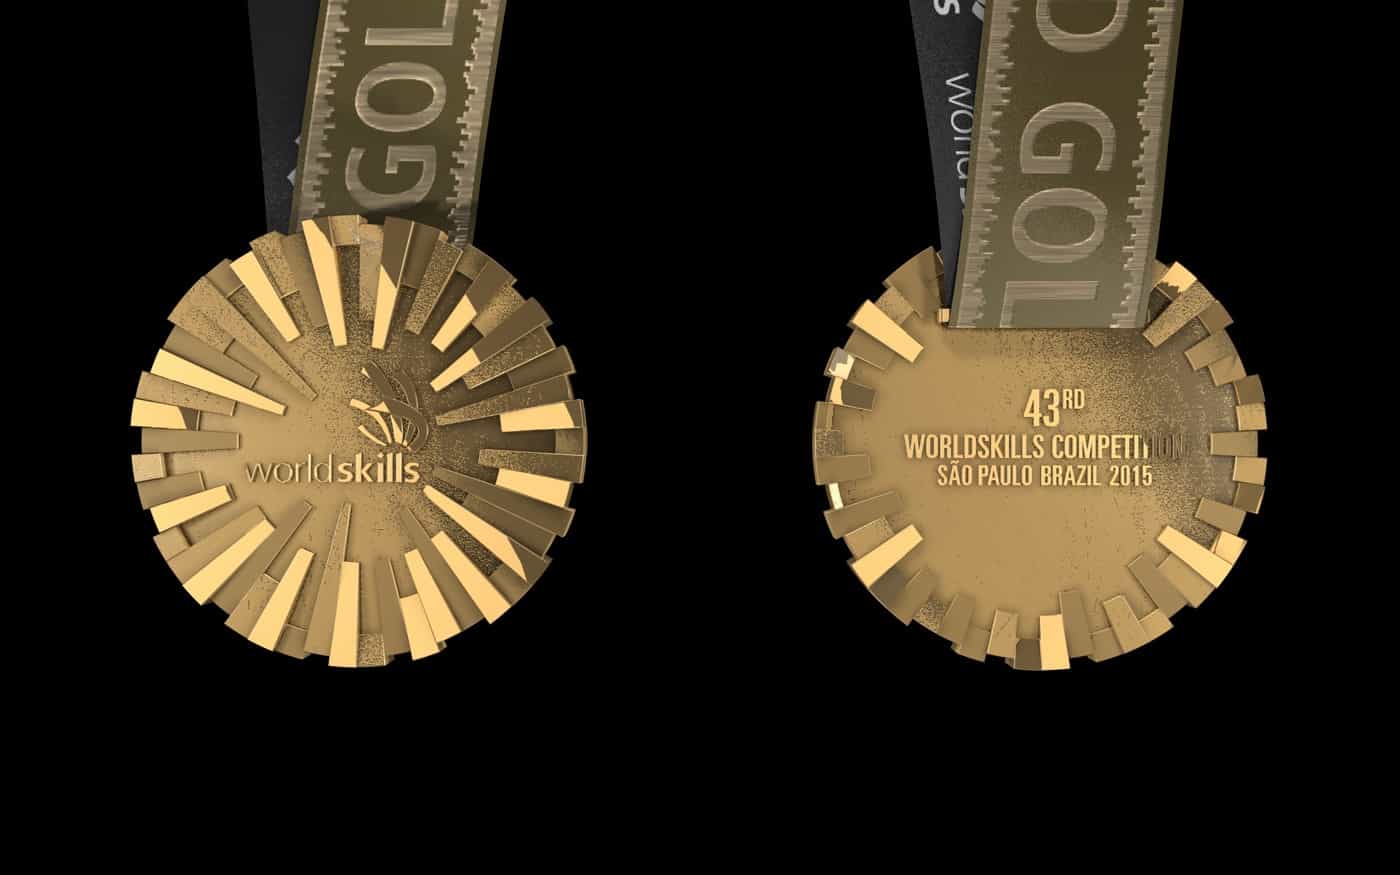
I have been read a bout the draft angle and try to get more information about it to decided wither I use it or not , after reading this Page, I decided to not use the draft angle , because I will not use the injection method , I will pour the resin and the material that I will use it will not be too hard to eject .
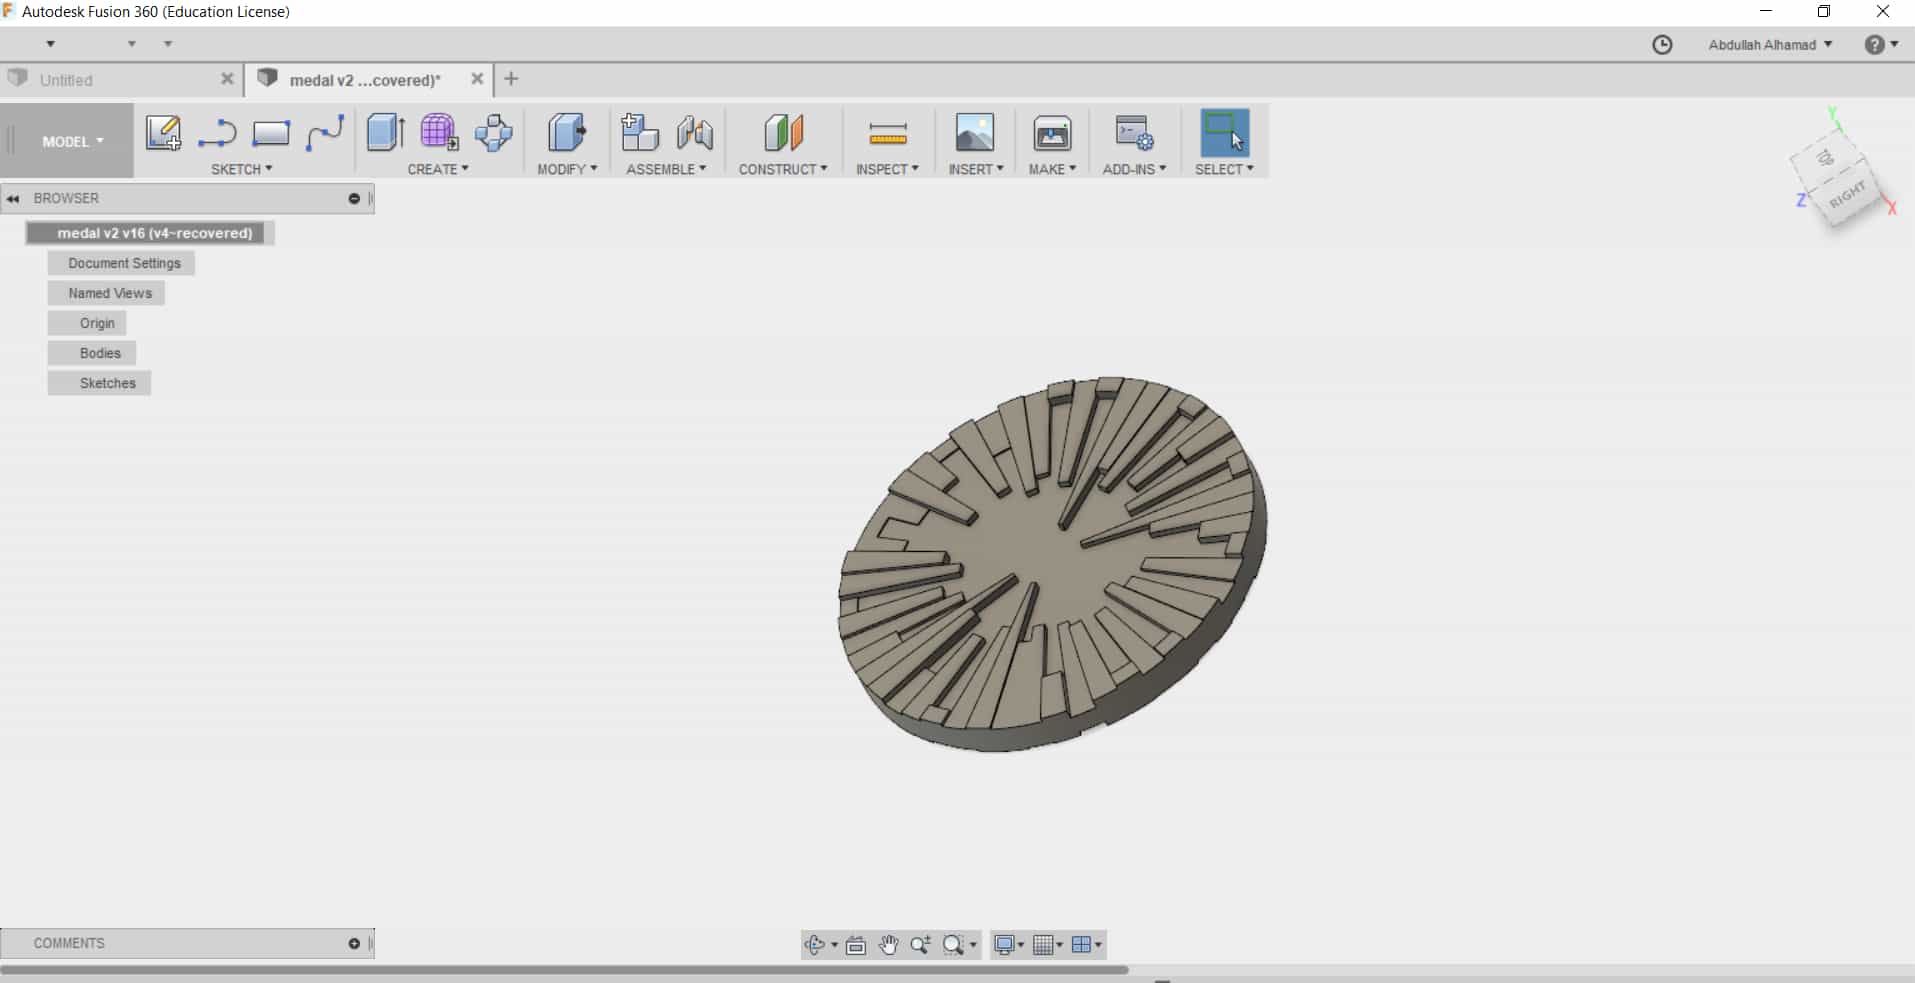
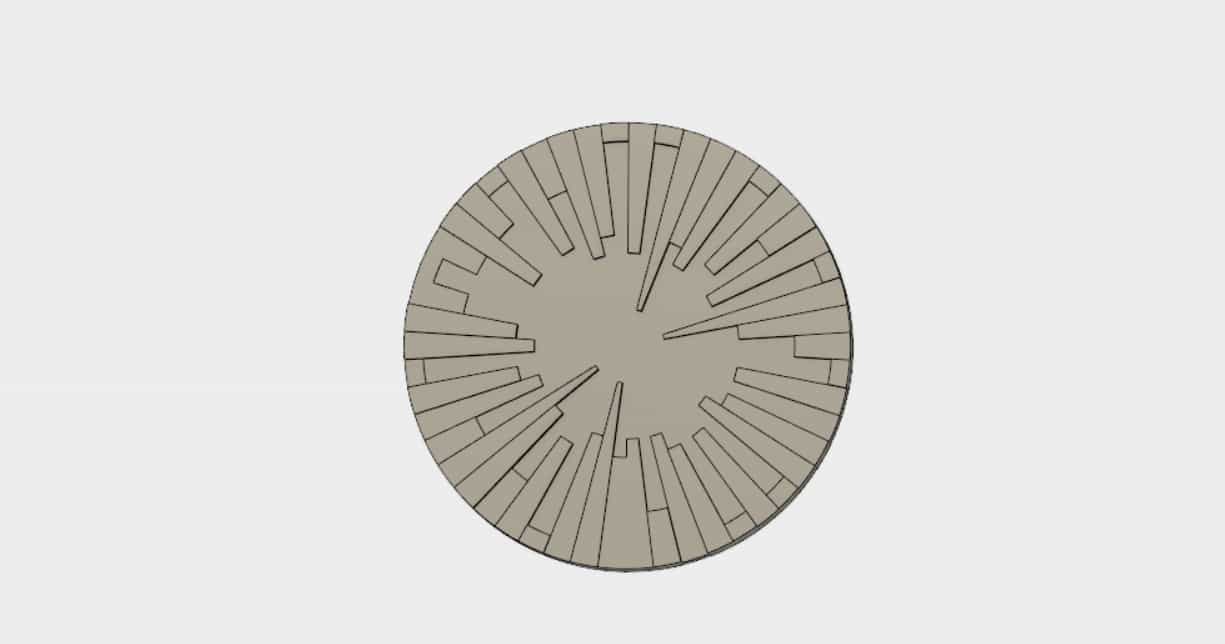
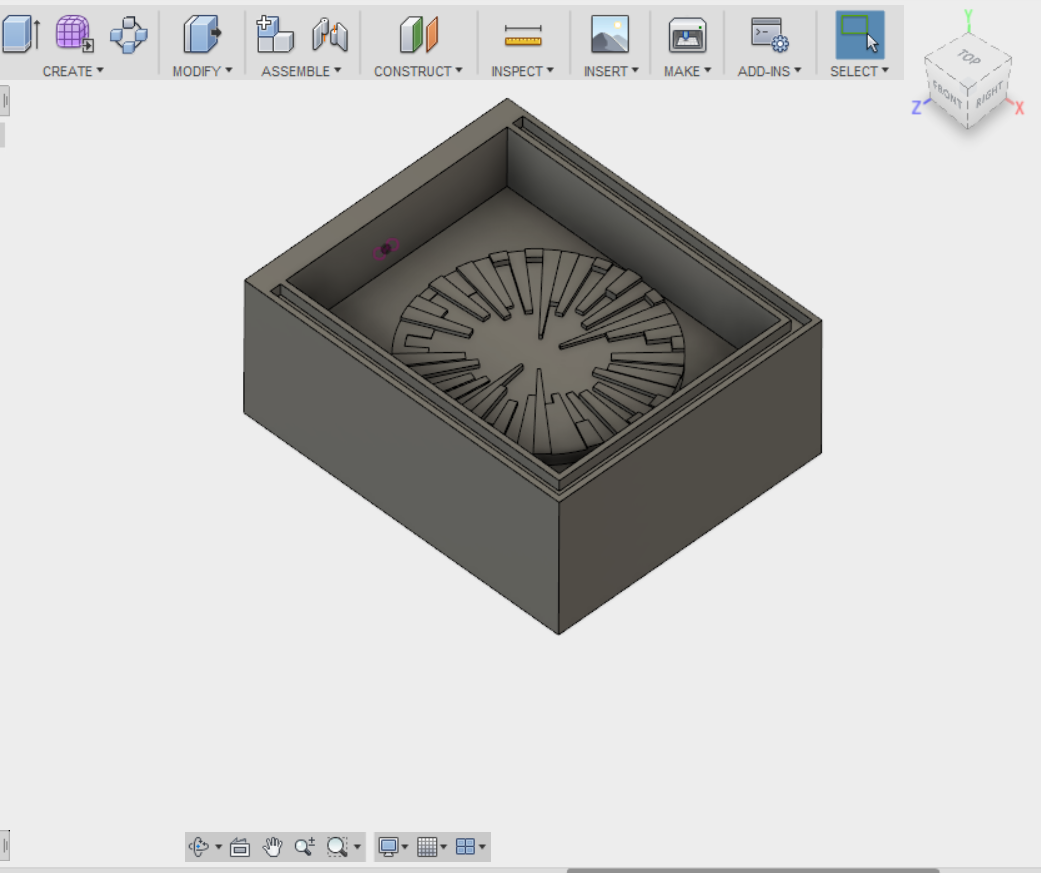
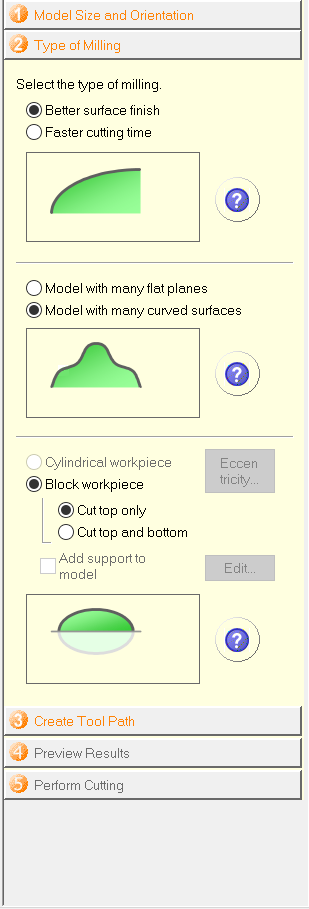
1-First I choose the orientation of my design so the part that I want to cut will on the top, then I set up some options that SRP player offer , like type of milling , how I would like my surface finishing look like , is my model have a lot of curves or not , and the last option is to choose geometry , do you want to cut only the upper part or up and down , for my side , you can see in the pictures below the options that I chose.
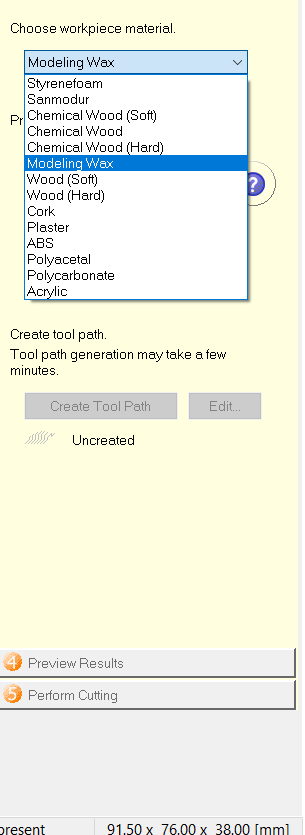
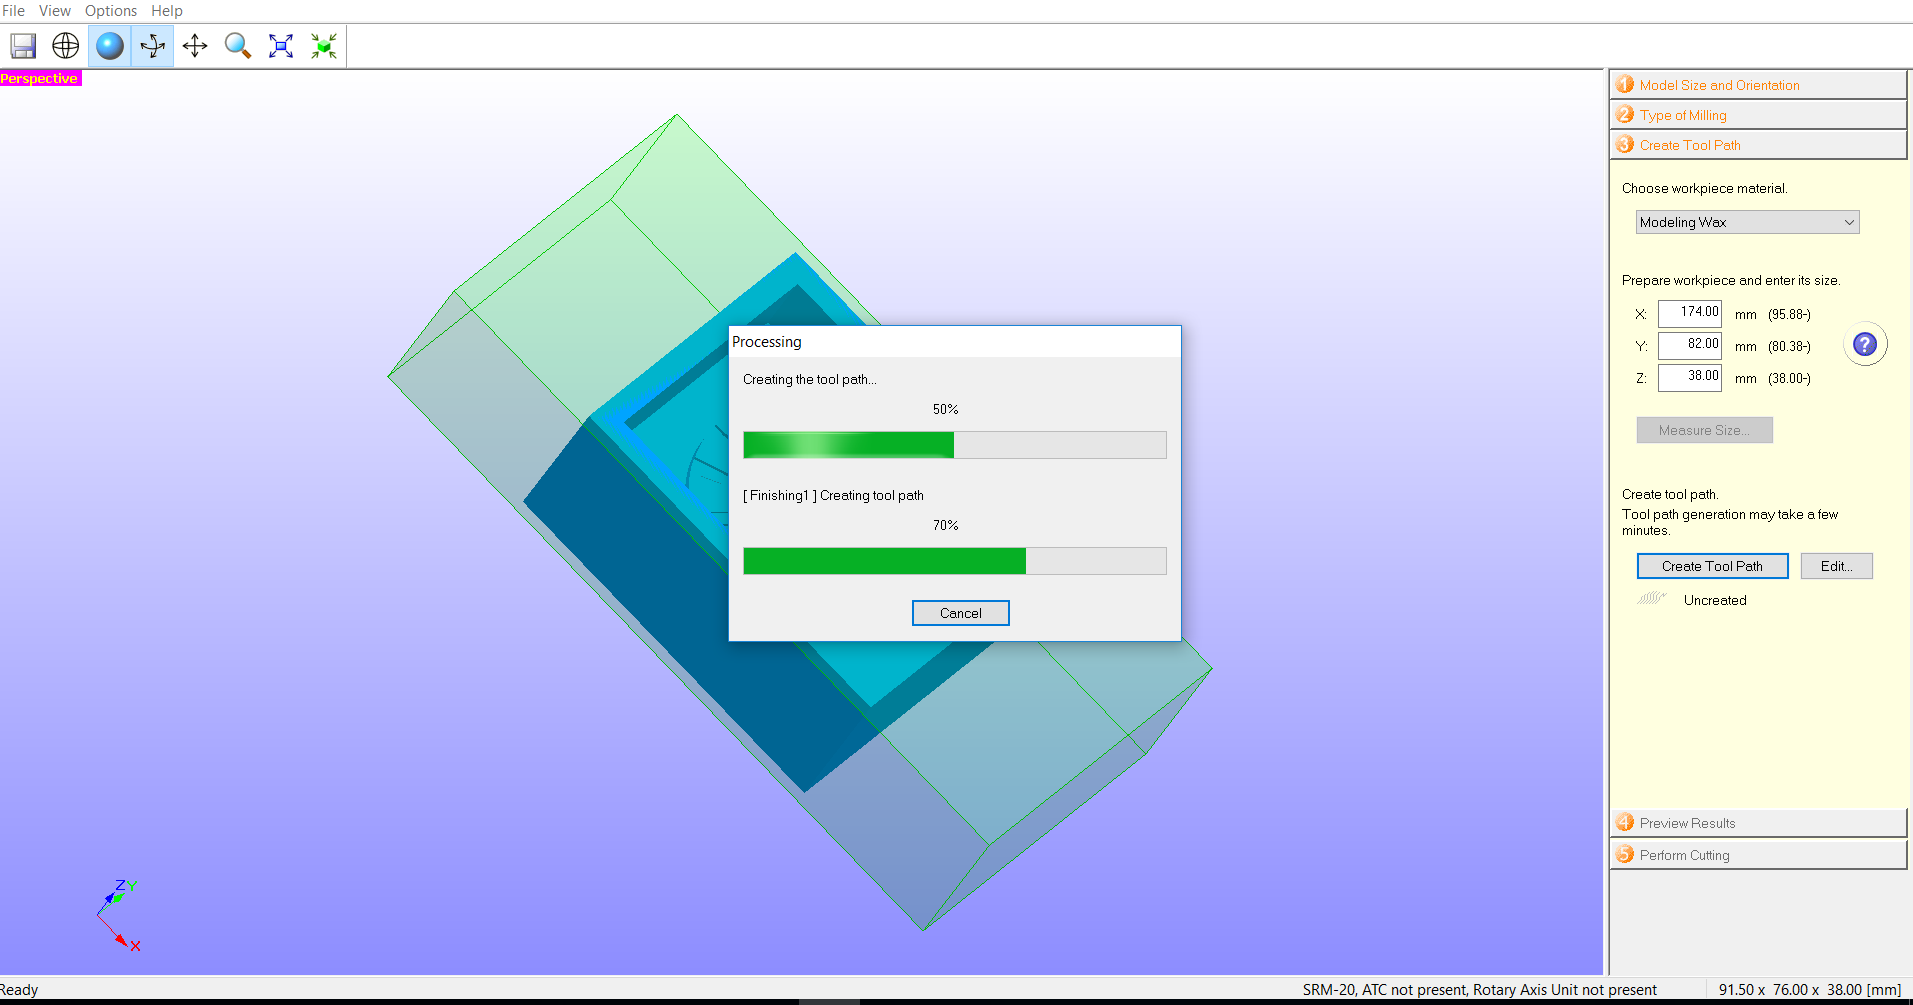
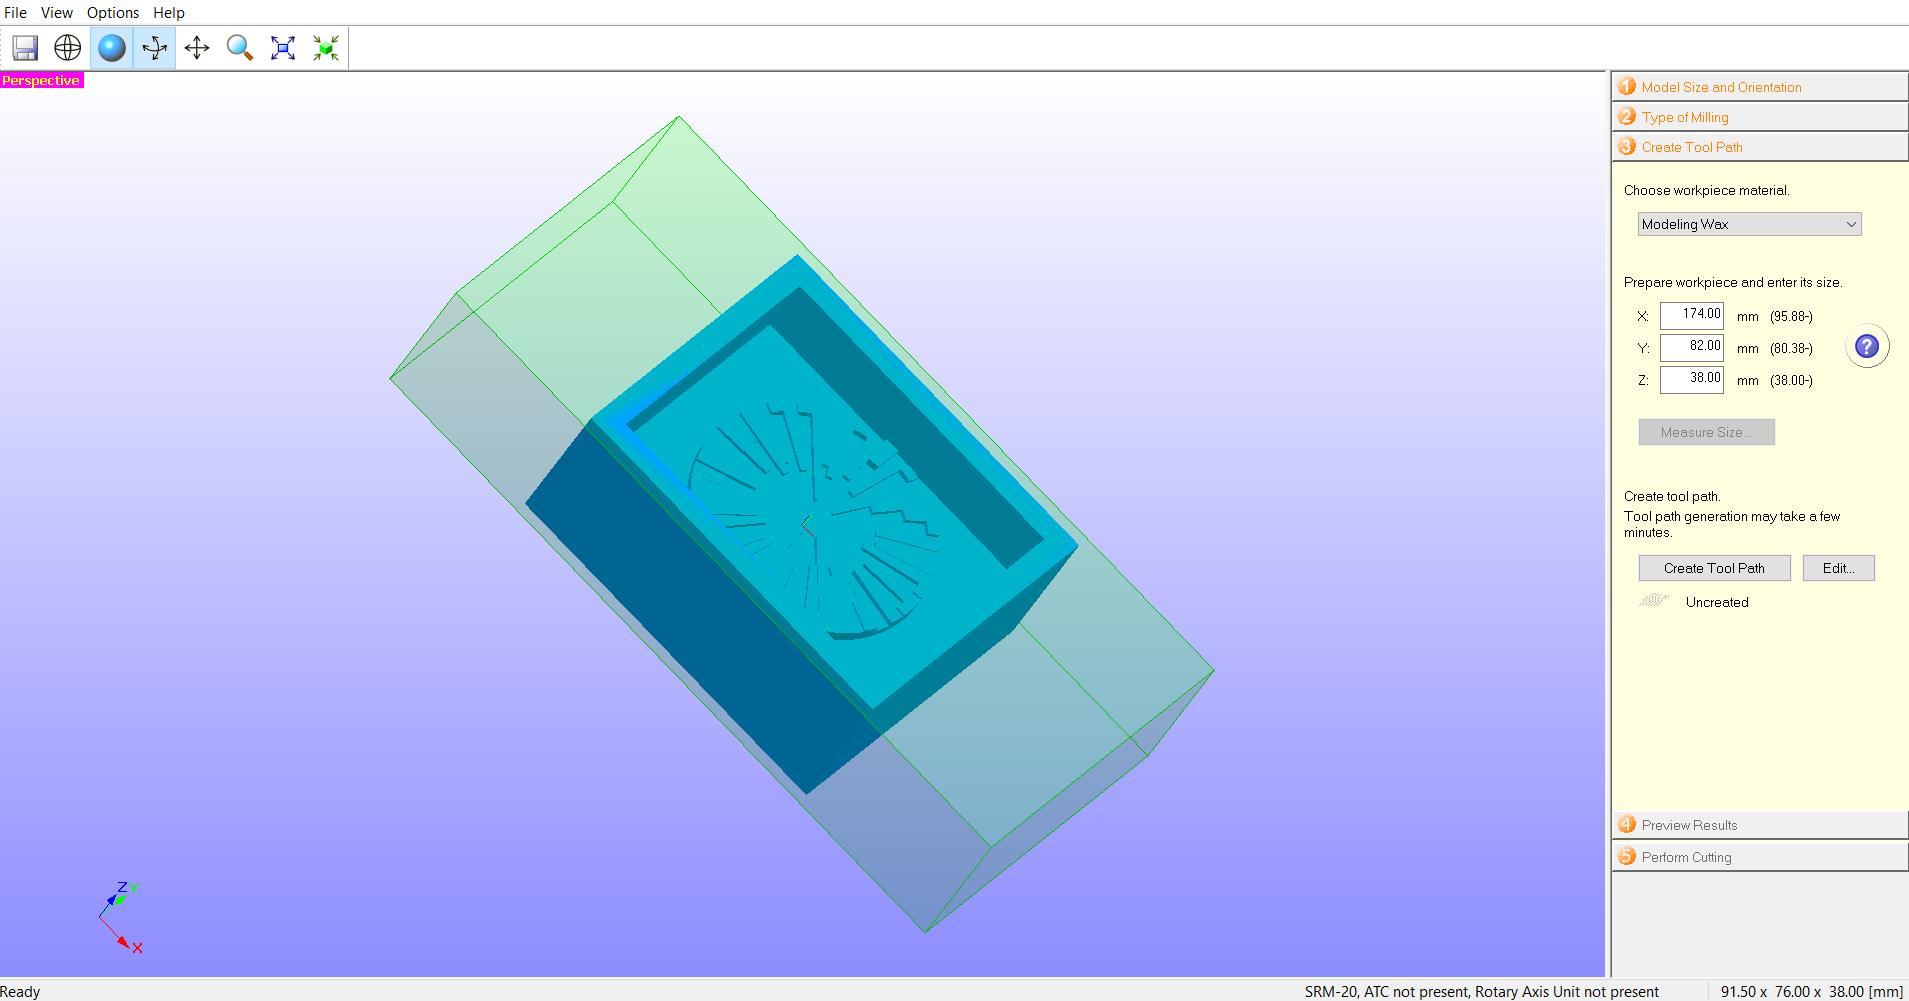
Modeling wax is the material that I used to make my medal , so after choosing the material , I should specify the dimensions of it , after choosing the sizes of the raw material , it will show the whole material that you got, it shown in the picture below , now after setting the material and the size of it, pressing the toolpath to create the path of the cutting tool but,
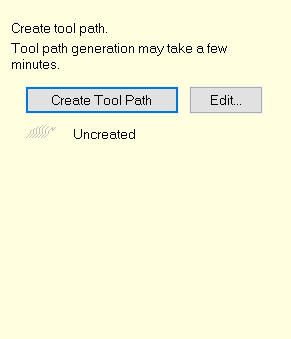
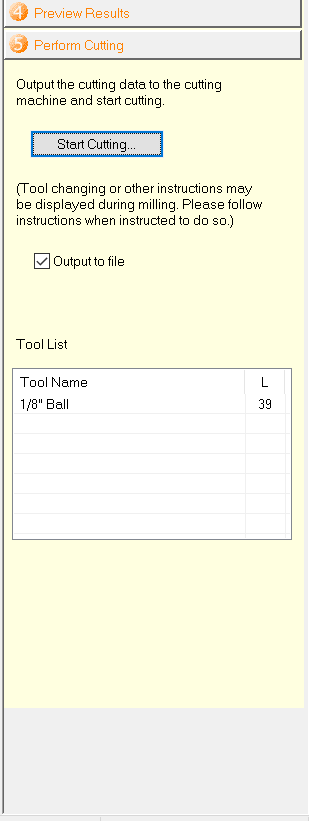
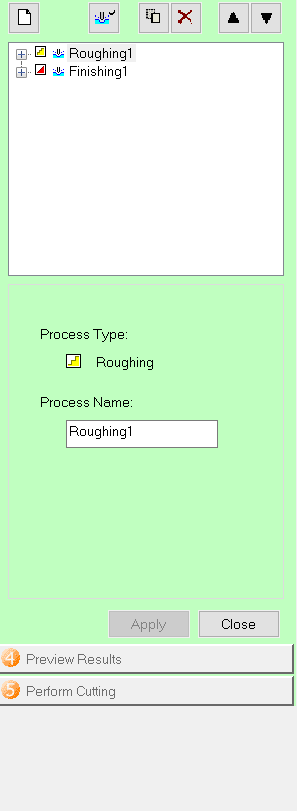
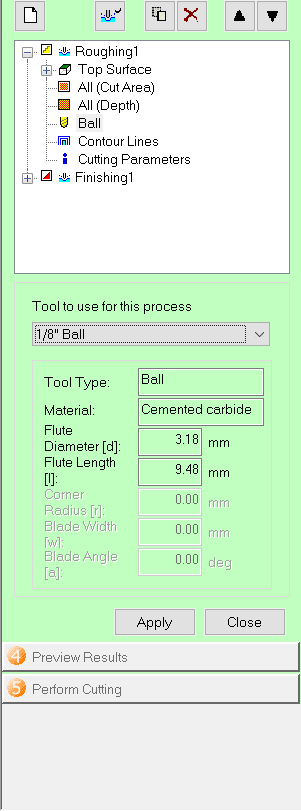
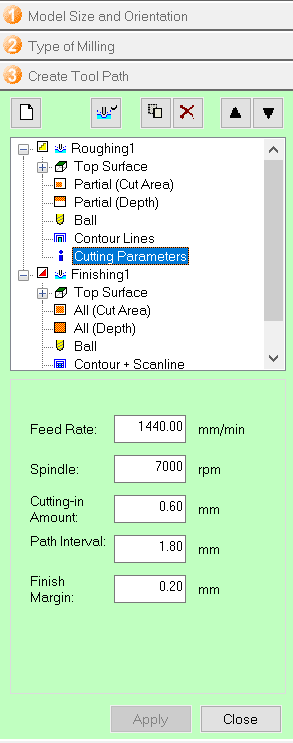
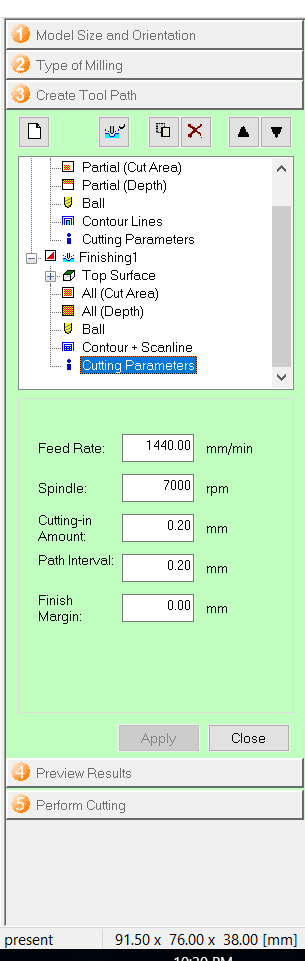
before selecting the create tool path button , we should go to the edit to edit our parameters , and now we have two operations or process we are doing the ROUGHING and FINISHING , so on the editing , we are able to choose the tools that we will use on our ROUGHING or FINISHING process, from my side I choose 1/8 ball mill bit in both operations , the reason that I used it , I have a little small details on my medal , and I want it to be catted on the right way with right dimensions , and as shown in the pictures below , for ROUGHING cutting parameters I did not change the feed rate or the spindle speed , for the cutting amount is 0.6 mm per cycle , because we don’t want to go to deep that may cause a damage of the tool or the material , so for the cutting amount it depend on the tools that we use and the material , however we leave a 0.2 mm margins that we can cut during FINISHING process , to get nice and smooth surface , so for the FINISHING process, I kept it the same spindle speed and feed rate , but the cutting amount is 0.2 , as I mentioned before I left a margins in the ROUGHING process of 0.2 , so in this process will be only on cycle of cutting , and for sure in the FINISHING process I don’t need any margins left in my part so I leave the finish margins as 0 mm .
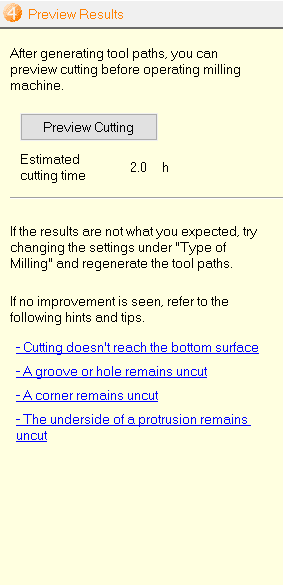
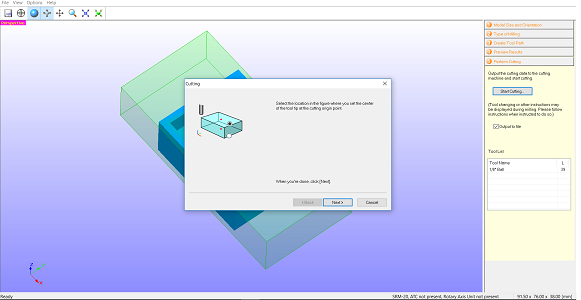
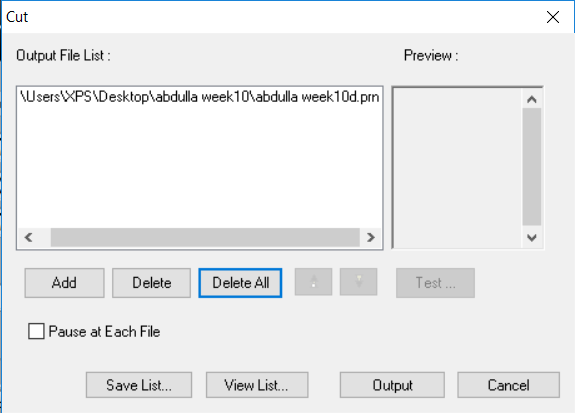
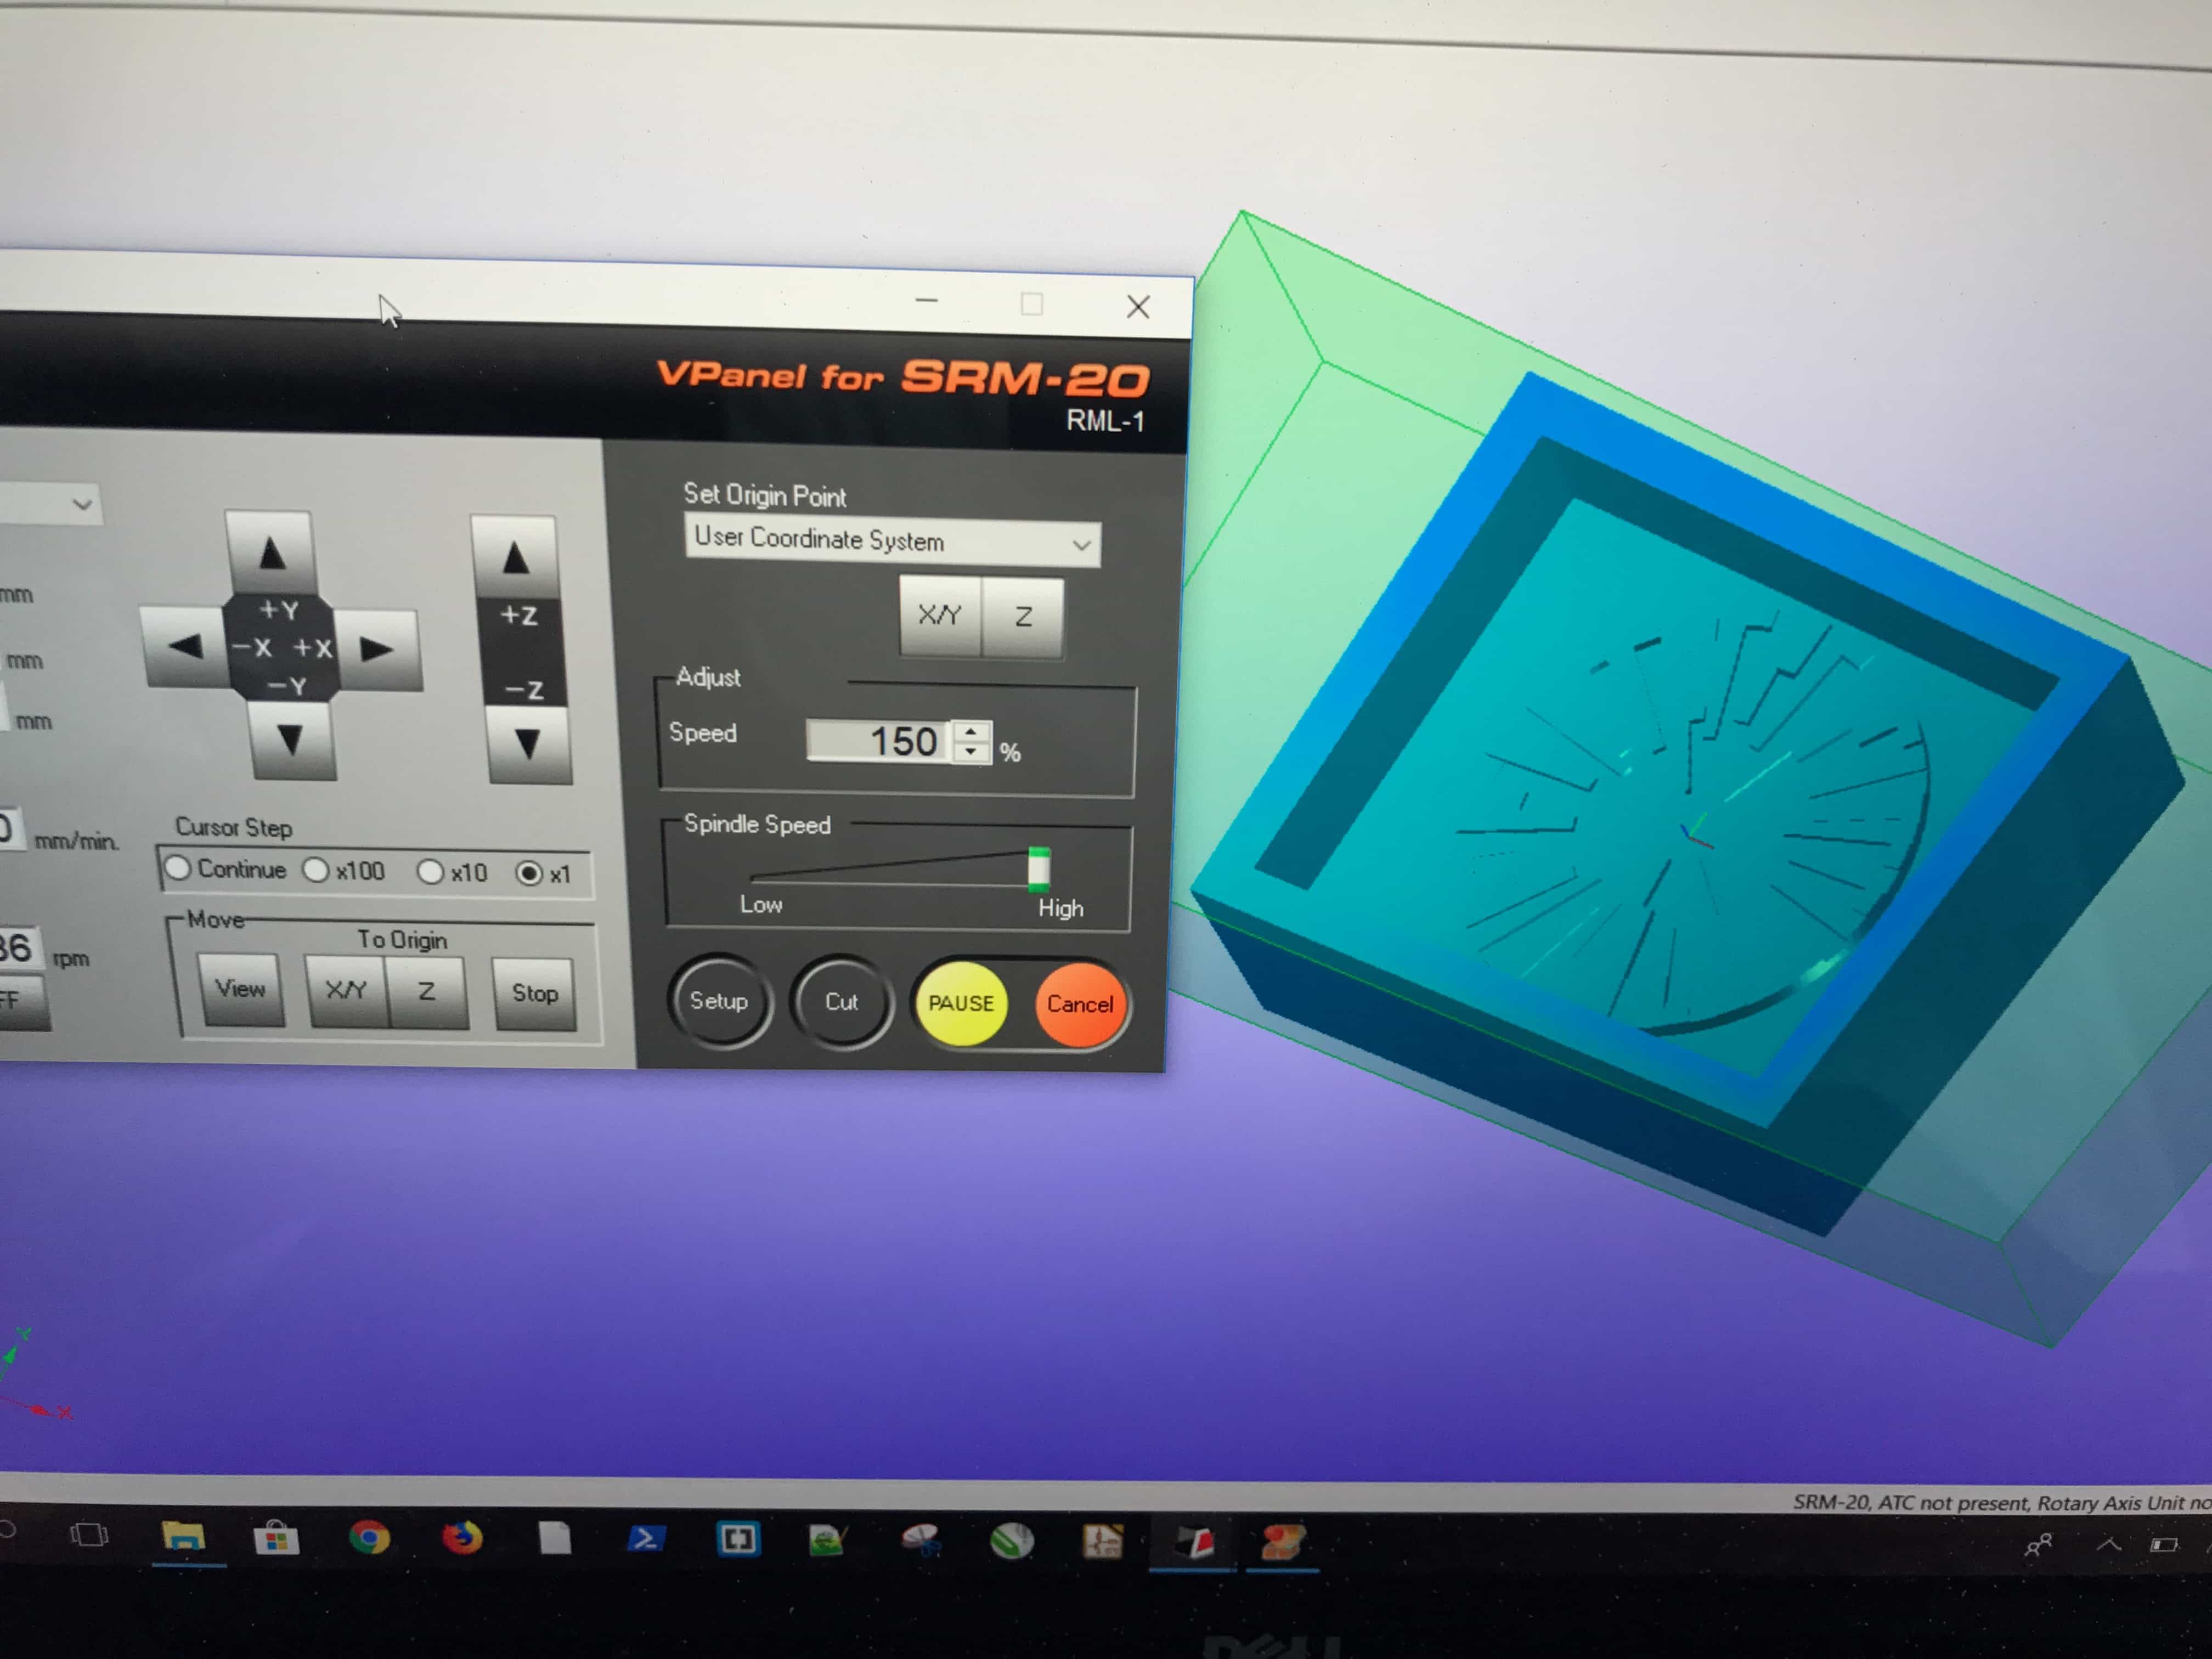
After choosing the tool and setting all the parameters that I need , I will create the tool path , after generating the tool path you can check the time estimated to finish cutting , preview and check on your tool path , so if you are confident and happy from the preview you can start cutting , from my side I chose to save it as output file so I can initiated on Vpanel easily by using other laptop, however before I got the file there is one step I have to do , I should choose my zero point or my reference point . then it will save as prn file extension.