1- Characterise the lasercutter .
2-Complete write-up.
3-Make a webpage for this.
We get introduced to the laser cutting machine. We get to explore different ways of making 3D structures with only 2D tools.We were 9 and we have been divided into two group.The aim of the group work is to find the “Kerf”. The laser machining process produces a cut with non-zero thickness. This means any assemblies requiring tight tolerancing have to take this into consideration. This is gap called 'kerf'. It varies depending on the material, thickness of the material, focal length of the laser lens and the power setting of the laser.
In the lab they have Universal Laser Systems this is the types. Features: 150W ILS 12.50D at present running on 75W only, so the settings we make will have to change when the second laser tube is fitted.

This laser cutter can cut many types of material such as Composites, Elastomers, Foams, Glass & Ceramics, Metals, Natural (Inorganic), Natural (Organic), Paper-Based, Plastics.
Eidha, Abdullah, Zahrah, Darshan

Testing different process parameters:
Well, after we identify the laser cutting machine we moved to identify the “Kerf” of the cut and below is the table showing the details of the changed we made in order to make a perfectly fitting press-fit kit.

Identifying the kerf:
So, after measuring the differences between the “original” parametric design and “test 1”, which both has same features of:
Thickness: 3mm
Length: 120
Width: 50
So, we identified the kerf as 0.05mm


Testing for a better kerf again by changing the kerf from 0.03 to 0.06 with same aforementioned thickness and width and this is the result:

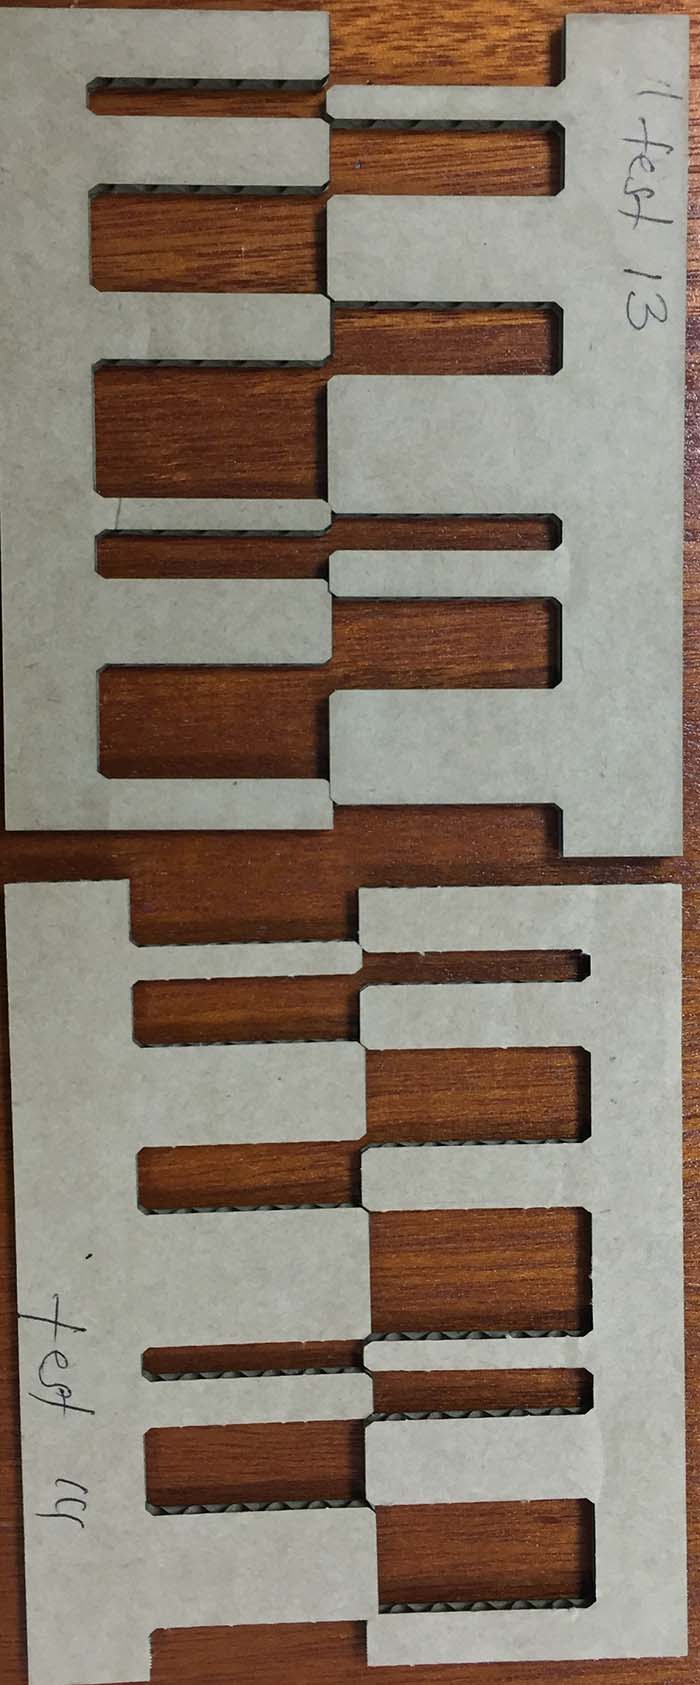
After couple times of testing we reach to the end that attempt number 1 of kerf test is the best size. However, we changed the:
Power=30%
Speed=12
PPI=300
Salama, Bear, Carl

We had to develop some tests.Initially we tried a few tooth-type fitment tests with increments of 0.10mm - this was to try to figure out what dimension to program into our parametric software to ensure our press-fit kits would fit together nicely with a good amount of grip.
There are three main types of operation we used:

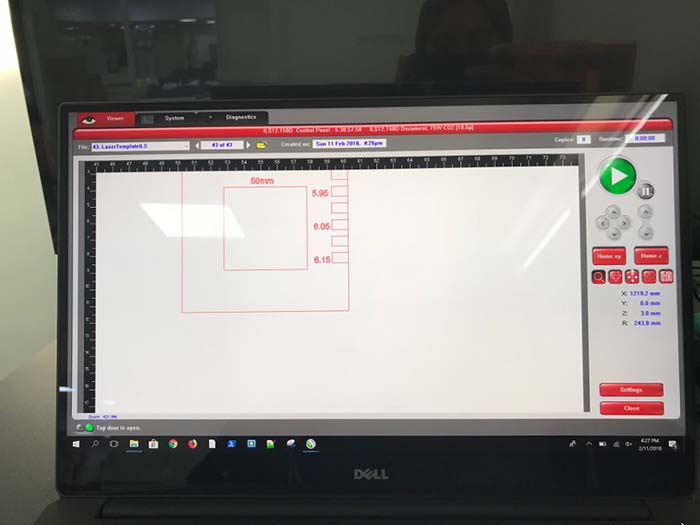
we are able to adjust settings for each type of operation. The major factors that affect the quality of laser cuts are power, speed, lens focus, flatness of the material and fume extraction (or airflow).
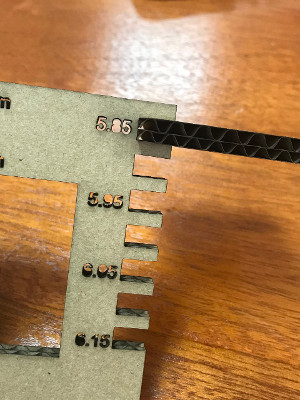
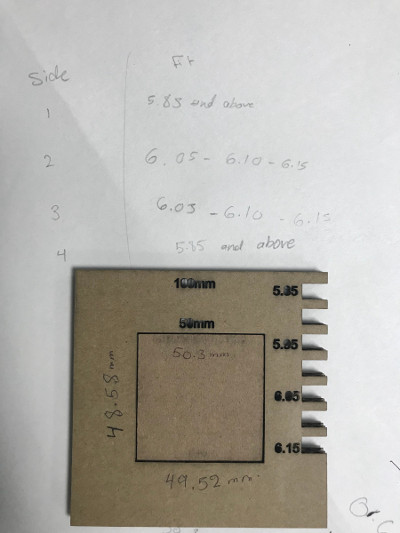
What we found is that the up-down kerf can be different to the left-right kerf.The kerf was between 0.75mm to 0.2mm. If you look closely at the fitment testing we did you might notice the gap on one side is larger than the other by about 0.5mm (that's huge!).
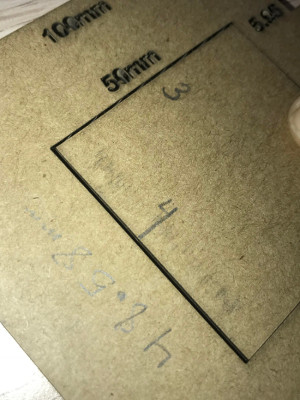
the corrugations in the cardboard are having an effect on the kerf size. One way to tell for sure would be to test on acrylic which has no grain to it.