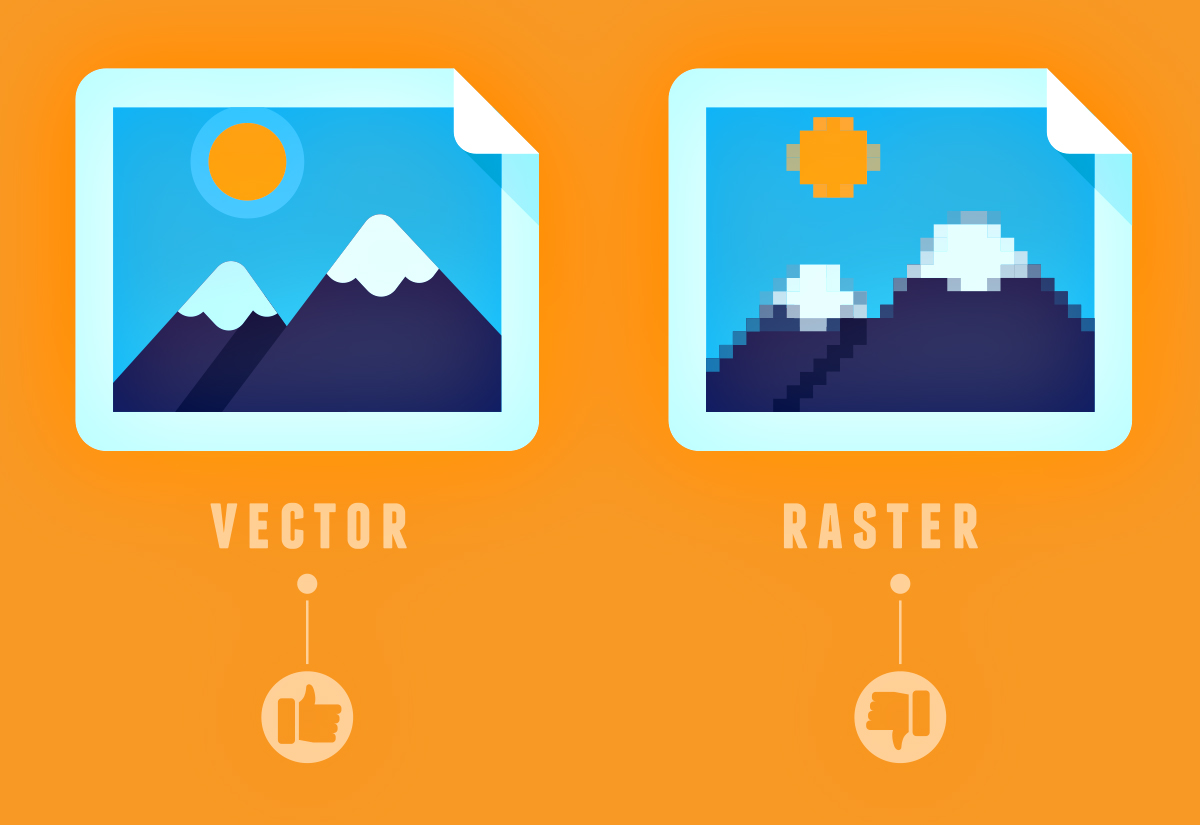
In 2D Designing there are mainly 2 Image concepts:Raster Image and Vector Images.
Raster Images are mainly composed of Pixels whereas Vector Images are composed
of lines and curves known as paths,that are rooted in mathematical theory.
Raster Images when zoomed beyond an extend gets pixelated whereas Vector images
remains the same.An image representing the difference between Raster and Vector
Image is shown below:
THE DIFFERENT SOFTWARES FOR 2D DESIGNING ARE:
VECTOR - Inkscape,corelDRAW
RASTER - GIMP,Photoshop
INKSCAPE
INKSCAPE is a really a user friendly and easy to learn software.It is more like
CorelDRAW but made simpler so that anyone can quickly learn it.During the global
lecture proffesor NIEL while introducing inskcape told that we can use the clone
tool in this software and changes made in the parent object will automatically
reflect in the cloned ones.
In INKSCAPE the first thing you should do is to set up the document size by
going into document properties by shortkey
shift +ctrl+d.
After that a window appears which is your workspace.I tried inscape
a couple of hours using a couple of options like union of two oblects,filling
colour,filling stroke,pattern filling,tracing text on a path,and creating vector from
raster images.
Firstly,i created a teddys face(used union nd difference of two shapes, pattern filling,
and stroke options in it).
union-union is used to join two objects or shapes (ctrl [+] +)
diference is used to cut an object from the other (ctrl [+] -)
pattern filling-pattern filling is same as filling with bucket tool in fill and stroke option (shift + ctrl + F)
Now i wanted to create a stamp.For this we need shape of the stamp and text in it.I
used circle shape and after texting ,select the shape and text and go to text bar choose put on path.
text bar>put on path
And finally to make vector from raster images,i made vector image of fablab logo
.Converting to vector image is very easy using bitmap option.
Trace bitmap-this option is used to make a raster image to vector (Shift + alt + B)
I also tried out with my own photo.
GIMP
GIMP is a free and open source raster image editing software.The basic window seems much
alike that of photoshop(i have a small amatuerish experience with photoshop during my college days),but
i was stuck and have to follow tutorials from GIMP website to get hands-on.
BASIC EDITING
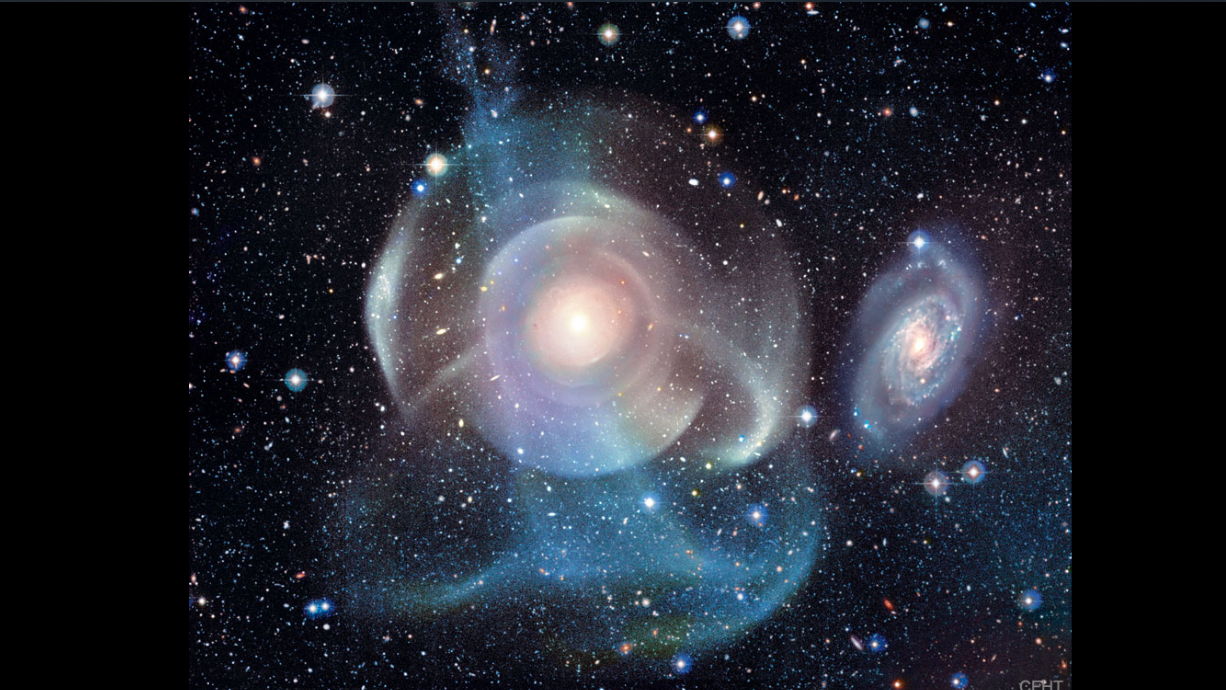
First i carried out basic image editing in GIMP, when i reffered the site the tutorial was given with
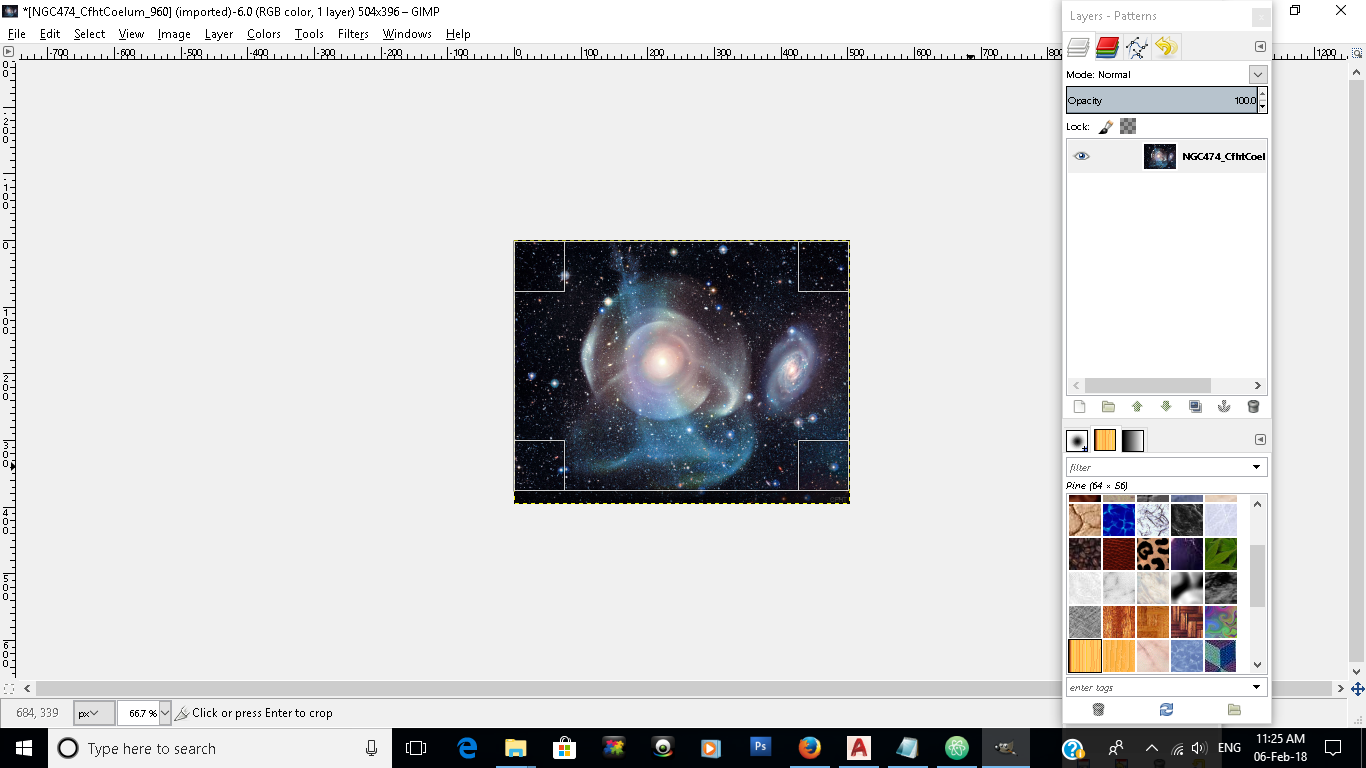
a photo of the day from NASA's website,so i too choosed photo of the day from that site,dated 6th february,2018
Galaxy NGC 474: Shells and Star Streams
Scaling,changing the image quality,crop and rotating are the operations that was included in the basic tutorial
Scaling the image-firstly we can see the size of our image in the header bar at the top.In the dialog box choose
image>scale image option.Give the size you want for the image.Also in this i noticed about the lock option in which width and height changes propotionally
when lock is on.
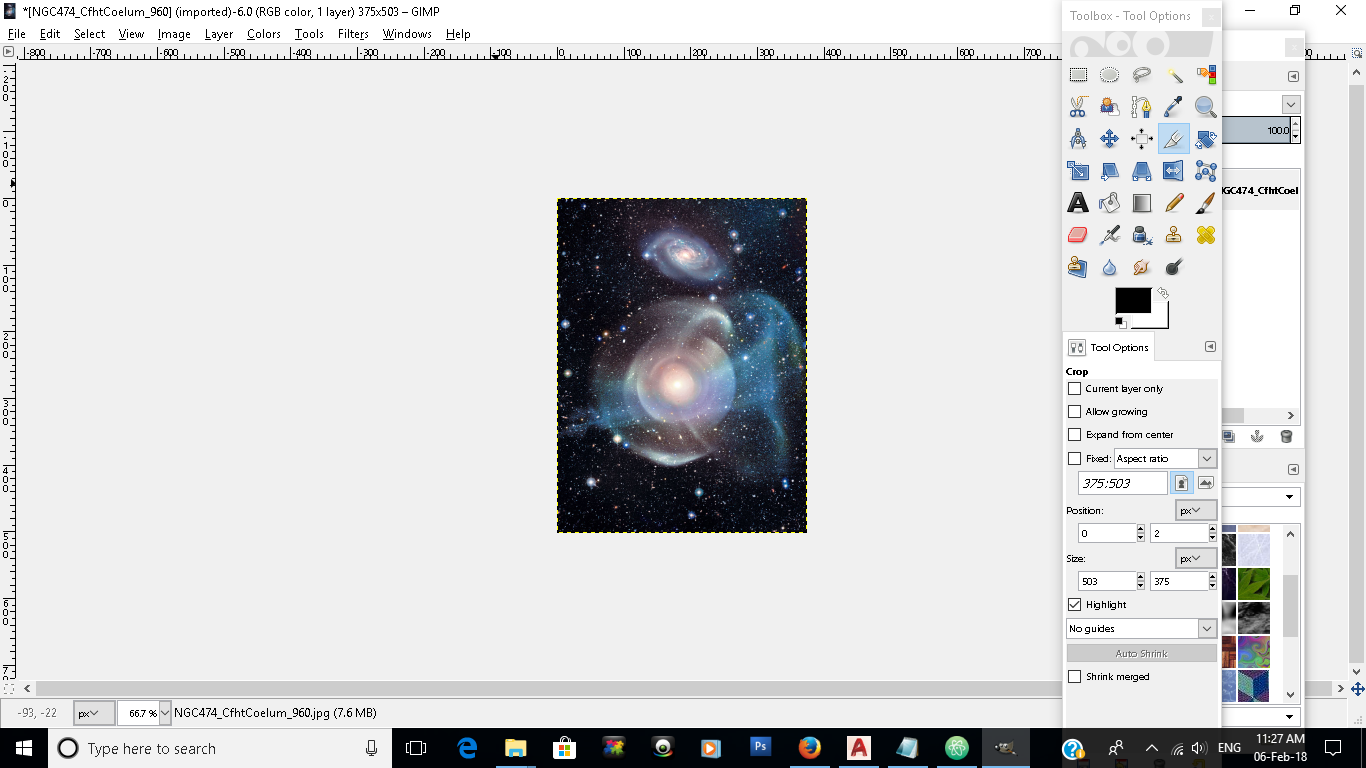
Croping the image-crop tool is present at the tool bar or we can acess it by taking:
tools> transform tools> crop button
In this image I cropped the edges of the image cutting the watermark at the bottom right corner.
Rotate & Flip tool- these are basic operations in an editing software and is present in In the dialog box, choose
:
image> transform> flip/rotate option
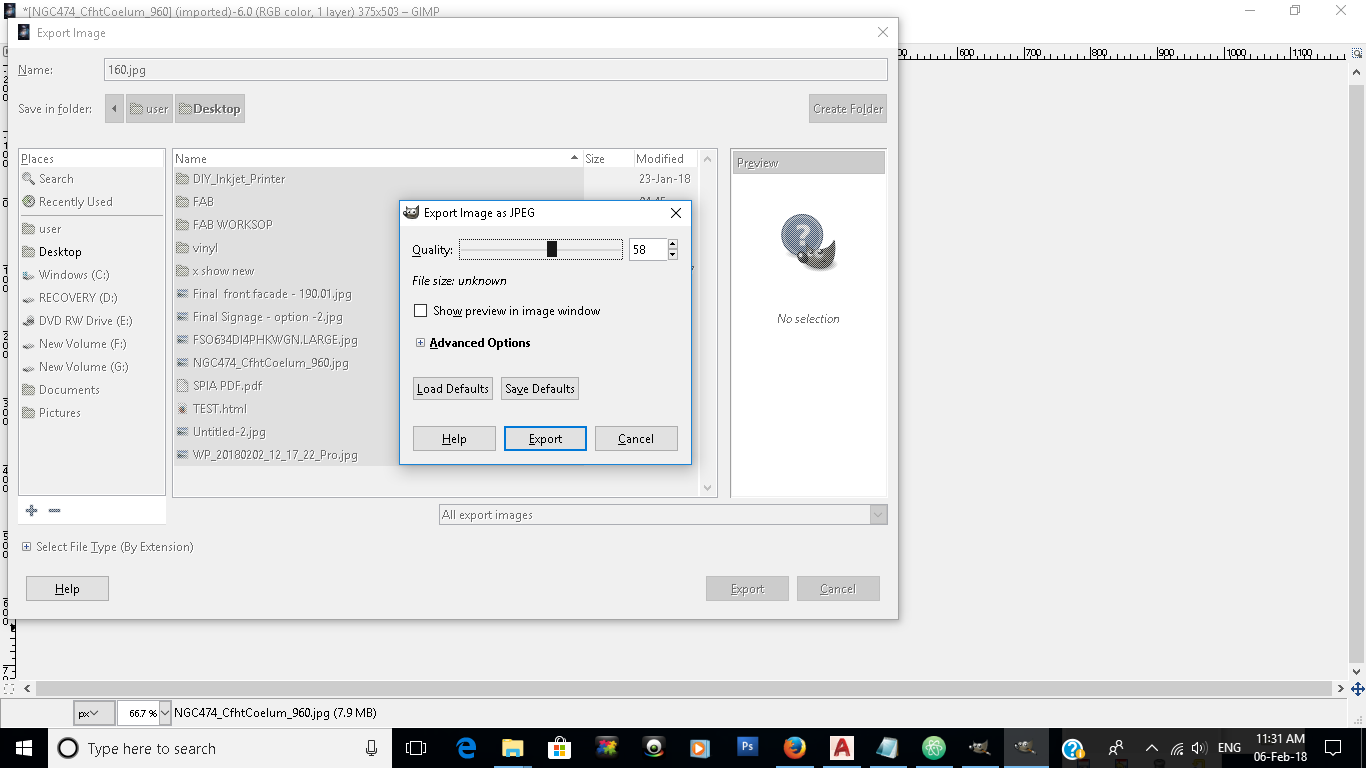
Changing the quality-jpeg files are to an extend compressed files that is we can change the compression rate in
terms of quality while exporting a file.
LAYER MANIPULATION & LAYER MASK
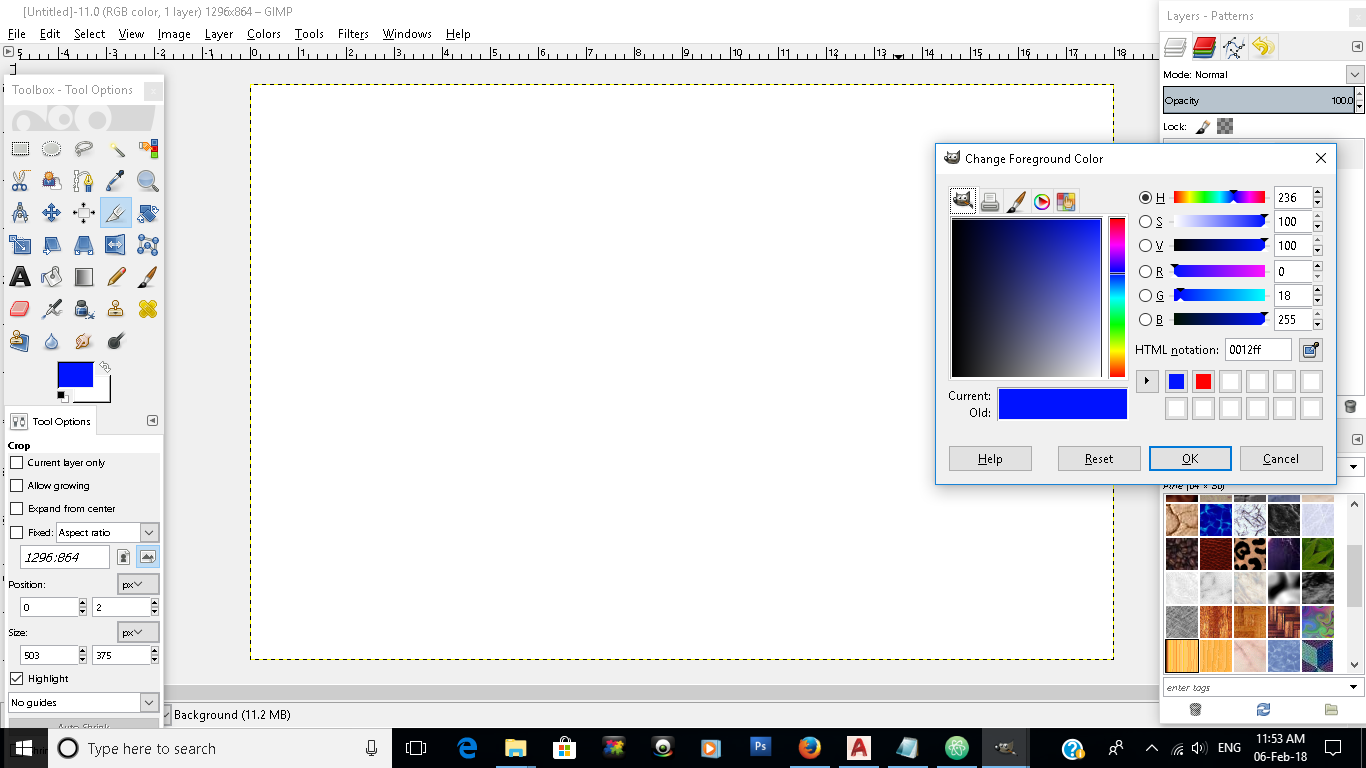
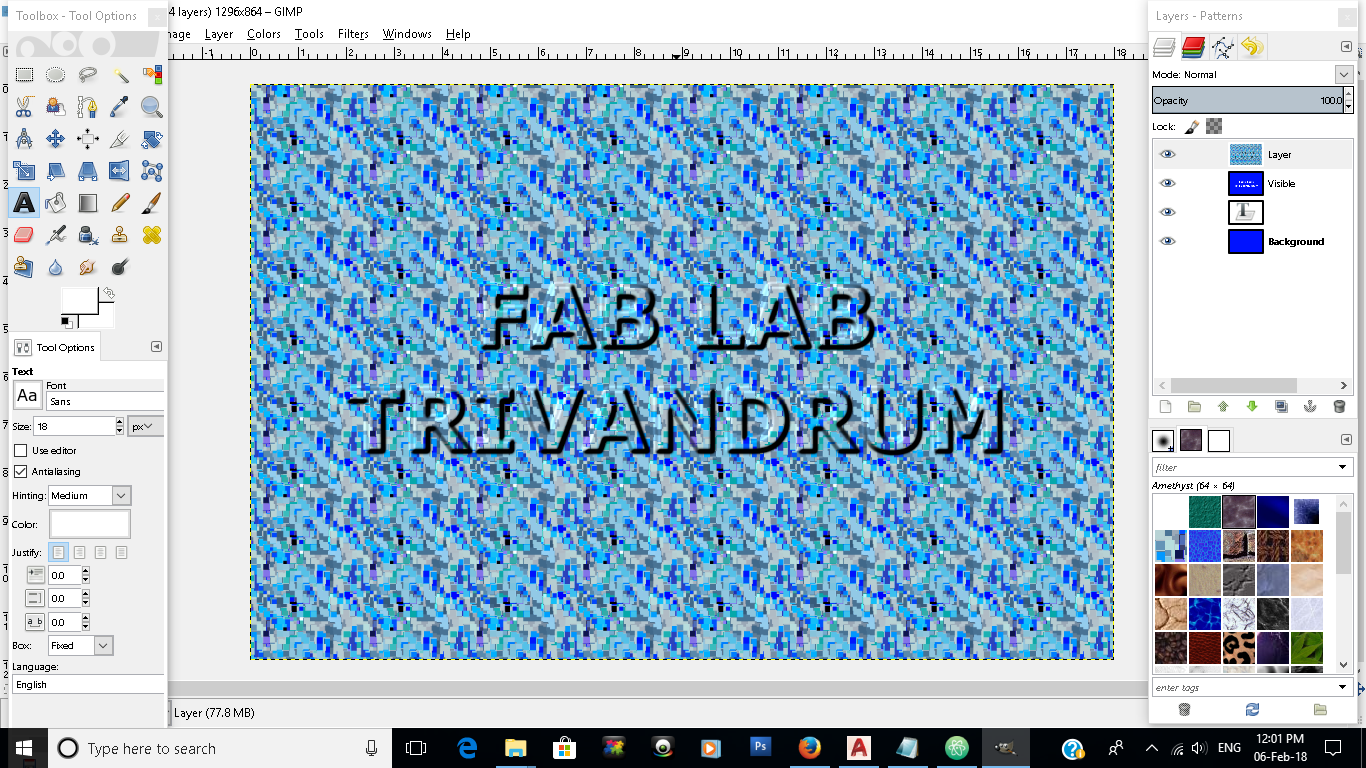
The second tutorial i followed in GIMP refers to the layer manipulation & layer masking.In Layer Manipulation,i decided to create a Fab lab
trivandrum logo. For this first i took a new page gave some dimensions and gave a foreground colour.
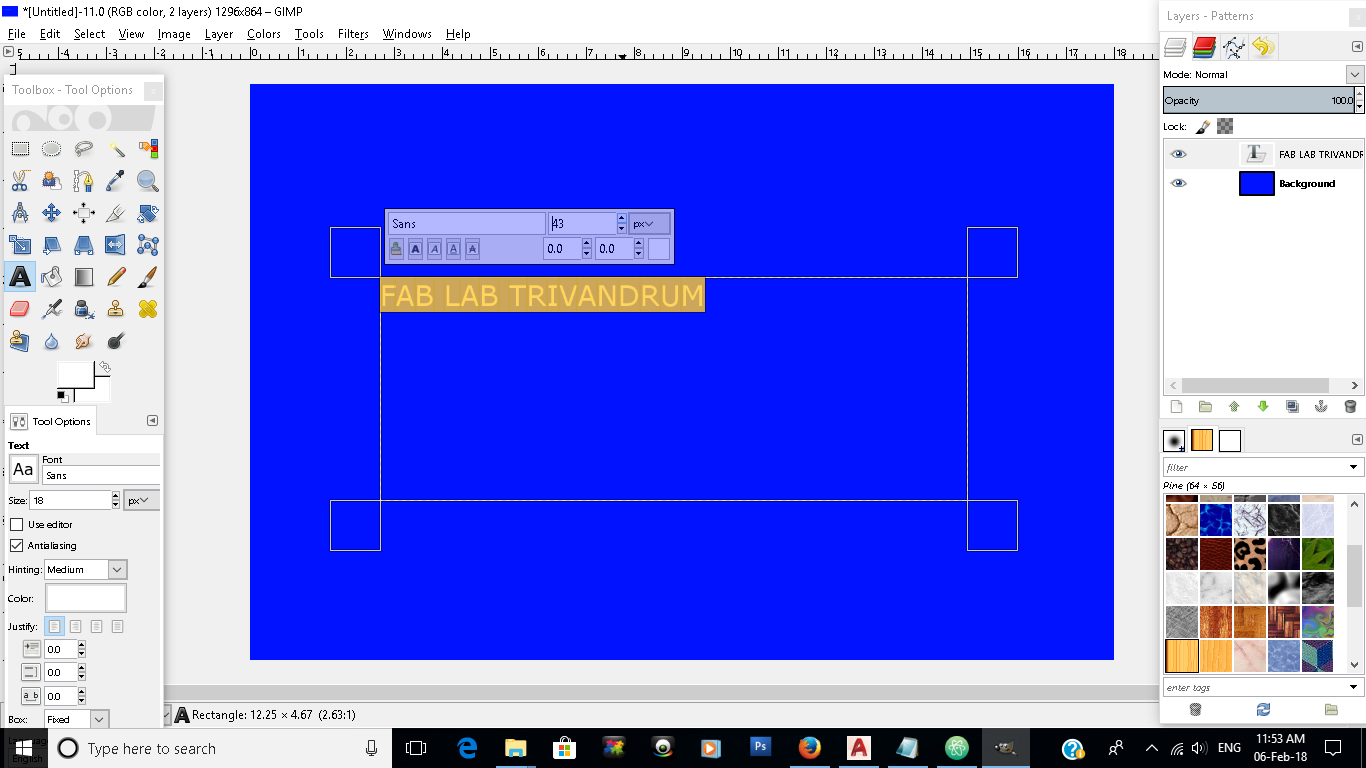
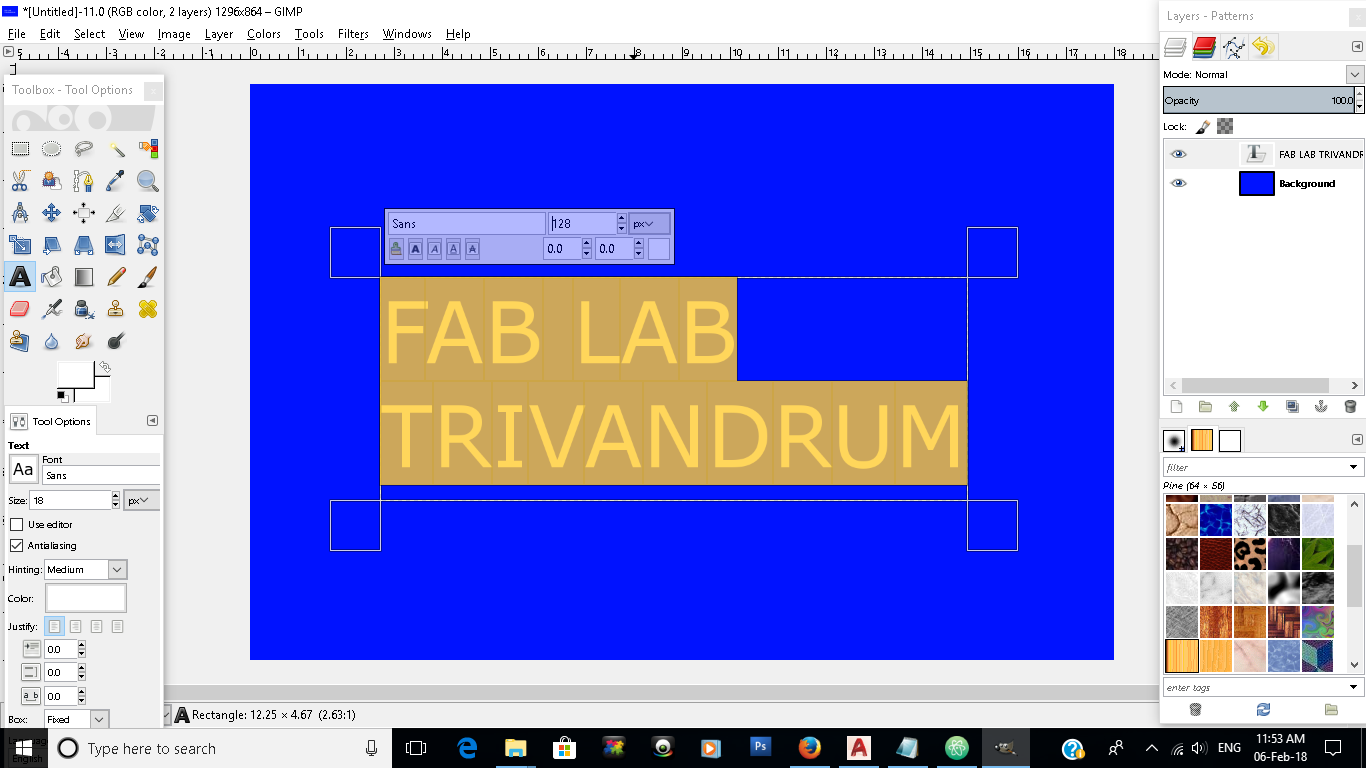
Now i took the text tool and typed Fab lab trivandrum and adjusted it to appropriate size.
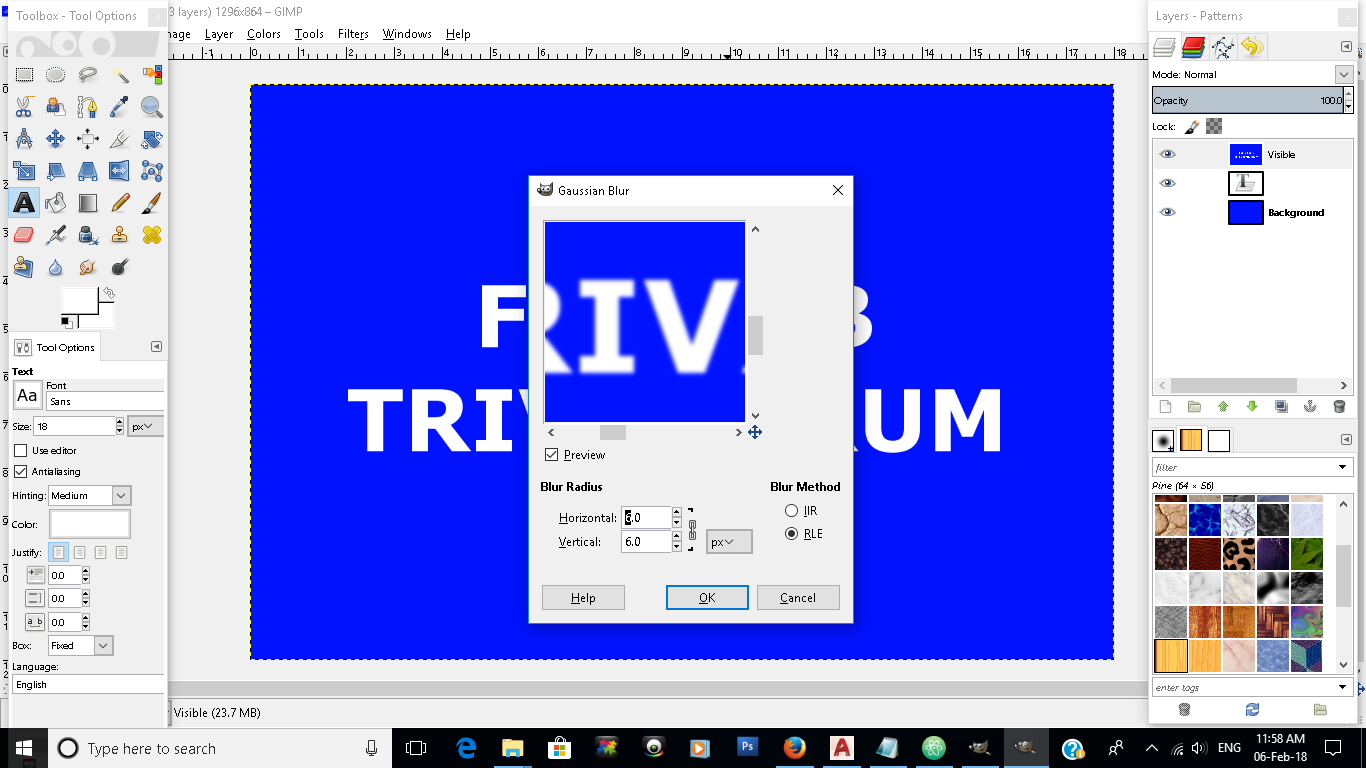
The next step is to create these much done as a new layer, this can be done by going to
layer >create from visible
Following the tutorial i have appied a gaussian blur from filters window.
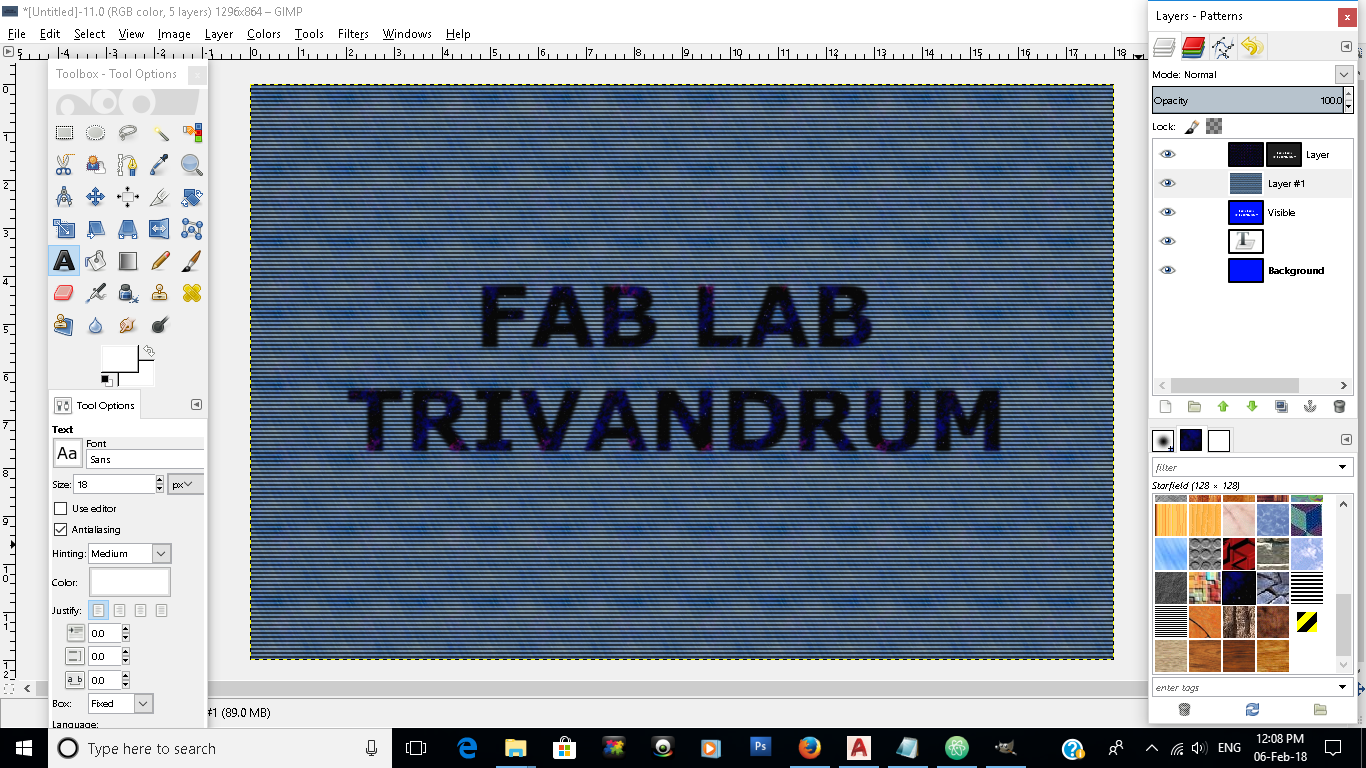
The next step is BUMP MAPPING.This basically means to create a bump of the pevious layer to the above layer.
I have created a new layer and gave a fill pattern i found at the bottom right cornor in GIMP,
now i selected.
filters >map> bump map option
In that we have to choose the layer to be bump mapped and we can choose the depth of bumping.
Layer masks are used to isolate a part of an image, thus allowing it to be placed over a random background for instance.So I
applied a layer mask to the foreground layer in layer option and copied the visible layer to it,After that I applied
different patterns to masked layer as well as the text present.
2D & 3D MODELLING
3D modelling is a very important technique nowadays to get a previsual of the object or anything,how it looks etc.
There are a numerous softwares in 3D of which basic one is AUTOCAD which I have already installed on my laptop.
In our fablab I was trained with basic ideas from AUTOCAD,RHINO and AUTODESK INVENTOR.Once I have attended a one day workshop
on FUSION 360 and I have managed to install FUSION 360,RHINO and INVENTOR on my lap but INVENTOR is showing some issues,
so I shall work with AUTOCAD,FUSION 360 & RHINO.
3D MODELLING PROCESS
3D modelling is simple (my own) words is a gap between the 2D drawing and the 3D view of an object or a product which is filled by a single word called extrude
which means to increase the height of an object in the Z direction.All the other tools are just applications assosiated with these.So in 3D MODELLING
I shall start with autocad which I have used only for 2D drafting earlier.
AUTOCAD
Autocad is a 2D drafting software and being a civil engineering graduate I have come across this software during my semesters.
After drafting we can also extrude our drawing to 3d in Autocad but it is not a complete 3d modelling software
It is easy and quick to learn software.There are a lot of useful options in autocad for drafting.Hence I would like to call it as a 2.5D software Starting up
with the drafting space.
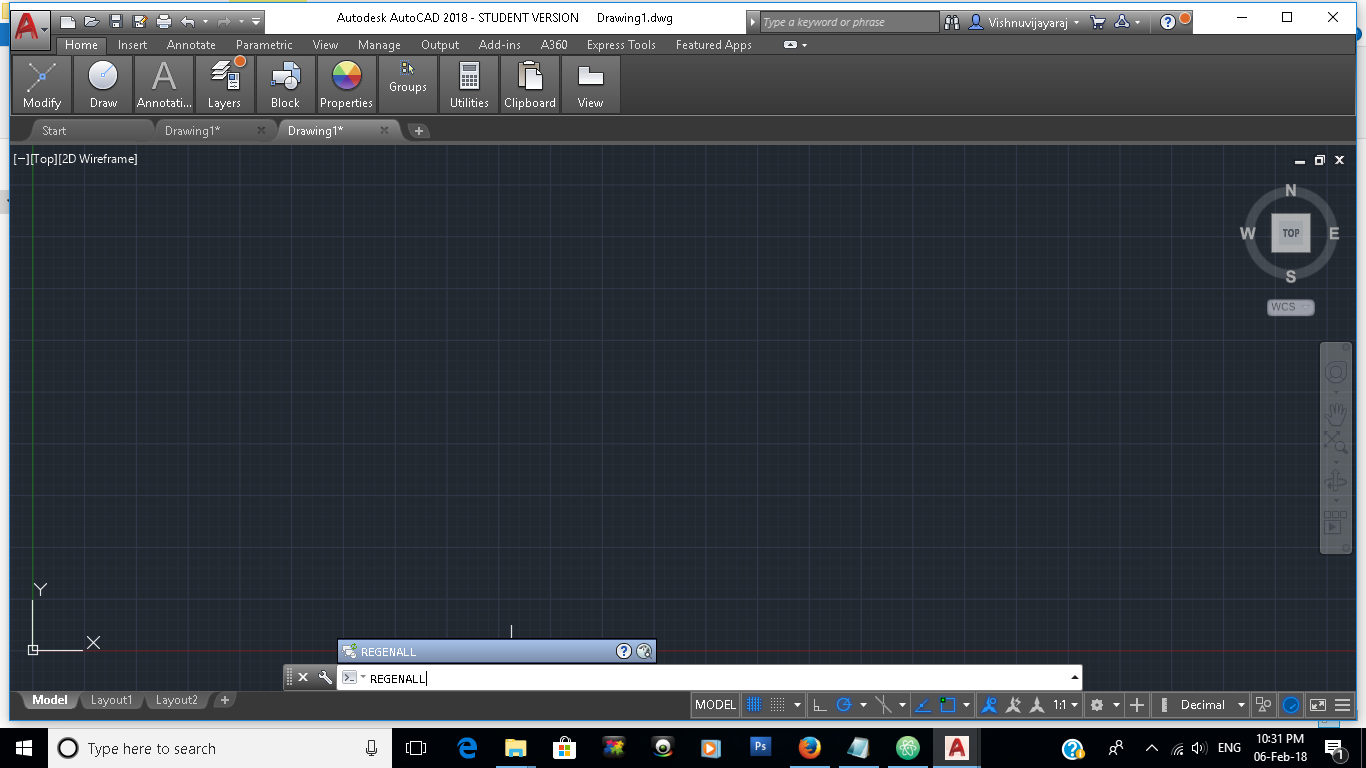
firstly,it is mandatory to set the drafting space and units.
setting up the workspace
Now we have to use the regenall option to adjust with the zooming of workspace.
Hence we can adjust to the minimum zoom position and start our drafting
In autocad firstly I am trying the most important part in drafting i.e., constraints.We can draw different
constraints or after drafting set them as constraints.I drafted some lines and shapes and applied different
constraints like concentric -it is used to bring the concentric(common center) effect between two objects.I have drawn two circles and used this command to make them concentric. parallel -Used to bring two drafts parallel to each other. tangent -Arrange two objects across the tangential line.
Gif showing the application of different constaint commands
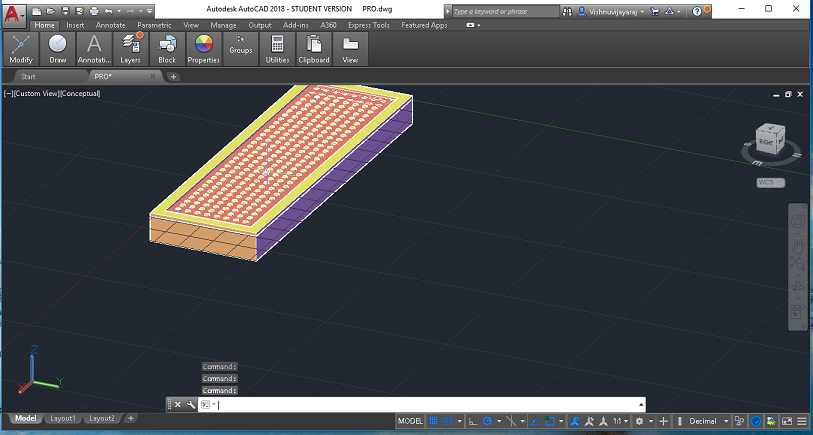
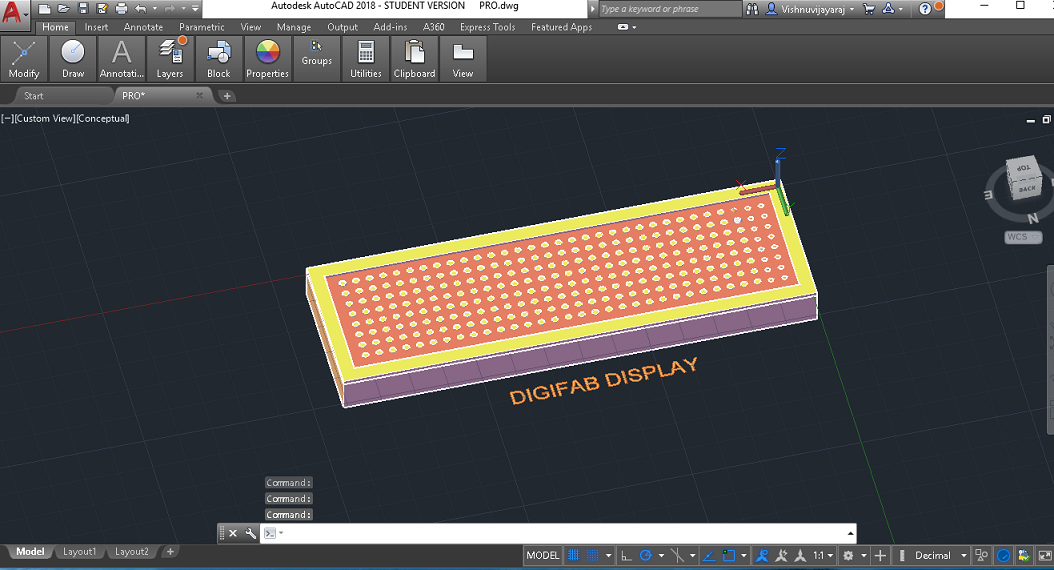
So for modelling using AUTOCAD I decided to give a possible look of my project,Digifab Display.I have drawn a rectangle of its shape,added circles for led
aranged them in rows and columns, added fillet option for led,included a text of my project name and extruded different parts like box,beeding and leds.
So in these the commands I used are: rectangle-option used to draw a recttangle.We can give the dimension when asked and hit the enter button. circle-command for drafting circle.We can give the dimension in radius,diameter as per our interest copy-copy an object drafted paste-paste the copy of the object drafted text-To include a text on the workspace rotate-To rotate an object extrude-To convert an object to 3D,to increase the thickness erase-To delete an object fillet-To curve the sides of an object.We can also use filletedge option to apply fillet to the edges only.
Drawing of my Final Project
AUTODESK FUSION 360
I have a one day workshop knowledge with Fusion 360.So the first thing i did was to watch some video tutorials of
Fusion 360 for beginners whose link are shown below.So after brushing up Fusion 360,i was confused what should i draw.
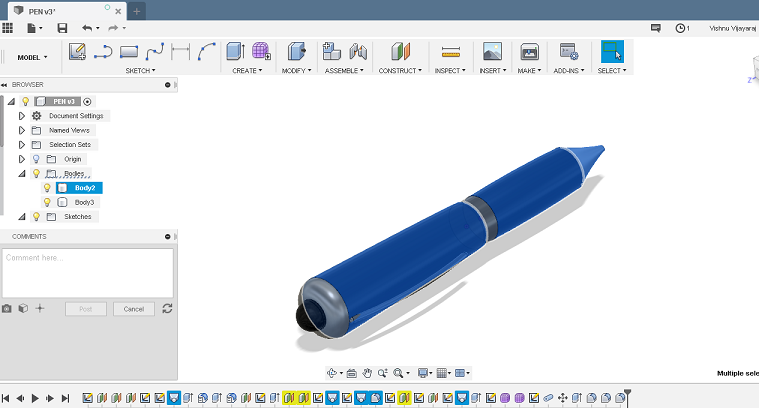
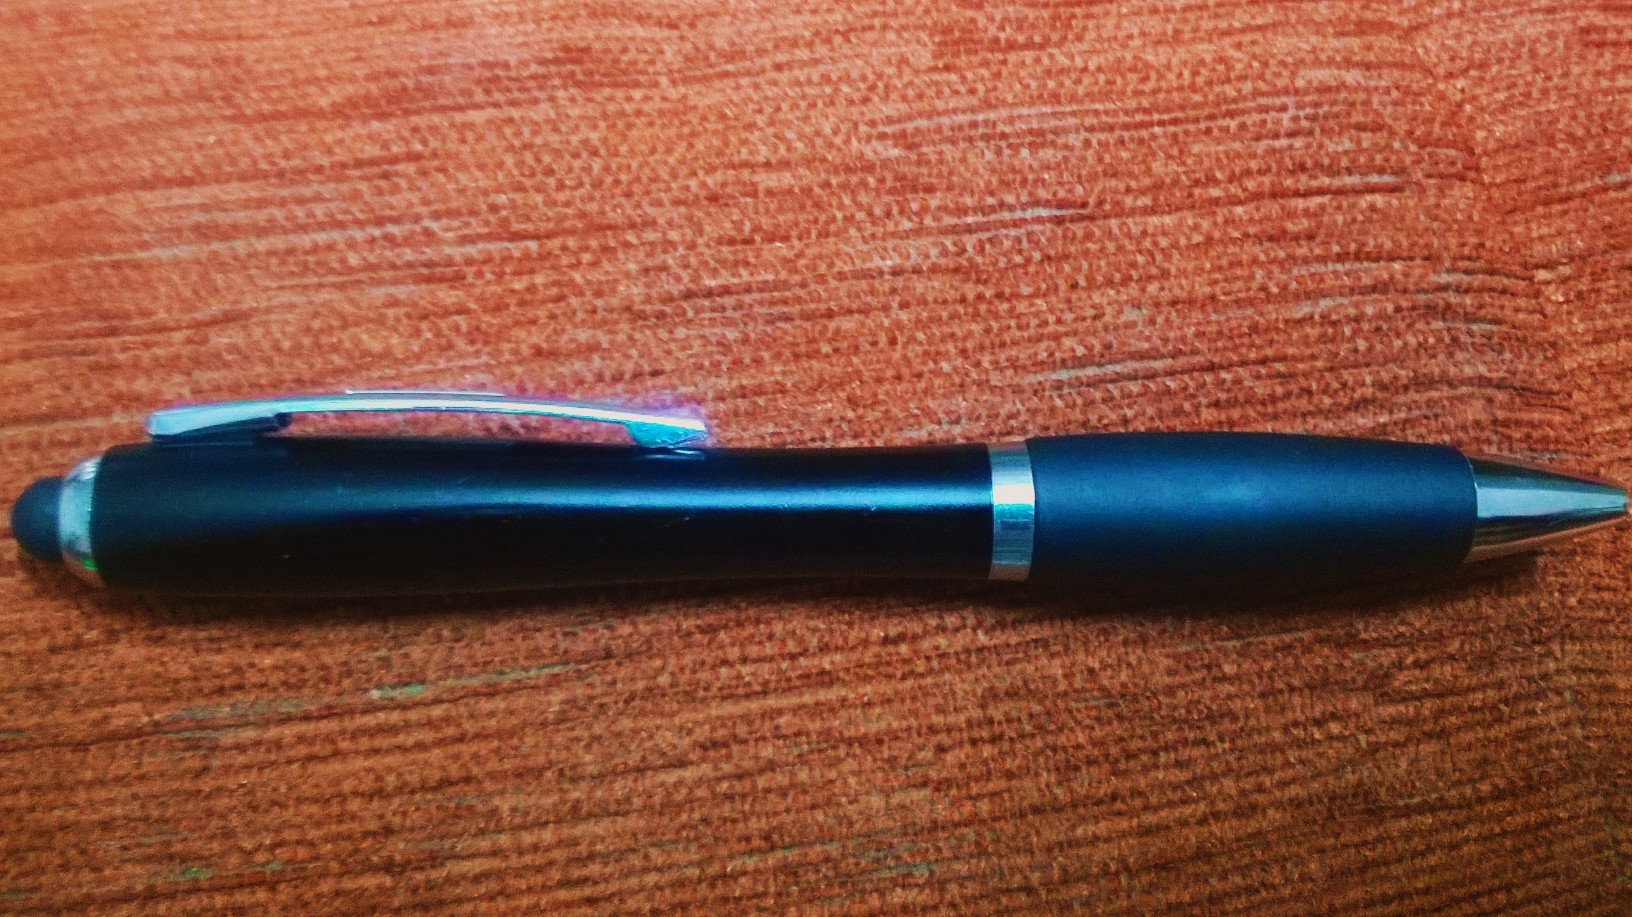
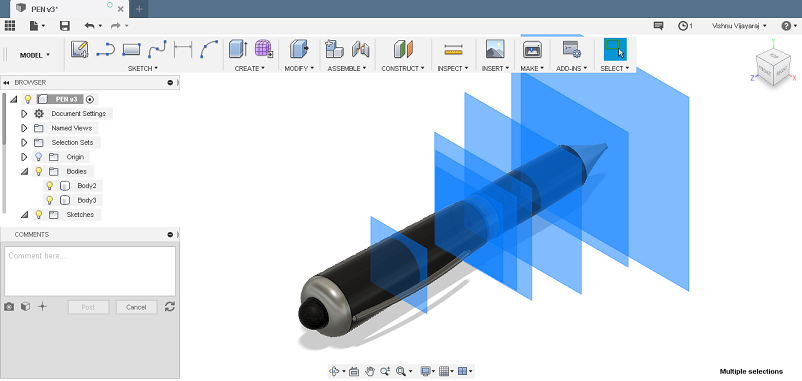
After some time I decided to draw my own pen.the image is shown below.Also attatching a youtube tutorial video which I saw to understand more about Fusion360.
First I thought of drafting half of the pen and then revolving it to get the 3d model.But this pen has some varied
shape across the cross section and at that time our instructor LANCY FELIX told about plane offseting.That was the key!
here are the buiding up stages of my pen.
In fusion 360 first we have to select the plane for drafting and the start drawing.So the different commands I used in fusion 360 for designing the pen are: offsetplane-Which is the main command I used while drawing the pen.I measured my pens variation in dia across the length and created planes at such distances circle-circle option in sketch is used to draw the circles at different cross sections. loft- loftoption is used to connect the different circles in 3dimension to create a translational object. prespull-presspull option is infact often used to modify the sketch using extrude or fillet command extrude-To extrude a sketch (increase dimension in 3rd dimension) fillet-To curve the sides of an extruded object.In my pen the top button is filleted. pipe-To create a 3d shape(pipe) in the direction of a sketch.I used pipe option for creating the pocket holder clip of my pen. Appearance-Appearance option in modify is used to give textures and colours to the object
D different plane offseted
lofted parts
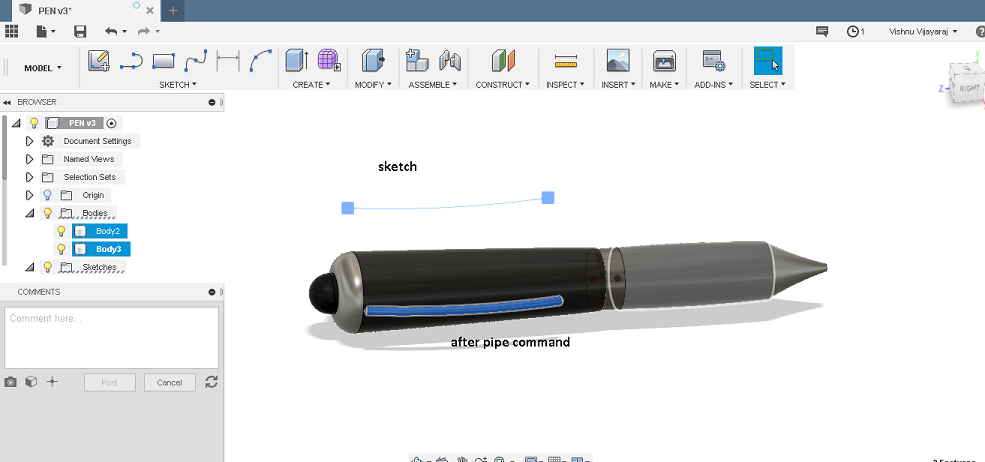
the sketch and the piped part
End result.
RHINO
Rhino was a quick and made easy learn by our Instructor VINODKUMAR B.G.He explained very nicely about the
different aspects and tool options in rhino and the ease to model with rhino.
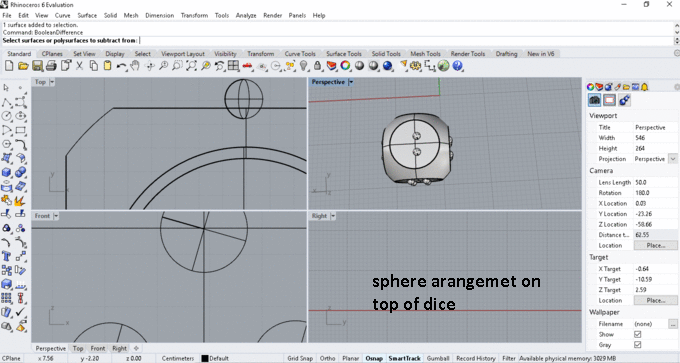
Rhino we have 4 views at a time(top view,perspective view, and two side views).
We can draw on any view such that the main advantages for a beginner in 3D modelling
is that there is no confusion for us while drafting because all the views are specified.
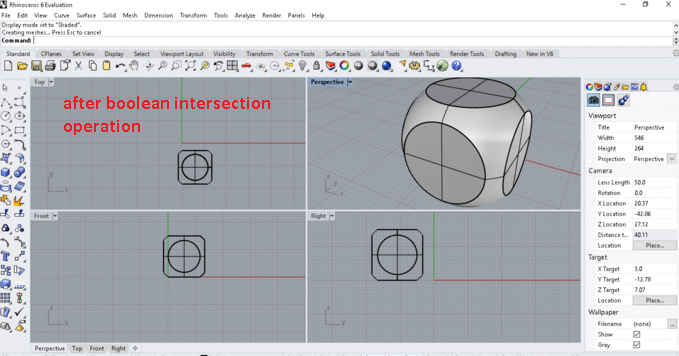
In Rhino i am working on a dice.
The different commands I used in RHino are:
box-Insted of 2D drafting I used box option to create a 3d box sphere-The circle was also drafted in 3D as sphere from the centre point of the box boolean intersection-Now boolean difference option is used to create an object using the intersected part of the box and sphere copy and rotate-copy and rotate option is used to create the side number of the dice which was drawn as sphere boolean difference-Now boolean difference is used in such a way that half of sphere is inside the dice so that it creates a negative of the sphere on the surface of the dice body and the dice is ready
MY REVIEW
This week assignment was very interesting for me.Learning
and getting hands-on with different 2D and 3D softwares.Coming to 2D, creating vector
is a true love for me.My week experience and my views are as follows:
INKSKAPE: Inkskape was fun to learn and very easy software.
It will be my sure shot option for creating vector graphics.
GIMP: GIMP is a free open source software same as photoshop but
I found it difficult to work with.Unless following the tutorials I wasn't able to create anything with GIMP.
After some learning i found it ok but will not be my first choice.
AUTOCAD :AUTOCAD is a perfect software for starters and for
2D drafting it is the "THE BEST" software for me.
FUSION 360: My little experience with fusion 360 has helped me
while 3D modelling but its online cloud storage is not user friendly.
RHINO: RHINO is very much helpful and user friendly from whatever
little i had gone through.I wish to work more with RHINO.loved it


 D
D